Embed Size (px)
DESCRIPTION
VM38 CARB FITMENT ARTICLE
Citation preview
When the original SR pumper carb has finally ‘beaten you into the ground’…metaphorically speaking…then perhaps it’s time to consider the fitment of a nice and simple Mikuni VM series carb. I personally prefer the good old 38mm one (pictured below), but you are able to fit the 34 or 36mm carbs as well. Mikuni VM38 carb…
These carbs are available already pre-jetted from places such as Thumper Stuff in the US, or Mikunioz or Ian William’s Tuning here in Aus. and other places as well. Each place has their preferred jetting setups and I will provide some of these in a table below. The table gives settings from a number of people both from the SR Forums and others. I thank them for their provision, as they can often be the result of hard work, frustration and dogged determination. I’ll also give you my setup that I have here in one of my 38s currently (on the right end of the table), which was a hard fought setup derived after getting unsatisfactory results from a pre-jetted carb…feel free to use the settings. Should get you in the ‘ball park’ however I guarantee nothing. Each person’s location around the World is different and will have different jetting requirements related to the various ranges of temperature and air density. For example, Canberra where I live is situated at 2,000’AMSL. Here it gets to over 35C in the Summer and down to -7C to -9C minimum in the Winter. If your bike’s engine runs rich here it will almost ‘rich-cut’ once you go higher up in the mountains. Manifolds You are able to use the standard Mikuni rubber manifold that the SR comes with if you wish. The standard carb and the VM roundslide carbs have identical style manifold spigots. There are also aftermarket Mikuni (Sudco?) ones that are available and that will suit…I have used both successfully. The standard SR type is able to be used ‘as-is’…however you will need to cut away a small section of the upper right side of the spigot area where it has the locating recess for the standard carb. Otherwise the protruding rubber boss will interfere with the operation of the mixture enrichment lever and spring (choke lever).
For increased airflow and a smoother air path into the head however, it is best to either ‘dremel’ out the inside of the rubber manifold that is situated forward of the end of the carb to match the increased size of the VM’s outlet; or to buy the aftermarket Mikuni manifold. Modified standard SR manifold on a VM38…manifold Dremelled out to the ID of the carb outlet…
Out of interest, the aftermarket manifolds are generally a little shorter that the standard SR type and place the carb a little closer to the head. For ‘Type A’ people (perfectionists) the aftermarket manifolds may also actually be too large in the inside diameter at the area forward of the end of the carb for a nice smooth air path. For those people (me) these manifolds may require a small machined spacer ring to be placed inside the manifold, in the area between the carb and the head, to bring the ID back down to the same as the exact carb outlet size. All probably totally unnecessary…heh, heh…it’s a sickness… Fuel Tap Issues The standard SR fuel tap is ‘vacuum’ activated, which means that it uses the ‘vacuum’ (…lower than ambient pressure) air from the inlet manifold side of the carb, which comes from an integral spigot in the carb body downstream of the slide, to open the flow of fuel to the carburettor. These taps are normally left in the ON position as the fuel is unable to flow to the carburettor unless the engine is running and a vacuum source available. The aftermarket VM carbs don’t have the integral spigot to attach the tap’s vacuum hose to, so you have several choices:
• You either have to use the standard tap in the PRI position, turning it to ON to stop the flow of fuel for shutdown. The drawback to this method is that there is no reserve position for the tap;
• Modify the standard tap to remove the vacuum cut-off. Then you are unable to turn the fuel to OFF as the tap only has ON, RES and PRI positions.
• Source another manually operated tap from somewhere like Mike’s XS in the US (to suit the later, ’78 and onwards, XS650s); in my mind the simplest option.
• Fit a manifold from a later model SR400/500 that has a vacuum spigot made into it.
• Fit (tap) a custom made hose spigot, of the same dimensions as the original carb’s one, into the front side of the VM carby to suit. This option allows the use of the original tap but involves a bit of fitting and machining.
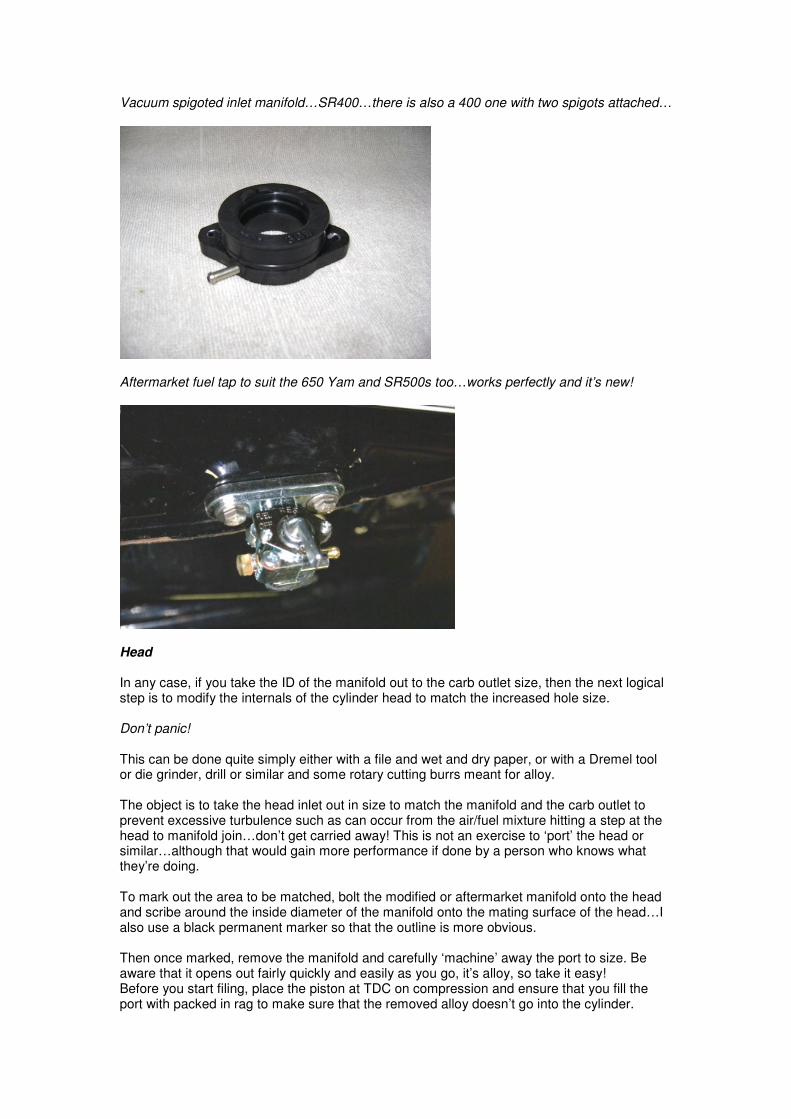
Vacuum spigoted inlet manifold…SR400…there is also a 400 one with two spigots attached…
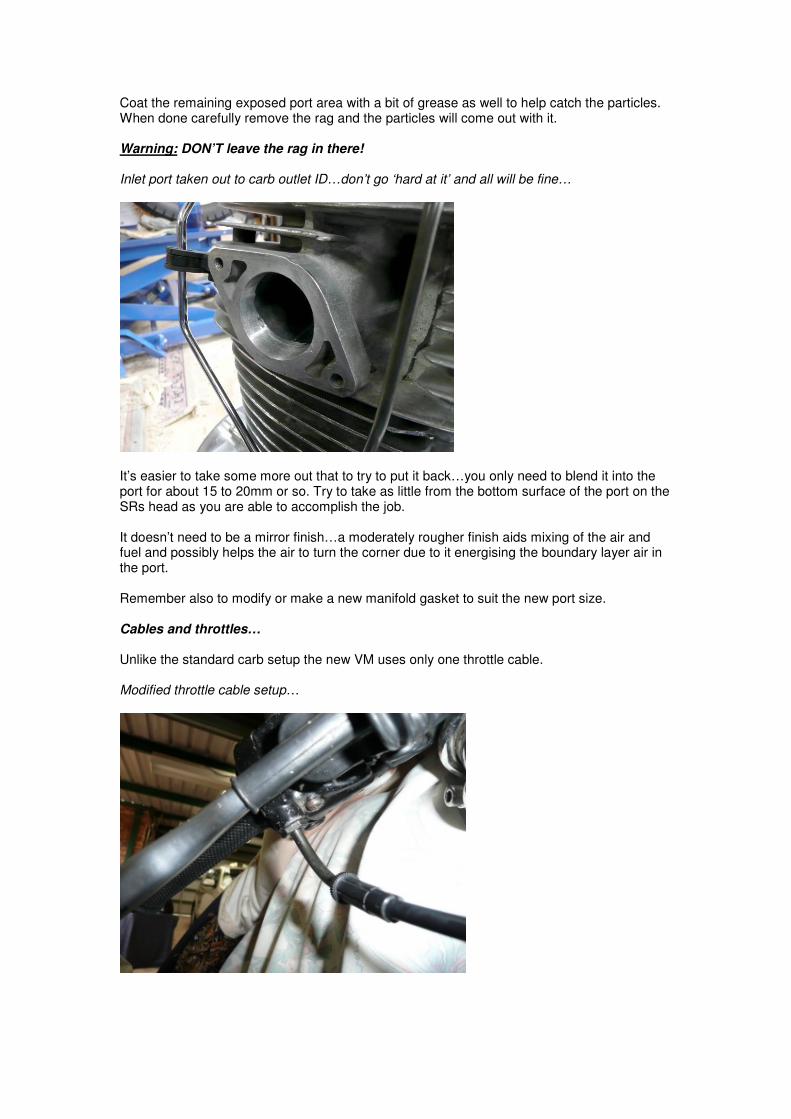
Aftermarket fuel tap to suit the 650 Yam and SR500s too…works perfectly and it’s new!
Head In any case, if you take the ID of the manifold out to the carb outlet size, then the next logical step is to modify the internals of the cylinder head to match the increased hole size. Don’t panic! This can be done quite simply either with a file and wet and dry paper, or with a Dremel tool or die grinder, drill or similar and some rotary cutting burrs meant for alloy. The object is to take the head inlet out in size to match the manifold and the carb outlet to prevent excessive turbulence such as can occur from the air/fuel mixture hitting a step at the head to manifold join…don’t get carried away! This is not an exercise to ‘port’ the head or similar…although that would gain more performance if done by a person who knows what they’re doing. To mark out the area to be matched, bolt the modified or aftermarket manifold onto the head and scribe around the inside diameter of the manifold onto the mating surface of the head…I also use a black permanent marker so that the outline is more obvious. Then once marked, remove the manifold and carefully ‘machine’ away the port to size. Be aware that it opens out fairly quickly and easily as you go, it’s alloy, so take it easy! Before you start filing, place the piston at TDC on compression and ensure that you fill the port with packed in rag to make sure that the removed alloy doesn’t go into the cylinder.
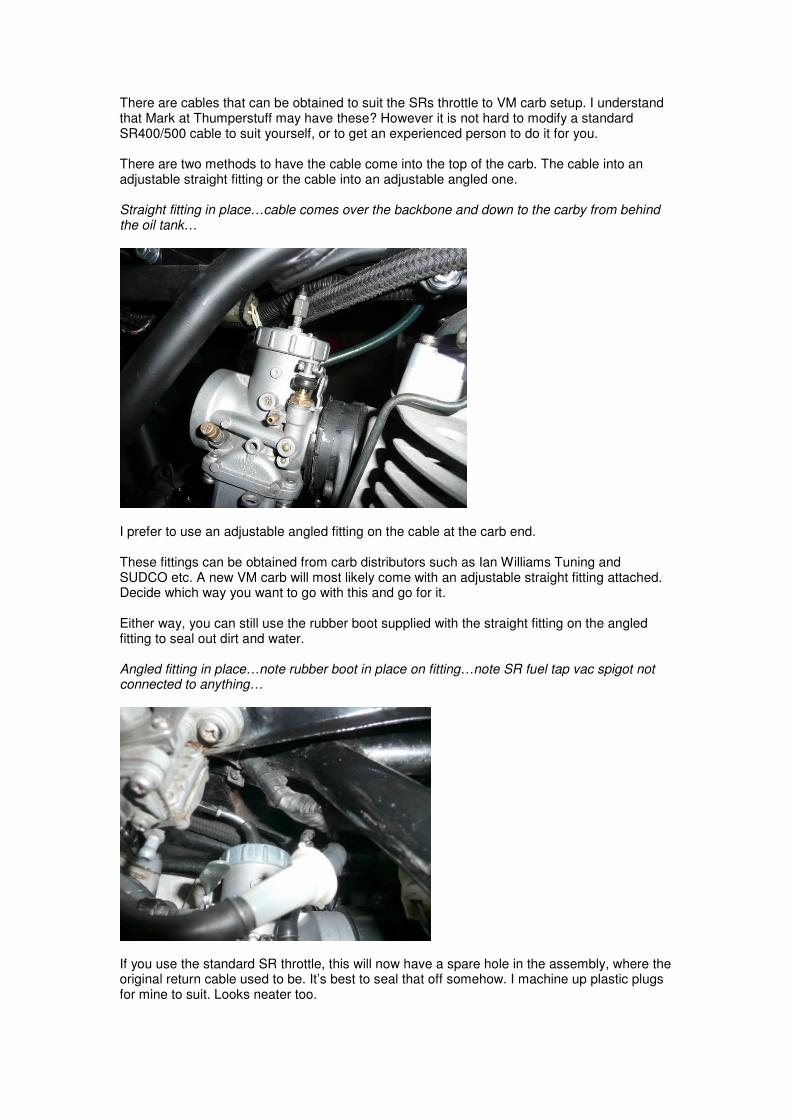
Coat the remaining exposed port area with a bit of grease as well to help catch the particles. When done carefully remove the rag and the particles will come out with it. Warning: DON’T leave the rag in there! Inlet port taken out to carb outlet ID…don’t go ‘hard at it’ and all will be fine…
It’s easier to take some more out that to try to put it back…you only need to blend it into the port for about 15 to 20mm or so. Try to take as little from the bottom surface of the port on the SRs head as you are able to accomplish the job. It doesn’t need to be a mirror finish…a moderately rougher finish aids mixing of the air and fuel and possibly helps the air to turn the corner due to it energising the boundary layer air in the port. Remember also to modify or make a new manifold gasket to suit the new port size. Cables and throttles… Unlike the standard carb setup the new VM uses only one throttle cable. Modified throttle cable setup…
There are cables that can be obtained to suit the SRs throttle to VM carb setup. I understand that Mark at Thumperstuff may have these? However it is not hard to modify a standard SR400/500 cable to suit yourself, or to get an experienced person to do it for you. There are two methods to have the cable come into the top of the carb. The cable into an adjustable straight fitting or the cable into an adjustable angled one. Straight fitting in place…cable comes over the backbone and down to the carby from behind the oil tank…
I prefer to use an adjustable angled fitting on the cable at the carb end. These fittings can be obtained from carb distributors such as Ian Williams Tuning and SUDCO etc. A new VM carb will most likely come with an adjustable straight fitting attached. Decide which way you want to go with this and go for it. Either way, you can still use the rubber boot supplied with the straight fitting on the angled fitting to seal out dirt and water. Angled fitting in place…note rubber boot in place on fitting…note SR fuel tap vac spigot not connected to anything…
If you use the standard SR throttle, this will now have a spare hole in the assembly, where the original return cable used to be. It’s best to seal that off somehow. I machine up plastic plugs for mine to suit. Looks neater too.
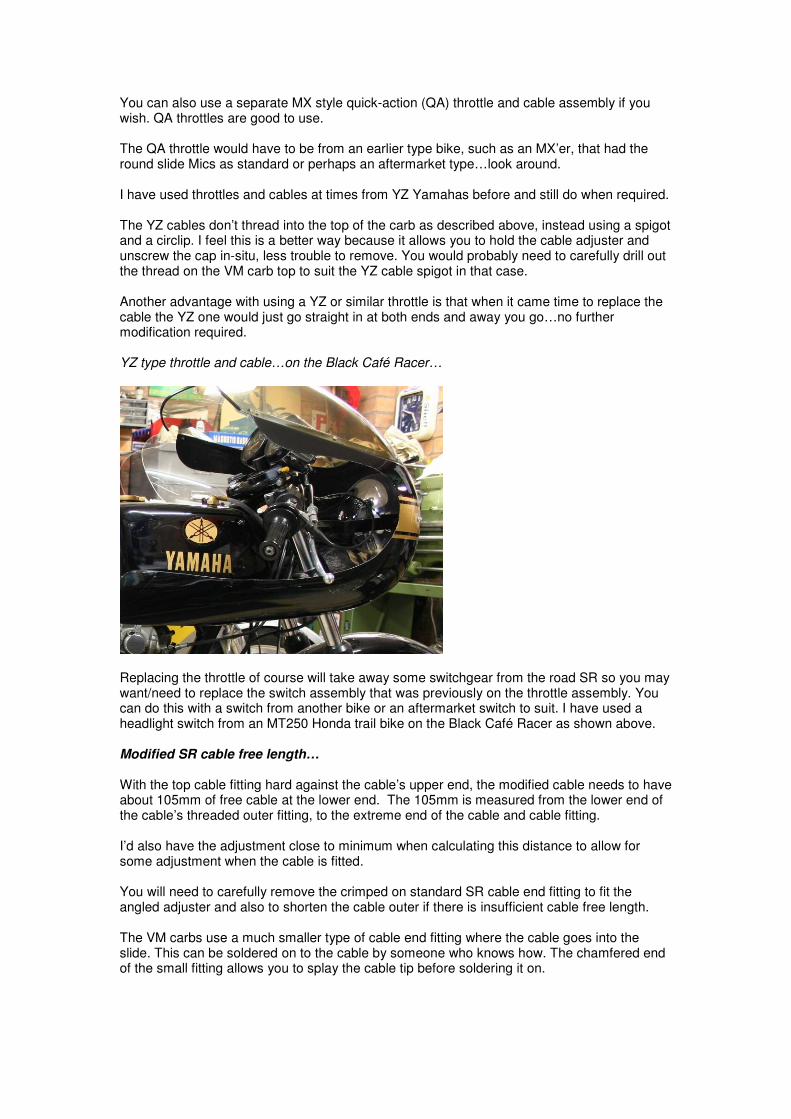
You can also use a separate MX style quick-action (QA) throttle and cable assembly if you wish. QA throttles are good to use. The QA throttle would have to be from an earlier type bike, such as an MX’er, that had the round slide Mics as standard or perhaps an aftermarket type…look around. I have used throttles and cables at times from YZ Yamahas before and still do when required. The YZ cables don’t thread into the top of the carb as described above, instead using a spigot and a circlip. I feel this is a better way because it allows you to hold the cable adjuster and unscrew the cap in-situ, less trouble to remove. You would probably need to carefully drill out the thread on the VM carb top to suit the YZ cable spigot in that case. Another advantage with using a YZ or similar throttle is that when it came time to replace the cable the YZ one would just go straight in at both ends and away you go…no further modification required. YZ type throttle and cable…on the Black Café Racer…
Replacing the throttle of course will take away some switchgear from the road SR so you may want/need to replace the switch assembly that was previously on the throttle assembly. You can do this with a switch from another bike or an aftermarket switch to suit. I have used a headlight switch from an MT250 Honda trail bike on the Black Café Racer as shown above. Modified SR cable free length… With the top cable fitting hard against the cable’s upper end, the modified cable needs to have about 105mm of free cable at the lower end. The 105mm is measured from the lower end of the cable’s threaded outer fitting, to the extreme end of the cable and cable fitting. I’d also have the adjustment close to minimum when calculating this distance to allow for some adjustment when the cable is fitted. You will need to carefully remove the crimped on standard SR cable end fitting to fit the angled adjuster and also to shorten the cable outer if there is insufficient cable free length. The VM carbs use a much smaller type of cable end fitting where the cable goes into the slide. This can be soldered on to the cable by someone who knows how. The chamfered end of the small fitting allows you to splay the cable tip before soldering it on.
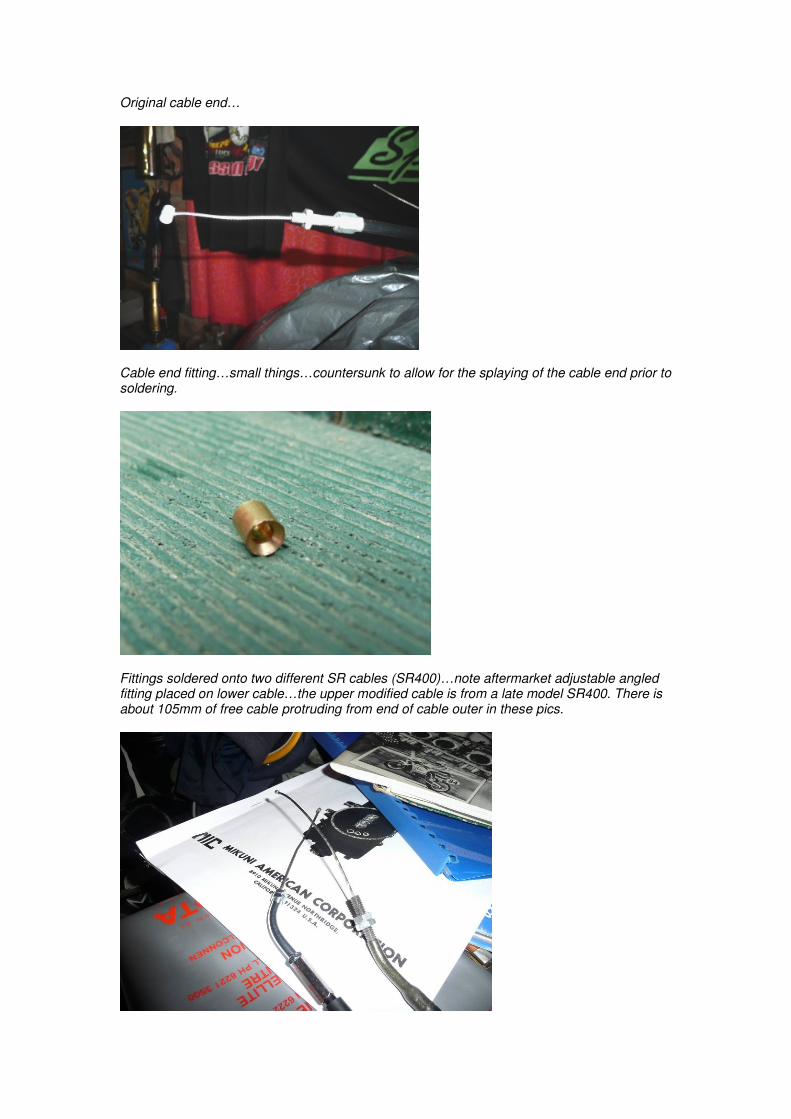
Original cable end…
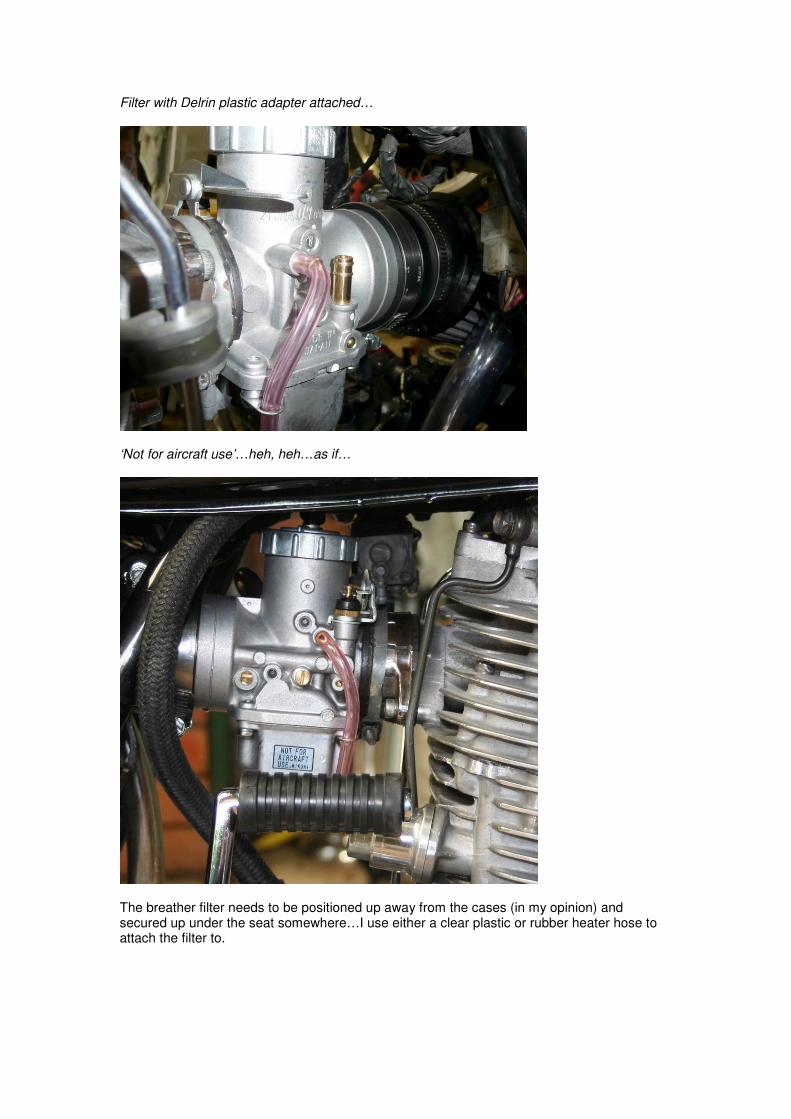
Cable end fitting…small things…countersunk to allow for the splaying of the cable end prior to soldering.
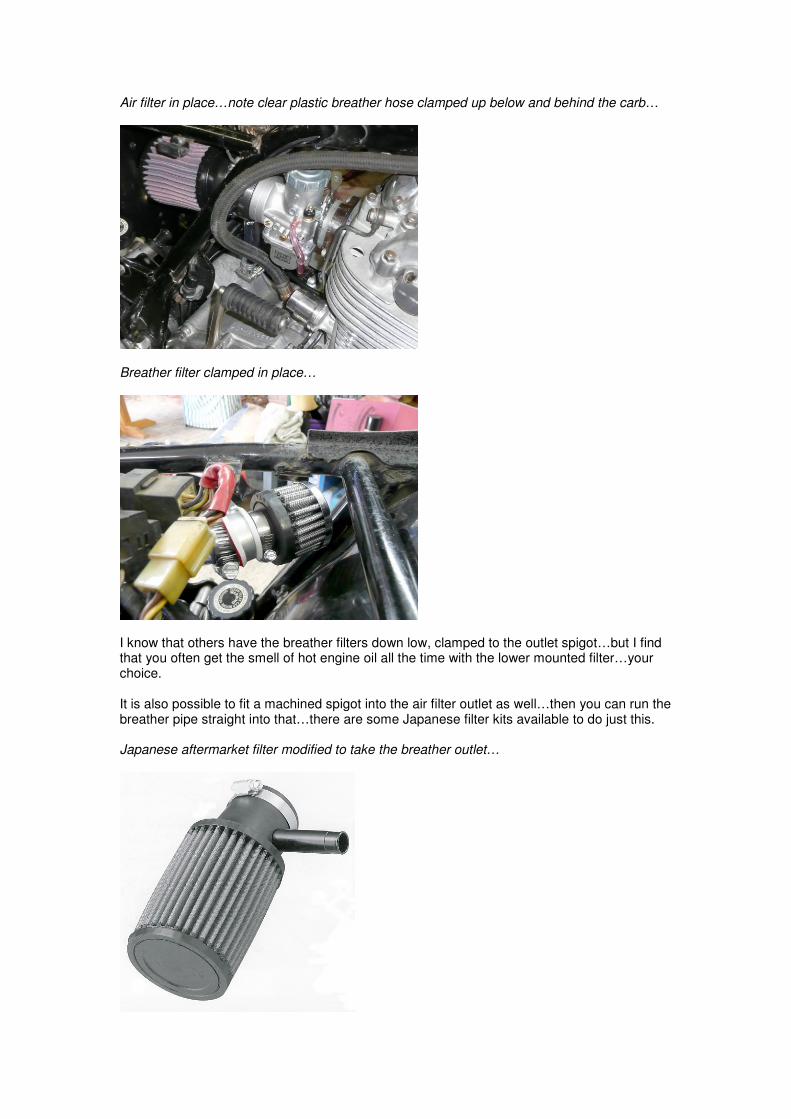
Fittings soldered onto two different SR cables (SR400)…note aftermarket adjustable angled fitting placed on lower cable…the upper modified cable is from a late model SR400. There is about 105mm of free cable protruding from end of cable outer in these pics.

Airbox issues, air and breather filters Unless you want to extensively modify the outlet spigot area of the SRs airbox, possible but complicated and time consuming, you are going to have to remove the airbox from the bike! It might be possible to ‘shim’ the outlet spigot with increasing (laminated) diameters of rubber tubing to suit the larger inlet of the VM carb…but by doing that you may end up destroying the inflow of air. Take it off the bike! Airbox removal is made easier by the removal of the front lower plastic section of the rear guard. Undo all of the airbox bolts, remove the plastic guard, then pull the airbox out. It’s often easier to remove the plastic guard if you loosen the rear steel guard mount bolts first… You will require a new air filter to suit the 62mm inlet for the new carb and you will also require a breather filter for the crankcase breather outlet as this normally feeds into the lower airbox area. Personally I prefer the K&N filter range…good quality and a proven track record. I have had the same angled K&N and breather filter on my Black Café Racer for 30 years! And yes, I recommend that you get an angled type rather than a straight type for clearance reasons. On my latest SR installation I used a filter that I had for a Kei Hin CRS carby…it was a little short in the spigot area and it touched the frame when on the carby. To fix that problem I had to machine up a hollow adapter from Delrin plastic that moved the filter a little further back. Works beautifully. So explore all the options if you already have a filter that is similar to mine. Carb in-situ…
Filter with Delrin plastic adapter attached…
‘Not for aircraft use’…heh, heh…as if…
The breather filter needs to be positioned up away from the cases (in my opinion) and secured up under the seat somewhere…I use either a clear plastic or rubber heater hose to attach the filter to.
Air filter in place…note clear plastic breather hose clamped up below and behind the carb…
Breather filter clamped in place…
I know that others have the breather filters down low, clamped to the outlet spigot…but I find that you often get the smell of hot engine oil all the time with the lower mounted filter…your choice. It is also possible to fit a machined spigot into the air filter outlet as well…then you can run the breather pipe straight into that…there are some Japanese filter kits available to do just this. Japanese aftermarket filter modified to take the breather outlet…
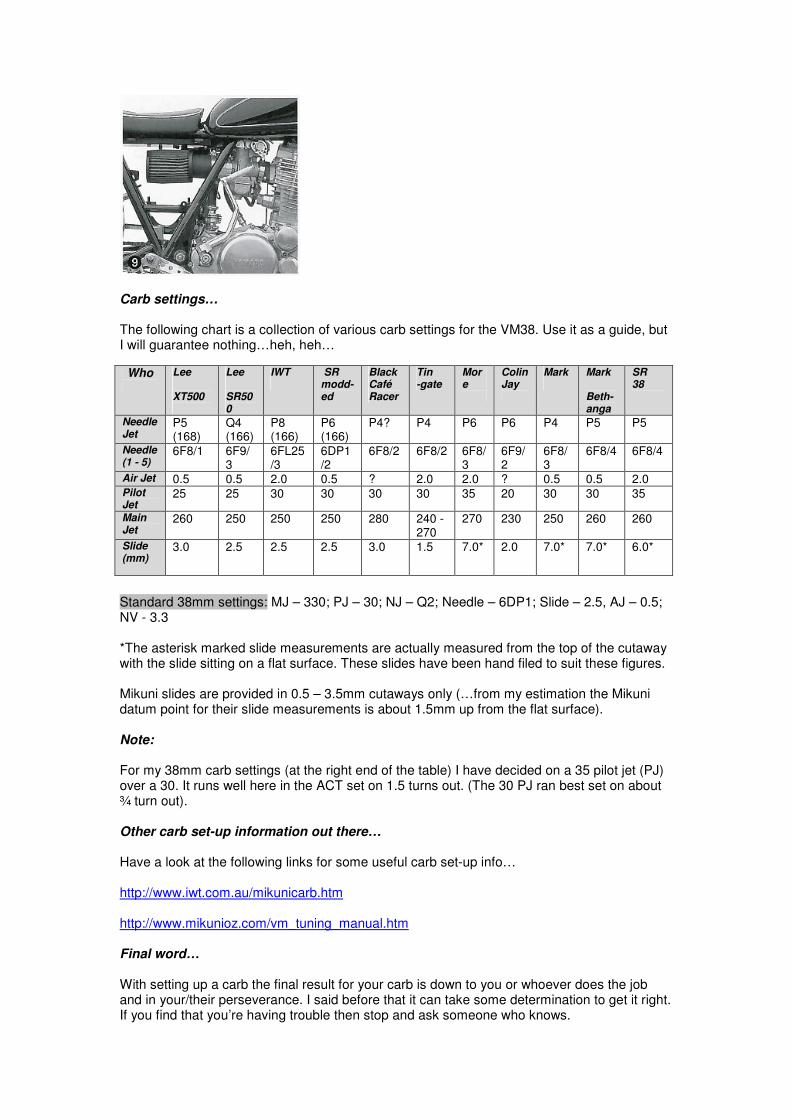
Carb settings… The following chart is a collection of various carb settings for the VM38. Use it as a guide, but I will guarantee nothing…heh, heh…
Standard 38mm settings: MJ – 330; PJ – 30; NJ – Q2; Needle – 6DP1; Slide – 2.5, AJ – 0.5; NV - 3.3 *The asterisk marked slide measurements are actually measured from the top of the cutaway with the slide sitting on a flat surface. These slides have been hand filed to suit these figures. Mikuni slides are provided in 0.5 – 3.5mm cutaways only (…from my estimation the Mikuni datum point for their slide measurements is about 1.5mm up from the flat surface). Note: For my 38mm carb settings (at the right end of the table) I have decided on a 35 pilot jet (PJ) over a 30. It runs well here in the ACT set on 1.5 turns out. (The 30 PJ ran best set on about ¾ turn out). Other carb set-up information out there… Have a look at the following links for some useful carb set-up info… http://www.iwt.com.au/mikunicarb.htm http://www.mikunioz.com/vm_tuning_manual.htm Final word… With setting up a carb the final result for your carb is down to you or whoever does the job and in your/their perseverance. I said before that it can take some determination to get it right. If you find that you’re having trouble then stop and ask someone who knows.
Who
Lee XT500
Lee SR500
IWT
SR modd-ed
Black Café Racer
Tin -gate
More
Colin Jay
Mark
Mark Beth-anga
SR 38
Needle Jet
P5 (168)
Q4 (166)
P8 (166)
P6 (166)
P4? P4 P6 P6 P4 P5 P5
Needle (1 - 5)
6F8/1 6F9/3
6FL25/3
6DP1 /2
6F8/2 6F8/2 6F8/3
6F9/2
6F8/3
6F8/4 6F8/4
Air Jet 0.5 0.5 2.0 0.5 ? 2.0 2.0 ? 0.5 0.5 2.0 Pilot Jet
25 25 30 30 30 30 35 20 30 30 35
Main Jet
260 250 250 250 280 240 - 270
270 230 250 260 260
Slide (mm)
3.0 2.5 2.5 2.5 3.0 1.5 7.0* 2.0 7.0* 7.0* 6.0*
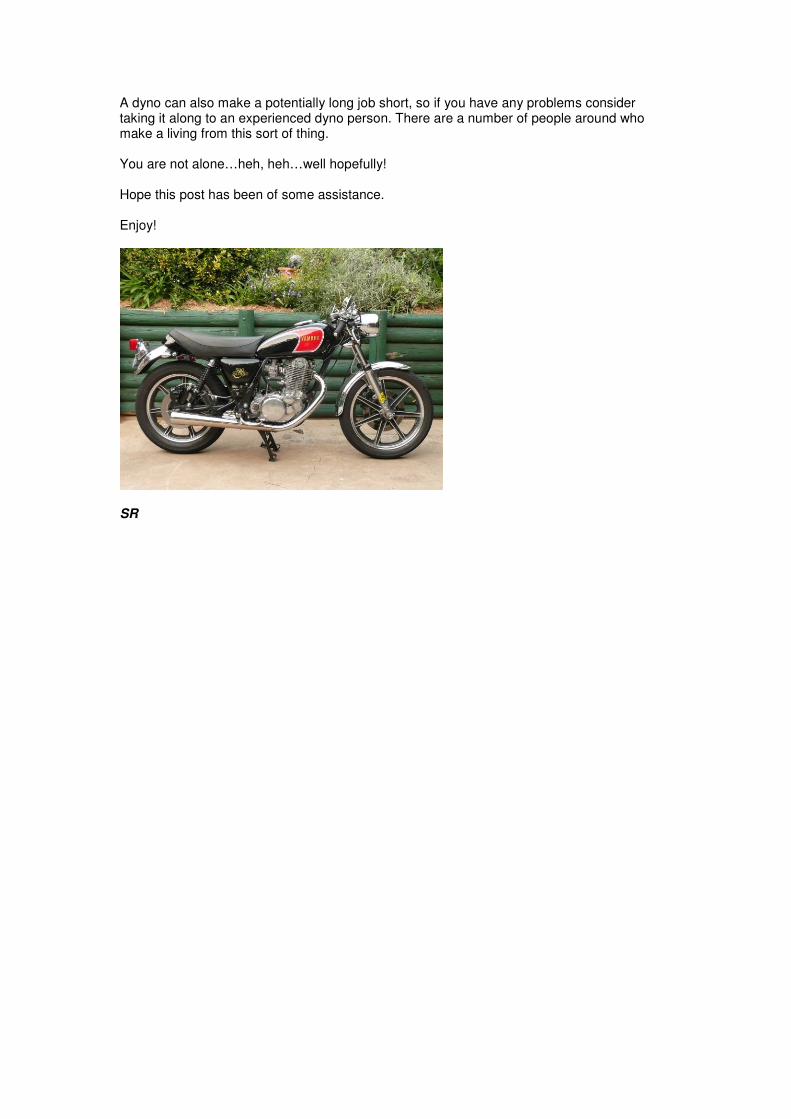
A dyno can also make a potentially long job short, so if you have any problems consider taking it along to an experienced dyno person. There are a number of people around who make a living from this sort of thing. You are not alone…heh, heh…well hopefully! Hope this post has been of some assistance. Enjoy!
SR