Embed Size (px)
DESCRIPTION
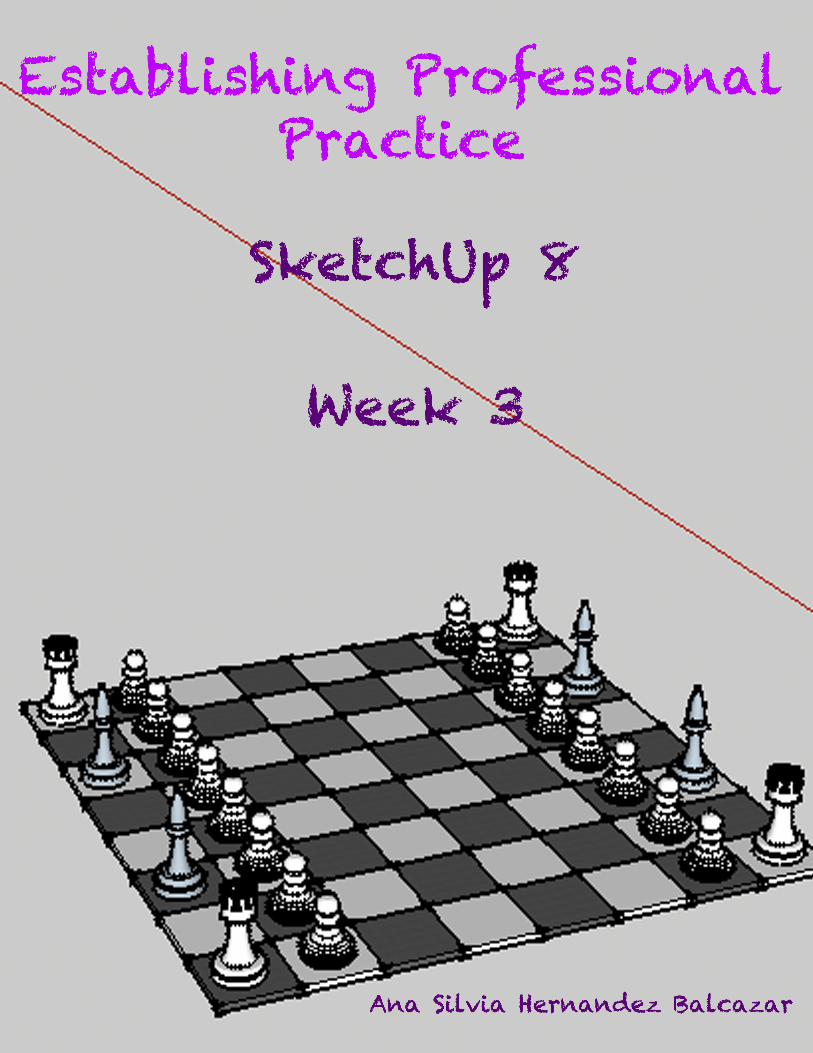
In this class we did a chessboard.
Citation preview
Ana Silvia Hernandez Balcazar 11/02/13
SketchUp Week 3 Chess Board In this week we will see how to do a chess board with its pieces. We will be using different tools like: push up tool, copy tool, follow me tool, etc. Doing the chessboard:
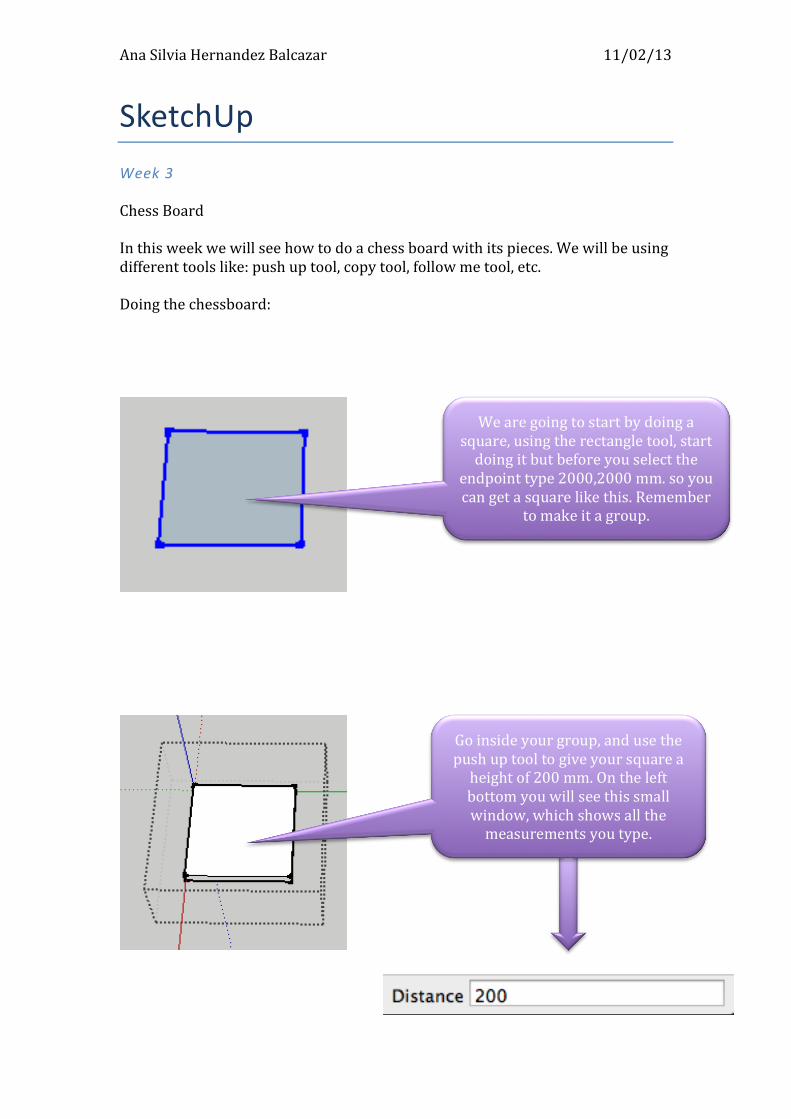
We are going to start by doing a square, using the rectangle tool, start doing it but before you select the
endpoint type 2000,2000 mm. so you can get a square like this. Remember
to make it a group.
Go inside your group, and use the push up tool to give your square a height of 200 mm. On the left bottom you will see this small window, which shows all the measurements you type.
Ana Silvia Hernandez Balcazar 11/02/13
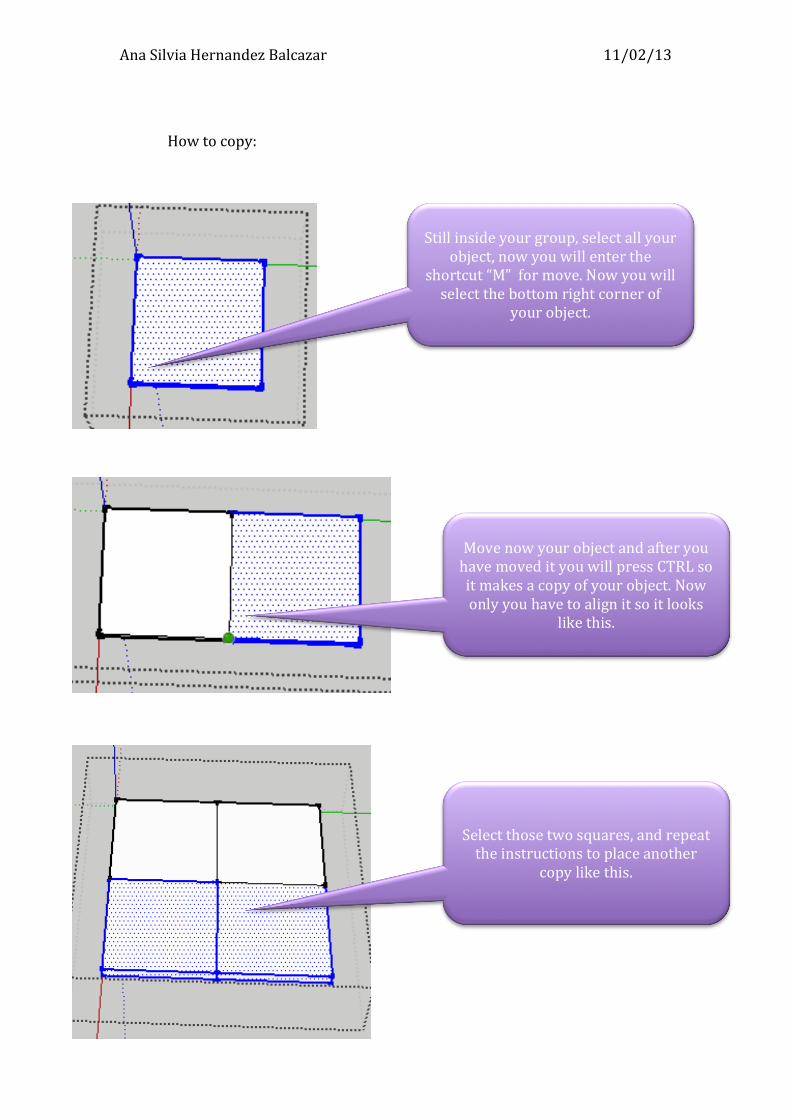
How to copy:
Still inside your group, select all your object, now you will enter the
shortcut “M” for move. Now you will select the bottom right corner of
your object.
Move now your object and after you have moved it you will press CTRL so it makes a copy of your object. Now only you have to align it so it looks
like this.
Select those two squares, and repeat the instructions to place another
copy like this.
Ana Silvia Hernandez Balcazar 11/02/13
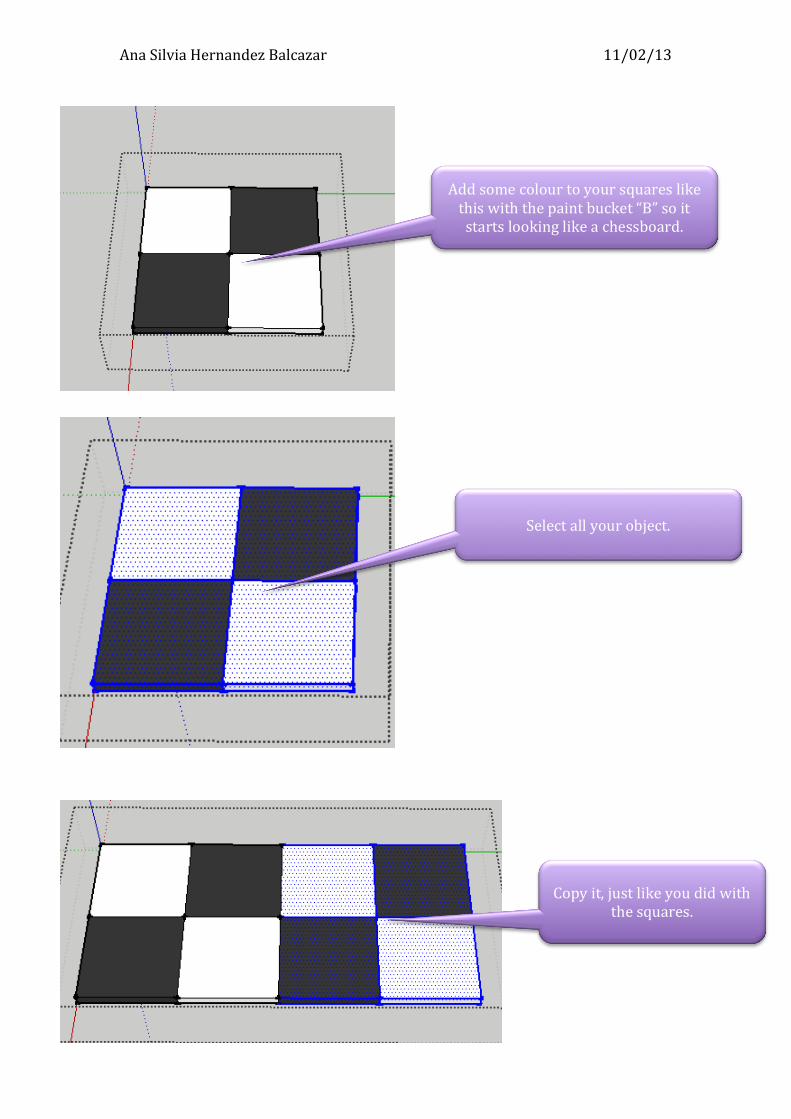
Add some colour to your squares like this with the paint bucket “B” so it starts looking like a chessboard.
Select all your object.
Copy it, just like you did with the squares.

Ana Silvia Hernandez Balcazar 11/02/13
Repeat the process so you can get your final chessboard:
Type X3 so you can get 3 more objects
At the end it will look like this.
Ana Silvia Hernandez Balcazar 11/02/13
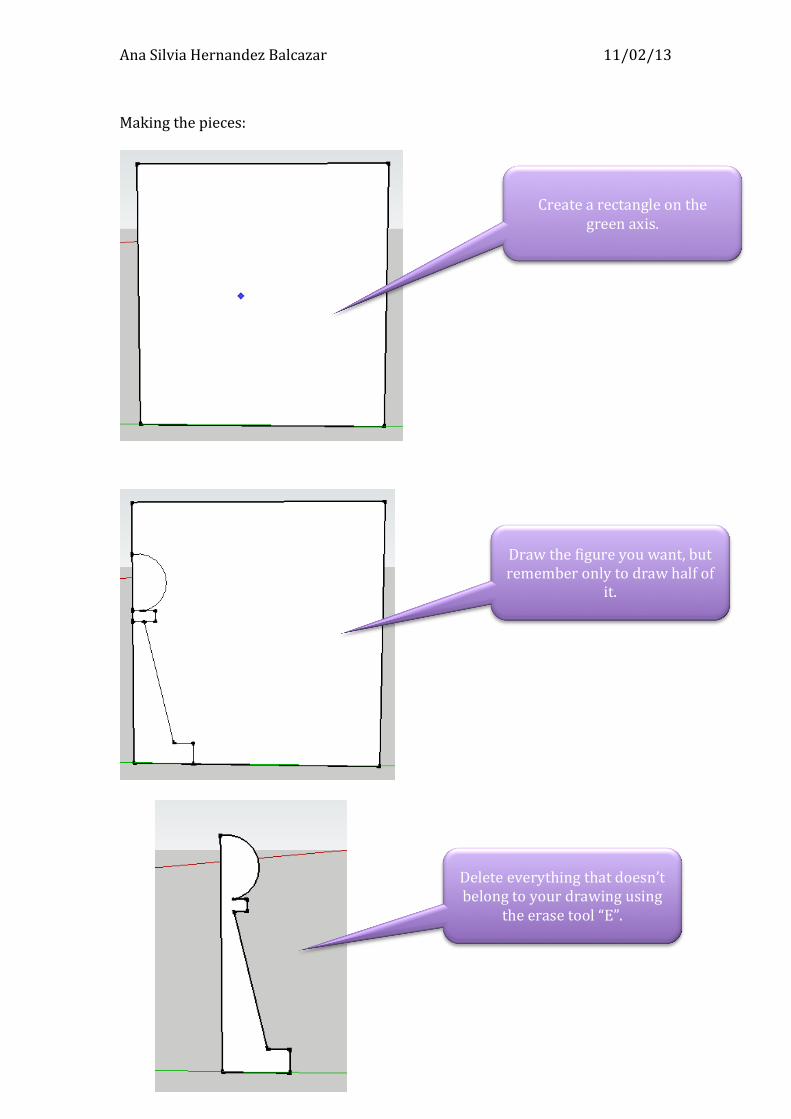
Making the pieces:
Create a rectangle on the green axis.
Draw the figure you want, but remember only to draw half of
it.
Delete everything that doesn’t belong to your drawing using
the erase tool “E”.
Ana Silvia Hernandez Balcazar 11/02/13
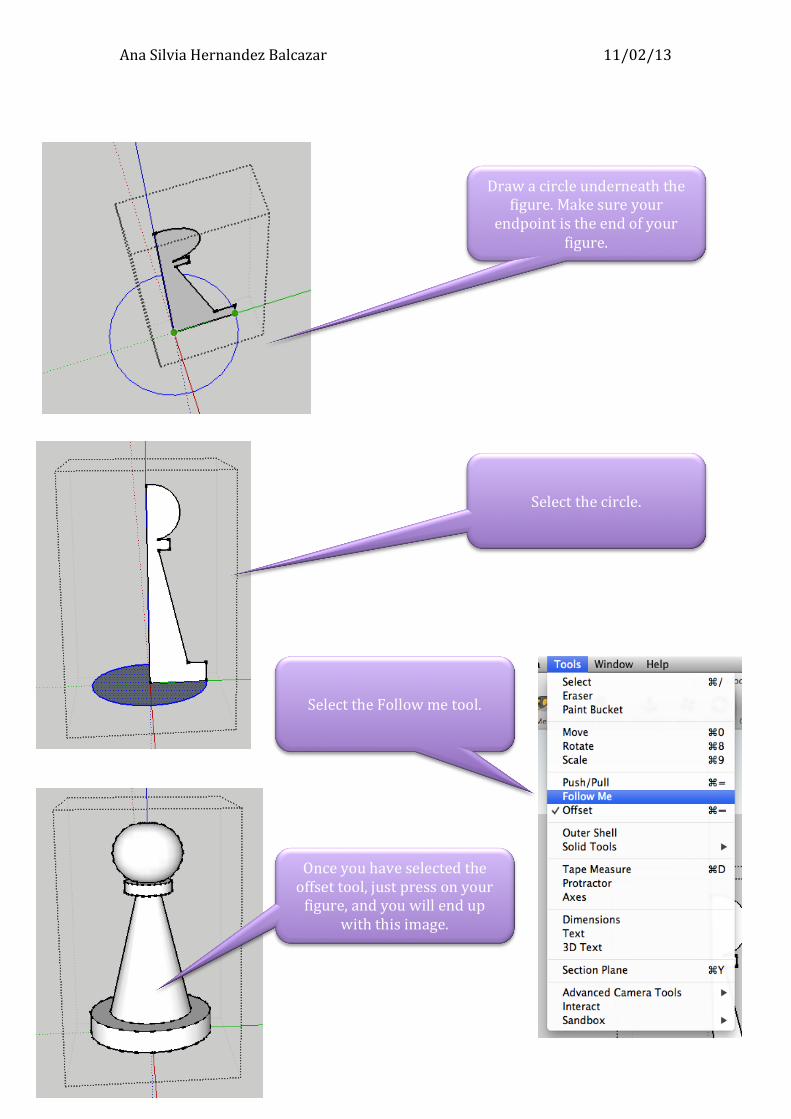
Draw a circle underneath the figure. Make sure your
endpoint is the end of your figure.
Select the circle.
Select the Follow me tool.
Once you have selected the offset tool, just press on your figure, and you will end up
with this image.
Ana Silvia Hernandez Balcazar 11/02/13
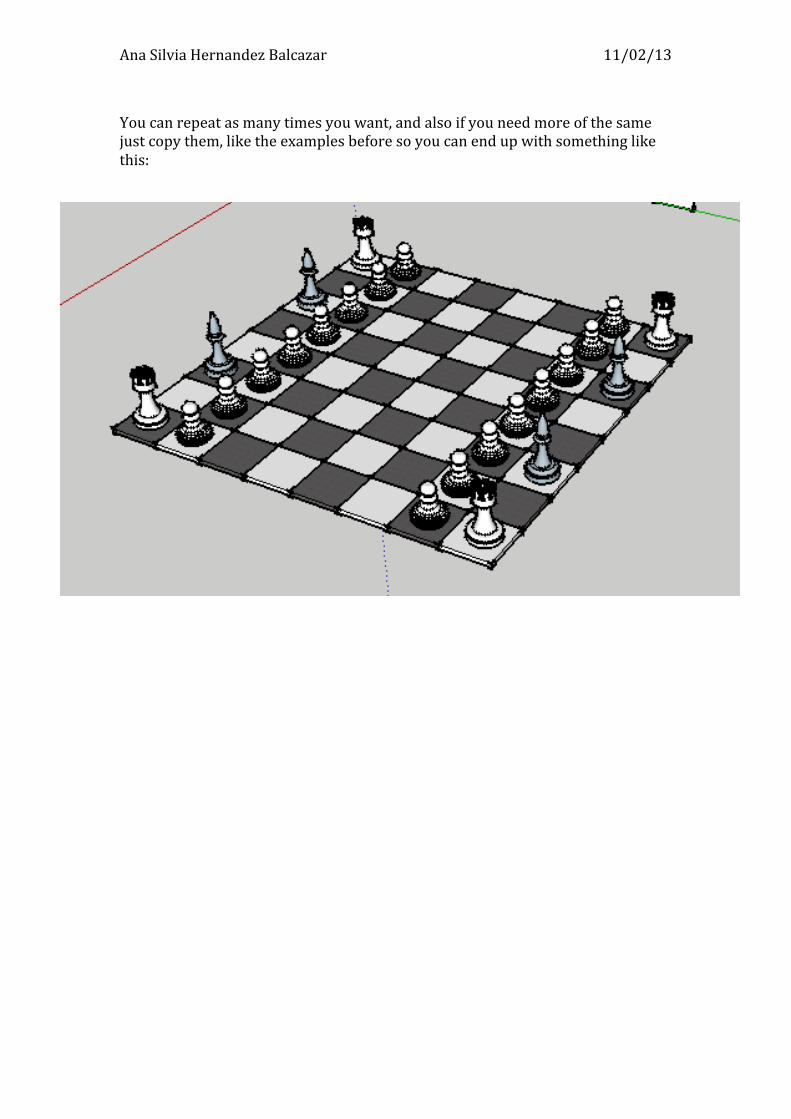
You can repeat as many times you want, and also if you need more of the same just copy them, like the examples before so you can end up with something like this: