Embed Size (px)
Citation preview

WELCOME GUIDE
BUILT TO COOK. BUILT TO LAST.TM
PKGRILLS.COM
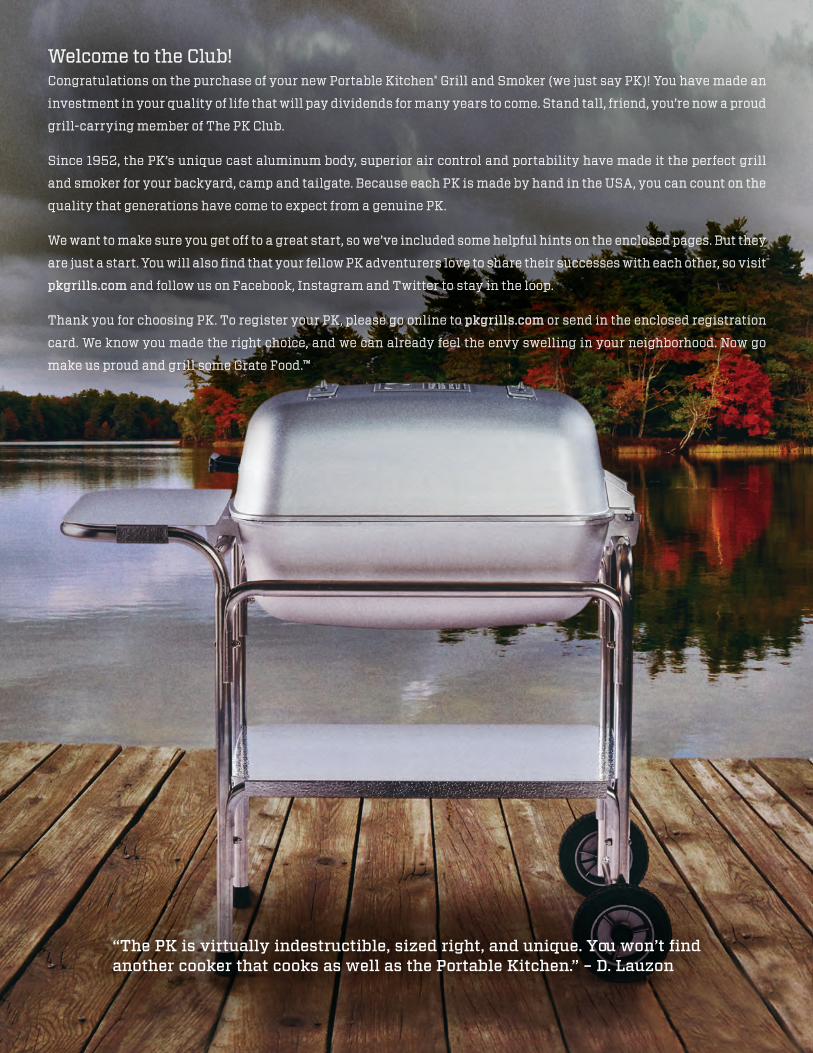
“The PK is virtually indestructible, sized right, and unique. You won’t find another cooker that cooks as well as the Portable Kitchen.” – D. Lauzon
Welcome to the Club!Welcome to the Club!Congratulations on the purchase of your new Portable KitchenCongratulations on the purchase of your new Portable Kitchen® Grill and Smoker (we just say PK)! You have made an Grill and Smoker (we just say PK)! You have made an
investment in your quality of life that will pay dividends for many years to come. Stand tall, friend, you’re now a proud investment in your quality of life that will pay dividends for many years to come. Stand tall, friend, you’re now a proud
grill-carrying member of The PK Club.grill-carrying member of The PK Club.
Since 1952, the PK’s unique cast aluminum body, superior air control and portability have made it the perfect grill Since 1952, the PK’s unique cast aluminum body, superior air control and portability have made it the perfect grill
and smoker for your backyard, camp and tailgate. Because each PK is made by hand in the USA, you can count on the and smoker for your backyard, camp and tailgate. Because each PK is made by hand in the USA, you can count on the
quality that generations have come to expect from a genuine PK.quality that generations have come to expect from a genuine PK.
We want to make sure you get off to a great start, so we’ve included some helpful hints on the enclosed pages. But they We want to make sure you get off to a great start, so we’ve included some helpful hints on the enclosed pages. But they
are just a start. You will also fi nd that your fellow PK adventurers love to share their successes with each other, so visit are just a start. You will also fi nd that your fellow PK adventurers love to share their successes with each other, so visit
pkgrills.compkgrills.com and follow us on Facebook, Instagram and Twitter to stay in the loop. and follow us on Facebook, Instagram and Twitter to stay in the loop.
Thank you for choosing PK. To register your PK, please go online to Thank you for choosing PK. To register your PK, please go online to pkgrills.compkgrills.com or send in the enclosed registration or send in the enclosed registration
card. We know you made the right choice, and we can already feel the envy swelling in your neighborhood. Now go card. We know you made the right choice, and we can already feel the envy swelling in your neighborhood. Now go
make us proud and grill some Grate Food.make us proud and grill some Grate Food.TMTM

Okay, it’s time to get down to business…grilling excellence. Once you get the feel for your new PK, you’ll realize what a powerful and versatile cooking tool it is. We want to make sure you’re equipped for success out of the gate, so we’ve included some basic instructions below for the use of your PK, including tips for a few different cooking methods. We strongly recommend you read these tips before your fi rst use.
THE PK BASICS:Firing Up the PK1. Open the two bottom vents all the way.
2. Remove or open the hinged cooking grid.
3. Place 25 to 30 briquettes or lump charcoal on the charcoal grate over the vent on the side near the upper cart tray. Make sure the hinged grid is oriented properly over the charcoal to allow easy refueling later.
4. Light the charcoal and allow it to get up to temperature (usually about 10-15 minutes) with the lid open. To get the fi re going a little quicker, we like to use a charcoal chimney or a starter stick, either of which can be purchased separately. We avoid using lighter fl uid unless we’re desperate. Once you reach the apex of your PK knowledge, you may actually develop the power to light your charcoal just by whispering to it. Let us know if that happens.
25 to 30 pieces of charcoal are sufficient for cooking directly over flame or indirectly (see explanation below). When cooking anything that will cover three-fourths or more of the space on the cooking grid, use 50 to 60 pieces of charcoal.
We recommend putting a small container on the lower tray below each open vent to catch any ash that falls during cooking.
Shutting Down the PK1. When you are fi nished using your PK, close the lid and close all vents to put out the fi re. Your PK is airtight, so you’ll
fi nd it will shut down a fi re quickly when closed. Remember that the PK may remain hot well after the fi re is out, so always use heat-resistant gloves when handling your PK.
2. Retain any left-over charcoal in the grill for your next cookout. We fi nd that we’re often able to use charcoal 2 to 3 times due to the heat retention effi ciency of the PK.
3. Wait until the grill is completely cooled down before attempting to remove any ash from the inside of the grill. When cool, you can remove ash with a small shovel or an ash vacuum. You can also lift the bottom of your PK off of the cart and dump ash in the trash.
If you feel particularly affectionate toward your PK after cooking some Grate FoodTM, please refrain from kissing it, slapping it five or patting it on the butt (see package warnings). An “atta boy” and a thumbs-up are welcomed and sufficient praise. Also feel free to raise your beverage toward Arkansas, and we’ll always return the favor.
Direct Cooking – Hot & Fast1. Start the fi re as indicated above, and let the coals get up to temperature. Crack open a beverage of your choice. Smile.
2. Replace the hinged cooking grid with the side that opens above the coals.
3. When the coals are ready, place your steaks, chops, chicken, etc., on the cooking grid directly over the fi re.
4. Close the lid and open both vents on the top and the bottom of the PK to maximize airfl ow. Keep all vents at least halfway open for best performance. We typically like to direct cook at very high temps, so we keep the vents all the way open most of the time. Your temperature will typically range from 450 to 500 degrees in this confi guration, depending on the size of your fi re. If you prefer a lower temperature, close the vents slightly.
Your PK is designed to cook best with the lid closed. Keeping your lid closed while cooking will allow you to cook at a very high heat without fire flaming up and burning the meat as typically happens in other inferior* outdoor cookers. If you get a flame-up, briefly close the lid and the top vents to extinguish it.
Indirect Cooking – Low & Slow1. Start the fi re, and let the coals get up to temperature. Crack open a beverage of your choice. Smile.
2. Place a 12” x 9” x 2” pan on the charcoal grate on the opposite end from the fi re. This will catch drippings if you have any when you cook.
3. Replace the hinged cooking grid with the side that opens above the coals.
4. When the coals are ready, place the meat on the side of the grill away from the coals, directly over the pan. Close the lid and open the top vent directly over the meat about 1/3 open. Close the top vent above the coals. Open the bottom vent directly under the fi re about halfway. Close the bottom vent below what you’re cooking.
* ALL other outdoor cookers are inferior
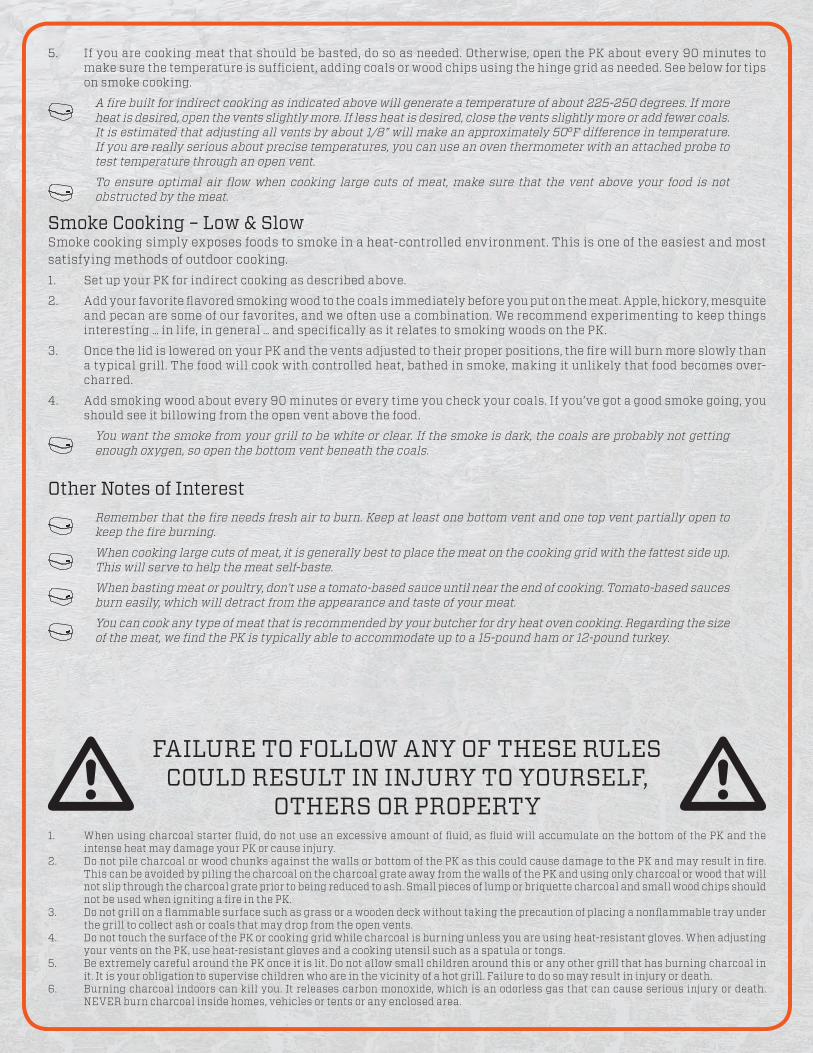
5. If you are cooking meat that should be basted, do so as needed. Otherwise, open the PK about every 90 minutes to make sure the temperature is suffi cient, adding coals or wood chips using the hinge grid as needed. See below for tips on smoke cooking.
A fire built for indirect cooking as indicated above will generate a temperature of about 225-250 degrees. If more heat is desired, open the vents slightly more. If less heat is desired, close the vents slightly more or add fewer coals. It is estimated that adjusting all vents by about 1/8” will make an approximately 50oF difference in temperature. If you are really serious about precise temperatures, you can use an oven thermometer with an attached probe to test temperature through an open vent.
To ensure optimal air flow when cooking large cuts of meat, make sure that the vent above your food is not obstructed by the meat.
Smoke Cooking – Low & SlowSmoke cooking simply exposes foods to smoke in a heat-controlled environment. This is one of the easiest and most satisfying methods of outdoor cooking. 1. Set up your PK for indirect cooking as described above.
2. Add your favorite fl avored smoking wood to the coals immediately before you put on the meat. Apple, hickory, mesquite and pecan are some of our favorites, and we often use a combination. We recommend experimenting to keep things interesting … in life, in general … and specifi cally as it relates to smoking woods on the PK.
3. Once the lid is lowered on your PK and the vents adjusted to their proper positions, the fi re will burn more slowly than a typical grill. The food will cook with controlled heat, bathed in smoke, making it unlikely that food becomes over-charred.
4. Add smoking wood about every 90 minutes or every time you check your coals. If you’ve got a good smoke going, you should see it billowing from the open vent above the food.
You want the smoke from your grill to be white or clear. If the smoke is dark, the coals are probably not getting enough oxygen, so open the bottom vent beneath the coals.
Other Notes of Interest Remember that the fire needs fresh air to burn. Keep at least one bottom vent and one top vent partially open to
keep the fire burning.
When cooking large cuts of meat, it is generally best to place the meat on the cooking grid with the fattest side up. This will serve to help the meat self-baste.
When basting meat or poultry, don’t use a tomato-based sauce until near the end of cooking. Tomato-based sauces burn easily, which will detract from the appearance and taste of your meat.
You can cook any type of meat that is recommended by your butcher for dry heat oven cooking. Regarding the size of the meat, we find the PK is typically able to accommodate up to a 15-pound ham or 12-pound turkey.
FAILURE TO FOLLOW ANY OF THESE RULES COULD RESULT IN INJURY TO YOURSELF,
OTHERS OR PROPERTY 1. When using charcoal starter fl uid, do not use an excessive amount of fl uid, as fl uid will accumulate on the bottom of the PK and the
intense heat may damage your PK or cause injury.2. Do not pile charcoal or wood chunks against the walls or bottom of the PK as this could cause damage to the PK and may result in fi re.
This can be avoided by piling the charcoal on the charcoal grate away from the walls of the PK and using only charcoal or wood that will not slip through the charcoal grate prior to being reduced to ash. Small pieces of lump or briquette charcoal and small wood chips should not be used when igniting a fi re in the PK.
3. Do not grill on a fl ammable surface such as grass or a wooden deck without taking the precaution of placing a nonfl ammable tray under the grill to collect ash or coals that may drop from the open vents.
4. Do not touch the surface of the PK or cooking grid while charcoal is burning unless you are using heat-resistant gloves. When adjusting your vents on the PK, use heat-resistant gloves and a cooking utensil such as a spatula or tongs.
5. Be extremely careful around the PK once it is lit. Do not allow small children around this or any other grill that has burning charcoal in it. It is your obligation to supervise children who are in the vicinity of a hot grill. Failure to do so may result in injury or death.
6. Burning charcoal indoors can kill you. It releases carbon monoxide, which is an odorless gas that can cause serious injury or death. NEVER burn charcoal inside homes, vehicles or tents or any enclosed area.
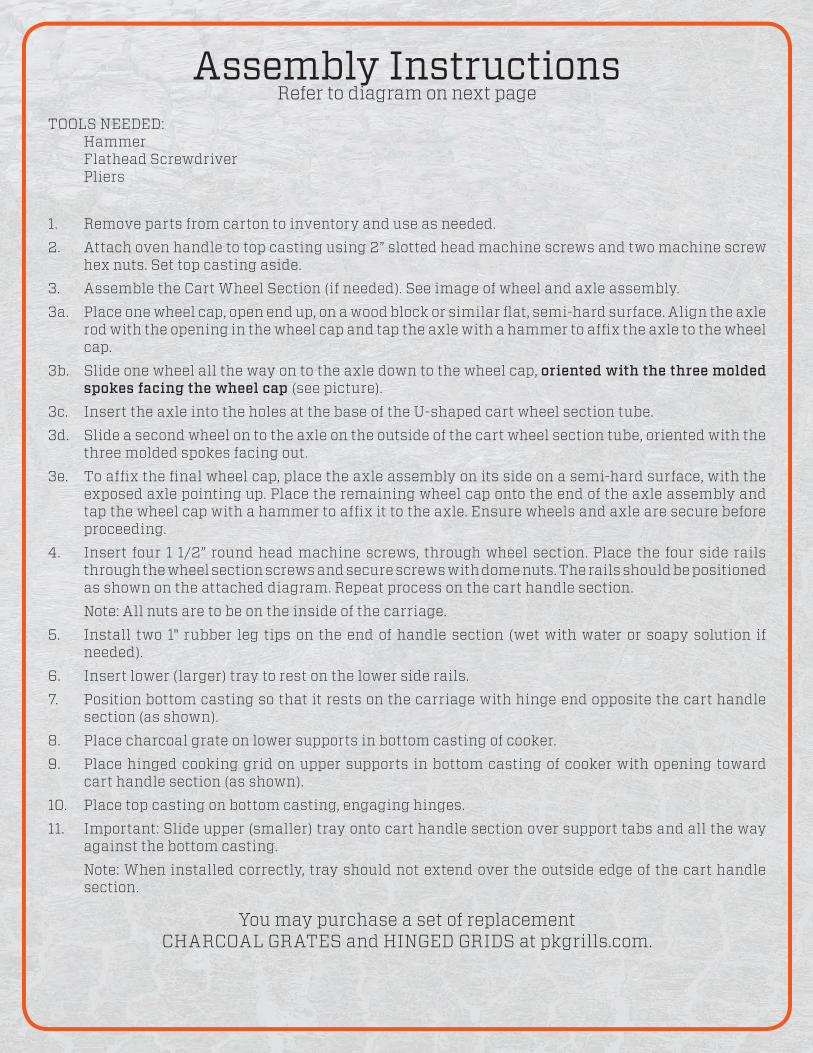
Assembly InstructionsRefer to diagram on next page
TOOLS NEEDED: Hammer Flathead Screwdriver Pliers
1. Remove parts from carton to inventory and use as needed.2. Attach oven handle to top casting using 2” slotted head machine screws and two machine screw
hex nuts. Set top casting aside.3. Assemble the Cart Wheel Section (if needed). See image of wheel and axle assembly.3a. Place one wheel cap, open end up, on a wood block or similar fl at, semi-hard surface. Align the axle
rod with the opening in the wheel cap and tap the axle with a hammer to affi x the axle to the wheel cap.
3b. Slide one wheel all the way on to the axle down to the wheel cap, oriented with the three molded spokes facing the wheel cap (see picture).
3c. Insert the axle into the holes at the base of the U-shaped cart wheel section tube.3d. Slide a second wheel on to the axle on the outside of the cart wheel section tube, oriented with the
three molded spokes facing out.3e. To affi x the fi nal wheel cap, place the axle assembly on its side on a semi-hard surface, with the
exposed axle pointing up. Place the remaining wheel cap onto the end of the axle assembly and tap the wheel cap with a hammer to affi x it to the axle. Ensure wheels and axle are secure before proceeding.
4. Insert four 1 1/2” round head machine screws, through wheel section. Place the four side rails through the wheel section screws and secure screws with dome nuts. The rails should be positioned as shown on the attached diagram. Repeat process on the cart handle section.
Note: All nuts are to be on the inside of the carriage.5. Install two 1" rubber leg tips on the end of handle section (wet with water or soapy solution if
needed).6. Insert lower (larger) tray to rest on the lower side rails.7. Position bottom casting so that it rests on the carriage with hinge end opposite the cart handle
section (as shown).8. Place charcoal grate on lower supports in bottom casting of cooker.9. Place hinged cooking grid on upper supports in bottom casting of cooker with opening toward
cart handle section (as shown).10. Place top casting on bottom casting, engaging hinges.11. Important: Slide upper (smaller) tray onto cart handle section over support tabs and all the way
against the bottom casting. Note: When installed correctly, tray should not extend over the outside edge of the cart handle
section.
You may purchase a set of replacement CHARCOAL GRATES and HINGED GRIDS at pkgrills.com.

Ove
n H
andl
eT
op
Cas
ting
Bot
tom
C
asti
ng
Hin
ged
Gri
d
Cha
rcoa
lG
rate
Hin
ges
Sup
port
Tab
s
Car
tH
andl
e Se
ctio
n
Car
tW
heel
Sec
tion
Upp
er
Tra
y
Low
er T
ray
Ru
bber
Leg
Tip
s
Bot
tom
Sid
e R
ails
Top
Sid
e R
ails
Th
is s
ide
of
whe
el to
the
ou
tsid
e
Cart
Whe
el S
ecti
onW
heel
and
Axl
e A
ssem
bly

Find more PK products at www.pkgrills.com
The PK Grill & SmokerThe classic. Rustproof cast-aluminum construction. Simple cooking and great results everytime.
The PK Grill & Smoker (Graphite)The classic. Rustproof cast-aluminum construction. Simple cooking and great results everytime.
Cookmore GridNearly double the cooking space on a PK Grill with this raised cooking surface.
Littlemore GridAdd 100 sq. in. of cooking space to a PK Grill with a raised cooking surface that fi ts on one half of the grill. Excellent as a warming rack. Allows easy access to open PK’s hinged cooking grid to add coals without removing Littlemore Grid.
Replacement Grid & GrateReplacement charcoal grate and hinged cooking surface fi ts most PKs manufactured since 1997.
Grill CoverLight weight, weatherproof custom PK grill cover will stand up to any climate and keep PK clean and handsome. The breathable fabric is designed to repel water and resist mildew.
PK Pig HatSport the new PK Grill & Smoker upside down pig cap and let everyone at the BBQ know that you are serious about your outdoor cookery. And your head fashions. Charcoal with orange logo. Mesh back. Velcro closure. One size - adjustable
PK Logo HatSport the new PK Grill & Smoker logo cap and let everyone at the BBQ know that you are serious about your outdoor cookery. And your head fashions. Blue with white logo. Mesh back. Velcro closure. One size - adjustable.
PK Pig TeeThe PK Pig Tee feels just like it looks… totally awesome. Asphalt gray shirt with orange pig logo. Soft, breathable 50/50 poly/cotton blend.
PK Logo TeeThe PK Logo Tee feels just like it looks… totally awesome. Navy blue shirt with white logo. Soft, breathable 50/50 poly/cotton blend.
PK Portable Drink KoozieThis handsome drink koozie is designed to protect your hands from the ravages of ice cold beverage cans. In addition to being necessary party safety equipment, these koozies will keep your drink cold while your PK Grill is hot.
PK Grills - 2015 Product Assortment
Find more PK products at www.pkgrills.com
THANK YOUPortable Kitchens, Inc.Phone: 866-354-7575
Email: [email protected]
FIND ACCESSORIES, RECIPES AND MORE ONLINE
www.pkgrills.comFacebook: PK Grills Twitter: @pkgrills Instagram: @pkgrills