Embed Size (px)
Citation preview
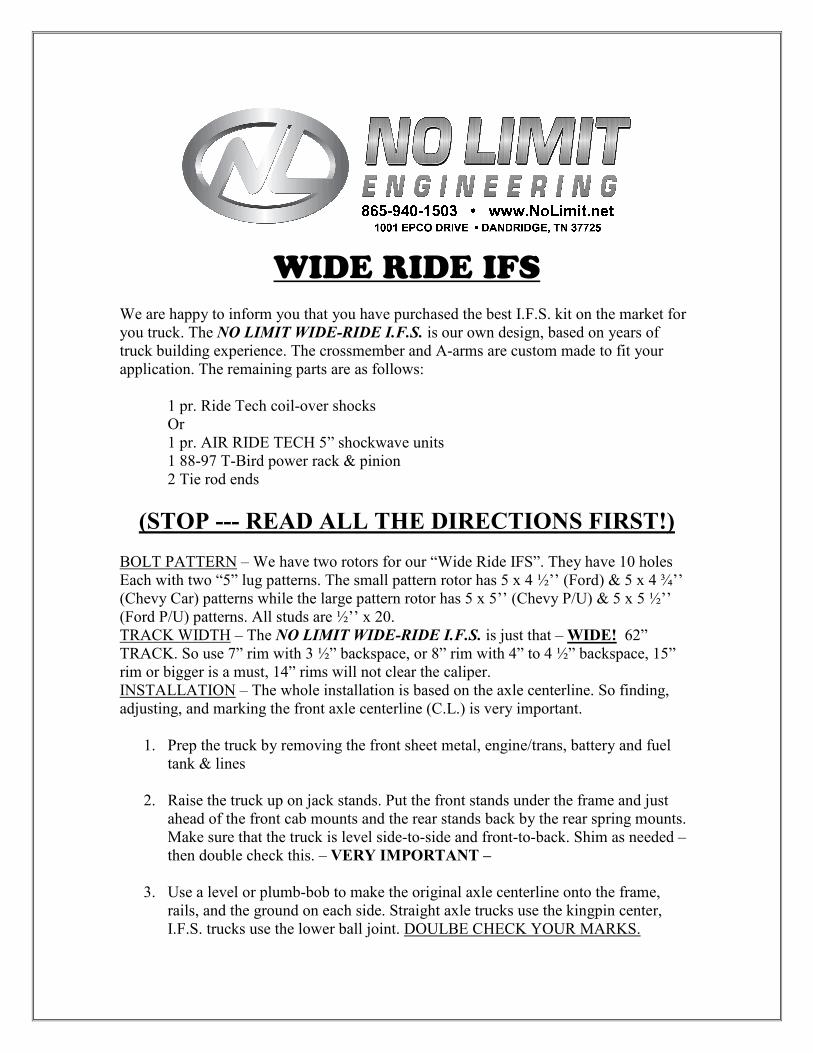
WIDE RIDE IFS
We are happy to inform you that you have purchased the best I.F.S. kit on the market for
you truck. The NO LIMIT WIDE-RIDE I.F.S. is our own design, based on years of
truck building experience. The crossmember and A-arms are custom made to fit your
application. The remaining parts are as follows:
1 pr. Ride Tech coil-over shocks
Or
1 pr. AIR RIDE TECH 5” shockwave units
1 88-97 T-Bird power rack & pinion
2 Tie rod ends
(STOP --- READ ALL THE DIRECTIONS FIRST!)
BOLT PATTERN – We have two rotors for our “Wide Ride IFS”. They have 10 holes
Each with two “5” lug patterns. The small pattern rotor has 5 x 4 ½’’ (Ford) & 5 x 4 ¾’’
(Chevy Car) patterns while the large pattern rotor has 5 x 5’’ (Chevy P/U) & 5 x 5 ½’’
(Ford P/U) patterns. All studs are ½’’ x 20.
TRACK WIDTH – The NO LIMIT WIDE-RIDE I.F.S. is just that – WIDE! 62”
TRACK. So use 7” rim with 3 ½” backspace, or 8” rim with 4” to 4 ½” backspace, 15”
rim or bigger is a must, 14” rims will not clear the caliper.
INSTALLATION – The whole installation is based on the axle centerline. So finding,
adjusting, and marking the front axle centerline (C.L.) is very important.
1. Prep the truck by removing the front sheet metal, engine/trans, battery and fuel
tank & lines
2. Raise the truck up on jack stands. Put the front stands under the frame and just
ahead of the front cab mounts and the rear stands back by the rear spring mounts.
Make sure that the truck is level side-to-side and front-to-back. Shim as needed –
then double check this. – VERY IMPORTANT –
3. Use a level or plumb-bob to make the original axle centerline onto the frame,
rails, and the ground on each side. Straight axle trucks use the kingpin center,
I.F.S. trucks use the lower ball joint. DOULBE CHECK YOUR MARKS.
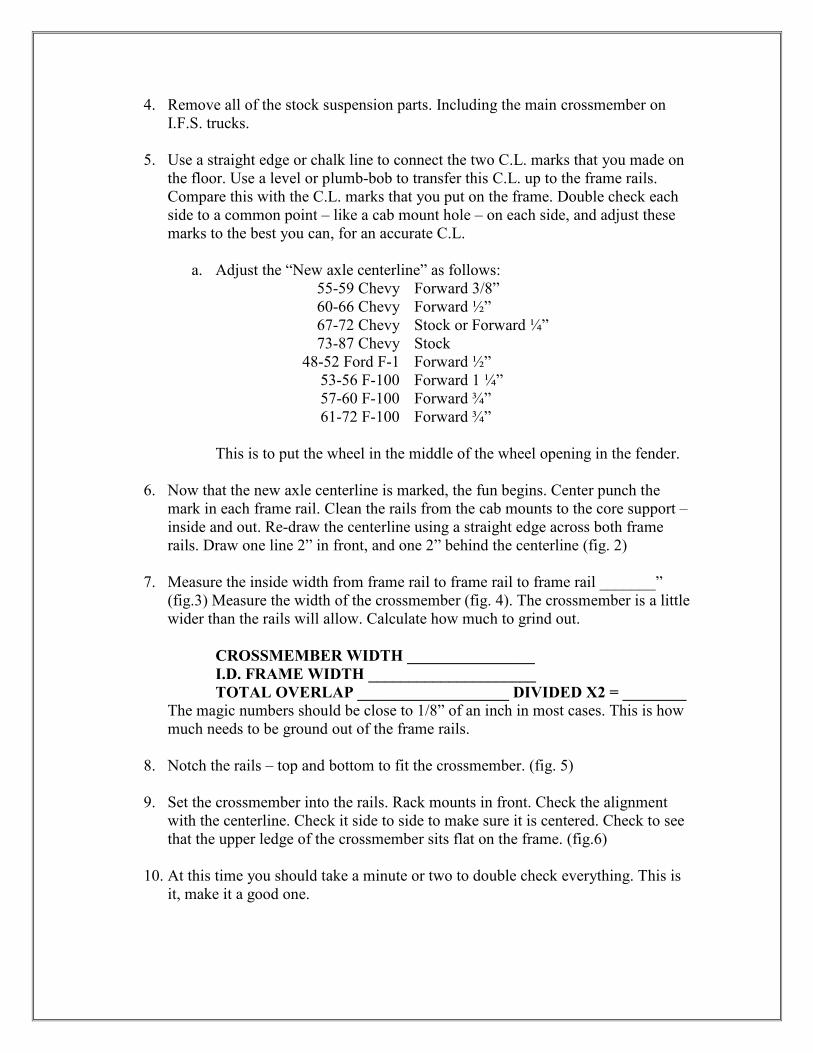
4. Remove all of the stock suspension parts. Including the main crossmember on
I.F.S. trucks.
5. Use a straight edge or chalk line to connect the two C.L. marks that you made on
the floor. Use a level or plumb-bob to transfer this C.L. up to the frame rails.
Compare this with the C.L. marks that you put on the frame. Double check each
side to a common point – like a cab mount hole – on each side, and adjust these
marks to the best you can, for an accurate C.L.
a. Adjust the “New axle centerline” as follows:
55-59 Chevy Forward 3/8”
60-66 Chevy Forward ½”
67-72 Chevy Stock or Forward ¼”
73-87 Chevy Stock
48-52 Ford F-1 Forward ½”
53-56 F-100 Forward 1 ¼”
57-60 F-100 Forward ¾”
61-72 F-100 Forward ¾”
This is to put the wheel in the middle of the wheel opening in the fender.
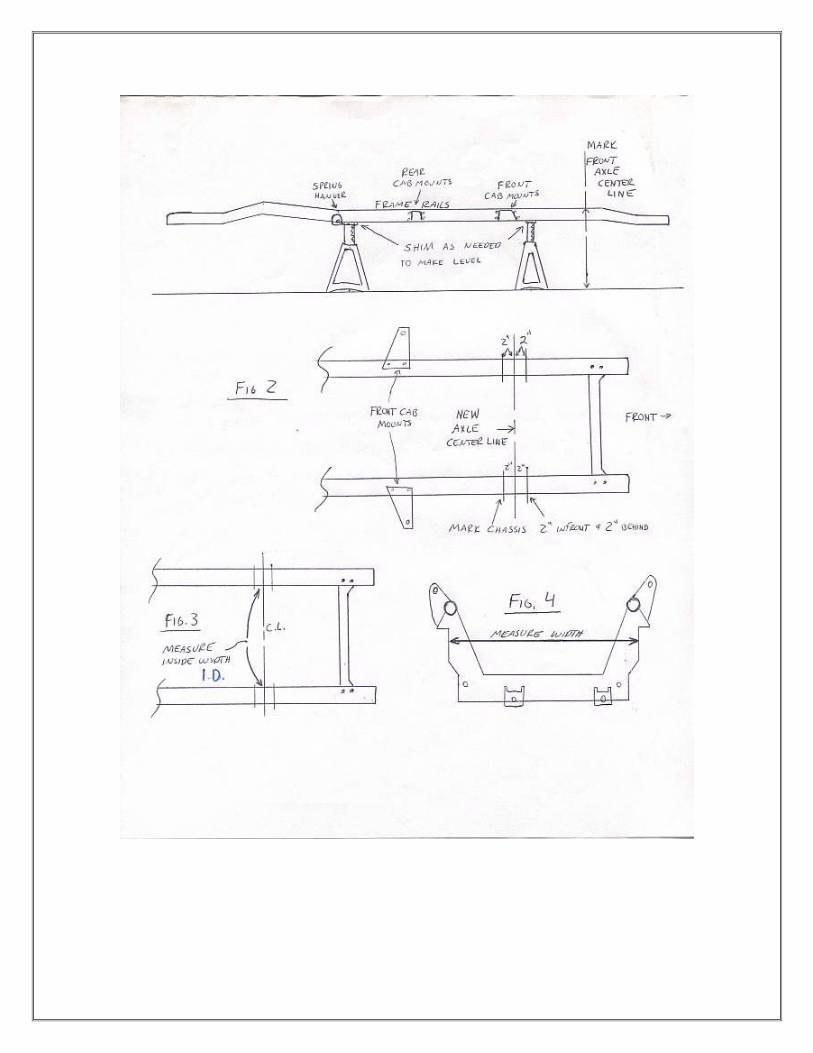
6. Now that the new axle centerline is marked, the fun begins. Center punch the
mark in each frame rail. Clean the rails from the cab mounts to the core support –
inside and out. Re-draw the centerline using a straight edge across both frame
rails. Draw one line 2” in front, and one 2” behind the centerline (fig. 2)
7. Measure the inside width from frame rail to frame rail to frame rail _______”
(fig.3) Measure the width of the crossmember (fig. 4). The crossmember is a little
wider than the rails will allow. Calculate how much to grind out.
CROSSMEMBER WIDTH ________________
I.D. FRAME WIDTH _____________________
TOTAL OVERLAP ___________________ DIVIDED X2 = ________ The magic numbers should be close to 1/8” of an inch in most cases. This is how
much needs to be ground out of the frame rails.
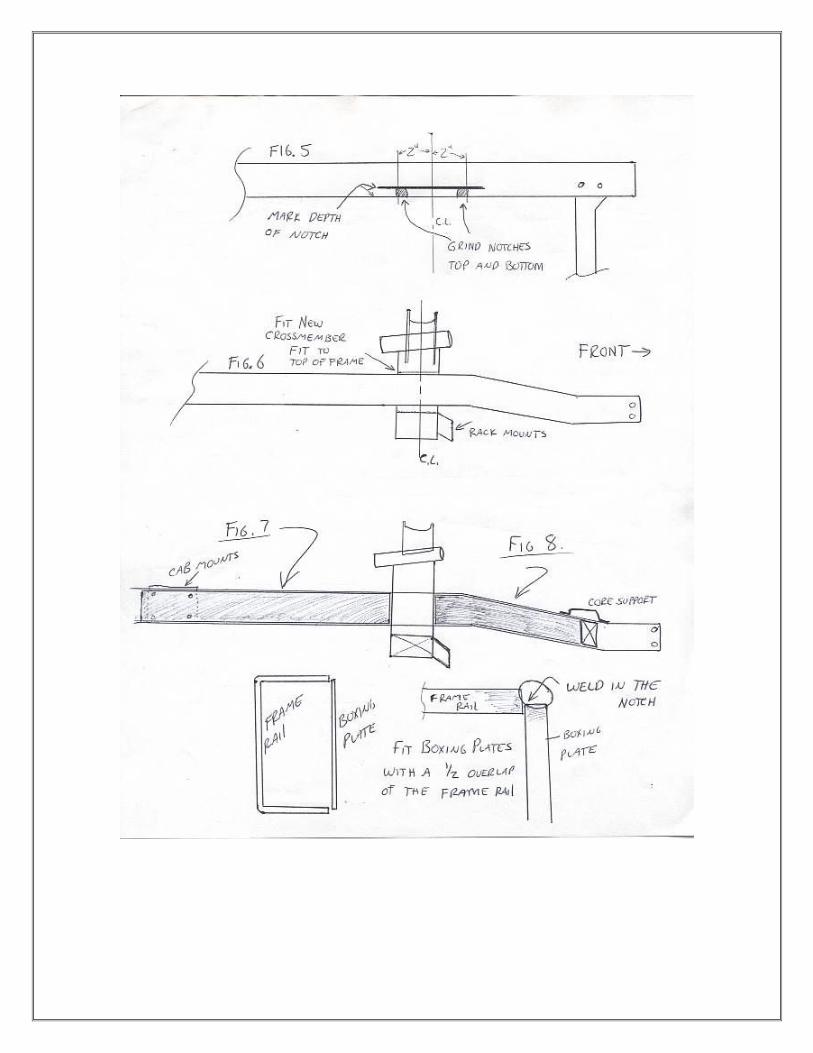
8. Notch the rails – top and bottom to fit the crossmember. (fig. 5)
9. Set the crossmember into the rails. Rack mounts in front. Check the alignment
with the centerline. Check it side to side to make sure it is centered. Check to see
that the upper ledge of the crossmember sits flat on the frame. (fig.6)
10. At this time you should take a minute or two to double check everything. This is
it, make it a good one.
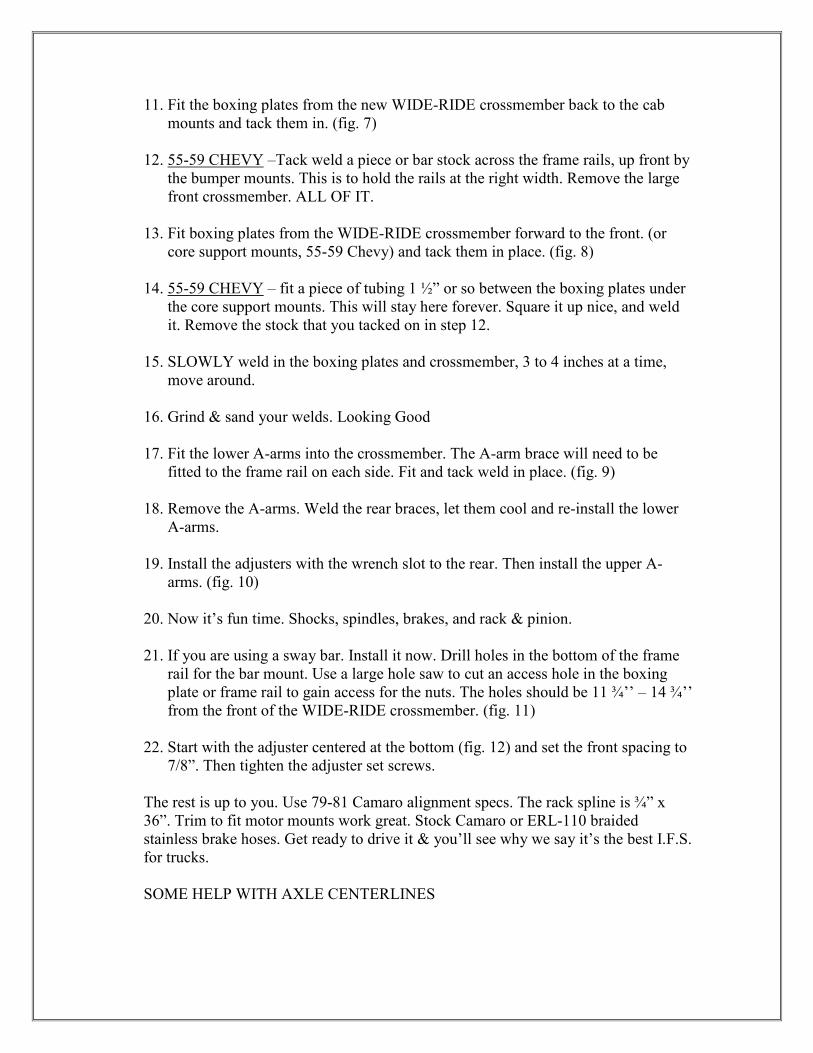
11. Fit the boxing plates from the new WIDE-RIDE crossmember back to the cab
mounts and tack them in. (fig. 7)
12. 55-59 CHEVY –Tack weld a piece or bar stock across the frame rails, up front by
the bumper mounts. This is to hold the rails at the right width. Remove the large
front crossmember. ALL OF IT.
13. Fit boxing plates from the WIDE-RIDE crossmember forward to the front. (or
core support mounts, 55-59 Chevy) and tack them in place. (fig. 8)
14. 55-59 CHEVY – fit a piece of tubing 1 ½” or so between the boxing plates under
the core support mounts. This will stay here forever. Square it up nice, and weld
it. Remove the stock that you tacked on in step 12.
15. SLOWLY weld in the boxing plates and crossmember, 3 to 4 inches at a time,
move around.
16. Grind & sand your welds. Looking Good
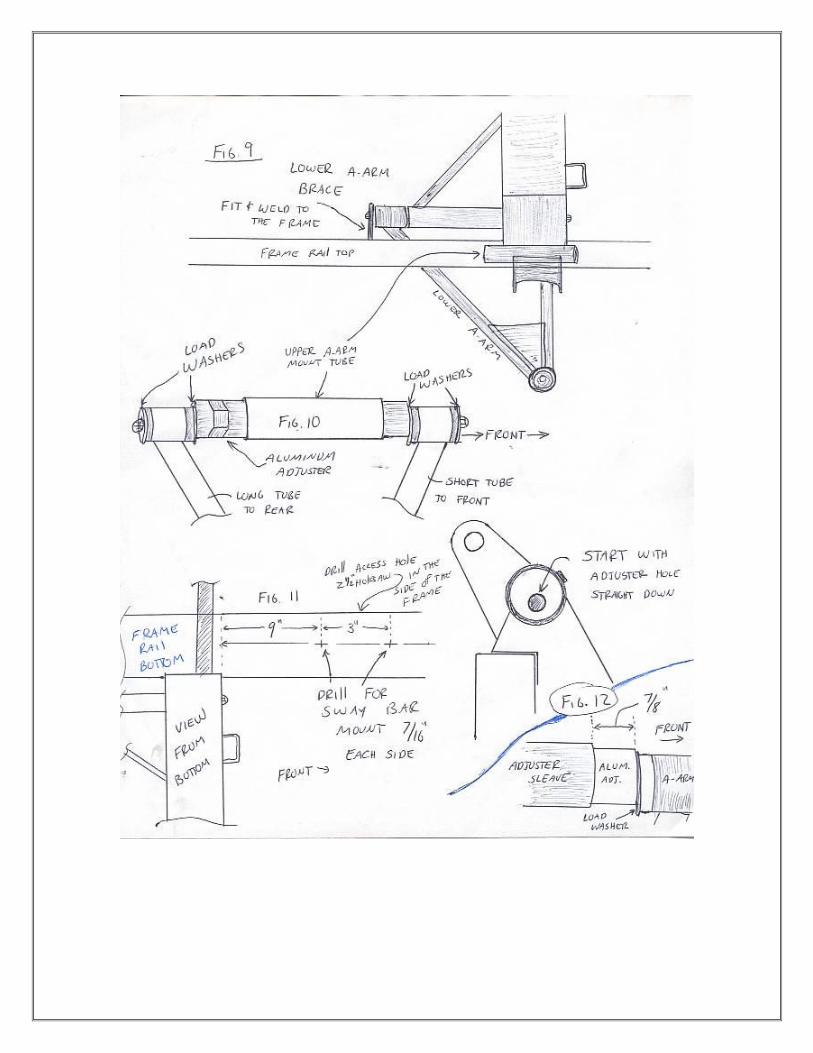
17. Fit the lower A-arms into the crossmember. The A-arm brace will need to be
fitted to the frame rail on each side. Fit and tack weld in place. (fig. 9)
18. Remove the A-arms. Weld the rear braces, let them cool and re-install the lower
A-arms.
19. Install the adjusters with the wrench slot to the rear. Then install the upper A-
arms. (fig. 10)
20. Now it’s fun time. Shocks, spindles, brakes, and rack & pinion.
21. If you are using a sway bar. Install it now. Drill holes in the bottom of the frame
rail for the bar mount. Use a large hole saw to cut an access hole in the boxing
plate or frame rail to gain access for the nuts. The holes should be 11 ¾’’ – 14 ¾’’
from the front of the WIDE-RIDE crossmember. (fig. 11)
22. Start with the adjuster centered at the bottom (fig. 12) and set the front spacing to
7/8”. Then tighten the adjuster set screws.
The rest is up to you. Use 79-81 Camaro alignment specs. The rack spline is ¾” x
36”. Trim to fit motor mounts work great. Stock Camaro or ERL-110 braided
stainless brake hoses. Get ready to drive it & you’ll see why we say it’s the best I.F.S.
for trucks.
SOME HELP WITH AXLE CENTERLINES
55-59 CHEVY – THE STOCK CENTERLINE CAN BE LOCATED THROUGH
THE CENTER OF A ½” HOLE ON THE TOP OF THE FRAME RAIL.
53-64 FORDS – THE MOUNTING HOLE FOR THE AXLE BUMPER IS
CENTERED ON THE STOCK AXLE CENTERLINE.
SEND IN SOME PHOTOS OF YOUR PROJECT WITH OUR “WIDE-RIDE”
I.F.S. AND A COPY OF YOUR RECIEPT, AND WE WILL SEND YOU A
FREE T-SHIRT.
—INCLUDE YOUR SHIRT SIZE—
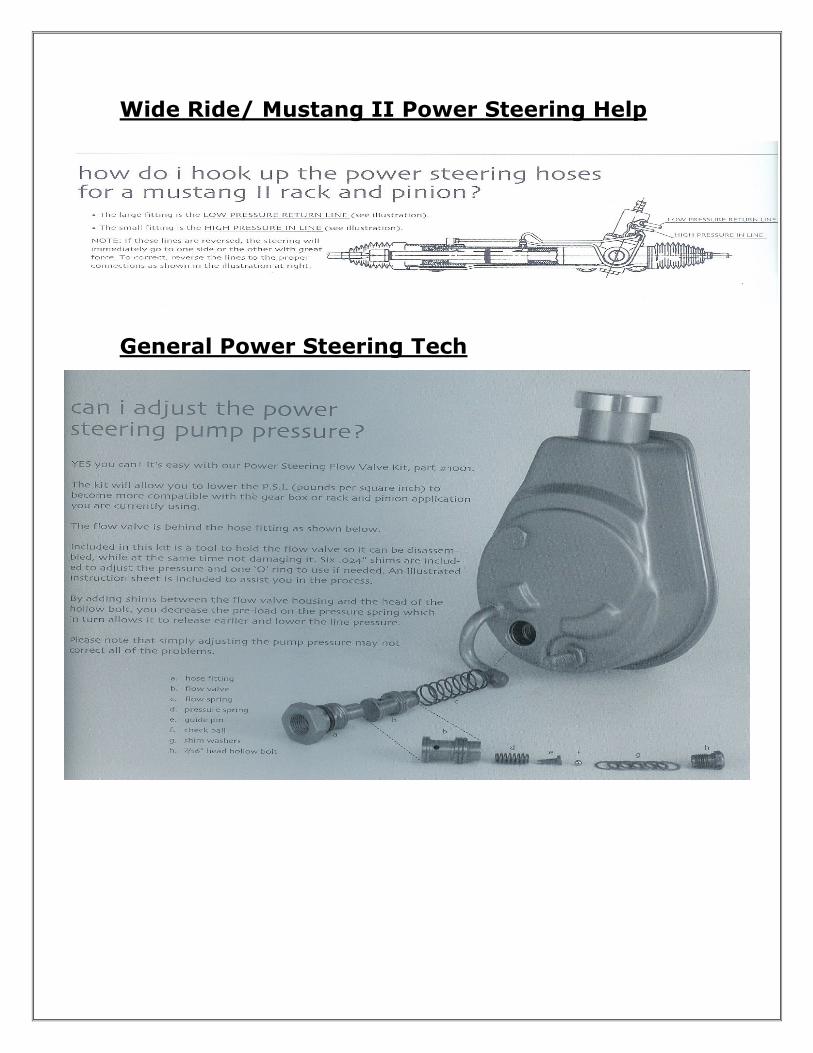
Wide Ride/ Mustang II Power Steering Help
General Power Steering Tech