Embed Size (px)
Citation preview
Working with Drivers Working with Drivers and Printersand Printers
Lesson 6

Skills MatrixSkills Matrix
Technology Skill Objective Domain Objective #
Understanding Drivers and Devices
Install and configure Windows Vista drivers
1.6
Updating Drivers with Windows Update
Use Windows Update to download current drivers
1.6
Using Device Manager Use Device Manager to install, update, and troubleshoot drivers
1.6
Updating Drivers Install and configure Windows Vista drivers
1.6
Chapter 6Chapter 6
Deciding When to Update Drivers
To address problems with the previous driver release(s)
To implement new features
To enhance performance of the device
Chapter 6Chapter 6
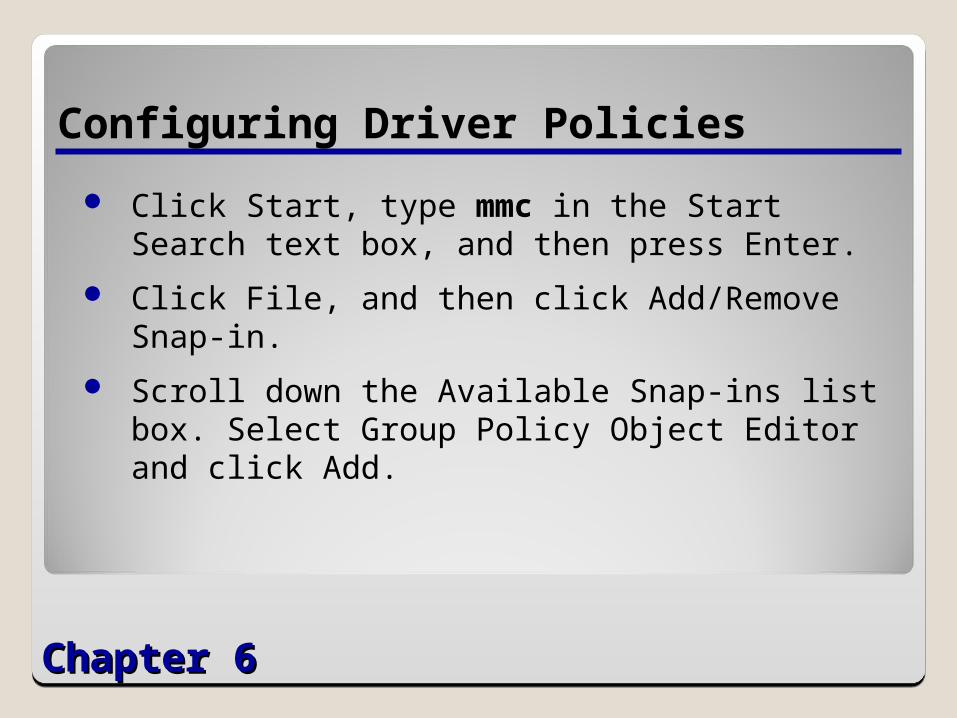
Configuring Driver Policies
Click Start, type mmc in the Start Search text box, and then press Enter.
Click File, and then click Add/Remove Snap-in.
Scroll down the Available Snap-ins list box. Select Group Policy Object Editor and click Add.
Chapter 6Chapter 6
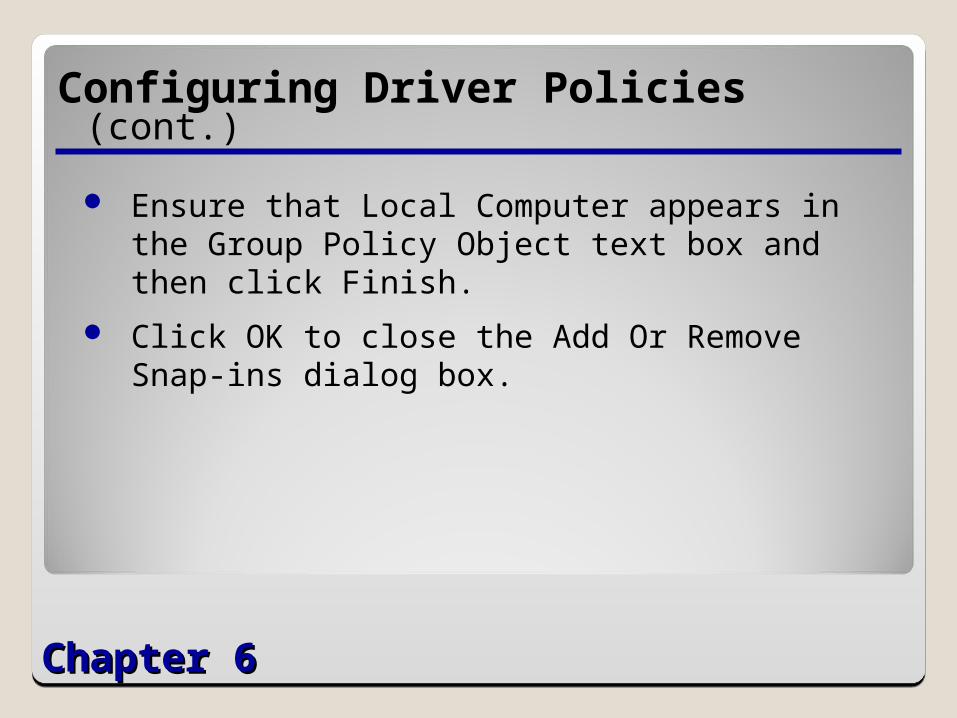
Configuring Driver Policies (cont.)
Ensure that Local Computer appears in the Group Policy Object text box and then click Finish.
Click OK to close the Add Or Remove Snap-ins dialog box.
Chapter 6Chapter 6
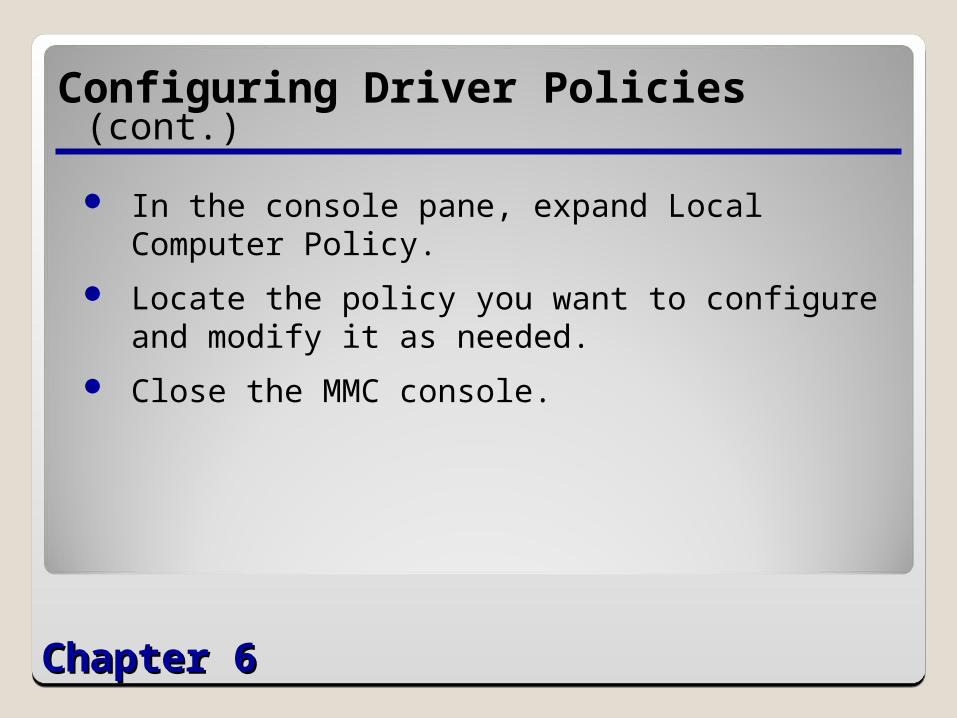
Configuring Driver Policies (cont.)
In the console pane, expand Local Computer Policy.
Locate the policy you want to configure and modify it as needed.
Close the MMC console.
Chapter 6Chapter 6
Using the Found New Hardware Wizard
In the Found New Hardware Wizard, click Locate And Install Driver Software (Recommended). Vista searches for a preconfigured driver. If it cannot find one, Vista prompts you to insert the manufacturer’s disk.
Chapter 6Chapter 6
Using the Found New Hardware Wizard (cont.)
Insert the manufacturer’s disk, and then follow the prompts to complete installation (steps will vary depending on the device you are installing). You will not need to complete the remaining steps in this procedure.
If you do not have the manufacturer’s disk, click I Don’t Have The Disk. Show Me Other Options.
Chapter 6Chapter 6
Using the Found New Hardware Wizard (cont.)
On the next page, click Browse My Computer For Driver Software.
Click Browse.
Select the start folder you want to use to begin your search, and then click OK.

Chapter 6Chapter 6
Using the Found New Hardware Wizard (cont.)
Click Next.
If Vista cannot find the driver, obtain the device driver from the manufacturer, and then use either Device Manager or the Add New Hardware Wizard to install it.
Chapter 6Chapter 6
Using Device Manager
Open the System control panel, and click the Device Manager link.
Open the Computer Management console from the Administrative Tools control panel, and click Device Manager in the scope (left) pane.
Chapter 6Chapter 6
Using Device Manager (cont.)
Run the Microsoft Management Console shell application (Mmc.exe).
Select File > Add/Remove Snap-in.
Select Device Manager from the list of snap-ins provided.
Chapter 6Chapter 6
Using Device Manager (cont.)
Open the Start menu.
Type the file name of the Device Manager snap-in (Devmgmt.msc) in the Start Search box, and then execute the resulting file.

Chapter 6Chapter 6
Viewing Device Properties
Devices by type
Devices by connection
Resources by type
Resources by connection
Chapter 6Chapter 6
Enabling and Disabling Devices
Select the device, and choose Disable from the Action menu.
Right-click the device, and choose Disable from the context menu.
Open the device’s Properties sheet, and click the Disable button on the Driver tab.
Chapter 6Chapter 6
Updating a Device Driver
Open Device Manager, and locate the device that you want to update.
Double-click the device you want to update so that its Properties sheet appears.
Click the Driver tab, and then click the Update Driver button.
Chapter 6Chapter 6
Updating a Device Driver (cont.)
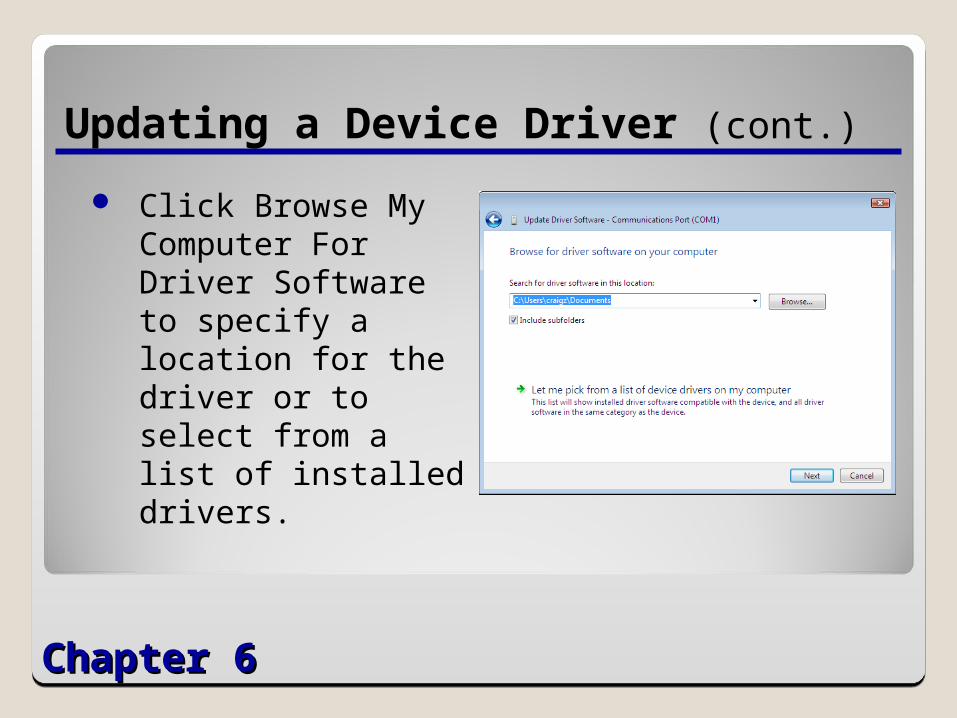
Click Browse My Computer For Driver Software to specify a location for the driver or to select from a list of installed drivers.
Chapter 6Chapter 6
Updating a Device Driver (cont.)
Click Next when you locate the driver you want to install.
Click Close.
Close the Device Manager window.
Chapter 6Chapter 6
Understanding the Windows Print Architecture
Print device
Printer
Print server
Printer driver

Chapter 6Chapter 6
Adding a Local Printer
Click Start, and then click Control Panel.
Click Hardware And Sound, and then click Printers.
Click Add A Printer.
Chapter 6Chapter 6
Adding a Local Printer (cont.)
In the Manufacturer column, scroll down and select the manufacturer of your print device.
In the Printers column, select the specific model of print device you want to install.
Click Next to continue.
Chapter 6Chapter 6
Adding a Local Printer (cont.)
Type a name for the printer in the Printer Name text box and, if desired, select the Set As The Default Printer checkbox.
Click Next to continue.
Click Finish.
Close the Control Panel window.
Chapter 6Chapter 6
Sharing a Printer
Click Start, and then click Control Panel.
Click Hardware And Sound.
Click Printers.
Chapter 6Chapter 6
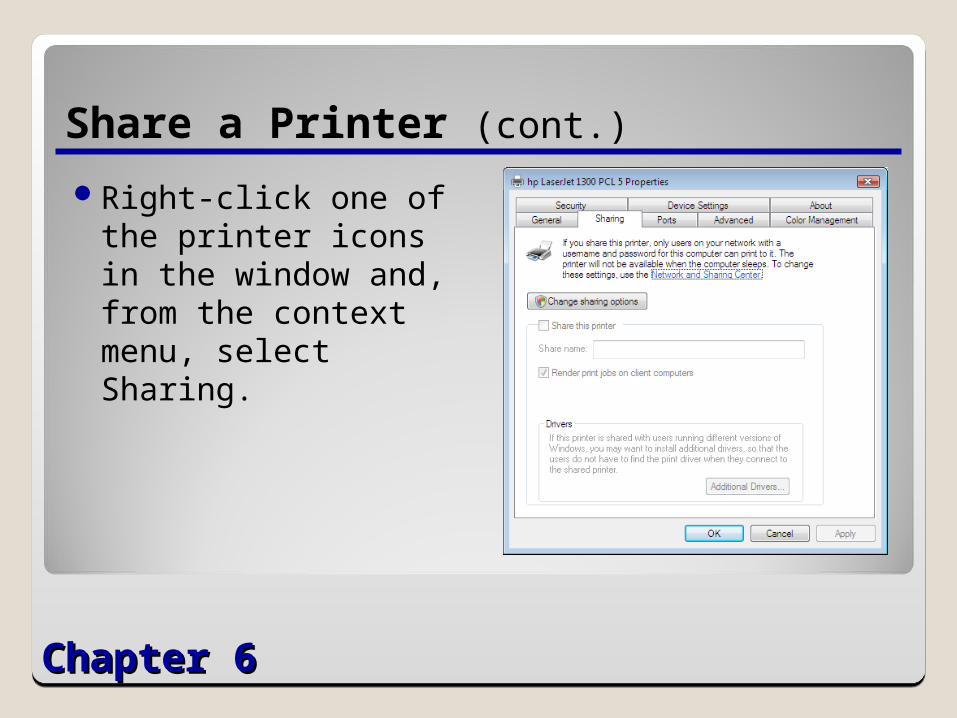
Share a Printer (cont.)
Right-click one of the printer icons in the window and, from the context menu, select Sharing.
Chapter 6Chapter 6
Sharing a Printer (cont.)
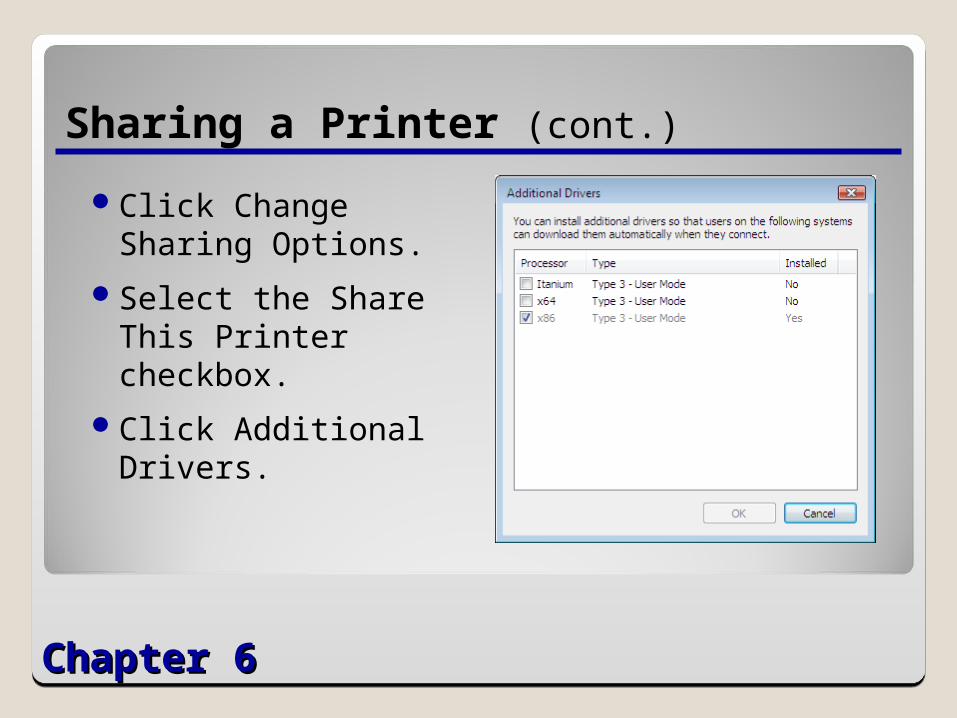
Click Change Sharing Options.
Select the Share This Printer checkbox.
Click Additional Drivers.
Chapter 6Chapter 6
Sharing a Printer (cont.)
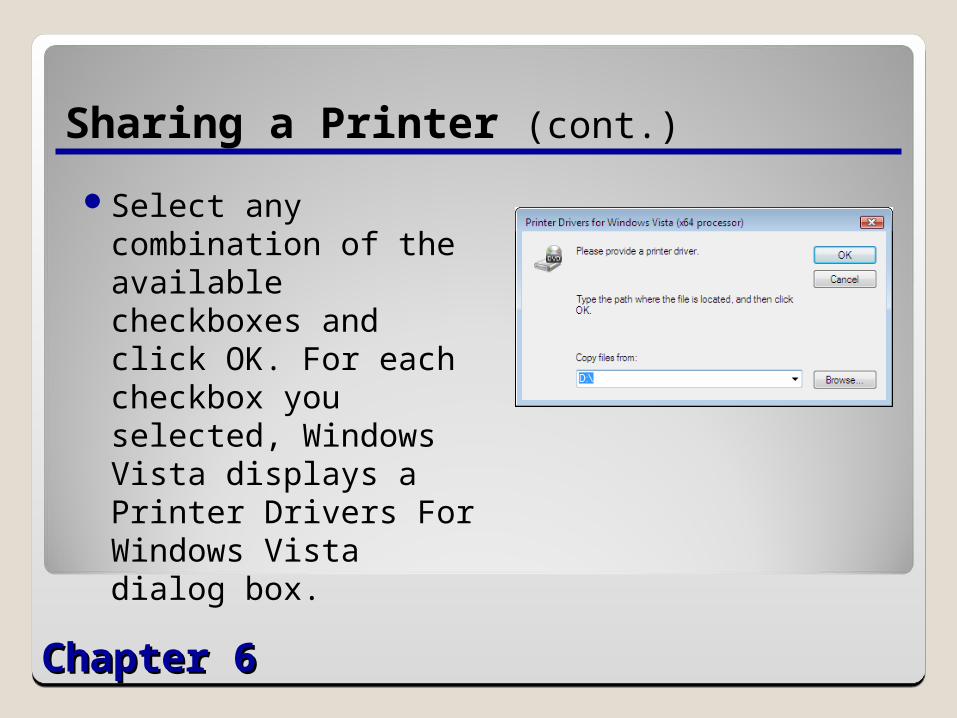
Select any combination of the available checkboxes and click OK. For each checkbox you selected, Windows Vista displays a Printer Drivers For Windows Vista dialog box.
Chapter 6Chapter 6
Sharing a Printer (cont.)
In each Printer Drivers For Windows Vista dialog box, type or browse to the location of the printer drivers for the selected operating system and click OK.
Click OK to close the Additional Drivers dialog box.
Chapter 6Chapter 6
Sharing a Printer (cont.)
Click OK to close the Properties sheet for the printer.
The printer icon in the Printers control panel now includes a symbol indicating that it has been shared.
Chapter 6Chapter 6
Assigning Printer Permissions
Click Start, and then click Control Panel.
Click Hardware And Sound, and then click Printers.
Right-click one of the printer icons in the window and, from the context menu, select Properties. When the printer’s Properties sheet appears, click the Security tab.
Chapter 6Chapter 6
Assigning Printer Permissions (cont.)
Click Add.
In the Enter The Object Names To Select text box, type a user or group name and click OK.
Select the user or group you added, and select or clear the checkboxes in the bottom half of the display to Allow or Deny the user any of the standard permissions.
Click OK to close the Properties sheet.
Chapter 6Chapter 6
Adding a Shared Printer
Click Start, and then click Control Panel.
Click Hardware And Sound.
Click Printers.
Chapter 6Chapter 6
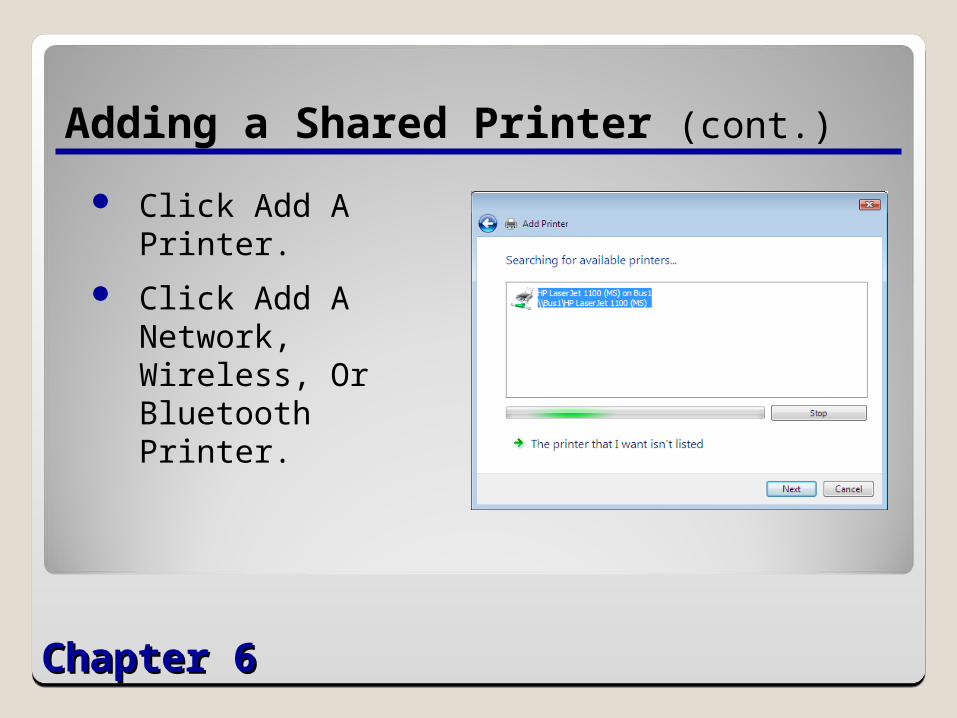
Adding a Shared Printer (cont.)
Click Add A Printer.
Click Add A Network, Wireless, Or Bluetooth Printer.
Chapter 6Chapter 6
Adding a Shared Printer (cont.)
Select one of the listed printers and click Next. The Type A Printer Name page appears.
If the printer you want does not appear, click The Printer That I Want Isn’t Listed.
The Find A Printer By Name Or TCP/IP Address page appears.
Chapter 6Chapter 6
Adding a Shared Printer (cont.)
Select the proper radio button to browse for a network printer.
Type a UNC name or URL for a printer, or enter a printer’s IP address or hostname.
Click Next.
Chapter 6Chapter 6
Adding a Shared Printer (cont.)
Type a name for the printer in the Printer Name text box and, if desired, select the Set As The Default Printer checkbox.
Click Next to continue.
Click Finish.
Close the Control Panel window.
Chapter 6Chapter 6
Managing Documents
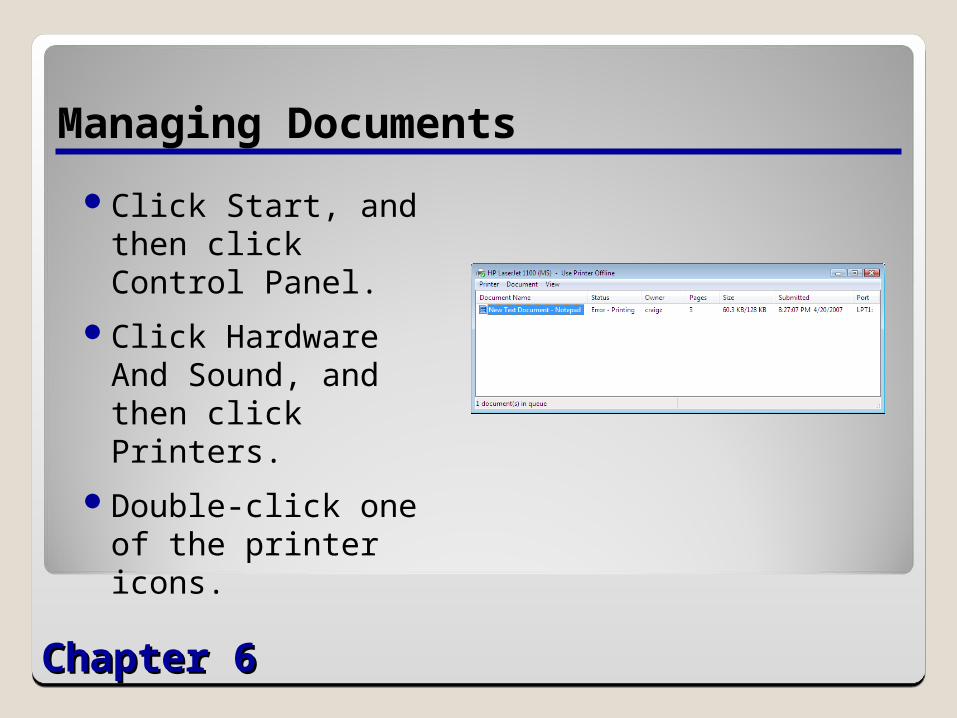
Click Start, and then click Control Panel.
Click Hardware And Sound, and then click Printers.
Double-click one of the printer icons.
Chapter 6Chapter 6
Managing Documents (cont.)
Select one of the menu items available from the dropdown menu.
Close the print queue window.
Chapter 6Chapter 6
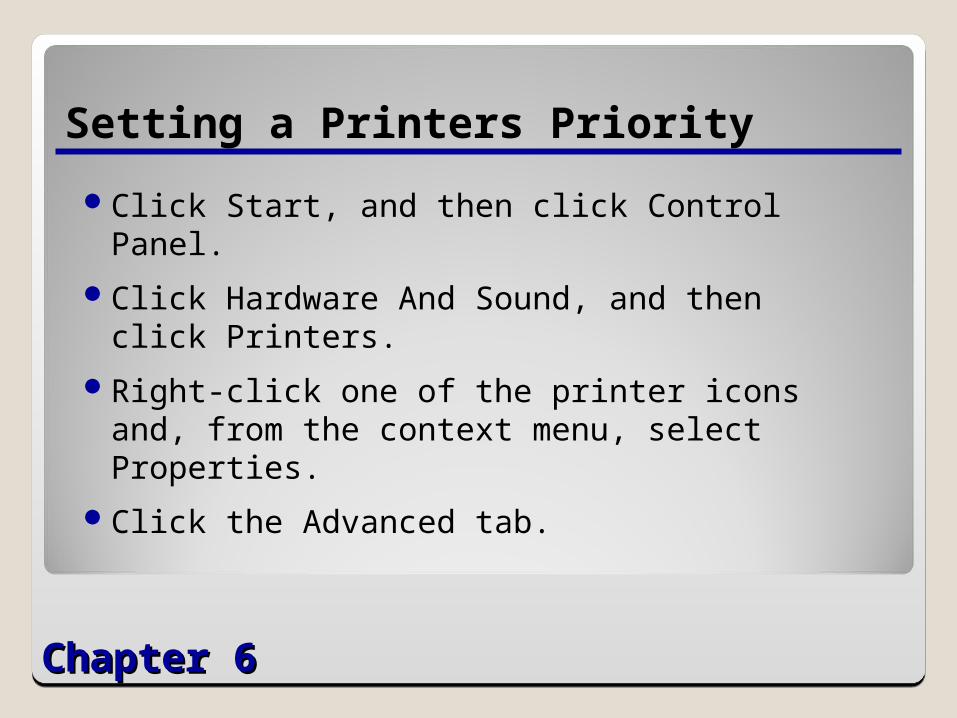
Setting a Printers Priority
Click Start, and then click Control Panel.
Click Hardware And Sound, and then click Printers.
Right-click one of the printer icons and, from the context menu, select Properties.
Click the Advanced tab.
Chapter 6Chapter 6
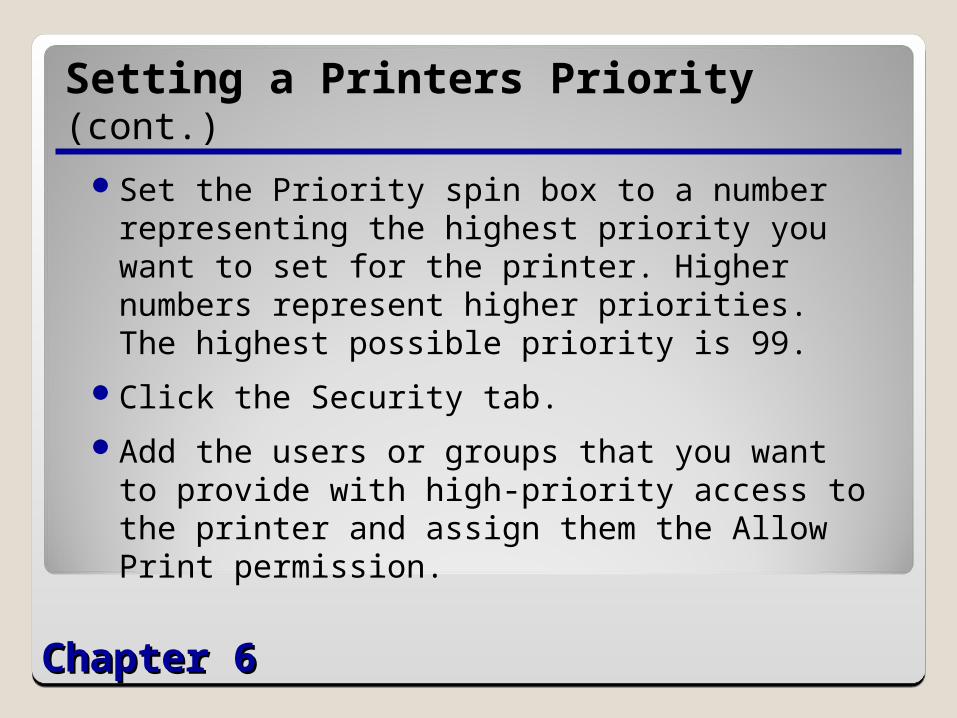
Setting a Printers Priority (cont.)
Set the Priority spin box to a number representing the highest priority you want to set for the printer. Higher numbers represent higher priorities. The highest possible priority is 99.
Click the Security tab.
Add the users or groups that you want to provide with high-priority access to the printer and assign them the Allow Print permission.
Chapter 6Chapter 6
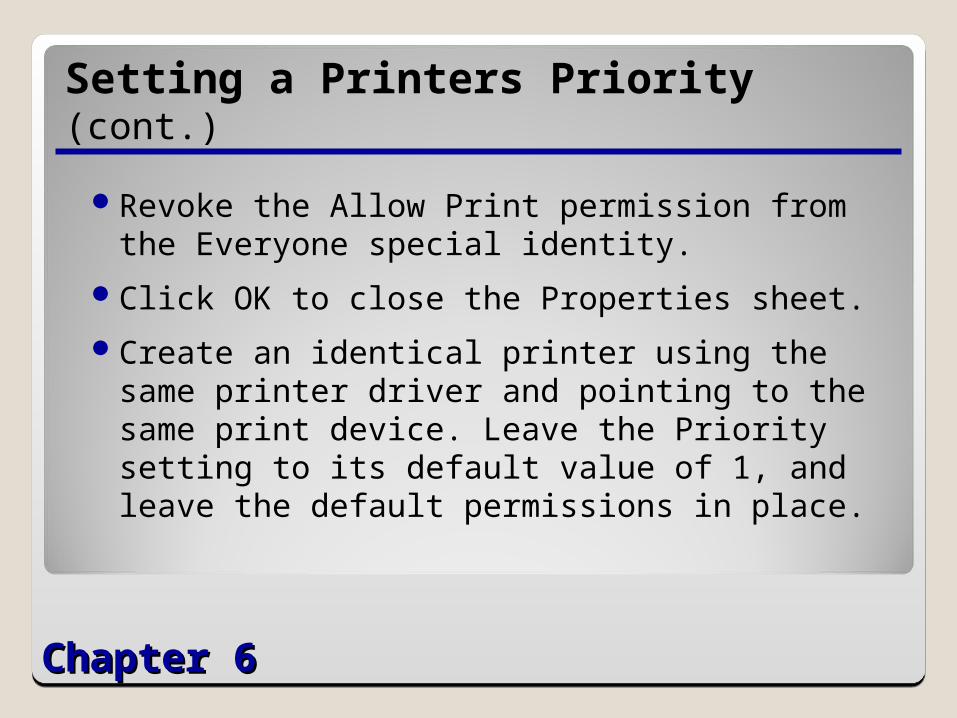
Setting a Printers Priority (cont.)
Revoke the Allow Print permission from the Everyone special identity.
Click OK to close the Properties sheet.
Create an identical printer using the same printer driver and pointing to the same print device. Leave the Priority setting to its default value of 1, and leave the default permissions in place.
Chapter 6Chapter 6
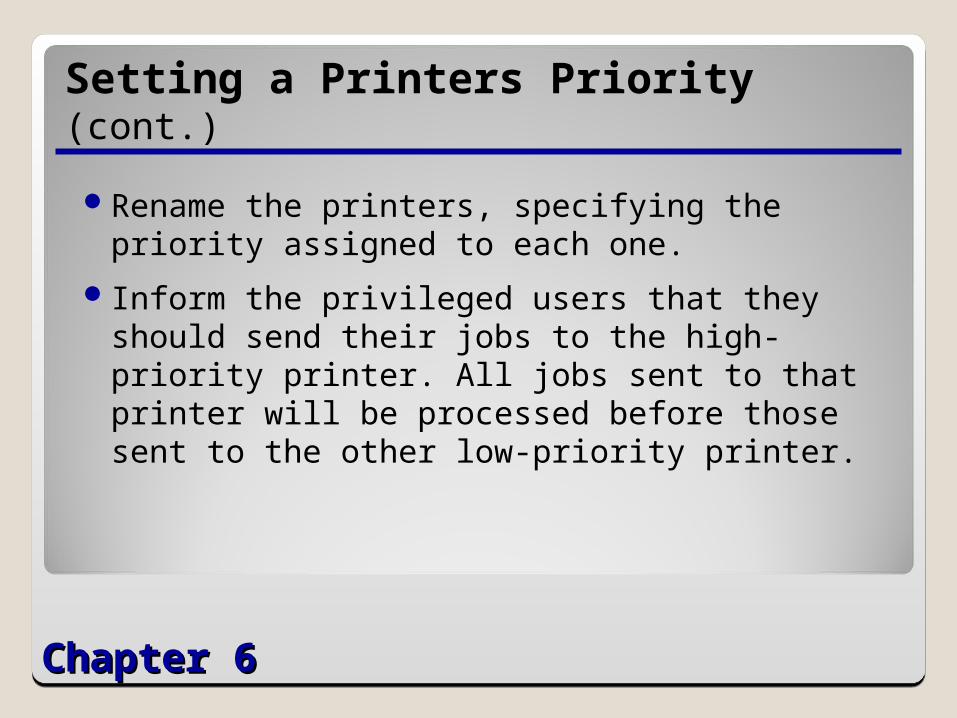
Setting a Printers Priority (cont.)
Rename the printers, specifying the priority assigned to each one.
Inform the privileged users that they should send their jobs to the high-priority printer. All jobs sent to that printer will be processed before those sent to the other low-priority printer.
Chapter 6Chapter 6
Configuring a Printer’s Schedule
Click Start, and then click Control Panel.
Click Hardware And Sound, and then click Printers.
Right-click one of the printer icons and, from the context menu, select Properties.
Click the Advanced tab.
Chapter 6Chapter 6
Configuring a Printer’s Schedule (cont.)
Select the Available From radio button.
In the two spin boxes provided, select the range of hours you want the printer to be available.
Click the Security tab.
Chapter 6Chapter 6
Configuring a Printer’s Schedule (cont.)
Add the users or groups that you want to provide with access to the printer during the hours you selected and grant them the Allow Print permission.
Revoke the Allow Print permission from the Everyone special identity.
Click OK to close the Properties sheet.
Chapter 6Chapter 6
Creating a Printer Pool
Click Start, and then click Control Panel.
Click Hardware And Sound, and then click Printers.
Right-click one of the printer icons and, from the context menu, select Properties.
Chapter 6Chapter 6
Creating a Printer Pool (cont.)
Click the Ports tab, and select all of the ports to which the print devices are connected.
Select the Enable Printer Pooling checkbox and click OK.
Chapter 6Chapter 6
You Learned
Device drivers are software components that enable applications and operating systems to communicate with specific hardware devices. Every hardware device you install in a computer must have a corresponding driver.
Chapter 6Chapter 6
You Learned (cont.)
Plug and Play is a standard that enables computers to detect and identify hardware devices and then install and configure drivers for those devices. PnP dynamically assigns hardware resources to each device and can reconfigure devices at will to accommodate each component’s special needs.

Chapter 6Chapter 6
You Learned (cont.)
The drivers included with Windows Vista have all been digitally signed to ensure that they have not been modified since they were published.
Chapter 6Chapter 6
You Learned (cont.)
Device Manager is an MMC snap-in that lists all hardware devices in the computer and indicates problems with hardware identification or driver configuration. Using Device Manager, you can enable and disable devices, update and roll back drivers, and manage device and device driver properties.
Chapter 6Chapter 6
You Learned (cont.)
Many hardware manufacturers periodically release driver updates, and it is up to system administrators to decide whether to install the updates.
The printing architecture in Windows is modular, consisting of the print device, a printer, a print server, and a printer driver.
Chapter 6Chapter 6
You Learned (cont.)
A local printer is one that supports a print device directly attached to the computer or attached to the network. A network printer connects to a shared printer hosted by another computer.
To install a printer, you run the Add Printer Wizard and specify the printer driver and port to use.
Chapter 6Chapter 6
You Learned (cont.)
A single printer can direct jobs to more than one port, creating a printer pool.
A single print device can be served by multiple printers, each of which can have unique properties, drivers, settings, permissions, or monitoring characteristics.
The print queue window enables you to monitor printers for potential signals of trouble.