How to Use
© 2015- sirgoldva.weebly.com – Your Golden Virtual Assistant 1
A basic tutorial by Koji Lorenzo C. Echeminada

Open your web browser.
© 2015- sirgoldva.weebly.com – Your Golden Virtual Assistant 2
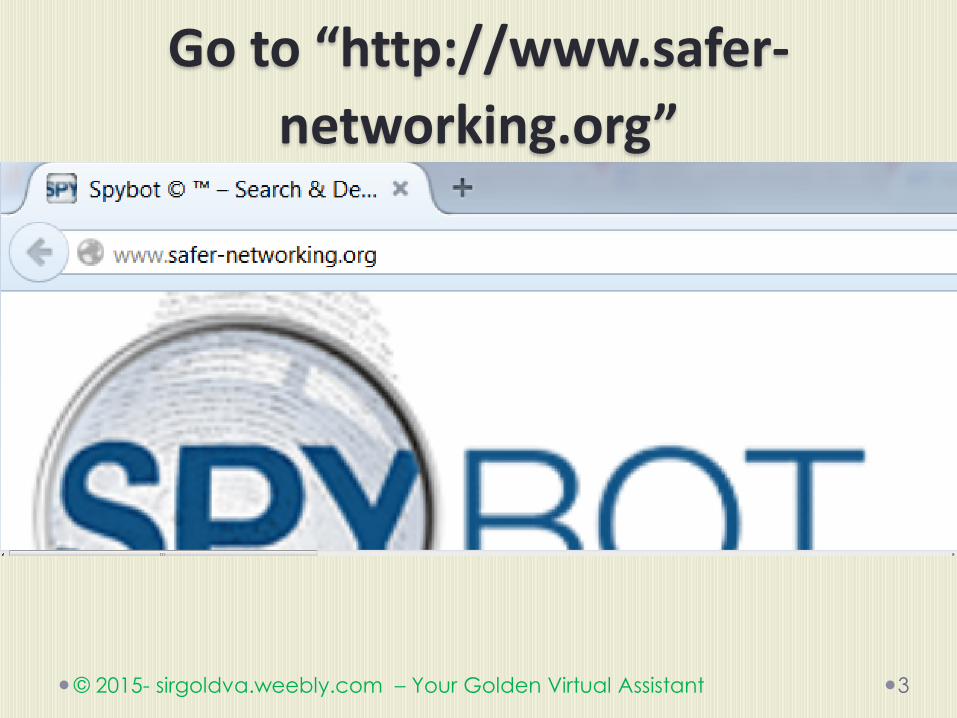
Go to “http://www.safer-
networking.org”
© 2015- sirgoldva.weebly.com – Your Golden Virtual Assistant 3

You will redirected to this page.
© 2015- sirgoldva.weebly.com – Your Golden Virtual Assistant 4

Go to “Download.”
© 2015- sirgoldva.weebly.com – Your Golden Virtual Assistant 5

Click “Download Spybot 2.4 Free
Edition.”
© 2015- sirgoldva.weebly.com – Your Golden Virtual Assistant 6
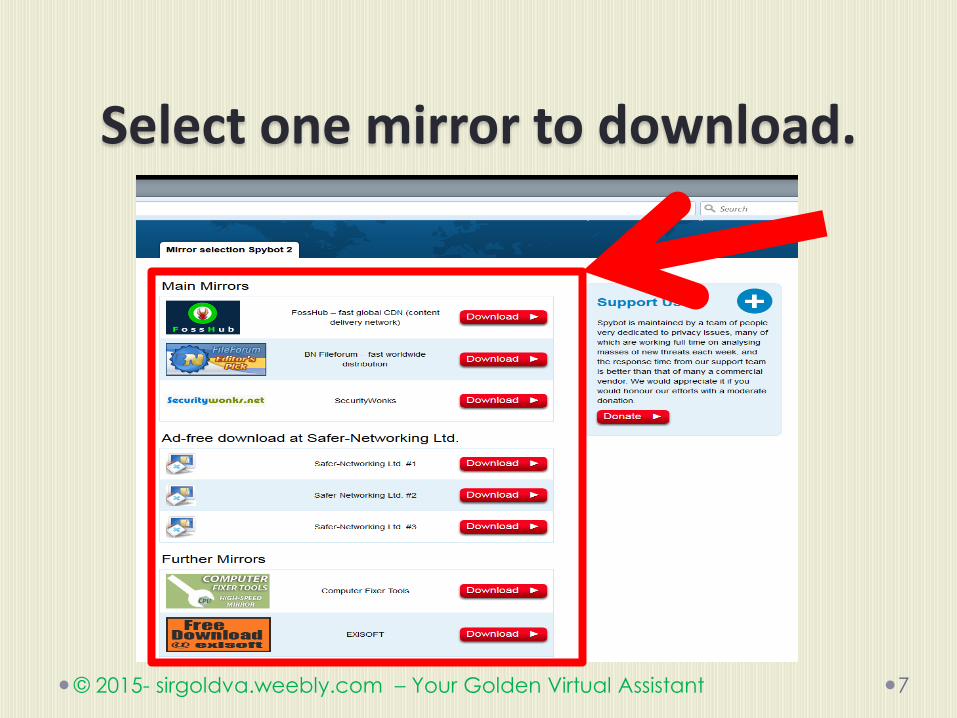
Select one mirror to download.
© 2015- sirgoldva.weebly.com – Your Golden Virtual Assistant 7

For this tutorial I will use
SecurityWonks.
© 2015- sirgoldva.weebly.com – Your Golden Virtual Assistant 8

Then Click “Download.”
© 2015- sirgoldva.weebly.com – Your Golden Virtual Assistant 9

Click “Download Spybot + AV v2.4
(44.37 MiB).”
© 2015- sirgoldva.weebly.com – Your Golden Virtual Assistant 10

Click “Save File.”
© 2015- sirgoldva.weebly.com – Your Golden Virtual Assistant 11

Then click “Save.”
© 2015- sirgoldva.weebly.com – Your Golden Virtual Assistant 12
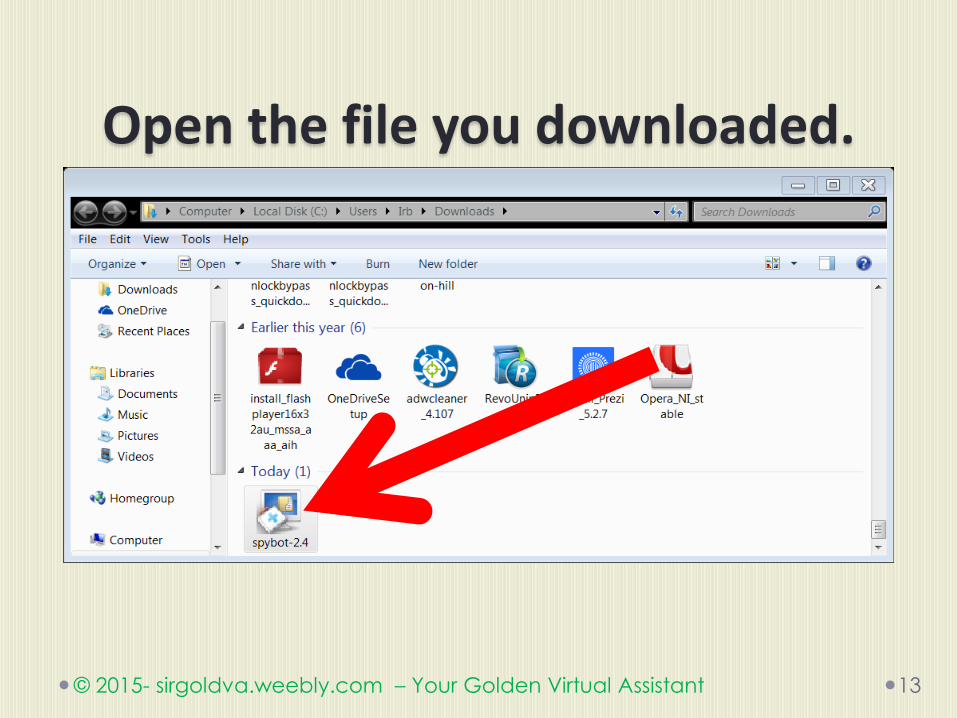
Open the file you downloaded.
© 2015- sirgoldva.weebly.com – Your Golden Virtual Assistant 13

Run the file, Click “Run.”
© 2015- sirgoldva.weebly.com – Your Golden Virtual Assistant 14

Click “OK.”
© 2015- sirgoldva.weebly.com – Your Golden Virtual Assistant 15

Click “Next >.”
© 2015- sirgoldva.weebly.com – Your Golden Virtual Assistant 16

Again click “Next >.”
© 2015- sirgoldva.weebly.com – Your Golden Virtual Assistant 17

Again click “Next >.”
© 2015- sirgoldva.weebly.com – Your Golden Virtual Assistant 18

Click “I accept the agreement.”
© 2015- sirgoldva.weebly.com – Your Golden Virtual Assistant 19

Click “Next >.”
© 2015- sirgoldva.weebly.com – Your Golden Virtual Assistant 20

Then Click “Install.”
© 2015- sirgoldva.weebly.com – Your Golden Virtual Assistant 21

Intallation finish. Click “Finish.”
© 2015- sirgoldva.weebly.com – Your Golden Virtual Assistant 22

If this update show up, click “Update.”
© 2015- sirgoldva.weebly.com – Your Golden Virtual Assistant 23

Wait until the update finish.
© 2015- sirgoldva.weebly.com – Your Golden Virtual Assistant 24

Now go to Spybot Start Center.
© 2015- sirgoldva.weebly.com – Your Golden Virtual Assistant 25

If your Spybot Start Center is not yet
open.
© 2015- sirgoldva.weebly.com – Your Golden Virtual Assistant 26

Click “Spybot-S&D Start Center” on
your windows.
© 2015- sirgoldva.weebly.com – Your Golden Virtual Assistant 27

To scan your complete system using Spybot.
© 2015- sirgoldva.weebly.com – Your Golden Virtual Assistant 28

Click “System Scan.”
© 2015- sirgoldva.weebly.com – Your Golden Virtual Assistant 29
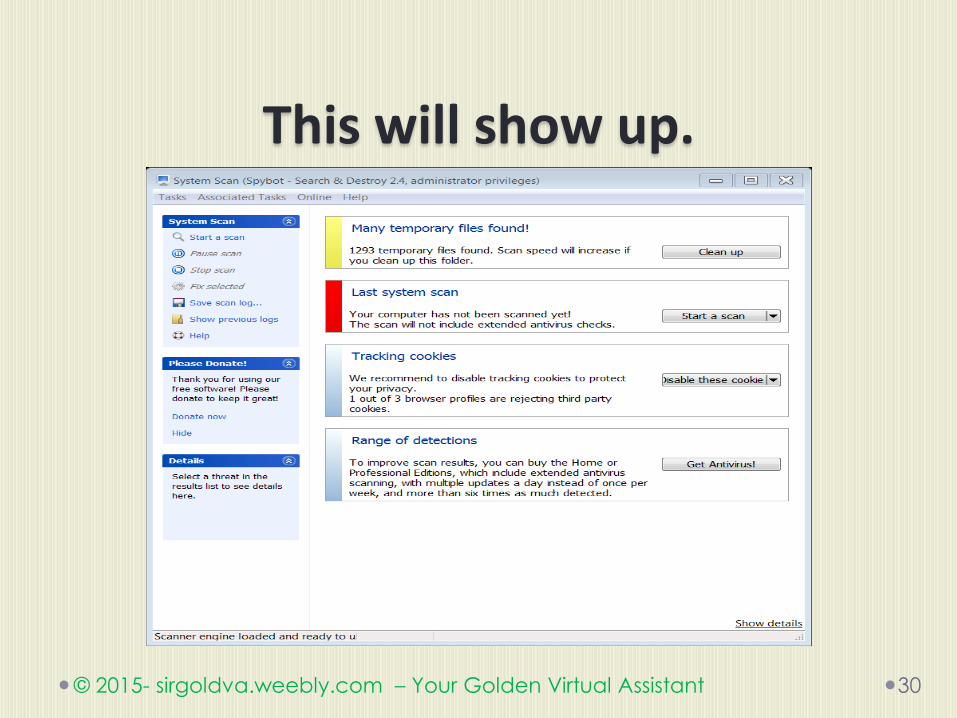
This will show up.
© 2015- sirgoldva.weebly.com – Your Golden Virtual Assistant 30

Click “Start a scan.”
© 2015- sirgoldva.weebly.com – Your Golden Virtual Assistant 31

Scanning is in progress. Wait until
finish scanning.
© 2015- sirgoldva.weebly.com – Your Golden Virtual Assistant 32

To pause scanning your system
© 2015- sirgoldva.weebly.com – Your Golden Virtual Assistant 33

Click “Pause scan.”
© 2015- sirgoldva.weebly.com – Your Golden Virtual Assistant 34

The scan paused.
© 2015- sirgoldva.weebly.com – Your Golden Virtual Assistant 35
To stop scanning your system
© 2015- sirgoldva.weebly.com – Your Golden Virtual Assistant 36

Click “Stop scan.”
© 2015- sirgoldva.weebly.com – Your Golden Virtual Assistant 37

The scan will stop.
© 2015- sirgoldva.weebly.com – Your Golden Virtual Assistant 38

In this tutorial, just continue scanning
your system.
© 2015- sirgoldva.weebly.com – Your Golden Virtual Assistant 39

If the scan is finish. It will show like
this.
© 2015- sirgoldva.weebly.com – Your Golden Virtual Assistant 40

You will see the description of the files
scanned.
© 2015- sirgoldva.weebly.com – Your Golden Virtual Assistant 41

You will see the location of the files
scanned.
© 2015- sirgoldva.weebly.com – Your Golden Virtual Assistant 42

You will see the threat level.
© 2015- sirgoldva.weebly.com – Your Golden Virtual Assistant 43
Note: The red color in threat level is
critical.
© 2015- sirgoldva.weebly.com – Your Golden Virtual Assistant 44

Click “Fix selected.”
© 2015- sirgoldva.weebly.com – Your Golden Virtual Assistant 45
It will fix all selected files in your
system.
© 2015- sirgoldva.weebly.com – Your Golden Virtual Assistant 46

It will look like this. Check appear
when fixed.
© 2015- sirgoldva.weebly.com – Your Golden Virtual Assistant 47

To save the scan log
© 2015- sirgoldva.weebly.com – Your Golden Virtual Assistant 48

Click “Save scan log.”
© 2015- sirgoldva.weebly.com – Your Golden Virtual Assistant 49

Then click “Save.”
© 2015- sirgoldva.weebly.com – Your Golden Virtual Assistant 50

Scan log saved.
© 2015- sirgoldva.weebly.com – Your Golden Virtual Assistant 51

To scan a single file or folder
© 2015- sirgoldva.weebly.com – Your Golden Virtual Assistant 52

Go back to Spybot start center.
© 2015- sirgoldva.weebly.com – Your Golden Virtual Assistant 53

Click “File Scan.”
© 2015- sirgoldva.weebly.com – Your Golden Virtual Assistant 54
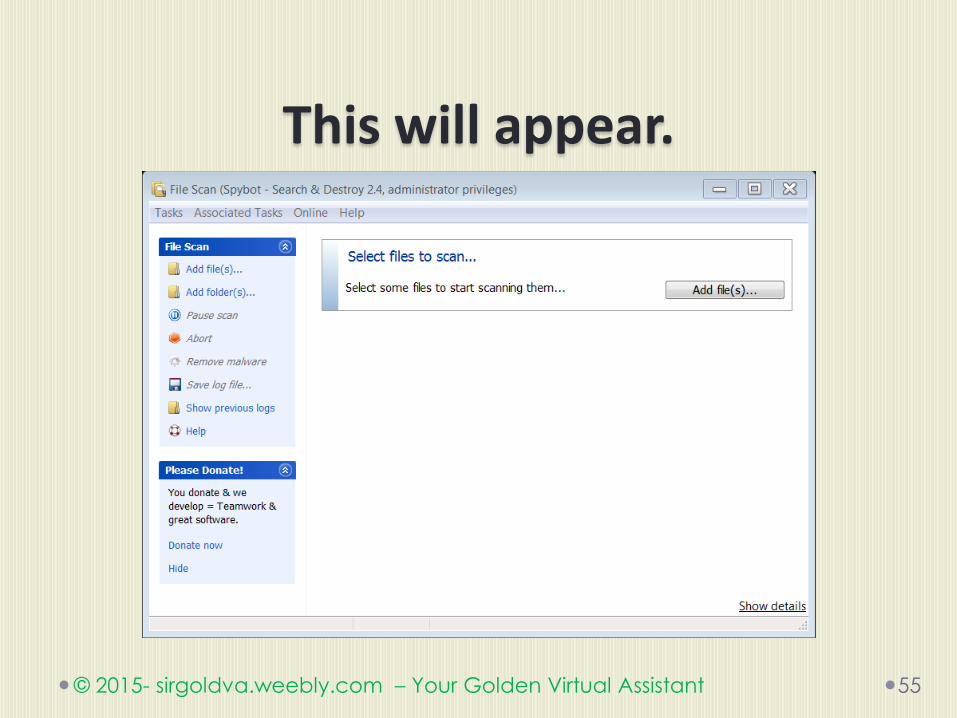
This will appear.
© 2015- sirgoldva.weebly.com – Your Golden Virtual Assistant 55

If you want to scan a single/multiple
file.
© 2015- sirgoldva.weebly.com – Your Golden Virtual Assistant 56

Click “Add file(s).”
© 2015- sirgoldva.weebly.com – Your Golden Virtual Assistant 57

Locate the files in your PC.
© 2015- sirgoldva.weebly.com – Your Golden Virtual Assistant 58

Then click the file you want to scan.
© 2015- sirgoldva.weebly.com – Your Golden Virtual Assistant 59

Or select files you want to scan.
© 2015- sirgoldva.weebly.com – Your Golden Virtual Assistant 60

Click “Open.”
© 2015- sirgoldva.weebly.com – Your Golden Virtual Assistant 61

It will scan automatically. Check will
appear.
© 2015- sirgoldva.weebly.com – Your Golden Virtual Assistant 62
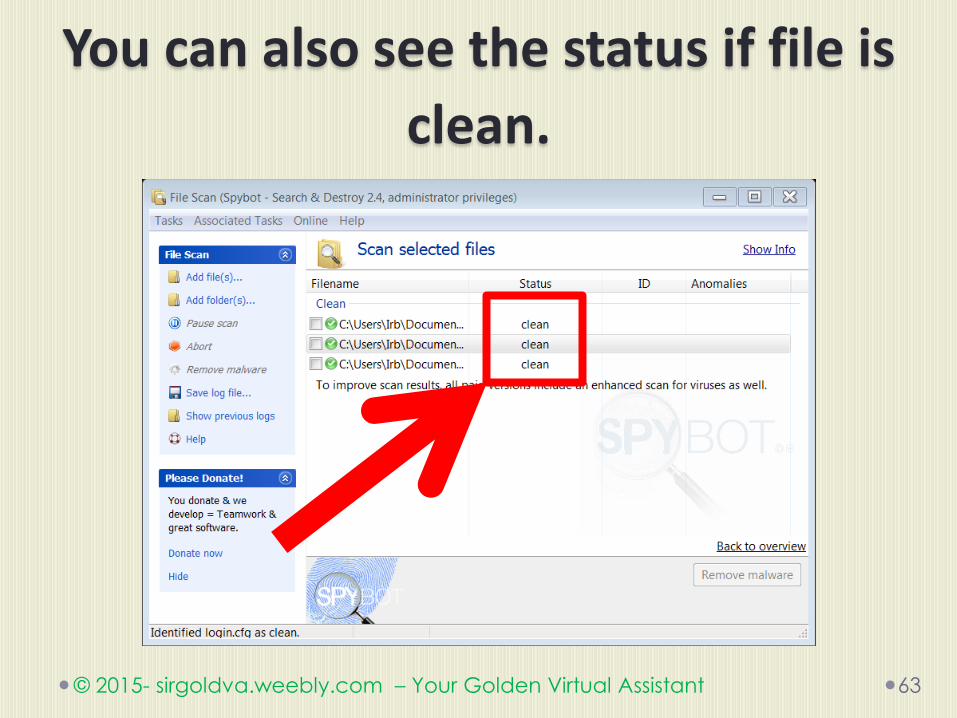
You can also see the status if file is
clean.
© 2015- sirgoldva.weebly.com – Your Golden Virtual Assistant 63

That’s it for scanning single/multiple
files.
© 2015- sirgoldva.weebly.com – Your Golden Virtual Assistant 64
If you want to scan a folder.
© 2015- sirgoldva.weebly.com – Your Golden Virtual Assistant 65
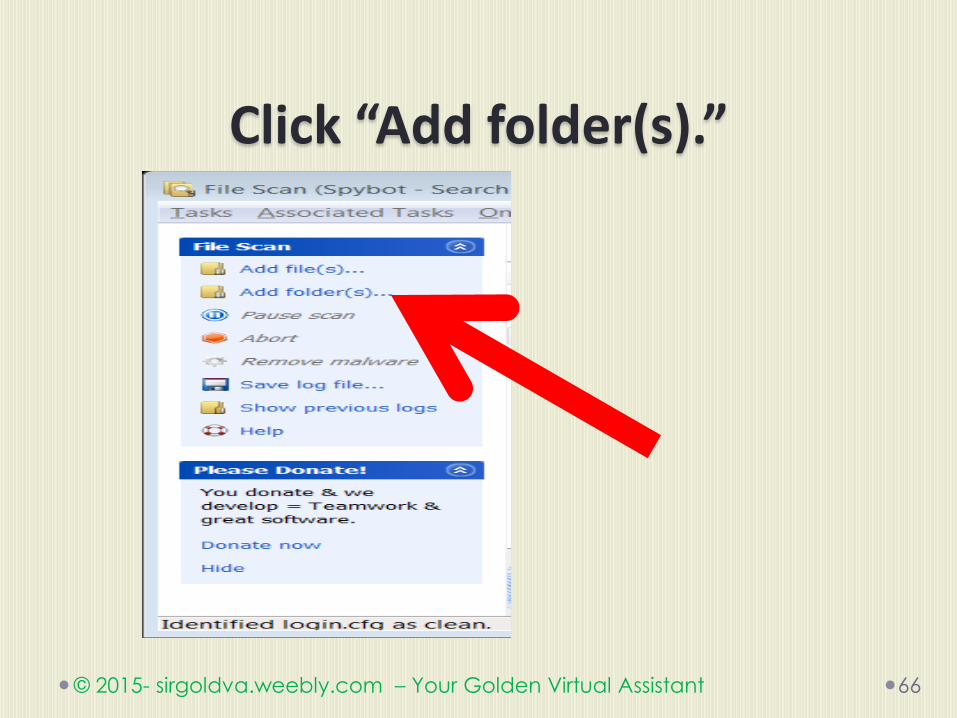
Click “Add folder(s).”
© 2015- sirgoldva.weebly.com – Your Golden Virtual Assistant 66
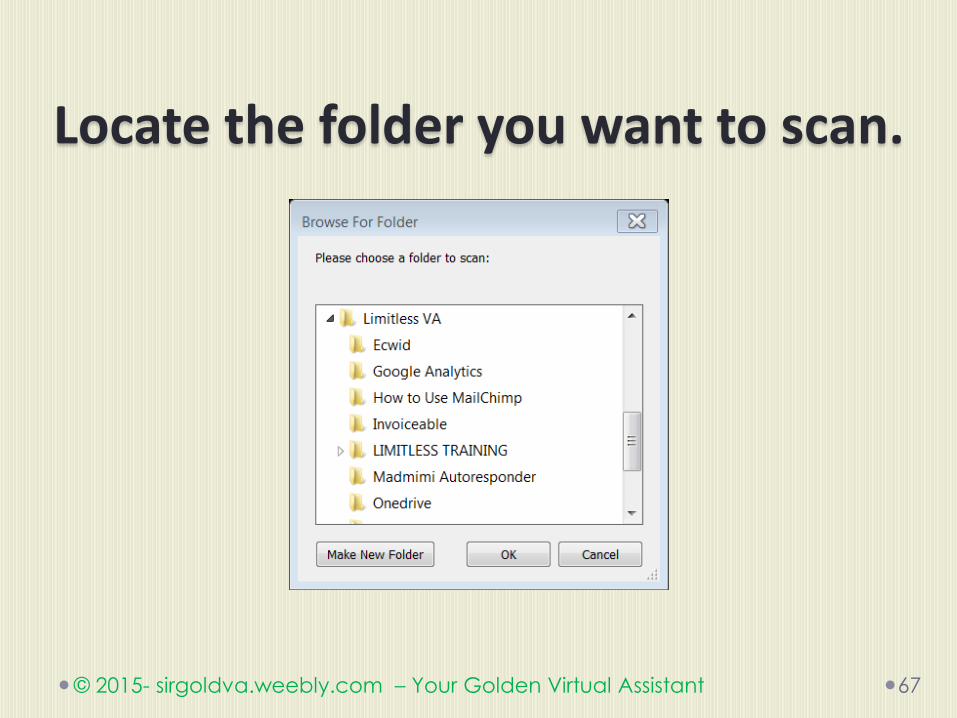
Locate the folder you want to scan.
© 2015- sirgoldva.weebly.com – Your Golden Virtual Assistant 67

Then click “OK.”
© 2015- sirgoldva.weebly.com – Your Golden Virtual Assistant 68

It is queued because it’s to many.
© 2015- sirgoldva.weebly.com – Your Golden Virtual Assistant 69
Wait until the scan is finish.
© 2015- sirgoldva.weebly.com – Your Golden Virtual Assistant 70

All files scanned.
© 2015- sirgoldva.weebly.com – Your Golden Virtual Assistant 71

Save the loge file, click “Save log file.”
© 2015- sirgoldva.weebly.com – Your Golden Virtual Assistant 72

Then click “Save.”
© 2015- sirgoldva.weebly.com – Your Golden Virtual Assistant 73
To immunize your computer against certain spyware.
© 2015- sirgoldva.weebly.com – Your Golden Virtual Assistant 74

Go back to Spybot Start Center.
© 2015- sirgoldva.weebly.com – Your Golden Virtual Assistant 75

Click “Immunization.”
© 2015- sirgoldva.weebly.com – Your Golden Virtual Assistant 76

This will appear.
© 2015- sirgoldva.weebly.com – Your Golden Virtual Assistant 77

Click “Check system.”
© 2015- sirgoldva.weebly.com – Your Golden Virtual Assistant 78

Or here.
© 2015- sirgoldva.weebly.com – Your Golden Virtual Assistant 79

Note: You must close all open
browsers.
© 2015- sirgoldva.weebly.com – Your Golden Virtual Assistant 80
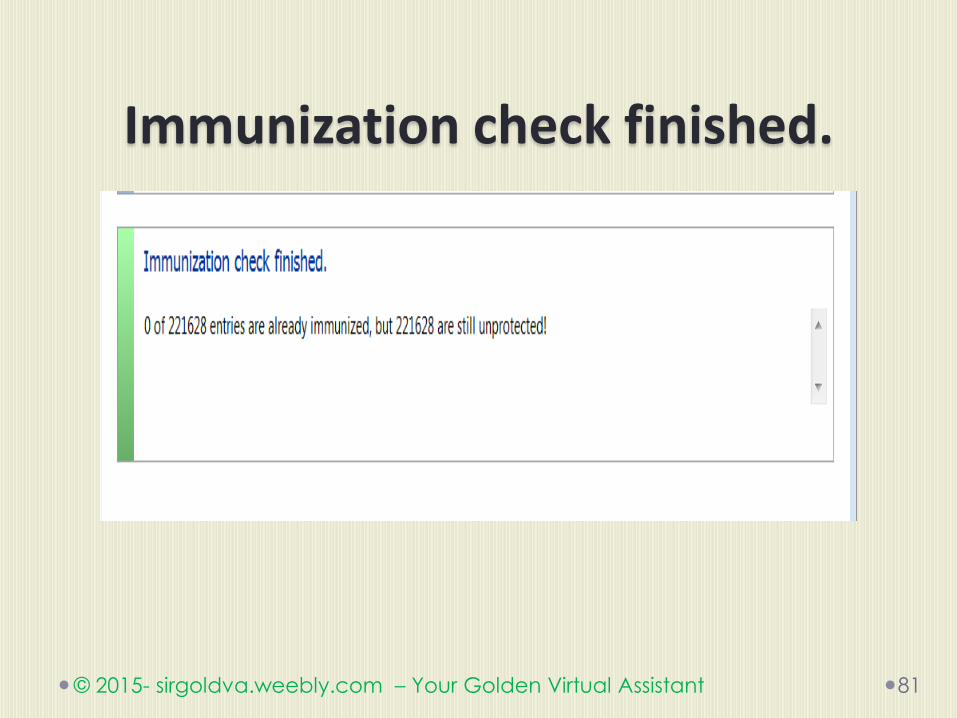
Immunization check finished.
© 2015- sirgoldva.weebly.com – Your Golden Virtual Assistant 81

To easily block some common threats.
© 2015- sirgoldva.weebly.com – Your Golden Virtual Assistant 82

You need to apply immunization.
© 2015- sirgoldva.weebly.com – Your Golden Virtual Assistant 83

Click “Apply immunization.”
© 2015- sirgoldva.weebly.com – Your Golden Virtual Assistant 84

Spybot immunizing your system now.
© 2015- sirgoldva.weebly.com – Your Golden Virtual Assistant 85

Wait for a moment until it’s finished.
© 2015- sirgoldva.weebly.com – Your Golden Virtual Assistant 86

Immunization complete.
© 2015- sirgoldva.weebly.com – Your Golden Virtual Assistant 87
If you want to undo immunization.
© 2015- sirgoldva.weebly.com – Your Golden Virtual Assistant 88

Just click “Undo immunization.”
© 2015- sirgoldva.weebly.com – Your Golden Virtual Assistant 89
To restore previously removed files for whatever reason.
© 2015- sirgoldva.weebly.com – Your Golden Virtual Assistant 90

Go back to Spybot Start Center.
© 2015- sirgoldva.weebly.com – Your Golden Virtual Assistant 91

Click “Quarantine.”
© 2015- sirgoldva.weebly.com – Your Golden Virtual Assistant 92
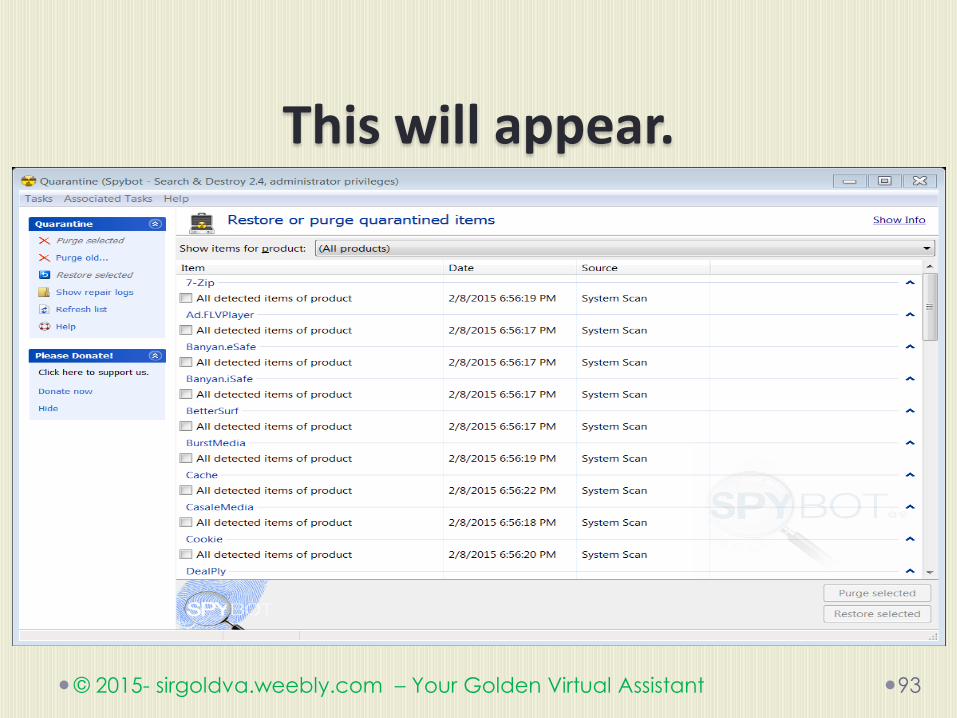
This will appear.
© 2015- sirgoldva.weebly.com – Your Golden Virtual Assistant 93

Select items you want to restore.
© 2015- sirgoldva.weebly.com – Your Golden Virtual Assistant 94

Then click “Restore selected.”
© 2015- sirgoldva.weebly.com – Your Golden Virtual Assistant 95

The Items you selected restored.
© 2015- sirgoldva.weebly.com – Your Golden Virtual Assistant 96
You can also purge item in quarantine.
© 2015- sirgoldva.weebly.com – Your Golden Virtual Assistant 97

Select items you want to purge.
© 2015- sirgoldva.weebly.com – Your Golden Virtual Assistant 98

Then click “Purge selected.”
© 2015- sirgoldva.weebly.com – Your Golden Virtual Assistant 99

The items you select purged.
© 2015- sirgoldva.weebly.com – Your Golden Virtual Assistant 100

Apply this tutorial now to your computer.
© 2015- sirgoldva.weebly.com – Your Golden Virtual Assistant 101

© 2015- sirgoldva.weebly.com – Your Golden Virtual Assistant 102

END.
© 2015- sirgoldva.weebly.com – Your Golden Virtual Assistant 103
Recommended