Instructions for requesting ECA Medium Assurance (browser based) certificates via
Internet Explorer.
IMPORTANT: These instructions are written step-by-step; do not perform an action before the
instructions tell you to do so.
A NOTE TO INTERNET EXPLORER APPLICANTS – Do not try to make certificate requests with the
Microsoft Edge browser; open Internet Explorer, instead. When performing certificate functions with
Internet Explorer, you are really dealing with the Windows operating system. This means that there can
be many Windows configuration variables that ORC cannot anticipate. You must be logged on to your
computer under your normal user profile (or Username) [Sometimes people get help from their IT
support personnel. Often, IT support personnel will log-on to the computer as the Administrator; but we
want the user logged on now, not the Administrator.]
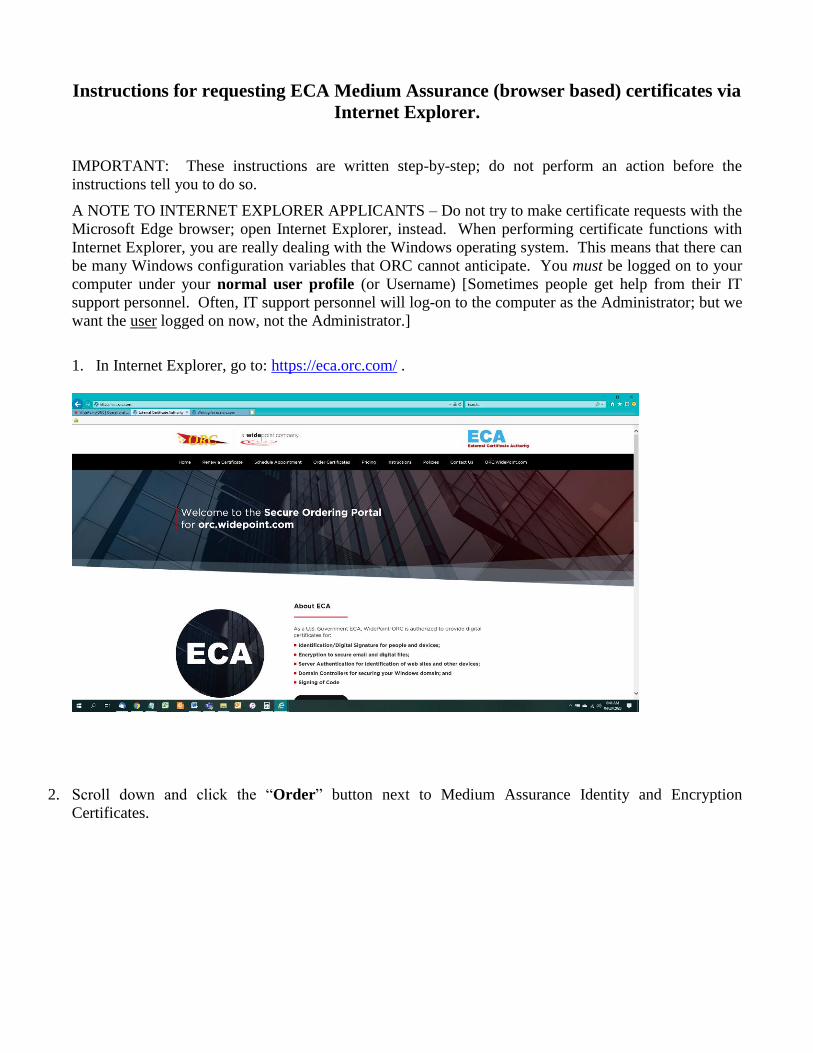
1. In Internet Explorer, go to: https://eca.orc.com/ .
2. Scroll down and click the “Order” button next to Medium Assurance Identity and Encryption
Certificates.

3. Click on the link to “Proceed to Step 1 to read the requirements”.
4. Read the requirements, and then click on the “Proceed to Step 2” button.

5. Read the requirements to present 2 photo IDs, Proof of Citizenship and Proof of Organizational
Affiliation when you go through the Identity Verification process. Then click on the “Proceed to Step
3” button.

6. At this point you will need to Trust the Certificate Authority (CA).
You can follow the instructions on this page to manually trust all of the ORC ECA Certificate
Authority servers. But a more effective method of doing this is to run the DoD InstallRoot tool. The
DoD Installroot tool will trust all of the DoD PKI and all of the ECA PKIs very quickly. It is the
recommended way to perform this process. You can run the DoD Installroot tool by referencing this
instruction: https://eca.orc.com/wp-content/uploads/ECA_Docs/Trusting_DoD_PKIs.pdf When you
have trusted the ECA PKI, click the “Proceed to Step 4” button.
Trust the PKIs with InstallRoot (Windows OS only)
Windows users have 2 possible methods for trusting the ORC ECA. They can use the DoD’s InstallRoot tool
or they can use the manual method. The DoD InstallRoot tool is the recommended method. If run correctly,
it trusts the DoD PKI and the [DoD] ECA PKI (which includes the ORC ECA) and sets up that trust in the
manner preferred by the DoD in Windows, Mozilla (Firefox) applications, and Java certificate store.
You can find instructions on downloading and running the tool here: https://eca.orc.com/wp-
content/uploads/ECA_Docs/Trusting_DoD_PKIs.pdf.
If you run the InstallRoot tool according to our instructions, you do not need to use the manual method
below.
Step A. Trust the ECA Root CA 4 Certificate Authority
Step B. Trust the ECA Root 2 Certificate Authority
Step C. Trust the ECA 6 Certificate Authority
Step D. Trust the ECA 7 Certificate Authority
Step E. Trust the ORC ECA CA SW5 Certificate Authority
Step F. Trust the ORC ECA CA HW5 Certificate Authority
After installing the Certificate Authorities:
Proceed to Step 4: Request Your Certificates
7. On the application page, select the desired Validity Period (One or Three Years), enter your name,
company name, the email address that you use at work, your citizenship, and your phone number at
work. Then click the Submit button.

8. If you see a Web Access Confirmation dialogue box, click Yes
9. On the Confirm Information page, double check your information, make any changes if necessary and
then click “This is Correct”. (NOTE: If you make a mistake and ORC has to re-issue your certificate
with a correction, you will be charged again to fix your mistake.)
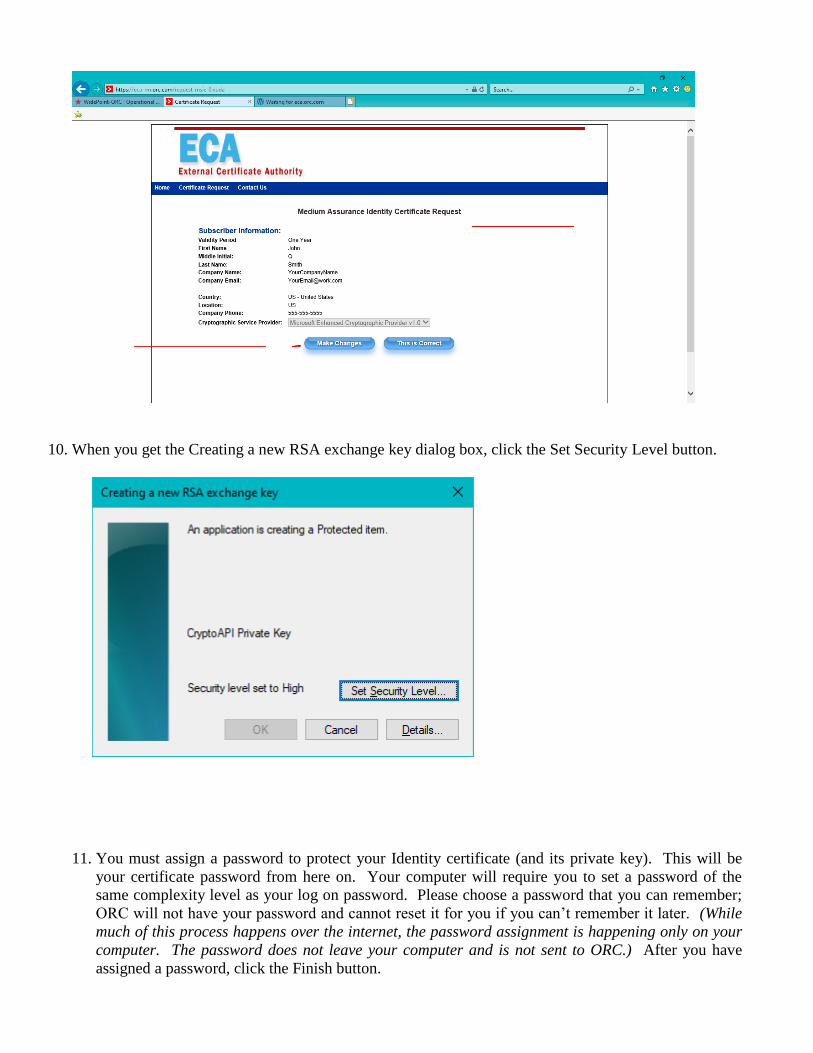
10. When you get the Creating a new RSA exchange key dialog box, click the Set Security Level button.
11. You must assign a password to protect your Identity certificate (and its private key). This will be
your certificate password from here on. Your computer will require you to set a password of the
same complexity level as your log on password. Please choose a password that you can remember;
ORC will not have your password and cannot reset it for you if you can’t remember it later. (While
much of this process happens over the internet, the password assignment is happening only on your
computer. The password does not leave your computer and is not sent to ORC.) After you have
assigned a password, click the Finish button.

12. You may now click the OK button.

13. If you see a Web Access Confirmation dialogue box, click Yes
14. Your computer has generated the private/public keys for your Identity certificate. Now click the Submit
button to request your Encruption certificate.

15. When you get the Creating a new RSA exchange key dialog box, click the Set Security Level button.
16. You must assign a password to protect your Encryption certificate (and it’s private key). You may
use the same password for your Encryption certificate as you used for your Identity certificate. This
will be your certificate password from here on. Your computer will require you to set a password of
the same complexity level as your log on password. Please choose a password that you can
remember; ORC will not have your password and cannot reset it for you if you can’t remember it
later. (While much of this process happens over the internet, the password assignement is happening
only on your computer. The password does not leave your computer and is not sent to ORC.) After
you have assigned a password, click the Finish button.

17. You may now click the OK button.
18. The request form is displayed on the screen. Please click the link to print the Request form. The printed
request form should be three (3) pages long. The third page is instructions. After the form has printed,
click the Continue button.

19. You have completed the Certificate Request process. The next page asks you to verify and back-up your
certificate key. This procedure will mitigate the risk of technical problems ‘destroying’ your certificate.
Instructions for doing so are referenced on the page.
The RSA Key Pairs are generated in your Windows certificate store. There will be an RSA key for each
certificate request that you have made. Your computer will look for this RSA Key Pair when you
attempt to import the issued certificate from the certificate server. This RSA Key Pair is NOT YET a
certificate; it is, rather, the 'foundation' of the certificate (i.e. - the RSA Key Pair will become the
certificate). It has real value prior to your certificate being issued.
20. After backing up your RSA keys, click the button to “Proceed to Step 6”
21. Click the button that corresponds to your citizenship status. Read all of the information provided and
follow the instructions on this page to submit your request forms to ORC.
(See following page for screenshot.)

22. The application process is complete.
Recommended