Now you’ll learn the steps of printmaking and how to use the tools.
1
2
4
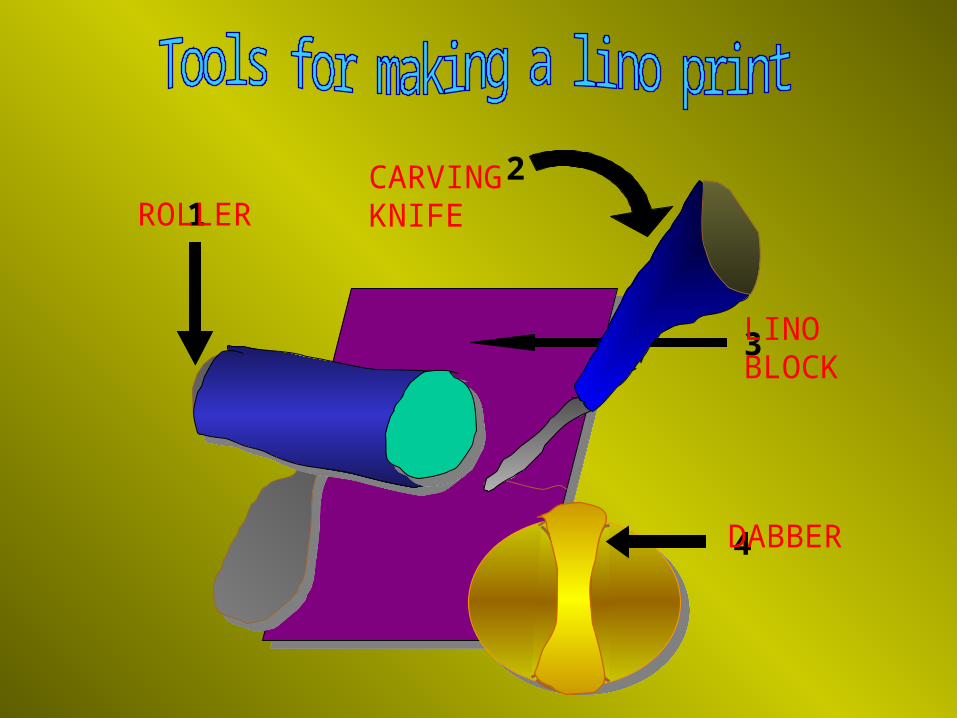
ROLLERCARVING KNIFE
DABBER
3LINO BLOCK
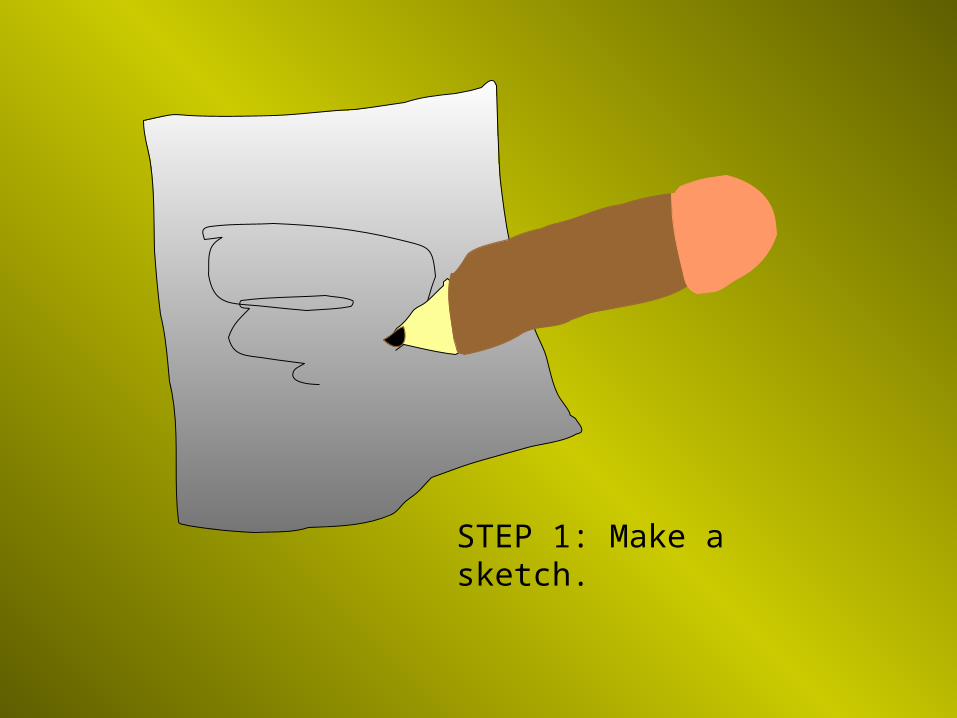
STEP 1: Make a sketch.

STEP 2: Transfer the image onto the lino block.
Do you know how?

STEP 3: You can start to make marks with your carving knife.
Safety Tip: You ___________ put your hand in front of the carving knife.
MUST NOT

Just like this.

The following is the marks carved by the different knives.

STEP 4: Put some printing paint on a tray.

STEP 5: Put the printing paint onto your block with a roller.

Just like this.

STEP 6: Put a piece of paper ____________ the block.ON TOP OF
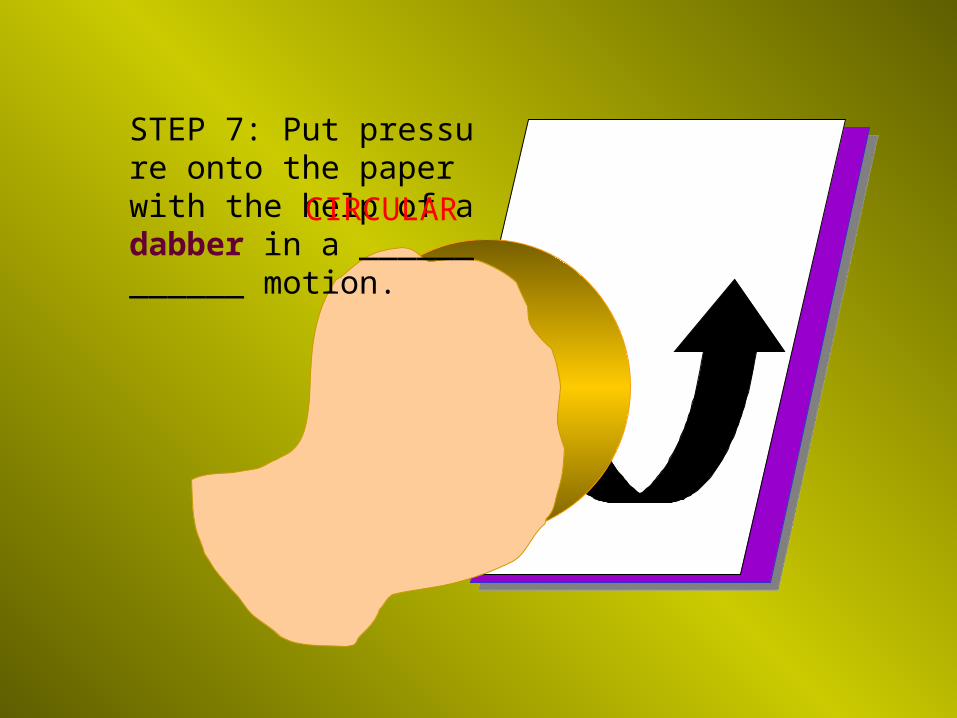
STEP 7: Put pressure onto the paper with the help of a dabber in a ____________ motion.
CIRCULAR

Just like this.

A/P Artist Proof
1/100 The Number of the Print
Title of the Print Name of the ArtistA/P Hawaii Highway Gary Luedtke

REVISION
Name the different tools
REVISION
Name the different tools
1
2
4
ROLLERCARVING KNIFE
DABBER
3LINO BLOCK

Now it’s your turn to make a print.

Power Point Project on Printmaking by :
Poon Yu Ching
Our Lady of the Rosary College
Special thanks to Miss Chelse Chan for her help on the photos and video clips.
Recommended