TERM 1
TEACHER’S GUIDE
5


TABLE OF CONTENT
Chapter 1: ASSESSMENT STATEMENTS 9In this chapter you will learn :1.1 The Style of The End Project
Chapter 2: GET STARTED 13
Chapter 3: EXPLORING THEME PARK RIDES 27 In this chapter you will learn to:3.1 Explore a range of existing products3.2 Evaluate a range of existing products3.3 Explain the mechanisms how di�erent Theme Park rides work
Chapter 4: ELECTRICAL CIRCUITS 41In this chapter you will learn to:4.1 Construct a series circuit4.2 Identify the basic parts of a circuit 4.3 Explain the di�erence between a complete and incomplete circuit4.4 Explain and make accurate predications
Chapter 5: MOTORS AND PULLEYS 53In this chapter you will learn to:5.1 Explain how the ‘pulley and belt’ system works5.2 Explain how the speed of a pulley can be changed5.3 Create a ride with a rotating mechanism5.4 Explain how the mechanism is working to rotate the ride
Chapter 6: SPUR GEARS 67In this chapter you will learn to:6.1 Describe how the spur gear mechanism works 6.2 Give examples of rides that will use the spur gear
Chapter 7:THE FRAMEWORK 75In this chapter you will learn to:7.1 Explain ways in which trusses can be used to strengthen structures7.2 Develop criteria and design a prototype7.3 Analyse and evaluate products according to design criteria.
In this chapter you will learn to:2.1 De�ne Design and Technology 2.2 Understand the need for Design and Technology2.3 Experience the Design Process (DP)2.4 Understand the Design Process (DP)
Chapter 8: CREATE YOUR RIDE 89 In this chapter you will learn to:8.1 Sketch ideas to meet user requirements 8.2 Develop design criteria from a project design brief8.3 Create a product using design criteria as a guide8.4 Evaluate the success of a �nal product against the design criteria
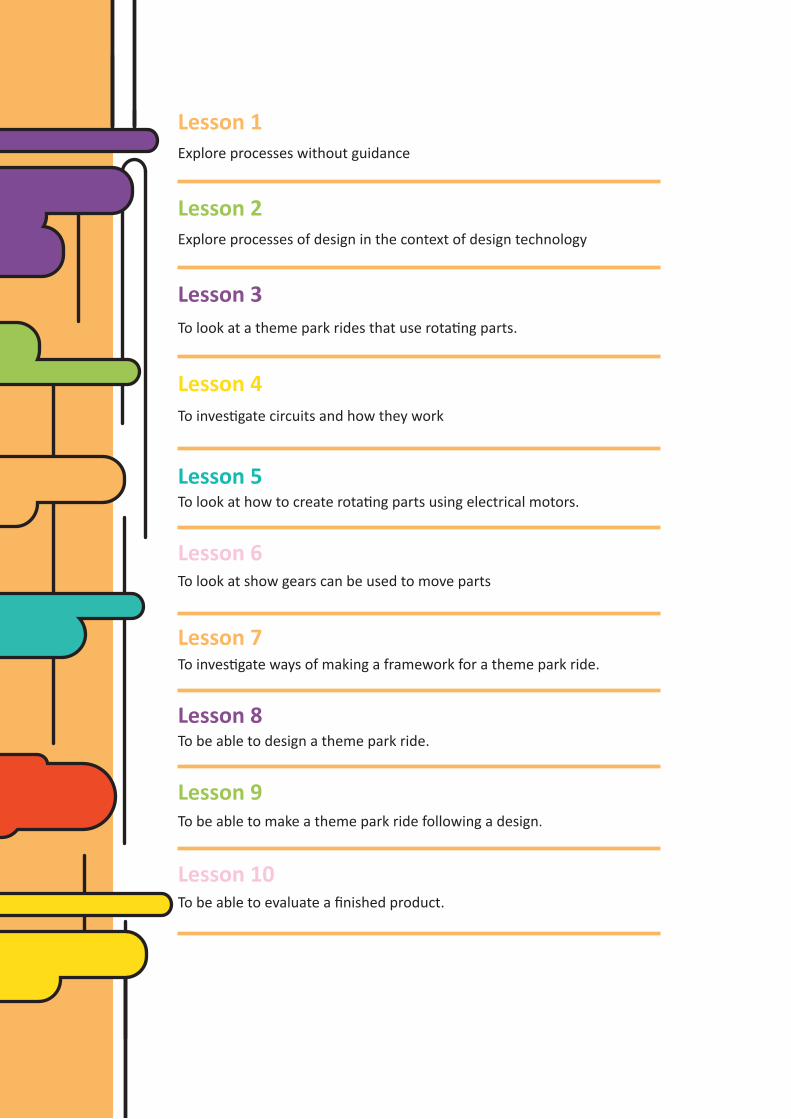
Lesson 1 Explore processes without guidance
Lesson 2Explore processes of design in the context of design technology
Lesson 3 To look at a theme park rides that use rotating parts.
Lesson 4 To investigate circuits and how they work
Lesson 5 To look at how to create rotating parts using electrical motors.
Lesson 6 To look at show gears can be used to move parts
Lesson 7 To investigate ways of making a framework for a theme park ride.
Lesson 8 To be able to design a theme park ride.
Lesson 9 To be able to make a theme park ride following a design.
Lesson 10 To be able to evaluate a finished product.
Chapter 1: ASSESSMENT STATEMENTS 9In this chapter you will learn :1.1 The Style of The End Project
Chapter 2: GET STARTED 13
Chapter 3: EXPLORING THEME PARK RIDES 27 In this chapter you will learn to:3.1 Explore a range of existing products3.2 Evaluate a range of existing products3.3 Explain the mechanisms how di�erent Theme Park rides work
Chapter 4: ELECTRICAL CIRCUITS 41In this chapter you will learn to:4.1 Construct a series circuit4.2 Identify the basic parts of a circuit 4.3 Explain the di�erence between a complete and incomplete circuit4.4 Explain and make accurate predications
Chapter 5: MOTORS AND PULLEYS 53In this chapter you will learn to:5.1 Explain how the ‘pulley and belt’ system works5.2 Explain how the speed of a pulley can be changed5.3 Create a ride with a rotating mechanism5.4 Explain how the mechanism is working to rotate the ride
Chapter 6: SPUR GEARS 67In this chapter you will learn to:6.1 Describe how the spur gear mechanism works 6.2 Give examples of rides that will use the spur gear
Chapter 7:THE FRAMEWORK 75In this chapter you will learn to:7.1 Explain ways in which trusses can be used to strengthen structures7.2 Develop criteria and design a prototype7.3 Analyse and evaluate products according to design criteria.
In this chapter you will learn to:2.1 De�ne Design and Technology 2.2 Understand the need for Design and Technology2.3 Experience the Design Process (DP)2.4 Understand the Design Process (DP)
Chapter 8: CREATE YOUR RIDE 89 In this chapter you will learn to:8.1 Sketch ideas to meet user requirements 8.2 Develop design criteria from a project design brief8.3 Create a product using design criteria as a guide8.4 Evaluate the success of a �nal product against the design criteria
STUDENT TALK OUTCOMES
Chapter 1: ASSESSMENT STATEMENTS 9In this chapter you will learn :1.1 The Style of The End Project
Chapter 2: GET STARTED 13
Chapter 3: EXPLORING THEME PARK RIDES 27 In this chapter you will learn to:3.1 Explore a range of existing products3.2 Evaluate a range of existing products3.3 Explain the mechanisms how di�erent Theme Park rides work
Chapter 4: ELECTRICAL CIRCUITS 41In this chapter you will learn to:4.1 Construct a series circuit4.2 Identify the basic parts of a circuit 4.3 Explain the di�erence between a complete and incomplete circuit4.4 Explain and make accurate predications
Chapter 5: MOTORS AND PULLEYS 53In this chapter you will learn to:5.1 Explain how the ‘pulley and belt’ system works5.2 Explain how the speed of a pulley can be changed5.3 Create a ride with a rotating mechanism5.4 Explain how the mechanism is working to rotate the ride
Chapter 6: SPUR GEARS 67In this chapter you will learn to:6.1 Describe how the spur gear mechanism works 6.2 Give examples of rides that will use the spur gear
Chapter 7:THE FRAMEWORK 75In this chapter you will learn to:7.1 Explain ways in which trusses can be used to strengthen structures7.2 Develop criteria and design a prototype7.3 Analyse and evaluate products according to design criteria.
In this chapter you will learn to:2.1 De�ne Design and Technology 2.2 Understand the need for Design and Technology2.3 Experience the Design Process (DP)2.4 Understand the Design Process (DP)
Chapter 8: CREATE YOUR RIDE 89 In this chapter you will learn to:8.1 Sketch ideas to meet user requirements 8.2 Develop design criteria from a project design brief8.3 Create a product using design criteria as a guide8.4 Evaluate the success of a �nal product against the design criteria
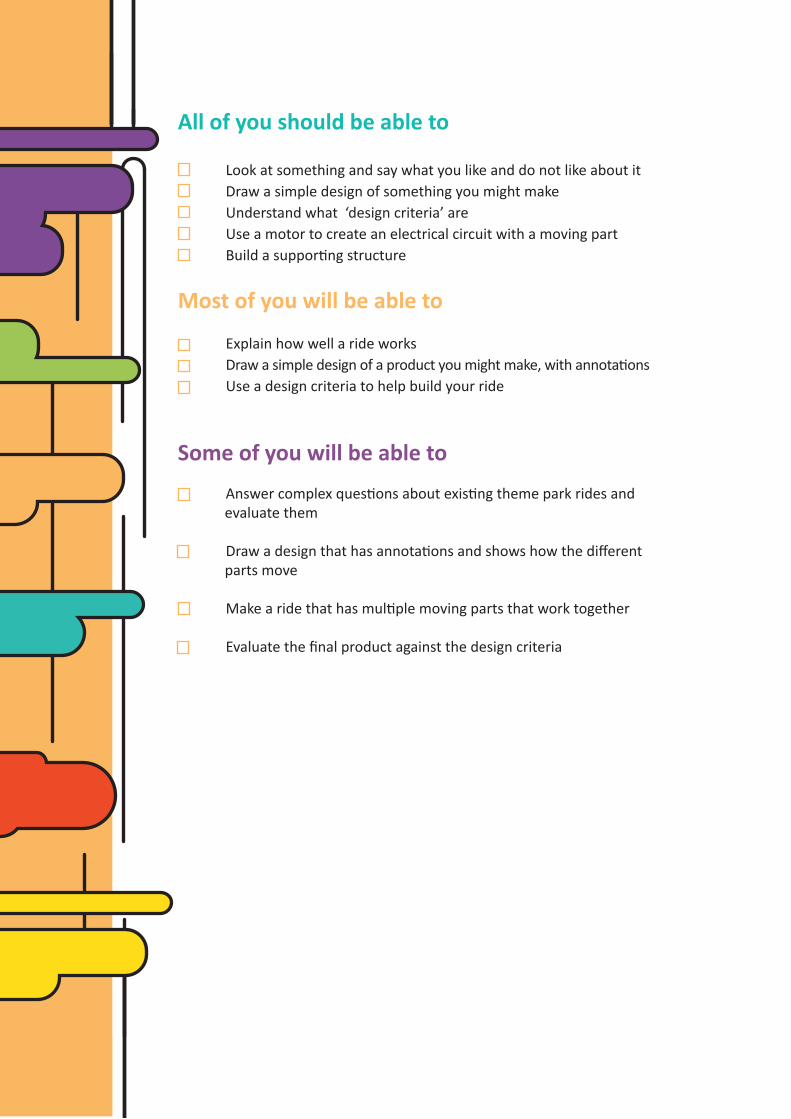
All of you should be able to
Look at something and say what you like and do not like about it Draw a simple design of something you might make Understand what ‘design criteria’ are Use a motor to create an electrical circuit with a moving part Build a supporting structure
Most of you will be able to
Explain how well a ride works Draw a simple design of a product you might make, with annotations Use a design criteria to help build your ride
Some of you will be able to
Answer complex questions about existing theme park rides and evaluate them
Draw a design that has annotations and shows how the different parts move
Make a ride that has multiple moving parts that work together
Evaluate the final product against the design criteria
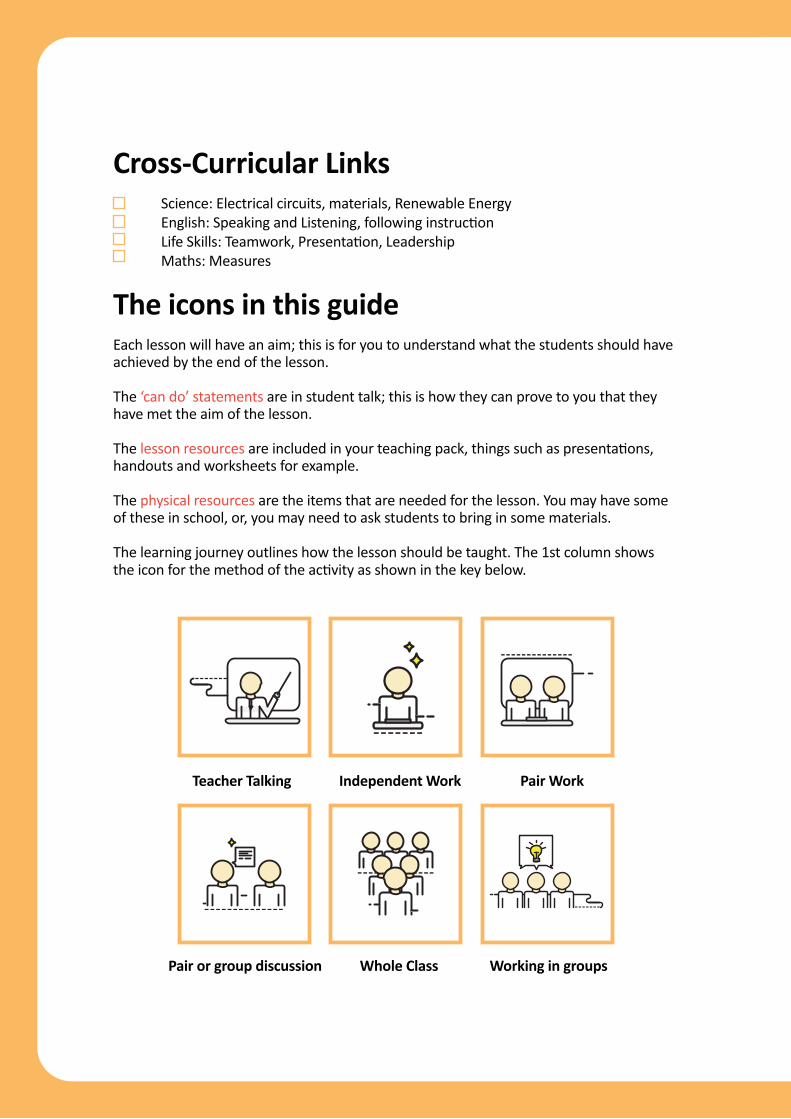
The icons in this guideEach lesson will have an aim; this is for you to understand what the students should have achieved by the end of the lesson.
The ‘can do’ statements are in student talk; this is how they can prove to you that they have met the aim of the lesson.
The lesson resources are included in your teaching pack, things such as presentations, handouts and worksheets for example.
The physical resources are the items that are needed for the lesson. You may have some of these in school, or, you may need to ask students to bring in some materials.
The learning journey outlines how the lesson should be taught. The 1st column shows the icon for the method of the activity as shown in the key below.
Teacher Talking Independent Work Pair Work
Pair or group discussion Whole Class Working in groups
Cross-Curricular Links Science: Electrical circuits, materials, Renewable Energy English: Speaking and Listening, following instruction Life Skills: Teamwork, Presentation, Leadership Maths: Measures
Useful Videos Being a Design Technology Teacher https://www.youtube.com/watch?v=4fJ269gHBRM
Some tips of methodologyThis book has been designed to have students working a lot collaboratively. Working in groups, pairs and providing feedback to the whole class. There is a lot of reference to think, pair, share.
What is meant by think, pair, share?
Think-pair-share (TPS) is a learning strategy. It encourages collaborative learning.
Students think through questions using steps:
Think: Students think on their own about the questions and ideas.
Pair: Students are put in pairs to talk about their thoughts. This step allows students to focus their ideas, prepare what they will say and to consider ideas of others.
Share: Student pairs share their ideas with the whole class. Usually, students feel more confident to present ideas to a group with the support of a partner that they have just shared their ideas with. Using this process students’ ideas have become more focused through each of the three-steps.
Aim of the lesson:Explore processes without guidance
Can do statements:I can explain what the Design and Technology subject is
I can be part of the ‘Design Process’ to create a product
Key Words:Product
Design Brief
Plan
Draw
Lesson Resources:Student Textbook
Physical Resources needed:Sticks Glue
Lesson 1

Learning Journey
Start by writing the words design and process on the board. Ask students what they think this subject is about? What comes to their minds? Have students worked in pairs then discussed as a class.
Explain that design technology is about the designing products with technology built into them. Walk them through the kettle example in the book.
Explain that this term is all about design, after this tech-nology will be included.
Explain the design brief. Students will create a house out of glue and sticks. Keep it very brief, answer no questions about the design or structure of the house.
Put students into pairs. Have they worked together to draw four designs each of a house built of glue and sticks?
Once complete, notice if students have worked as a group to get feedback on each pair’s design.
Put students into groups of four to draw the final house their whole group will make
Once you approve, allow students to work in groups of four to build their chosen house.
Once built, talk students through the checklist, have them complete the checklist for their house.
Have students discussed in pairs, and then have written in their own words how they would make the house better if they did it again.
Delivery Content
Aim of the lesson:Explore processes of design in the context of design technology
Can do statements:I can explain what the ‘Design Process’ is
Key Words:Process
Evaluate
Improve
Feedback
Lesson Resources:Student Textbook
Lesson 2
Learning Journey
Begin by asking the class to feedback on their house building activity. Guide them through questions such as “would it have been better if you asked for questions? If you knew it needed four windows, two doors and a garage?”
Explain to students that there are certain steps we follow to create the best design to meet the customer’s needs.
Delivery Content
Talk students through the design process. Try to make this interactive by asking lots of questions, keep getting feedback from students and adjust the pace as you see fit.
Aim of the lesson:To look at a theme park rides that use rotating parts.
Can do statements:I can give examples of objects that use electrical motors to cause rotation
I can say how rotation is used in theme park rides
Key Words:Rotating
Materials
Appearance
Motor
Mechanism
Lesson Resources:Student Textbook
Videos
Lesson 3
Learning Journey
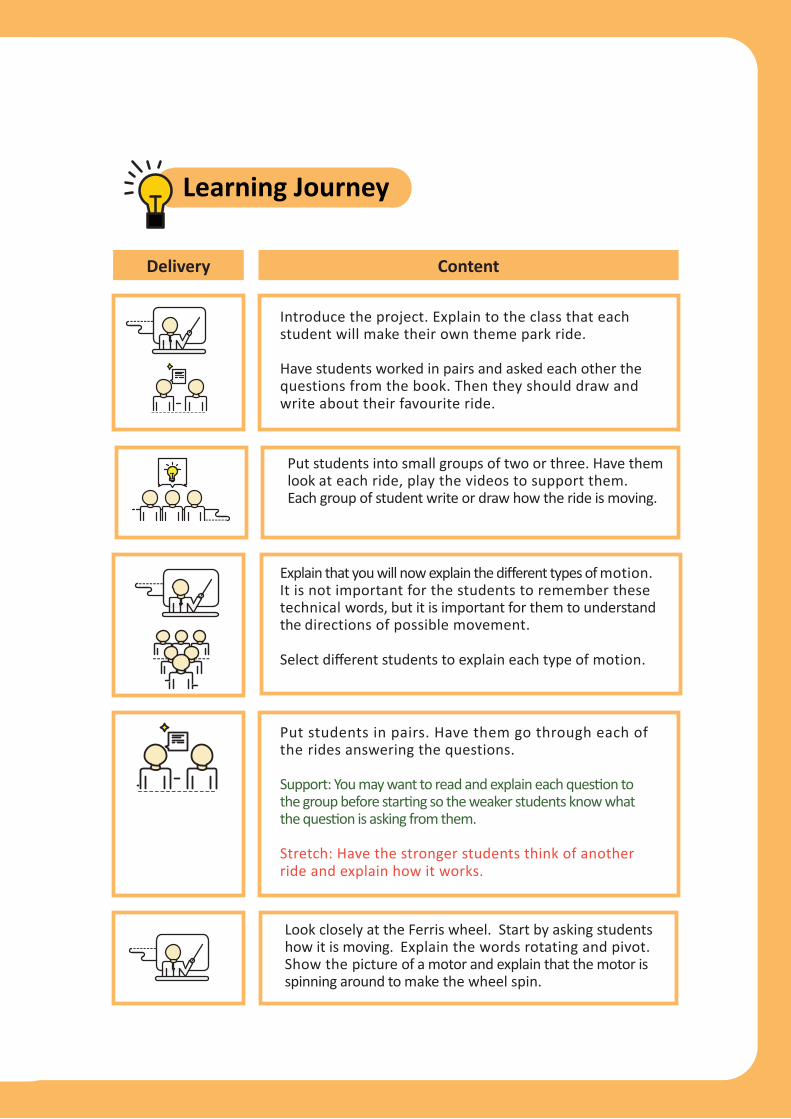
Put students into small groups of two or three. Have them look at each ride, play the videos to support them. Each group of student write or draw how the ride is moving.
Delivery Content
Introduce the project. Explain to the class that each student will make their own theme park ride.
Have students worked in pairs and asked each other the questions from the book. Then they should draw and write about their favourite ride.
Explain that you will now explain the different types of motion. It is not important for the students to remember these technical words, but it is important for them to understand the directions of possible movement.
Select different students to explain each type of motion.
Put students in pairs. Have them go through each of the rides answering the questions.
Support: You may want to read and explain each question to the group before starting so the weaker students know what the question is asking from them.
Stretch: Have the stronger students think of another ride and explain how it works.
Look closely at the Ferris wheel. Start by asking students how it is moving. Explain the words rotating and pivot. Show the picture of a motor and explain that the motor is spinning around to make the wheel spin.

Aim of the lesson:To investigate circuits and how they work
Can do statements:I can tell someone how electricity moves in complete and incomplete circuits
I can tell someone how a circuit works and why it might not work.
I know what the basic parts of a circuit are
Key Words:Cell Battery Predict
Bulb Motor Wire
Lesson Resources:Student Textbook
Videos
Physical Resources needed:Motor Wire Battery
Bulb and Bulb holder
Lesson 4+
-+
-+
-+
-
Learning Journey
Delivery Content
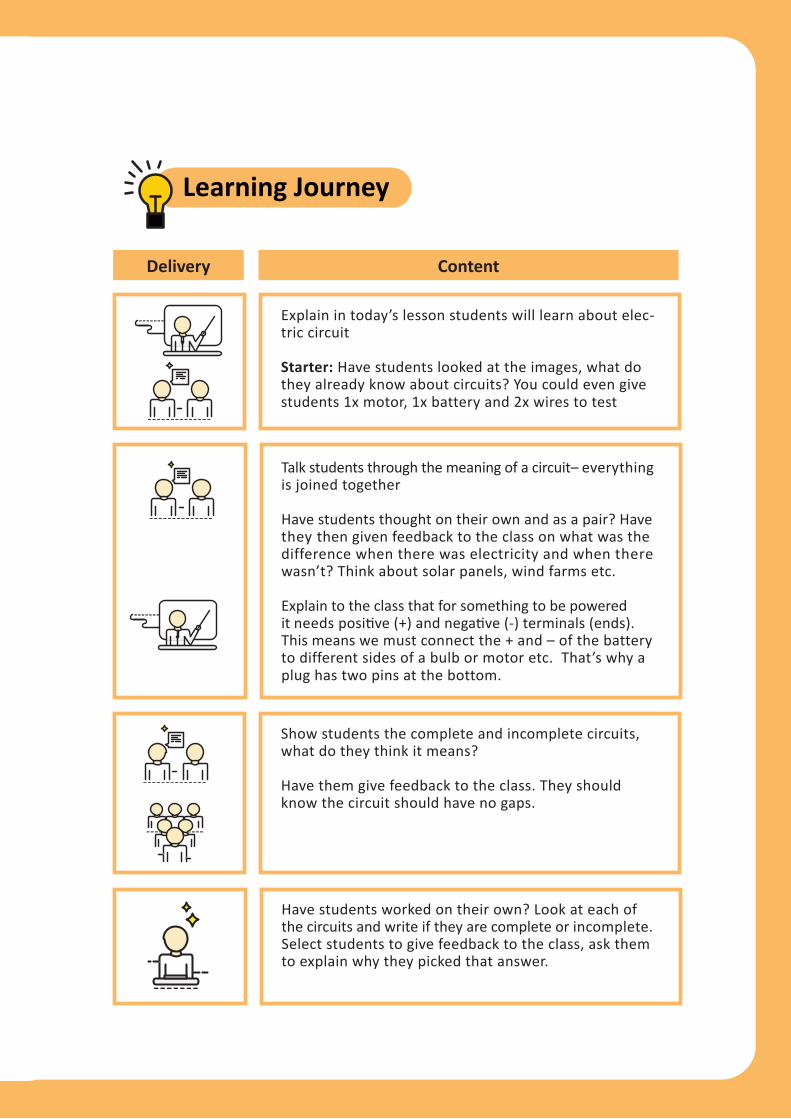
Explain in today’s lesson students will learn about elec-tric circuit
Starter: Have students looked at the images, what do they already know about circuits? You could even give students 1x motor, 1x battery and 2x wires to test
Talk students through the meaning of a circuit– everything is joined together
Have students thought on their own and as a pair? Have they then given feedback to the class on what was the difference when there was electricity and when there wasn’t? Think about solar panels, wind farms etc.
Explain to the class that for something to be powered it needs positive (+) and negative (-) terminals (ends). This means we must connect the + and – of the battery to different sides of a bulb or motor etc. That’s why a plug has two pins at the bottom.
Show students the complete and incomplete circuits, what do they think it means?
Have them give feedback to the class. They should know the circuit should have no gaps.
Have students worked on their own? Look at each of the circuits and write if they are complete or incomplete. Select students to give feedback to the class, ask them to explain why they picked that answer.
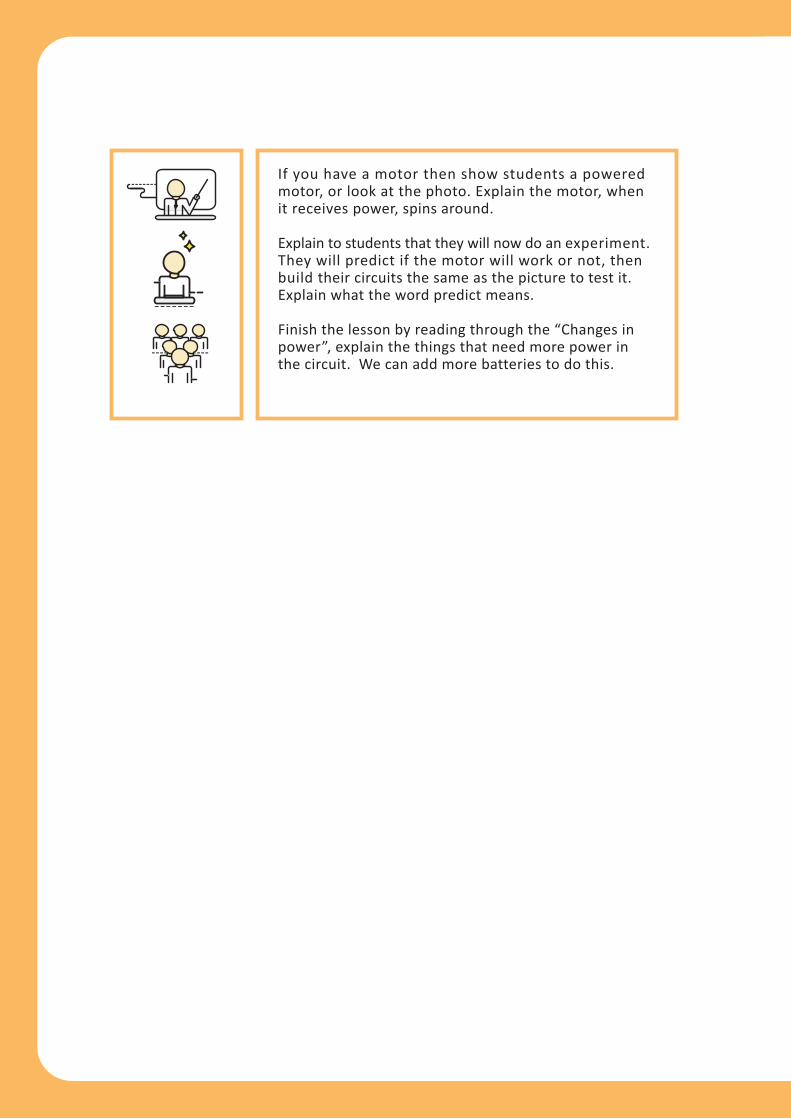
If you have a motor then show students a powered motor, or look at the photo. Explain the motor, when it receives power, spins around.
Explain to students that they will now do an experiment. They will predict if the motor will work or not, then build their circuits the same as the picture to test it. Explain what the word predict means.
Finish the lesson by reading through the “Changes in power”, explain the things that need more power in the circuit. We can add more batteries to do this.

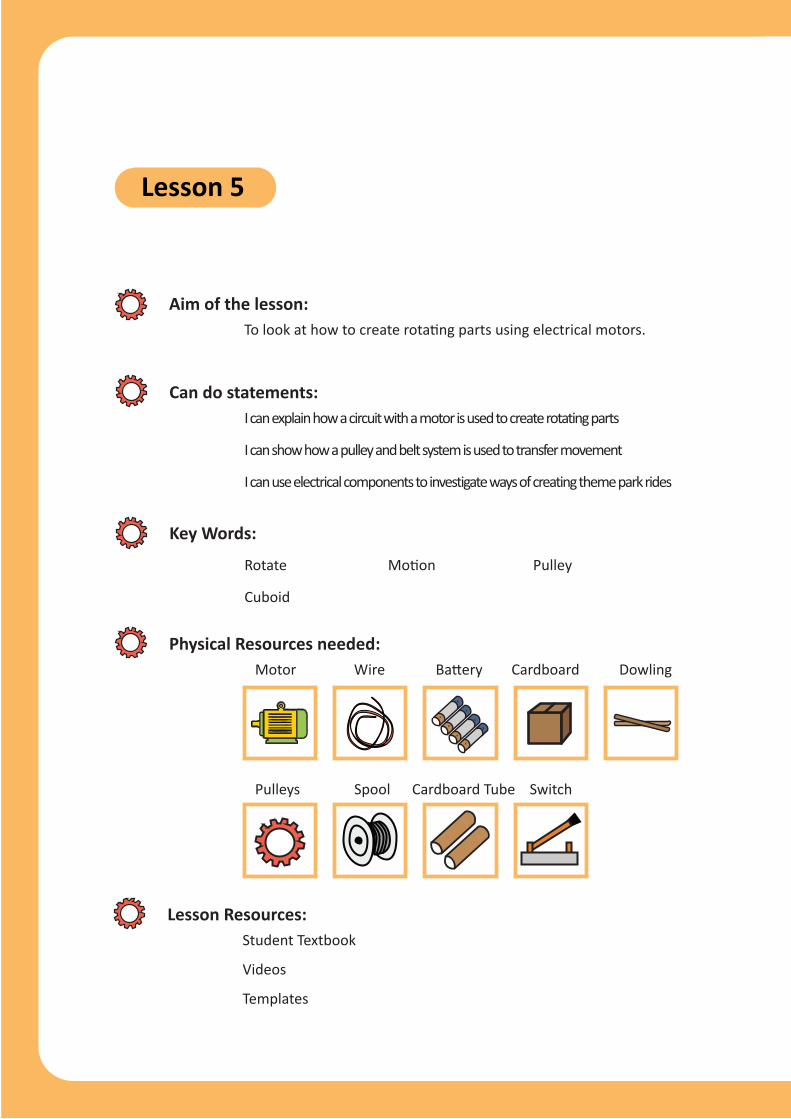
Aim of the lesson:To look at how to create rotating parts using electrical motors.
Can do statements:I can explain how a circuit with a motor is used to create rotating parts
I can show how a pulley and belt system is used to transfer movement
I can use electrical components to investigate ways of creating theme park rides
Key Words:
Rotate Motion Pulley
Cuboid
Lesson Resources:Student Textbook
Videos
Templates
Physical Resources needed: Motor Wire Battery Cardboard Dowling
Pulleys Spool Cardboard Tube Switch
Lesson 5
+
-+
-+
-+
-
Learning Journey
Delivery Content
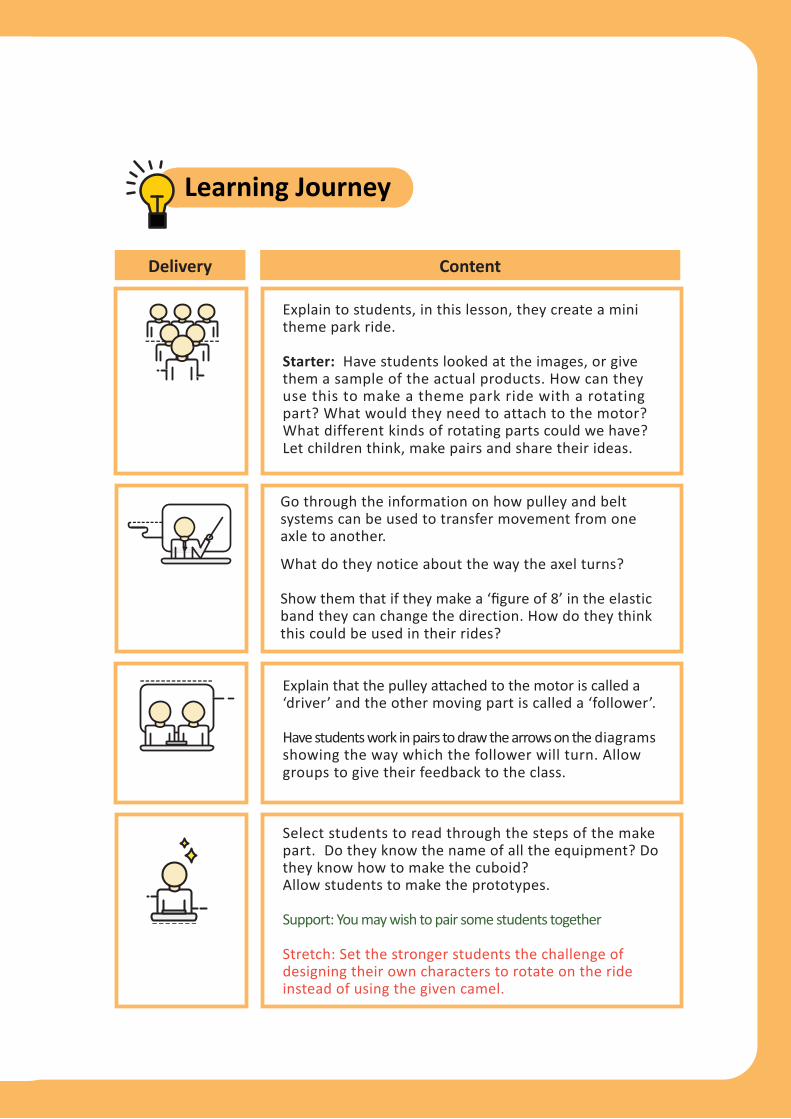
Explain to students, in this lesson, they create a mini theme park ride.
Starter: Have students looked at the images, or give them a sample of the actual products. How can they use this to make a theme park ride with a rotating part? What would they need to attach to the motor? What different kinds of rotating parts could we have? Let children think, make pairs and share their ideas.
Explain that the pulley attached to the motor is called a ‘driver’ and the other moving part is called a ‘follower’.
Have students work in pairs to draw the arrows on the diagrams showing the way which the follower will turn. Allow groups to give their feedback to the class.
Select students to read through the steps of the make part. Do they know the name of all the equipment? Do they know how to make the cuboid?Allow students to make the prototypes.
Support: You may wish to pair some students together
Stretch: Set the stronger students the challenge of designing their own characters to rotate on the ride instead of using the given camel.
Go through the information on how pulley and belt systems can be used to transfer movement from one axle to another.
What do they notice about the way the axel turns?
Show them that if they make a ‘figure of 8’ in the elastic band they can change the direction. How do they think this could be used in their rides?
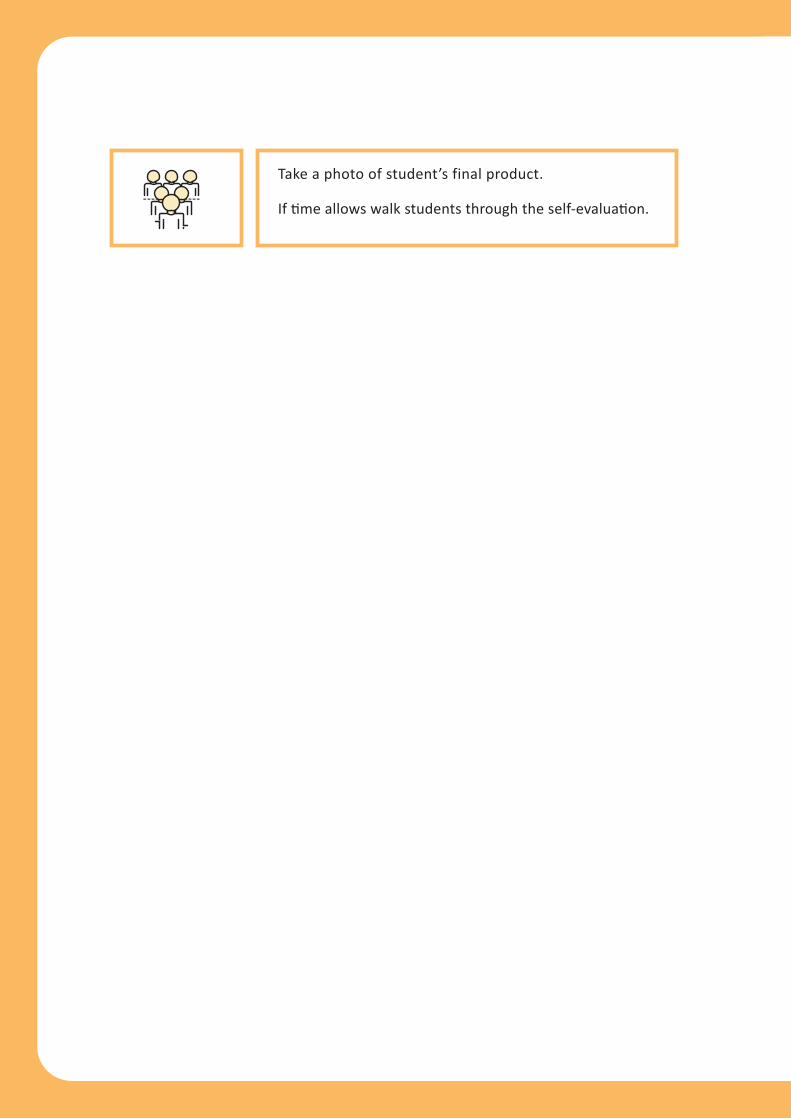
Take a photo of student’s final product.
If time allows walk students through the self-evaluation.

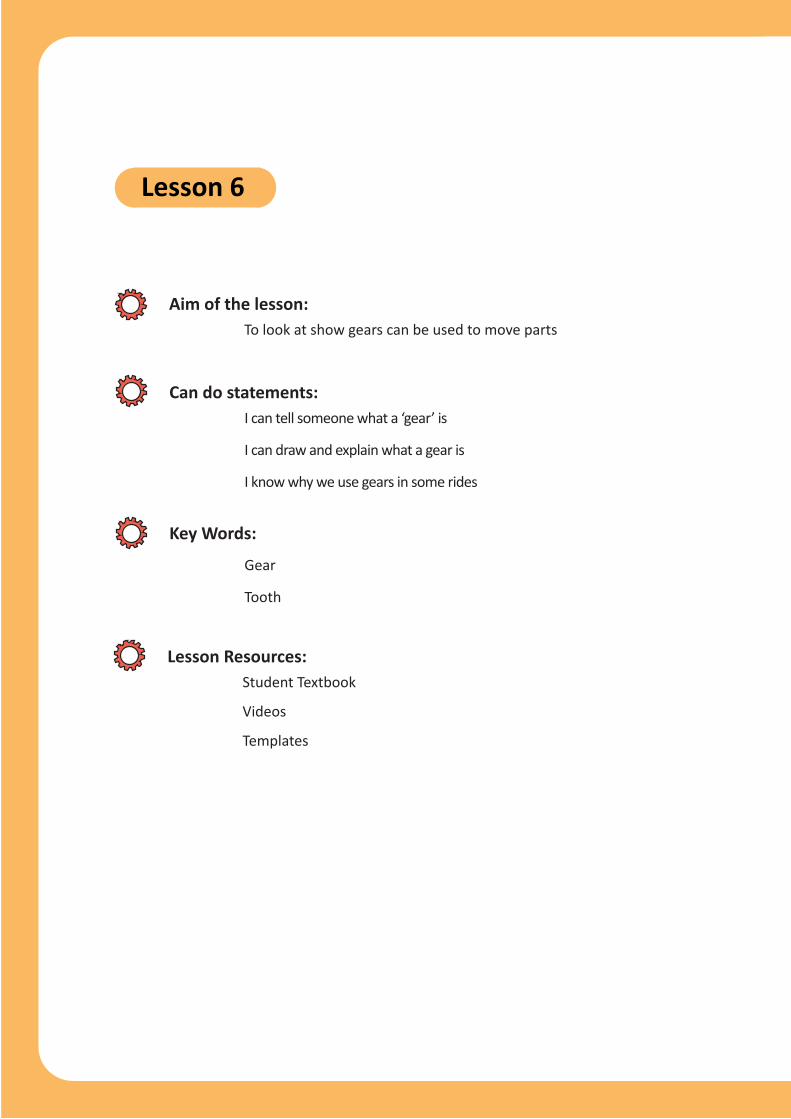
Aim of the lesson:To look at show gears can be used to move parts
Can do statements:I can tell someone what a ‘gear’ is
I can draw and explain what a gear is
I know why we use gears in some rides
Key Words:
Gear
Tooth
Lesson Resources:Student Textbook
Videos
Templates
Lesson 6
Learning Journey
Delivery Content
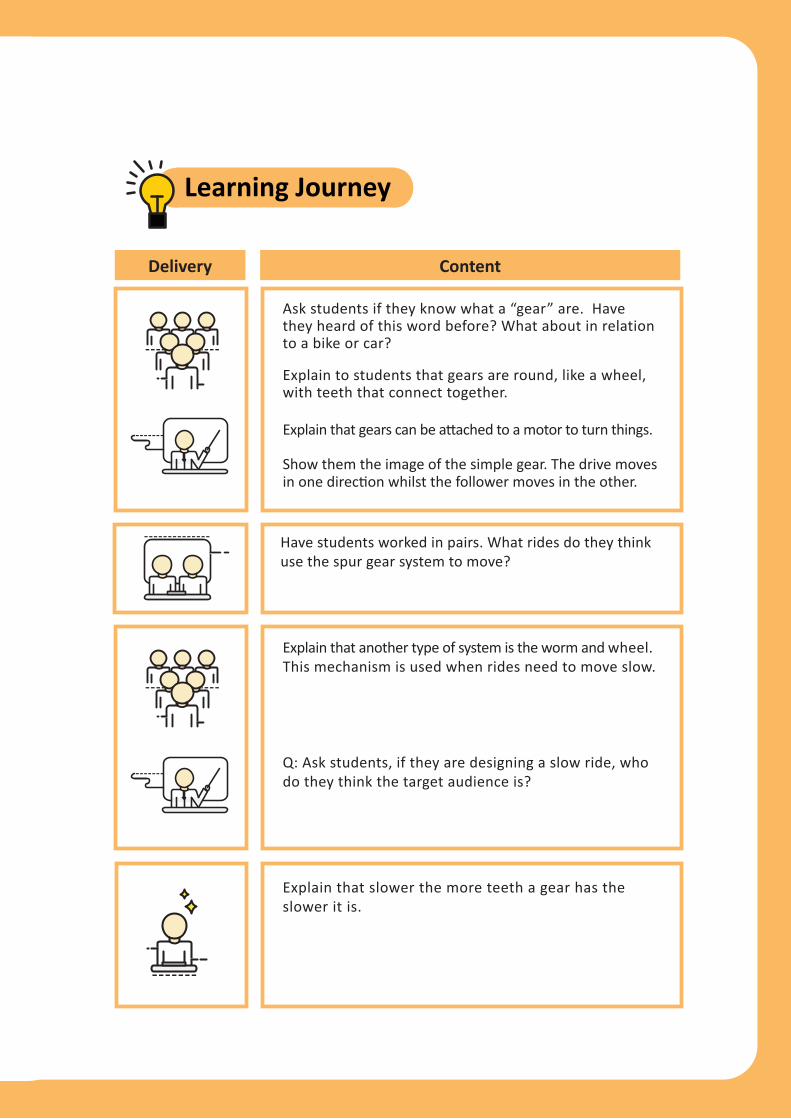
Ask students if they know what a “gear” are. Have they heard of this word before? What about in relation to a bike or car?
Explain to students that gears are round, like a wheel, with teeth that connect together.
Explain that gears can be attached to a motor to turn things.
Show them the image of the simple gear. The drive moves in one direction whilst the follower moves in the other.
Explain that slower the more teeth a gear has the slower it is.
Have students worked in pairs. What rides do they think use the spur gear system to move?
Explain that another type of system is the worm and wheel. This mechanism is used when rides need to move slow.
Q: Ask students, if they are designing a slow ride, who do they think the target audience is?
Aim of the lesson:To investigate ways of making a framework for a theme park ride.
Can do statements:I can design a product from information given to me
I can test if I have made a good product
I can give ways to make a framework strong
Key Words:
Reinforce Rectangle Design Criteria
Lesson Resources:Student Textbook
Videos
Physical Resources needed: Straws Pipe Cleaners Blu-Tack Tape Card
Lesson 7
Learning Journey
Delivery Content
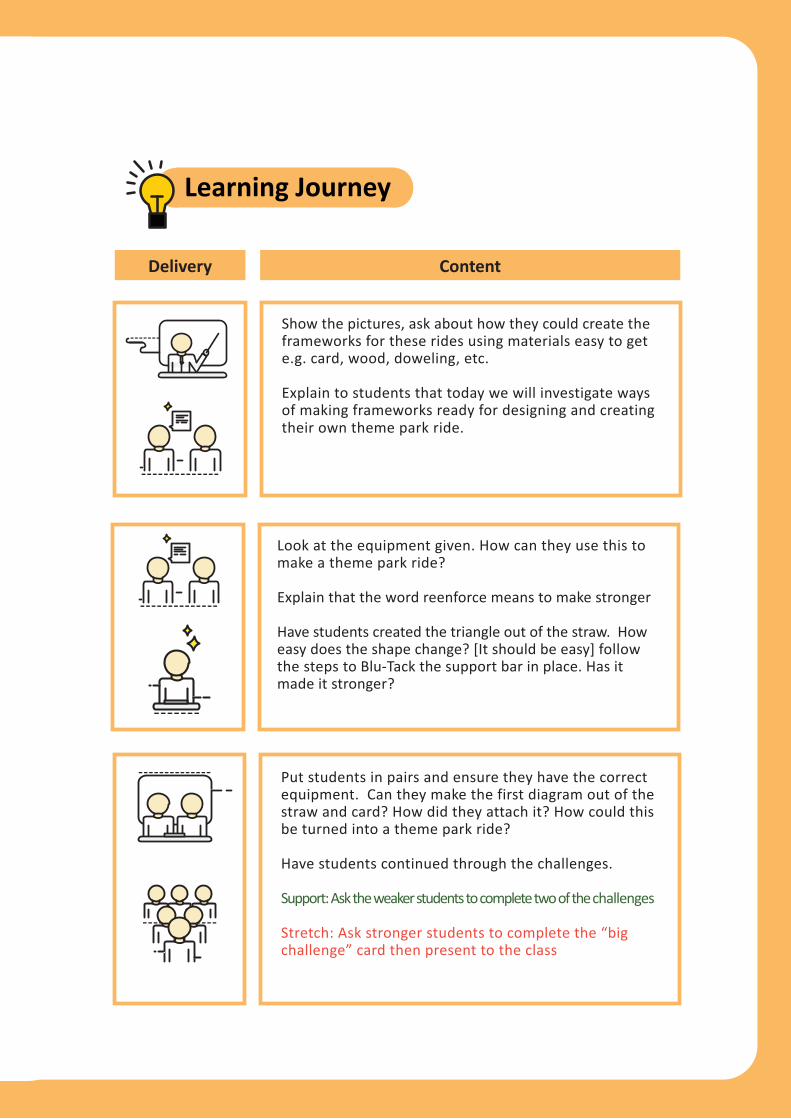
Show the pictures, ask about how they could create the frameworks for these rides using materials easy to get e.g. card, wood, doweling, etc.
Explain to students that today we will investigate ways of making frameworks ready for designing and creating their own theme park ride.
Put students in pairs and ensure they have the correct equipment. Can they make the first diagram out of the straw and card? How did they attach it? How could this be turned into a theme park ride?
Have students continued through the challenges.
Support: Ask the weaker students to complete two of the challenges
Stretch: Ask stronger students to complete the “big challenge” card then present to the class
Look at the equipment given. How can they use this to make a theme park ride?
Explain that the word reenforce means to make stronger
Have students created the triangle out of the straw. How easy does the shape change? [It should be easy] follow the steps to Blu-Tack the support bar in place. Has it made it stronger?

Explain to students that they will now apply this by creating a bridge. Select students to read out the design brief.
Explain what a design brief is (recap from the earlier Chapter) does any student remember the steps?
Have students thought about what the specification for the bridge is made pairs and shared the ideas for creating the bridge.
Have students worked in pairs to discuss how they will test their bridge. i.e. what is the design criteria. Again revisit Chapter 2 if needed about the design process
Carry out the test and write their evaluations in the space provided. Share some with the class.
Give students the equipment and put them into groups of three. Have each group draw a design for the bridge, then create the bridge.
Spend a little time looking at each bridge, can a member of the team explain how they decided on the design and why?

Aim of the lesson:To be able to design a theme park ride.
Can do statements:I can draw a design for a new Theme Park ride and label it
I can say who the ride is designed for
Key Words:Sketch
Label
Design Criteria
Lesson Resources:Student Textbook
Lesson 8
Learning Journey
Delivery Content
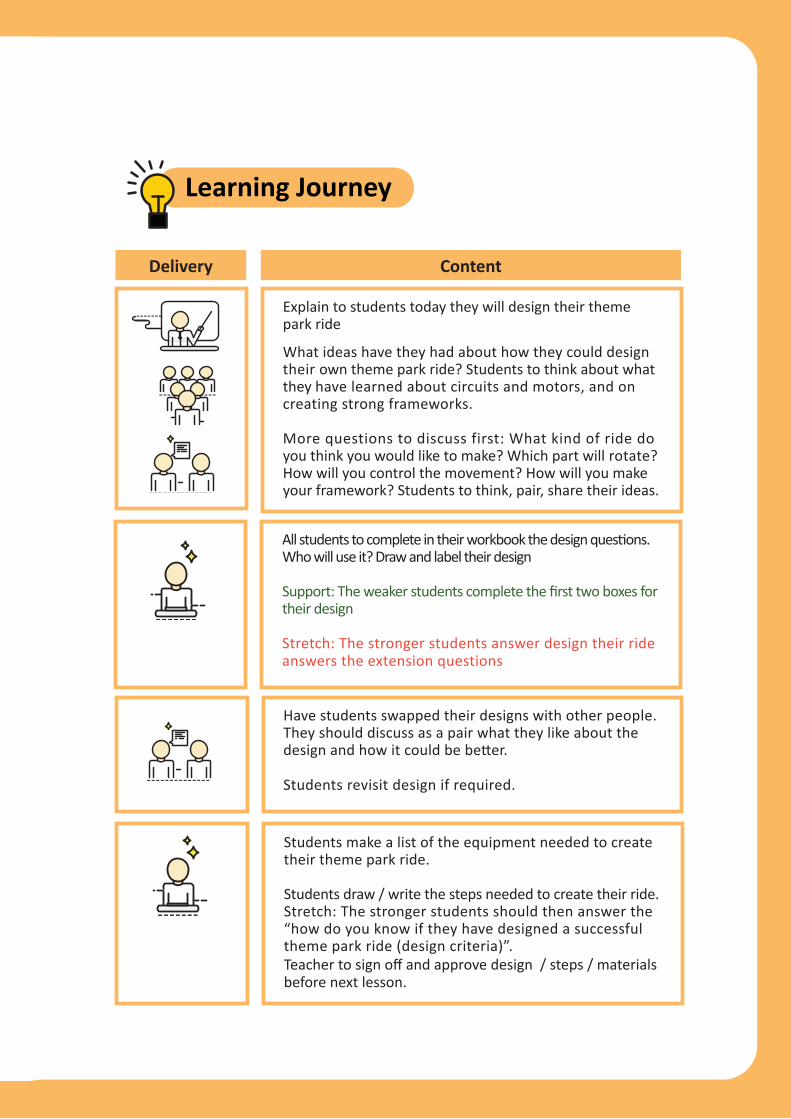
All students to complete in their workbook the design questions. Who will use it? Draw and label their design
Support: The weaker students complete the first two boxes for their design
Stretch: The stronger students answer design their ride answers the extension questions
Explain to students today they will design their theme park ride
What ideas have they had about how they could design their own theme park ride? Students to think about what they have learned about circuits and motors, and on creating strong frameworks.
More questions to discuss first: What kind of ride do you think you would like to make? Which part will rotate? How will you control the movement? How will you make your framework? Students to think, pair, share their ideas.
Have students swapped their designs with other people. They should discuss as a pair what they like about the design and how it could be better.
Students revisit design if required.
Students make a list of the equipment needed to create their theme park ride.
Students draw / write the steps needed to create their ride.Stretch: The stronger students should then answer the “how do you know if they have designed a successful theme park ride (design criteria)”.Teacher to sign off and approve design / steps / materials before next lesson.
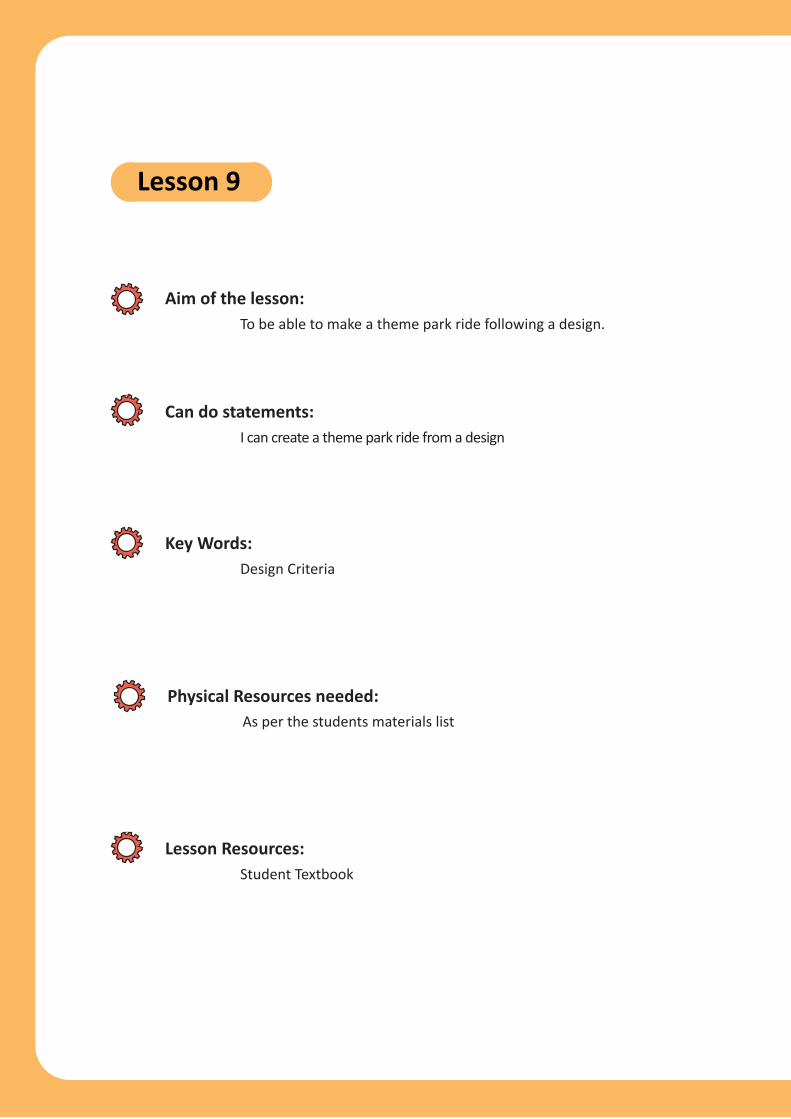
Aim of the lesson:To be able to make a theme park ride following a design.
Can do statements:I can create a theme park ride from a design
Key Words:Design Criteria
Lesson Resources:Student Textbook
Lesson 9
Physical Resources needed:As per the students materials list
Learning Journey
Delivery Content
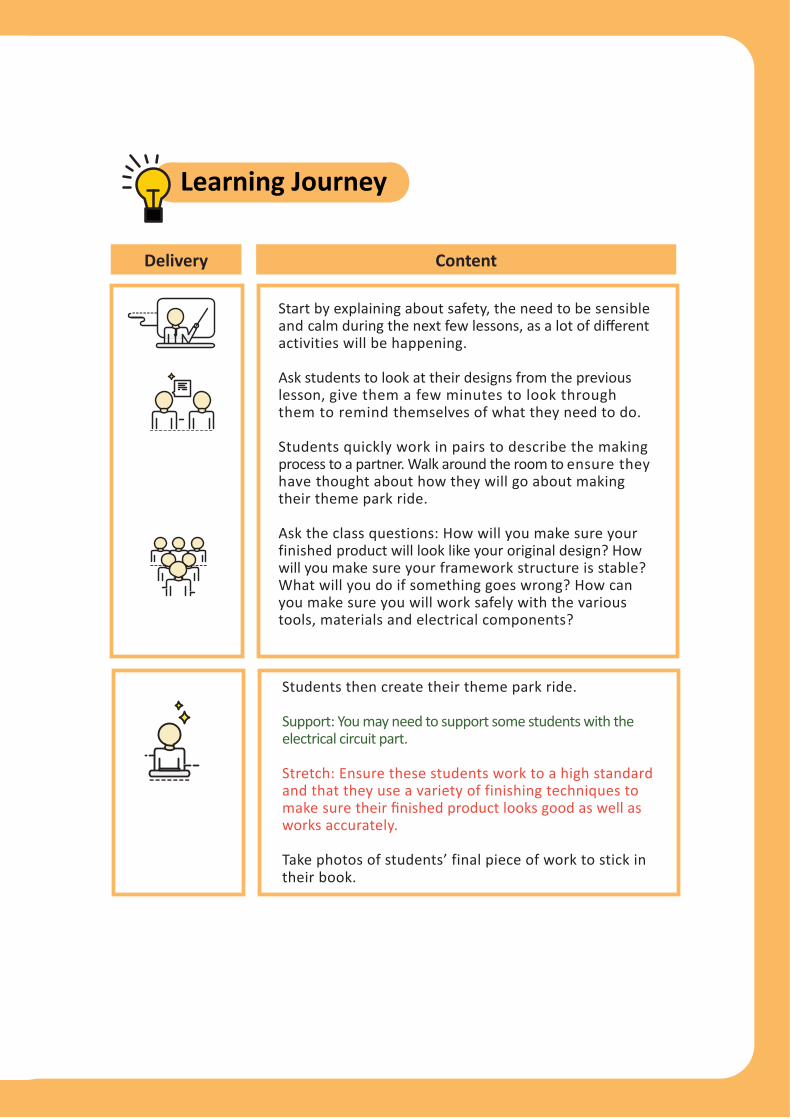
Start by explaining about safety, the need to be sensible and calm during the next few lessons, as a lot of different activities will be happening.
Ask students to look at their designs from the previous lesson, give them a few minutes to look through them to remind themselves of what they need to do.
Students quickly work in pairs to describe the making process to a partner. Walk around the room to ensure they have thought about how they will go about making their theme park ride.
Ask the class questions: How will you make sure your finished product will look like your original design? How will you make sure your framework structure is stable? What will you do if something goes wrong? How can you make sure you will work safely with the various tools, materials and electrical components?
Students then create their theme park ride.
Support: You may need to support some students with the electrical circuit part.
Stretch: Ensure these students work to a high standard and that they use a variety of finishing techniques to make sure their finished product looks good as well as works accurately.
Take photos of students’ final piece of work to stick in their book.
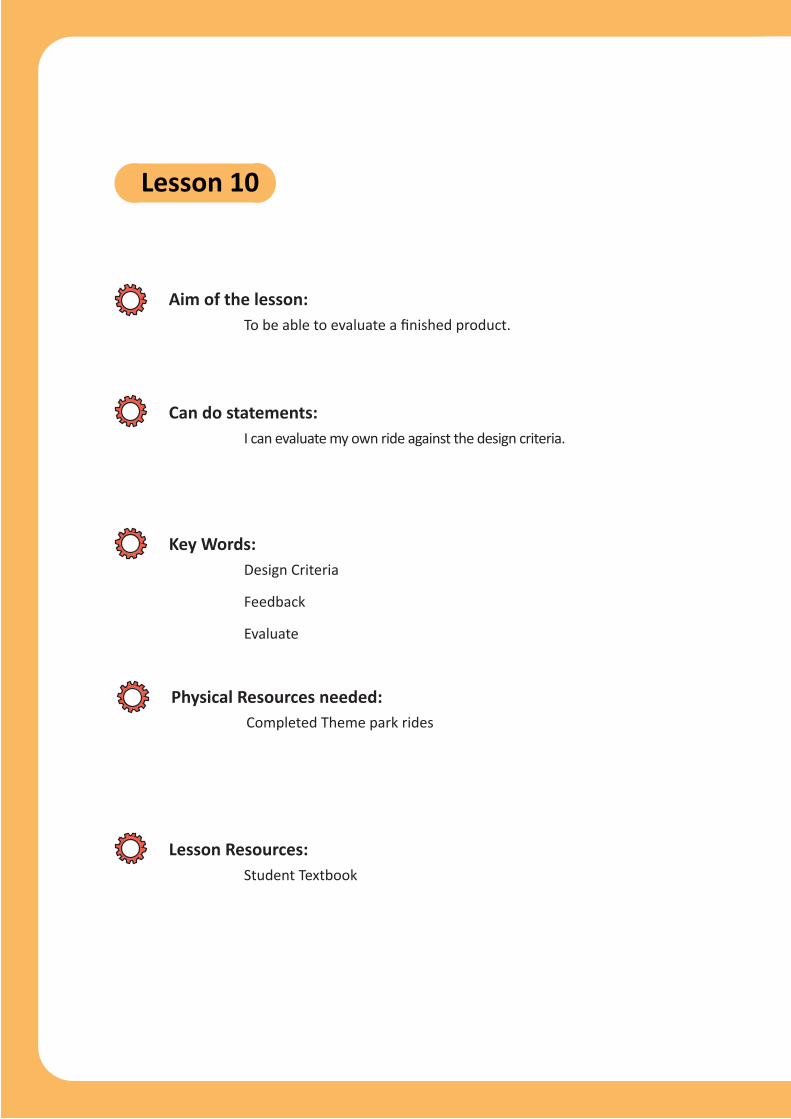
Aim of the lesson:To be able to evaluate a finished product.
Can do statements:I can evaluate my own ride against the design criteria.
Key Words:Design Criteria
Feedback
Evaluate
Lesson Resources:Student Textbook
Lesson 10
Physical Resources needed:Completed Theme park rides
Learning Journey
Delivery Content
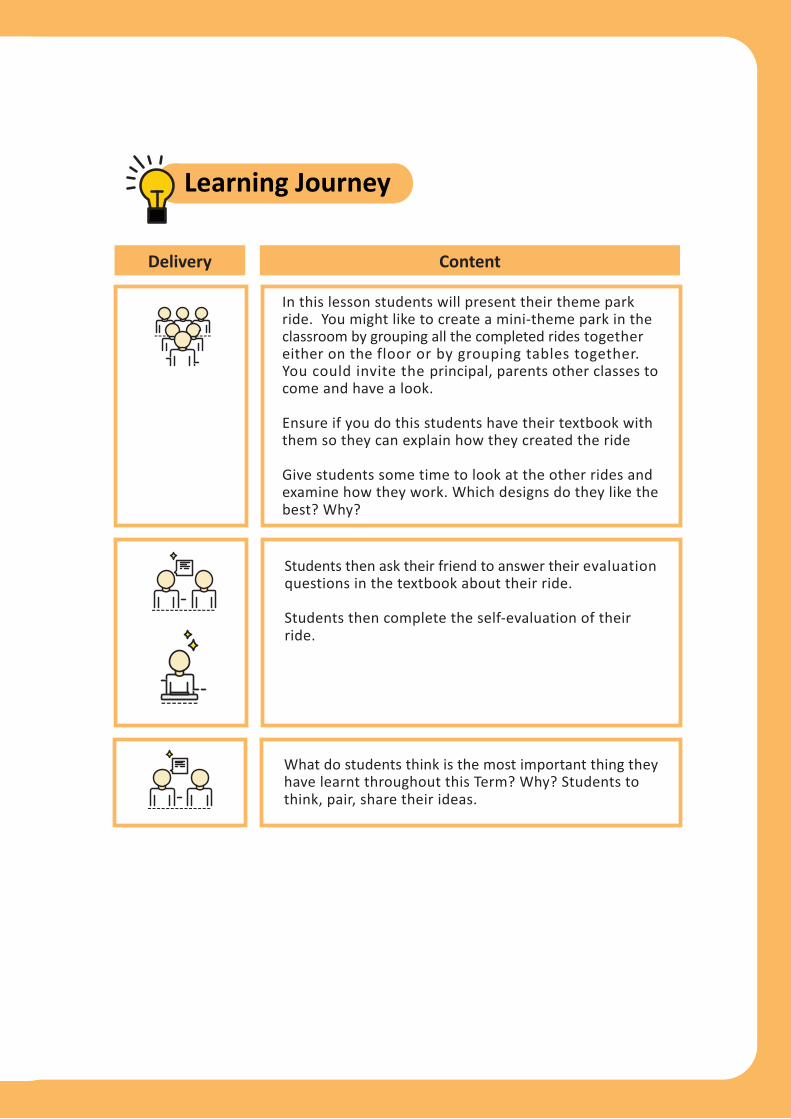
In this lesson students will present their theme park ride. You might like to create a mini-theme park in the classroom by grouping all the completed rides together either on the floor or by grouping tables together. You could invite the principal, parents other classes to come and have a look.
Ensure if you do this students have their textbook with them so they can explain how they created the ride
Give students some time to look at the other rides and examine how they work. Which designs do they like the best? Why?
What do students think is the most important thing they have learnt throughout this Term? Why? Students to think, pair, share their ideas.
Students then ask their friend to answer their evaluation questions in the textbook about their ride.
Students then complete the self-evaluation of their ride.
SCHEME OF WORK

Chapter 1: ASSESSMENT STATEMENTS 9In this chapter you will learn :1.1 The Style of The End Project
Chapter 2: GET STARTED 13
Chapter 3: EXPLORING THEME PARK RIDES 27 In this chapter you will learn to:3.1 Explore a range of existing products3.2 Evaluate a range of existing products3.3 Explain the mechanisms how di�erent Theme Park rides work
Chapter 4: ELECTRICAL CIRCUITS 41In this chapter you will learn to:4.1 Construct a series circuit4.2 Identify the basic parts of a circuit 4.3 Explain the di�erence between a complete and incomplete circuit4.4 Explain and make accurate predications
Chapter 5: MOTORS AND PULLEYS 53In this chapter you will learn to:5.1 Explain how the ‘pulley and belt’ system works5.2 Explain how the speed of a pulley can be changed5.3 Create a ride with a rotating mechanism5.4 Explain how the mechanism is working to rotate the ride
Chapter 6: SPUR GEARS 67In this chapter you will learn to:6.1 Describe how the spur gear mechanism works 6.2 Give examples of rides that will use the spur gear
Chapter 7:THE FRAMEWORK 75In this chapter you will learn to:7.1 Explain ways in which trusses can be used to strengthen structures7.2 Develop criteria and design a prototype7.3 Analyse and evaluate products according to design criteria.
In this chapter you will learn to:2.1 De�ne Design and Technology 2.2 Understand the need for Design and Technology2.3 Experience the Design Process (DP)2.4 Understand the Design Process (DP)
Chapter 8: CREATE YOUR RIDE 89 In this chapter you will learn to:8.1 Sketch ideas to meet user requirements 8.2 Develop design criteria from a project design brief8.3 Create a product using design criteria as a guide8.4 Evaluate the success of a �nal product against the design criteria
Week Lessons Overview
Week 1
Week 2
Week 3
Week 4
Week 5
Week 6
Week 7
Week 8
Week 9
Week 10
Week 11
Week 12
Week 13
Week 14
Lesson 1 – Design and build a house out of sticks and glueLesson 2- Theory – the design process
Lesson 3 – Look at existing theme park ridesLesson 4 - If time allows you may wish to start the dis-cussion about circuits and how they work, explain next lesson they will apply this knowledge.
Lesson 4 – Continuation from last week. Create circuitsLesson 5 – Apply motors to the circuits
Lesson 6 – GearsLesson 7 – Frame works [consider just completing the design challenges
Lesson 7 – Bridge design and build
Lesson 8 – Start to design theme park rideNote this week contains the National Day holiday
Lesson 8 – Continue theme park ride design includ-ing the steps to make the ride
Lesson 8 - continued – Finish the design of their ride including teacher sign offRe-cap on Chapter 1 – the design process. Have students take feedback on their design and re-visit their design if needed
Lesson 9 – Create the theme park ride
Lesson 9 continued – continue making the theme park ride
Lesson 9 continued – Finish making the theme park ride
Lesson 10 – create a display of the theme park rides
Lesson 10 – Complete the feedback of the theme park rides
Catch up week / activities will be provided later as an “introduction to programming” which will be in term 2
Chapter 1: ASSESSMENT STATEMENTS 9In this chapter you will learn :1.1 The Style of The End Project
Chapter 2: GET STARTED 13
Chapter 3: EXPLORING THEME PARK RIDES 27 In this chapter you will learn to:3.1 Explore a range of existing products3.2 Evaluate a range of existing products3.3 Explain the mechanisms how di�erent Theme Park rides work
Chapter 4: ELECTRICAL CIRCUITS 41In this chapter you will learn to:4.1 Construct a series circuit4.2 Identify the basic parts of a circuit 4.3 Explain the di�erence between a complete and incomplete circuit4.4 Explain and make accurate predications
Chapter 5: MOTORS AND PULLEYS 53In this chapter you will learn to:5.1 Explain how the ‘pulley and belt’ system works5.2 Explain how the speed of a pulley can be changed5.3 Create a ride with a rotating mechanism5.4 Explain how the mechanism is working to rotate the ride
Chapter 6: SPUR GEARS 67In this chapter you will learn to:6.1 Describe how the spur gear mechanism works 6.2 Give examples of rides that will use the spur gear
Chapter 7:THE FRAMEWORK 75In this chapter you will learn to:7.1 Explain ways in which trusses can be used to strengthen structures7.2 Develop criteria and design a prototype7.3 Analyse and evaluate products according to design criteria.
In this chapter you will learn to:2.1 De�ne Design and Technology 2.2 Understand the need for Design and Technology2.3 Experience the Design Process (DP)2.4 Understand the Design Process (DP)
Chapter 8: CREATE YOUR RIDE 89 In this chapter you will learn to:8.1 Sketch ideas to meet user requirements 8.2 Develop design criteria from a project design brief8.3 Create a product using design criteria as a guide8.4 Evaluate the success of a �nal product against the design criteria
Week 15
Week 16
Re-cap of the design process steps and meanings and what makes design criteria.
Revision


Recommended