Embed Size (px)
Citation preview
OPERATING CAREGIVING EQUIPMENT, TOOLS AND PARAPHERNALIALOVE JOY L. AMARGO
BEFORE WE START:
Say HELLO to the person sitting at your right.
Ask him/her how is s/he. Tell him/her to set aside his problems and listen well to the teacher today.
Ask him/her why it is important to master the proper utilization of the different equipment, tools and paraphernalia in providing health care.

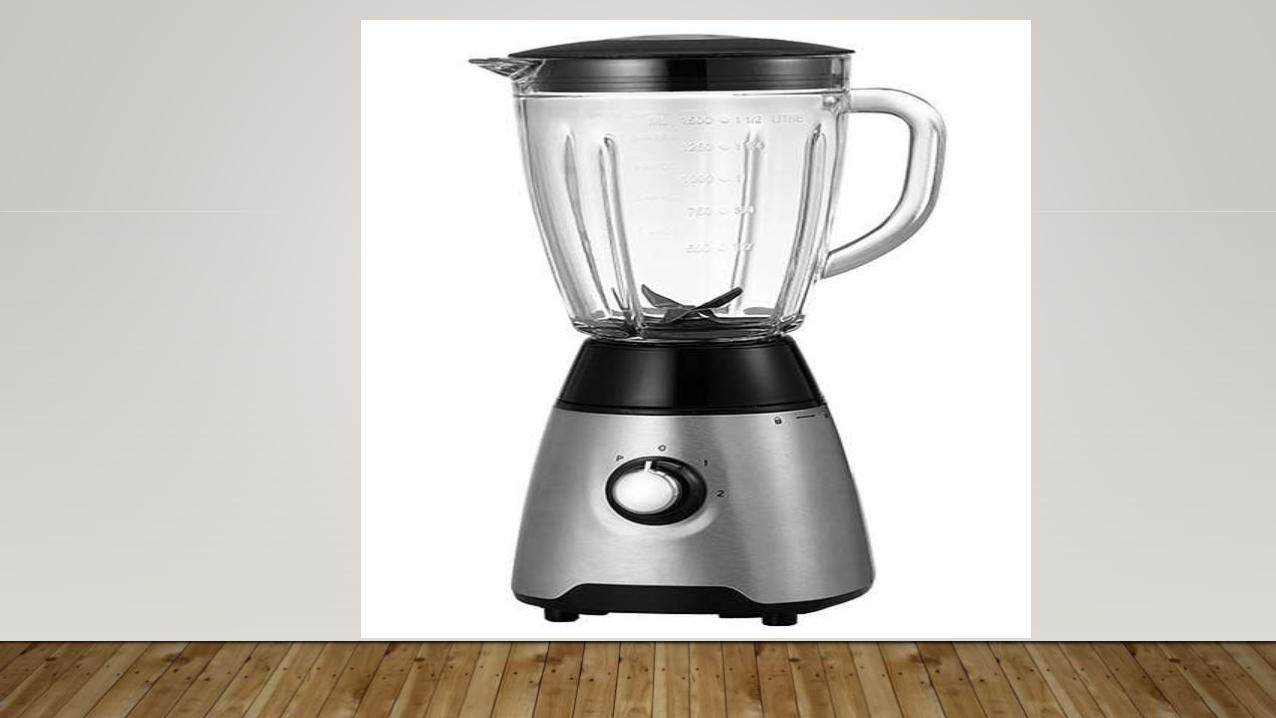
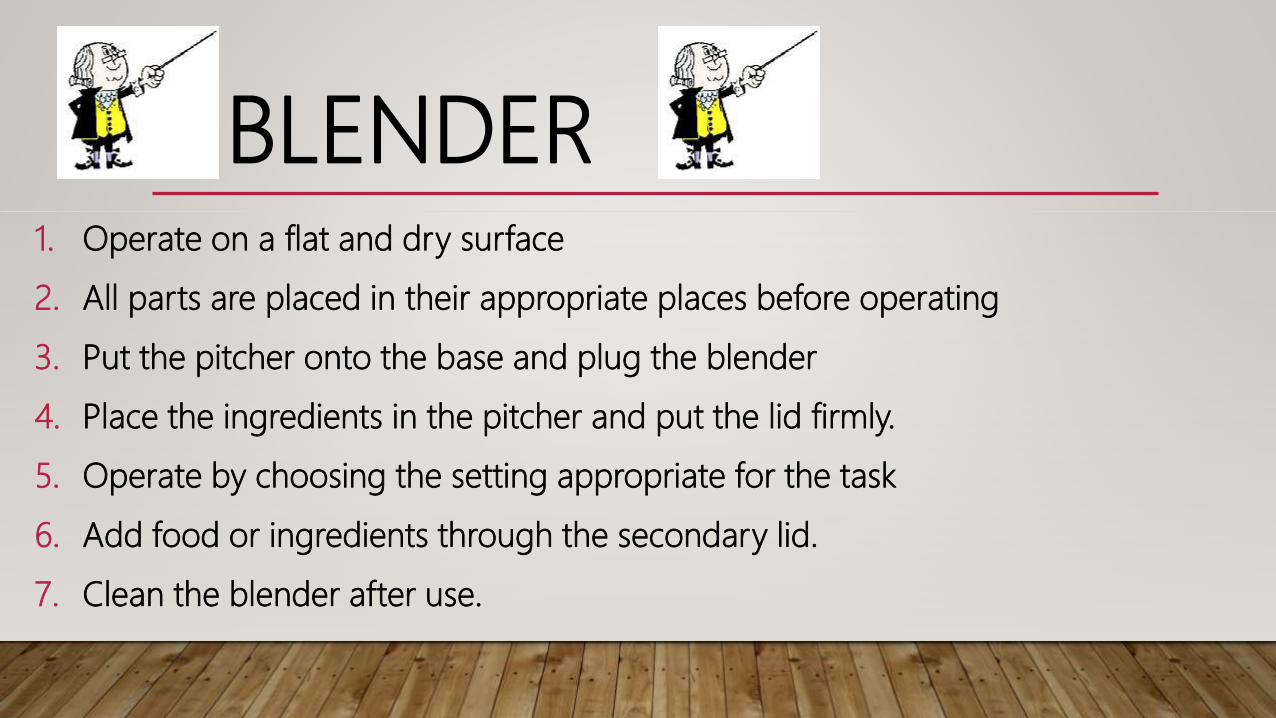
BLENDER1. Operate on a flat and dry surface
2. All parts are placed in their appropriate places before operating
3. Put the pitcher onto the base and plug the blender
4. Place the ingredients in the pitcher and put the lid firmly.
5. Operate by choosing the setting appropriate for the task
6. Add food or ingredients through the secondary lid.
7. Clean the blender after use.
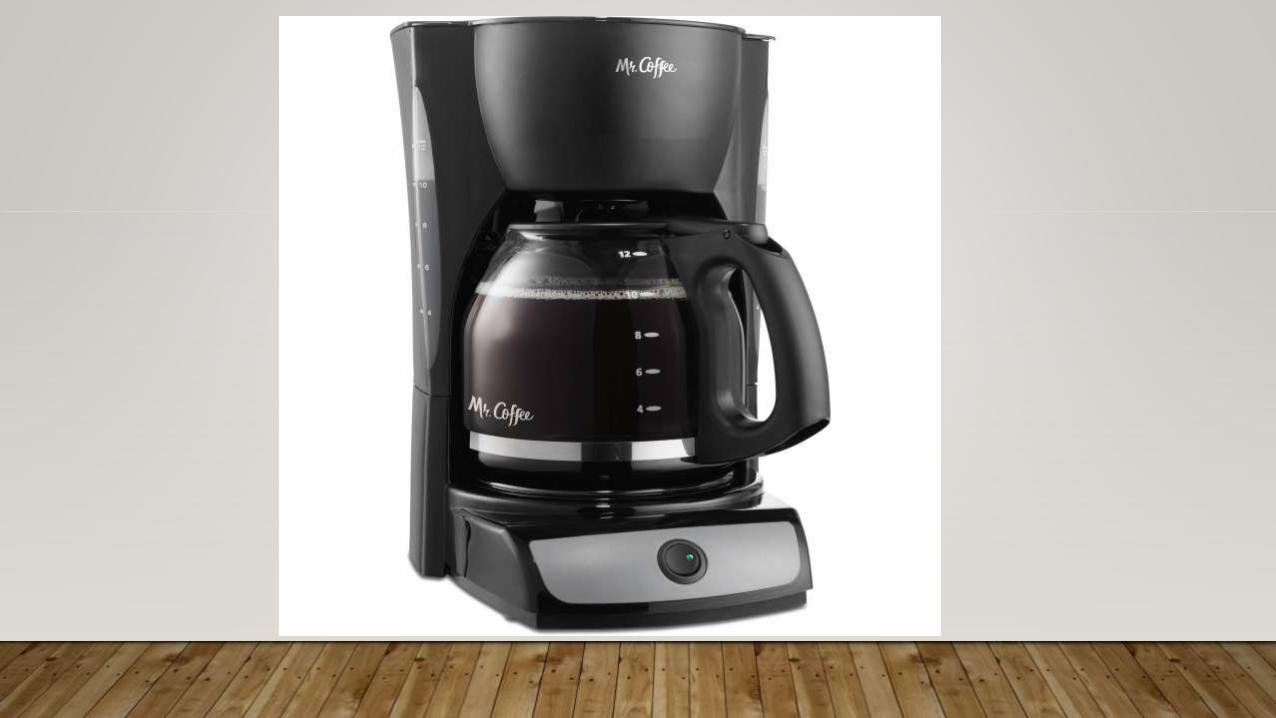
1. Fill the carafe with water according to the number of cups of coffee you need to make.
2. Pour the water from the carafe into the reservoir of the coffee maker and place the carafe back into position.
3. Place a coffee filter into the filter basket. The amount of coffee you’ll need to add depends on how strong or weak your clients like it. Then add the coffee into the filter using a spoon.
4. Turn on the coffee maker ad wait for your coffee to brew.
COFFEE MAKER
ELECTRIC CAN OPENER
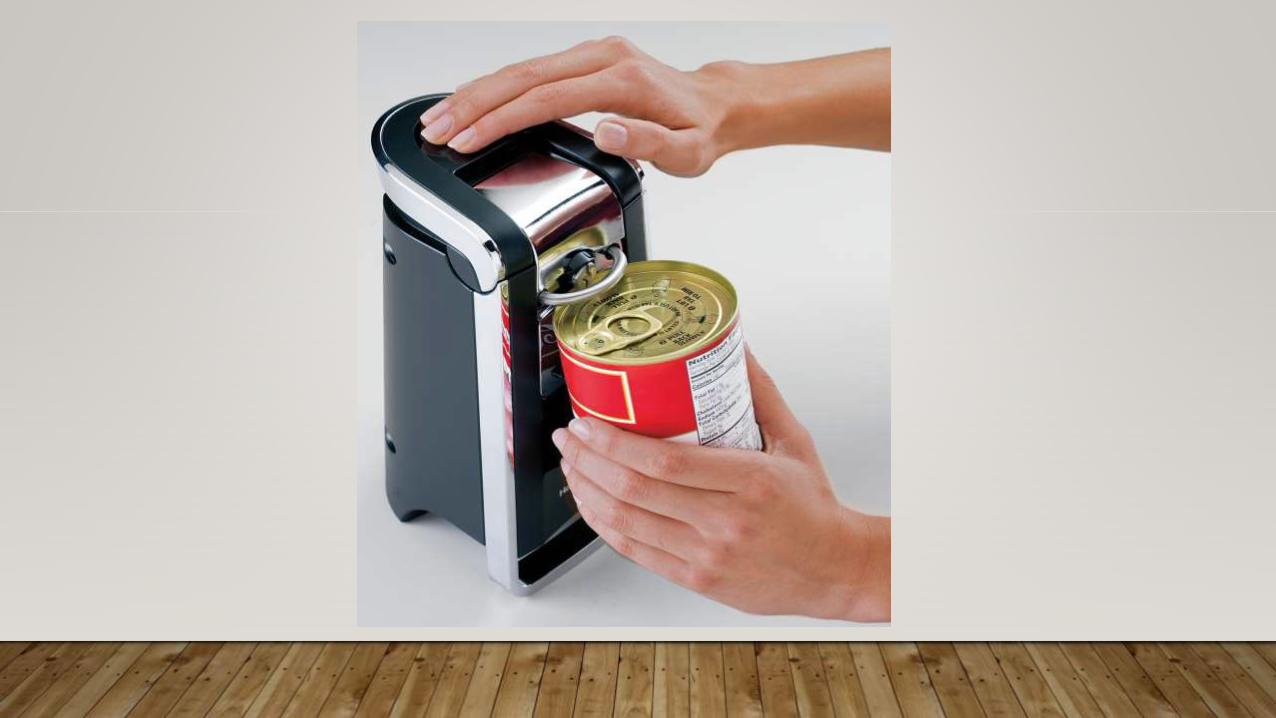
1. Plug the electric can opener into an outlet2. Lift up the lever that raises the cutting wheel into the air.Place the
lip of the can under the wheel.Put the lever down and press hard enough so that the wheel gets into the can.
3. Turn on the opener while holding the bottom of the can and it will automatically turn as the wheel slices through the can.
4. Remove the can from the opener when it reaches the end and you feel a slight drop of the cam.The lid will remain attached to the magnet on opener and the can is ready to dump.
5. Unplug the opener from the outlet.
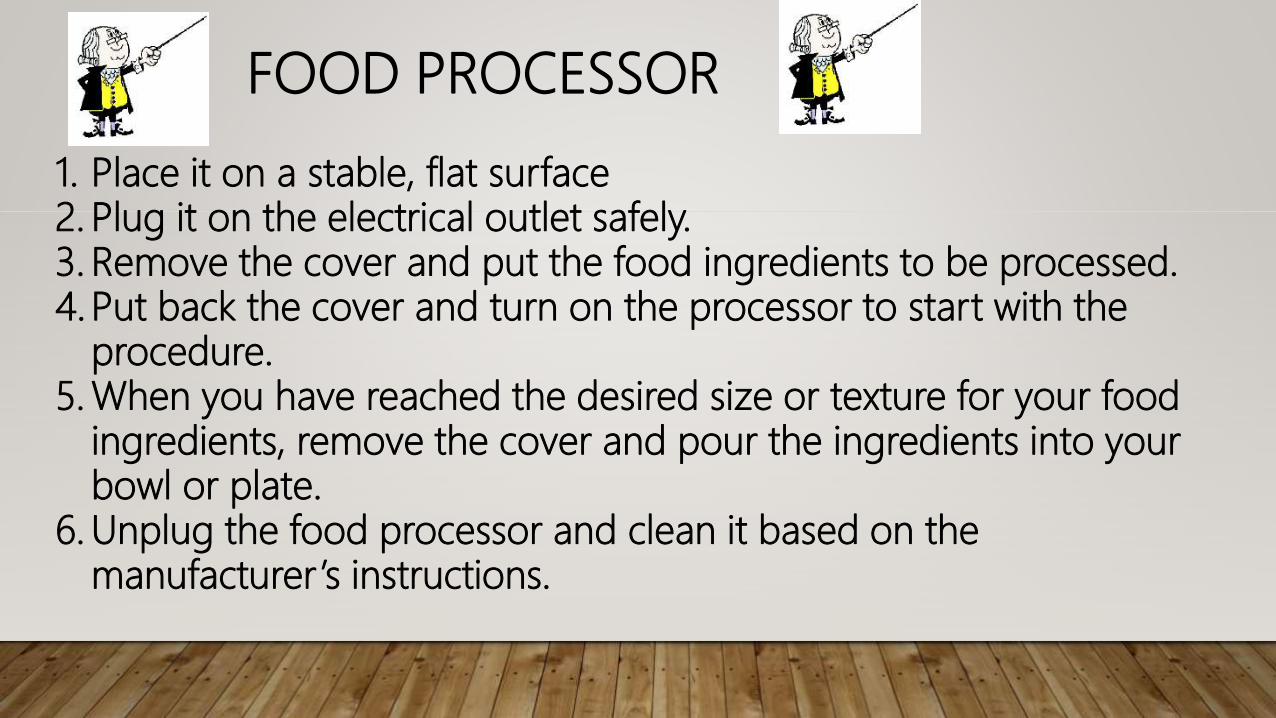
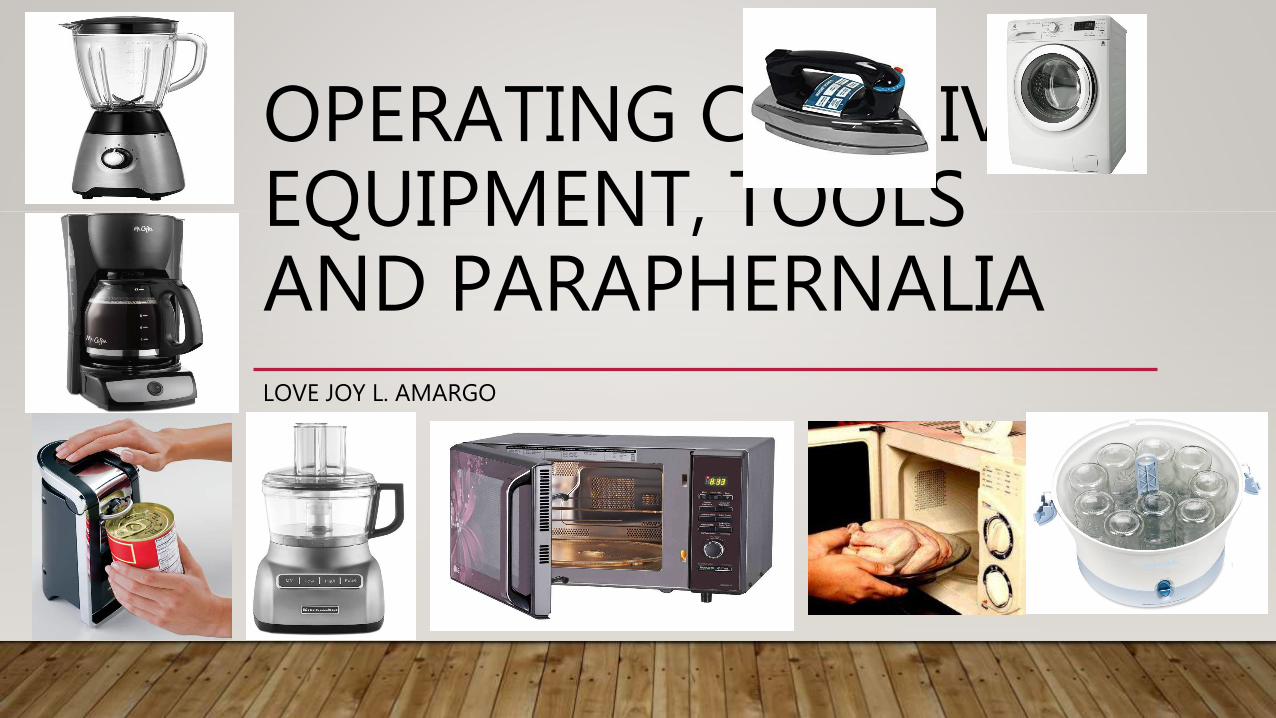
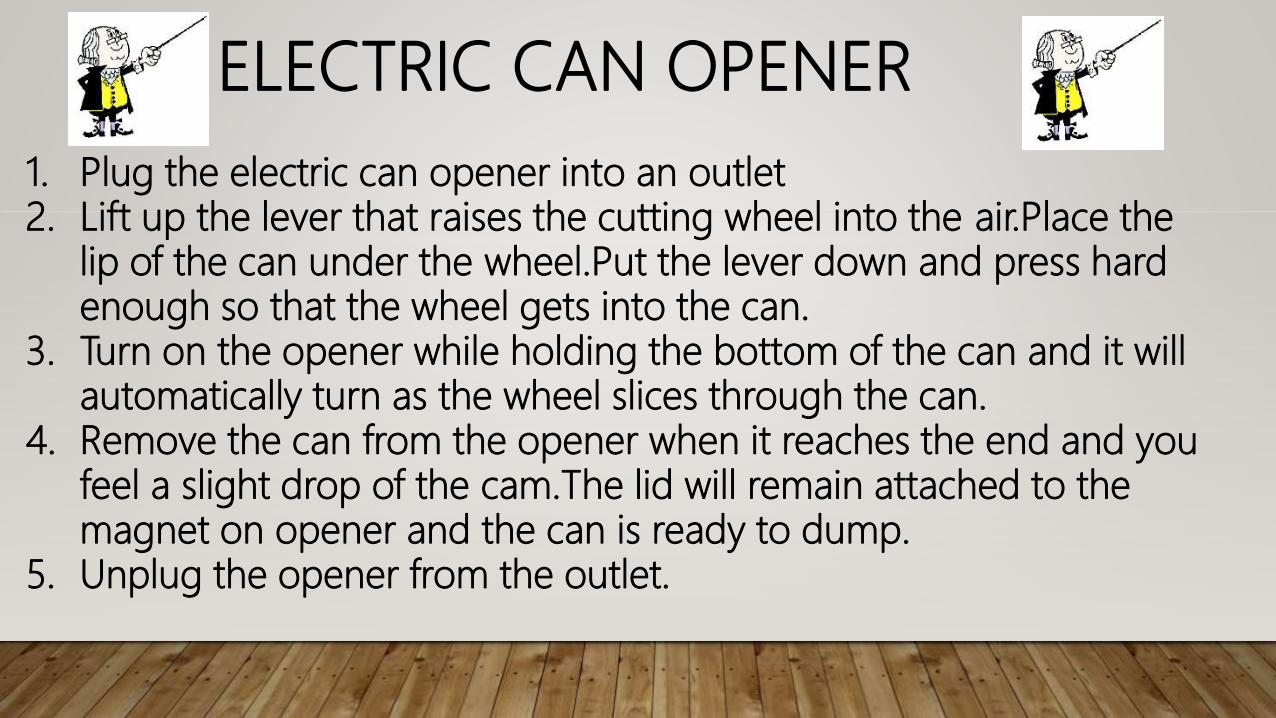
FOOD PROCESSOR
1. Place it on a stable, flat surface2. Plug it on the electrical outlet safely.3. Remove the cover and put the food ingredients to be processed.4. Put back the cover and turn on the processor to start with the
procedure.5. When you have reached the desired size or texture for your food
ingredients, remove the cover and pour the ingredients into your bowl or plate.
6. Unplug the food processor and clean it based on the manufacturer’s instructions.

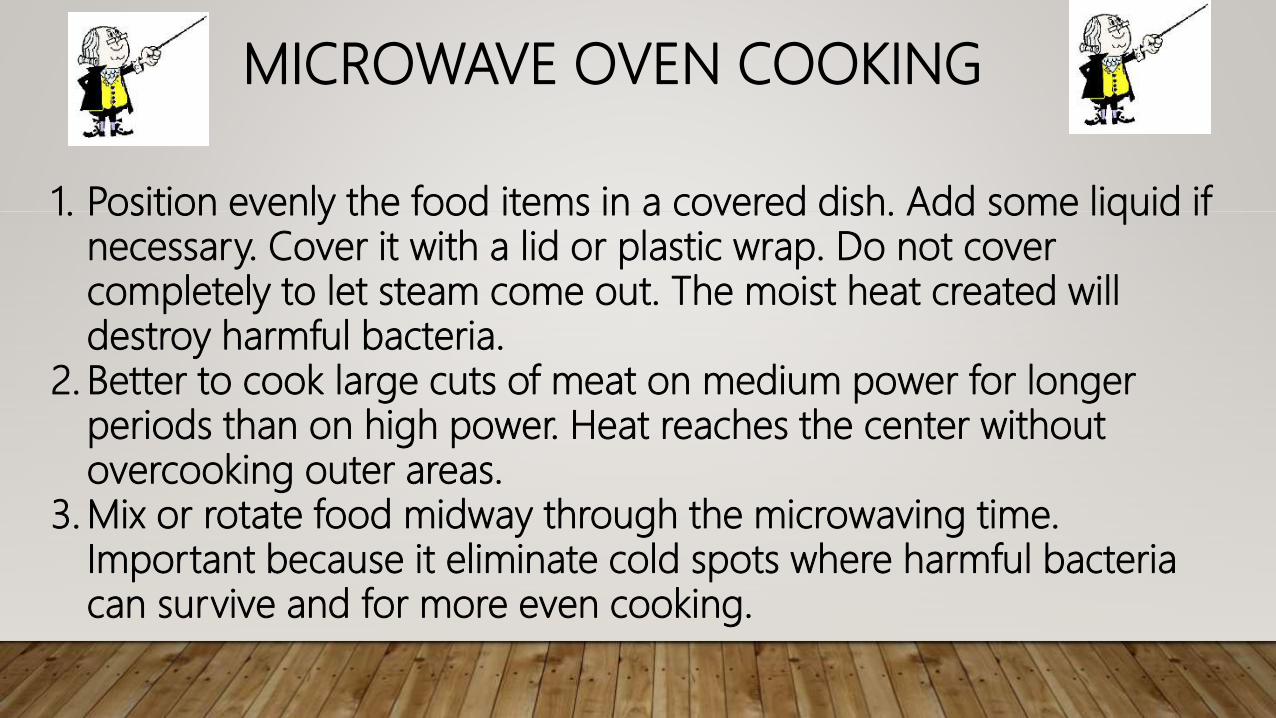
MICROWAVE OVEN COOKING
1. Position evenly the food items in a covered dish. Add some liquid if necessary. Cover it with a lid or plastic wrap. Do not cover completely to let steam come out. The moist heat created will destroy harmful bacteria.
2. Better to cook large cuts of meat on medium power for longer periods than on high power. Heat reaches the center without overcooking outer areas.
3. Mix or rotate food midway through the microwaving time. Important because it eliminate cold spots where harmful bacteria can survive and for more even cooking.
4. When partially cooking food in the microwave oven to finish cooking on the grill or in a conventional oven, it is important to transfer the microwaved food to the other heat source immediately. Never partially cook food and store it for later use.
5.Use a food thermometer or the oven’s temperature probe to verify the food has reached a safe minimum internal temperature. Cooking times may vary because ovens vary in power and efficiency. Always allow standing time, which completes the cooking, before checking the internal temperature with a food thermometer.

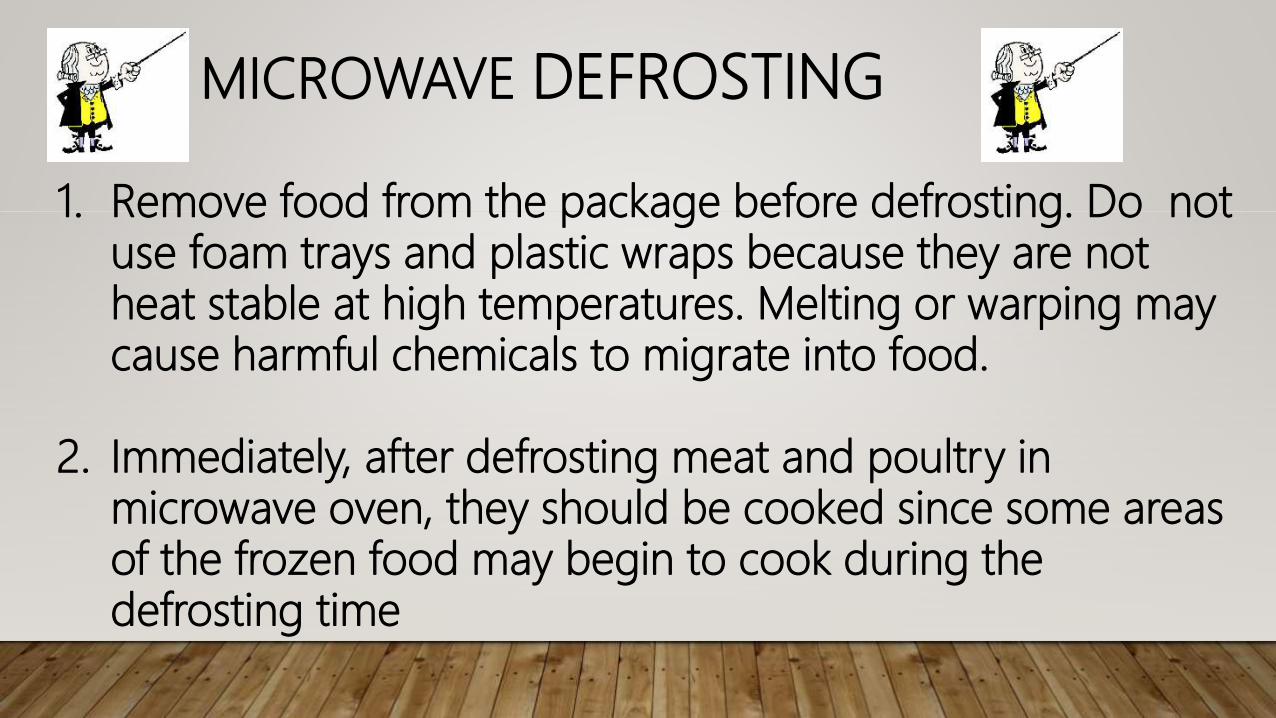
MICROWAVE DEFROSTING
1. Remove food from the package before defrosting. Do not use foam trays and plastic wraps because they are not heat stable at high temperatures. Melting or warping may cause harmful chemicals to migrate into food.
2. Immediately, after defrosting meat and poultry in microwave oven, they should be cooked since some areas of the frozen food may begin to cook during the defrosting time
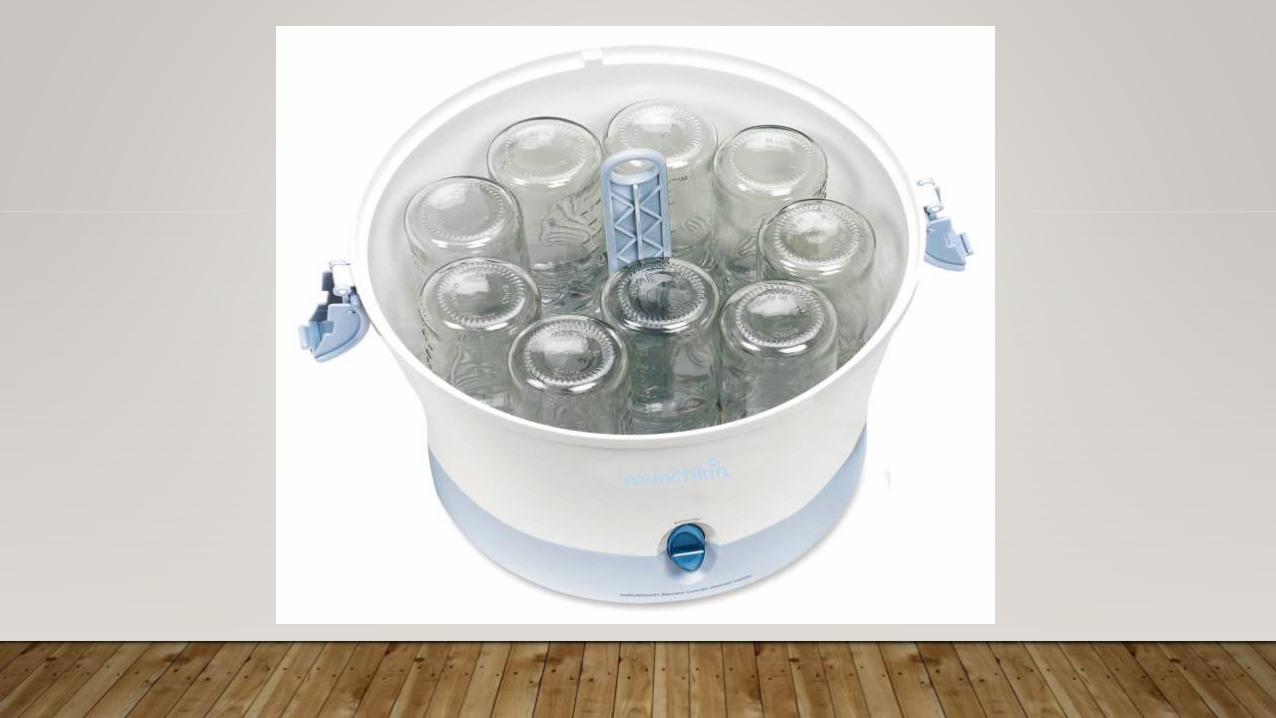
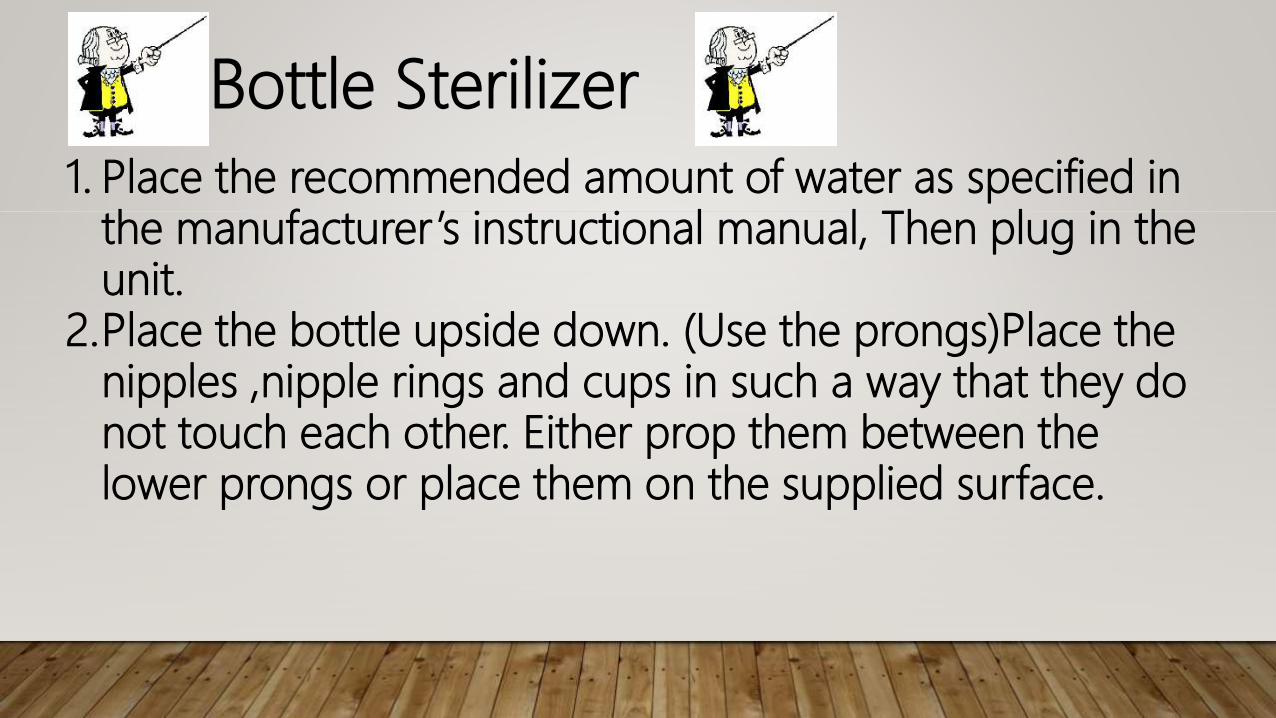
Bottle Sterilizer
1. Place the recommended amount of water as specified in the manufacturer’s instructional manual, Then plug in the unit.
2.Place the bottle upside down. (Use the prongs)Place the nipples ,nipple rings and cups in such a way that they do not touch each other. Either prop them between the lower prongs or place them on the supplied surface.
3. Cover the sterilizer and turn on the unit. Sterilization takes about ten minutes with an automatic cycle that raises water temperature to a sufficient level to kill off any bacteria (212 degrees Fahrenheit).Once this cycle ends,the unit automatically begins to cool. Some models or units will not allow you to open the cover until the cooling cycle is completed.4.Unplug the unit.5.Remove the feeding bottles from the sterilizer.6.Clean the sterilizer based on the manufacturers specifications.
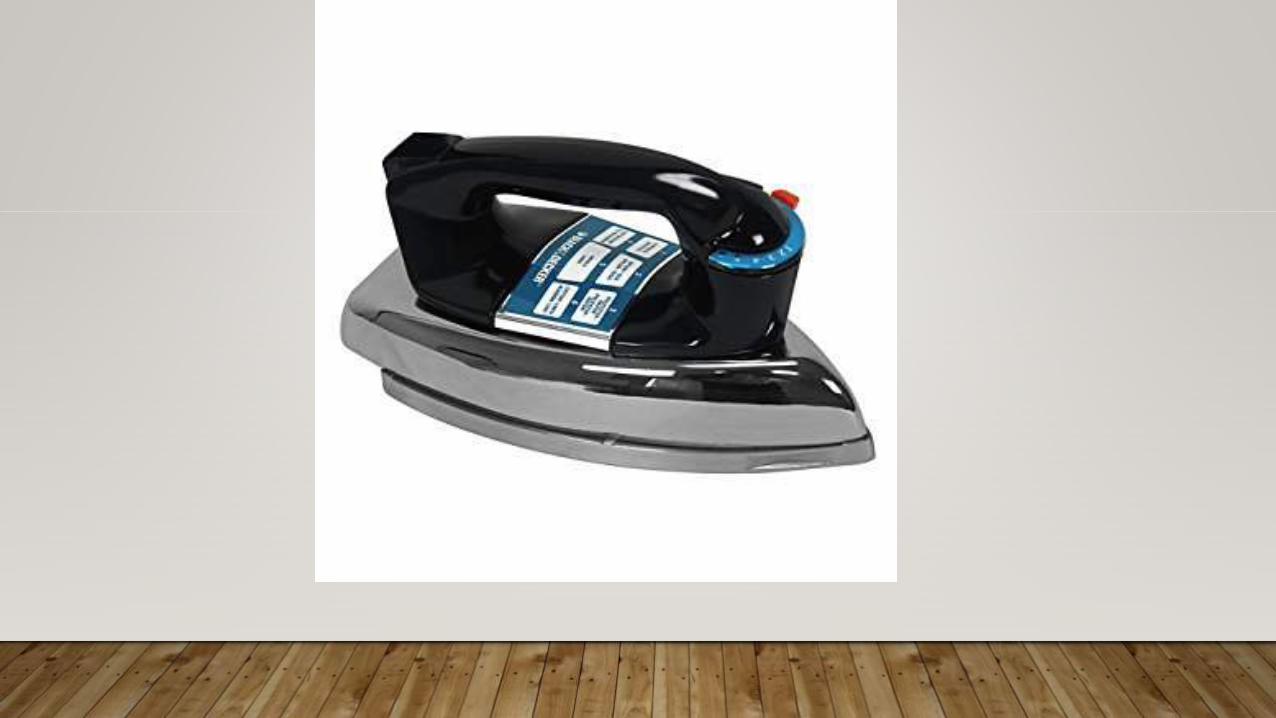

FLAT IRON
1.Check the label of ever garment before ironing.2.Unfold ironing board near the outlet.Plug in and
choose the appropriate setting based on the materials of the clothing.
3.Preheating should be done before starting.Waitabout 2-5 minutes to let the iron warm up.
4.Stretch the garment.
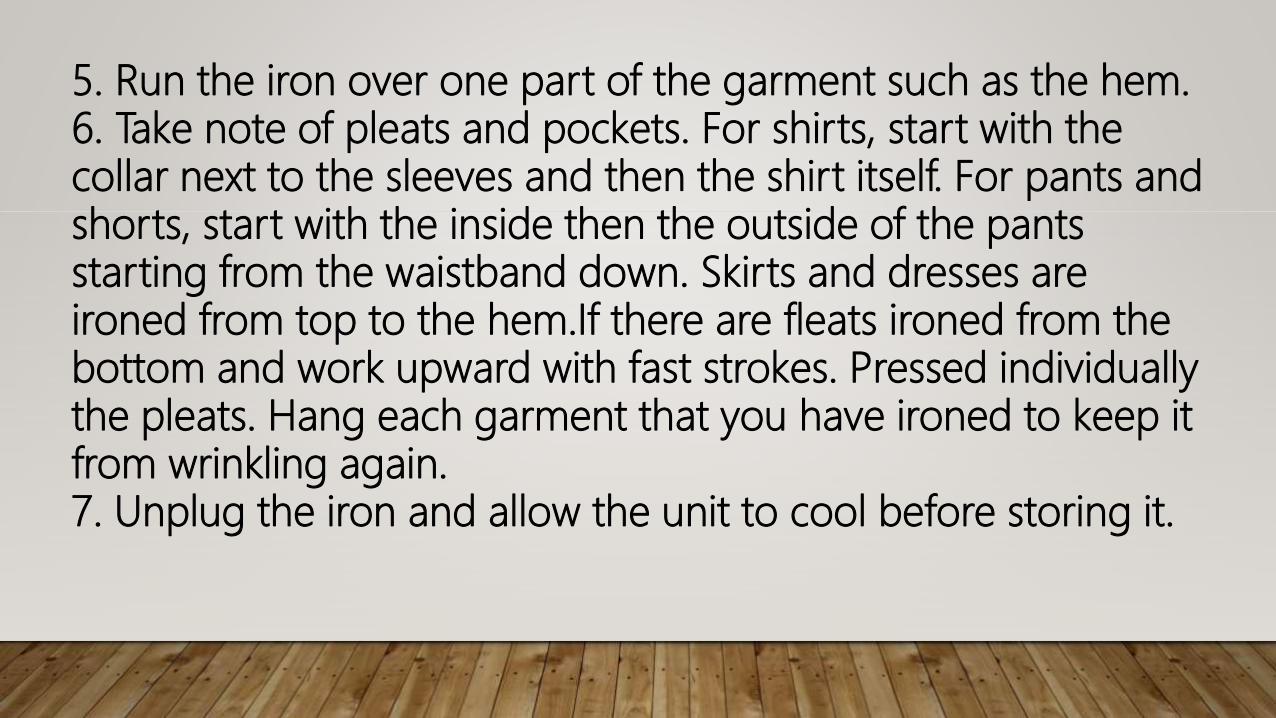
5. Run the iron over one part of the garment such as the hem.6. Take note of pleats and pockets. For shirts, start with the collar next to the sleeves and then the shirt itself. For pants and shorts, start with the inside then the outside of the pants starting from the waistband down. Skirts and dresses are ironed from top to the hem.If there are fleats ironed from the bottom and work upward with fast strokes. Pressed individually the pleats. Hang each garment that you have ironed to keep it from wrinkling again.7. Unplug the iron and allow the unit to cool before storing it.
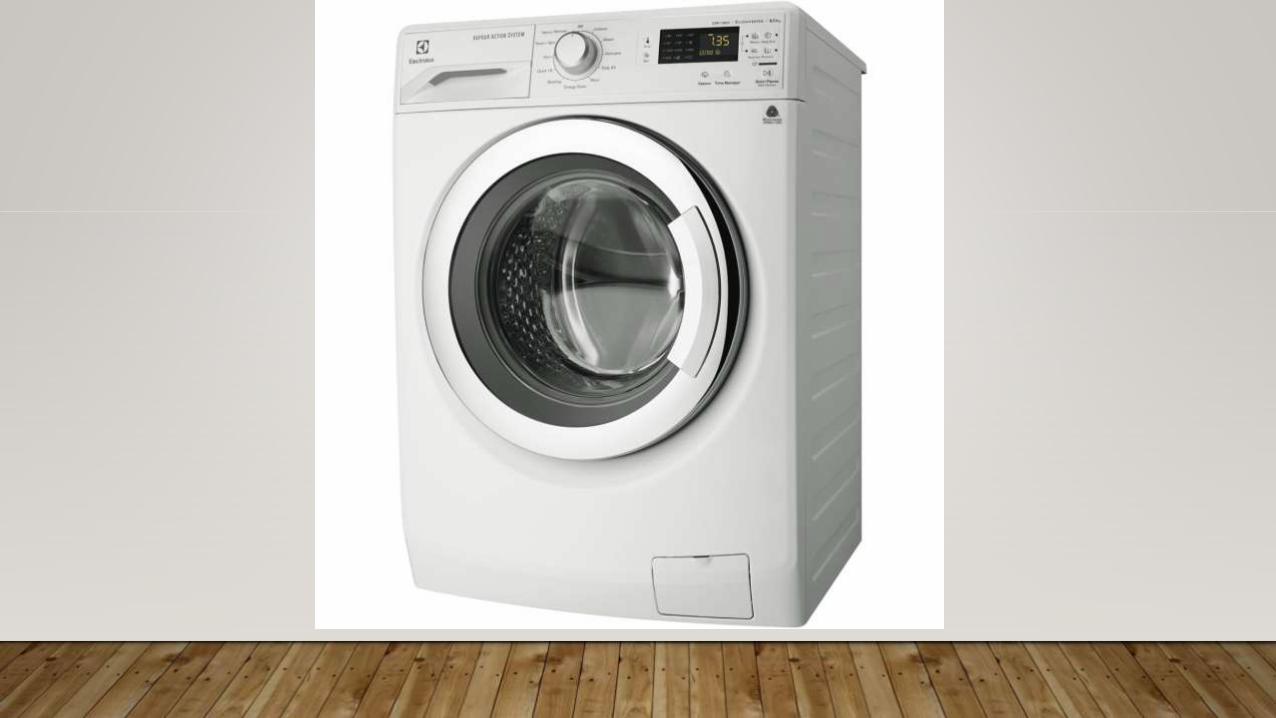
WASHING MACHINE
1. Sort the clothes. Separate white and light colored from dark colored. Wash clothes with heavy fabrics together and clothes with light fabrics together.
2.Put detergent into the washing machine.3.Put the clothes loosely into the washing machine
4.Load the laundry as high as the manufacturer specifies or to the top row of holes in the tub.
5. Close the lid and choose the setting of the W.M
6. Turn on the machine. Let the unit work through all the cycles. Wait for the machine to turn off before you unload the washed laundry.
7.Load the next batch of clothes and do steps 5 and 6 again until you are done with the laundry.
8. Turn off and unplug the unit.

IT’S QUIZ TIME!

READ THE FOLLOWING ITEMS
COMPREHENSIVELY AND WRITE PAKIF THE STATEMENT EXPRESSES TRUTH
AND GANERN IF IT IS FALSE.WRITE
LEGIBLY.

1. CHOOSE A FLAT, WET SURFACE ON WHICH TO OPERATE YOUR BLENDER.

LET’S CHECK! EXCHANGE
PAPERS!

GANERN

1. CHOOSE A FLAT, WET SURFACE ON WHICH TO OPERATE YOUR BLENDER.

2. FILL THE CARAFE WITH WATER ACCORDING TO THE NUMBER OF CUPS OF COFFEE YOU NEED TO MAKE.

LET’S CHECK! EXCHANGE
PAPERS!


3. LIFT DOWN THE LEVER THAT RAISES THE CUTTING WHEEL INTO THE AIR WHEN USING AN ELECTRIC CAN OPENER.

LET’S CHECK! EXCHANGE
PAPERS!

GANERN

3. LIFT DOWN THE LEVER THAT RAISES THE CUTTING WHEEL INTO THE AIR WHEN USING AN ELECTRIC CAN OPENER.

4. WHEN YOU HAVE REACHED THE DESIRED SIZE OR TEXTURE FOR YOUR FOOD INGREDIENTS, REMOVE THE COVER AND POUR THE INGREDIENTS INTO YOUR BOWL OR PLATE.

LET’S CHECK! EXCHANGE
PAPERS!


5. COVER COMPLETELY THE FOOD ITEMS TO LET STEAM COME OUT.

LET’S CHECK! EXCHANGE
PAPERS!

GANERN

5. COVER COMPLETELY THE FOOD ITEMS TO LET STEAM COME OUT.

6. USE FOAM TRAYS AND PLASTIC WRAPS BECAUSE THEY ARE HEAT STABLE AT HIGH TEMPERATURES.

LET’S CHECK! EXCHANGE
PAPERS!

GANERN

6. USE FOAM TRAYS AND PLASTIC WRAPS BECAUSE THEY ARE HEAT STABLE AT HIGH TEMPERATURES.

7. PLACE THE BOTTLE UPSIDE DOWN IN A BOTTLE STERILIZER.

LET’S CHECK! EXCHANGE
PAPERS!


8. POST HEATING THE FLAT IRON SHOULD BE DONE BEFORE STARTING.

LET’S CHECK! EXCHANGE
PAPERS!

GANERN

8. POST HEATING THE FLAT IRON SHOULD BE DONE BEFORE STARTING.

9. WHEN IRONING SHIRTS, START WITH SLEEVES NEXT TO THE COLLAR.

LET’S CHECK! EXCHANGE
PAPERS!

GANERN

9. WHEN IRONING SHIRTS, START WITH SLEEVES NEXT TO THE COLLAR.

10. SEPARATE WHITE AND LIGHT COLORED FROM DARK-COLORED CLOTHES.

LET’S CHECK! EXCHANGE
PAPERS!


THANK YOU FOR
LISTENING!