Embed Size (px)
Citation preview

Chest Tube Management
Dr. D. W. DaughertyDepartment of Surgery
IN-SERVICE PRESENTATION
PURPOSE
• To permit drainage of air and fluid from the pleural cavity
• To establish normal negative pressure in the pleural cavity for lung expansion
• To equalize pressure on both sides of the thoracic cavity
• To provide continuous suction to prevent tension pneumothorax

INDICATIONS • Pneumothorax: accumulation of air
• Pleural effusion: accumulation of fluid
• Chylothorax: a collection of lymphatic fluid
• Empyema: a pyogenic infection of the pleural space
• Hemothorax: accumulation of blood
• Hydrothorax: accumulation of serous fluid
• Malignant Effusions
• Cardiac or Thoracic Surgery

CONTRAINDICATIONS
• Bleeding diathesis
• Coagulopathy

NURSING KEY POINTS
• Diminished or absent breath sounds on affected side
• Decreased chest wall movement on affected side
• Difficulty breathing
• Tachycardia
• Anxiety
• Restlessness
• Decreased oxygen saturation
• Increased Peak Airway Pressures
• Cyanosis
• Complaints of pleuritic-type chest pain
• Increased respiratory rate
• Pain may worsen when attempting to breathe deeply
SUPPLIES NEEDED FOR INSERTION
• Chest tube insertion tray
• Sterile Gloves and Gown Set
• Chest Tube
• Local Anesthetic (Lidocaine)
• Betadine or ChloraPrep
• 0-Silk Suture on Large Curved Needle
• 4 x 4 gauze pads
• Vaseline Gauze
• 3” Silk Tape
• Collection System (Pleur-Evac)
• 1000cc bottle of sterile water
• Wall Suction Setup
• Suction Tubing

SIZE OF CHEST TUBE
Adult or Teen Male
28-40 Fr
Adult or Teen Female
26-36 Fr
Child
18-22 Fr
Newborn 12-14 Fr

SIZE OF CHEST TUBE
Trauma
36-40 Fr
Hemothorax
36-40 Fr
Empyema or Chylothorax
32-36 Fr
Pneumothorax 26-32 Fr

• The patient will need to be positioned according to where the chest tube will be placed.
• Typically having the patient’s arms over their head
POSITIONING

• Standard insertion site is in the mid-axillary or anterior-axillary line, at the 4th or 5th intercostal space (nipple line or inframammary crease).
• A wide area is prepared with antiseptic solution.
• The chosen site is infiltrated with a local anesthetic agent.
• Incision is made with an 11-blade scalpel and carried to the intercostal muscles.
• Either sharp (11-blade) or blunt (large hemostat clamp) dissection through the intercostals is performed and the thoracic cavity is entered.
• A blunt finger sweep is performed to check for adhesions or scar tissue.
INSERTION

• The chest tube is inserted into the pleural space and directed towards the site of preferred positioning (e.g. Posterior Apical / Superior; Posterior Basilar / Inferior)
• The tube is sutured to the chest wall with 0-Silk suture
• Any skin undesirable skin defect is sutured closed
• The site is covered with an “air tight dressing” Vaseline or Xeroform gauze directly on site to cover entire incision
site and create a seal Gauze dressings (4x4’s and ABD’s) applied over Vaseline or
Xeroform Silk tape used to secure the dressing and must cover completely
INSERTION

• During insertion, the tube is kept clamped.
• After the tube is positioned in the pleural space, it is connected to the drainage tubing of the drainage system (Pleur-Evac) and the clamp is removed.
• If more than one tube, each tube may be connected to a separate drainage system and suction source.
• However, more commonly, a Y connecter is used to attach both chest tubes to the same drainage system.
INSERTION

COMPLICATIONS - PLACEMENT
• Bleeding: Usually minor, but may require surgery if extensive. 50-75cc/hr is tolerated with observation.
• Subcutaneous emphysema: Characterized by swelling in face, neck, and chest; crackles on palpation.
• Abdominal placement: Can cause liver or spleen injury.
• Lung parenchyma injury: Tube insertion can tear or perforate the lung itself.
• Cardiac injury: Most commonly the left or right atria.
• Pulmonary artery or vein injury: Tear or perforation, especially to the more friable pulmonary vein.

COMPLICATIONS - INDWELLING
• Infection: Likelihood increases the longer the chest tube is in place.
• Bronchopleural fistula: Rare, but patient will have signs and symptoms of respiratory distress, bloody chest tube drainage; tube will be left in place until healed
• Erosion into surrounding structure: Most commonly right or left atria, pulmonary vessels, or vena cava.
• Pre-procedure sedative or narcotic if prescribed
• Prepare the drainage system (Pleur-Evac)
• Make patient comfortable with assisting in appropriate positioning
• Time Out Informed consent signed Site and Side verification Indications Allergies
• Support and re-assure the patient during procedure
NURSING ROLE

NURSING ROLE
• Observe Respirations and Rate
• Monitor 02 Saturation
• Monitor Vitals (HR and BP)
• Connect the drainage system (Pleur-Evac) to wall suction once the tube is inserted, secured, and connected to the drainage tubing
• Coordinate pCXR needed post-procedure
DOCUMENTATION
• Indication for chest tube
• Medications given
• Vital signs during procedure
• Location & Size of tube
• Patient’s condition
• Drainage on tube placement (if any): volume, type if known, color, and other characteristics
• Description of dressing applied
• Note connections secured
• Vital signs post procedure
• Water level ordered for suction control chamber and settings
• Post-insertion chest x-ray results

NURSING KEY POINTS
• Monitor vital signs
• Assess breath sounds bilaterally
• Assess the insertion site
• Encourage the patient to cough
• Make sure connections are secured
• Keep collection apparatus below the level of the patient’s chest
• Check water seal and suction control chambers frequently (adjust fluid level)
• Assess drainage for color
• Measure drainage each shift or more often depending on patient’s condition
• Document assessment
• Report bright red blood or red free-flowing drainage >50ml/hour immediately
• Reposition patient frequently
• Patient: Administer analgesia liberally in the first 24 hours
Allow position that is comfortable for the patient
Incentive spirometry and Deep breathing
Monior vitals q1-2h x24h after placement
Auscultate lungs q2h x24h after placement
POST TUBE INSERTION

• Tube: Prevent kinking, coiling, or twisting
Avoid tension on the tube
Never clamp unnecessarily
Assist patient during activities the first few times and educate patient on how to manage tube
Monitor connections
POST TUBE INSERTION

• Drainage System (Pleur-Evac) Wall Suction at -20cm H2O
Water Seal at -2cm H20
POST TUBE INSERTION

• Monitor vital signs q1 hour x 4-8 hours and then q1-2h for remainder of the
24h period
• Monitor respirations Rate, Rhythm, and Pattern
• Auscultate Every 1-2 hours for first 24h after placement Every 4-8 hours after first 24h Listen for presence of breath sounds and quality of sounds Listen for absence of breath sounds
• Monitor O2 saturation Administer oxygen when necessary
NURSING KEY POINTS
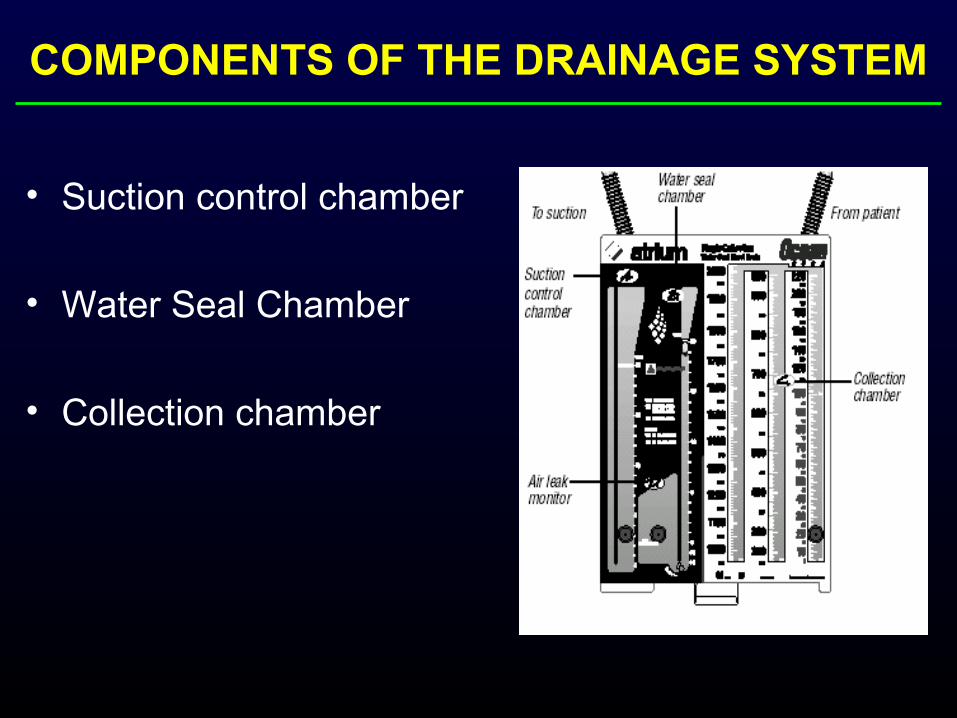
COMPONENTS OF THE DRAINAGE SYSTEM
• Suction control chamber
• Water Seal Chamber
• Collection chamber

SUCTION CONTROL CHAMBER
• The use of suction helps overcome an air leak by improving the rate of air and fluid flow out of the patient.
• Lower the water content, lower the suction. Raise the water level, raise the amount of suction.
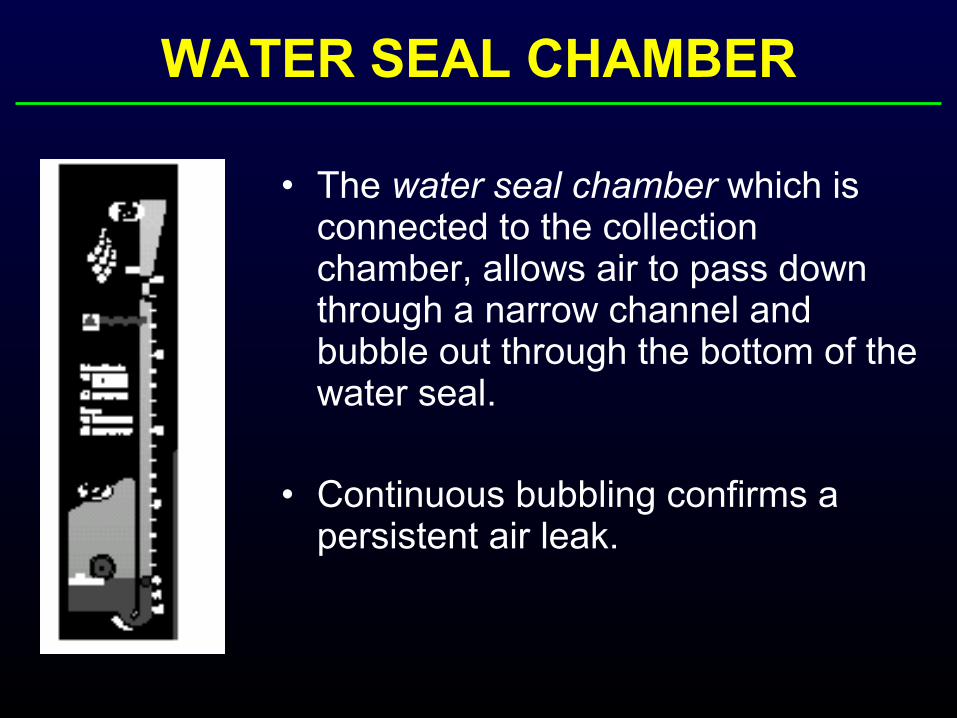
• The water seal chamber which is connected to the collection chamber, allows air to pass down through a narrow channel and bubble out through the bottom of the water seal.
• Continuous bubbling confirms a persistent air leak.
WATER SEAL CHAMBER

• Fluids drain directly from patient into the collection chamber
• chamber via a 6’ patient tube
COLLECTION CHAMBER


• Avoid kinking, coiling, or twisting
• Avoid tension on tubing
• Monitor connections
• Maintain patency Check for obstruction
• Patient education and assistance Place a pillow between patient and tubing Coil the tube Avoid dependent loop Instruct patient to cough if tube is blocked Milking and stripping of the tube when blocked

• As a general rule, NEVER CLAMP a chest tube.
• Clamping a chest tube can allow air to accumulate in the pleural cavity since the air has no means of escape. This can rapidly lead to a tension pneumothorax.

• A bubbling chest tube should never be clamped.
• In cases of pneumothorax, clamping of the chest tube should be avoided except for the rare exception.
• Drainage of a large pleural effusion should be controlled to prevent the potential complication of re-expansion pulmonary edema. This can be done by intermittent clamping after every 500cc of drainage.

• If a chest tube for pneumothorax is clamped, this should be done under the supervision of a pulmonologist, critical care physician, general surgeon, or thoracic surgeon. The patient should be managed in a special care unit
(ICU, telemetry, stepdown, PACU) with experienced nursing staff.
• If a patient with a clamped tube becomes short of breath, dyspneic, tachycardic, hypotensive, or develops subcutaneous emphysema then the tube must be immediately unclamped and the proper physician notified.
• Use rubber protected clamp
• Indications for clamping: Patient transfer Checking for air leaks Pleurodesis Control of large output when tube first placed
• Generally not for more than 15 minutes
• Only upon physician’s order
SUCTION• Low to Medium Suction Pump
Controlled by water level in Suction Chamber Suction valve with meter at wall Turn wall suction up to a level which causes gentle, slow
bubbling in the Suction Chamber
• An Active Force
• Water seal drainage is not adequate
• Patient’s respiration and cough are too weak to expel air out of the chest cavity
• Air leak is present or persistent
• Need for expedited drainage of the pleural space
• Low Flow, Passive Drainage
• Place below patient’s chest wall
• Fill with sterile water to 2cm
• Immersion in 2cm of H2O creates a -2cm H20 seal
• Barrier to prevent backflow into pleural space
• Air at greater pressure than chamber setting is released and seen as bubbles in the chamber
• Air can escape (bubbles) the tubing into this chamber but can not enter the tubing as this chamber creates a one way Passive Valve

TIDALING / FLUCTUATION
• To ensure the patency of the system
• Patient takes deep breath or coughs
• Water column will tidal from -2 to -6cm of H2O This represents the fluctuating of the intrapleural pressure
with the respiratory cycle
• It will stop when Lung completely expanded Obstruction present
Check for obstruction Tubing kinked Patient position

BUBBLING
• Rare, Sporadic, Intermittent Bubbling: Normal
• Frequent, Intermittent or Reproducible or Continuous Bubbling: Abnormal Check:
Wound and Dressing Tube Connection
• If rapid bubbling occurs without an appreciable air leak then inform the physician immediately

BUBBLING DIFFERENTIAL
• If tube is not inserted far enough into the pleural space then one of holes in chest tube may be outside pleural space; allowing atmospheric air to enter.
• Poor seal at the dressing site; allowing air to get sucked into the chest.
• Leak in the system – most commonly at connection site. This leak allows atmospheric air to be sucked into the system.
• Pleur-Evac malfunction.
• Pleural injury (parenchymal laceration, tear, etc) causing inspired air to escape into the chest cavity.
• Post-surgical lung resection patients can have leak at staple or suture line allowing inspired air to escape into the chest cavity.
SOURCE OF THE AIR LEAK
• To locate the air leak, “running the system” can be performed.
• Clamp the tubing momentarily at various points along tubing length

• Observe for change in drainage color
• Mark the time of measurement and the fluid level on the drainage chamber as ordered by physician
• Marking intervals may range from once per hour to every 8 hours
• Document in chart under I/O as ordered or at least qShift
• Change drainage system (Pleur-Evac) when full
• Any change in the quantity or characteristics of drainage (e.g. clear yellow to bloody) should be reported to the physician
• 70-100 cc/h is acceptable in most situations
DRAINAGE OUTPUT

SAFETY
• Tube Prevent kinking or twisting Prevent tension on the tube or tubing Never clamp unnecessarily Do not “strip” the tubing
• Drainage System (Pleur-Evac) Must be below chest Keep upright Maintain fluid levels in suction and water seal
chambers
AMBULATION
• No need to clamp the tube
• May stop the suction and place on water seal if cleared by physician
• Maintain chest tube below chest wall
• Encourage patient to change position often to promote drainage
• Patient can sit up, get in and out of bed, and ambulate as tolerated
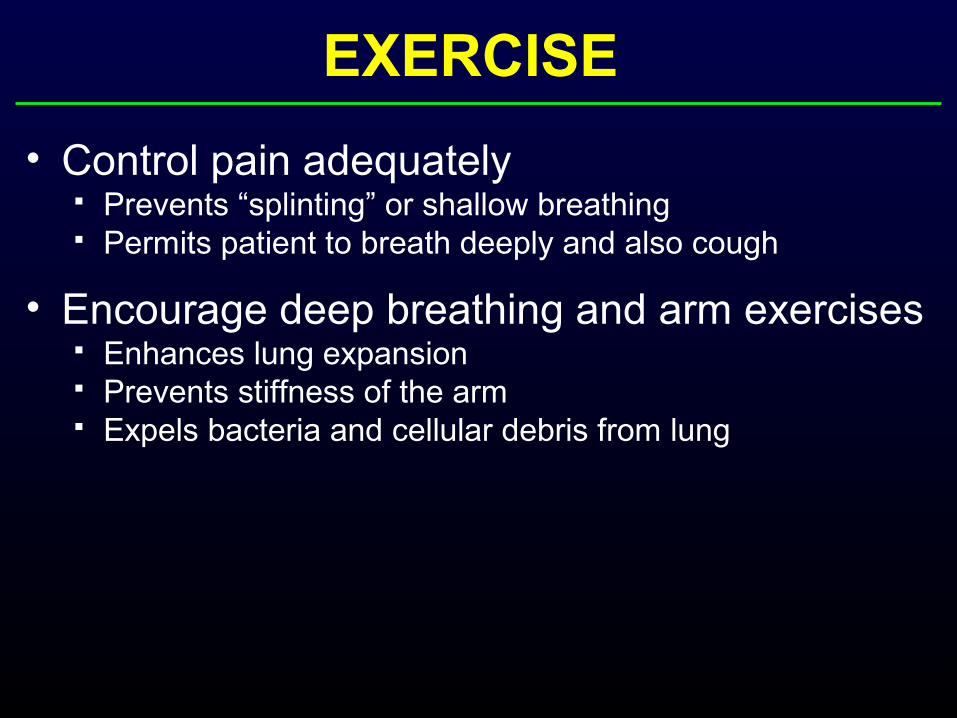
EXERCISE
• Control pain adequately Prevents “splinting” or shallow breathing Permits patient to breath deeply and also cough
• Encourage deep breathing and arm exercises Enhances lung expansion Prevents stiffness of the arm Expels bacteria and cellular debris from lung

PAIN MANAGEMENT • Administer analgesic in the first 24 hours.
• Allow position that comfortable to the patient.
• Assist patient with activities of daily living.

• Change the gauze when necessary
• Strict aseptic technique when performing dressing change
• Check skin integrity Redness Swelling Loose suture
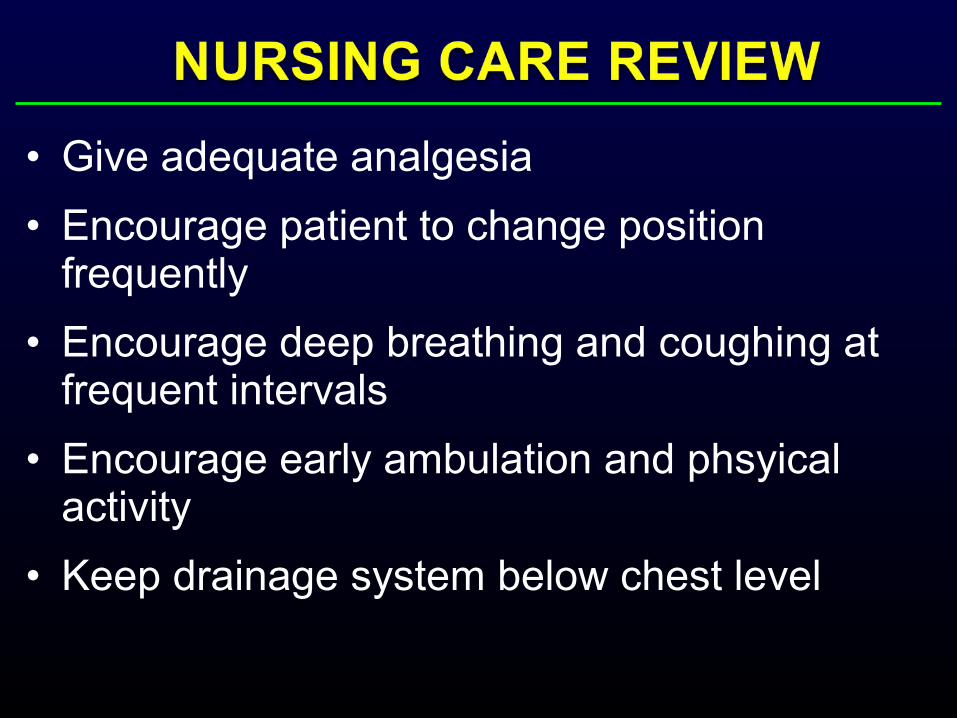
• Give adequate analgesia
• Encourage patient to change position frequently
• Encourage deep breathing and coughing at frequent intervals
• Encourage early ambulation and phsyical activity
• Keep drainage system below chest level

• Ensure fluctuation / tidaling of fluid level
• Maintain fluid levels in suction and water seal chambers Suction Chamber: 20cm H2O (or as ordered) Water Seal Chamber: 2cm H2O (or as ordered)
• Watch for air leak and report immediately
• Avoid clamping - may create tension pneumothorax

• Observe and Report: Rapid shallow breathing Cyanosis Complaints of chest pain or pressure in chest Subcutaneous emphysema Excessive hemorrhage Respiratory status O2 Saturation Vitals signs

• Drainage assessment every hour for the first 24 hours, then every 8 hours subsequently
• Physician should be notified if drainage exceeds 75-100 cc/h
• Check dressing and tubing frequently
• Dressing changes only as needed
• Dressing supplies, replacement tube, new drainage system, and a padded clamp should be at the bedside for emergency use if tube is dislodged or disconnected

• Bleeding Observe wound dressing Observe drainage
EMERGENCY CARE

• Dislodgement From insertion site – place an occlusive gauze
dressing immediately over the wound abd notify physician.
From connection – clamp the chest tube immediately. Prepare drainage system as necessary and reconnect with system on suction; notify physician as soon as possible.
EMERGENCY CARE

REPOSITIONING CHEST DRAINS
• Should be done by physician only
• May be adjusted by withdrawing out of the chest but NEVER adjusted by advancing into the chest
• Use imaging for assistance
• Best is a fresh tube insertion
• Avoid a previous site if possible and place replacement tube at new site

• Criteria: No air leakage Drained fluid < 50 c.c./day Clear, serous, or sero-sanguinous color of fluid Full expansion of lung confirmed on CXR
CHEST TUBE REMOVAL

• The clinician will remove the dressing and sutures
• During end exhalation or end inspiration, the clinician will remove the chest tube in one quick, steady movement
• Immediately apply a sterile gauze dressing containing petroleum gauze to prevent air from entering pleural space
• Monitor patient’s respiratory status
• Arrange for CXR to check lung status post-pull
• Monitor patient’s respiratory status and SpO2 for 4-8 hours after removal
CHEST TUBE REMOVAL


![[PPT]Chest tube, thoracentesis and fibrinolyticschestgmcpatiala.weebly.com/uploads/8/3/5/5/8355281/chest... · Web viewDEFINITION A chest drain is a tube inserted through the chest](https://img.pdfslide.net/doc/110x75/5b403a5f7f8b9a4b3f8d15f4/pptchest-tube-thoracentesis-and-fibrinol-web-viewdefinition-a-chest-drain.jpg)