Embed Size (px)
Citation preview

DAVID BILÍKAnDev@Ackee

Anko - a modern way to build your layouts?

Anko

Anko• Android + Kotlin = Anko

Anko• Android + Kotlin = Anko
• Set of methods/extensions/helpers to make Android development easier

Anko• Android + Kotlin = Anko
• Set of methods/extensions/helpers to make Android development easier
• Library consists of multiple parts

Anko• Android + Kotlin = Anko
• Set of methods/extensions/helpers to make Android development easier
• Library consists of multiple parts
• Commons - general helpers for intents, dialogs, etc.

Anko• Android + Kotlin = Anko
• Set of methods/extensions/helpers to make Android development easier
• Library consists of multiple parts
• Commons - general helpers for intents, dialogs, etc.
• Sqlite - DSL for creating Sqlite Queries and helpers for parsing results

Anko• Android + Kotlin = Anko
• Set of methods/extensions/helpers to make Android development easier
• Library consists of multiple parts
• Commons - general helpers for intents, dialogs, etc.
• Sqlite - DSL for creating Sqlite Queries and helpers for parsing results
• Coroutines - utilities based on Kotlin Coroutines
• Layouts - typesafe way to create layouts

Anko - Layouts
• Anko aims to replace XML for building UI of an app

Anko - Layouts
• Anko aims to replace XML for building UI of an app
• XML has several disadvantages

Anko - Layouts
• Anko aims to replace XML for building UI of an app
• XML has several disadvantages
• Its not typesafe and nullsafe

Anko - Layouts
• Anko aims to replace XML for building UI of an app
• XML has several disadvantages
• Its not typesafe and nullsafe
• Forces you to write almost the same code for every layout
you make and it allows almost no code reuse

Anko - Layouts
• Anko aims to replace XML for building UI of an app
• XML has several disadvantages
• Its not typesafe and nullsafe
• Forces you to write almost the same code for every layout
you make and it allows almost no code reuse
• Waste of computational resources because of parsing of
XML file in runtime

Performance

Performance
• There is couple of articles about performance comparison
between Anko and XML, all in favor of Anko

Performance
• There is couple of articles about performance comparison
between Anko and XML, all in favor of Anko
• One of them describes 400% speed improvement when
inflating layout using Anko instead of with LayoutInflater

Performance
• There is couple of articles about performance comparison
between Anko and XML, all in favor of Anko
• One of them describes 400% speed improvement when
inflating layout using Anko instead of with LayoutInflater
• I was curious if the results are really that good or if author is just a big fan of Anko

Performance

Performance• I’ve created a simple RecyclerView.Adapter with different
viewItemType for each row and I measured execution time of onCreateViewHolder method

Performance• I’ve created a simple RecyclerView.Adapter with different
viewItemType for each row and I measured execution time of onCreateViewHolder method
• I’ve measured 1000 creations and marked down min, max and average
values for couple of different devices

Performance• I’ve created a simple RecyclerView.Adapter with different
viewItemType for each row and I measured execution time of onCreateViewHolder method
• I’ve measured 1000 creations and marked down min, max and average
values for couple of different devices
Measurement results
Emulator N5X An 7.1,
SGS8 An 7.0
Nexus 5X An 8.0
GSmrad (GSmart Roma R2)
An 4.3
Huawei Y330
An 4.2.2
MiniSráč (SG Young S6310)
An 4.4.4Anko 0/57/4.3 0/54/4.7 0/32/7.4 0/226/15.2 0/558/16.7 0/206/19.8
XML 0/122/7.4 0/327/8.3 0/31/11.2 0/332/24.9 0/494/22.6 0/154/37.9

Example

</LinearLayout> </ScrollView>
<ScrollView xmlns:android="http://schemas.android.com/apk/res/android" android:layout_width="match_parent" android:layout_height="match_parent"> <LinearLayout android:layout_width="match_parent" android:layout_height="wrap_content" android:orientation="vertical">

</LinearLayout> </ScrollView>
<FrameLayout android:layout_width="match_parent" android:layout_height="180dp"> <ImageView android:layout_width="match_parent" android:layout_height="180dp" android:scaleType="fitXY" android:src="@drawable/castle"/> <ImageView android:layout_width="match_parent" android:layout_height="100dp" android:layout_gravity="bottom" android:background="@drawable/bottom_gradient"/> <TextView android:layout_width="match_parent" android:layout_height="wrap_content" android:layout_gravity="bottom" android:padding="16dp" android:text="Awesome title" android:textColor="@android:color/white" android:textSize="26sp"/></FrameLayout>
<ScrollView xmlns:android="http://schemas.android.com/apk/res/android" android:layout_width="match_parent" android:layout_height="match_parent"> <LinearLayout android:layout_width="match_parent" android:layout_height="wrap_content" android:orientation="vertical">
<TextView android:layout_width="match_parent" android:layout_height="match_parent" android:paddingBottom="12dp" android:paddingLeft="16dp" android:paddingRight="16dp" android:paddingTop="12dp" android:text="@string/lorem_ipsum"/>

val scrollView = ScrollView(this) val linearLayout = LinearLayout(this).apply { orientation = LinearLayout.VERTICAL} val frameLayout = FrameLayout(this) val castleImageView = ImageView(this).apply { setImageResource(R.drawable.castle) scaleType = ImageView.ScaleType.FIT_XY} val gradientImageView = ImageView(this).apply { setImageResource(R.drawable.bottom_gradient) } val titleTextView = TextView(this).apply { val padding = dpToPx(16) setPadding(padding, padding, padding, padding) text = "Awesome title" setTextColor(ContextCompat.getColor(context, android.R.color.white)) textSize = 26f} val bodyTextView = TextView(this).apply { val horizontalPadding = dpToPx(16) val verticalPadding = dpToPx(12) setPadding(horizontalPadding, verticalPadding, horizontalPadding, verticalPadding) setText(R.string.lorem_ipsum) } frameLayout.addView(castleImageView, FrameLayout.LayoutParams(MATCH_PARENT, MATCH_PARENT)) frameLayout.addView(gradientImageView, FrameLayout.LayoutParams(MATCH_PARENT, dpToPx(100), Gravity.BOTTOM))frameLayout.addView(titleTextView, FrameLayout.LayoutParams(WRAP_CONTENT, WRAP_CONTENT, Gravity.BOTTOM))linearLayout.addView(frameLayout, LinearLayout.LayoutParams(MATCH_PARENT, dpToPx(180)))linearLayout.addView(bodyTextView)scrollView.addView(linearLayout)setContentView(scrollView)

scrollView { verticalLayout { } }

scrollView { verticalLayout {
} }
frameLayout { imageView(R.drawable.castle) { scaleType = ImageView.ScaleType.FIT_XY }.lparams(matchParent, matchParent) imageView(R.drawable.bottom_gradient) .lparams(width = matchParent, height = dip(100), gravity = Gravity.BOTTOM) textView { padding = dip(16) text = "Awesome title" textColor = color(android.R.color.white) textSize = 26f }.lparams(gravity = Gravity.BOTTOM) }.lparams(width = matchParent, height = dip(180))
textView { horizontalPadding = dip(16) verticalPadding = dip(12) textResource = R.string.lorem_ipsum}.lparams(matchParent, matchParent)

How does it work?• Because of Anko is Kotlin Library it can benefit from the easy
creation of TypeSafe builders

How does it work?• Because of Anko is Kotlin Library it can benefit from the easy
creation of TypeSafe builders
• Lets create a very small and stupid subset of Anko on our own

How does it work?• Because of Anko is Kotlin Library it can benefit from the easy
creation of TypeSafe builders
• Lets create a very small and stupid subset of Anko on our own
verticalLayout { textView { text = "Hello" }} textView(R.string.app_name) { textSize = 26f }} }}

DSL verticalLayout { textView { text = "Hello" }} textView(R.string.app_name) { textSize = 26f }} }}

DSL
• We need 2 functions, verticalLayout and textView
verticalLayout { textView { text = "Hello" }} textView(R.string.app_name) { textSize = 26f }} }}

DSL
• We need 2 functions, verticalLayout and textViewfun Activity.verticalLayout( ): LinearLayout { val layout = LinearLayout(this) with(layout) { orientation = LinearLayout.VERTICAL init() } return layout}
init: LinearLayout.() -> Unit
verticalLayout { textView { text = "Hello" }} textView(R.string.app_name) { textSize = 26f }} }}

DSL
• We need 2 functions, verticalLayout and textViewfun Activity.verticalLayout( ): LinearLayout { val layout = LinearLayout(this) with(layout) { orientation = LinearLayout.VERTICAL init() } return layout}
fun ViewGroup.textView(init: TextView.() -> Unit): TextView { val textView = TextView(context) textView.init() addView(textView) return textView}
init: LinearLayout.() -> Unit
verticalLayout { textView { text = "Hello" }} textView(R.string.app_name) { textSize = 26f }} }}

DSL
• init has a type that is called function type with receiver T.() -> Unit

DSL
• init has a type that is called function type with receiver T.() -> Unit
• we need to pass an instance of T (receiver) to the function and we can access members of that instnace

DSL
• init has a type that is called function type with receiver T.() -> Unit
• we need to pass an instance of T (receiver) to the function and we can access members of that instnace
• The same restrictions applies as for Extensions functions - only public members and methods can be accessed

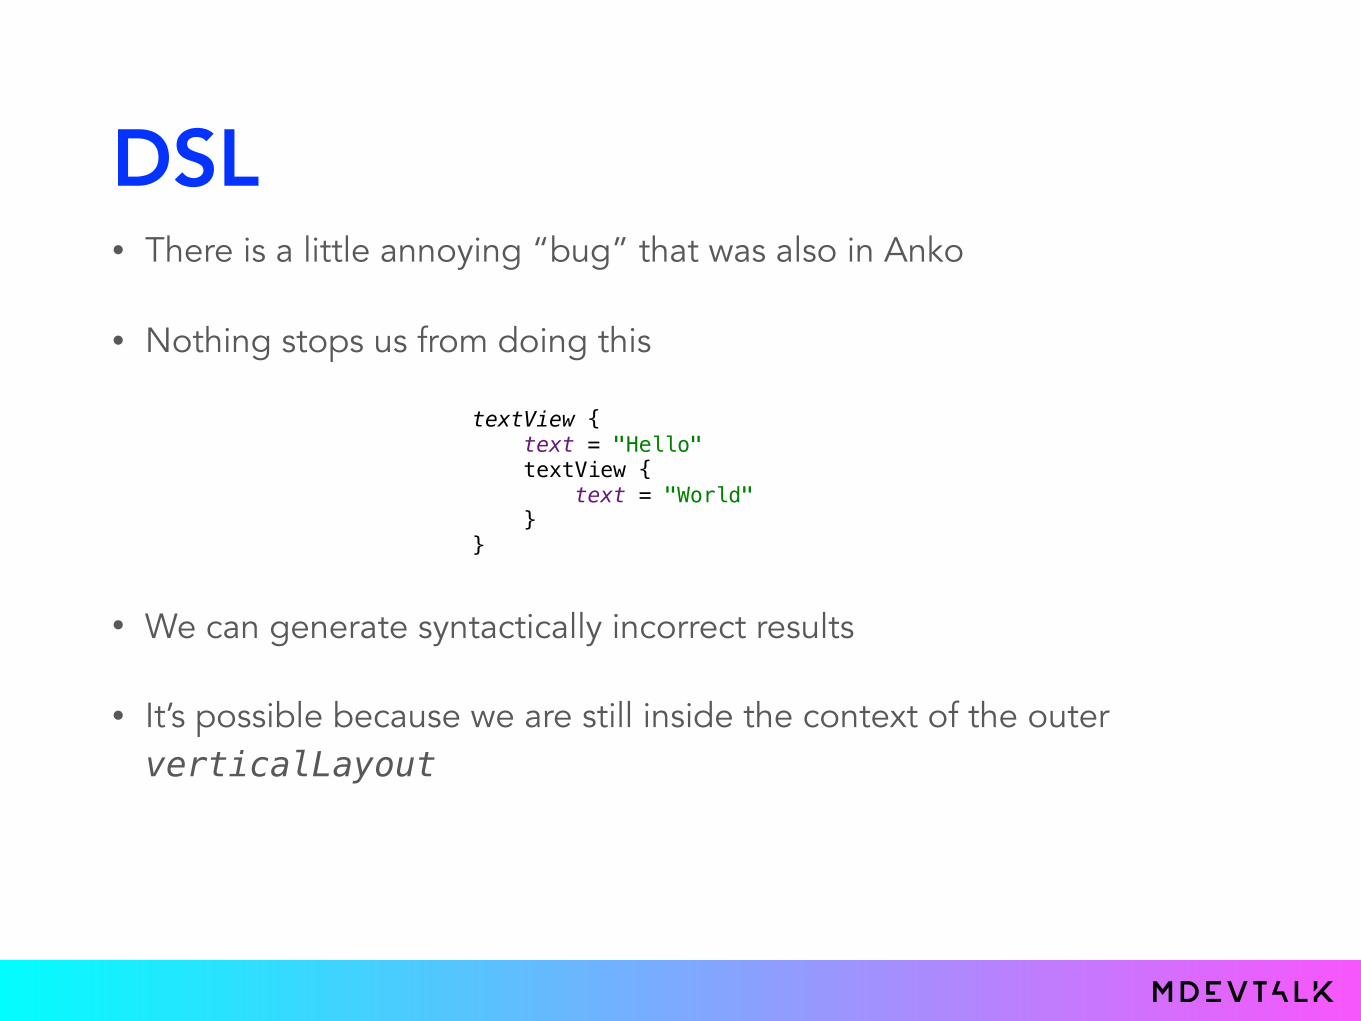
DSL• There is a little annoying “bug” that was also in Anko

DSL• There is a little annoying “bug” that was also in Anko
• Nothing stops us from doing this
textView { text = "Hello" textView { text = "World" } }

DSL• There is a little annoying “bug” that was also in Anko
• Nothing stops us from doing this
• We can generate syntactically incorrect results
textView { text = "Hello" textView { text = "World" } }
DSL• There is a little annoying “bug” that was also in Anko
• Nothing stops us from doing this
• We can generate syntactically incorrect results
• It’s possible because we are still inside the context of the outer verticalLayout
textView { text = "Hello" textView { text = "World" } }

DSL• Kotlin has a solution from v1.1
• We need to create annotation with which we mark our init methods
LinearLayout.() -> Unit): LinearLayout {LinearLayout).() -> Unit): LinearLayout {(@UIDSLMaker

DSL• Kotlin has a solution from v1.1
• We need to create annotation with which we mark our init methods
@DslMarker@Target(AnnotationTarget.TYPE) annotation class UIDSLMaker
LinearLayout.() -> Unit): LinearLayout {LinearLayout).() -> Unit): LinearLayout {(@UIDSLMaker

DSL• Kotlin has a solution from v1.1
• We need to create annotation with which we mark our init methods
@DslMarker@Target(AnnotationTarget.TYPE) annotation class UIDSLMaker
fun Activity.verticalLayout(init: val layout = LinearLayout(this) with(layout) { orientation = LinearLayout.VERTICAL init() } return layout}
LinearLayout.() -> Unit): LinearLayout {LinearLayout).() -> Unit): LinearLayout {(@UIDSLMaker

How does it work #2?
• DSL explains why the layout looks structurized but there is
more in Anko (or Kotlin) that makes building layouts easier
• Lets take a look at our first Anko sample

How does it work #2?
• DSL explains why the layout looks structurized but there is
more in Anko (or Kotlin) that makes building layouts easier
• Lets take a look at our first Anko sample
textView { padding = dip(16) text = "Awesome title" textColor = color(android.R.color.white) textSize = 26f}.lparams(gravity = Gravity.BOTTOM)

How does it work #2?textView { padding = dip(16) text = "Awesome title" textColor = color(android.R.color.white) textSize = 26f}.lparams(gravity = Gravity.BOTTOM)

How does it work #2?
• text and textSize are synthetic extension properties bound to the getters and setters from Java. Both of these must exists for compiler to create these properties
textView { padding = dip(16) text = "Awesome title" textColor = color(android.R.color.white) textSize = 26f}.lparams(gravity = Gravity.BOTTOM)

How does it work #2?
• text and textSize are synthetic extension properties bound to the getters and setters from Java. Both of these must exists for compiler to create these properties
• padding and textColor are extension properties built in Anko. They exists for the most used properties in views that don’t provide getters/setters for given property
• dip(Int) is an extension property from Anko. Converts integer argument from dps to pxs
• color(Int) is our extension function for retrieving color resource
@ColorIntfun View.color(@ColorRes colorRes: Int) = ContextCompat.getColor(context, colorRes)
textView { padding = dip(16) text = "Awesome title" textColor = color(android.R.color.white) textSize = 26f}.lparams(gravity = Gravity.BOTTOM)

How does it work #3?verticalLayout { frameLayout { //rest of the views }.lparams(width = matchParent, height = dip(180)) textView(R.string.lorem_ipsum) { horizontalPadding = dip(16) verticalPadding = dip(12) }.lparams(matchParent, matchParent) }

How does it work #3?
• horizontalPadding and verticalPadding are also extension properties, but for attributes that don’t exist in View definition.
verticalLayout { frameLayout { //rest of the views }.lparams(width = matchParent, height = dip(180)) textView(R.string.lorem_ipsum) { horizontalPadding = dip(16) verticalPadding = dip(12) }.lparams(matchParent, matchParent) }

How does it work #3?
• horizontalPadding and verticalPadding are also extension properties, but for attributes that don’t exist in View definition.
• verticalLayout (as in our own DSL) is a LinearLayout with orientation set to VERTICAL
• textView(Int) is a helper block constructor that takes string resource as a parameter. These helper blocks exist for some of the views like editText, textView, imageView, …
verticalLayout { frameLayout { //rest of the views }.lparams(width = matchParent, height = dip(180)) textView(R.string.lorem_ipsum) { horizontalPadding = dip(16) verticalPadding = dip(12) }.lparams(matchParent, matchParent) }

How does it work #4?verticalLayout { frameLayout { //rest of the views
textView { }.lparams(gravity = Gravity.BOTTOM)
}.lparams(width = matchParent, height = dip(180)) textView(R.string.lorem_ipsum) { horizontalPadding = dip(16) verticalPadding = dip(12) }.lparams(matchParent, matchParent) { bottomMargin = dip(8) }}

How does it work #4?
• lparams is a function for definition of Layout Parameters in the context of current ViewGroup
verticalLayout { frameLayout { //rest of the views
textView { }.lparams(gravity = Gravity.BOTTOM)
}.lparams(width = matchParent, height = dip(180)) textView(R.string.lorem_ipsum) { horizontalPadding = dip(16) verticalPadding = dip(12) }.lparams(matchParent, matchParent) { bottomMargin = dip(8) }}

How does it work #4?
• lparams is a function for definition of Layout Parameters in the context of current ViewGroup
• It should be defined after the View definition
• All lparams accepts width and height parameters. Default value is wrapContent (extension property of WRAP_CONTENT, same for matchParent)
• Some lparams have overloads, eg. LinearLayout.lparams accepts weight: Float or
FrameLayout.lparams accepts gravity: Int
• lparams also accepts lambda with parameters definition just as functions for View definitions
verticalLayout { frameLayout { //rest of the views
textView { }.lparams(gravity = Gravity.BOTTOM)
}.lparams(width = matchParent, height = dip(180)) textView(R.string.lorem_ipsum) { horizontalPadding = dip(16) verticalPadding = dip(12) }.lparams(matchParent, matchParent) { bottomMargin = dip(8) }}

Layout Parameters• In some tutorials you can see lparams block inside of view definition
textView(R.string.lorem_ipsum) { horizontalPadding = dip(16) verticalPadding = dip(12) }.lparams(matchParent, matchParent) { bottomMargin = dip(8) }

Layout Parameters• In some tutorials you can see lparams block inside of view definition
textView(R.string.lorem_ipsum) { horizontalPadding = dip(16) verticalPadding = dip(12) }.lparams(matchParent, matchParent) { bottomMargin = dip(8) }
lparams(matchParent, matchParent) { bottomMargin = dip(8) } }

Layout Parameters• In some tutorials you can see lparams block inside of view definition
textView(R.string.lorem_ipsum) { horizontalPadding = dip(16) verticalPadding = dip(12) }.lparams(matchParent, matchParent) { bottomMargin = dip(8) }
lparams(matchParent, matchParent) { bottomMargin = dip(8) } }
• Sometimes it works, but sometimes it doesn’t and you don’t know why 🤔. What happens in this case?
verticalLayout { lparams { } frameLayout { lparams { } } }
// lparams is LinearLayout.LayoutParams
// lparams is FrameLayout.LayoutParams => INCORRECT, it should be LinearLayout.LayoutParams
• Because of that, you need to define lparams for the most outer ViewGroup just like without Anko

Layout Parameters• Because of that, you need to define lparams for the most outer ViewGroup just like without Anko
verticalLayout { layoutParams = ViewGroup.LayoutParams(matchParent, dip(180)) frameLayout { }.lparams { }}

Beyond the Anko• If you find a View that doesn’t have corresponding extension fnc in
Anko or you have your own custom view, you can use customView extension

Beyond the Anko• If you find a View that doesn’t have corresponding extension fnc in
Anko or you have your own custom view, you can use customView extension
customView<SquaredFrameLayout> { backgroundResource = android.R.color.black}

Beyond the Anko• If you find a View that doesn’t have corresponding extension fnc in
Anko or you have your own custom view, you can use customView extension
customView<SquaredFrameLayout> { backgroundResource = android.R.color.black}
• If you have a view that is used multiple times it may be convenient to
define your own extension function
inline fun ViewManager.squaredFrameLayout(init: SquaredFrameLayout.() -> Unit): SquaredFrameLayout { return ankoView(::SquaredFrameLayout, theme = 0, init = init)}
squaredFrameLayout { backgroundResource = android.R.color.black}

Anko Components

Anko Components
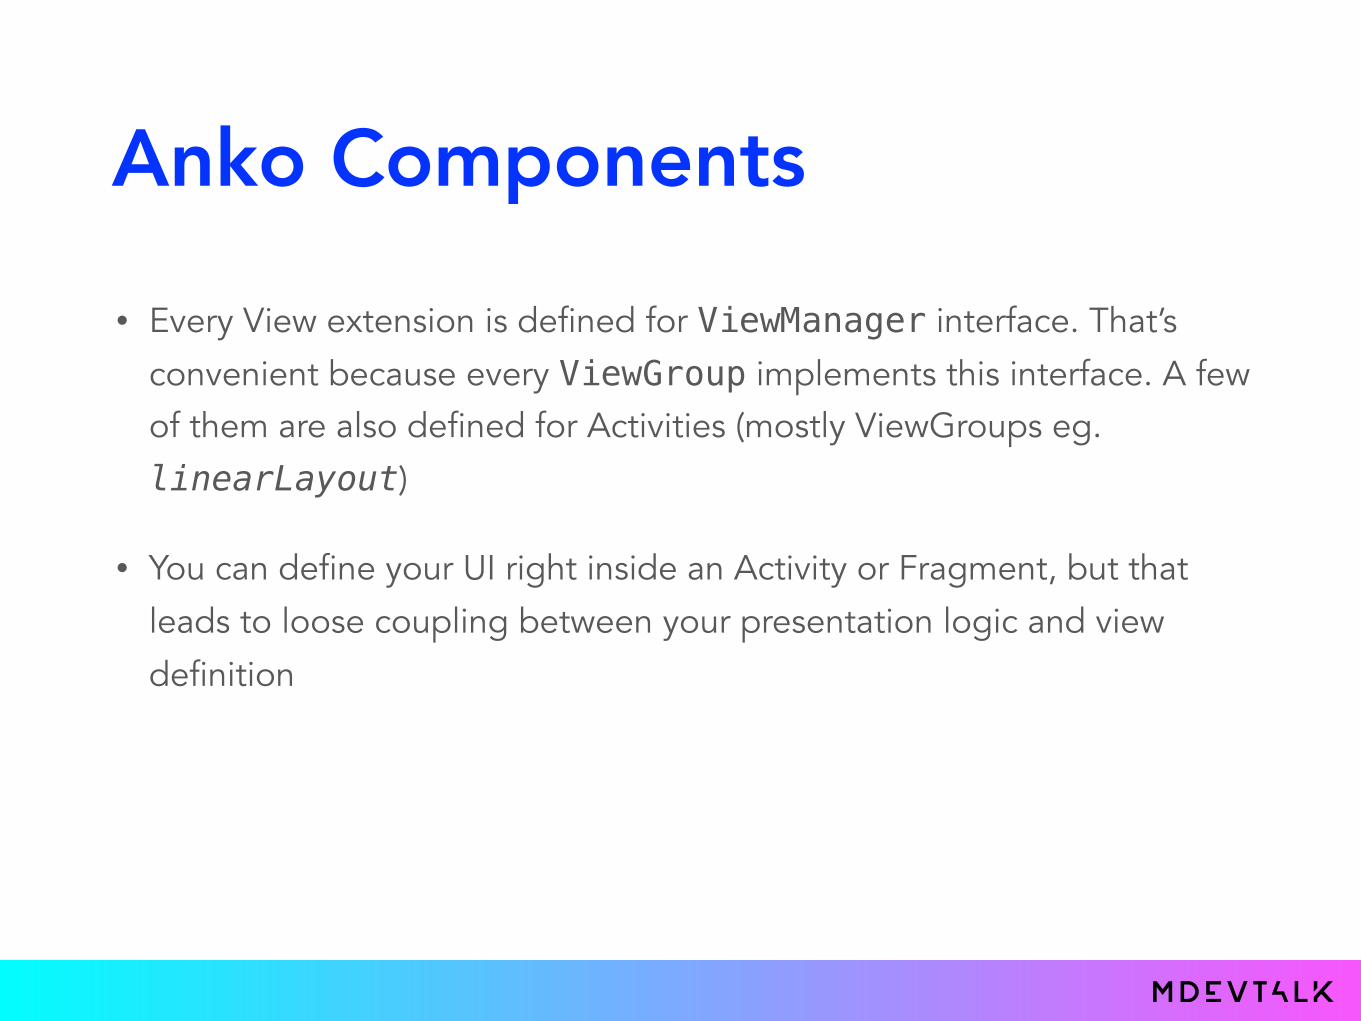
• Every View extension is defined for ViewManager interface. That’s
convenient because every ViewGroup implements this interface. A few of them are also defined for Activities (mostly ViewGroups eg.
linearLayout)
Anko Components
• Every View extension is defined for ViewManager interface. That’s
convenient because every ViewGroup implements this interface. A few of them are also defined for Activities (mostly ViewGroups eg.
linearLayout)
• You can define your UI right inside an Activity or Fragment, but that
leads to loose coupling between your presentation logic and view
definition
• Anko has concept of AnkoComponents

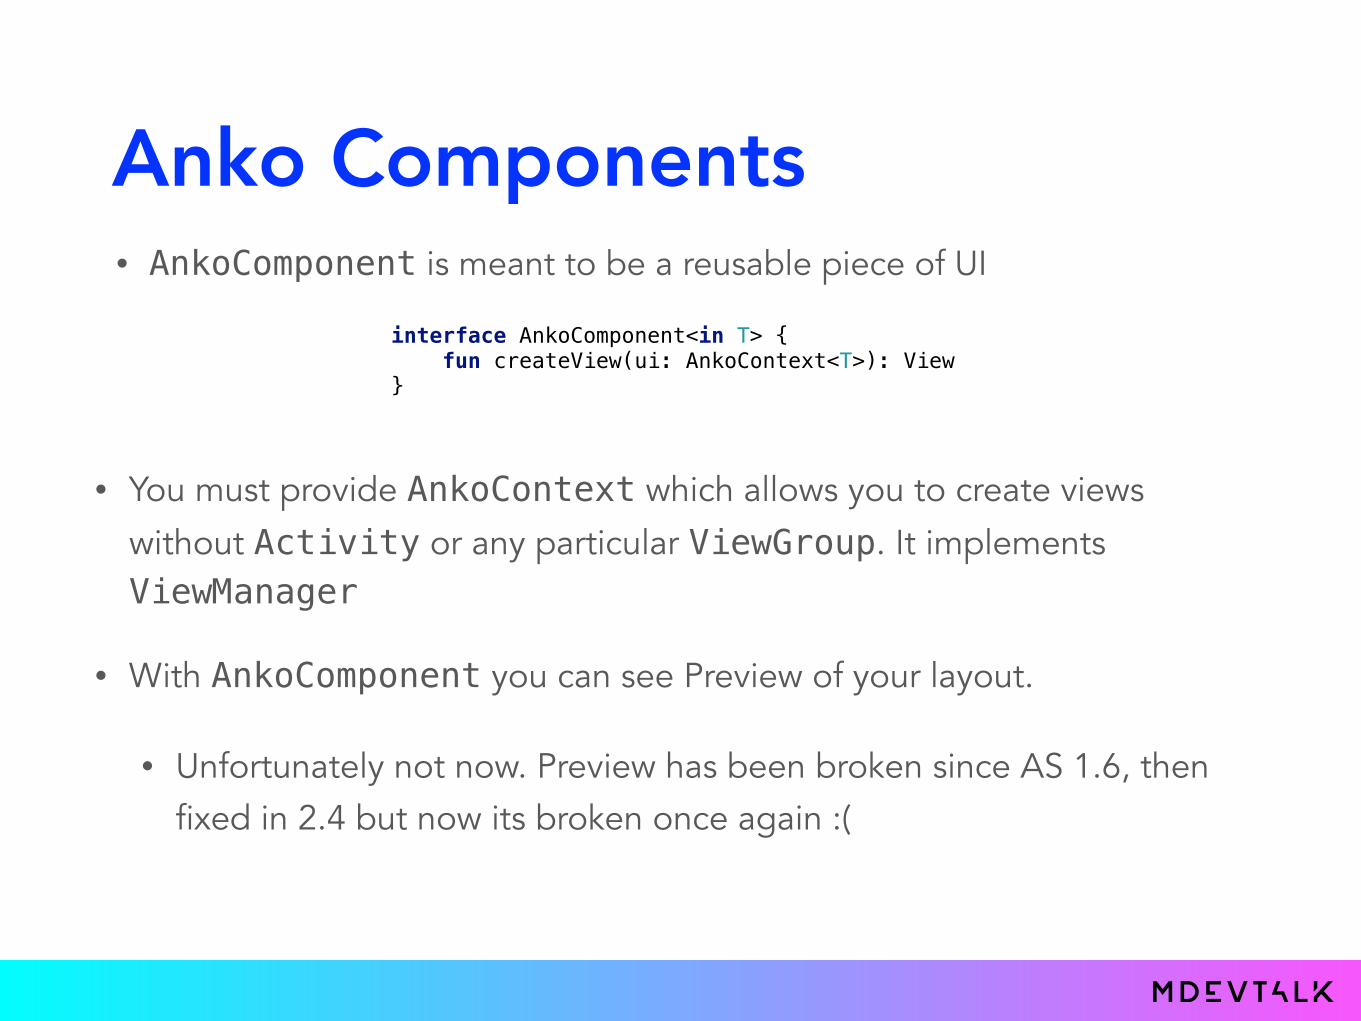
Anko Components• AnkoComponent is meant to be a reusable piece of UI

Anko Components• AnkoComponent is meant to be a reusable piece of UI
interface AnkoComponent<in T> { fun createView(ui: AnkoContext<T>): View}

Anko Components• AnkoComponent is meant to be a reusable piece of UI
interface AnkoComponent<in T> { fun createView(ui: AnkoContext<T>): View}
• You must provide AnkoContext which allows you to create views
without Activity or any particular ViewGroup. It implements ViewManager

Anko Components• AnkoComponent is meant to be a reusable piece of UI
interface AnkoComponent<in T> { fun createView(ui: AnkoContext<T>): View}
• You must provide AnkoContext which allows you to create views
without Activity or any particular ViewGroup. It implements ViewManager
• With AnkoComponent you can see Preview of your layout.
• Unfortunately not now. Preview has been broken since AS 1.6, then fixed in 2.4 but now its broken once again :(

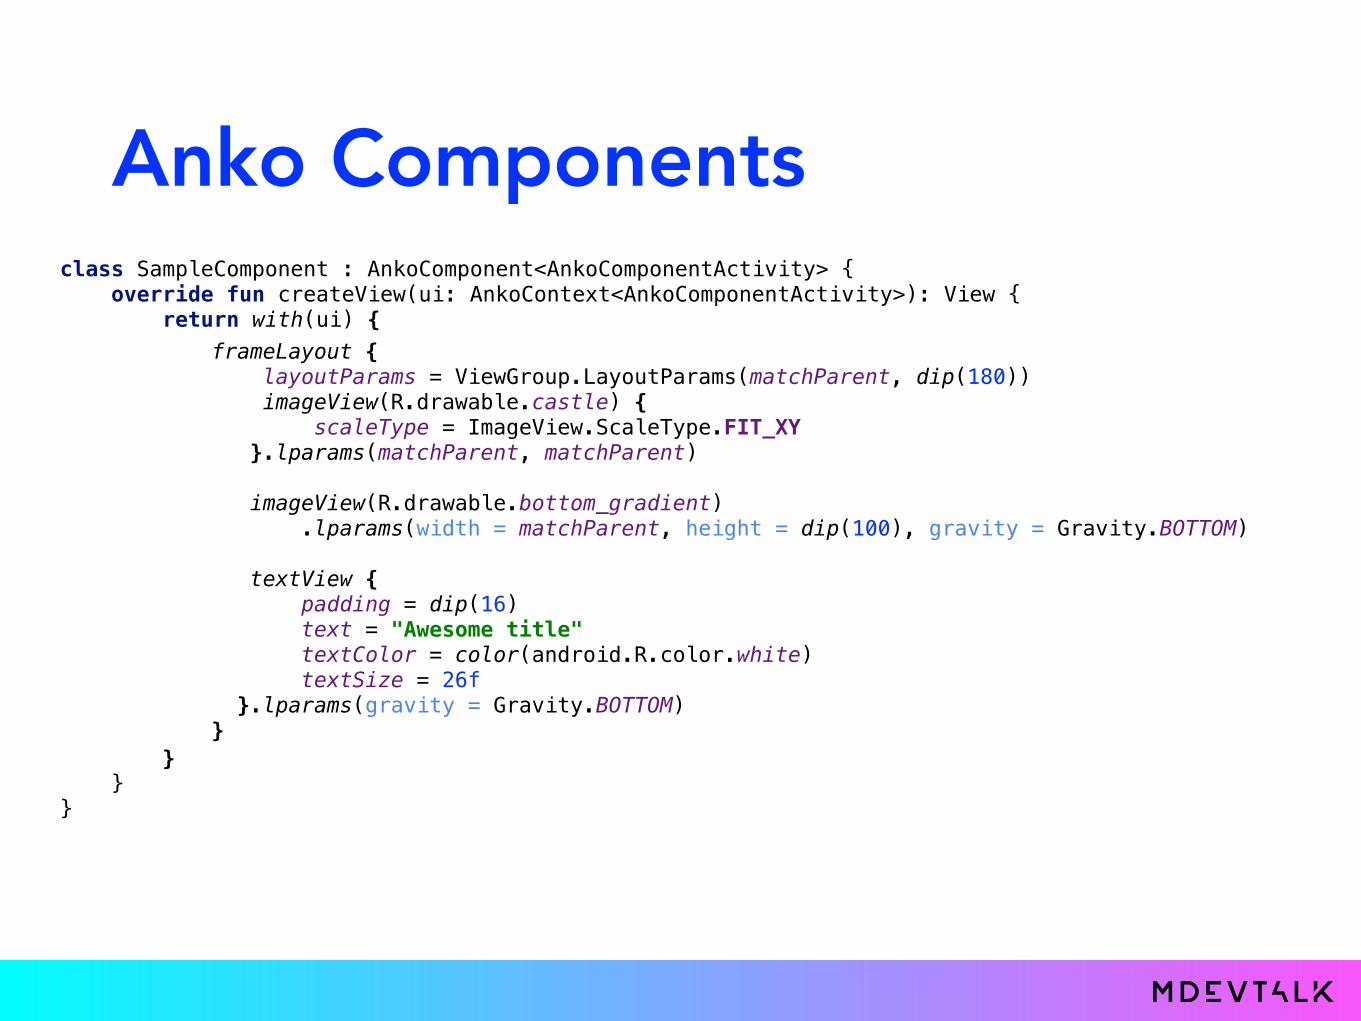
Anko Componentsclass SampleComponent : AnkoComponent<AnkoComponentActivity> { override fun createView(ui: AnkoContext<AnkoComponentActivity>): View { return with(ui) {
frameLayout { layoutParams = ViewGroup.LayoutParams(matchParent, dip(180)) imageView(R.drawable.castle) { scaleType = ImageView.ScaleType.FIT_XY }.lparams(matchParent, matchParent) imageView(R.drawable.bottom_gradient) .lparams(width = matchParent, height = dip(100), gravity = Gravity.BOTTOM) textView { padding = dip(16) text = "Awesome title" textColor = color(android.R.color.white) textSize = 26f }.lparams(gravity = Gravity.BOTTOM) }
} } }

Anko Componentsclass SampleComponent : AnkoComponent<AnkoComponentActivity> { override fun createView(ui: AnkoContext<AnkoComponentActivity>): View {
layoutParams = ViewGroup.LayoutParams(matchParent, dip(180)) imageView(R.drawable.castle) { scaleType = ImageView.ScaleType.FIT_XY }.lparams(matchParent, matchParent) imageView(R.drawable.bottom_gradient) .lparams(width = matchParent, height = dip(100), gravity = Gravity.BOTTOM) textView { padding = dip(16) text = "Awesome title" textColor = color(android.R.color.white) textSize = 26f }.lparams(gravity = Gravity.BOTTOM) }
} }
return ui.frameLayout {

Mixing with XML• If you would like to try Anko, but you have part of your layout in XML
and its not the right time to convert it you can use <include> tag

Mixing with XML• If you would like to try Anko, but you have part of your layout in XML
and its not the right time to convert it you can use <include> tag
include<View>(R.layout.something) { backgroundColor = Color.RED }.lparams(width = matchParent)

Mixing with XML• If you would like to try Anko, but you have part of your layout in XML
and its not the right time to convert it you can use <include> tag
include<View>(R.layout.something) { backgroundColor = Color.RED }.lparams(width = matchParent)
• You can specify the type of the parent View in XML and you can set
properties bound to this type
include<TextView>(R.layout.item_text) { textSize = 24f }.lparams(width = matchParent)

And that's where the official docs ends

And that's where the official docs ends
What else?

Styling
• “So, how do you style with Anko?”

Styling
• “So, how do you style with Anko?”
• We are in code, so the same rules apply as in programming anything else

textView(R.string.title_user) {
textView {
textView {
textView(R.string.title_address) {
textSize = 24f textColor = R.color.black horizontalPadding = dip(12) verticalPadding = dip(16) typeface = bold}
textSize = 18f textColor = R.color.semiblack horizontalPadding = dip(16) verticalPadding = dip(8) typeface = medium}
textSize = 24f textColor = R.color.black horizontalPadding = dip(12) verticalPadding = dip(16) typeface = bold}
textSize = 18f textColor = R.color.semiblack horizontalPadding = dip(16) verticalPadding = dip(8) typeface = medium }

private fun TextView.valueStyle() { textSize = 18f textColor = R.color.semiblack horizontalPadding = dip(16) verticalPadding = dip(8) typeface = medium} private fun TextView.titleStyle() { textSize = 24f textColor = R.color.black horizontalPadding = dip(12) verticalPadding = dip(16) typeface = bold}

private fun TextView.valueStyle() { textSize = 18f textColor = R.color.semiblack horizontalPadding = dip(16) verticalPadding = dip(8) typeface = medium} private fun TextView.titleStyle() { textSize = 24f textColor = R.color.black horizontalPadding = dip(12) verticalPadding = dip(16) typeface = bold}
textView(R.string.title_user) { titleStyle()} textView { valueStyle()} textView(R.string.title_address) { titleStyle()} textView { valueStyle()}

Custom view attributes
• The same way how horizontalPadding and verticalPadding are
defined, we can create own extensions that simplify work
• How many times have you wrote variation of this?

Custom view attributes
• The same way how horizontalPadding and verticalPadding are
defined, we can create own extensions that simplify work
• How many times have you wrote variation of this?
fun showProgress(show: Boolean) { progress.visibility = if (show) View.VISIBLE else View.GONE}

Custom view attributes
• The same way how horizontalPadding and verticalPadding are
defined, we can create own extensions that simplify work
• How many times have you wrote variation of this?
fun showProgress(show: Boolean) { progress.visibility = if (show) View.VISIBLE else View.GONE}
• Don’t you (sometimes of course) wish that it would look like this?
fun showProgress(show: Boolean) { progress.visible = show}}

Custom view attributesfun showProgress(show: Boolean) { progress.visible = show}}
var View.visible: Boolean set(value) { visibility = if (value) View.VISIBLE else View.GONE } get() = visibility == View.VISIBLE

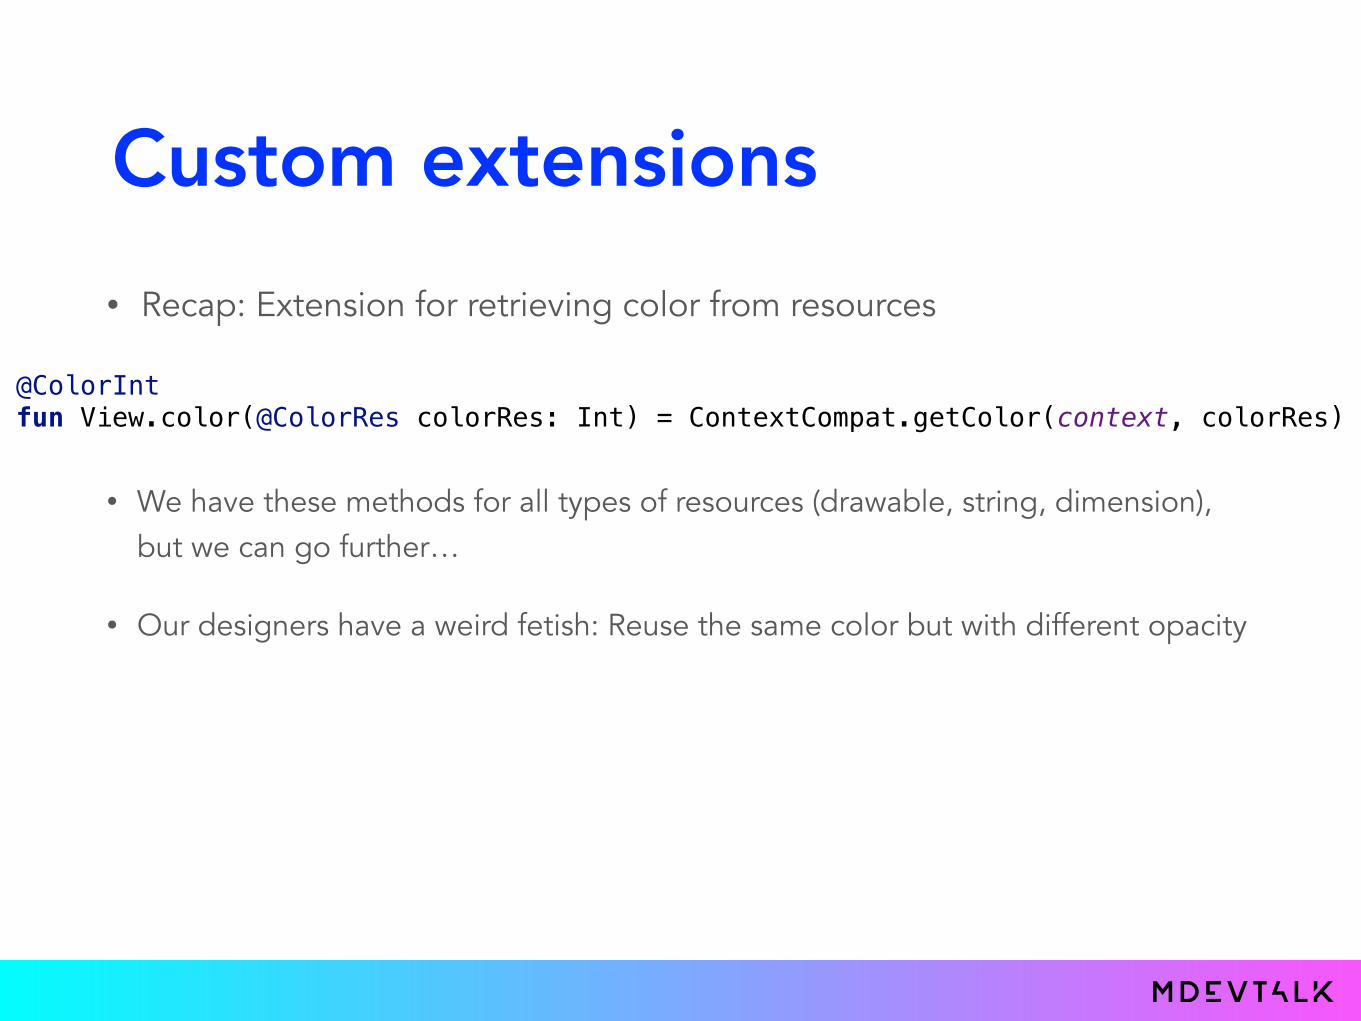
Custom extensions• Recap: Extension for retrieving color from resources
@ColorIntfun View.color(@ColorRes colorRes: Int) = ContextCompat.getColor(context, colorRes)

Custom extensions• Recap: Extension for retrieving color from resources
@ColorIntfun View.color(@ColorRes colorRes: Int) = ContextCompat.getColor(context, colorRes)
• We have these methods for all types of resources (drawable, string, dimension), but we can go further…
Custom extensions• Recap: Extension for retrieving color from resources
@ColorIntfun View.color(@ColorRes colorRes: Int) = ContextCompat.getColor(context, colorRes)
• We have these methods for all types of resources (drawable, string, dimension), but we can go further…
• Our designers have a weird fetish: Reuse the same color but with different opacity

Custom extensions• Recap: Extension for retrieving color from resources
@ColorIntfun View.color(@ColorRes colorRes: Int) = ContextCompat.getColor(context, colorRes)
• We have these methods for all types of resources (drawable, string, dimension), but we can go further…
• Our designers have a weird fetish: Reuse the same color but with different opacity<color name="color_primary_40_alpha">#662d3241</color> <color name="color_primary_50_alpha">#7f2d3241</color> <color name="color_primary_30_alpha">#4d2d3241</color> <color name="color_primary_20_alpha">#332d3241</color> <color name="color_primary_70_alpha">#b32d3241</color> <color name="color_primary_80_alpha">#cc2d3241</color> <color name="color_primary_90_alpha">#e52d3241</color>

Custom extensions• It would be really awesome to not redefine the same color, compute the
hex number from percentages etc.

Custom extensions• It would be really awesome to not redefine the same color, compute the
hex number from percentages etc.
@ColorIntfun View.color(@ColorRes colorRes: Int, alpha: Int = 100): Int { val color = ContextCompat.getColor(context, colorRes) if (alpha != 100) { return Color.argb((alpha / 100f * 255).toInt(), Color.red(color), Color.green(color), Color.blue(color)) } else { return color }}

Custom extensions
textView { padding = dip(16) text = "Awesome title" textColor = color(R.color.color_primary, alpha = 50) textSize = 26f}

Custom extensions
fun View.tintedDrawable(@DrawableRes drawableId: Int, @ColorRes colorId: Int): Drawable { val tint: Int = ContextCompat.getColor(context, colorId) val drawable: Drawable = ContextCompat.getDrawable(context, drawableId) drawable.mutate() DrawableCompat.setTint(drawable, tint) return drawable}
imageView { image = tintedDrawable(R.drawable.ic_plus, R.color.white)}.lparams(dip(20), dip(20))

Configurations

Configurations• Anko has a function configuration() that takes configurations
attributes (screenSize, orientation, density,…) and lambda and it
execute given lambda only if current configuration matches attributes

Configurations• Anko has a function configuration() that takes configurations
attributes (screenSize, orientation, density,…) and lambda and it
execute given lambda only if current configuration matches attributes
var isLandscape = falseconfiguration(orientation = Orientation.LANDSCAPE) { isLandscape = true}
• You can put a few ifs to your layout to change it according to device orientation

linearLayout { orientation = if (isLandscape) LinearLayout.HORIZONTAL else LinearLayout.VERTICAL if (!isLandscape) { padding = dip(16) } imageView(R.drawable.castle) { }.lparams { if (isLandscape) { width = 0 weight = 1f } } verticalLayout { editText { hint = "Email" } editText { hint = "Password" } button("Login") }.lparams { if (isLandscape) { width = 0 weight = 1f } else { width = matchParent } height = wrapContent }}

linearLayout { orientation = if (isLandscape) LinearLayout.HORIZONTAL else LinearLayout.VERTICAL if (!isLandscape) { padding = dip(16) } imageView(R.drawable.castle) { }.lparams { if (isLandscape) { width = 0 weight = 1f } } verticalLayout { editText { hint = "Email" } editText { hint = "Password" } button("Login") }.lparams { if (isLandscape) { width = 0 weight = 1f } else { width = matchParent } height = wrapContent }}
SPAGHETTI

Configurations• Its better to apply good old OOP principles.
abstract class ScreenLayout : AnkoComponent<ConfigChangeActivity> { abstract var imageLogo: ImageView abstract var editEmail: EditText abstract var editPassword: EditText abstract var btnLogin: Button
}

Configurations• Its better to apply good old OOP principles.
abstract class ScreenLayout : AnkoComponent<ConfigChangeActivity> { abstract var imageLogo: ImageView abstract var editEmail: EditText abstract var editPassword: EditText abstract var btnLogin: Button
class LayoutPortrait : ScreenLayout() { override lateinit var imageLogo: ImageView override lateinit var editEmail: EditText override lateinit var editPassword: EditText override lateinit var btnLogin: Button override fun createView(ui: AnkoContext<ConfigChangeActivity>): View { return with(ui) { verticalLayout { padding = dip(16) imageLogo = imageView(R.drawable.castle) editEmail = editText { hint = "Email" } editPassword = editText { hint = "Password" } btnLogin = button("Login") } } } }
class LayoutLandscape : ScreenLayout() { override lateinit var imageLogo: ImageView override lateinit var editEmail: EditText override lateinit var editPassword: EditText override lateinit var btnLogin: Button override fun createView(ui: AnkoContext<ConfigChangeActivity>): View { return with(ui) { linearLayout { imageLogo = imageView(R.drawable.castle).lparams(width = 0, weight = 1f) verticalLayout { padding = dip(16) editEmail = editText { hint = "Email" } editPassword = editText { hint = "Password" } btnLogin = button("Login") }.lparams(width = 0, weight = 1f) } } }}
companion object { fun createLayout(context: Context): ScreenLayout { context.configuration(orientation = Orientation.LANDSCAPE) { return LayoutLandscape() } return LayoutPortrait() }}
}

LayoutInflater

LayoutInflater
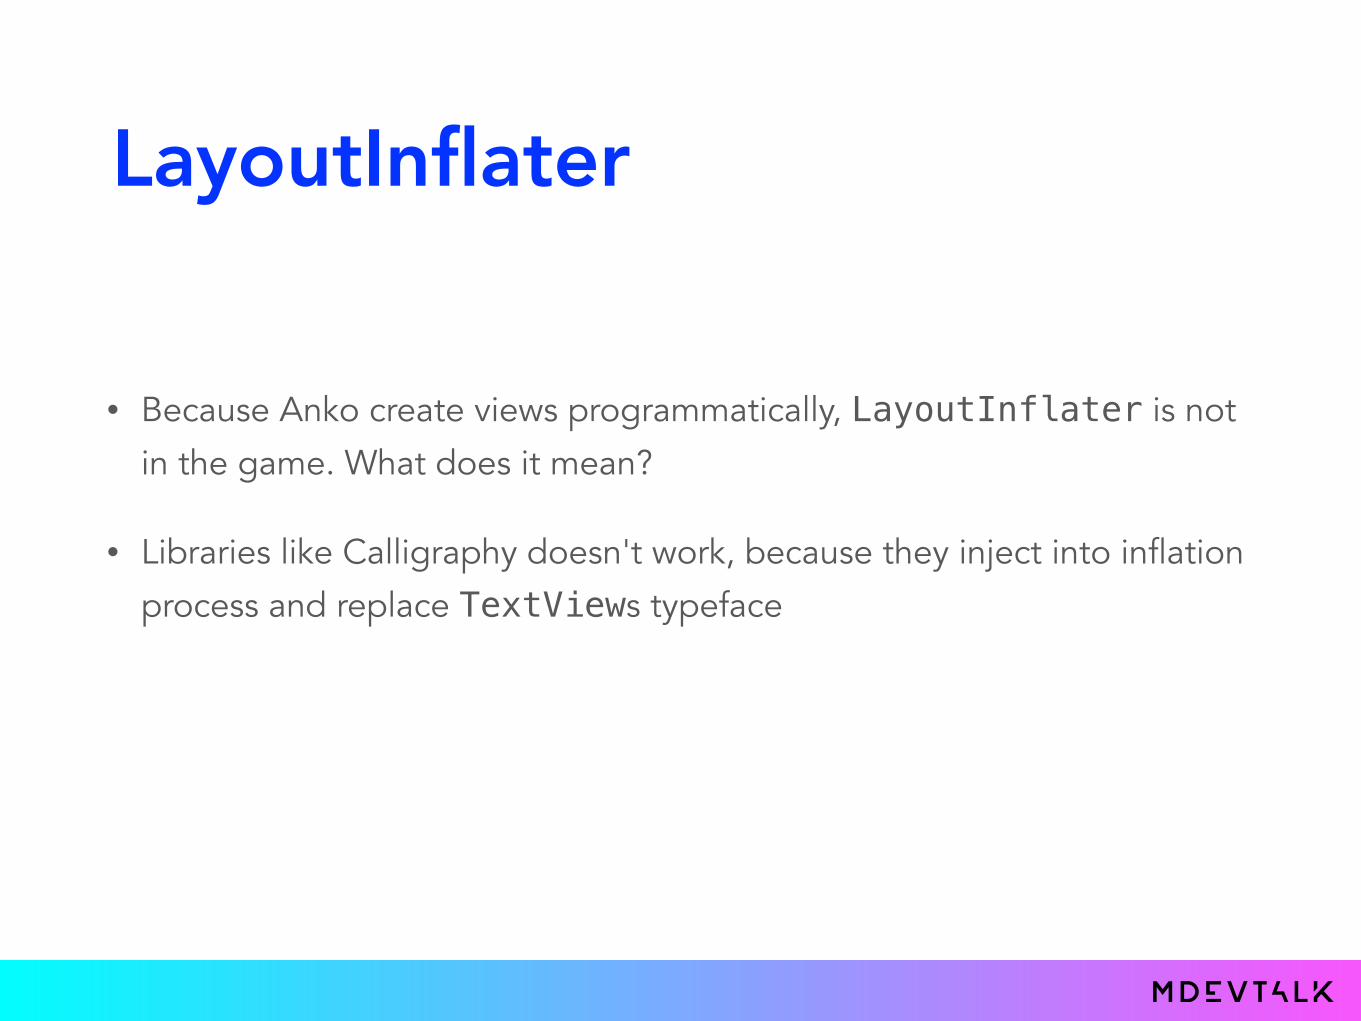
• Because Anko create views programmatically, LayoutInflater is not
in the game. What does it mean?
LayoutInflater
• Because Anko create views programmatically, LayoutInflater is not
in the game. What does it mean?
• Libraries like Calligraphy doesn't work, because they inject into inflation
process and replace TextViews typeface

LayoutInflater
• Because Anko create views programmatically, LayoutInflater is not
in the game. What does it mean?
• Libraries like Calligraphy doesn't work, because they inject into inflation
process and replace TextViews typeface
• But more importantly, AppCompat library doesn't work either

AppCompat
• AppCompat has its own LayoutInflater which replaces platform
Views with AppCompat equivalents. eg. if you have <Button/> definition in your layout, it actually creates AppCompatButton instance

AppCompat
• AppCompat has its own LayoutInflater which replaces platform
Views with AppCompat equivalents. eg. if you have <Button/> definition in your layout, it actually creates AppCompatButton instance
• Its convenient because you don't have to worry about backward
compatibility of tinting/theming and it “just works” on all version of Androids.
• But what if we don't have LayoutInflater?

AppCompat
• Anko has a set of extensions with prefix tinted, eg. tintedButton

AppCompat
• Anko has a set of extensions with prefix tinted, eg. tintedButton
• It creates AppCompat version of view for preLollipop versions and platform version otherwise

AppCompat
• Anko has a set of extensions with prefix tinted, eg. tintedButton
• It creates AppCompat version of view for preLollipop versions and platform version otherwise
• If you want to use AppCompat version everytime, you have to do it the
same as with custom view

ConstraintLayout• ConstraintLayout is Hot stuff right now

ConstraintLayout• ConstraintLayout is Hot stuff right now
• Even the maintainer of Anko thinks so

ConstraintLayout• ConstraintLayout is Hot stuff right now
• Even the maintainer of Anko thinks so

ConstraintLayout• ConstraintLayout is Hot stuff right now
• Even the maintainer of Anko thinks so
• Unfortunately nothing has happened since then
ConstraintLayout• How does the code look without any additional support?

ConstraintLayout• How does the code look without any additional support?
• Lets build another simple UI example

ConstraintLayout• How does the code look without any additional support?
• Lets build another simple UI example

ConstraintLayoutcustomView<ConstraintLayout> { layoutParams = ViewGroup.LayoutParams(matchParent, matchParent)
val constraintSet = ConstraintSet() constraintSet.clone(this@customView)
constraintSet.connect(image.id, START, PARENT_ID, START, dip(16)) constraintSet.connect(image.id, TOP, PARENT_ID, TOP, dip(16))
constraintSet.connect(title.id, START, image.id, END, dip(16))
constraintSet.connect(subtitle.id, START, title.id, START)
constraintSet.createVerticalChain(image.id, TOP, image.id, BOTTOM intArrayOf(title.id, subtitle.id), null, CHAIN_SPREAD)
constraintSet.applyTo(this@customView)
val image = imageView(R.mipmap.ic_launcher) { id = 1 layoutParams = ConstraintLayout.LayoutParams(dip(68), dip(68)) }
val title = textView("Title") { id = 2 } val subtitle = textView("Subtitle") { id = 3 }
}
ConstraintLayout• Fortunately, our colleague David (other than me) likes ConstraintLayout
so much that he developed library that is compatible with Anko

ConstraintLayoutconstraintLayout { layoutParams = ViewGroup.LayoutParams(matchParent, matchParent) val image = imageView(R.mipmap.ic_launcher).lparams(dip(68), dip(68)) val title = textView("Title") val subtitle = textView("Subtitle")
}
constraints { image.connect(START to START of parentId with dip(16), TOP to TOP of parentId with dip(16)) title.connect(START to END of image with dip(16)) subtitle.connect(LEFT to LEFT of title) chain(TOP of image, BOTTOM of image) { views(title, subtitle) } }
constraints { image.connect(STARS of parentId with dip(16), TOPS of parentId with dip(16)) title.connect(START to END of image with dip(16)) subtitle.connect(LEFTS of title) chain(TOP of image, BOTTOM of image) { views(title, subtitle) } }

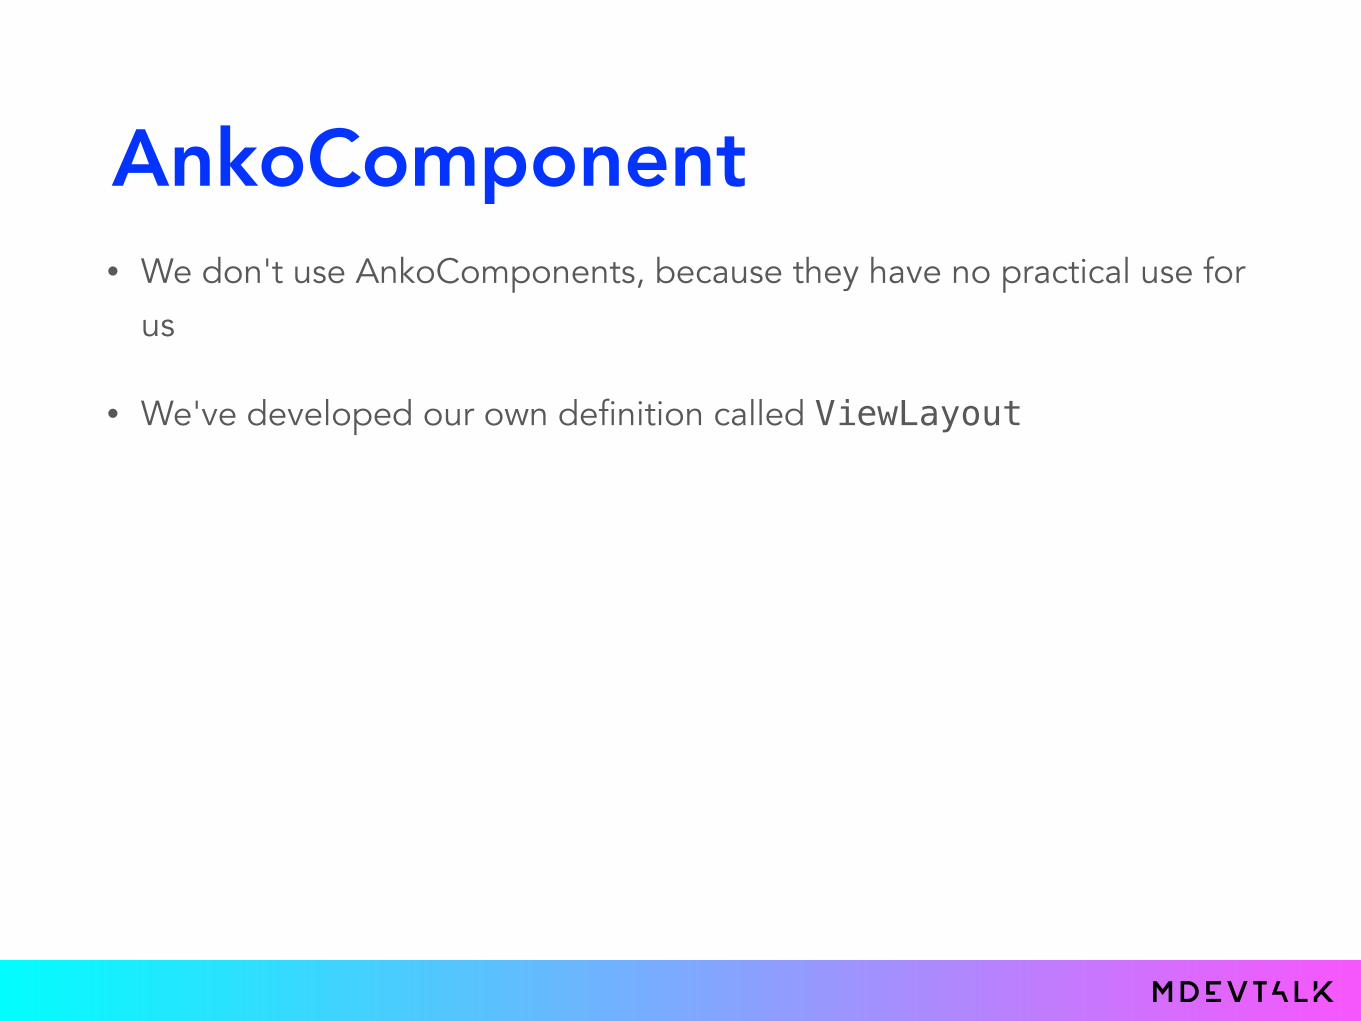
AnkoComponent• We don't use AnkoComponents, because they have no practical use for
us
AnkoComponent• We don't use AnkoComponents, because they have no practical use for
us
• We've developed our own definition called ViewLayout

AnkoComponent• We don't use AnkoComponents, because they have no practical use for
us
• We've developed our own definition called ViewLayout
abstract class ViewLayout(private val parent: ViewGroup) { lateinit var itemView: View val context = parent.context fun createView(): View { return createViewInternal(AnkoContext.create(parent.context, parent)) .also { itemView = it } } abstract protected fun createViewInternal(ui: AnkoContext<ViewGroup>): View}

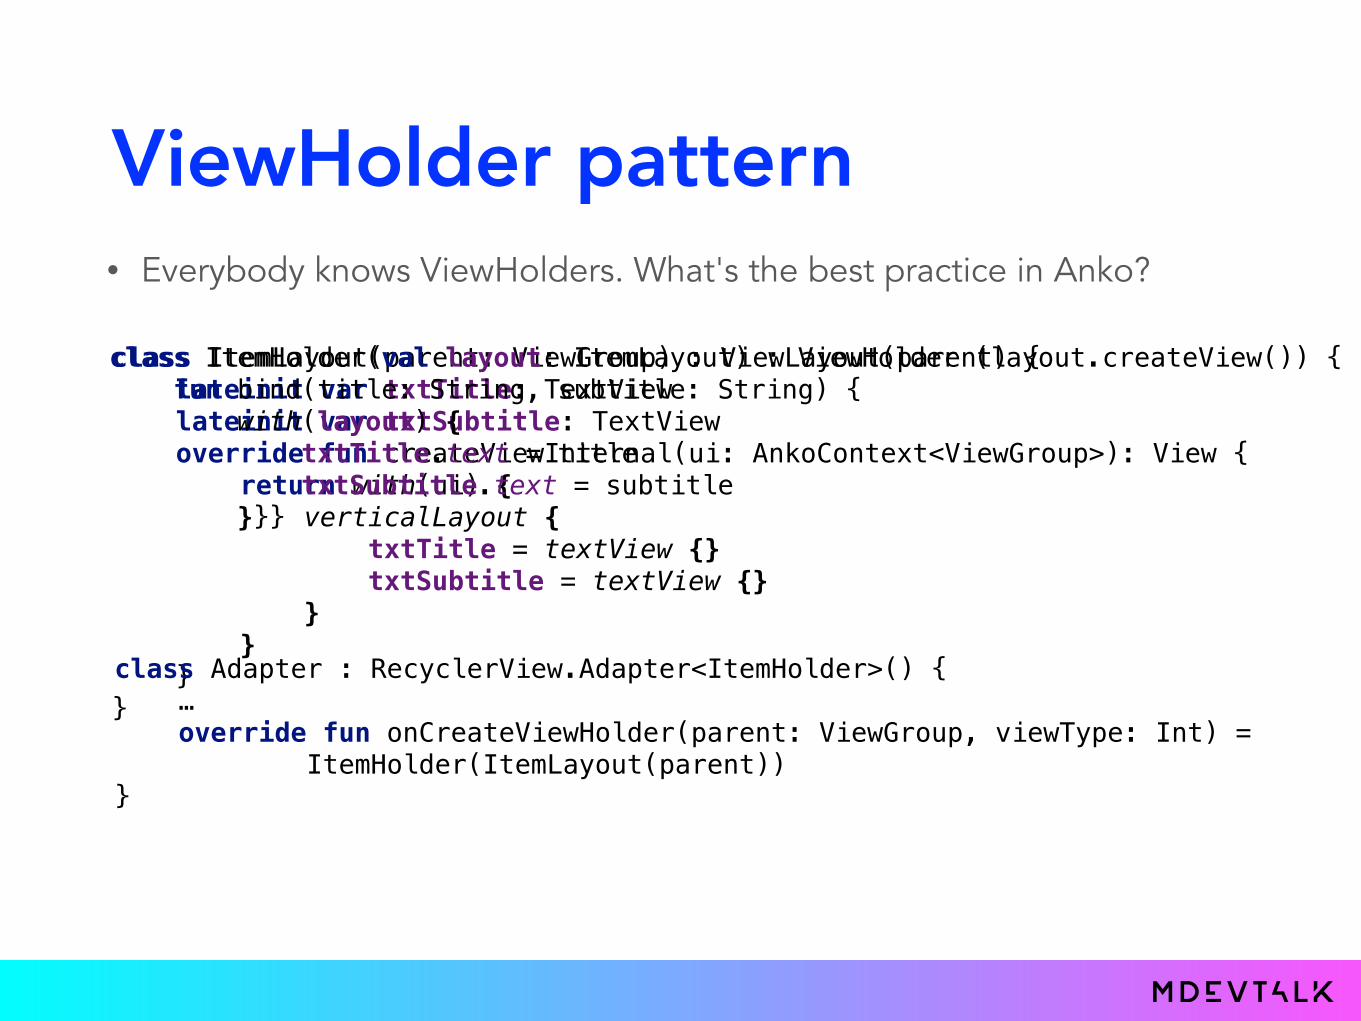
ViewHolder pattern• Everybody knows ViewHolders. What's the best practice in Anko?

ViewHolder pattern• Everybody knows ViewHolders. What's the best practice in Anko?
class ItemLayout(parent: ViewGroup) : ViewLayout(parent) { lateinit var txtTitle: TextView lateinit var txtSubtitle: TextView override fun createViewInternal(ui: AnkoContext<ViewGroup>): View { return with(ui) { verticalLayout { txtTitle = textView {} txtSubtitle = textView {} } } } }

ViewHolder pattern• Everybody knows ViewHolders. What's the best practice in Anko?
class ItemLayout(parent: ViewGroup) : ViewLayout(parent) { lateinit var txtTitle: TextView lateinit var txtSubtitle: TextView override fun createViewInternal(ui: AnkoContext<ViewGroup>): View { return with(ui) { verticalLayout { txtTitle = textView {} txtSubtitle = textView {} } } } } class ItemHolder(val layout: ItemLayout) : ViewHolder (layout.createView()) { fun bind(title: String, subtitle: String) { with(layout) { txtTitle.text = title txtSubtitle.text = subtitle }}}
ViewHolder pattern• Everybody knows ViewHolders. What's the best practice in Anko?
class ItemLayout(parent: ViewGroup) : ViewLayout(parent) { lateinit var txtTitle: TextView lateinit var txtSubtitle: TextView override fun createViewInternal(ui: AnkoContext<ViewGroup>): View { return with(ui) { verticalLayout { txtTitle = textView {} txtSubtitle = textView {} } } } }
class ItemHolder(val layout: ItemLayout) : ViewHolder (layout.createView()) { fun bind(title: String, subtitle: String) { with(layout) { txtTitle.text = title txtSubtitle.text = subtitle }}}
class Adapter : RecyclerView.Adapter<ItemHolder>() { … override fun onCreateViewHolder(parent: ViewGroup, viewType: Int) = ItemHolder(ItemLayout(parent))}

Finally - disadvantages

Missing attributes• Every polite View has setter for each attribute that can be set in XML

Missing attributes• Every polite View has setter for each attribute that can be set in XML
• Unfortunately, rude views exists. Even in Android or Support Library

Missing attributes• Every polite View has setter for each attribute that can be set in XML
• Unfortunately, rude views exists. Even in Android or Support Library
• eg. tabMaxWidth in TabLayout class.

Missing attributes• Every polite View has setter for each attribute that can be set in XML
• Unfortunately, rude views exists. Even in Android or Support Library
• eg. tabMaxWidth in TabLayout class.
• Solution?

Missing attributes• Every polite View has setter for each attribute that can be set in XML
• Unfortunately, rude views exists. Even in Android or Support Library
• eg. tabMaxWidth in TabLayout class.
• Solution?
• Use include function as described earlier and define your view in XML

Missing attributes• Every polite View has setter for each attribute that can be set in XML
• Unfortunately, rude views exists. Even in Android or Support Library
• eg. tabMaxWidth in TabLayout class.
• Solution?
• Use include function as described earlier and define your view in XML
• Check the source code and perform reflection to set desired attribute

Weird platform bugs• Sometimes you are facing very weird behavior of your layouts,
especially on older versions of Android

Weird platform bugs• Sometimes you are facing very weird behavior of your layouts,
especially on older versions of Android
• Example: On preKitKat versions, some views didn’t have padding even
when defined in code

Weird platform bugs• Sometimes you are facing very weird behavior of your layouts,
especially on older versions of Android
• Example: On preKitKat versions, some views didn’t have padding even
when defined in code
• Several hours later we've found this SO question “Where'd padding go, when setting background Drawable?"
• It turns out that if you set background after the padding, padding is lost
• There is no such problem with XML because it sets attributes always in
the same order

Anko maintanence
• In the moment of writing there is 113 opened issues on Github and 18
pull request.

Anko maintanence
• In the moment of writing there is 113 opened issues on Github and 18
pull request.
• Contributions are very rare and since June there is no major feature/
bugfix

Anko maintanence
• In the moment of writing there is 113 opened issues on Github and 18
pull request.
• Contributions are very rare and since June there is no major feature/
bugfix
• Members of JB said in YouTrack that Anko is one-man project and that one man doesn't have time for that right now :(

Anko maintanence
• In the moment of writing there is 113 opened issues on Github and 18
pull request.
• Contributions are very rare and since June there is no major feature/
bugfix
• Members of JB said in YouTrack that Anko is one-man project and that one man doesn't have time for that right now :(
• Preview was broken since AS 1.6, fixed in 2.4 but broke once again in 3.0. But couple of days ago…

Anko maintanence
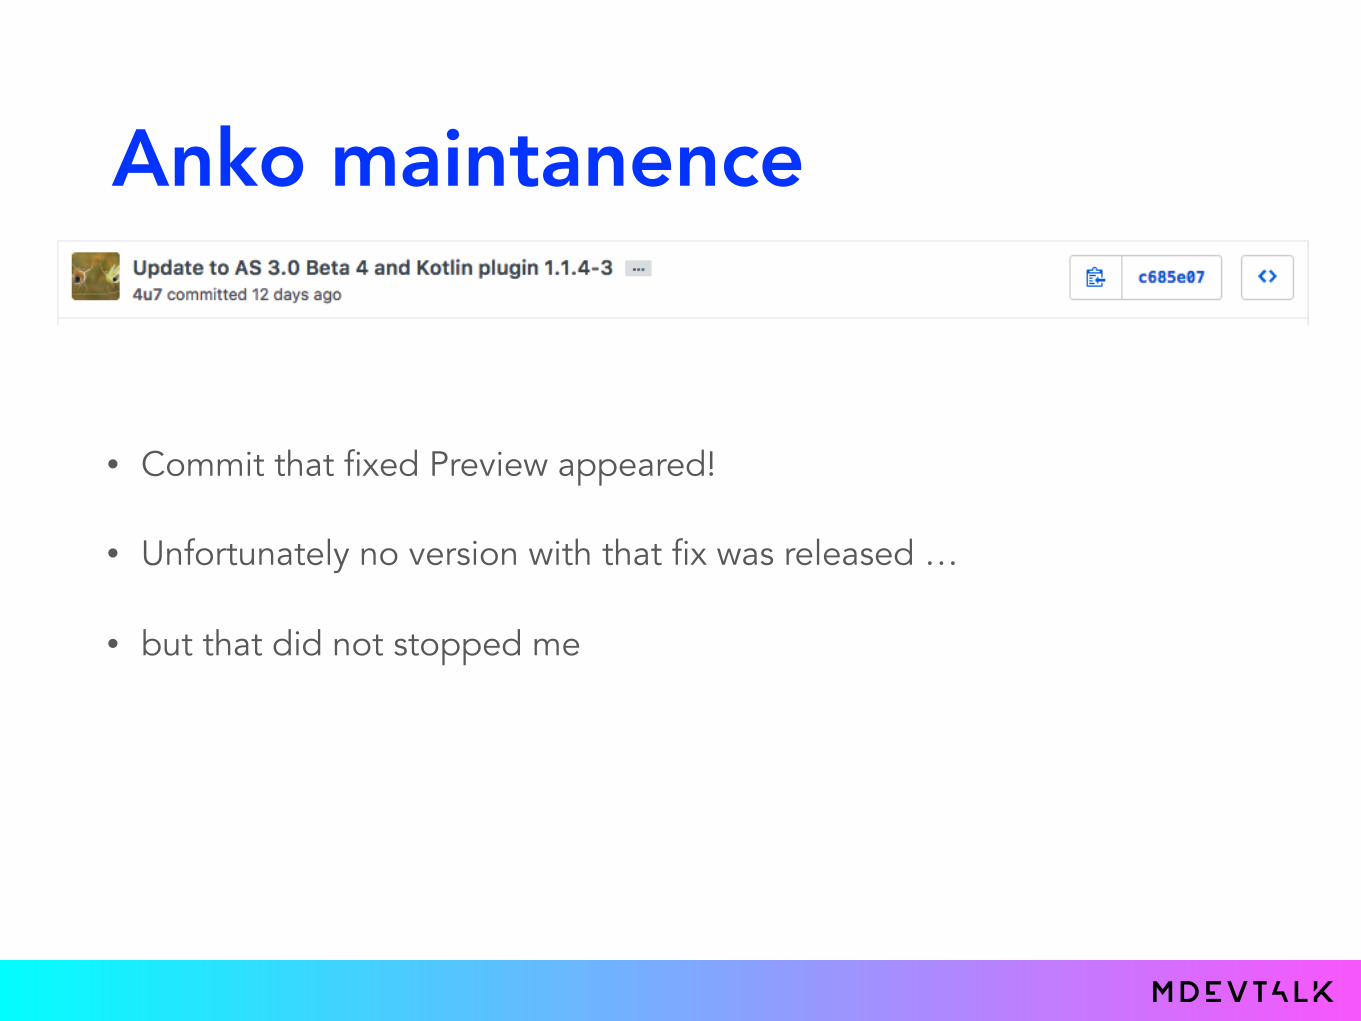
• Commit that fixed Preview appeared!

Anko maintanence
• Commit that fixed Preview appeared!
• Unfortunately no version with that fix was released …
Anko maintanence
• Commit that fixed Preview appeared!
• Unfortunately no version with that fix was released …
• but that did not stopped me

Anko maintanence
• Commit that fixed Preview appeared!
• Unfortunately no version with that fix was released …
• but that did not stopped me
• I built Anko from scratch and after apprx 1 hour later … PREVIEW IS WORKING

Anko preview
• To see the most recent changes in view you must always rebuild project

Anko preview
• To see the most recent changes in view you must always rebuild project
• Works only with AnkoComponent as a class of your layout definition
Anko preview
• To see the most recent changes in view you must always rebuild project
• Works only with AnkoComponent as a class of your layout definition
• Does not provide Visual Editor of your layout or its view attributes

Final tips• Don't forget to use ids of your views. Framework doesn’t retain View
state without them.

Final tips• Don't forget to use ids of your views. Framework doesn’t retain View
state without them.
• With XML you can AutoFormat your layout and reorder attributes. There
is no such luxury in Anko. Codestyle needed.

Final tips• Don't forget to use ids of your views. Framework doesn’t retain View
state without them.
• With XML you can AutoFormat your layout and reorder attributes. There
is no such luxury in Anko. Codestyle needed.
• Do not mix Anko with XML in one project. It really confuse newcomer to the project or your future self
• Always define your layout in separate class. It allows abstraction and it strictly defines coupling between logic and UI definition

WWW.MDEVTALK.CZ
mdevtalk