Embed Size (px)
Citation preview
Linux For Embedded Systems For Arabs
Ahmed ElArabawy
Course 102: Understanding Linux
Lecture 10: Learning About the Shell
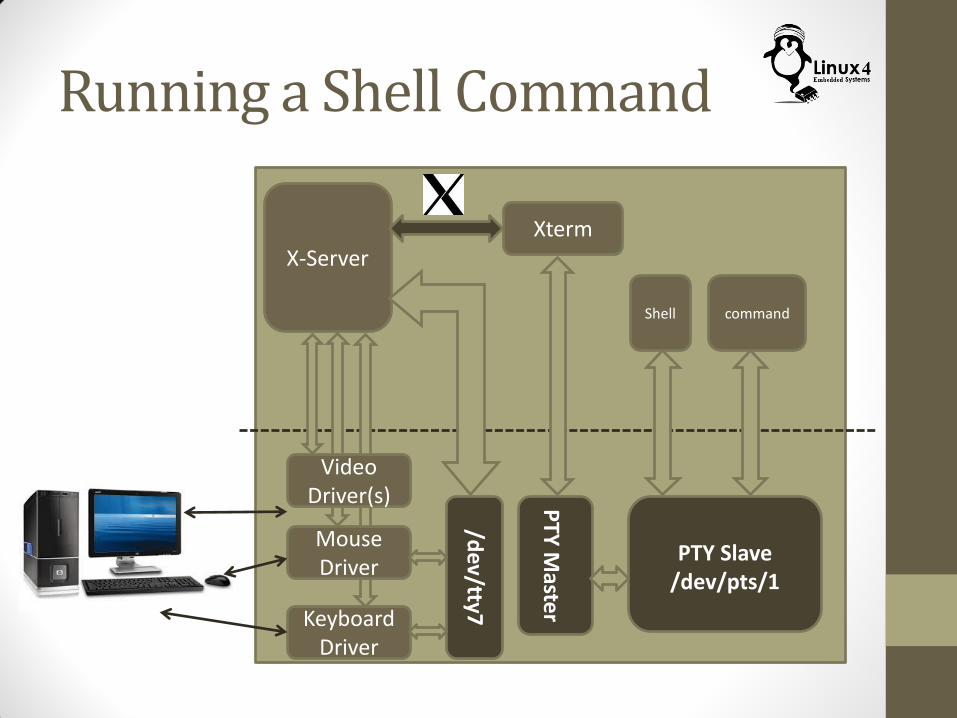
Running a Shell Command
Keyboard Driver
X-Server
Video Driver(s)
Mouse Driver
/dev/tty7
Xterm
Shell
PTY
Maste
r
PTY Slave /dev/pts/1
command
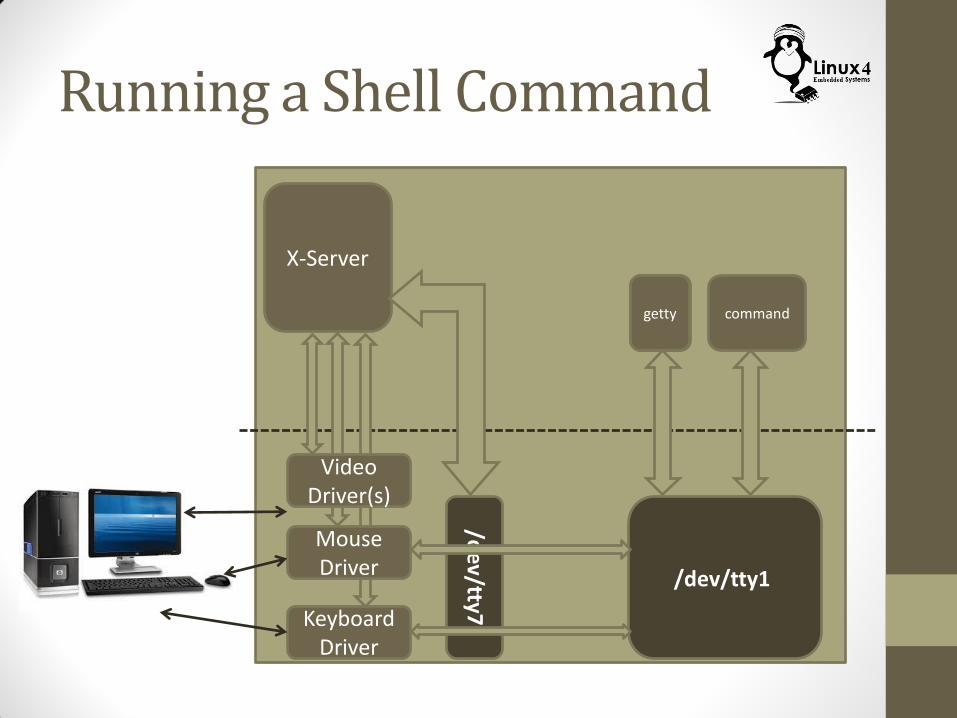
Running a Shell Command
Keyboard Driver
X-Server
Video Driver(s)
Mouse Driver
/dev/tty7
Shell
/dev/tty1
command getty
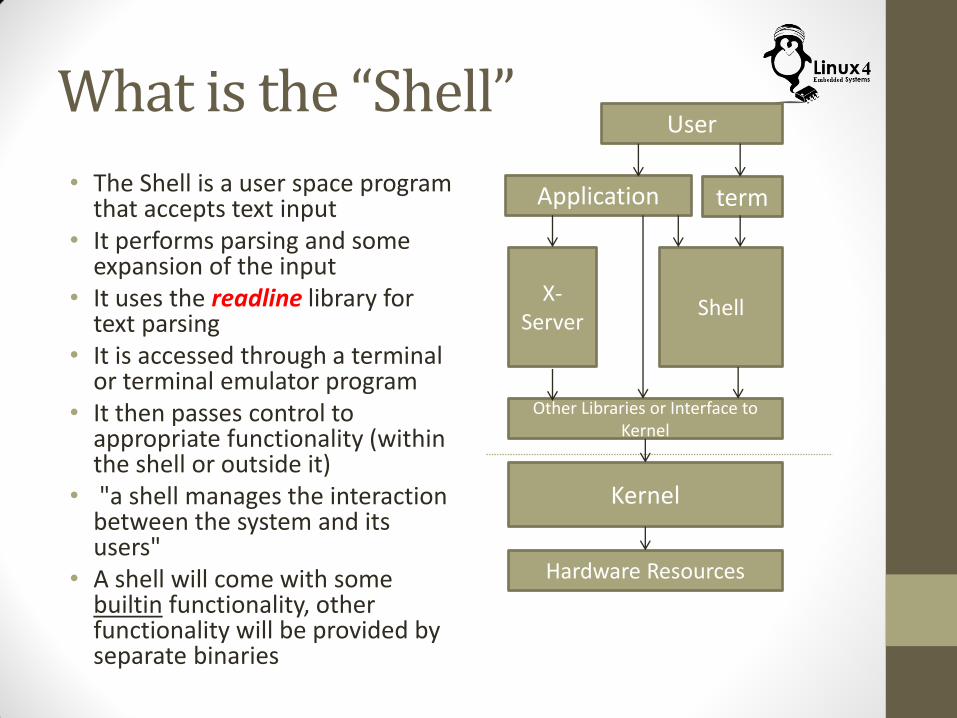
What is the “Shell”
• The Shell is a user space program that accepts text input
• It performs parsing and some expansion of the input
• It uses the readline library for text parsing
• It is accessed through a terminal or terminal emulator program
• It then passes control to appropriate functionality (within the shell or outside it)
• "a shell manages the interaction between the system and its users"
• A shell will come with some builtin functionality, other functionality will be provided by separate binaries
X-Server
Shell
Application
Other Libraries or Interface to Kernel
Kernel
Hardware Resources
User
term
Types of Shells
• First Shell is the sh shell, also called the Bourne shell. It is currently obsolete
• That was followed by the csh which is C-like shell. This is also currently obsolete
• Then there is the tcsh which is still around but not that popular
• The most popular shell (and the one we will be using) is the bash shell. This is part of the GNU project
Types of Shells
• Supported shells will be listed in the file /etc/shells
• Default shell for the user will be stated in /etc/passwd
• To switch to a different shell, call its binary, for example if you are running with a different shell and want to use bash,
$ bash
Then you can exit to the original shell by,
$ exit
• To know what shell you are using,
$ echo $SHELL
Commands Categories
Commands can be one of the following
1. Built-in command within the shell program (such as ‘cd’)
2. A binary or executable in the system, that is called by the shell program. This binary should be in the PATH to be accessible (they normally reside in /usr/bin)
3. Alias to another command (we will see how to do that)
4. A shell function (we will learn more about it in bash scripting course)
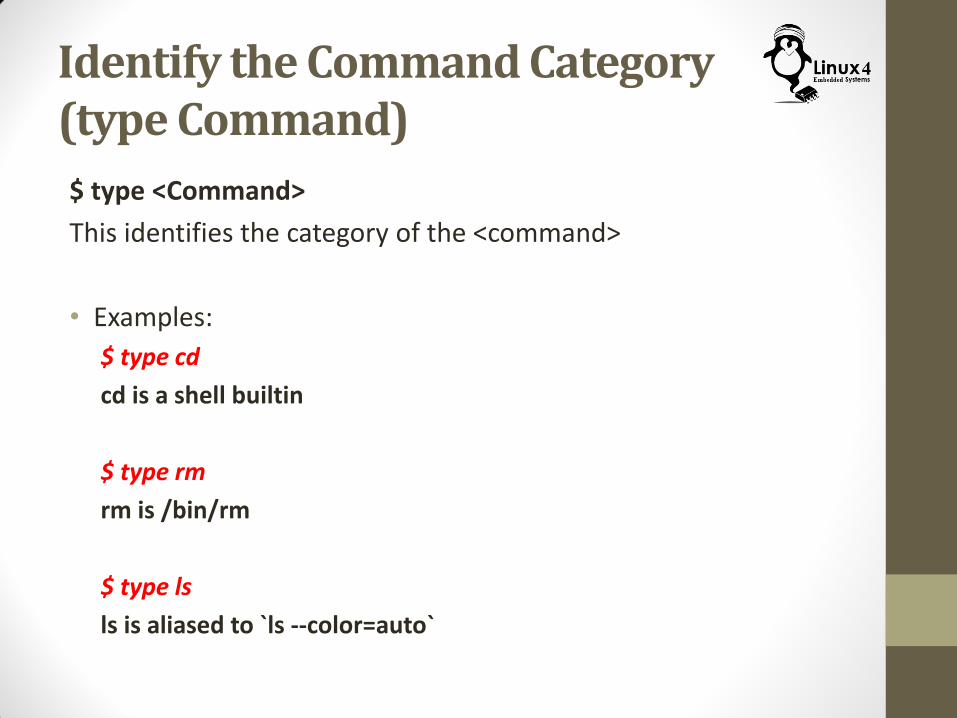
Identify the Command Category (type Command)
$ type <Command>
This identifies the category of the <command>
• Examples:
$ type cd
cd is a shell builtin
$ type rm
rm is /bin/rm
$ type ls
ls is aliased to `ls --color=auto`
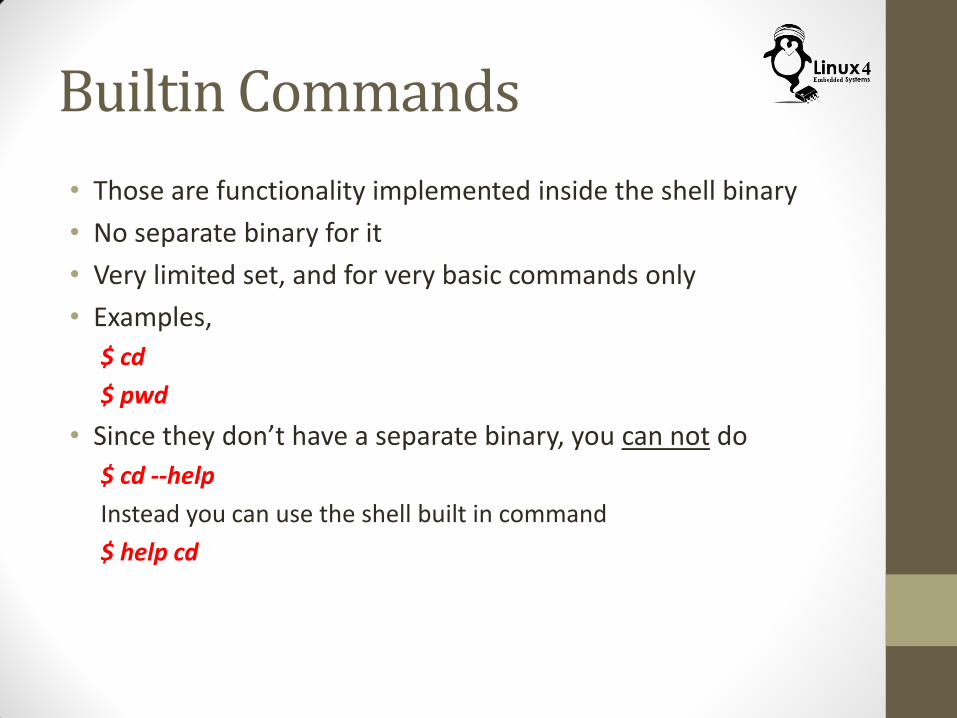
Builtin Commands
• Those are functionality implemented inside the shell binary
• No separate binary for it
• Very limited set, and for very basic commands only
• Examples,
$ cd
$ pwd
• Since they don’t have a separate binary, you can not do
$ cd --help
Instead you can use the shell built in command
$ help cd
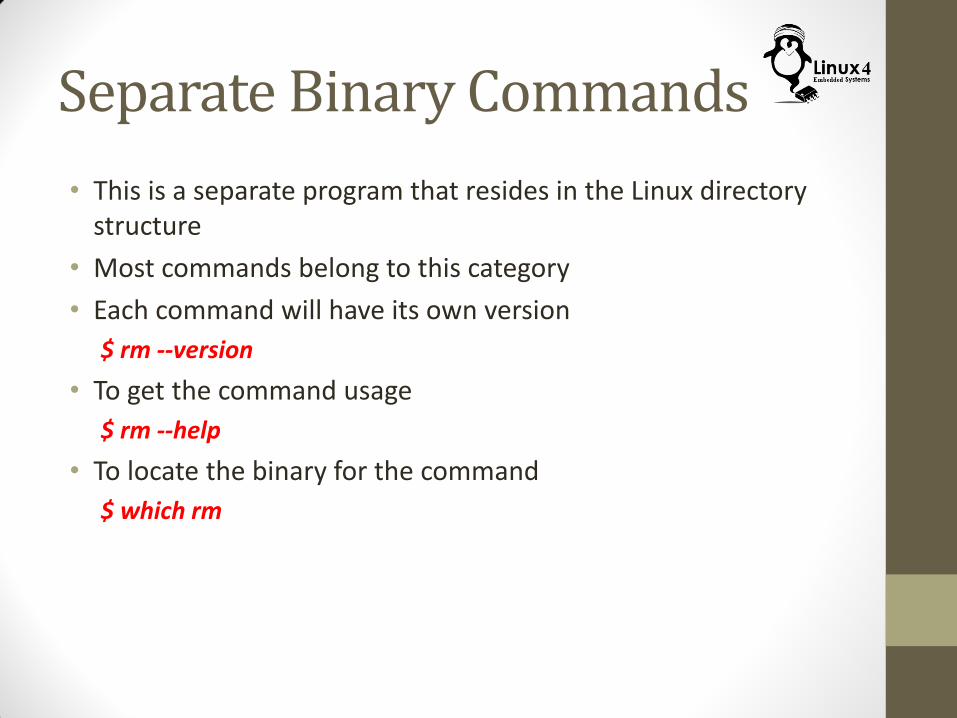
Separate Binary Commands
• This is a separate program that resides in the Linux directory structure
• Most commands belong to this category
• Each command will have its own version
$ rm --version
• To get the command usage
$ rm --help
• To locate the binary for the command
$ which rm
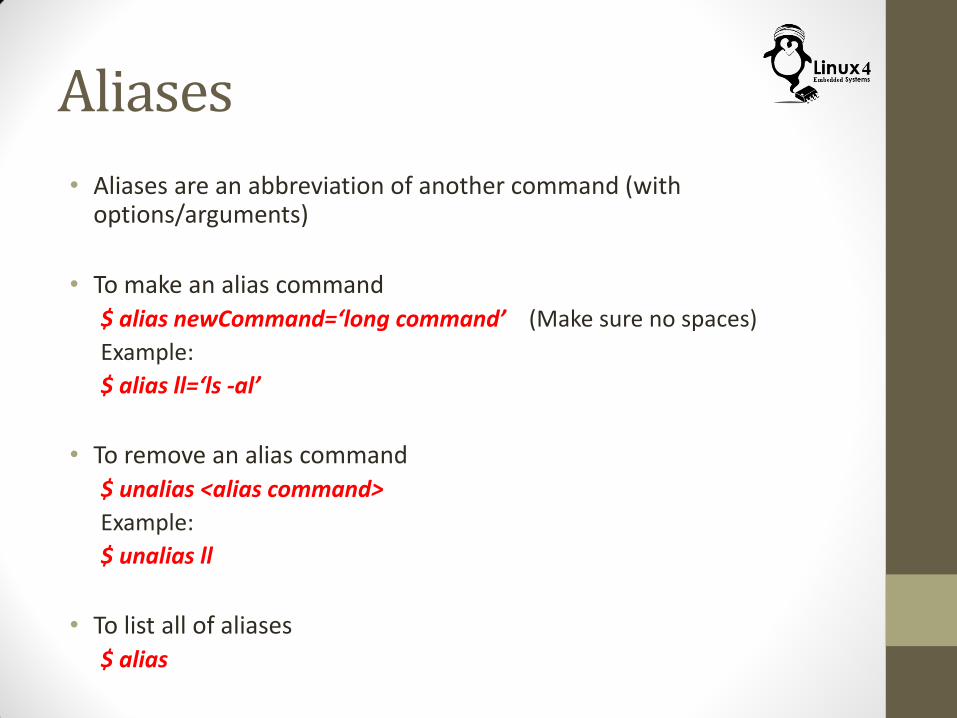
Aliases
• Aliases are an abbreviation of another command (with options/arguments)
• To make an alias command
$ alias newCommand=‘long command’ (Make sure no spaces)
Example:
$ alias ll=‘ls -al’
• To remove an alias command
$ unalias <alias command>
Example:
$ unalias ll
• To list all of aliases
$ alias
Aliases
• If the new command is a used command, it will still work (the new command will override the old one)
$ alias ls= ‘ls --color=auto’
• Make sure you don’t do this by mistake, check the existence of a command with the alias name before you do the aliasing
$ type <alias candidate>
It should tell you it is not found
Command History
• When you enter a command, Linux stores it in a history file ~/.bash-history
• To browse through command history
$ history
• Now you can do the following,
$ !! (to enter the last command)
$ ! <n> (to enter the command # n in the histroy
$ ! abc (to enter the last command starting with ‘abc’)
$ ^abc ^def (enter the last command but replace ‘abc’ with ‘def’)
$ command2 !* (run command2 with all arguments from the last command)
$ command2 !$ (run command2 with only last argument from the last command)
$ command2 !^ (run command2 with only the first argument from the last command)
Writing Commands to a file (script Command) $ script <file>
To write commands and their output to a file
$ script file
$ script -a file (append the existing file)
$ script -t file (put time stamp in front of each command)
$ script -f file (flush after each command)

Shell Types
• Shells belong to two categories
• Login shell
• Shells that require login before starting
• Non-Login shell
• Those shells don’t require a login
• They are children of login shells
• To exit a shell,
• For Login shell
$ logout
• For non-login Shells
$ exit

Why Do we Call it a Shell ???
Shell Startup --Login Shells
When the Login Shell starts up, it goes through these steps to set the proper environment
• System Wide Configurations
• It reads /etc/profile for global configurations (for all users)
• User Specific Configurations
• Then it reads one of the following for user specific extensions/overrides (if it finds one of the files starting from the first, it will read it and skip the rest)
~/.bash-profile
~/.bash-login
~/.profile
• Note that those files normally call ~/.bashrc internally
Shell Startup – Non-Login Shells
Non-Login Shells build their environment as follows,
• First, they inherit the environment from their parent Login Shells
• On top of that, it reads the following configuration files,
• For Global settings they read the files:
/etc/.bashrc
/etc/bash.bashrc
• For user specific settings, they read,
~/.bashrc
Updating ~/.bashrc
• Each user can put his own settings in ~/.bashrc such as,
• Set environment Variables
• Set Command Aliases
• Define Shell Functions
• The new settings in ~/.bashrc will not take effect in the current shell, since it is only read at shell startup
• Solution,
• Start a new shell
• Manually Force a ~/.bashrc read
Running the ~/.bashrc Script (source Command) • Normally, scripts are run by calling them from the prompt
$ <script name>
• We can not just call the script in ~/.bashrc like normal script … WHY?? • When a script is run, it runs in a child shell
• When the script completes, the child shell closes, and control gets back to the original shell
• This means, anything that was set in the script will apply to the child shell, and when it is closed, these settings will be lost
• We need a new way to force the script to run in the current shell, and not in a child shell, so settings will apply to the current shell $ source .bashrc
$ . .bashrc
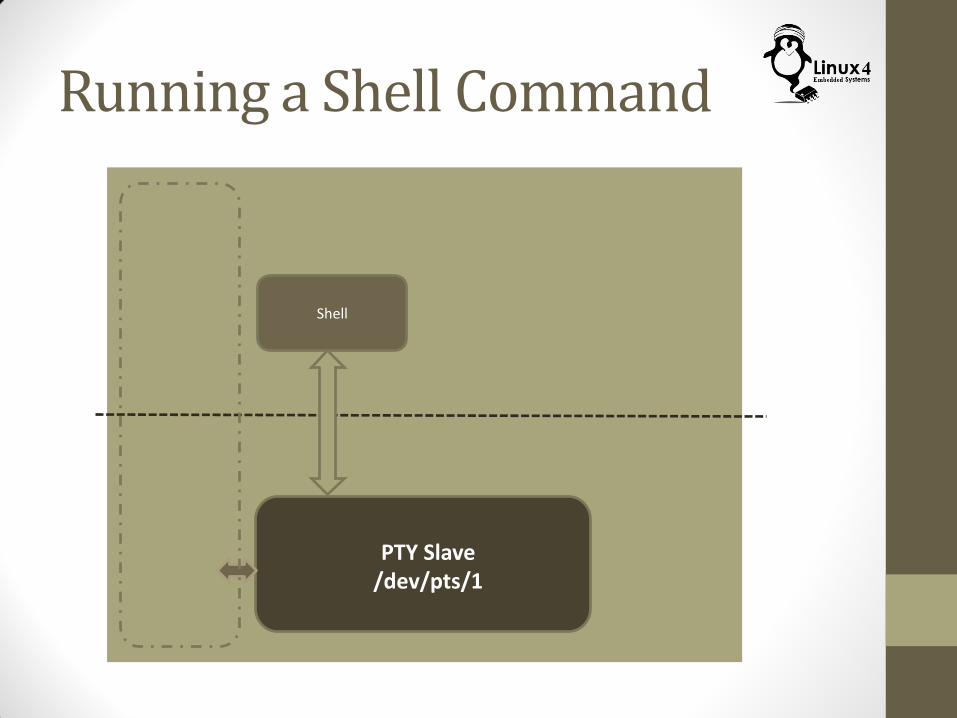
Running a Shell Command
Shell
PTY Slave /dev/pts/1
Running a Shell Command
Shell
PTY Slave /dev/pts/1
command
Environment Settings Inheritance
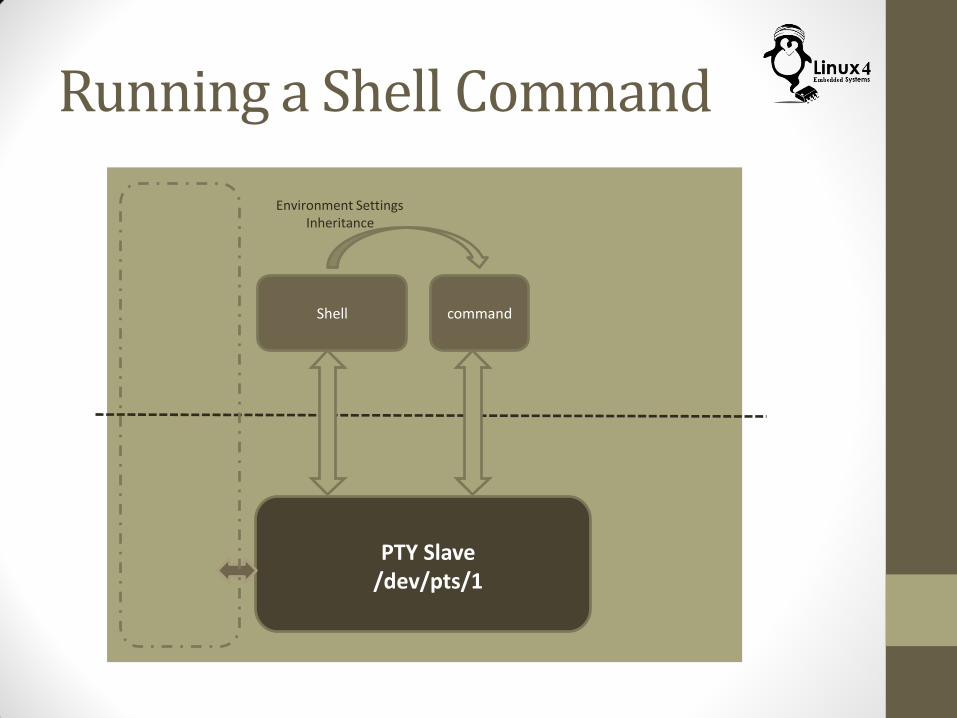
Running a Shell Command
Shell
PTY Slave /dev/pts/1
command
Environment Settings Inheritance
Environment Settings Change command

Running a Shell Command
Shell
PTY Slave /dev/pts/1

Running a Shell Command
Shell
PTY Slave /dev/pts/1
Environment Settings Inheritance
command
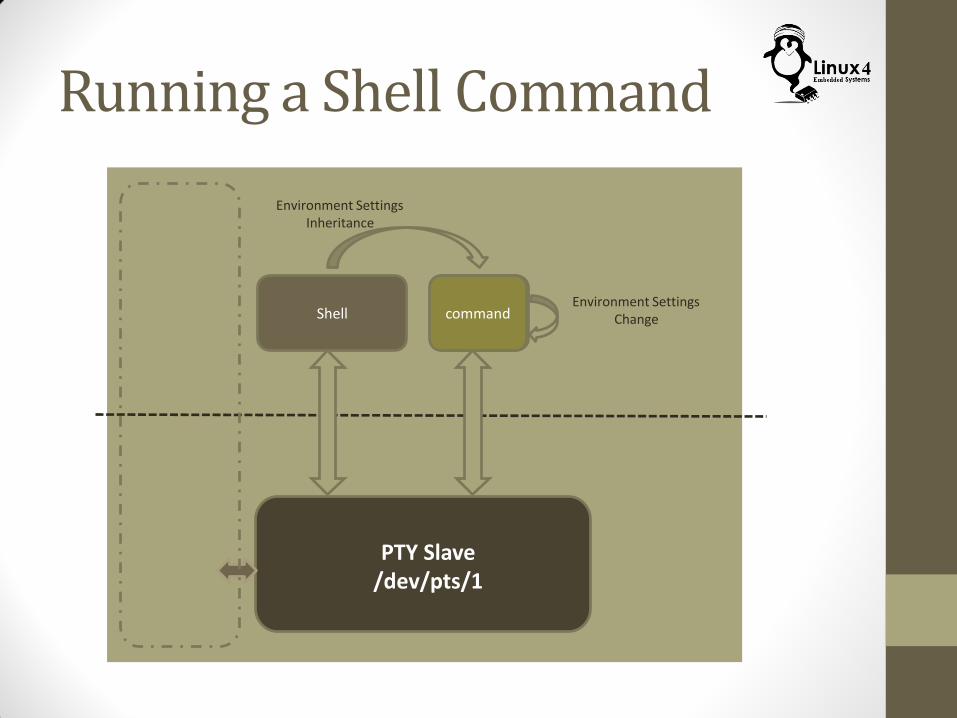
Running a Shell Command
Shell
PTY Slave /dev/pts/1
command
Shell
command
Environment Settings Change

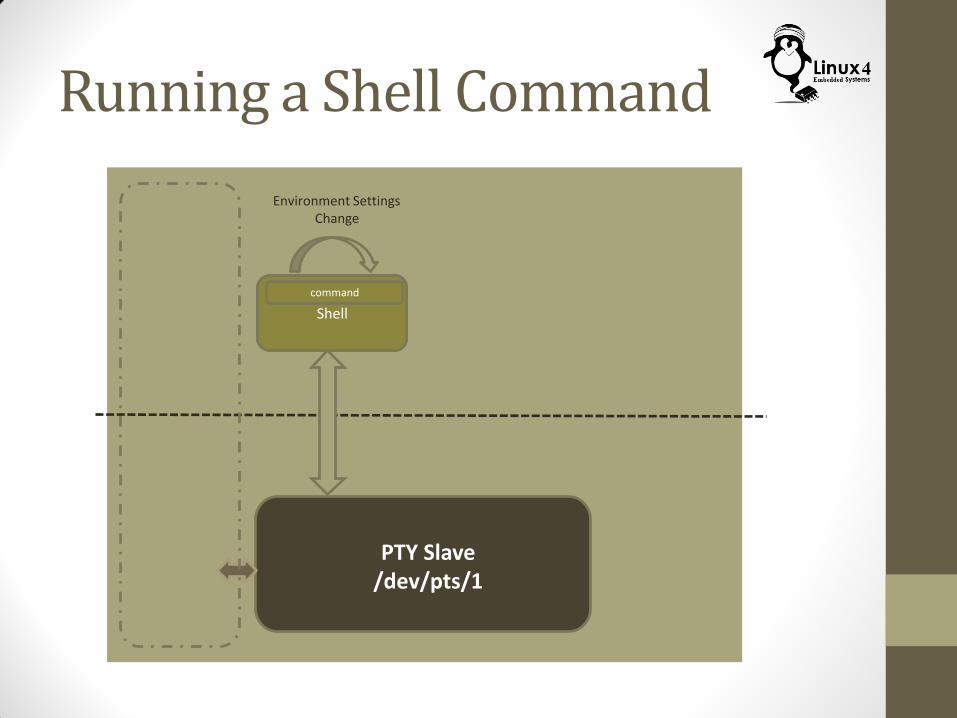
Running a Shell Command
Shell
PTY Slave /dev/pts/1
command
Shell
USEFUL SETTINGS IN ~/.bashrc
Common Settings
• Setting Aliases
• A good place to set Aliases is in the ~/.bashrc
• Note that these aliases only apply for that user, so if you run as root, you will not have these aliases set
• Setting Environment Variables for the user
• Define shell functions
Protecting from File Over-Write (Setting noclobber) • Clobbering a file means over-writing a file (normally in an
unintentional way)
• This happens very often through output redirection
$ echo “Good Morning” > file.txt
• To avoid that we adjust the noclobber settings in ~/.bashrc
• Example:
$ set -o noclobber (this will protect files from being over-written)
$ set +o noclobber (this will remove the protection)
• Note
• If files are protected from over-writing, you can still force an over-write
$ echo “Good Morning” >| file.txt