Embed Size (px)
Citation preview
Created 25th July 2012 Page 1 of 7
Transfer SDS Application From External HDD to Internal HDD Chinese MB STAR Diagnosis System (SDS) C3
BenzWorld Member: ricebubbles
Table of Contents 1. Revisions................................................................................................................................. 1 2. Acknowledgement .................................................................................................................. 1 3. Introduction............................................................................................................................. 1 4. Getting Started ........................................................................................................................ 2 5. Install Larger Internal HDD.................................................................................................... 4 6. Partition the New HDD........................................................................................................... 5 7. Check the New HDD .............................................................................................................. 6 8. Create a Virtual Image of the SDS Software .......................................................................... 7 9. Install VMware ....................................................................................................................... 7 10. Run SDS Software .............................................................................................................. 7
1. Revisions Version 01: 25th July 2012 (Original document.)
2. Acknowledgement DGN for computer expertise. Benz World Member MBSL550. http://www.benzworld.org/forums/r230-sl-class/1573730-chinese-mb-star-scanners.html
3. Introduction This document is part of my SDS quartet of documents which I produced after months of research and experimentation with a Chinese SDS.
• • • •
SDS What is it. SDS Instructions For Connecting and Using SDS Software Installation Instructions SDS Transfer From External HDD to Internal HDD
I do not profess to be an expert in SDS, far from it, but I do find that keeping the important information in one or two documents in as simple a form as possible helps me in future when I have a need to revisit the subject. It may therefore be of use to other BenzWorld members. As always any feedback is much appreciated. I purchased a Chinese MB STAR Diagnostic System (SDS) C3 on the Internet purely for educational purposes and so that I could experiment with some of the settings in my W220 S500, especially to do with my pet subject, the Automatic Climate Control (ACC).
Created 25th July 2012 Page 2 of 7
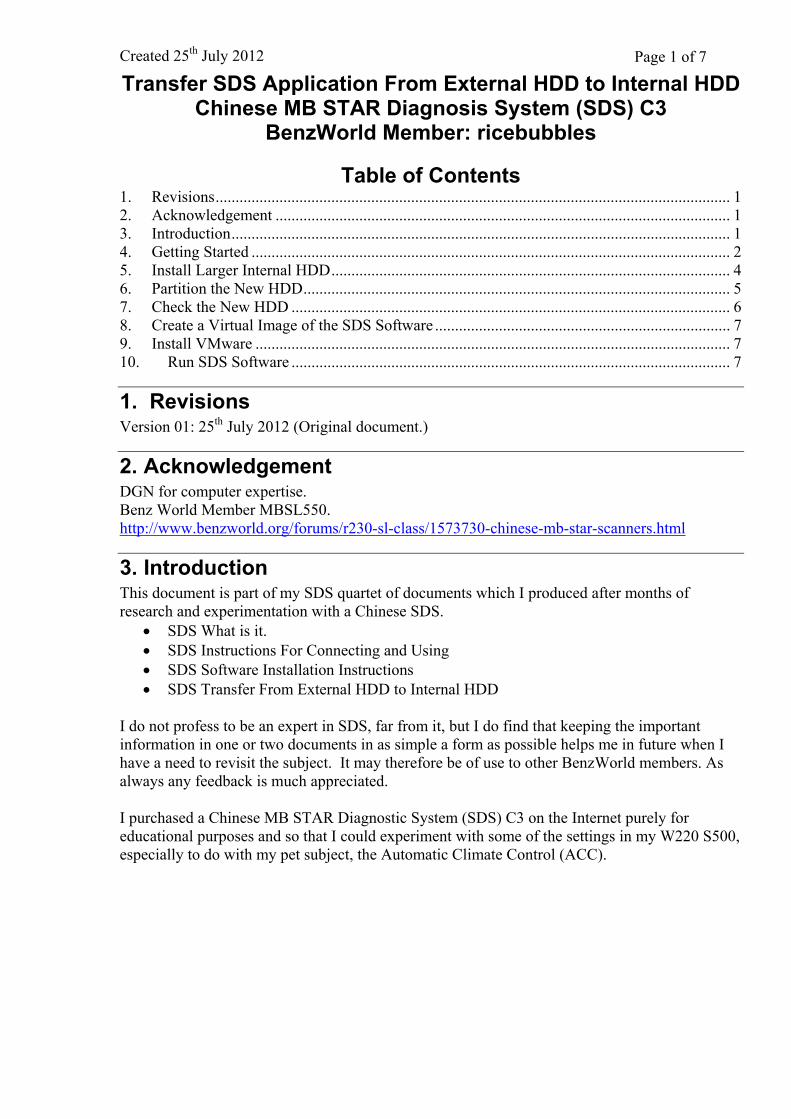
Figure 1 As Purchased MB STAR C3 11/2011
This project documents how I transferred the SDS application from the supplied external 80Gb Hard Disk Drive (HDD) to a partition which I created on the internal HDD in my host laptop. The HDD supplied works fine as an external USB drive but is quite vulnerable to damage as the laptop is continuously being moved around and setup near the test vehicle. Besides, there are enough cables to worry about during each setup, without having the external HDD to contend with as well. In my situation I always have:
1. A mains power cable to supply the laptop charger (the SDS application must not stop working during a diagnosis because of a flat battery).
2. The cable (which has a very flimsy connector in the Serial Cardbus Adapter Card installed in the PCMCIA slot in the laptop) to the RS232 to RS485 Converter box (which has sharp edges and corners and needs close watching to avoid damaging the car paint work or interior).
3. The cable and MUX (which is heavy and gets very warm). 4. The cable to the OBDII connector in the vehicle and, 5. I always use a battery charger connected to an under bonnet/hood charging point.
That’s five cables in total without the external HDD, so it was worth the effort to do this project just for the convenience of having no external HDD. Hence the aim of this project is to create a new internal HDD with:
1. My original bootable image of XP O/S plus applications and files. 2. A separate logical drive letter with the image of the SDS 80Gb HDD software.
4. Getting Started
4.1. Drive Configurations Before Partitioning After the initial installation of the VMware Virtual Machine, which came with my Chinese Star Diagnosis System (SDS), these are the drive configurations using an external HDD and Virtual Machine as the Guest system running the SDS software.
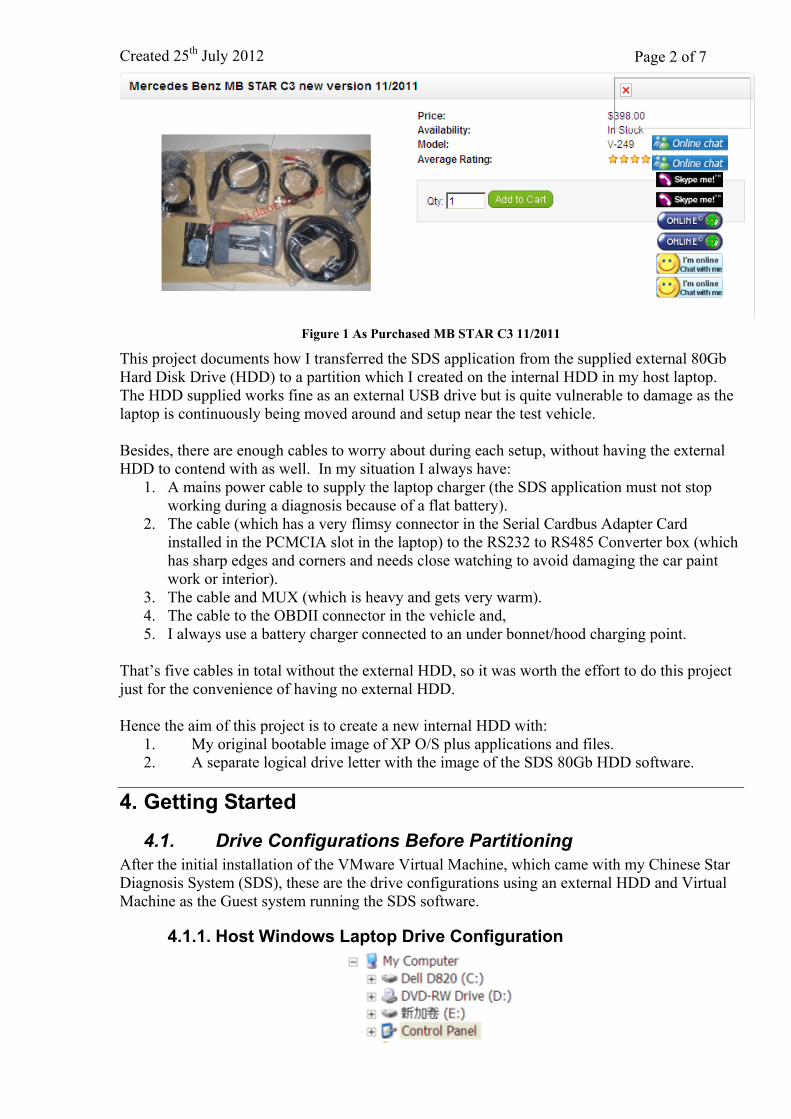
4.1.1. Host Windows Laptop Drive Configuration
Created 25th July 2012 Page 3 of 7 Figure 2 Host Windows Laptop Drive Configuration
4.1.2. Guest VMware Virtual Machine Drive Configuration
Figure 3 Guest VMware Virtual Machine Drive Configuration
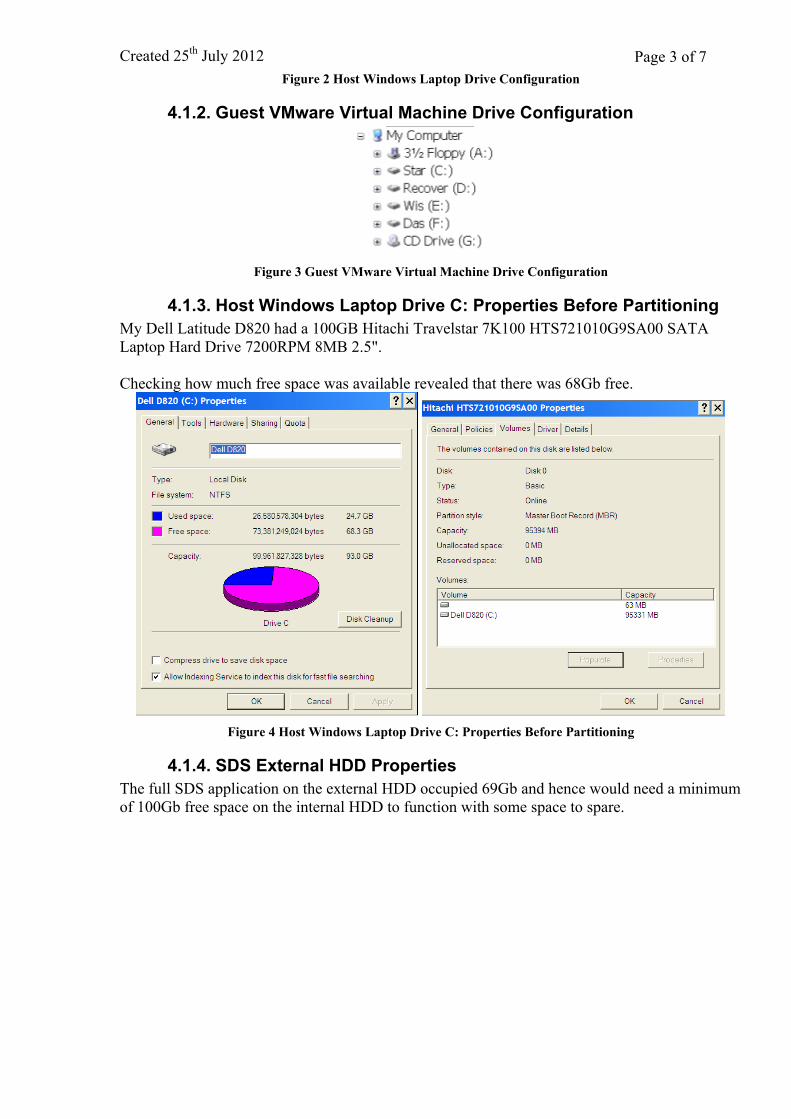
4.1.3. Host Windows Laptop Drive C: Properties Before Partitioning My Dell Latitude D820 had a 100GB Hitachi Travelstar 7K100 HTS721010G9SA00 SATA Laptop Hard Drive 7200RPM 8MB 2.5". Checking how much free space was available revealed that there was 68Gb free.
Figure 4 Host Windows Laptop Drive C: Properties Before Partitioning
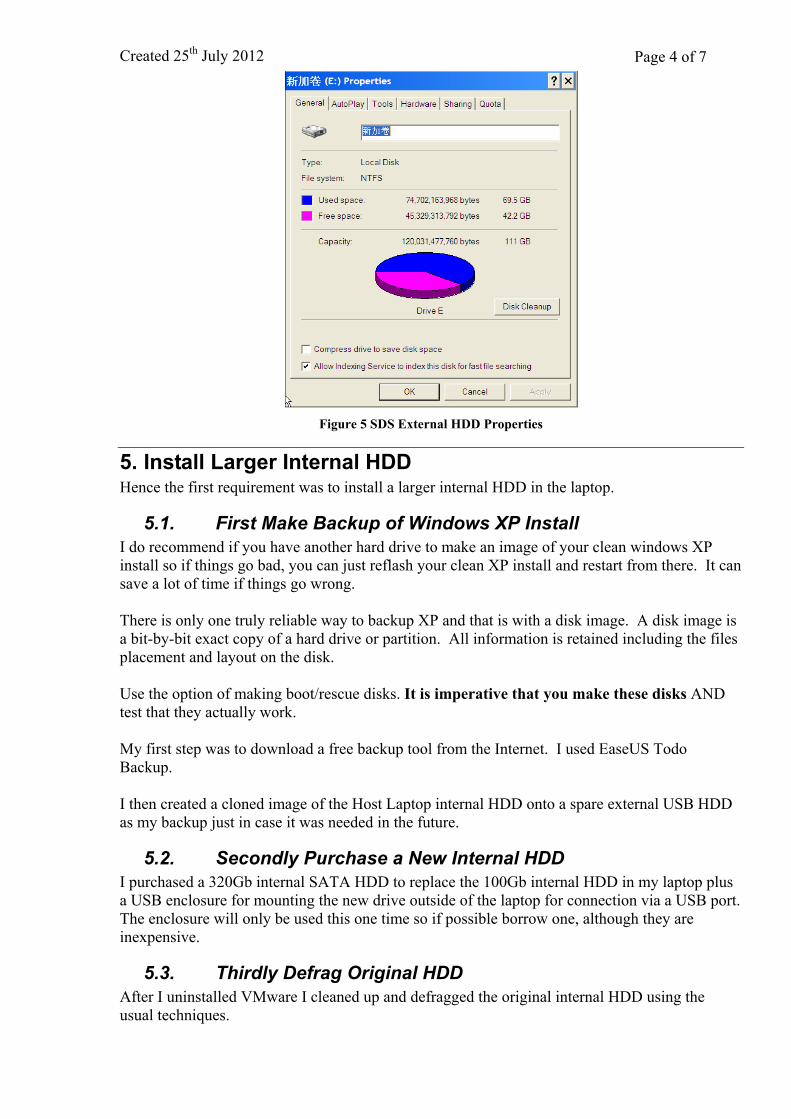
4.1.4. SDS External HDD Properties The full SDS application on the external HDD occupied 69Gb and hence would need a minimum of 100Gb free space on the internal HDD to function with some space to spare.
Created 25th July 2012 Page 4 of 7
Figure 5 SDS External HDD Properties
5. Install Larger Internal HDD Hence the first requirement was to install a larger internal HDD in the laptop.
5.1. First Make Backup of Windows XP Install I do recommend if you have another hard drive to make an image of your clean windows XP install so if things go bad, you can just reflash your clean XP install and restart from there. It can save a lot of time if things go wrong. There is only one truly reliable way to backup XP and that is with a disk image. A disk image is a bit-by-bit exact copy of a hard drive or partition. All information is retained including the files placement and layout on the disk. Use the option of making boot/rescue disks. It is imperative that you make these disks AND test that they actually work. My first step was to download a free backup tool from the Internet. I used EaseUS Todo Backup. I then created a cloned image of the Host Laptop internal HDD onto a spare external USB HDD as my backup just in case it was needed in the future.
5.2. Secondly Purchase a New Internal HDD I purchased a 320Gb internal SATA HDD to replace the 100Gb internal HDD in my laptop plus a USB enclosure for mounting the new drive outside of the laptop for connection via a USB port. The enclosure will only be used this one time so if possible borrow one, although they are inexpensive.
5.3. Thirdly Defrag Original HDD After I uninstalled VMware I cleaned up and defragged the original internal HDD using the usual techniques.
Created 25th July 2012 Page 5 of 7
5.4. Fourthly Clone the Original HDD to the New HDD I downloaded EaseUS Disk Copy from the Internet. EaseUS Disk Copy creates sector by sector clones of partitions or hard disks, independent of the operating system, file systems or partition scheme. It’s a versatile tool for both the novice and experienced user. It is not installed locally, rather a bootable CD or DVD is created and used to boot the host laptop. Then use the EaseUS boot disc and clone the original internal laptop drive to the new 320Gb drive mounted in the enclosure and connected via a USB port. Proceed immediately to the next step.
5.5. Fifthly Replace the Original HDD with the New HDD. Before starting the laptop again replace the original HDD with the new HDD. This turned out to be much simpler than I thought and just involved undoing two small screws, withdrawing the old HDD and inserting the new one. When the laptop restarted I used Windows Explorer to check the capacity of the C: drive. It was still the same as before which was a bit confusing at first, however the rest of the space is unallocated and will sort itself in the next steps.
6. Partition the New HDD Decide on the sizes you need for the new 320Gb HDD:
Original XP operating system, applications and My Documents. I decided to use 150Gb. • • SDS application including VMware. I decided on 150Gb.
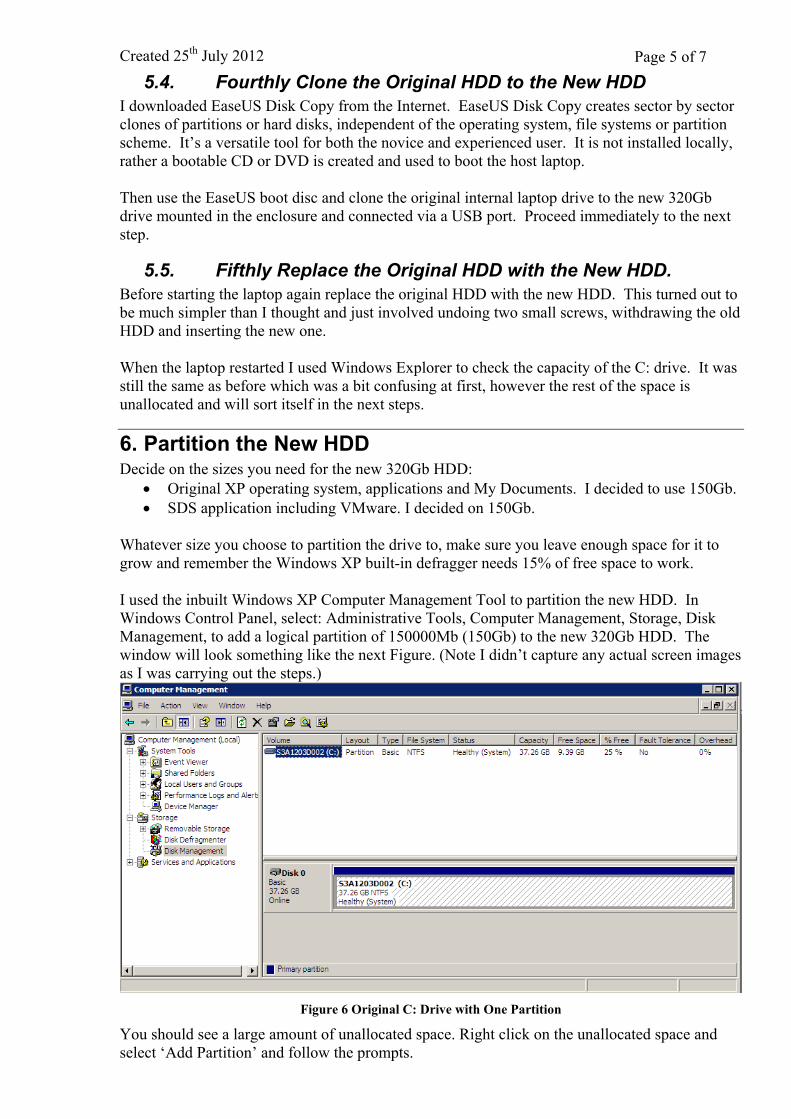
Whatever size you choose to partition the drive to, make sure you leave enough space for it to grow and remember the Windows XP built-in defragger needs 15% of free space to work. I used the inbuilt Windows XP Computer Management Tool to partition the new HDD. In Windows Control Panel, select: Administrative Tools, Computer Management, Storage, Disk Management, to add a logical partition of 150000Mb (150Gb) to the new 320Gb HDD. The window will look something like the next Figure. (Note I didn’t capture any actual screen images as I was carrying out the steps.)
Figure 6 Original C: Drive with One Partition
You should see a large amount of unallocated space. Right click on the unallocated space and select ‘Add Partition’ and follow the prompts.
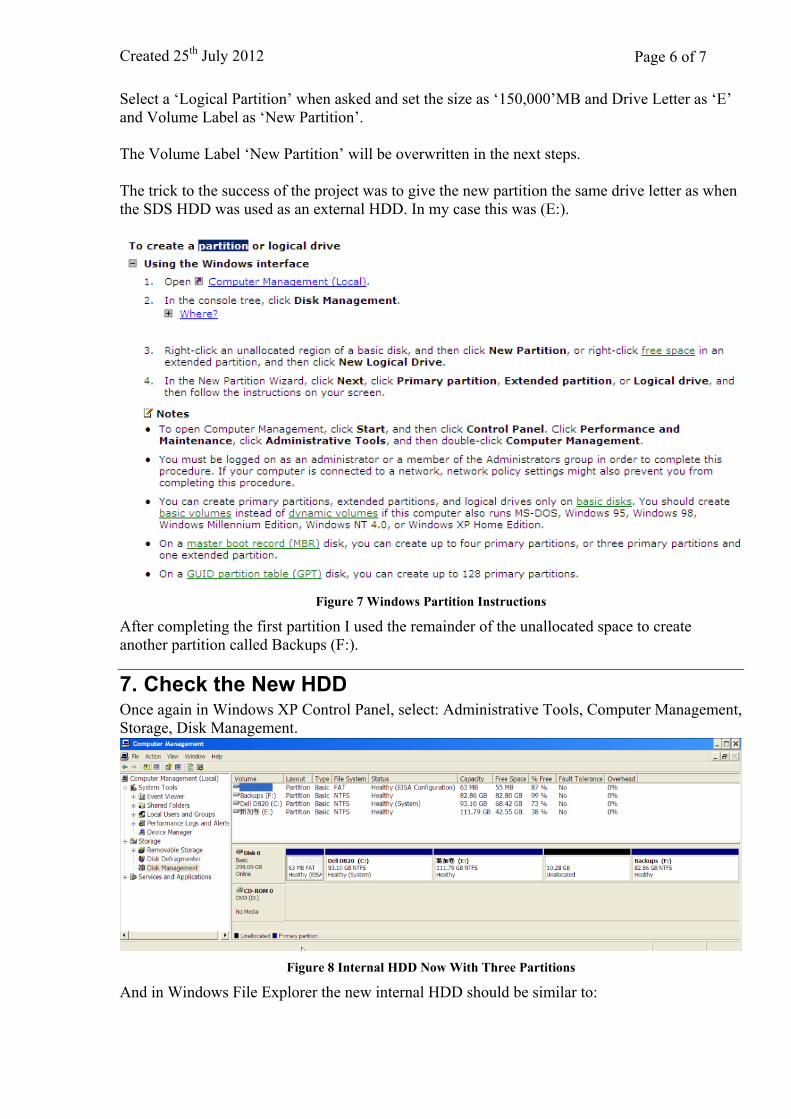
Created 25th July 2012 Page 6 of 7 Select a ‘Logical Partition’ when asked and set the size as ‘150,000’MB and Drive Letter as ‘E’ and Volume Label as ‘New Partition’. The Volume Label ‘New Partition’ will be overwritten in the next steps. The trick to the success of the project was to give the new partition the same drive letter as when the SDS HDD was used as an external HDD. In my case this was (E:).
Figure 7 Windows Partition Instructions
After completing the first partition I used the remainder of the unallocated space to create another partition called Backups (F:).
7. Check the New HDD Once again in Windows XP Control Panel, select: Administrative Tools, Computer Management, Storage, Disk Management.
Figure 8 Internal HDD Now With Three Partitions
And in Windows File Explorer the new internal HDD should be similar to:

Created 25th July 2012 Page 7 of 7
Figure 9 Internal HDD Now With Four Drive Letters C: D: E: F:
At this stage drive E: will still be called ‘New Partition’ and will be overwritten in the next step.
8. Create a Virtual Image of the SDS Software Now plug the supplied External HDD with the SDS software into a USB port on the laptop. Use the EaseUS Todo Backup application again to create a clone of the External SDS HDD on the newly formed empty partition on the internal laptop HDD. Now drive E: will be called .
9. Install VMware Use the guide in my ‘SDS Software Installation Instructions’ document and install a new Virtual Machine and configure the host and guest serial ports. Using File Explorer, inspect the Virtual Machine Drive configuration and note that it is identical to what it was before transferring the external HDD to the internal HDD.
Figure 10 Virtual Machine HDD With Drive Letters A: C: D: E: F: G:
Floppy Drive (A:) is an artefact from the SDS setup and doesn’t exist. There is probably a way to get rid of it but it is not important. (Later note: Hold down the F2 key while the Virtual Machine is booting and edit the settings to remove A:.)
10. Run SDS Software Configure the SDS software and MUX which should now run without the external HDD.


![1.2 New ECU diagnosis software with 2009/4 - Shrani.si · 1.2 New ECU diagnosis software with 2009/4 ... Mercedes Benz CLC-class [203] ... SBC (Sensotronic Brake Control) 3](https://img.pdfslide.net/doc/110x75/5b15b0b27f8b9a06298dc414/12-new-ecu-diagnosis-software-with-20094-12-new-ecu-diagnosis-software.jpg)