Embed Size (px)
Citation preview

Configuring and Securing Ubuntu Server
Installasi Ubuntu Server
[ oke ]
Paket Manajemen dpkg # dpkg -l # ---> listing paket yg diinstall # dpkg -L # ---> listing file2 yg di install dari suatu paket # dpkg -S # ---> melihat suatu file termasuk dalam paket apa # dpkg -i # ---> install file paket .deb # dpkg -r # ---> remove paket tertentu yg sudah diinstall
apt-get # apt-get install <nama paket> # ---> install paket # apt-get remove <nama paket> # ---> remove paket # apt-get upgrade # ---> upgrade paket2 dlm server
# apt-get update # ---> update index source repository (/etc/apt/sources.list) log file ada di /var/log/dpkg.log
Aptitude Manajemen paket secara menu.
Setting Extra repository ( /etc/apt/source.list ), contoh :
deb http://archive.ubuntu.com/ubuntu natty universe multiversedeb-src http://archive.ubuntu.com/ubuntu natty universe multiversedeb http://us.archive.ubuntu.com/ubuntu/ natty universedeb-src http://us.archive.ubuntu.com/ubuntu/ natty universedeb cdrom:[Ubuntu 11.04 _Natty Narwhal_ - Release i386 (20070419.1)]/ natty main restricted
unattended-upgrades digunakan untuk menginstall update, atau hanya menginstall update security saja, penggunaannya adalah :
# sudo apt-get install unattended-upgrades
konfigurasinya ada di file : /etc/apt/apt.conf.d/50unattended-upgrades
( silakan di buka dan disimak isinya )apticron
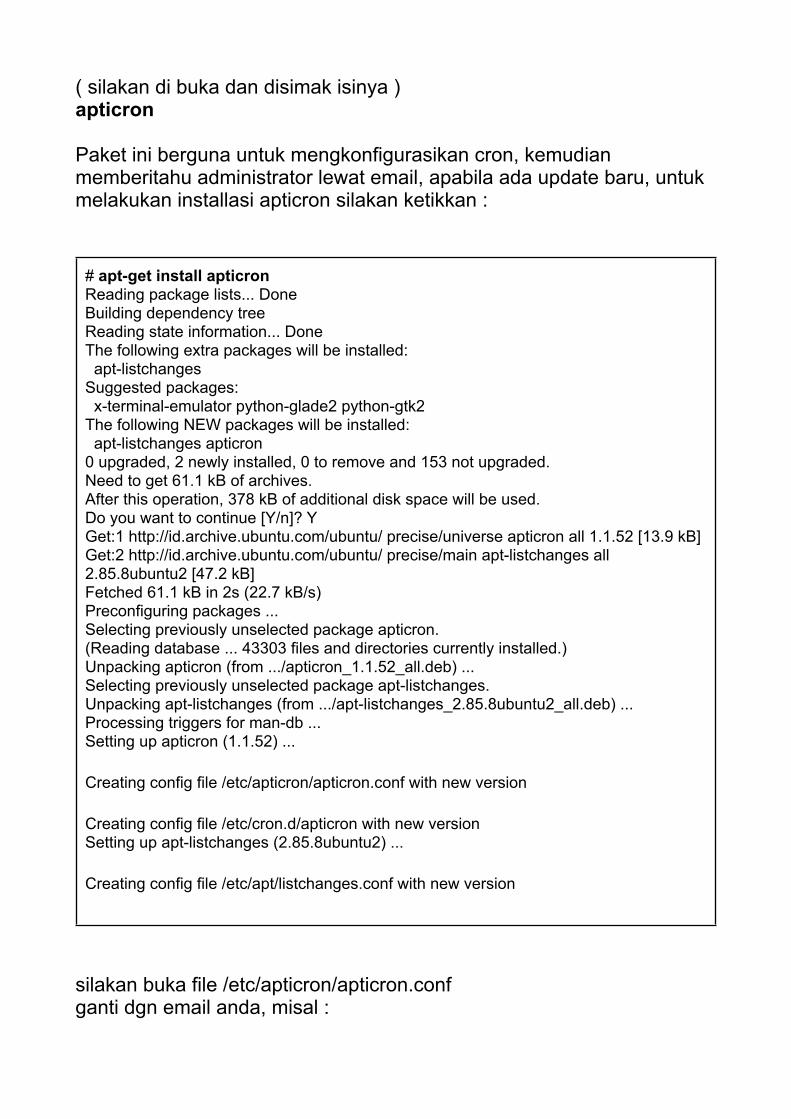
Paket ini berguna untuk mengkonfigurasikan cron, kemudian memberitahu administrator lewat email, apabila ada update baru, untuk melakukan installasi apticron silakan ketikkan :
# apt-get install apticronReading package lists... DoneBuilding dependency tree Reading state information... DoneThe following extra packages will be installed: apt-listchangesSuggested packages: x-terminal-emulator python-glade2 python-gtk2The following NEW packages will be installed: apt-listchanges apticron0 upgraded, 2 newly installed, 0 to remove and 153 not upgraded.Need to get 61.1 kB of archives.After this operation, 378 kB of additional disk space will be used.Do you want to continue [Y/n]? YGet:1 http://id.archive.ubuntu.com/ubuntu/ precise/universe apticron all 1.1.52 [13.9 kB]Get:2 http://id.archive.ubuntu.com/ubuntu/ precise/main apt-listchanges all 2.85.8ubuntu2 [47.2 kB]Fetched 61.1 kB in 2s (22.7 kB/s) Preconfiguring packages ...Selecting previously unselected package apticron.(Reading database ... 43303 files and directories currently installed.)Unpacking apticron (from .../apticron_1.1.52_all.deb) ...Selecting previously unselected package apt-listchanges.Unpacking apt-listchanges (from .../apt-listchanges_2.85.8ubuntu2_all.deb) ...Processing triggers for man-db ...Setting up apticron (1.1.52) ...
Creating config file /etc/apticron/apticron.conf with new version
Creating config file /etc/cron.d/apticron with new versionSetting up apt-listchanges (2.85.8ubuntu2) ...
Creating config file /etc/apt/listchanges.conf with new version
silakan buka file /etc/apticron/apticron.confganti dgn email anda, misal :
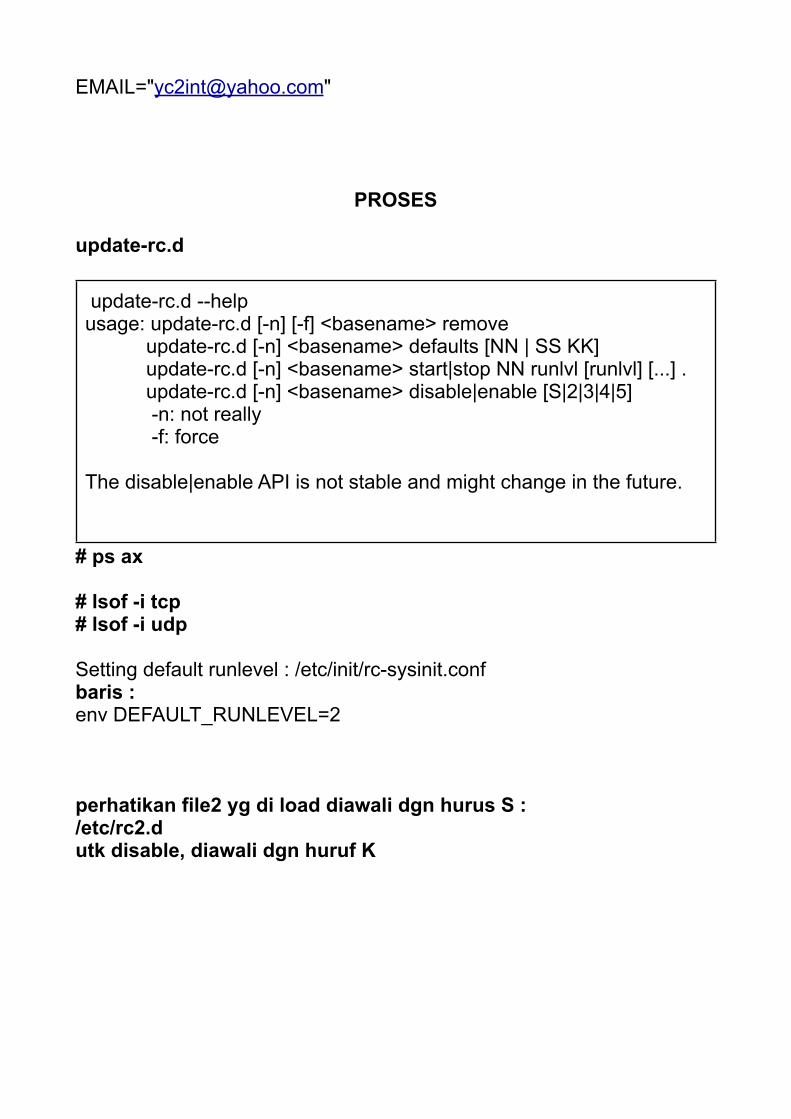
EMAIL="[email protected]"
PROSES
update-rc.d
update-rc.d --helpusage: update-rc.d [-n] [-f] <basename> remove update-rc.d [-n] <basename> defaults [NN | SS KK] update-rc.d [-n] <basename> start|stop NN runlvl [runlvl] [...] . update-rc.d [-n] <basename> disable|enable [S|2|3|4|5] -n: not really -f: force
The disable|enable API is not stable and might change in the future.
# ps ax
# lsof -i tcp# lsof -i udp
Setting default runlevel : /etc/init/rc-sysinit.confbaris :env DEFAULT_RUNLEVEL=2
perhatikan file2 yg di load diawali dgn hurus S :/etc/rc2.dutk disable, diawali dgn huruf K
NETWORKING
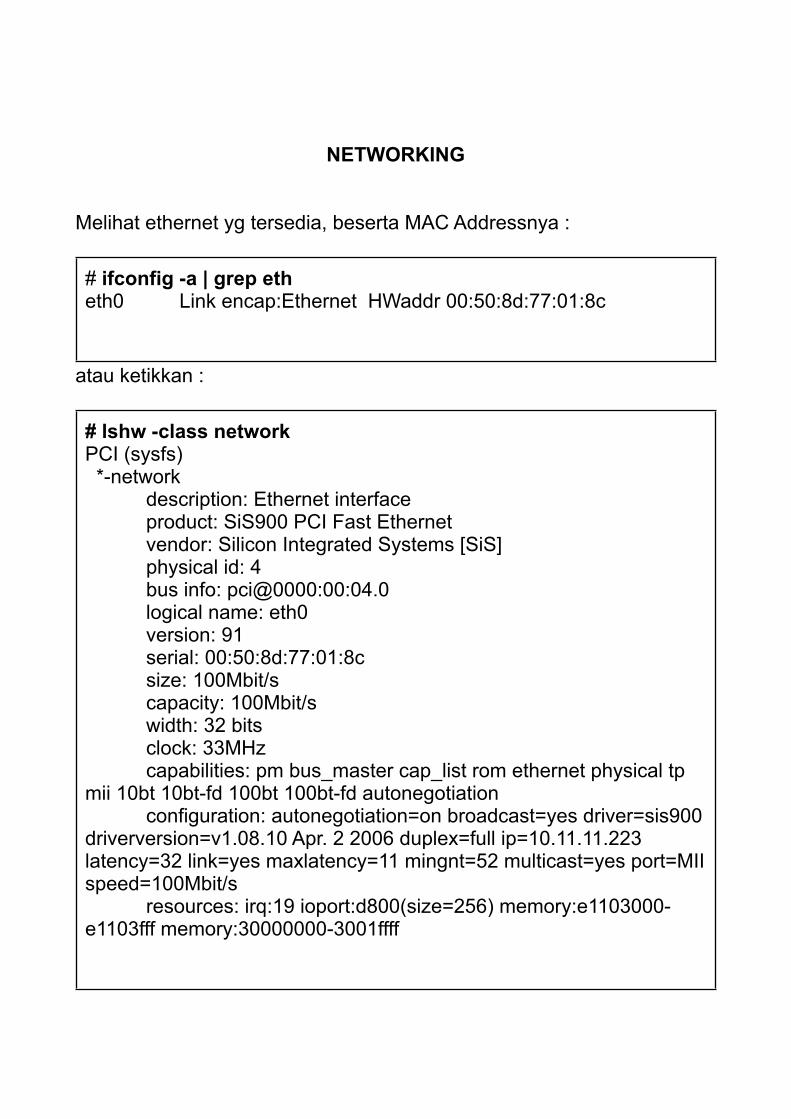
Melihat ethernet yg tersedia, beserta MAC Addressnya :
# ifconfig -a | grep etheth0 Link encap:Ethernet HWaddr 00:50:8d:77:01:8c
atau ketikkan :
# lshw -class networkPCI (sysfs) *-network description: Ethernet interface product: SiS900 PCI Fast Ethernet vendor: Silicon Integrated Systems [SiS] physical id: 4 bus info: pci@0000:00:04.0 logical name: eth0 version: 91 serial: 00:50:8d:77:01:8c size: 100Mbit/s capacity: 100Mbit/s width: 32 bits clock: 33MHz capabilities: pm bus_master cap_list rom ethernet physical tp mii 10bt 10bt-fd 100bt 100bt-fd autonegotiation configuration: autonegotiation=on broadcast=yes driver=sis900 driverversion=v1.08.10 Apr. 2 2006 duplex=full ip=10.11.11.223 latency=32 link=yes maxlatency=11 mingnt=52 multicast=yes port=MII speed=100Mbit/s resources: irq:19 ioport:d800(size=256) memory:e1103000-e1103fff memory:30000000-3001ffff

tools lain yg cukup berguna adalah ethtools, utk melakukan installasi silakan ketikkan :
root@server:~# apt-get install ethtoolReading package lists... DoneBuilding dependency tree Reading state information... DoneThe following NEW packages will be installed: ethtool0 upgraded, 1 newly installed, 0 to remove and 153 not upgraded.Need to get 91.6 kB of archives.After this operation, 293 kB of additional disk space will be used.Get:1 http://id.archive.ubuntu.com/ubuntu/ precise/main ethtool i386 1:3.1-1 [91.6 kB]Fetched 91.6 kB in 3s (28.4 kB/s) Selecting previously unselected package ethtool.(Reading database ... 43330 files and directories currently installed.)Unpacking ethtool (from .../ethtool_1%3a3.1-1_i386.deb) ...Processing triggers for man-db ...Setting up ethtool (1:3.1-1) ...
contoh penggunaan :
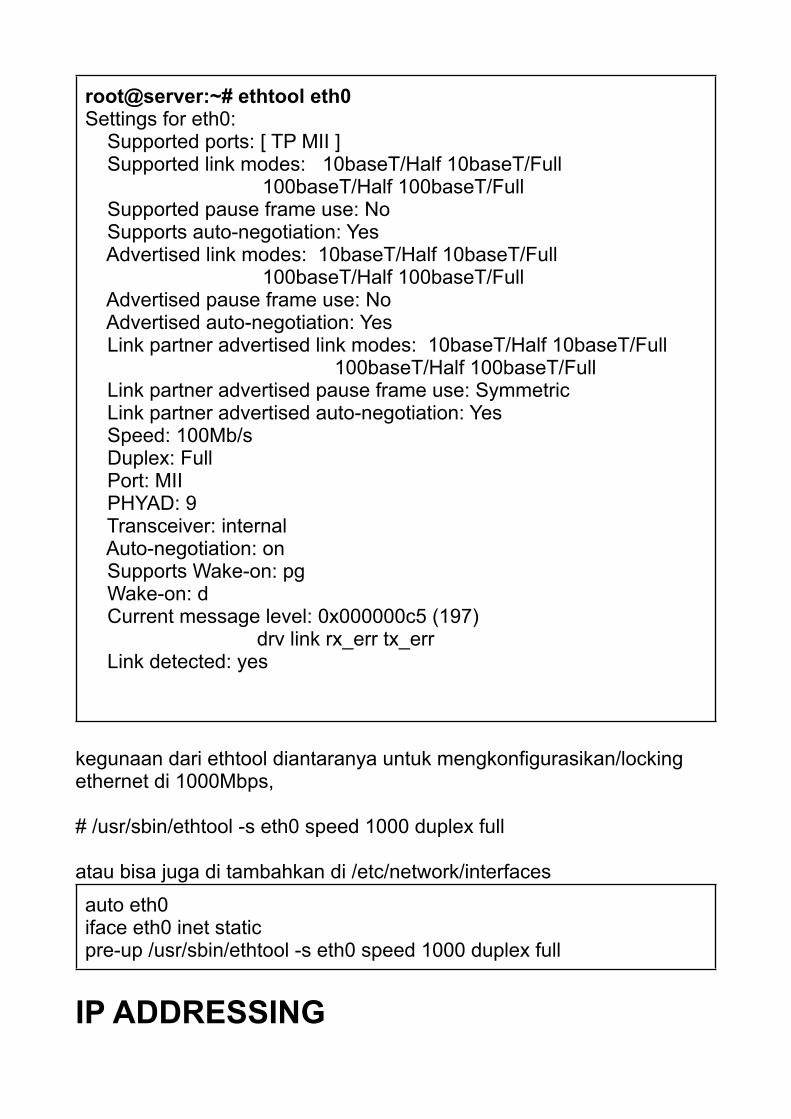
root@server:~# ethtool eth0Settings for eth0: Supported ports: [ TP MII ] Supported link modes: 10baseT/Half 10baseT/Full 100baseT/Half 100baseT/Full Supported pause frame use: No Supports auto-negotiation: Yes Advertised link modes: 10baseT/Half 10baseT/Full 100baseT/Half 100baseT/Full Advertised pause frame use: No Advertised auto-negotiation: Yes Link partner advertised link modes: 10baseT/Half 10baseT/Full 100baseT/Half 100baseT/Full Link partner advertised pause frame use: Symmetric Link partner advertised auto-negotiation: Yes Speed: 100Mb/s Duplex: Full Port: MII PHYAD: 9 Transceiver: internal Auto-negotiation: on Supports Wake-on: pg Wake-on: d Current message level: 0x000000c5 (197) drv link rx_err tx_err Link detected: yes
kegunaan dari ethtool diantaranya untuk mengkonfigurasikan/locking ethernet di 1000Mbps,
# /usr/sbin/ethtool -s eth0 speed 1000 duplex full
atau bisa juga di tambahkan di /etc/network/interfaces
auto eth0iface eth0 inet staticpre-up /usr/sbin/ethtool -s eth0 speed 1000 duplex full
IP ADDRESSING
Konfig ip address :
# ifconfig eth0 10.0.0.100 netmask 255.255.255.0atau# ip address add address 10.0.0.100/24
DEFAULT ROUTE :# route add default gw 10.0.0.1 eth0atau# ip route add default via 10.0.0.1
lihat tabel routing :
# route -n
atau
# ip route show
flushing konfigurasi IP address :
# ip addr flush eth0
setting DNS Server mana yg akan kita gunakan :
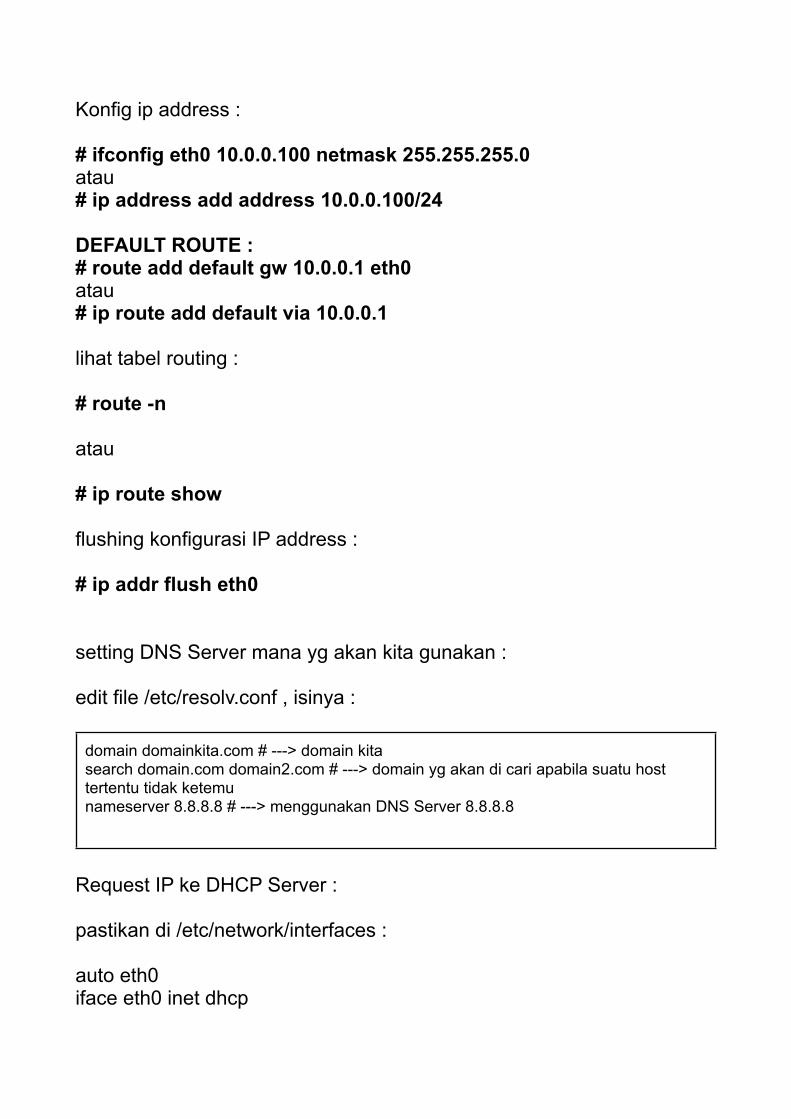
edit file /etc/resolv.conf , isinya :
domain domainkita.com # ---> domain kitasearch domain.com domain2.com # ---> domain yg akan di cari apabila suatu host tertentu tidak ketemunameserver 8.8.8.8 # ---> menggunakan DNS Server 8.8.8.8
Request IP ke DHCP Server :
pastikan di /etc/network/interfaces :
auto eth0iface eth0 inet dhcp
kemudian down, dan up kan kembali eth0 dgn mengetikkan :
# ifdown eth0# ifup eth0
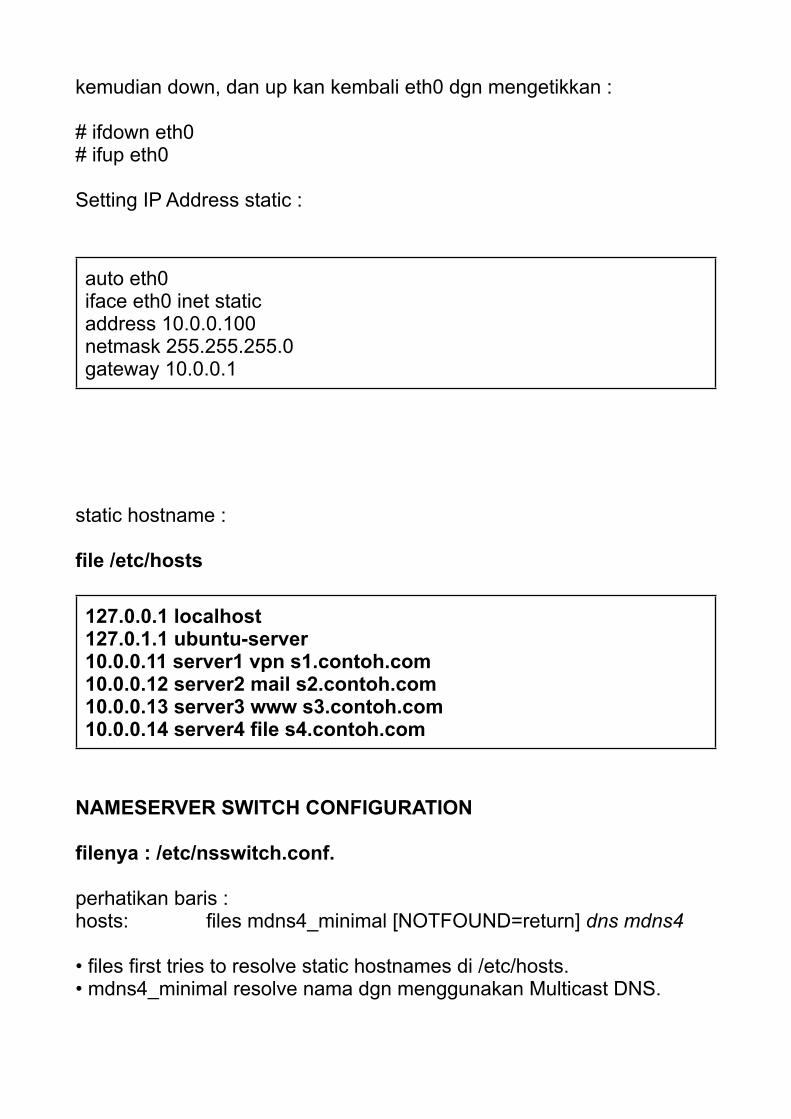
Setting IP Address static :
auto eth0iface eth0 inet staticaddress 10.0.0.100netmask 255.255.255.0gateway 10.0.0.1
static hostname :
file /etc/hosts
127.0.0.1 localhost127.0.1.1 ubuntu-server10.0.0.11 server1 vpn s1.contoh.com10.0.0.12 server2 mail s2.contoh.com10.0.0.13 server3 www s3.contoh.com10.0.0.14 server4 file s4.contoh.com
NAMESERVER SWITCH CONFIGURATION
filenya : /etc/nsswitch.conf.
perhatikan baris :hosts: files mdns4_minimal [NOTFOUND=return] dns mdns4
• files first tries to resolve static hostnames di /etc/hosts.• mdns4_minimal resolve nama dgn menggunakan Multicast DNS.
• [NOTFOUND=return] jika sampai disini tidak ketemu, tidak usah dilanjutkan mencari jawaban resolve hostnamenya• dns legacy unicast DNS query.• mdns4 Multicast DNS query.
BRIDGING
paket yg dibutuhkan :
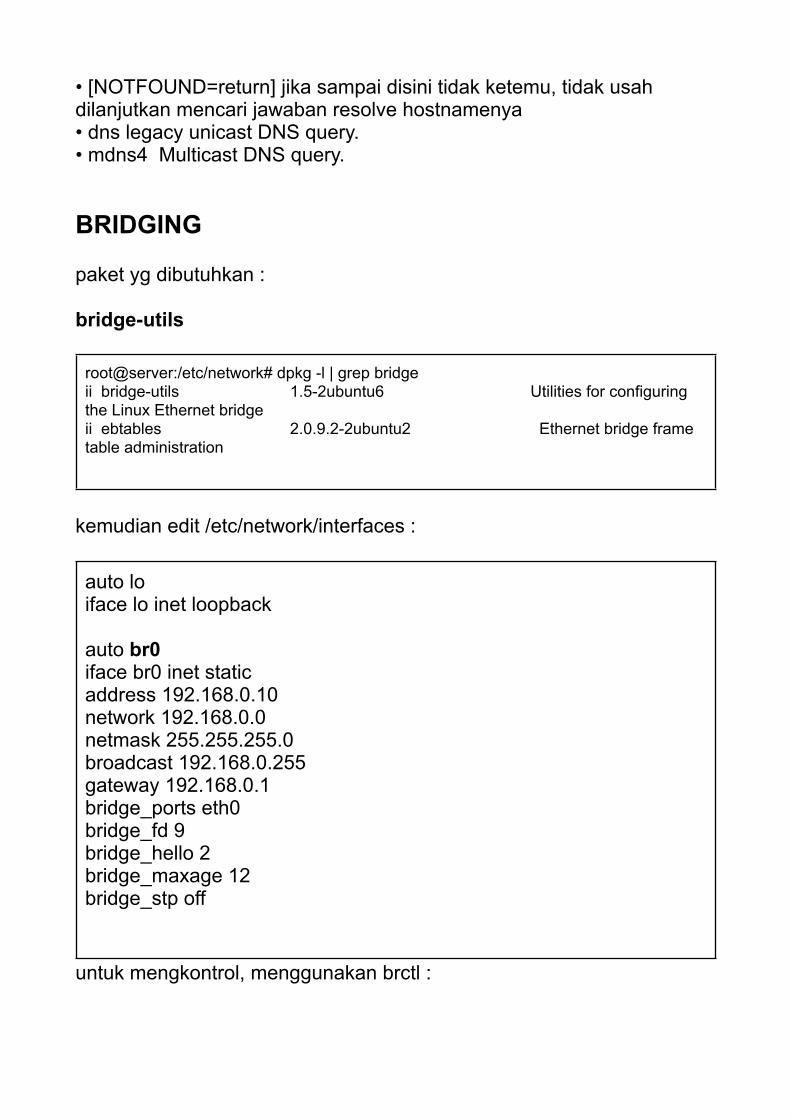
bridge-utils
root@server:/etc/network# dpkg -l | grep bridgeii bridge-utils 1.5-2ubuntu6 Utilities for configuring the Linux Ethernet bridgeii ebtables 2.0.9.2-2ubuntu2 Ethernet bridge frame table administration
kemudian edit /etc/network/interfaces :
auto loiface lo inet loopback
auto br0iface br0 inet staticaddress 192.168.0.10network 192.168.0.0netmask 255.255.255.0broadcast 192.168.0.255gateway 192.168.0.1bridge_ports eth0bridge_fd 9bridge_hello 2bridge_maxage 12bridge_stp off
untuk mengkontrol, menggunakan brctl :
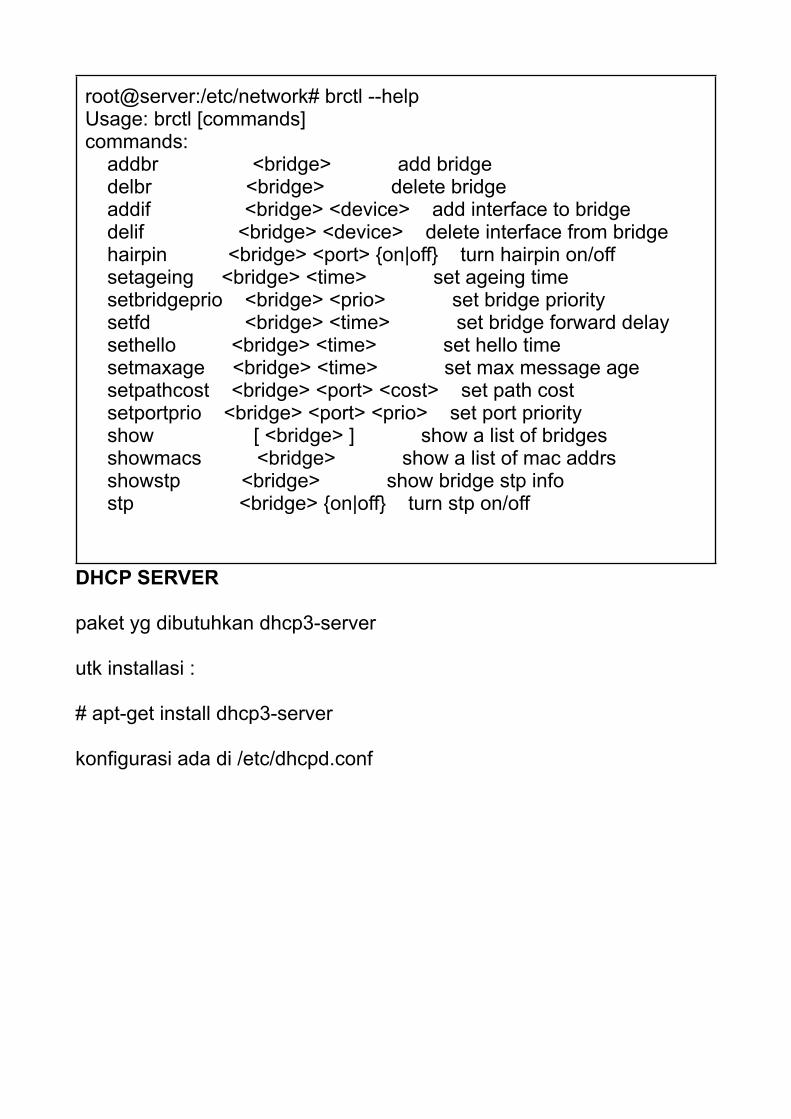
root@server:/etc/network# brctl --helpUsage: brctl [commands]commands: addbr <bridge> add bridge delbr <bridge> delete bridge addif <bridge> <device> add interface to bridge delif <bridge> <device> delete interface from bridge hairpin <bridge> <port> {on|off} turn hairpin on/off setageing <bridge> <time> set ageing time setbridgeprio <bridge> <prio> set bridge priority setfd <bridge> <time> set bridge forward delay sethello <bridge> <time> set hello time setmaxage <bridge> <time> set max message age setpathcost <bridge> <port> <cost> set path cost setportprio <bridge> <port> <prio> set port priority show [ <bridge> ] show a list of bridges showmacs <bridge> show a list of mac addrs showstp <bridge> show bridge stp info stp <bridge> {on|off} turn stp on/off
DHCP SERVER
paket yg dibutuhkan dhcp3-server
utk installasi :
# apt-get install dhcp3-server
konfigurasi ada di /etc/dhcpd.conf
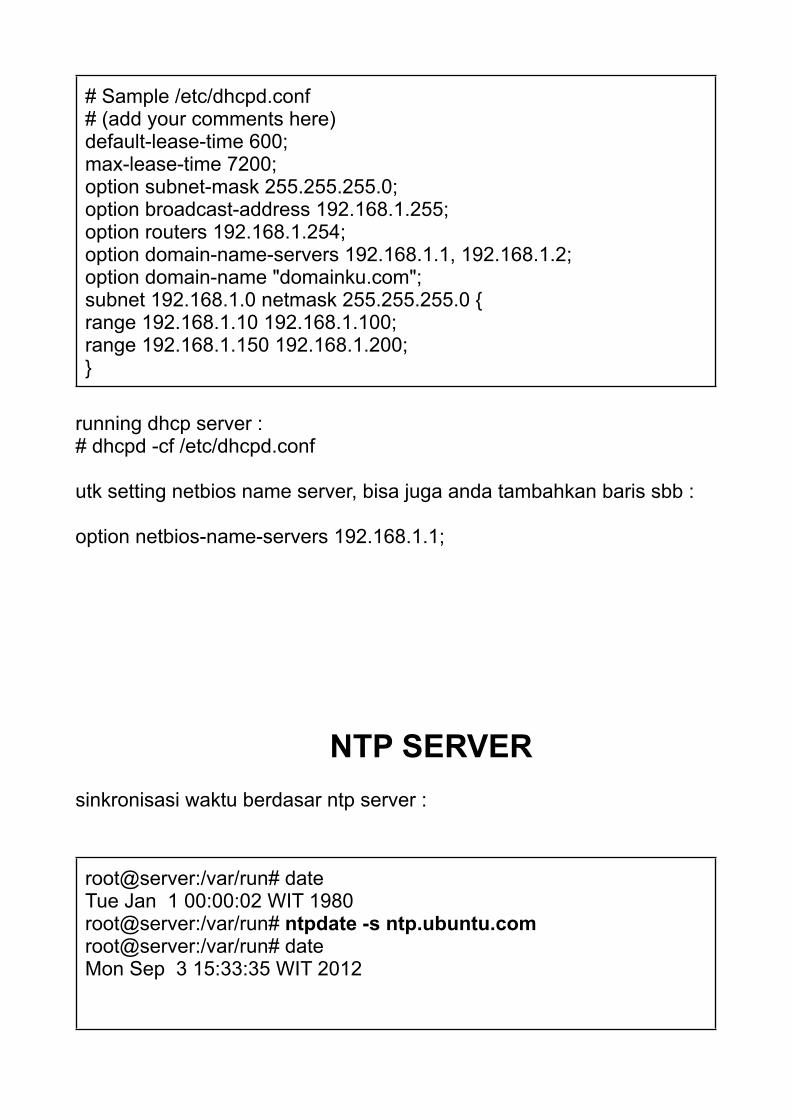
# Sample /etc/dhcpd.conf# (add your comments here)default-lease-time 600;max-lease-time 7200;option subnet-mask 255.255.255.0;option broadcast-address 192.168.1.255;option routers 192.168.1.254;option domain-name-servers 192.168.1.1, 192.168.1.2;option domain-name "domainku.com";subnet 192.168.1.0 netmask 255.255.255.0 {range 192.168.1.10 192.168.1.100;range 192.168.1.150 192.168.1.200;}
running dhcp server :# dhcpd -cf /etc/dhcpd.conf
utk setting netbios name server, bisa juga anda tambahkan baris sbb :
option netbios-name-servers 192.168.1.1;
NTP SERVERsinkronisasi waktu berdasar ntp server :
root@server:/var/run# dateTue Jan 1 00:00:02 WIT 1980root@server:/var/run# ntpdate -s ntp.ubuntu.comroot@server:/var/run# dateMon Sep 3 15:33:35 WIT 2012

ntpdntpd lebih halus daripada ntpdate, ntp daemon akan melakukan sinkronisasi secara halus dan mengkoreksi waktu sedikit demi sedikit, dengan acuan ntp server.
utk installasi :
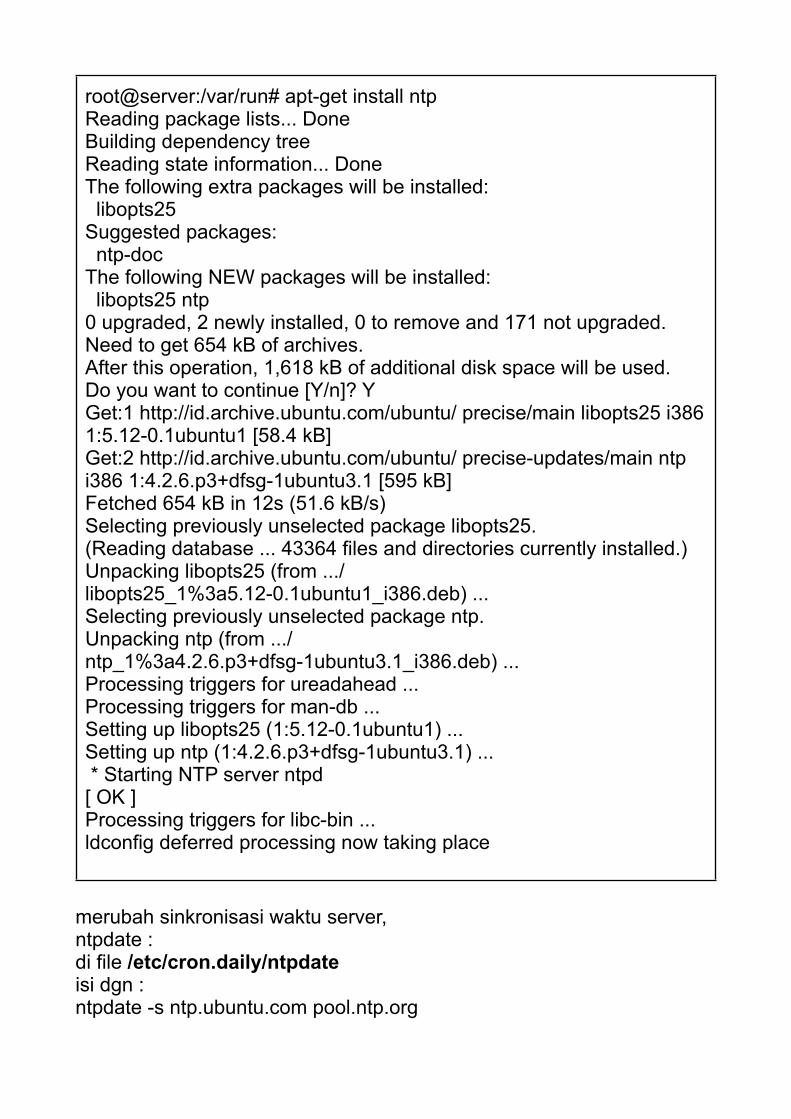
root@server:/var/run# apt-get install ntpReading package lists... DoneBuilding dependency tree Reading state information... DoneThe following extra packages will be installed: libopts25Suggested packages: ntp-docThe following NEW packages will be installed: libopts25 ntp0 upgraded, 2 newly installed, 0 to remove and 171 not upgraded.Need to get 654 kB of archives.After this operation, 1,618 kB of additional disk space will be used.Do you want to continue [Y/n]? YGet:1 http://id.archive.ubuntu.com/ubuntu/ precise/main libopts25 i386 1:5.12-0.1ubuntu1 [58.4 kB]Get:2 http://id.archive.ubuntu.com/ubuntu/ precise-updates/main ntp i386 1:4.2.6.p3+dfsg-1ubuntu3.1 [595 kB]Fetched 654 kB in 12s (51.6 kB/s) Selecting previously unselected package libopts25.(Reading database ... 43364 files and directories currently installed.)Unpacking libopts25 (from .../libopts25_1%3a5.12-0.1ubuntu1_i386.deb) ...Selecting previously unselected package ntp.Unpacking ntp (from .../ntp_1%3a4.2.6.p3+dfsg-1ubuntu3.1_i386.deb) ...Processing triggers for ureadahead ...Processing triggers for man-db ...Setting up libopts25 (1:5.12-0.1ubuntu1) ...Setting up ntp (1:4.2.6.p3+dfsg-1ubuntu3.1) ... * Starting NTP server ntpd [ OK ]Processing triggers for libc-bin ...ldconfig deferred processing now taking place
merubah sinkronisasi waktu server,ntpdate :di file /etc/cron.daily/ntpdateisi dgn :ntpdate -s ntp.ubuntu.com pool.ntp.org
atau bila anda menggunakan ntpd :
edit file : /etc/ntp.conf
isi dgn baris :
server ntp.ubuntu.comserver pool.ntp.org
utk menemukan ntp server di seluruh dunia, silakan kunjungi alamat : http://www.pool.ntp.org
REMOTE ADMINISTRASI
Ada banyak cara utk melakukan remote administrasi, tapi kali ini kita hanya membahas openSSH.
installasi openssh client :
# apt-get install openssh-client
installasi openssh server :
# apt-get install openssh-server
konfigurasi openssh ada di :
/etc/ssh/sshd_config
beberapa baris penting :
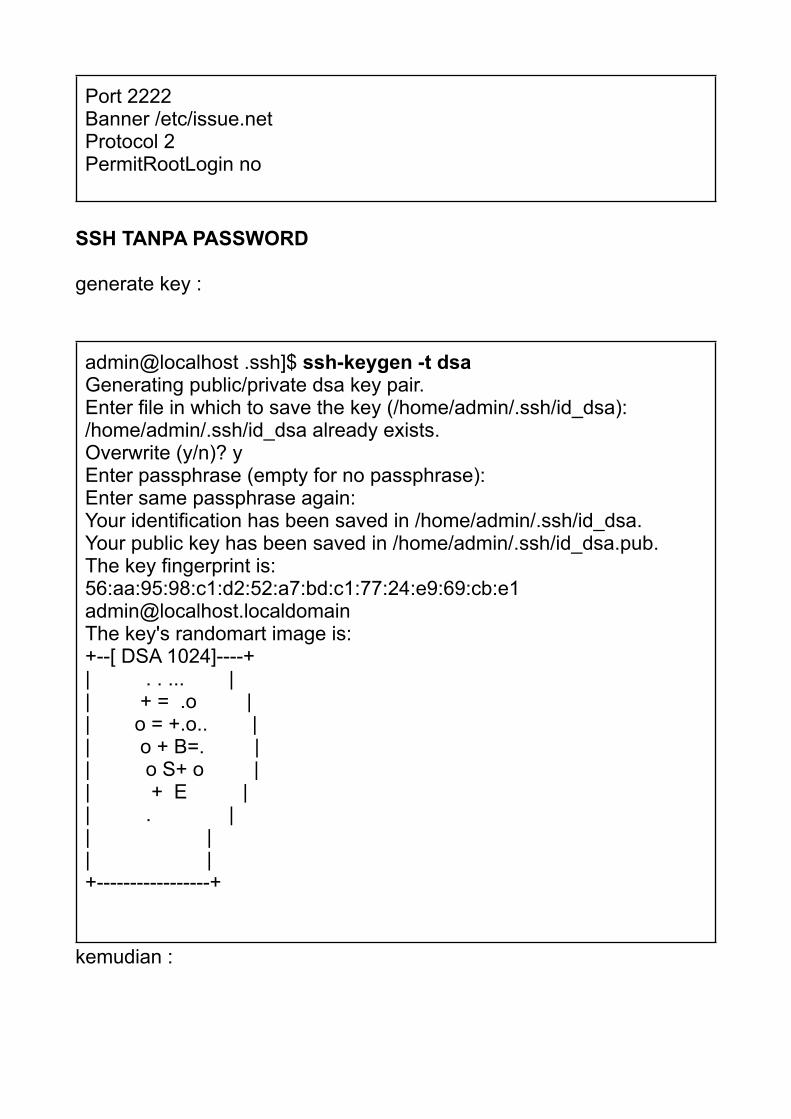
Port 2222Banner /etc/issue.netProtocol 2PermitRootLogin no
SSH TANPA PASSWORD
generate key :
admin@localhost .ssh]$ ssh-keygen -t dsaGenerating public/private dsa key pair.Enter file in which to save the key (/home/admin/.ssh/id_dsa):/home/admin/.ssh/id_dsa already exists.Overwrite (y/n)? yEnter passphrase (empty for no passphrase):Enter same passphrase again:Your identification has been saved in /home/admin/.ssh/id_dsa.Your public key has been saved in /home/admin/.ssh/id_dsa.pub.The key fingerprint is:56:aa:95:98:c1:d2:52:a7:bd:c1:77:24:e9:69:cb:e1 [email protected] key's randomart image is:+--[ DSA 1024]----+| . . ... || + = .o || o = +.o.. || o + B=. || o S+ o || + E || . || || |+-----------------+
kemudian :
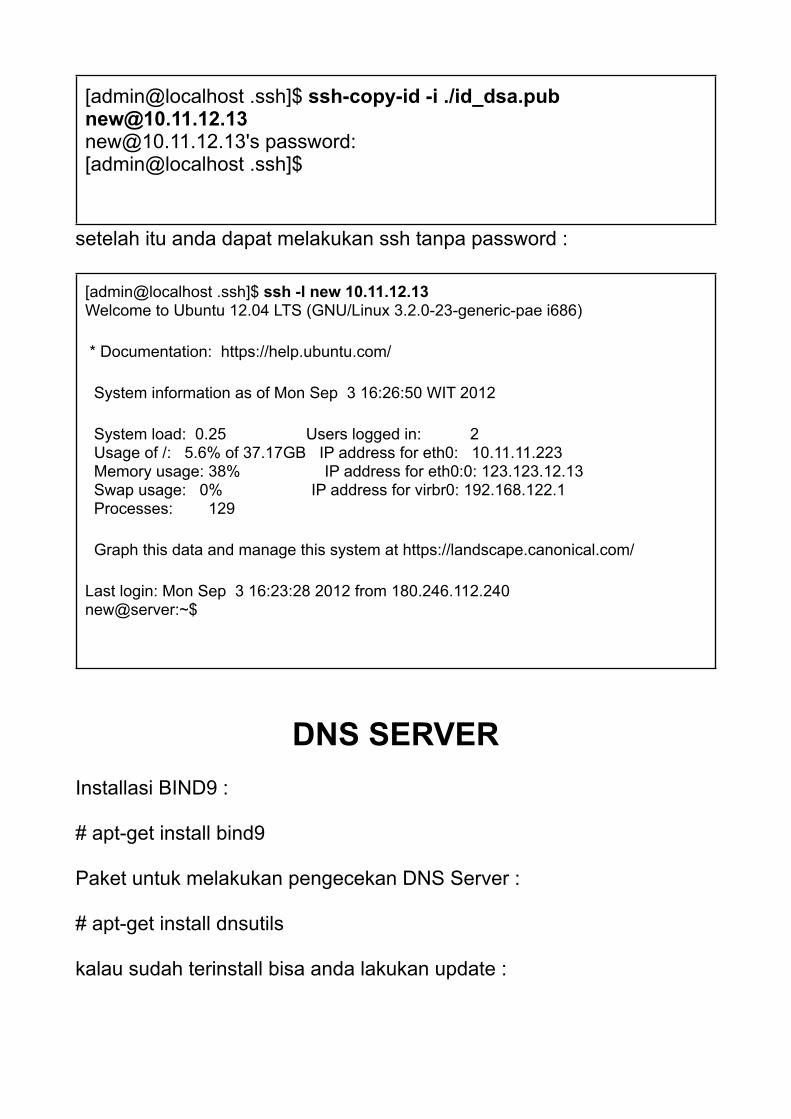
[admin@localhost .ssh]$ ssh-copy-id -i ./id_dsa.pub [email protected]@10.11.12.13's password:[admin@localhost .ssh]$
setelah itu anda dapat melakukan ssh tanpa password :
[admin@localhost .ssh]$ ssh -l new 10.11.12.13Welcome to Ubuntu 12.04 LTS (GNU/Linux 3.2.0-23-generic-pae i686)
* Documentation: https://help.ubuntu.com/
System information as of Mon Sep 3 16:26:50 WIT 2012
System load: 0.25 Users logged in: 2 Usage of /: 5.6% of 37.17GB IP address for eth0: 10.11.11.223 Memory usage: 38% IP address for eth0:0: 123.123.12.13 Swap usage: 0% IP address for virbr0: 192.168.122.1 Processes: 129
Graph this data and manage this system at https://landscape.canonical.com/
Last login: Mon Sep 3 16:23:28 2012 from 180.246.112.240new@server:~$
DNS SERVERInstallasi BIND9 :
# apt-get install bind9
Paket untuk melakukan pengecekan DNS Server :
# apt-get install dnsutils
kalau sudah terinstall bisa anda lakukan update :
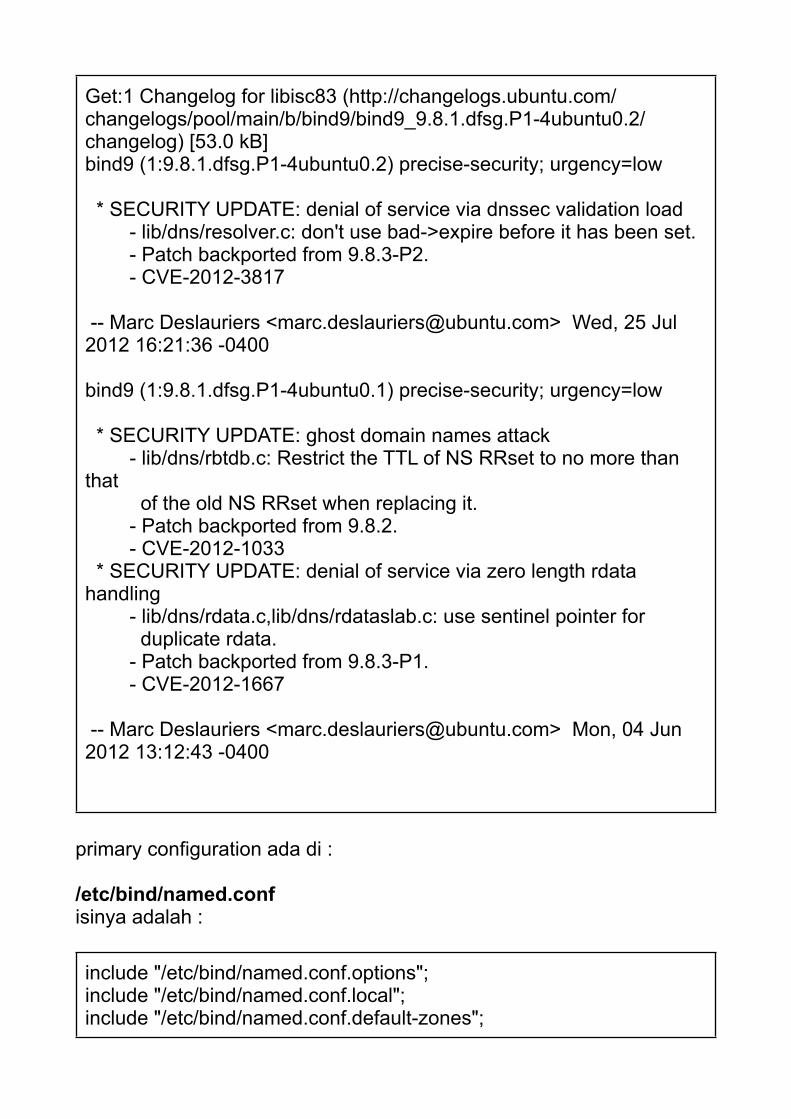
Get:1 Changelog for libisc83 (http://changelogs.ubuntu.com/changelogs/pool/main/b/bind9/bind9_9.8.1.dfsg.P1-4ubuntu0.2/changelog) [53.0 kB]bind9 (1:9.8.1.dfsg.P1-4ubuntu0.2) precise-security; urgency=low
* SECURITY UPDATE: denial of service via dnssec validation load - lib/dns/resolver.c: don't use bad->expire before it has been set. - Patch backported from 9.8.3-P2. - CVE-2012-3817
-- Marc Deslauriers <[email protected]> Wed, 25 Jul 2012 16:21:36 -0400
bind9 (1:9.8.1.dfsg.P1-4ubuntu0.1) precise-security; urgency=low
* SECURITY UPDATE: ghost domain names attack - lib/dns/rbtdb.c: Restrict the TTL of NS RRset to no more than that of the old NS RRset when replacing it. - Patch backported from 9.8.2. - CVE-2012-1033 * SECURITY UPDATE: denial of service via zero length rdata handling - lib/dns/rdata.c,lib/dns/rdataslab.c: use sentinel pointer for duplicate rdata. - Patch backported from 9.8.3-P1. - CVE-2012-1667
-- Marc Deslauriers <[email protected]> Mon, 04 Jun 2012 13:12:43 -0400
primary configuration ada di :
/etc/bind/named.confisinya adalah :
include "/etc/bind/named.conf.options";include "/etc/bind/named.conf.local";include "/etc/bind/named.conf.default-zones";
pada file2 tersebutlah sebaiknya kita konfigurasi detail dari DNS Server kita.
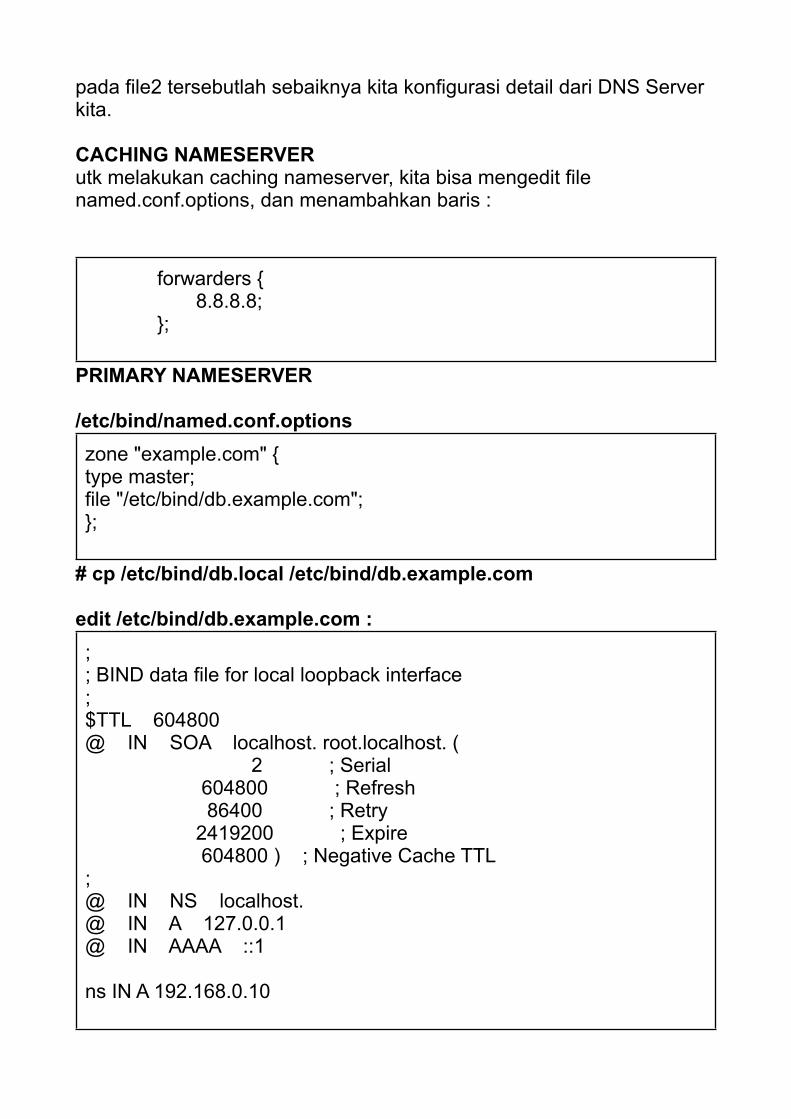
CACHING NAMESERVERutk melakukan caching nameserver, kita bisa mengedit file named.conf.options, dan menambahkan baris :
forwarders { 8.8.8.8; };
PRIMARY NAMESERVER
/etc/bind/named.conf.optionszone "example.com" {type master;file "/etc/bind/db.example.com";};
# cp /etc/bind/db.local /etc/bind/db.example.com
edit /etc/bind/db.example.com :;; BIND data file for local loopback interface;$TTL 604800@ IN SOA localhost. root.localhost. ( 2 ; Serial 604800 ; Refresh 86400 ; Retry 2419200 ; Expire 604800 ) ; Negative Cache TTL;@ IN NS localhost.@ IN A 127.0.0.1@ IN AAAA ::1
ns IN A 192.168.0.10

REVERSE ZONE FILE
/etc/bind/named.conf.optionszone "1.168.192.in-addr.arpa" {type master;notify no;file "/etc/bind/db.192";};
# cp /etc/bind/db.127 /etc/bind/db.192
edit file /etc/bind/db.192
;; BIND reverse data file for local loopback interface;$TTL 604800@ IN SOA localhost. root.localhost. ( 1 ; Serial 604800 ; Refresh 86400 ; Retry 2419200 ; Expire 604800 ) ; Negative Cache TTL;@ IN NS localhost.1.0.0 IN PTR localhost.10 IN PTR ns.example.com.
SECONDARY MASTER
Di Primary Master harus mengijinkan transfer ke ip secondary :
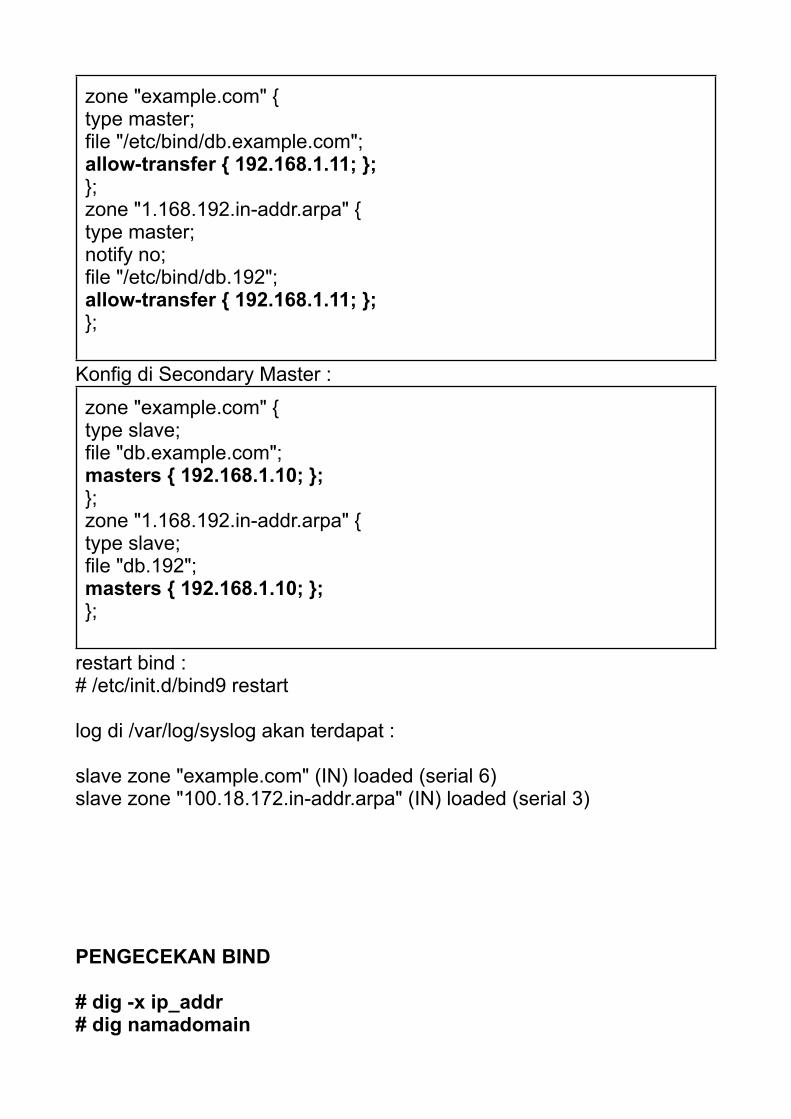
zone "example.com" {type master;file "/etc/bind/db.example.com";allow-transfer { 192.168.1.11; };};zone "1.168.192.in-addr.arpa" {type master;notify no;file "/etc/bind/db.192";allow-transfer { 192.168.1.11; };};
Konfig di Secondary Master :
zone "example.com" {type slave;file "db.example.com";masters { 192.168.1.10; };};zone "1.168.192.in-addr.arpa" {type slave;file "db.192";masters { 192.168.1.10; };};
restart bind :# /etc/init.d/bind9 restart
log di /var/log/syslog akan terdapat :
slave zone "example.com" (IN) loaded (serial 6)slave zone "100.18.172.in-addr.arpa" (IN) loaded (serial 3)
PENGECEKAN BIND
# dig -x ip_addr# dig namadomain

# dig @dns a www.namadomain.com# ping namadomain
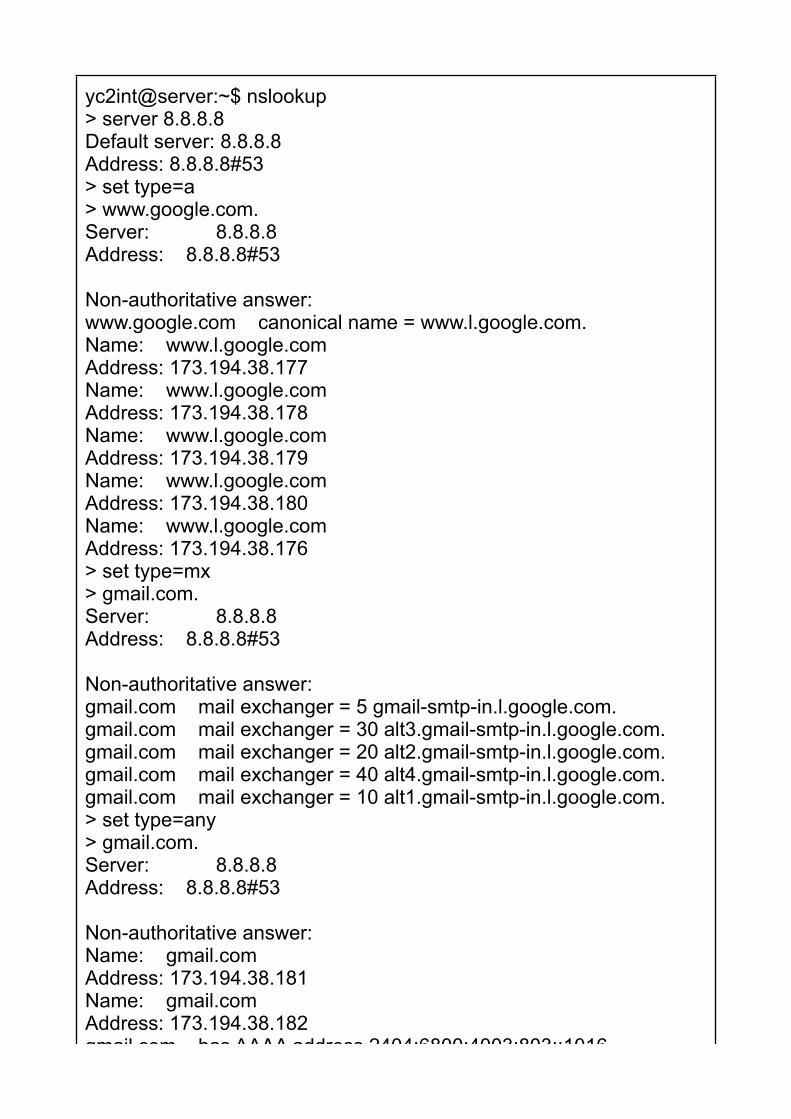
yc2int@server:~$ nslookup> server 8.8.8.8Default server: 8.8.8.8Address: 8.8.8.8#53> set type=a> www.google.com.Server: 8.8.8.8Address: 8.8.8.8#53
Non-authoritative answer:www.google.com canonical name = www.l.google.com.Name: www.l.google.comAddress: 173.194.38.177Name: www.l.google.comAddress: 173.194.38.178Name: www.l.google.comAddress: 173.194.38.179Name: www.l.google.comAddress: 173.194.38.180Name: www.l.google.comAddress: 173.194.38.176> set type=mx> gmail.com.Server: 8.8.8.8Address: 8.8.8.8#53
Non-authoritative answer:gmail.com mail exchanger = 5 gmail-smtp-in.l.google.com.gmail.com mail exchanger = 30 alt3.gmail-smtp-in.l.google.com.gmail.com mail exchanger = 20 alt2.gmail-smtp-in.l.google.com.gmail.com mail exchanger = 40 alt4.gmail-smtp-in.l.google.com.gmail.com mail exchanger = 10 alt1.gmail-smtp-in.l.google.com.> set type=any> gmail.com.Server: 8.8.8.8Address: 8.8.8.8#53
Non-authoritative answer:Name: gmail.comAddress: 173.194.38.181Name: gmail.comAddress: 173.194.38.182gmail.com has AAAA address 2404:6800:4003:803::1016gmail.com mail exchanger = 40 alt4.gmail-smtp-in.l.google.com.gmail.com nameserver = ns4.google.com.gmail.com nameserver = ns1.google.com.gmail.com mail exchanger = 10 alt1.gmail-smtp-in.l.google.com.gmail.com nameserver = ns2.google.com.gmail.com text = "v=spf1 redirect=_spf.google.com"gmail.com mail exchanger = 30 alt3.gmail-smtp-in.l.google.com.gmail.com mail exchanger = 5 gmail-smtp-in.l.google.com.gmail.com mail exchanger = 20 alt2.gmail-smtp-in.l.google.com.gmail.com nameserver = ns3.google.com.gmail.com origin = ns1.google.com mail addr = dns-admin.google.com serial = 2012061200 refresh = 21600 retry = 3600 expire = 1209600 minimum = 300Name: gmail.comAddress: 173.194.38.181Name: gmail.comAddress: 173.194.38.182
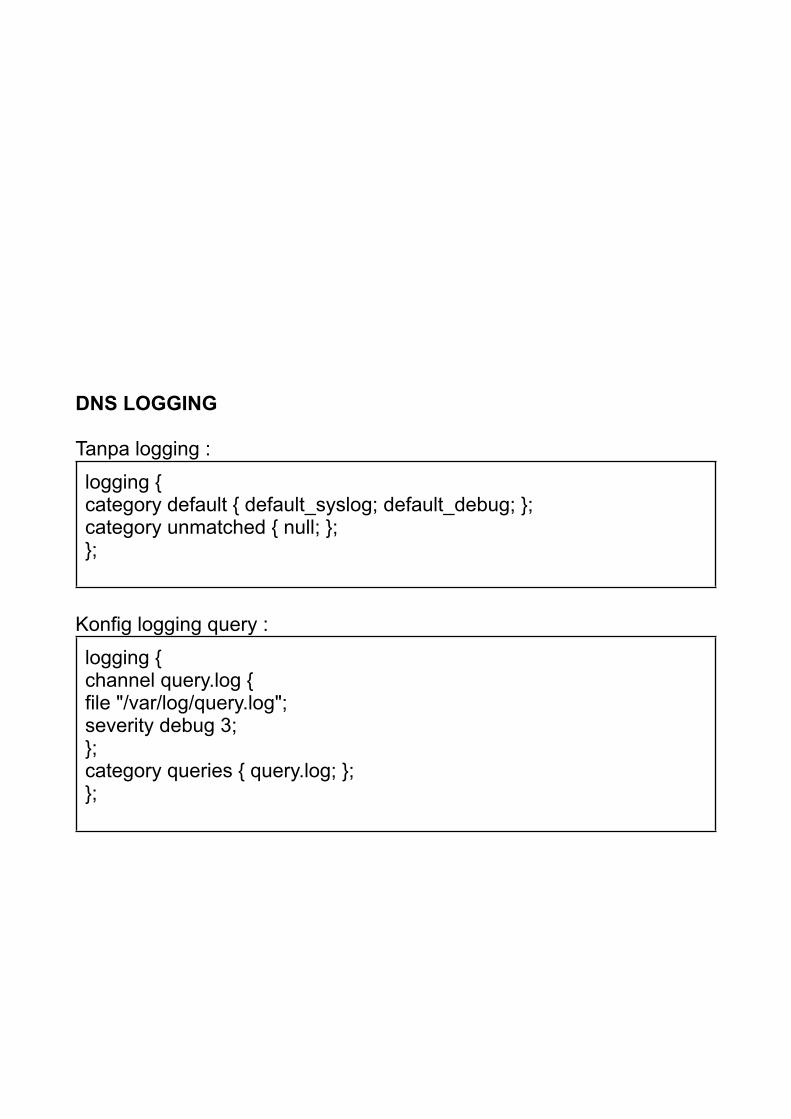
DNS LOGGING
Tanpa logging :
logging {category default { default_syslog; default_debug; };category unmatched { null; };};
Konfig logging query :
logging {channel query.log {file "/var/log/query.log";severity debug 3;};category queries { query.log; };};
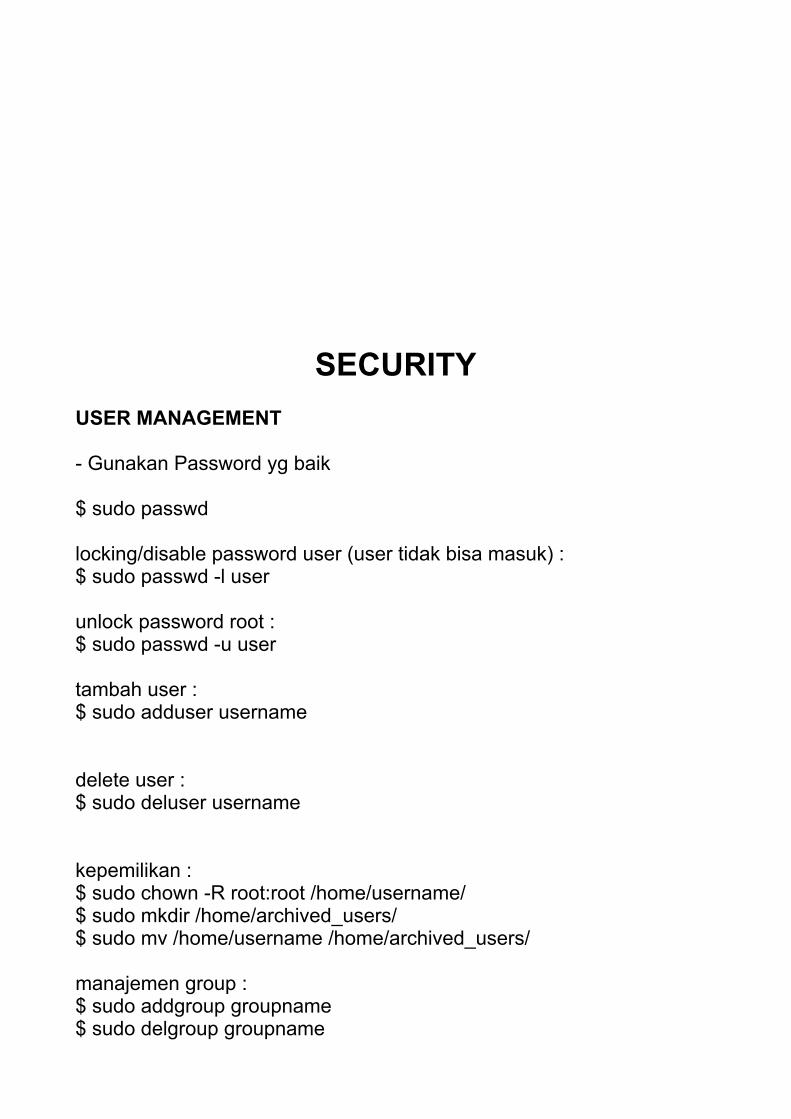
SECURITYUSER MANAGEMENT
- Gunakan Password yg baik
$ sudo passwd
locking/disable password user (user tidak bisa masuk) :$ sudo passwd -l user
unlock password root :$ sudo passwd -u user
tambah user :$ sudo adduser username
delete user :$ sudo deluser username
kepemilikan :$ sudo chown -R root:root /home/username/$ sudo mkdir /home/archived_users/$ sudo mv /home/username /home/archived_users/
manajemen group :$ sudo addgroup groupname$ sudo delgroup groupname
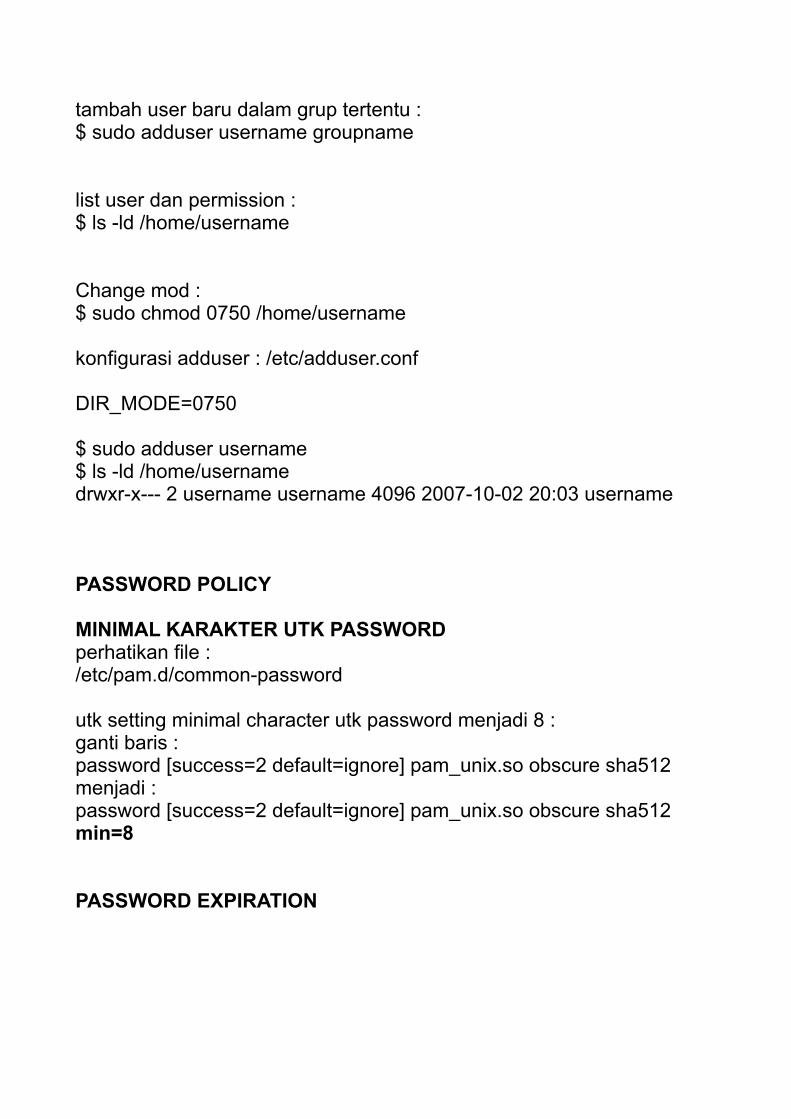
tambah user baru dalam grup tertentu :$ sudo adduser username groupname
list user dan permission :$ ls -ld /home/username
Change mod :$ sudo chmod 0750 /home/username
konfigurasi adduser : /etc/adduser.conf
DIR_MODE=0750
$ sudo adduser username$ ls -ld /home/usernamedrwxr-x--- 2 username username 4096 2007-10-02 20:03 username
PASSWORD POLICY
MINIMAL KARAKTER UTK PASSWORDperhatikan file :/etc/pam.d/common-password
utk setting minimal character utk password menjadi 8 :ganti baris :password [success=2 default=ignore] pam_unix.so obscure sha512menjadi :password [success=2 default=ignore] pam_unix.so obscure sha512 min=8
PASSWORD EXPIRATION
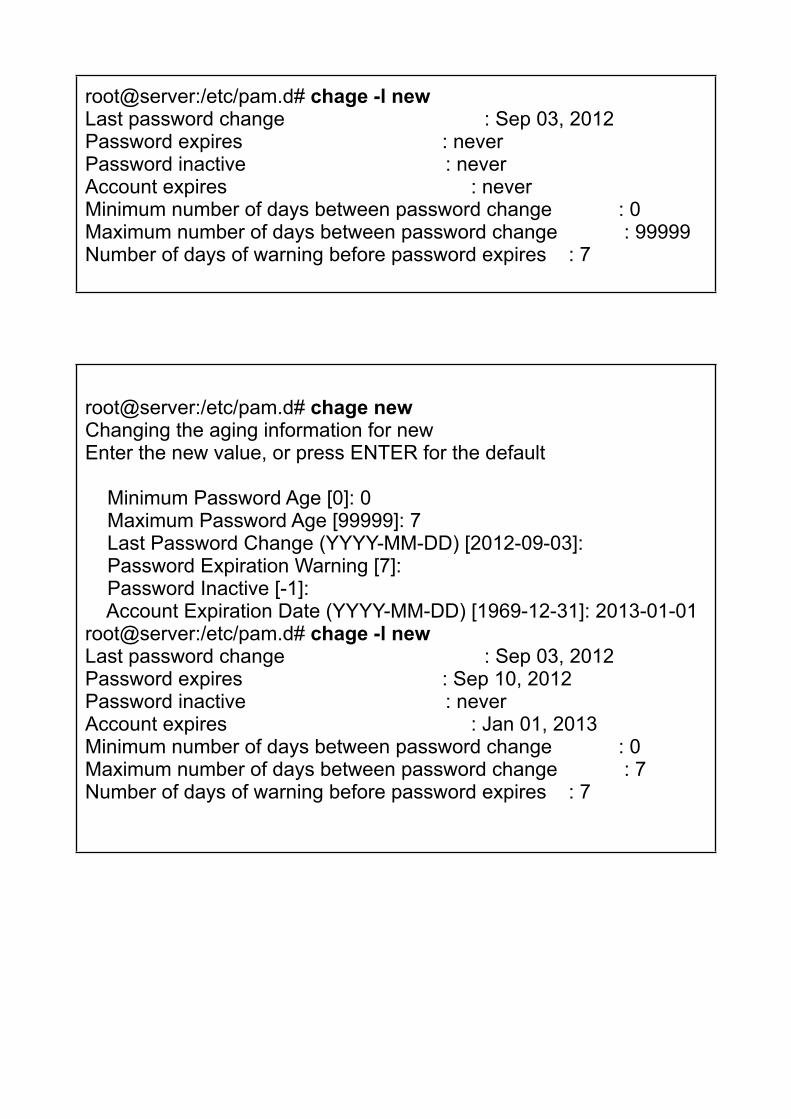
root@server:/etc/pam.d# chage -l newLast password change : Sep 03, 2012Password expires : neverPassword inactive : neverAccount expires : neverMinimum number of days between password change : 0Maximum number of days between password change : 99999Number of days of warning before password expires : 7
root@server:/etc/pam.d# chage newChanging the aging information for newEnter the new value, or press ENTER for the default
Minimum Password Age [0]: 0 Maximum Password Age [99999]: 7 Last Password Change (YYYY-MM-DD) [2012-09-03]: Password Expiration Warning [7]: Password Inactive [-1]: Account Expiration Date (YYYY-MM-DD) [1969-12-31]: 2013-01-01root@server:/etc/pam.d# chage -l newLast password change : Sep 03, 2012Password expires : Sep 10, 2012Password inactive : neverAccount expires : Jan 01, 2013Minimum number of days between password change : 0Maximum number of days between password change : 7Number of days of warning before password expires : 7
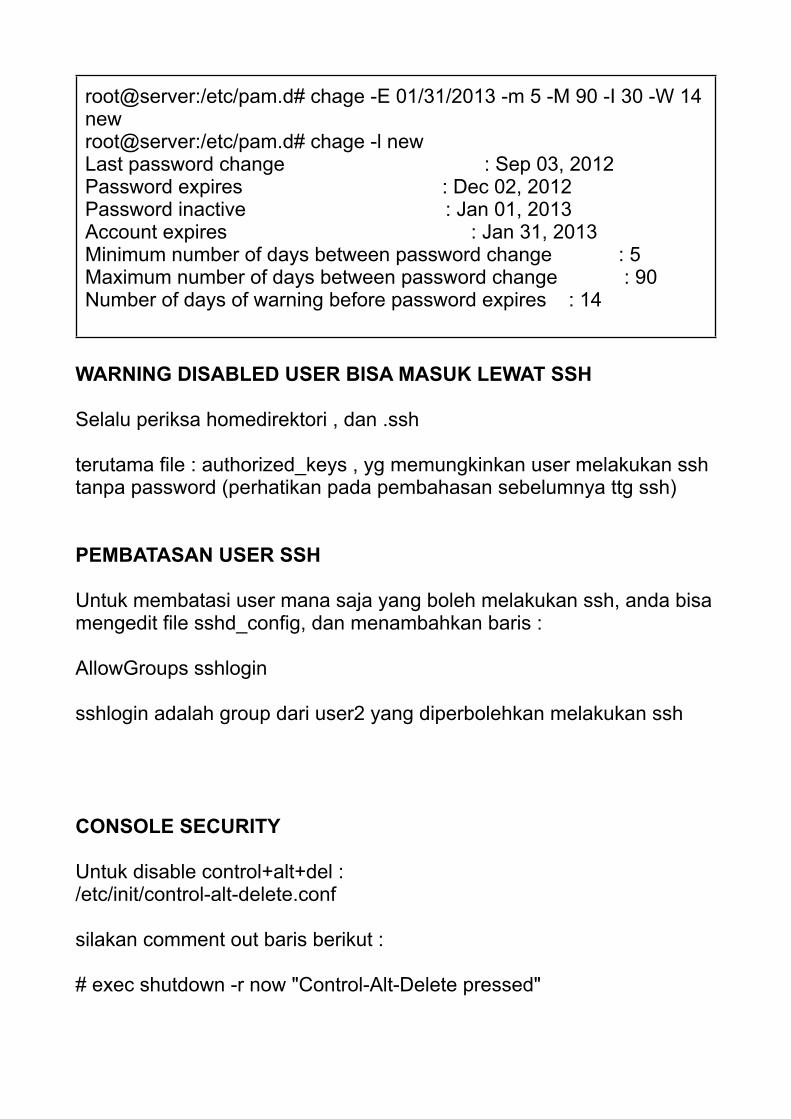
root@server:/etc/pam.d# chage -E 01/31/2013 -m 5 -M 90 -I 30 -W 14 newroot@server:/etc/pam.d# chage -l newLast password change : Sep 03, 2012Password expires : Dec 02, 2012Password inactive : Jan 01, 2013Account expires : Jan 31, 2013Minimum number of days between password change : 5Maximum number of days between password change : 90Number of days of warning before password expires : 14
WARNING DISABLED USER BISA MASUK LEWAT SSH
Selalu periksa homedirektori , dan .ssh
terutama file : authorized_keys , yg memungkinkan user melakukan ssh tanpa password (perhatikan pada pembahasan sebelumnya ttg ssh)
PEMBATASAN USER SSH
Untuk membatasi user mana saja yang boleh melakukan ssh, anda bisa mengedit file sshd_config, dan menambahkan baris :
AllowGroups sshlogin
sshlogin adalah group dari user2 yang diperbolehkan melakukan ssh
CONSOLE SECURITY
Untuk disable control+alt+del :/etc/init/control-alt-delete.conf
silakan comment out baris berikut :
# exec shutdown -r now "Control-Alt-Delete pressed"
FIREWALL
UFW ( Uncomplicated Firewall )adalah tools mudah untuk menangani firewall sederhana, secara default ubuntu server sudah menyertakan.
perhatikan command2 berikut :
# ufw enable
# ufw allow 22# ufw insert 1 allow 80# ufw deny 22# ufw delete deny 22# ufw allow proto tcp from 192.168.0.2 to any port 22# ufw disable# ufw status# ufw status verbose# ufw status numbered
ufw application integrationFile konfigurasi terletak di /etc/ufw/applications.d/
contoh konfigurasi :
/etc/ufw/applications.d//etc/ufw/applications.d
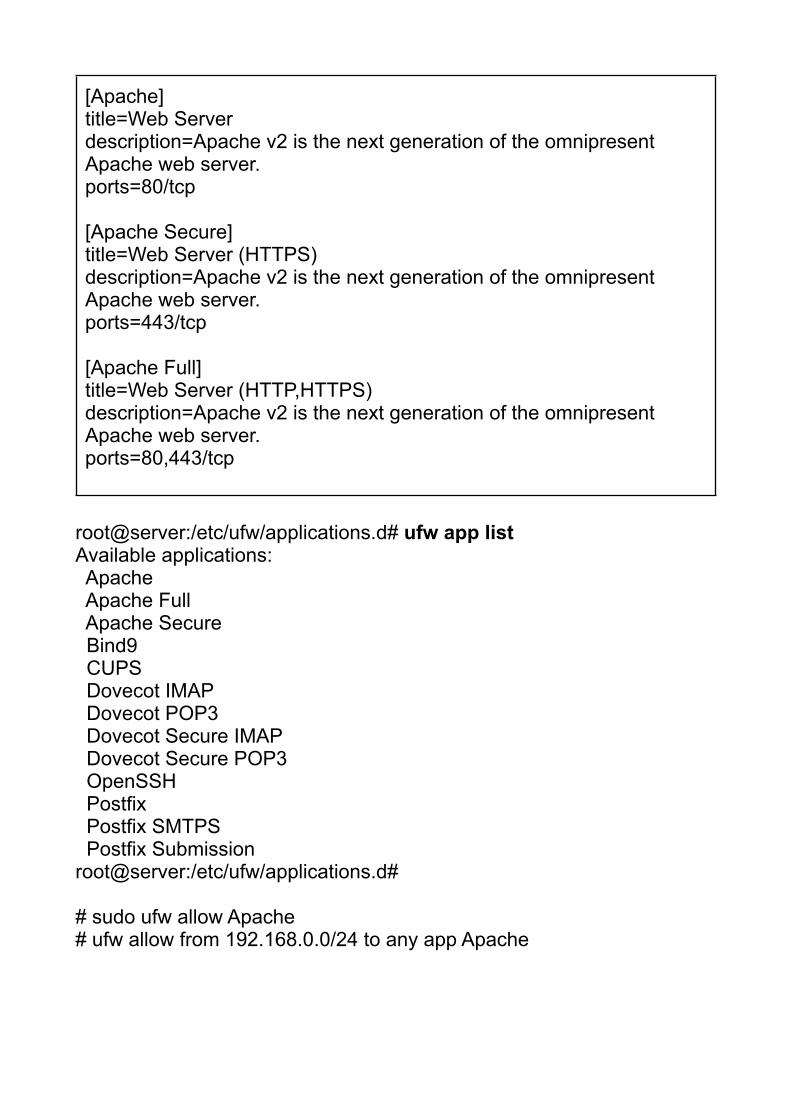
[Apache]title=Web Serverdescription=Apache v2 is the next generation of the omnipresent Apache web server.ports=80/tcp
[Apache Secure]title=Web Server (HTTPS)description=Apache v2 is the next generation of the omnipresent Apache web server.ports=443/tcp
[Apache Full]title=Web Server (HTTP,HTTPS)description=Apache v2 is the next generation of the omnipresent Apache web server.ports=80,443/tcp
root@server:/etc/ufw/applications.d# ufw app listAvailable applications: Apache Apache Full Apache Secure Bind9 CUPS Dovecot IMAP Dovecot POP3 Dovecot Secure IMAP Dovecot Secure POP3 OpenSSH Postfix Postfix SMTPS Postfix Submissionroot@server:/etc/ufw/applications.d#
# sudo ufw allow Apache# ufw allow from 192.168.0.0/24 to any app Apache
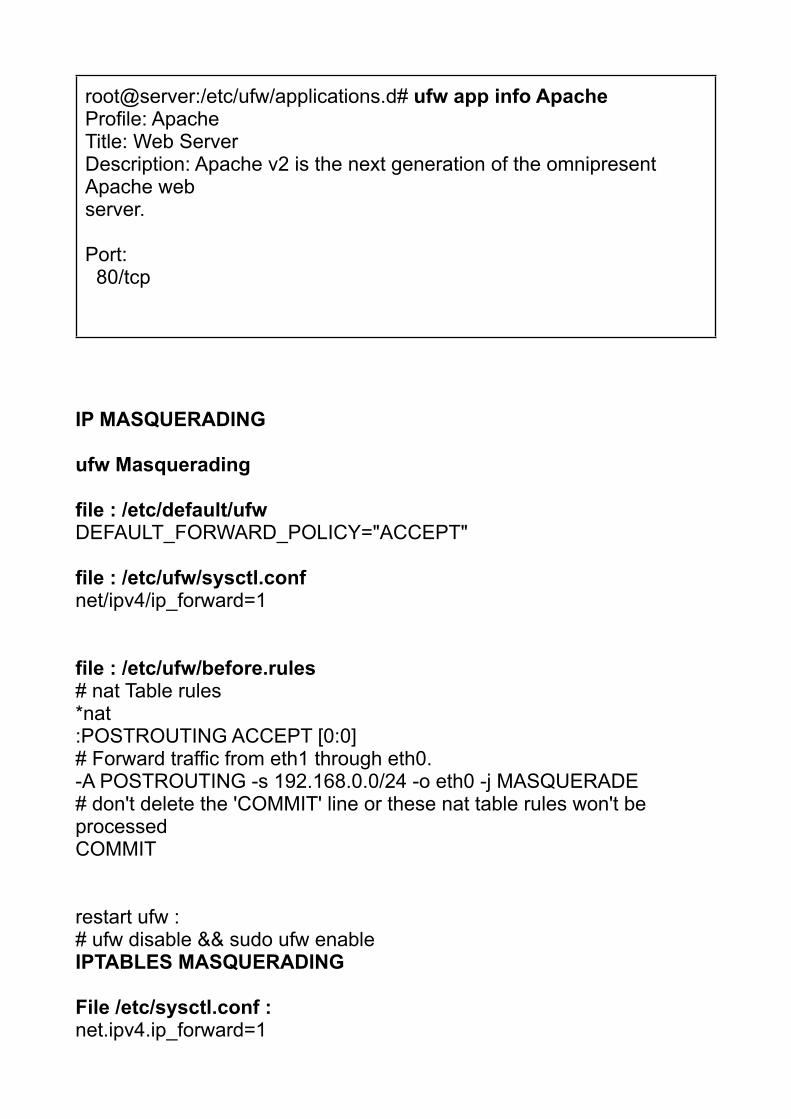
root@server:/etc/ufw/applications.d# ufw app info ApacheProfile: ApacheTitle: Web ServerDescription: Apache v2 is the next generation of the omnipresent Apache webserver.
Port: 80/tcp
IP MASQUERADING
ufw Masquerading
file : /etc/default/ufwDEFAULT_FORWARD_POLICY="ACCEPT"
file : /etc/ufw/sysctl.confnet/ipv4/ip_forward=1
file : /etc/ufw/before.rules# nat Table rules*nat:POSTROUTING ACCEPT [0:0]# Forward traffic from eth1 through eth0.-A POSTROUTING -s 192.168.0.0/24 -o eth0 -j MASQUERADE# don't delete the 'COMMIT' line or these nat table rules won't be processedCOMMIT
restart ufw :# ufw disable && sudo ufw enableIPTABLES MASQUERADING
File /etc/sysctl.conf :net.ipv4.ip_forward=1
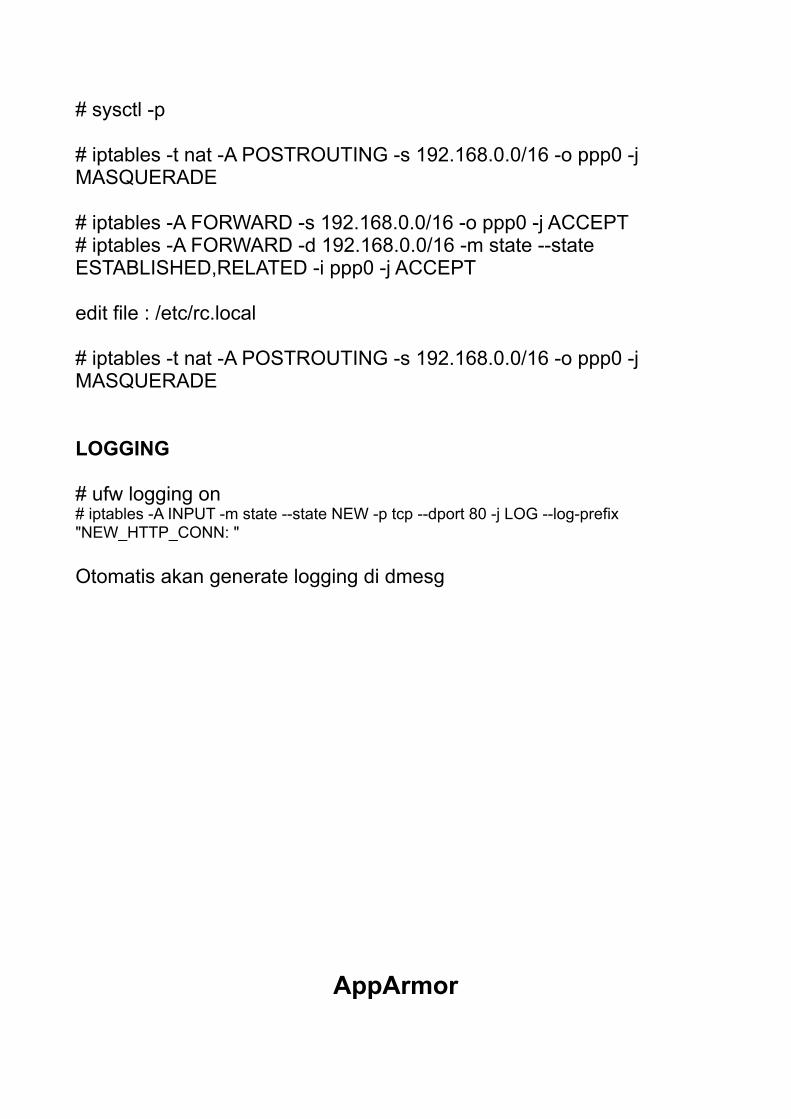
# sysctl -p
# iptables -t nat -A POSTROUTING -s 192.168.0.0/16 -o ppp0 -j MASQUERADE
# iptables -A FORWARD -s 192.168.0.0/16 -o ppp0 -j ACCEPT# iptables -A FORWARD -d 192.168.0.0/16 -m state --state ESTABLISHED,RELATED -i ppp0 -j ACCEPT
edit file : /etc/rc.local
# iptables -t nat -A POSTROUTING -s 192.168.0.0/16 -o ppp0 -j MASQUERADE
LOGGING
# ufw logging on# iptables -A INPUT -m state --state NEW -p tcp --dport 80 -j LOG --log-prefix "NEW_HTTP_CONN: "
Otomatis akan generate logging di dmesg
AppArmor
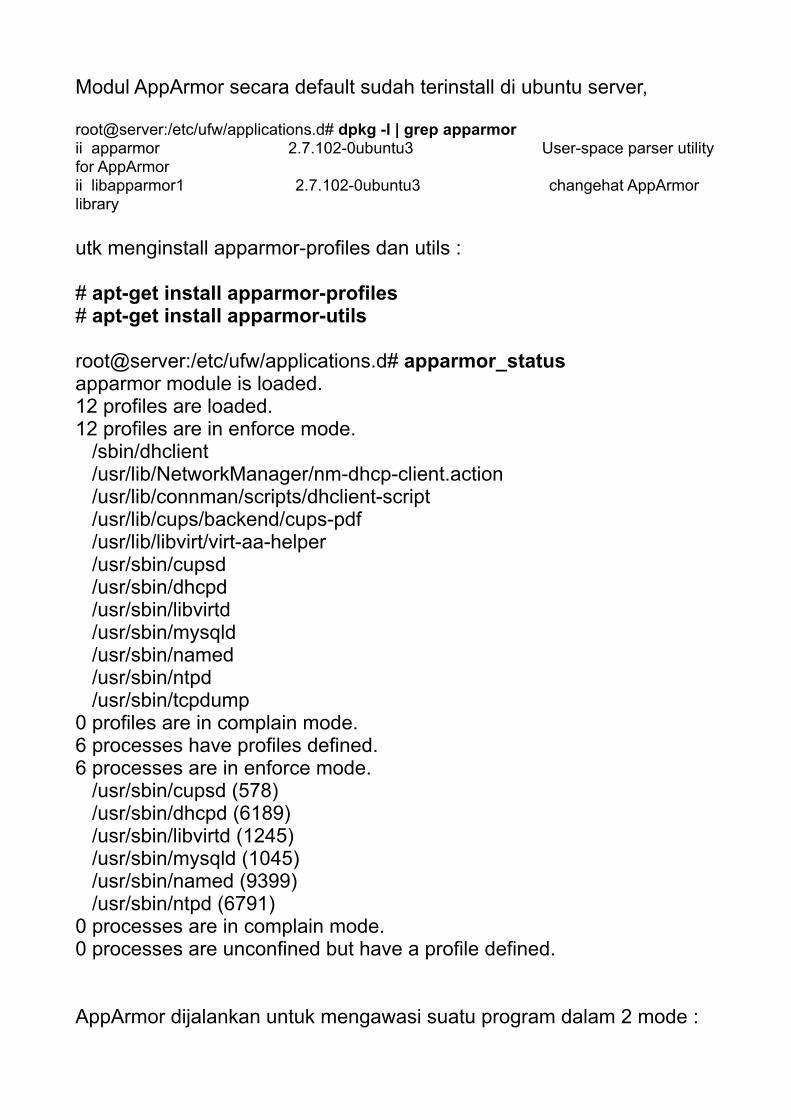
Modul AppArmor secara default sudah terinstall di ubuntu server,
root@server:/etc/ufw/applications.d# dpkg -l | grep apparmorii apparmor 2.7.102-0ubuntu3 User-space parser utility for AppArmorii libapparmor1 2.7.102-0ubuntu3 changehat AppArmor library
utk menginstall apparmor-profiles dan utils :
# apt-get install apparmor-profiles# apt-get install apparmor-utils
root@server:/etc/ufw/applications.d# apparmor_statusapparmor module is loaded.12 profiles are loaded.12 profiles are in enforce mode. /sbin/dhclient /usr/lib/NetworkManager/nm-dhcp-client.action /usr/lib/connman/scripts/dhclient-script /usr/lib/cups/backend/cups-pdf /usr/lib/libvirt/virt-aa-helper /usr/sbin/cupsd /usr/sbin/dhcpd /usr/sbin/libvirtd /usr/sbin/mysqld /usr/sbin/named /usr/sbin/ntpd /usr/sbin/tcpdump0 profiles are in complain mode.6 processes have profiles defined.6 processes are in enforce mode. /usr/sbin/cupsd (578) /usr/sbin/dhcpd (6189) /usr/sbin/libvirtd (1245) /usr/sbin/mysqld (1045) /usr/sbin/named (9399) /usr/sbin/ntpd (6791)0 processes are in complain mode.0 processes are unconfined but have a profile defined.
AppArmor dijalankan untuk mengawasi suatu program dalam 2 mode :
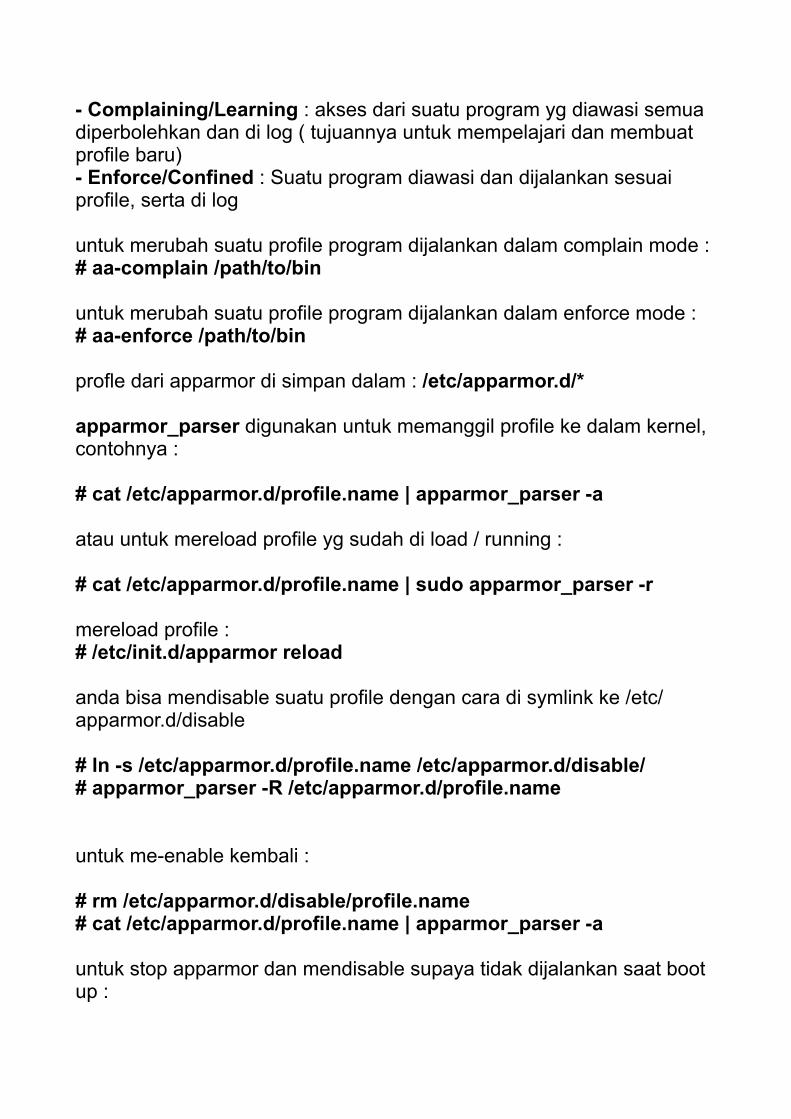
- Complaining/Learning : akses dari suatu program yg diawasi semua diperbolehkan dan di log ( tujuannya untuk mempelajari dan membuat profile baru)- Enforce/Confined : Suatu program diawasi dan dijalankan sesuai profile, serta di log
untuk merubah suatu profile program dijalankan dalam complain mode :# aa-complain /path/to/bin
untuk merubah suatu profile program dijalankan dalam enforce mode :# aa-enforce /path/to/bin
profle dari apparmor di simpan dalam : /etc/apparmor.d/*
apparmor_parser digunakan untuk memanggil profile ke dalam kernel, contohnya :
# cat /etc/apparmor.d/profile.name | apparmor_parser -a
atau untuk mereload profile yg sudah di load / running :
# cat /etc/apparmor.d/profile.name | sudo apparmor_parser -r
mereload profile :# /etc/init.d/apparmor reload
anda bisa mendisable suatu profile dengan cara di symlink ke /etc/apparmor.d/disable
# ln -s /etc/apparmor.d/profile.name /etc/apparmor.d/disable/# apparmor_parser -R /etc/apparmor.d/profile.name
untuk me-enable kembali :
# rm /etc/apparmor.d/disable/profile.name# cat /etc/apparmor.d/profile.name | apparmor_parser -a
untuk stop apparmor dan mendisable supaya tidak dijalankan saat boot up :
# /etc/init.d/apparmor stop# update-rc.d -f apparmor remove
PROFILE APPARMOR
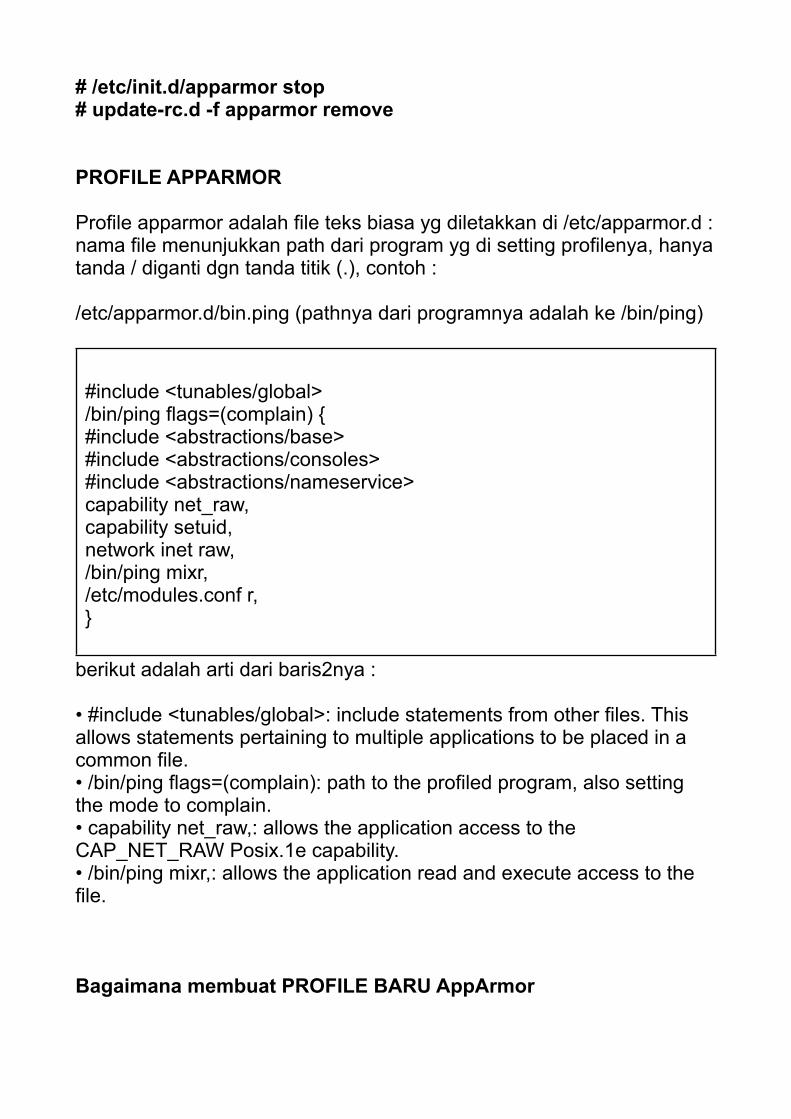
Profile apparmor adalah file teks biasa yg diletakkan di /etc/apparmor.d :nama file menunjukkan path dari program yg di setting profilenya, hanya tanda / diganti dgn tanda titik (.), contoh :
/etc/apparmor.d/bin.ping (pathnya dari programnya adalah ke /bin/ping)
#include <tunables/global>/bin/ping flags=(complain) {#include <abstractions/base>#include <abstractions/consoles>#include <abstractions/nameservice>capability net_raw,capability setuid,network inet raw,/bin/ping mixr,/etc/modules.conf r,}
berikut adalah arti dari baris2nya :
• #include <tunables/global>: include statements from other files. This allows statements pertaining to multiple applications to be placed in a common file.• /bin/ping flags=(complain): path to the profiled program, also setting the mode to complain.• capability net_raw,: allows the application access to the CAP_NET_RAW Posix.1e capability.• /bin/ping mixr,: allows the application read and execute access to the file.
Bagaimana membuat PROFILE BARU AppArmor

untuk membuat profile baru langkah2nya adalah :
- jalan kan program, hentikan, dan perhatikan prilaku dari program tersebut- generate profile baru dgn perintah :
# aa-genprof <nama program>- kemudian buka konfigurasi profilenya di /etc/apparmor/nama_file_profiletentukan akses program nya dalam file tsb, contoh :
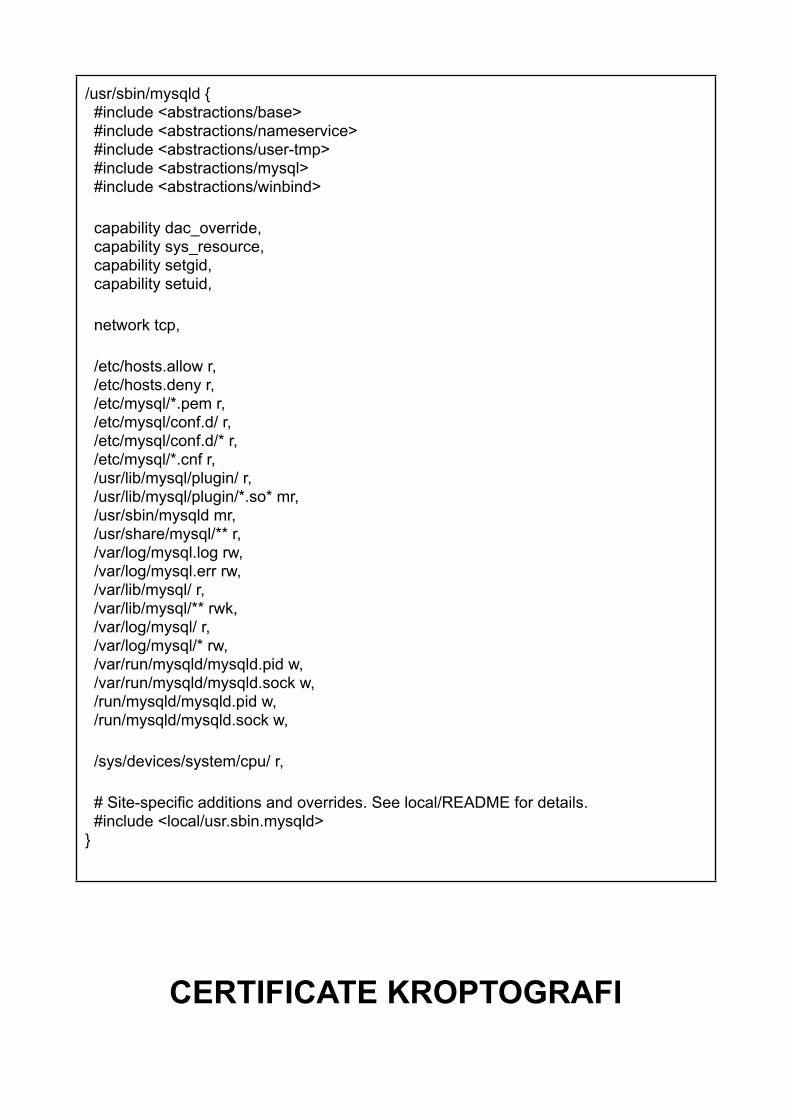
/usr/sbin/mysqld { #include <abstractions/base> #include <abstractions/nameservice> #include <abstractions/user-tmp> #include <abstractions/mysql> #include <abstractions/winbind>
capability dac_override, capability sys_resource, capability setgid, capability setuid,
network tcp,
/etc/hosts.allow r, /etc/hosts.deny r, /etc/mysql/*.pem r, /etc/mysql/conf.d/ r, /etc/mysql/conf.d/* r, /etc/mysql/*.cnf r, /usr/lib/mysql/plugin/ r, /usr/lib/mysql/plugin/*.so* mr, /usr/sbin/mysqld mr, /usr/share/mysql/** r, /var/log/mysql.log rw, /var/log/mysql.err rw, /var/lib/mysql/ r, /var/lib/mysql/** rwk, /var/log/mysql/ r, /var/log/mysql/* rw, /var/run/mysqld/mysqld.pid w, /var/run/mysqld/mysqld.sock w, /run/mysqld/mysqld.pid w, /run/mysqld/mysqld.sock w,
/sys/devices/system/cpu/ r,
# Site-specific additions and overrides. See local/README for details. #include <local/usr.sbin.mysqld>}
CERTIFICATE KROPTOGRAFI
Salahsatu teknik enkripsi populer saat ini adalah menggunakan system public-key dan private-key, untuk melakukan enkripsi menggunakan public-key, dan hasil enkripsi tersebut hanya dapat di de-crypt oleh private-key.
CertificateUntuk mensetup secure server dengan menggunakan public key cryptography, biasanya anda harus mengirimkan permintaan sertifikat ke CA (Certification Athority). yaitu perusahaan/badan pihak ketiga yang bertanggung jawab utk mengeluarkan sertifikat public key (mis. Verisign dll)
Certificate yang di keluarkan oleh CA mempunyai karakteristik kelebihan bila dibanding dgn certificate yg di generate sendiri, diantaranya adalah :
- Browser mengenali secara otomatis, dan langsung membentuk secure connection tanpa konfirmasi apa2.- CA menjamin identitas organisasi/badan dari webserver.
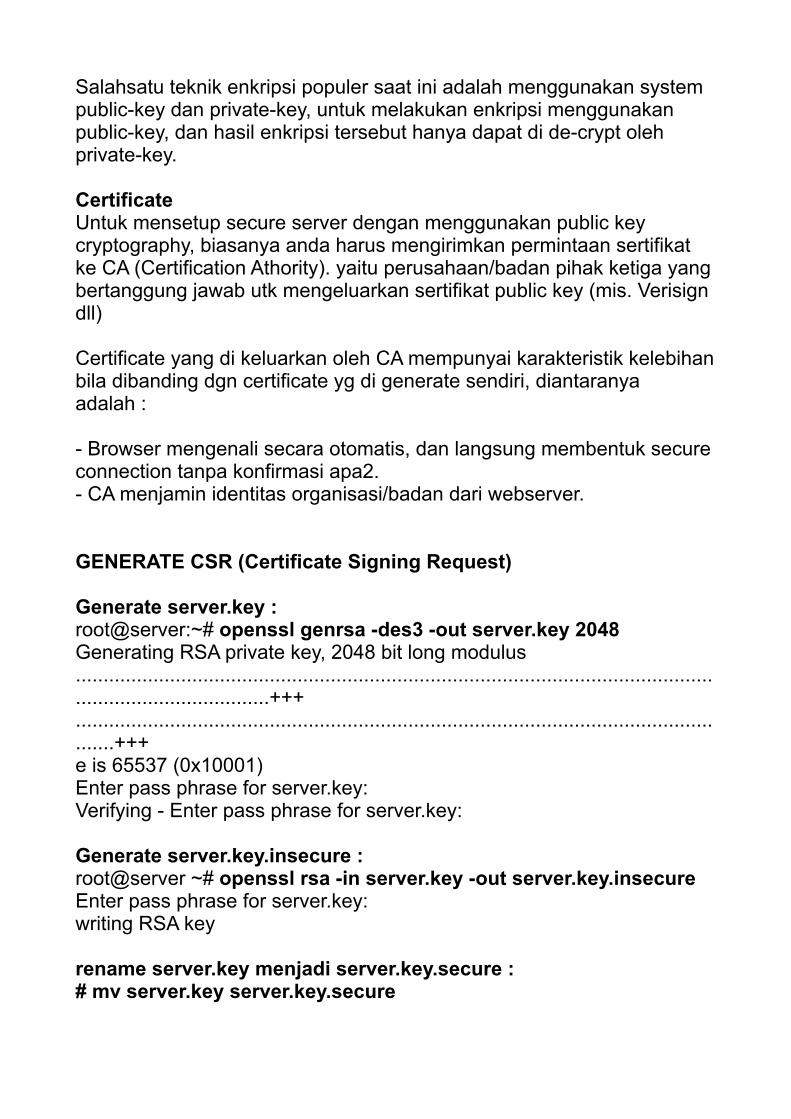
GENERATE CSR (Certificate Signing Request)
Generate server.key :root@server:~# openssl genrsa -des3 -out server.key 2048Generating RSA private key, 2048 bit long modulus......................................................................................................................................................+++..........................................................................................................................+++e is 65537 (0x10001)Enter pass phrase for server.key:Verifying - Enter pass phrase for server.key:
Generate server.key.insecure :root@server ~# openssl rsa -in server.key -out server.key.insecureEnter pass phrase for server.key:writing RSA key
rename server.key menjadi server.key.secure :# mv server.key server.key.secure
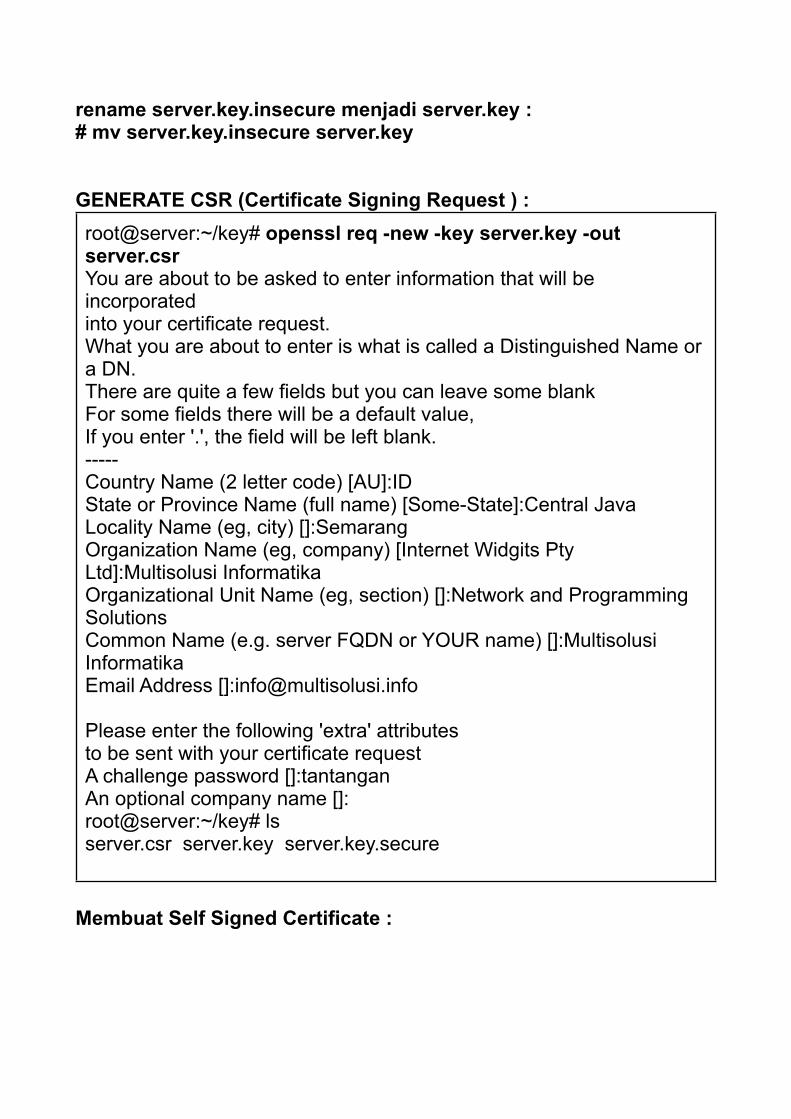
rename server.key.insecure menjadi server.key :# mv server.key.insecure server.key
GENERATE CSR (Certificate Signing Request ) :root@server:~/key# openssl req -new -key server.key -out server.csrYou are about to be asked to enter information that will be incorporatedinto your certificate request.What you are about to enter is what is called a Distinguished Name or a DN.There are quite a few fields but you can leave some blankFor some fields there will be a default value,If you enter '.', the field will be left blank.-----Country Name (2 letter code) [AU]:ID State or Province Name (full name) [Some-State]:Central JavaLocality Name (eg, city) []:SemarangOrganization Name (eg, company) [Internet Widgits Pty Ltd]:Multisolusi InformatikaOrganizational Unit Name (eg, section) []:Network and Programming SolutionsCommon Name (e.g. server FQDN or YOUR name) []:Multisolusi InformatikaEmail Address []:[email protected]
Please enter the following 'extra' attributesto be sent with your certificate requestA challenge password []:tantanganAn optional company name []:root@server:~/key# lsserver.csr server.key server.key.secure
Membuat Self Signed Certificate :
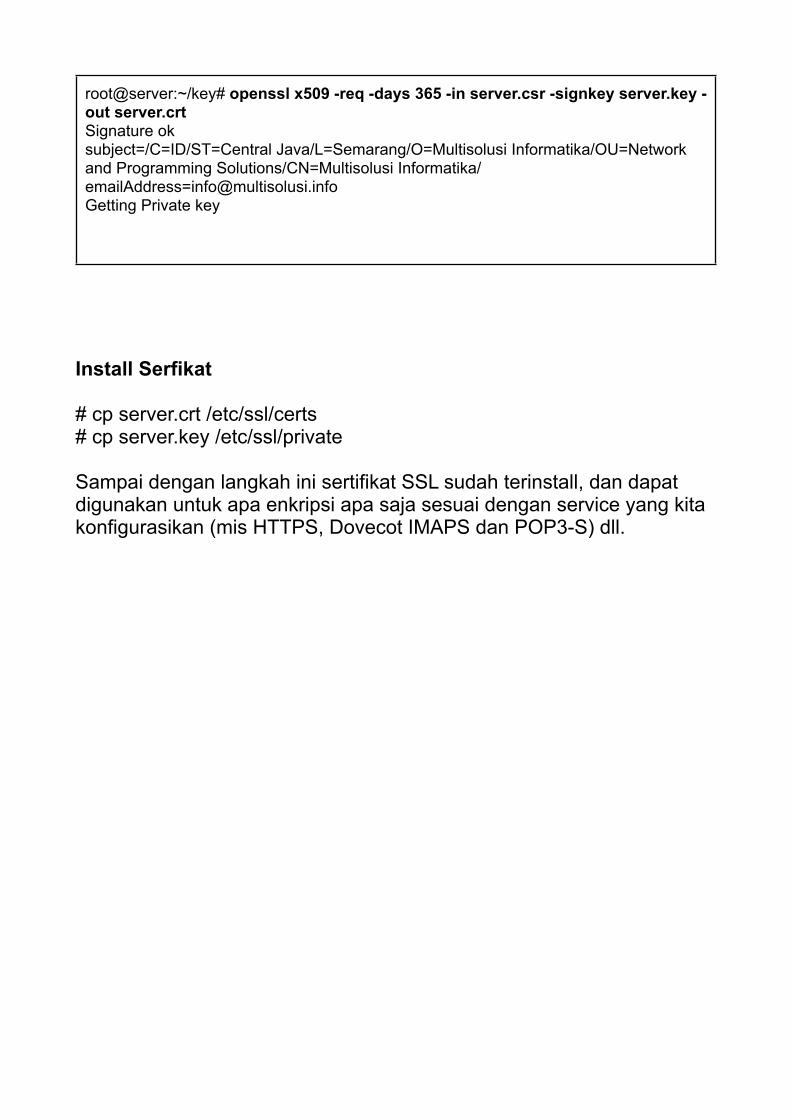
root@server:~/key# openssl x509 -req -days 365 -in server.csr -signkey server.key -out server.crtSignature oksubject=/C=ID/ST=Central Java/L=Semarang/O=Multisolusi Informatika/OU=Network and Programming Solutions/CN=Multisolusi Informatika/[email protected] Private key
Install Serfikat
# cp server.crt /etc/ssl/certs# cp server.key /etc/ssl/private
Sampai dengan langkah ini sertifikat SSL sudah terinstall, dan dapat digunakan untuk apa enkripsi apa saja sesuai dengan service yang kita konfigurasikan (mis HTTPS, Dovecot IMAPS dan POP3-S) dll.
WEBSERVER
Apache2Apabila apache2 di ubuntu server anda belum terinstall, silakan ketikkan perintah :
# apt-get install apache2
Konfigurasi Esensi Dasar Apache
/etc/apache2/apache2.conf -> berisi konfigurasi dasar apache./etc/apache2/conf.d -> berisi file2 konfigurasi2 tambahan dengan tema tertentu/etc/apache2/envvars -> Setting environtment variabel/etc/apache2/httpd.conf -> di Apache2 file ini biasanya kosong, dan hanya berisi konfig2 yang sifatnya spesifik/etc/apach2/mods-available: berisi file2 konfigurasi untuk memanggil modul2 dan mengkonfigurasi modul2 tsb.mods-enabled: berisi modul2 yg di enable, isinya symlink dari file2 yg terdapat di /etc/apache2/mods-available/etc/apache2/ports.conf: berisi port2 yg listen/etc/apache2/sites-enabled: berisi symlink dari direktori /etc/apache2/sites-available, isinya adalah daftar site yang enable dari apache tsb.
Apache2 memberikan kemudahan kita dalam mengkonfigurasi virtual Host.Default Virtual Host dikonfigurasikan di : /etc/apache2/sites-available/default
jika anda ingin membuat VirtualHost baru, langkah2nya adalah copy kan file tersebut (/etc/apache2/sites-available/default), menjadi nama baru, kemudian konfigurasikan sesuai dengan keinginan kita.
# cp /etc/apache2/sites-available/default /etc/apache2/sites-available/mynewsite
beberapa directive yang penting untuk di perhatikan adalah :ServerAdmin -> untuk mengkonfigurasikan email dari webmasterListen -> menentukan listen di port berapa (default 80)ServerName -> menentukan virtual domain tersebut bernama apa (mis. www.domainku.com )ServerAlias -> membuat nama alias dari ServerName, bisa menggunakan wildchar, contoh :ServerAlias *.serverku.comDocumentRoot -> menentukan direktori tempat root dokumen html yang akan di display.
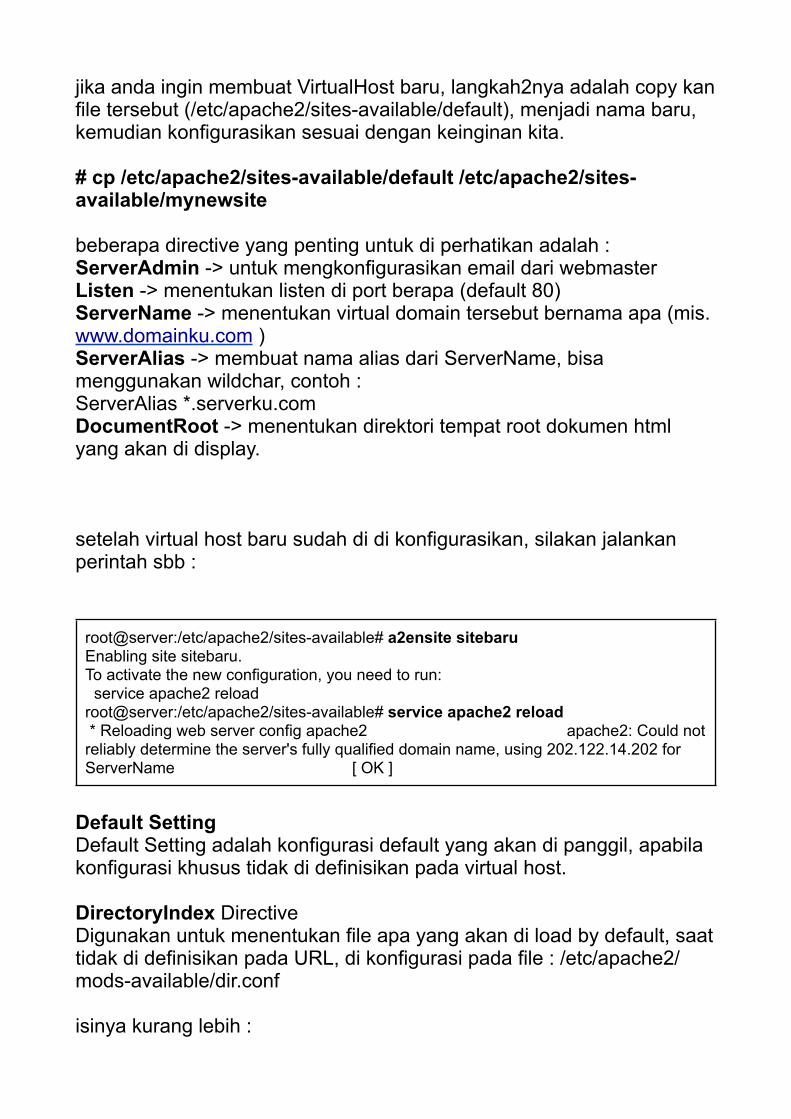
setelah virtual host baru sudah di di konfigurasikan, silakan jalankan perintah sbb :
root@server:/etc/apache2/sites-available# a2ensite sitebaruEnabling site sitebaru.To activate the new configuration, you need to run: service apache2 reloadroot@server:/etc/apache2/sites-available# service apache2 reload * Reloading web server config apache2 apache2: Could not reliably determine the server's fully qualified domain name, using 202.122.14.202 for ServerName [ OK ]
Default SettingDefault Setting adalah konfigurasi default yang akan di panggil, apabila konfigurasi khusus tidak di definisikan pada virtual host.
DirectoryIndex DirectiveDigunakan untuk menentukan file apa yang akan di load by default, saat tidak di definisikan pada URL, di konfigurasi pada file : /etc/apache2/mods-available/dir.conf
isinya kurang lebih :
DirectoryIndex index.html index.cgi index.pl index.php index.xhtml index.htm
ErrorDocument DirectiveDigunakan untuk mengatur tampilan/pesan saat suatu error tertentu terjadi.silakan buka file :
/etc/apache2/conf.d/localized-error-pages
Log FileBy default akses thd website dilogging pada file : /var/log/apache2/access.logtapi anda bisa merubah logging akses untuk masing2 virtual host dengan cara menggunakan Directive : CustomLog di masing2 virtual host
perhatikan file : /etc/apache2/conf.d/other-vhosts-access-log
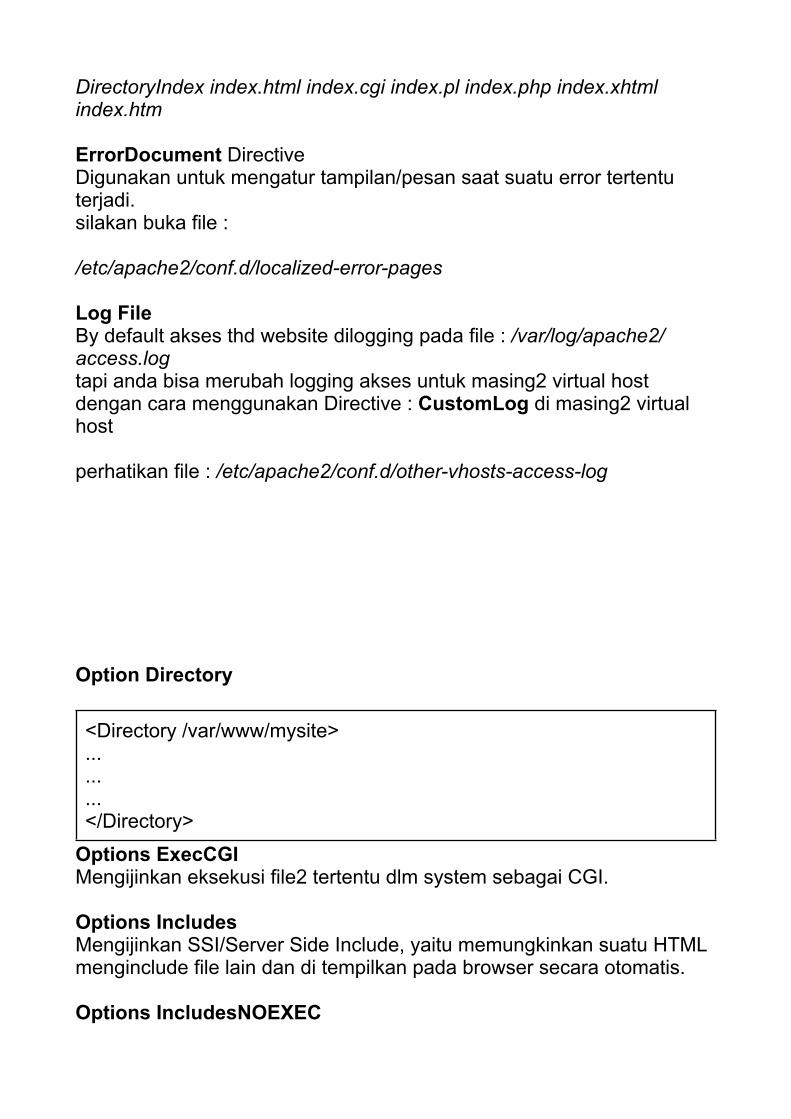
Option Directory
<Directory /var/www/mysite>.........</Directory>
Options ExecCGIMengijinkan eksekusi file2 tertentu dlm system sebagai CGI.
Options IncludesMengijinkan SSI/Server Side Include, yaitu memungkinkan suatu HTML menginclude file lain dan di tempilkan pada browser secara otomatis.
Options IncludesNOEXEC
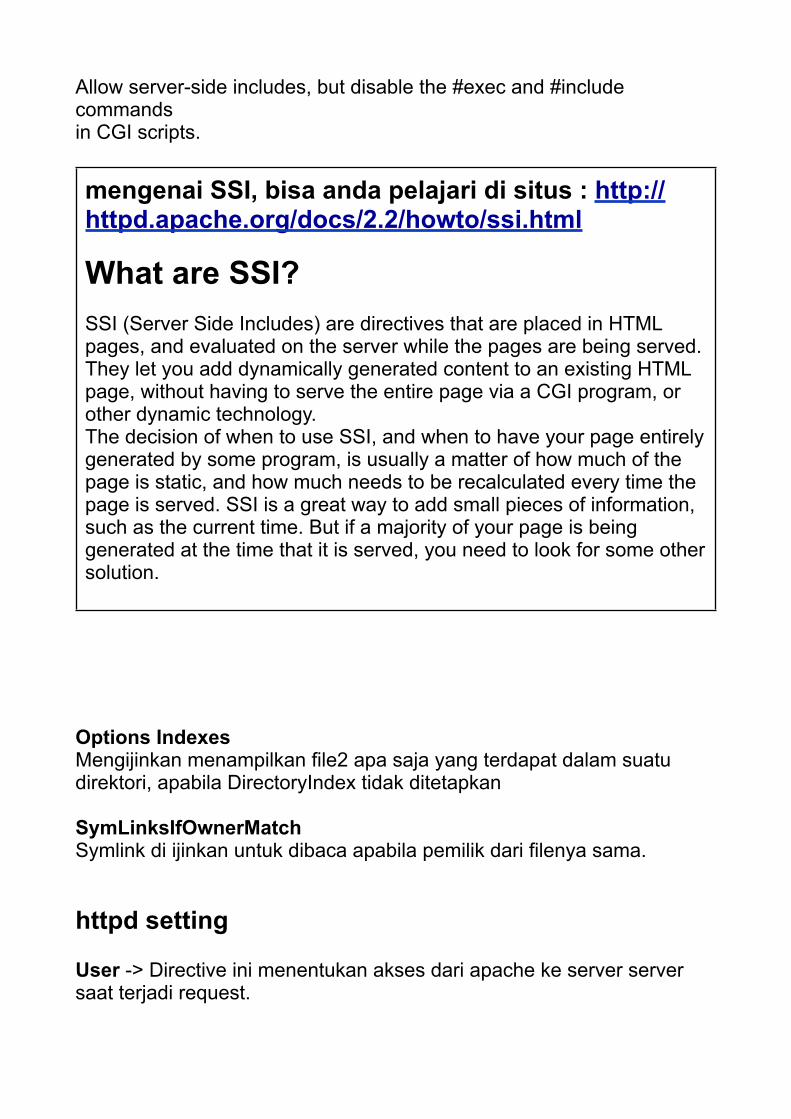
Allow server-side includes, but disable the #exec and #include commandsin CGI scripts.
mengenai SSI, bisa anda pelajari di situs : http://httpd.apache.org/docs/2.2/howto/ssi.html
What are SSI?SSI (Server Side Includes) are directives that are placed in HTML pages, and evaluated on the server while the pages are being served. They let you add dynamically generated content to an existing HTML page, without having to serve the entire page via a CGI program, or other dynamic technology.The decision of when to use SSI, and when to have your page entirely generated by some program, is usually a matter of how much of the page is static, and how much needs to be recalculated every time the page is served. SSI is a great way to add small pieces of information, such as the current time. But if a majority of your page is being generated at the time that it is served, you need to look for some other solution.
Options IndexesMengijinkan menampilkan file2 apa saja yang terdapat dalam suatu direktori, apabila DirectoryIndex tidak ditetapkan
SymLinksIfOwnerMatchSymlink di ijinkan untuk dibaca apabila pemilik dari filenya sama.
httpd setting
User -> Directive ini menentukan akses dari apache ke server server saat terjadi request.

Group -> Directive ini mirip dengan User, tapi menentukan Group aksesnya terhadap server.
Apache2 ModulesApache di design sangat modular, sehingga kita bisa memanggil suatu modul tertentu untuk dijalankan bersama dengan apache.Untuk meload modul, kita menggunakan directive : LoadModule ,untuk konfigurasi modulenya di lakukan di dalam directive <IfModule> … </IfModule>
Contoh installasi Module di Ubuntu :root@server:/etc/apache2/mods-enabled# apt-get install libapache2-mod-auth-mysqlReading package lists... DoneBuilding dependency tree Reading state information... DoneThe following NEW packages will be installed: libapache2-mod-auth-mysql0 upgraded, 1 newly installed, 0 to remove and 161 not upgraded.Need to get 22.1 kB of archives.After this operation, 94.2 kB of additional disk space will be used.Get:1 http://id.archive.ubuntu.com/ubuntu/ precise/main libapache2-mod-auth-mysql i386 4.3.9-13ubuntu3 [22.1 kB]Fetched 22.1 kB in 6s (3,273 B/s) Selecting previously unselected package libapache2-mod-auth-mysql.(Reading database ... 45844 files and directories currently installed.)Unpacking libapache2-mod-auth-mysql (from .../libapache2-mod-auth-mysql_4.3.9-13ubuntu3_i386.deb) ...Setting up libapache2-mod-auth-mysql (4.3.9-13ubuntu3) ...root@server:/etc/apache2/mods-enabled# a2enmod auth_mysqlEnabling module auth_mysql.To activate the new configuration, you need to run: service apache2 restartroot@server:/etc/apache2/mods-enabled# service apache2 restart
root@server:/etc/apache2/mods-enabled# a2dismod auth_mysqlModule auth_mysql disabled.To activate the new configuration, you need to run: service apache2 restartroot@server:/etc/apache2/mods-enabled# service apache2 restart * Restarting web server apache2 [ OK ] root@server:/etc/apache2/mods-enabled#
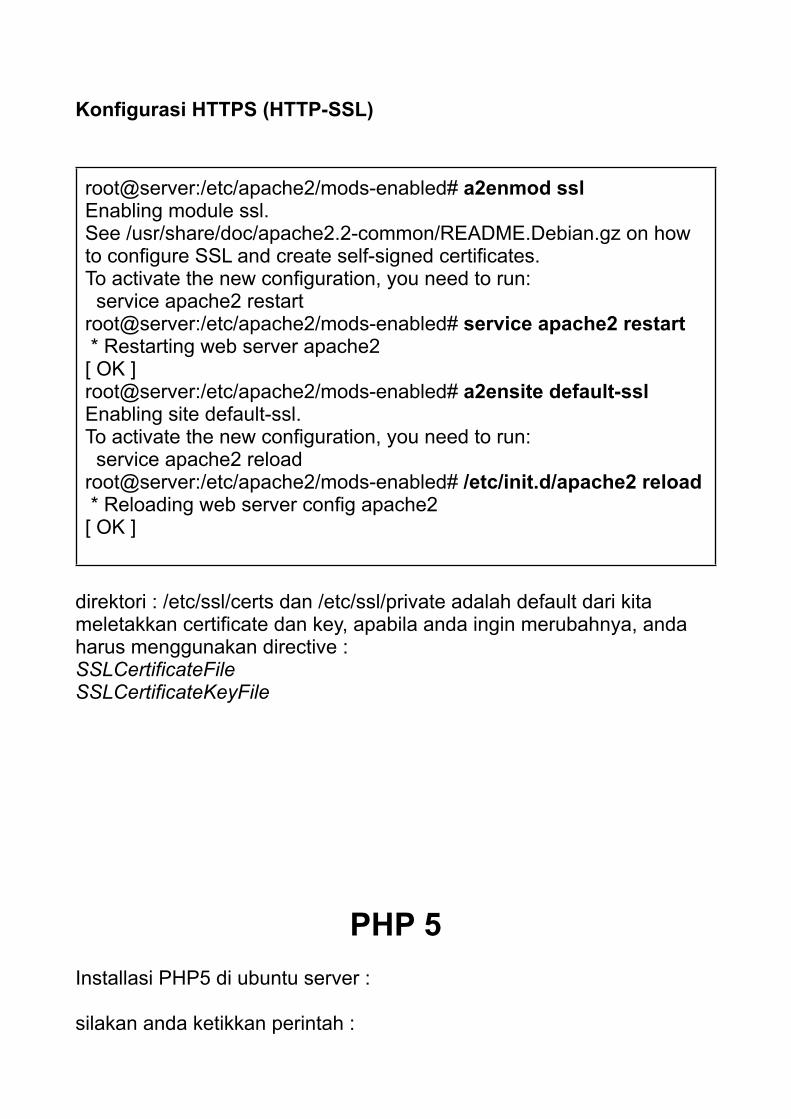
Konfigurasi HTTPS (HTTP-SSL)
root@server:/etc/apache2/mods-enabled# a2enmod sslEnabling module ssl.See /usr/share/doc/apache2.2-common/README.Debian.gz on how to configure SSL and create self-signed certificates.To activate the new configuration, you need to run: service apache2 restartroot@server:/etc/apache2/mods-enabled# service apache2 restart * Restarting web server apache2 [ OK ] root@server:/etc/apache2/mods-enabled# a2ensite default-sslEnabling site default-ssl.To activate the new configuration, you need to run: service apache2 reloadroot@server:/etc/apache2/mods-enabled# /etc/init.d/apache2 reload * Reloading web server config apache2 [ OK ]
direktori : /etc/ssl/certs dan /etc/ssl/private adalah default dari kita meletakkan certificate dan key, apabila anda ingin merubahnya, anda harus menggunakan directive :SSLCertificateFileSSLCertificateKeyFile
PHP 5Installasi PHP5 di ubuntu server :
silakan anda ketikkan perintah :

# apt-get install php5 libapache2-mod-php5
untuk menginstall, dan mengupdate apabila masih terdapat bug sbb :
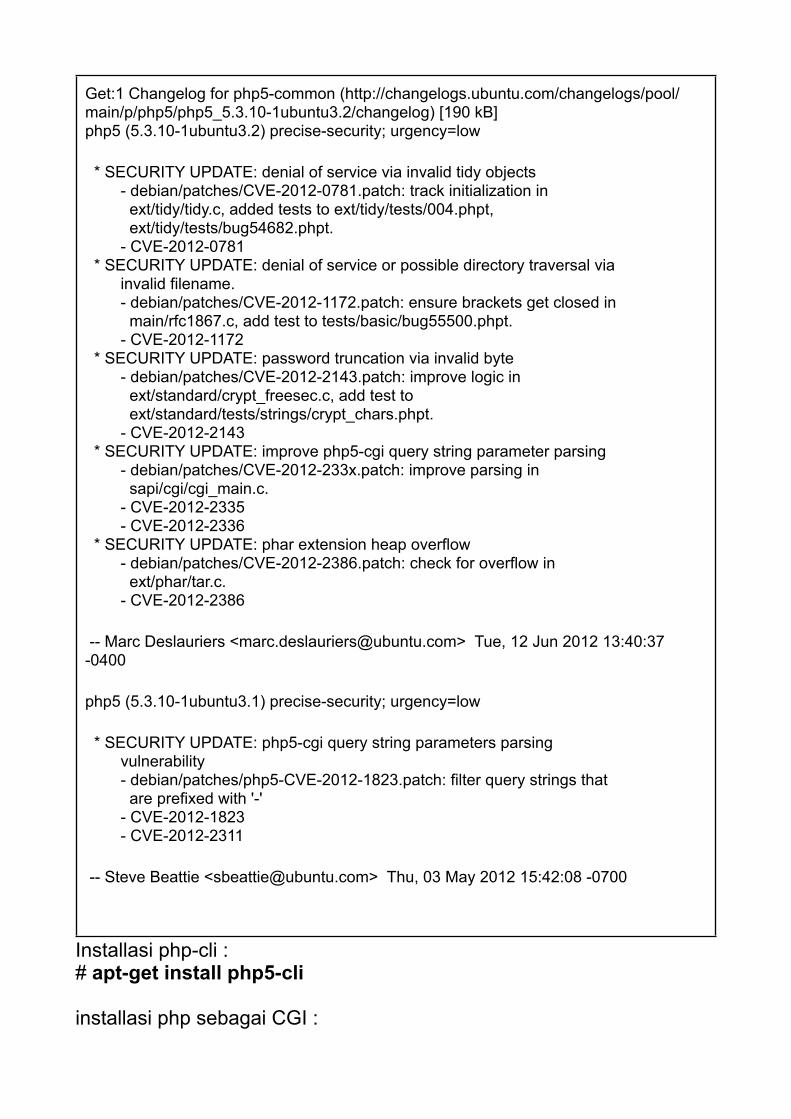
Get:1 Changelog for php5-common (http://changelogs.ubuntu.com/changelogs/pool/main/p/php5/php5_5.3.10-1ubuntu3.2/changelog) [190 kB]php5 (5.3.10-1ubuntu3.2) precise-security; urgency=low
* SECURITY UPDATE: denial of service via invalid tidy objects - debian/patches/CVE-2012-0781.patch: track initialization in ext/tidy/tidy.c, added tests to ext/tidy/tests/004.phpt, ext/tidy/tests/bug54682.phpt. - CVE-2012-0781 * SECURITY UPDATE: denial of service or possible directory traversal via invalid filename. - debian/patches/CVE-2012-1172.patch: ensure brackets get closed in main/rfc1867.c, add test to tests/basic/bug55500.phpt. - CVE-2012-1172 * SECURITY UPDATE: password truncation via invalid byte - debian/patches/CVE-2012-2143.patch: improve logic in ext/standard/crypt_freesec.c, add test to ext/standard/tests/strings/crypt_chars.phpt. - CVE-2012-2143 * SECURITY UPDATE: improve php5-cgi query string parameter parsing - debian/patches/CVE-2012-233x.patch: improve parsing in sapi/cgi/cgi_main.c. - CVE-2012-2335 - CVE-2012-2336 * SECURITY UPDATE: phar extension heap overflow - debian/patches/CVE-2012-2386.patch: check for overflow in ext/phar/tar.c. - CVE-2012-2386
-- Marc Deslauriers <[email protected]> Tue, 12 Jun 2012 13:40:37 -0400
php5 (5.3.10-1ubuntu3.1) precise-security; urgency=low
* SECURITY UPDATE: php5-cgi query string parameters parsing vulnerability - debian/patches/php5-CVE-2012-1823.patch: filter query strings that are prefixed with '-' - CVE-2012-1823 - CVE-2012-2311
-- Steve Beattie <[email protected]> Thu, 03 May 2012 15:42:08 -0700
Installasi php-cli :# apt-get install php5-cli
installasi php sebagai CGI :
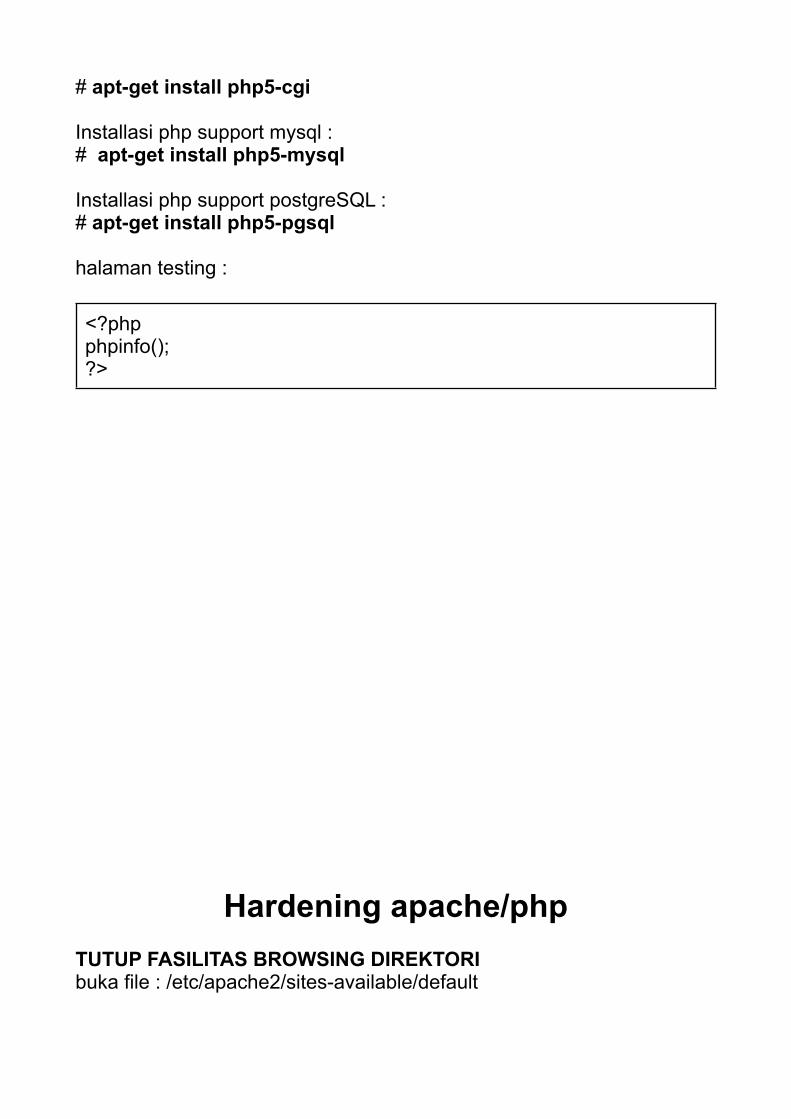
# apt-get install php5-cgi
Installasi php support mysql :# apt-get install php5-mysql
Installasi php support postgreSQL :# apt-get install php5-pgsql
halaman testing :
<?phpphpinfo();?>
Hardening apache/phpTUTUP FASILITAS BROWSING DIREKTORIbuka file : /etc/apache2/sites-available/default
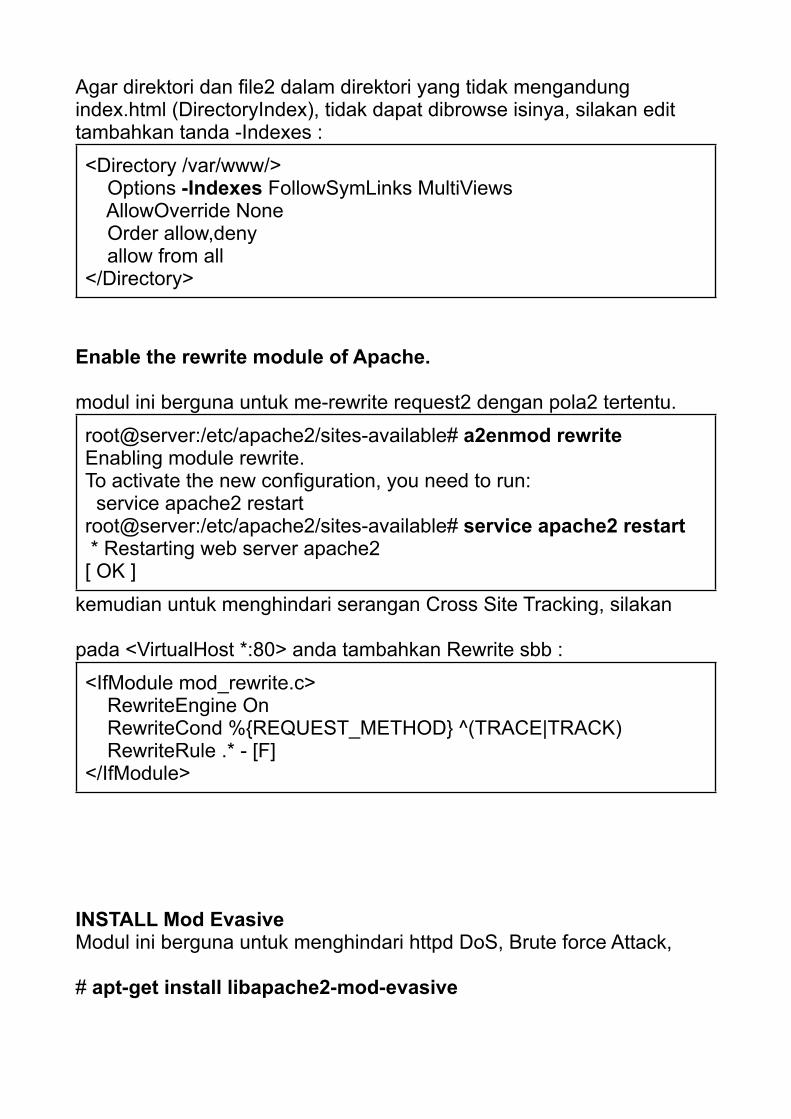
Agar direktori dan file2 dalam direktori yang tidak mengandung index.html (DirectoryIndex), tidak dapat dibrowse isinya, silakan edit tambahkan tanda -Indexes :
<Directory /var/www/> Options -Indexes FollowSymLinks MultiViews AllowOverride None Order allow,deny allow from all</Directory>
Enable the rewrite module of Apache.
modul ini berguna untuk me-rewrite request2 dengan pola2 tertentu.
root@server:/etc/apache2/sites-available# a2enmod rewriteEnabling module rewrite.To activate the new configuration, you need to run: service apache2 restartroot@server:/etc/apache2/sites-available# service apache2 restart * Restarting web server apache2 [ OK ]
kemudian untuk menghindari serangan Cross Site Tracking, silakan
pada <VirtualHost *:80> anda tambahkan Rewrite sbb :
<IfModule mod_rewrite.c> RewriteEngine On RewriteCond %{REQUEST_METHOD} ^(TRACE|TRACK) RewriteRule .* - [F]</IfModule>
INSTALL Mod EvasiveModul ini berguna untuk menghindari httpd DoS, Brute force Attack,
# apt-get install libapache2-mod-evasive
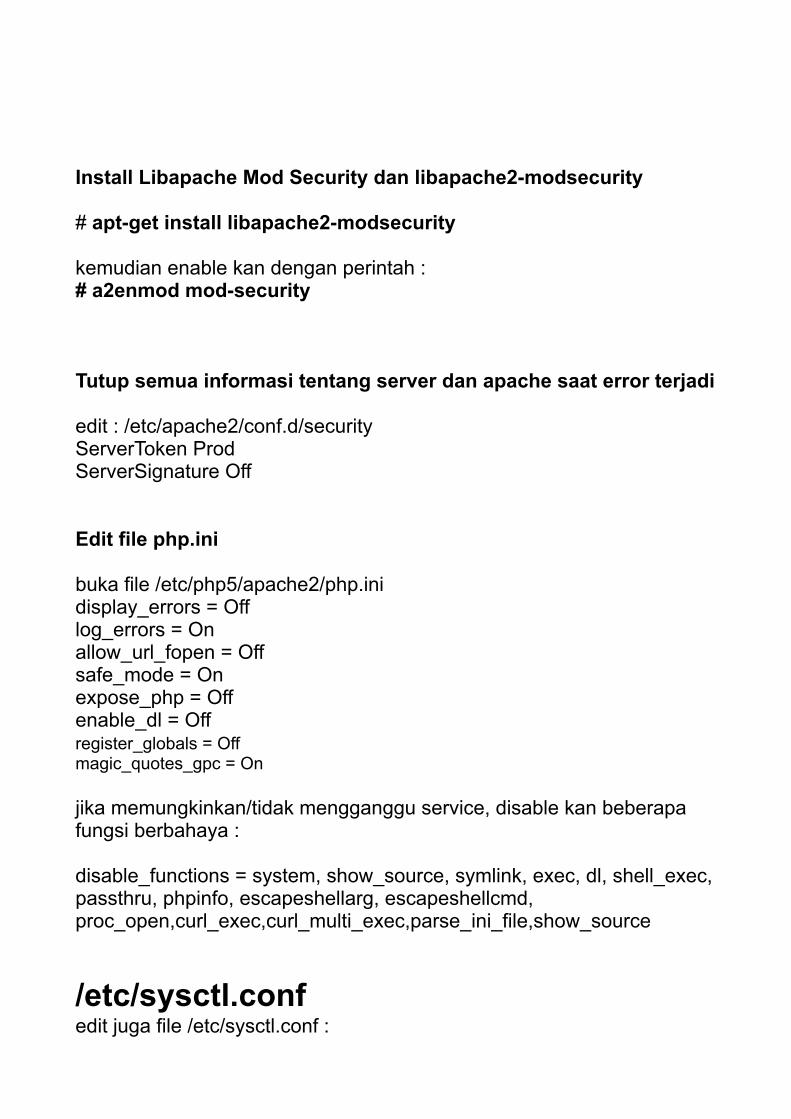
Install Libapache Mod Security dan libapache2-modsecurity
# apt-get install libapache2-modsecurity
kemudian enable kan dengan perintah :# a2enmod mod-security
Tutup semua informasi tentang server dan apache saat error terjadi
edit : /etc/apache2/conf.d/securityServerToken ProdServerSignature Off
Edit file php.ini
buka file /etc/php5/apache2/php.inidisplay_errors = Offlog_errors = Onallow_url_fopen = Offsafe_mode = Onexpose_php = Offenable_dl = Off register_globals = Offmagic_quotes_gpc = On
jika memungkinkan/tidak mengganggu service, disable kan beberapa fungsi berbahaya :
disable_functions = system, show_source, symlink, exec, dl, shell_exec, passthru, phpinfo, escapeshellarg, escapeshellcmd, proc_open,curl_exec,curl_multi_exec,parse_ini_file,show_source
/etc/sysctl.confedit juga file /etc/sysctl.conf :
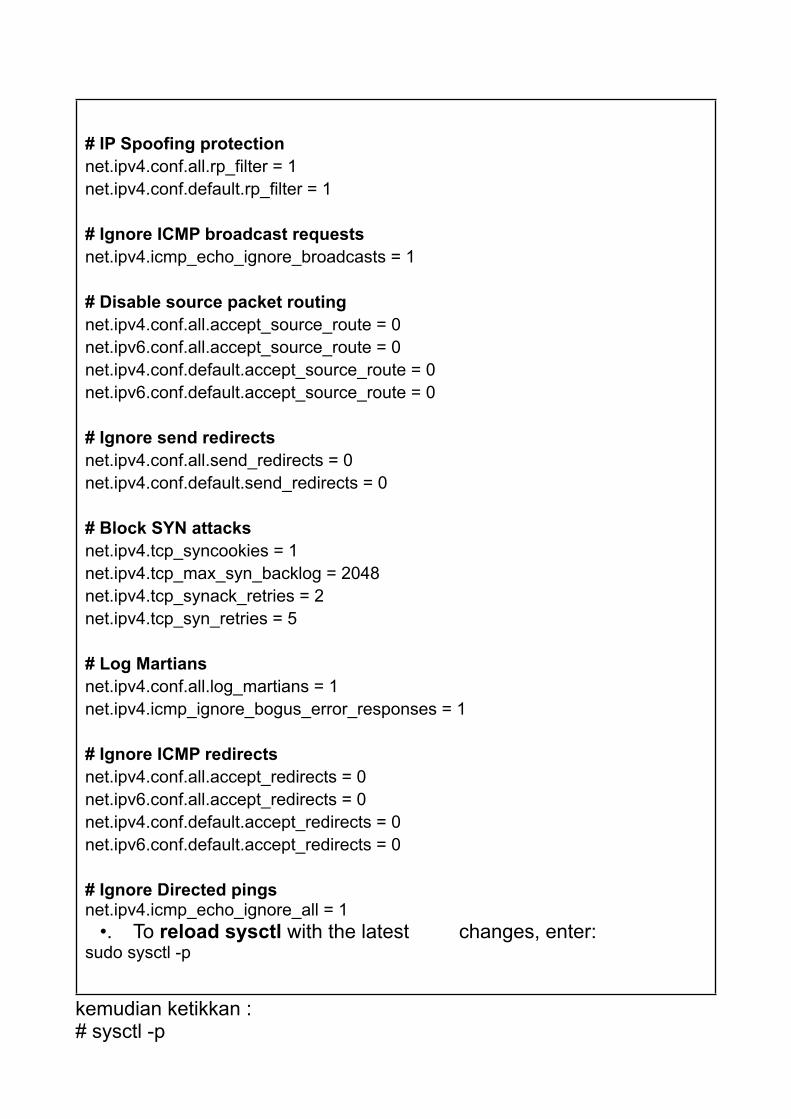
# IP Spoofing protectionnet.ipv4.conf.all.rp_filter = 1net.ipv4.conf.default.rp_filter = 1
# Ignore ICMP broadcast requestsnet.ipv4.icmp_echo_ignore_broadcasts = 1
# Disable source packet routingnet.ipv4.conf.all.accept_source_route = 0net.ipv6.conf.all.accept_source_route = 0 net.ipv4.conf.default.accept_source_route = 0net.ipv6.conf.default.accept_source_route = 0
# Ignore send redirectsnet.ipv4.conf.all.send_redirects = 0net.ipv4.conf.default.send_redirects = 0
# Block SYN attacksnet.ipv4.tcp_syncookies = 1net.ipv4.tcp_max_syn_backlog = 2048net.ipv4.tcp_synack_retries = 2net.ipv4.tcp_syn_retries = 5
# Log Martiansnet.ipv4.conf.all.log_martians = 1net.ipv4.icmp_ignore_bogus_error_responses = 1
# Ignore ICMP redirectsnet.ipv4.conf.all.accept_redirects = 0net.ipv6.conf.all.accept_redirects = 0net.ipv4.conf.default.accept_redirects = 0 net.ipv6.conf.default.accept_redirects = 0
# Ignore Directed pingsnet.ipv4.icmp_echo_ignore_all = 1
•. To reload sysctl with the latest changes, enter: sudo sysctl -p
kemudian ketikkan :# sysctl -p
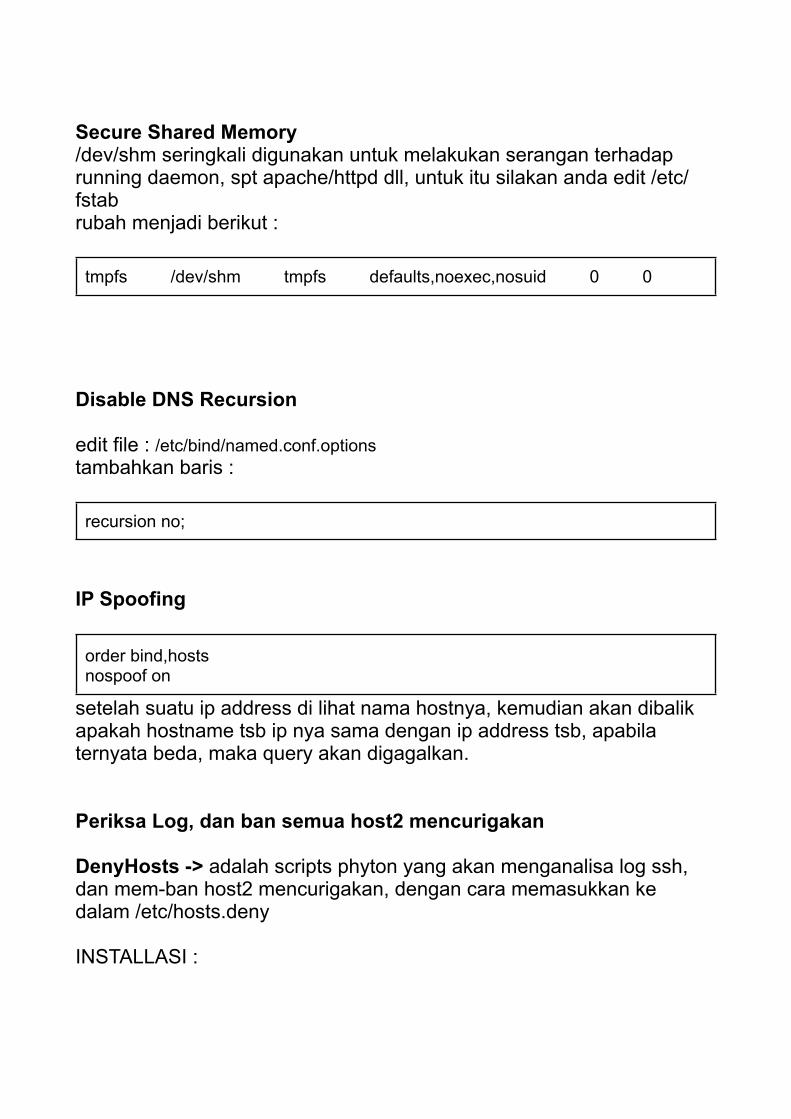
Secure Shared Memory/dev/shm seringkali digunakan untuk melakukan serangan terhadap running daemon, spt apache/httpd dll, untuk itu silakan anda edit /etc/fstabrubah menjadi berikut :
tmpfs /dev/shm tmpfs defaults,noexec,nosuid 0 0
Disable DNS Recursion
edit file : /etc/bind/named.conf.optionstambahkan baris :
recursion no;
IP Spoofing
order bind,hostsnospoof on
setelah suatu ip address di lihat nama hostnya, kemudian akan dibalik apakah hostname tsb ip nya sama dengan ip address tsb, apabila ternyata beda, maka query akan digagalkan.
Periksa Log, dan ban semua host2 mencurigakan
DenyHosts -> adalah scripts phyton yang akan menganalisa log ssh, dan mem-ban host2 mencurigakan, dengan cara memasukkan ke dalam /etc/hosts.deny
INSTALLASI :
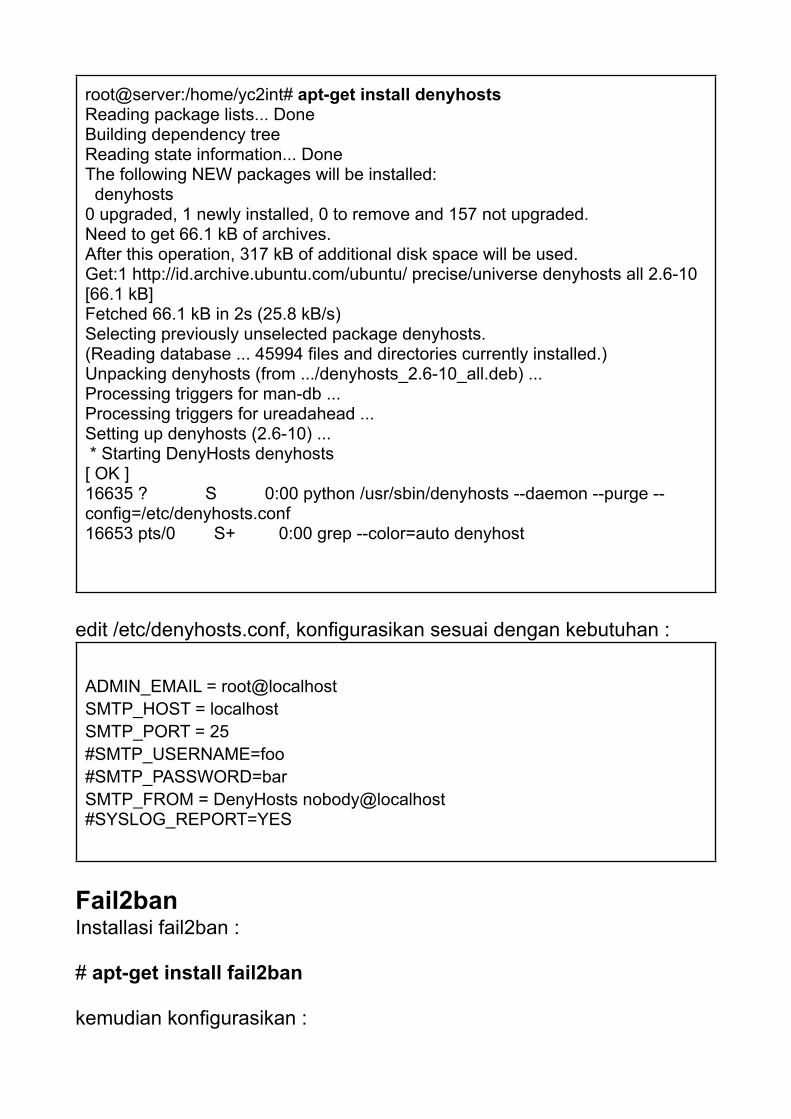
root@server:/home/yc2int# apt-get install denyhostsReading package lists... DoneBuilding dependency tree Reading state information... DoneThe following NEW packages will be installed: denyhosts0 upgraded, 1 newly installed, 0 to remove and 157 not upgraded.Need to get 66.1 kB of archives.After this operation, 317 kB of additional disk space will be used.Get:1 http://id.archive.ubuntu.com/ubuntu/ precise/universe denyhosts all 2.6-10 [66.1 kB]Fetched 66.1 kB in 2s (25.8 kB/s) Selecting previously unselected package denyhosts.(Reading database ... 45994 files and directories currently installed.)Unpacking denyhosts (from .../denyhosts_2.6-10_all.deb) ...Processing triggers for man-db ...Processing triggers for ureadahead ...Setting up denyhosts (2.6-10) ... * Starting DenyHosts denyhosts [ OK ]16635 ? S 0:00 python /usr/sbin/denyhosts --daemon --purge --config=/etc/denyhosts.conf16653 pts/0 S+ 0:00 grep --color=auto denyhost
edit /etc/denyhosts.conf, konfigurasikan sesuai dengan kebutuhan :
ADMIN_EMAIL = root@localhostSMTP_HOST = localhostSMTP_PORT = 25#SMTP_USERNAME=foo#SMTP_PASSWORD=barSMTP_FROM = DenyHosts nobody@localhost#SYSLOG_REPORT=YES
Fail2banInstallasi fail2ban :
# apt-get install fail2ban
kemudian konfigurasikan :
/etc/fail2ban/jail.confsesuai dengan situasi dan kondisi.
RKHunter and CHKRootKitkedua tools ini melakukan tugas yang hampir sama, diantaranya yaitu mencari keberadaan rootkit.
untuk menginstall silakan anda ketikkan : # apt-get install rkhunter chkrootkit
silakan anda coba : sudo rkhunter --updatesudo rkhunter --propupdsudo rkhunter --check
berikut adalah manual singkat tentang cara menggunakan rkhunter :
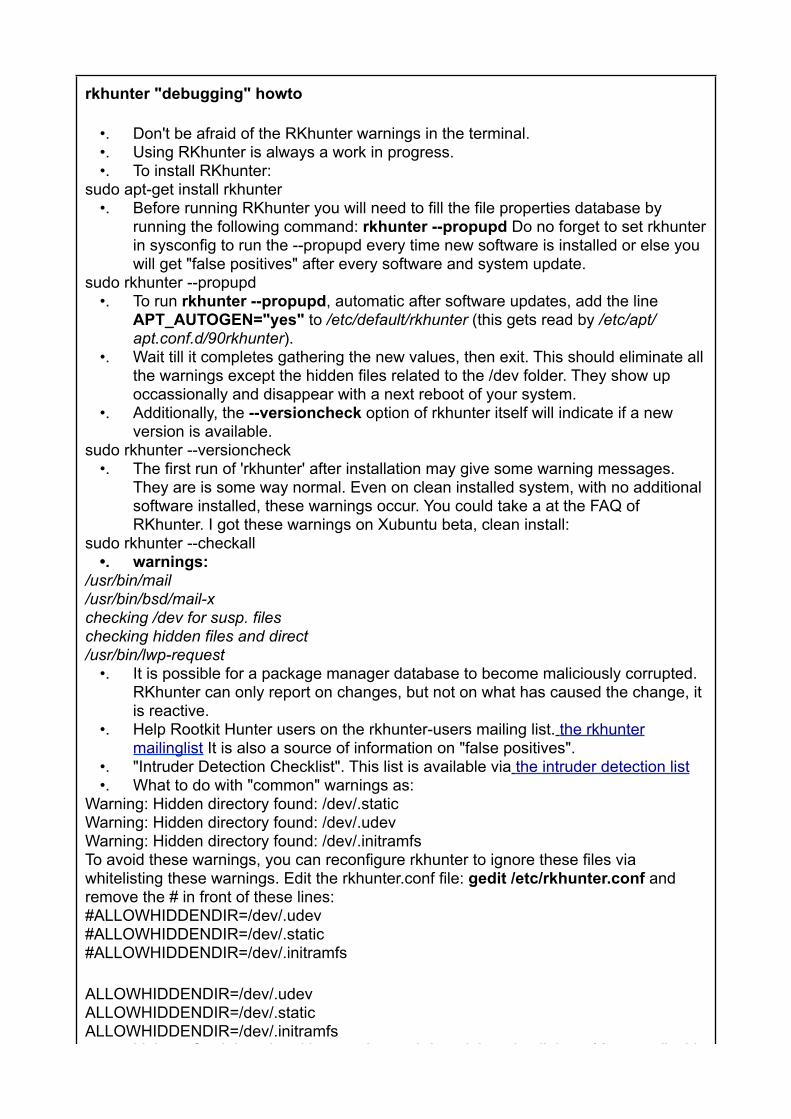
rkhunter "debugging" howto
•. Don't be afraid of the RKhunter warnings in the terminal.•. Using RKhunter is always a work in progress.•. To install RKhunter:
sudo apt-get install rkhunter•. Before running RKhunter you will need to fill the file properties database by
running the following command: rkhunter --propupd Do no forget to set rkhunter in sysconfig to run the --propupd every time new software is installed or else you will get "false positives" after every software and system update.
sudo rkhunter --propupd•. To run rkhunter --propupd, automatic after software updates, add the line
APT_AUTOGEN="yes" to /etc/default/rkhunter (this gets read by /etc/apt/apt.conf.d/90rkhunter).
•. Wait till it completes gathering the new values, then exit. This should eliminate all the warnings except the hidden files related to the /dev folder. They show up occassionally and disappear with a next reboot of your system.
•. Additionally, the --versioncheck option of rkhunter itself will indicate if a new version is available.
sudo rkhunter --versioncheck•. The first run of 'rkhunter' after installation may give some warning messages.
They are is some way normal. Even on clean installed system, with no additional software installed, these warnings occur. You could take a at the FAQ of RKhunter. I got these warnings on Xubuntu beta, clean install:
sudo rkhunter --checkall•. warnings:
/usr/bin/mail/usr/bin/bsd/mail-xchecking /dev for susp. fileschecking hidden files and direct/usr/bin/lwp-request
•. It is possible for a package manager database to become maliciously corrupted. RKhunter can only report on changes, but not on what has caused the change, it is reactive.
•. Help Rootkit Hunter users on the rkhunter-users mailing list. the rkhunter mailinglist It is also a source of information on "false positives".
•. "Intruder Detection Checklist". This list is available via the intruder detection list•. What to do with "common" warnings as:
Warning: Hidden directory found: /dev/.staticWarning: Hidden directory found: /dev/.udevWarning: Hidden directory found: /dev/.initramfsTo avoid these warnings, you can reconfigure rkhunter to ignore these files via whitelisting these warnings. Edit the rkhunter.conf file: gedit /etc/rkhunter.conf and remove the # in front of these lines:#ALLOWHIDDENDIR=/dev/.udev#ALLOWHIDDENDIR=/dev/.static#ALLOWHIDDENDIR=/dev/.initramfs
ALLOWHIDDENDIR=/dev/.udevALLOWHIDDENDIR=/dev/.staticALLOWHIDDENDIR=/dev/.initramfs
•. Linkage for debugging rkhunter via watchdog: debugging linkage You can disable the 'os_specific' check in your rkhunter.conf file. Add it to the DISABLE_TESTS list.You can stop rkhunter from checking these by editing /etc/rkhunter.conf
Un-comment the related ALLOWHIDDENDIR and ALLOWHIDDENFILE lines.
Scan open port dengan menggunakan NMAP
installasi :
# apt-get install nmap # nmap -v -sT localhost# nmap -v -sS localhost
LOGWATCH
analisa log dengan menggunakan logwatch : # apt-get install logwatch libdate-manip-perl
untuk melihat output dari logwatch, ketikkan perintah :# logwatch | less
TIGERTiger adalah tools security yang bisa digunakan untuk audit sekuriti, dan intrusion detection.installasi :# apt-get install tiger
utk menjalankan :# tiger
MENJALANKAN VHOSTS PADA UID/GID BERBEDA
install Apache-mpm-itk :
# apt-get install apache-mpm-itk
tambahkan group baru dan user baru :

# groupadd web1# adduser sitebaru -g web1
tambahkan virtual host, mis: sitebaru.multisolusi.info :
konfignya kurang lebih :
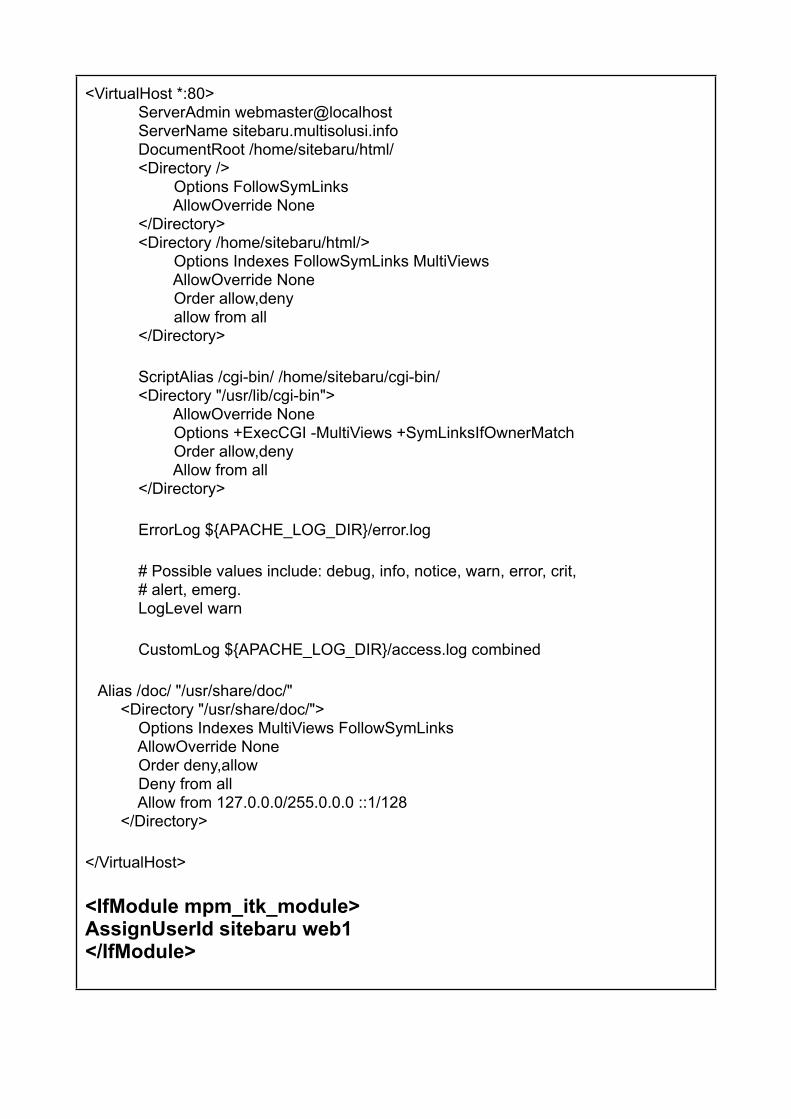
<VirtualHost *:80> ServerAdmin webmaster@localhost ServerName sitebaru.multisolusi.info DocumentRoot /home/sitebaru/html/ <Directory /> Options FollowSymLinks AllowOverride None </Directory> <Directory /home/sitebaru/html/> Options Indexes FollowSymLinks MultiViews AllowOverride None Order allow,deny allow from all </Directory>
ScriptAlias /cgi-bin/ /home/sitebaru/cgi-bin/ <Directory "/usr/lib/cgi-bin"> AllowOverride None Options +ExecCGI -MultiViews +SymLinksIfOwnerMatch Order allow,deny Allow from all </Directory>
ErrorLog ${APACHE_LOG_DIR}/error.log
# Possible values include: debug, info, notice, warn, error, crit, # alert, emerg. LogLevel warn
CustomLog ${APACHE_LOG_DIR}/access.log combined
Alias /doc/ "/usr/share/doc/" <Directory "/usr/share/doc/"> Options Indexes MultiViews FollowSymLinks AllowOverride None Order deny,allow Deny from all Allow from 127.0.0.0/255.0.0.0 ::1/128 </Directory>
</VirtualHost>
<IfModule mpm_itk_module>AssignUserId sitebaru web1</IfModule>

kemudian restart apache :# /etc/init.d/apache2 restart
TAMBAHAN
User quotas with Ubuntu This step by step tutorial shows how to install and implement user quotas, to limit disk space available for selected users in a Linux system (tested on Ubuntu, using repositories).To add support for user disk quotas on Ubuntu:Install quota from repository:
sudo apt-get install quotaEdit, as root, /etc/fstab adding usrquota and grpquota to desired partitions:
/dev/hda3 /home ext3 defaults,usrquota,grpquota 0 2
Reboot the system.Then
sudo edquota -u username -f /dev/desiredpartitionEditing the file:
Disk quotas for user username (uid 1050): Filesystem blocks soft hard inodes soft hard /dev/hdaN 0 31457280 31457280 0 0 0
Save that file… now do:sudo edquota -t -f /dev/hda3
set grace periods to 0 seconds like this:
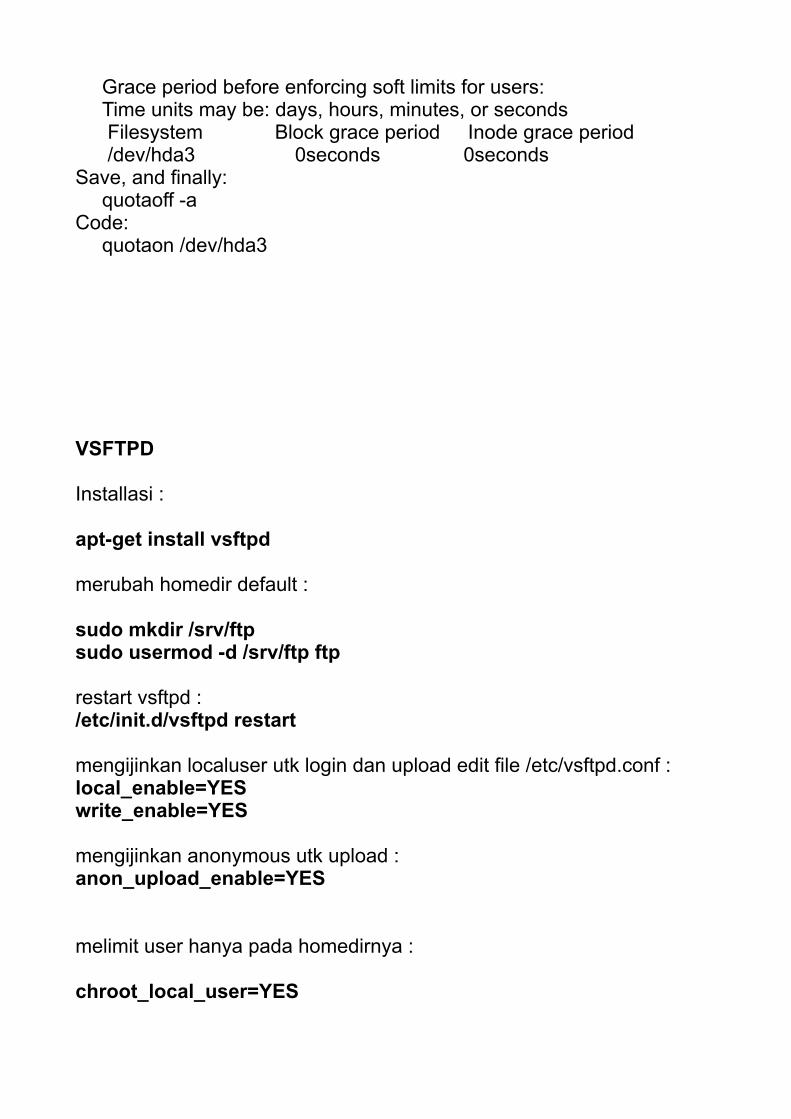
Grace period before enforcing soft limits for users:Time units may be: days, hours, minutes, or seconds Filesystem Block grace period Inode grace period /dev/hda3 0seconds 0seconds
Save, and finally:quotaoff -a
Code:quotaon /dev/hda3
VSFTPD
Installasi :
apt-get install vsftpd
merubah homedir default :
sudo mkdir /srv/ftpsudo usermod -d /srv/ftp ftp
restart vsftpd :/etc/init.d/vsftpd restart
mengijinkan localuser utk login dan upload edit file /etc/vsftpd.conf :local_enable=YESwrite_enable=YES
mengijinkan anonymous utk upload :anon_upload_enable=YES
melimit user hanya pada homedirnya :
chroot_local_user=YES
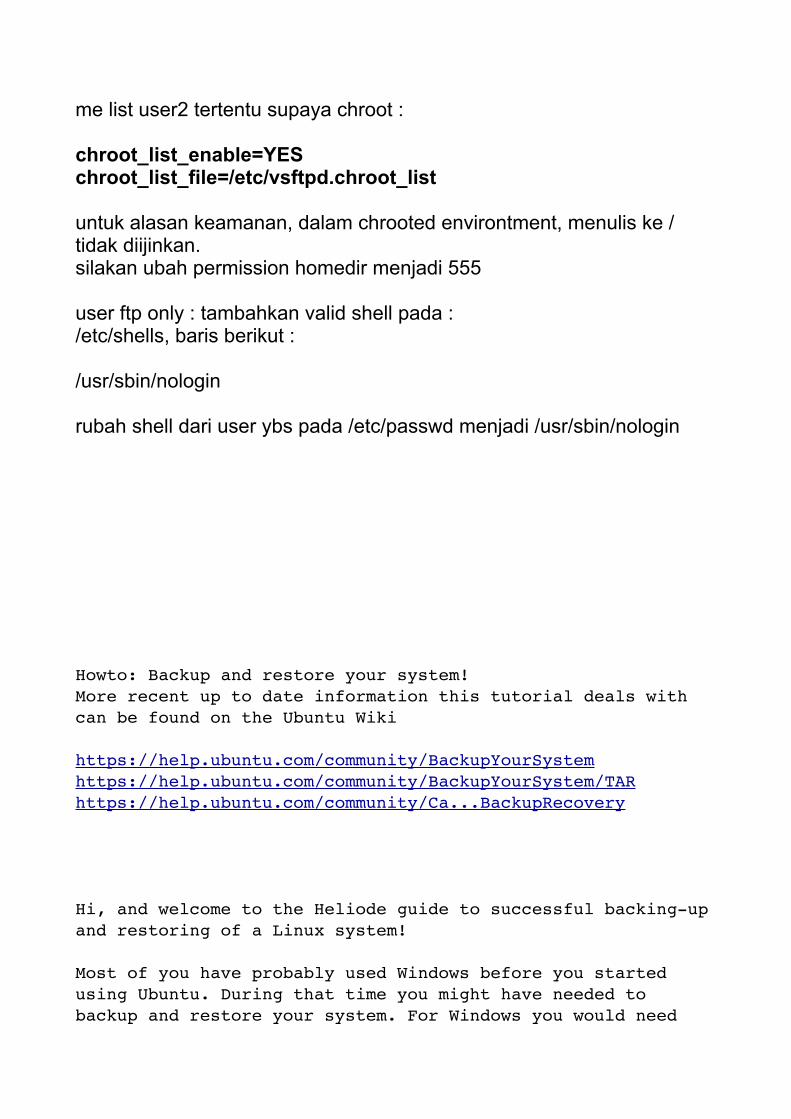
me list user2 tertentu supaya chroot :
chroot_list_enable=YESchroot_list_file=/etc/vsftpd.chroot_list
untuk alasan keamanan, dalam chrooted environtment, menulis ke / tidak diijinkan.silakan ubah permission homedir menjadi 555
user ftp only : tambahkan valid shell pada :/etc/shells, baris berikut :
/usr/sbin/nologin
rubah shell dari user ybs pada /etc/passwd menjadi /usr/sbin/nologin
Howto: Backup and restore your system!More recent up to date information this tutorial deals with can be found on the Ubuntu Wiki
https://help.ubuntu.com/community/BackupYourSystemhttps://help.ubuntu.com/community/BackupYourSystem/TARhttps://help.ubuntu.com/community/Ca...BackupRecovery
Hi, and welcome to the Heliode guide to successful backing-up and restoring of a Linux system!
Most of you have probably used Windows before you started using Ubuntu. During that time you might have needed to backup and restore your system. For Windows you would need
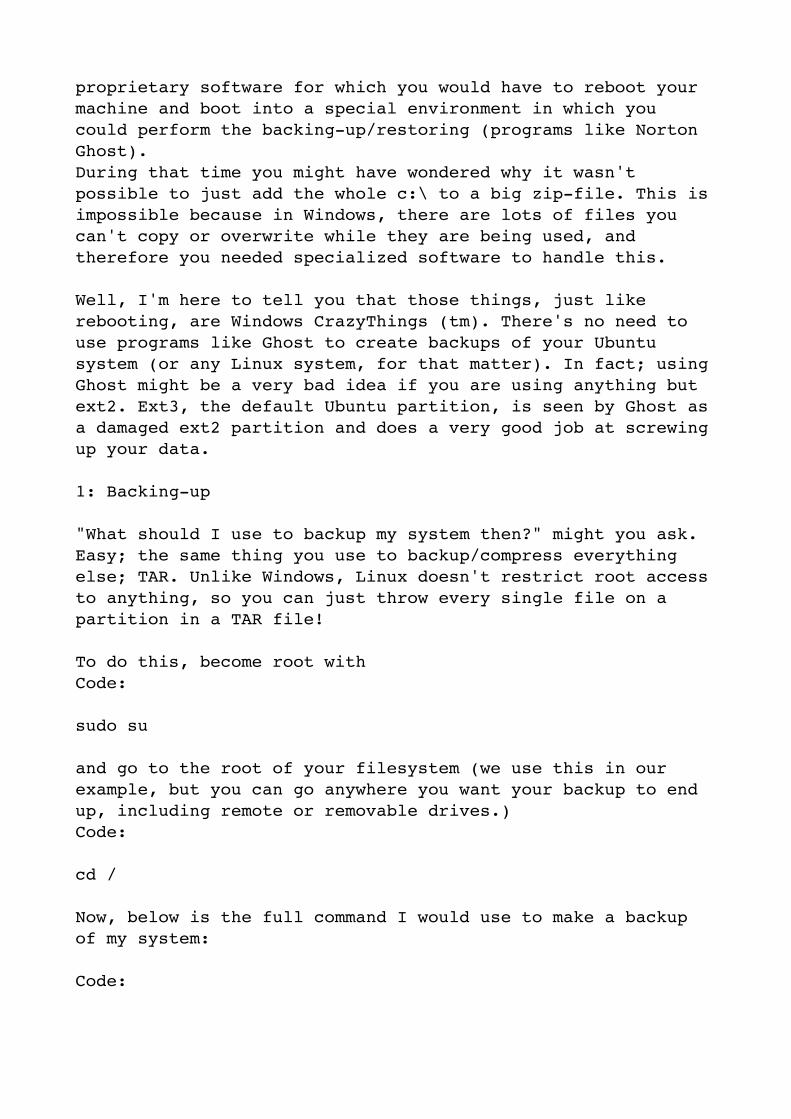
proprietary software for which you would have to reboot your machine and boot into a special environment in which you could perform the backing-up/restoring (programs like Norton Ghost).During that time you might have wondered why it wasn't possible to just add the whole c:\ to a big zip-file. This is impossible because in Windows, there are lots of files you can't copy or overwrite while they are being used, and therefore you needed specialized software to handle this.
Well, I'm here to tell you that those things, just like rebooting, are Windows CrazyThings (tm). There's no need to use programs like Ghost to create backups of your Ubuntu system (or any Linux system, for that matter). In fact; using Ghost might be a very bad idea if you are using anything but ext2. Ext3, the default Ubuntu partition, is seen by Ghost as a damaged ext2 partition and does a very good job at screwing up your data.
1: Backing-up
"What should I use to backup my system then?" might you ask. Easy; the same thing you use to backup/compress everything else; TAR. Unlike Windows, Linux doesn't restrict root access to anything, so you can just throw every single file on a partition in a TAR file!
To do this, become root withCode:
sudo su
and go to the root of your filesystem (we use this in our example, but you can go anywhere you want your backup to end up, including remote or removable drives.)Code:
cd /
Now, below is the full command I would use to make a backup of my system:
Code:
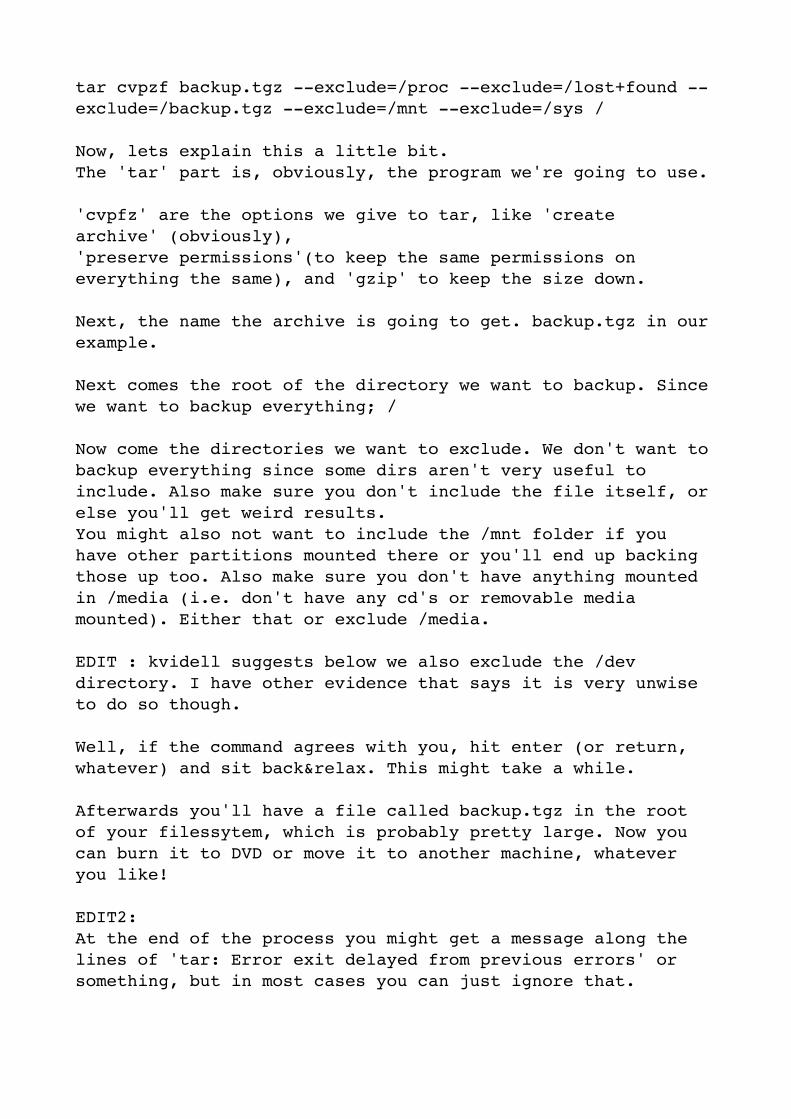
tar cvpzf backup.tgz --exclude=/proc --exclude=/lost+found --exclude=/backup.tgz --exclude=/mnt --exclude=/sys /
Now, lets explain this a little bit.The 'tar' part is, obviously, the program we're going to use.
'cvpfz' are the options we give to tar, like 'create archive' (obviously),'preserve permissions'(to keep the same permissions on everything the same), and 'gzip' to keep the size down.
Next, the name the archive is going to get. backup.tgz in our example.
Next comes the root of the directory we want to backup. Since we want to backup everything; /
Now come the directories we want to exclude. We don't want to backup everything since some dirs aren't very useful to include. Also make sure you don't include the file itself, or else you'll get weird results.You might also not want to include the /mnt folder if you have other partitions mounted there or you'll end up backing those up too. Also make sure you don't have anything mounted in /media (i.e. don't have any cd's or removable media mounted). Either that or exclude /media.
EDIT : kvidell suggests below we also exclude the /dev directory. I have other evidence that says it is very unwise to do so though.
Well, if the command agrees with you, hit enter (or return, whatever) and sit back&relax. This might take a while.
Afterwards you'll have a file called backup.tgz in the root of your filessytem, which is probably pretty large. Now you can burn it to DVD or move it to another machine, whatever you like!
EDIT2:At the end of the process you might get a message along the lines of 'tar: Error exit delayed from previous errors' or something, but in most cases you can just ignore that.

Alternatively, you can use Bzip2 to compress your backup. This means higher compression but lower speed. If compression is important to you, just substitutethe 'z' in the command with 'j', and give the backup the right extension.That would make the command look like this:
Code:
tar cvpjf backup.tar.bz2 --exclude=/proc --exclude=/lost+found --exclude=/backup.tar.bz2 --exclude=/mnt --exclude=/sys /
2: Restoring
Warning: Please, for goodness sake, be careful here. If you don't understand what you are doing here you might end up overwriting stuff that is important to you, so please take care!
Well, we'll just continue with our example from the previous chapter; the file backup.tgz in the root of the partition.
Once again, make sure you are root and that you and the backup file are in the root of the filesystem.
One of the beautiful things of Linux is that This'll work even on a running system; no need to screw around with boot-cd's or anything. Of course, if you've rendered your system unbootable you might have no choice but to use a live-cd, but the results are the same. You can even remove every single file of a Linux system while it is running with one command. I'm not giving you that command though!
Well, back on-topic.This is the command that I would use:
Code:
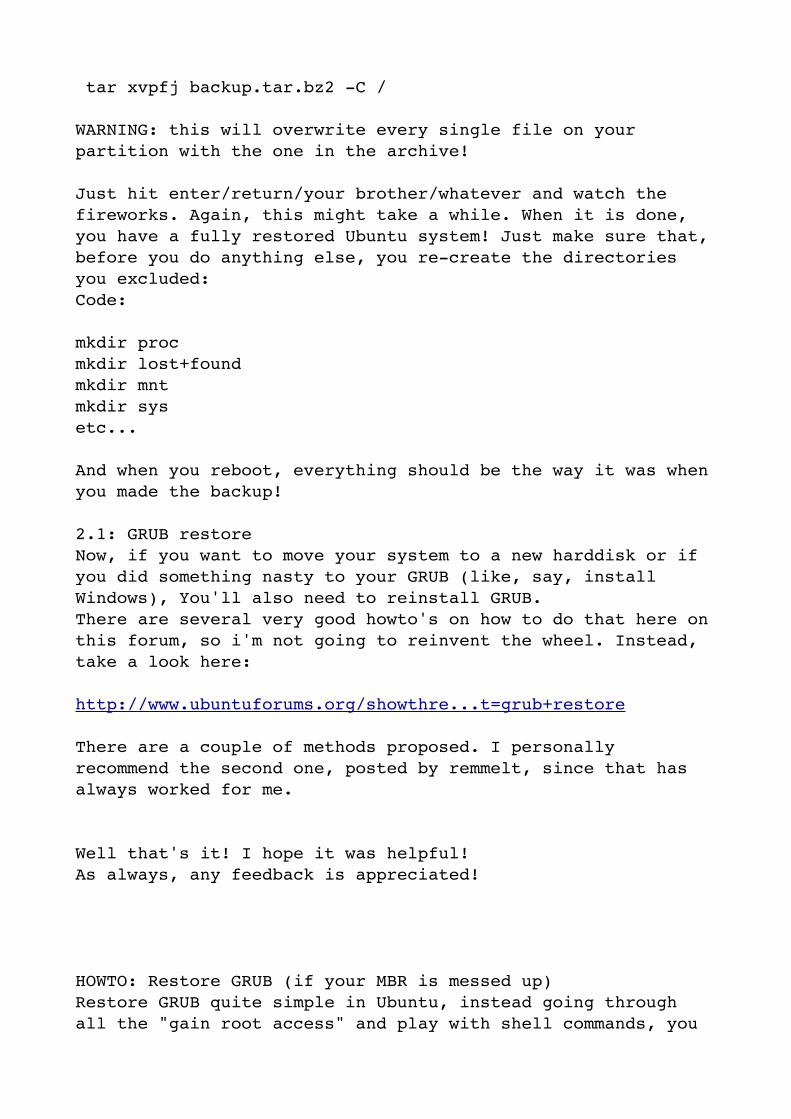
tar xvpfz backup.tgz -C /
Or if you used bz2;
Code:
tar xvpfj backup.tar.bz2 -C /
WARNING: this will overwrite every single file on your partition with the one in the archive!
Just hit enter/return/your brother/whatever and watch the fireworks. Again, this might take a while. When it is done, you have a fully restored Ubuntu system! Just make sure that, before you do anything else, you re-create the directories you excluded:Code:
mkdir procmkdir lost+foundmkdir mntmkdir sysetc...
And when you reboot, everything should be the way it was when you made the backup!
2.1: GRUB restoreNow, if you want to move your system to a new harddisk or if you did something nasty to your GRUB (like, say, install Windows), You'll also need to reinstall GRUB.There are several very good howto's on how to do that here on this forum, so i'm not going to reinvent the wheel. Instead, take a look here:
http://www.ubuntuforums.org/showthre...t=grub+restore
There are a couple of methods proposed. I personally recommend the second one, posted by remmelt, since that has always worked for me.
Well that's it! I hope it was helpful!As always, any feedback is appreciated!
HOWTO: Restore GRUB (if your MBR is messed up)Restore GRUB quite simple in Ubuntu, instead going through all the "gain root access" and play with shell commands, you

can use the Ubuntu installation CD to restore it without going through all kinds of hassles.
Here are the steps:
1. Boot your computer up with Ubunto CD2. Go through all the process until you reech "[!!!] Disk Partition"3. Select Manual Partition4. Mount your appropriate linux partions
//bootswap.....
5. DO NOT FORMAT THEM.6. Finish the manual partition7. Say "Yes" when it asks you to save the changes8. It will give you errors saying that "the system couldn't install ....." after that9. Ignore them, keep select "continue" until you get back to the Ubuntu installation menu10. Jump to "Install Grub ...."11. Once it is finished, just restart your computer
Good luck!.


