Embed Size (px)
Citation preview
South Dakota State UniversityOpen PRAIRIE: Open Public Research Access InstitutionalRepository and Information Exchange
SDSU Extension Circulars SDSU Extension
1960
4-H Handicraft Guide: Ceramics - MosaicsAgricultural Extension Service
Follow this and additional works at: http://openprairie.sdstate.edu/extension_circ
Part of the Agriculture Commons
This Circular is brought to you for free and open access by the SDSU Extension at Open PRAIRIE: Open Public Research Access InstitutionalRepository and Information Exchange. It has been accepted for inclusion in SDSU Extension Circulars by an authorized administrator of OpenPRAIRIE: Open Public Research Access Institutional Repository and Information Exchange. For more information, please [email protected].
Recommended CitationService, Agricultural Extension, "4-H Handicraft Guide: Ceramics - Mosaics" (1960). SDSU Extension Circulars. 624.http://openprairie.sdstate.edu/extension_circ/624
•
•
•
4-H HANDICRAFT GUIDE
Ceramics Extension Circular 587 COOPERATIVE EXTENSION SERVICE South Dakota State College Brookings, South Dakota
- Mosaics
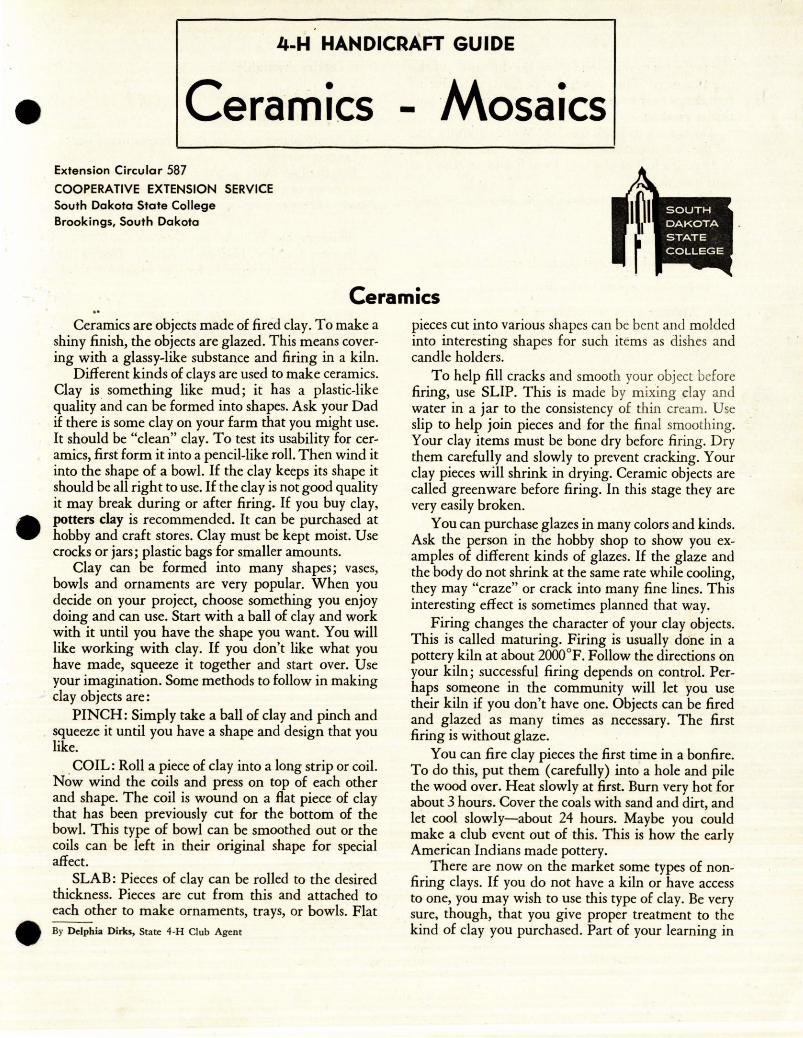
Ceramics .. Ceramics are objects made of fired clay. To make a
shiny finish, the objects are glazed. This means cover-ing with a glassy-like substance and firing in a kiln.
Different kinds of clays are used to make ceramics. Clay is . something like mud; it has a plastic-like quality and can be formed into shapes. Ask your Dad if there is some clay on your farm that you might use. It should be "clean" clay. To test its usability for cer-amics, first form it into a pencil-like roll. Then wind it into the shape of a bowl. If the clay keeps its shape it should be all right to use. If the clay is not good quality it may break during or after firing. If you buy clay, potters clay is recommended. It can be purchased at hobby and craft stores. Clay must be kept moist. Use crocks or jars; plastic bags for smaller amounts.
Clay can be formed into many shapes; vases, bowls and ornaments are very popular. When you decide on your project, choose something you enjoy doing and can use. Start with a ball of clay and work with it until you have the shape you want. You will like working with clay. If you don't like what you have made, squeeze it together and start over. Use your imagination. Some methods to follow in making clay objects are:
PINCH: Simply take a ball of clay and pinch and squeeze it until you have a shape and design that you like.
COIL: Roll a piece of clay into a long strip or coil. Now wind the coils and press on top of each other and shape. The coil is wound on a flat piece of clay that has been previously cut for the bottom of the bowl. This type of bowl can be smoothed out or the coils can be left in their original shape for special affect.
SLAB: Pieces of clay can be rolled to the desired thickness. Pieces are cut from this and attached to each other to make ornaments, trays, or bowls. Flat By Delphia Dirks, State 4-H Club Agent
pieces cut into various shapes can be bent and molded into interesting shapes for such items as dishes and candle holders.
To help fill cracks and smooth your object before firing, use SLIP. This is made by mixing clay and water in a jar to the consistency of thin cream. Use slip to help join pieces and for the final smoothing. Your clay items must be bone dry before firing. Dry them carefully and slowly to prevent cracking. Your clay pieces will shrink in drying. Ceramic objects are called greenware before firing. In this stage they are very easily broken.
You can purchase glazes in many colors and kinds . Ask the person in the hobby shop to show you ex-. amples of different kinds of glazes. If the glaze and the body do not shrink at the same rate while cooling, they may "craze" or crack into many fine lines. This interesting effect is sometimes planned that way.
Firing changes the character of your clay objects. This is called maturing. Firing is usually done in a pottery kiln at about 2000°F. Follow the directions on your kiln; successful firing depends on control. Per-haps someone in the community will let you use their kiln if you don't have one. Objects can be fired and glazed as many times as necessary. The first firing is without glaze.
You can fire clay pieces the first time in a bonfire. To do this, put them (carefully) into a hole and pile the wood over. Heat slowly at first. Burn very hot for about 3 hours. Cover the coals with sand and dirt, and let cool slowly-about 24 hours. Maybe you could make a club event out of this. This is how the early American Indians made pottery.
There are now on the market some types of non-.firing clays. If you do not have a kiln or have access to one, you may wish to use this type of clay. Be very sure, though, that you give proper treatment to the kind of clay you purchased. Part of your learning in
this project is to read and follow the directions of the manufacturer. This is very important, as different companies may have different methods for their par-ticular product.
Do not try to work too fast . . Work carefully and get the design you want. Think how much fun it will be to take a ball of clay and form it into an object of your own design!
The basic steps to follow in making ceramic objects are:
1. Have suitable moist clay.
2 . .Use clay ball or roll out to desired thickness.
3. Cut out the parts of the desired design.
4. Arrange parts and add any details.
S. Assemble parts if necessary (use slip if needed).
6. Let dry throughly.
7. Fire in a kiln.
8. Decorate as desired. •
9. Apply glazes as desired and fire as many times as necessary.
For further study get the following book from your library or a bookstore: Kenny, Complete Book of Pottery Making. ·
Bibliography: Willoughby, General Crafts, Chas. A. Bennett Co., Inc. Harriet E. Knapp, Design Ap-proach to Crafts, Harriet E. Knapp, Holden Publish-ing Co.
Acknowledgement: Mr. Richard W. Edie, Ass't Professor of Art, South Dakota State College.
•
••
•
•
•
Mosaics Materials such as wood, ivory, bone, and stones
were used to form designs and pictures as early as 3600 B. C. The Roman artists layed mosaics in such a way as to achieve shadows and highlights.
Mosaic indicates a picture of many pieces. Beauty and utility have been characteristics of mosaics. We find mosaics used in sidewalks, walls, exterior of buildings, floors, table tops, window sills, kitchen counter, lamp bases, fireplaces, picture frames, book ends, coasters, plates, planters to name only a few uses.
MATERIALS TO USE
Kinds of Tile
Glass tiles are prepared in sheets with the tile pasted face down on paper. There are about 225 tiles per sheet. Each tile is ¾-inch square; the 3/16-inch thickness varies slightly with the color. Glass tile is made of specially fired colored glass. It is attractive on table tops and for wall decorations, but it is also desirable for exterior finishes and flooring since it is extremely durable; impervious to stains, acids, and alkalies; and unaffected by the most extreme climate changes. The tile is beveled on the bottom side. It . can be easily broken into smaller pieces for use.
Ceramic tile is the same size as glass tile. It has a clay body and a glazed color surface ranging from solid colors to beautiful bright blendings and color-ful mixtures. This type of tile is beautiful for table tops, wall decorations, trivets, placques, and other surfaces not subject to hard wear or extreme changes in climate. ·
Porcelain tile is a form of ceramic but has some qualities of glass. It is composed of fine white clay like china dishes but is harder and more dense. It absorbs little moisture and is impervious to weather. These tiles are ¼ inch square and are sold in sheets of 625 tiles. They are not easily broken. Their small size permits detail work without cutting.
Broken dishes, rocks, stones, marble chips, ceramic bathroom tile, and vinyl floor tile may ·be used in lamps, tables, wall panels, dishes, and cardtable tops.
Tile may be· purchased singly, in strips, and by sheets. One sheet of tile covers about 1 square foot.
Forms for Bases Table-5-plywood is a desirable thickness. Lamps-tin cans, pieces of heavy cardboard rug
rolls may be used . Planters-tin cans, flower pots, wooden boxes.
By Henrietta Gohring, State 4-H Club Agent
There are a variety of forms on the market to pur-chase for almost any project. Discarded pieces of furniture may be refinished and tiled.
Tile Adhesive
Regular tile adhesive or any good white resin glue will cement the tiles in place.
Grout
This is a filler for the space between the tiles. It is a white powder to be mixed with water. It may be colored if desired.
STEPS
Waterproofing Sudace. Porous forms -should be waterproofed with varnish, shellac, or lacquer before applying tile.
Determining Design. Simple geometric design may be formed by laying tile at random, or lining up in rows, gaining interest through the use of color. More elaborate design may be pencil sketched light-ly on the form or drawn to scale on paper and trans-£ erred to the surface to be tiled.
Remove_ Paper From Tiles. Place sheet( s) of tile iri sink or large container, paper side up, add a little detergent and hot water. Soak 2 to 3 minutes. In lift-ing the paper from the water, shake it slightly and the tile will fall off. Dry separated tiles, place in con-tainer and label for color and number.
Filling in Design. Fill in design outline arid de-sign area first with desired colored tiles. Then do background starting from outside edge working in and cutting to fit around design. If whole tiles are used on a rectangular or square area for the back-ground, set adjacent edges first to establish line spac-ings. If design requires cutting of tile, break with tile cutter.
Position tile leaving about ¼ inch between pieces if grout is to be used. A surface that should be imper-vious to water and easily cleaned must have grout. If grout is not to be used as may be the case in pictures or a mural, tiles should be fitted as close together as possible.
Applying Adhesive. If you use white resin glue, cover a small area of base, working only what you can tile before drying sets in. Larger areas may be coated when using adhesive tile cement. You can apply glue directly to each tile and set in position. Allow glue to dry overnight or for 24 hours.
How to Cut Tile with a Side-biting Nipper. Using straight nipper cutting blades, cut as follows: Grip
tile firmly between thumb on top of tile and first two fingers on bottom so as to have hold of both pieces · when cut. Place tile (just barely) in the nipper about ¼ inch from the edge of the tile, lining the blades up with the direction that you wish the tile to break. Squeeze handle and if you have gripped tile properly both pieces will remain held in fingers. Important: Do cutting away from face. Do not cut tile over area cov-ered with adhesive. Use a pencil to mark tile when cut-ting an angle.
How to Grout. (Fill cracks between tiles). Mix a small amount of grout with water to a consistency of thick cream. Spread over tile surface and work into spaces with fingers, being sure to get all air bubbles. Rub lengthwise and crosswise.
Carefully wipe the excess grout from the surface with a damp dry cloth. Be careful not to dig grout from in between tiles. About 15 minutes later a dusty film will appear-wipe then with a dry cloth.
Wait overnight. If the grout is not flush with the tiles, a second grouting may be necessary. The con-sistency of this grout should .be thinner. If it is neces-sary to regrout, top can be cleaned with a wet cloth.
Grout may be colored with any water soluble dye or dry paint. Add the color to the grout before
. adding water. The color will be lighter when it dries. White grout may be colored on the surface by brush-ing with a water soluble paint or dye. Be careful to • wipe the tile free of paint.
Apply Protective Coating. To protect grout from moisture and stains, seal with a clear plastic spray, a silicone wax, or a silicone marble finish.
There are a few rules to heed : If you are creating a surface for a table, trivet, etc.,
smoothness is essential; if your project is a wall piece, lamp, or any interior vertical surface, anything goes-tiles may be applied face down, on edge, slanted, or any way that will give texture and add to your design.
Choose pleasing color combinations and a design appropriate to the base. See circular on color and de-sign for suggestions.
If you are tiling a table top or a mural within a frame, protect rim of frame with masking tape.
To tik the edges of tables and murals start in the corner of the board. Work with full or half tiles set the sides of the frame on both sides. Then fill in the top corner. They should extend over the edges the thickness of the tiles. The spaces will be filled with grout.
•
Published and distributed in ~rth.erance of the Acts of Congress of May 8 and June 30, 1914, by the Agricultural Extension Service of the South Dakota • State College of Agriculture and Mechanic Arts, Brookings, John T. Stone, Director, U. S. Department of Agriculture cooperating.
· 2M-6-60-7945-File: H 8.43


![Archaeometric analysis of ancient pottery - Horiba...Identification of Ancient Glasses used for Jewellery, Ceramics Enamels and Mosaics, J. Non-Crystalline Solids 323 [1-3] (2003)](https://img.pdfslide.net/doc/110x75/5fddaf14c295232d49563039/archaeometric-analysis-of-ancient-pottery-horiba-identification-of-ancient.jpg)