Embed Size (px)
Citation preview
© 2013 Cisco and/or its affiliates. All rights reserved. This document is Cisco Public. Page 1 of 15
IT Essentials 5.0
5.2.1.5 Lab - Install Windows 7 Introduction Print and complete this lab. In this lab, you will install the Windows 7 operating system. Recommended Equipment
The following equipment is required for this exercise: • A computer with a blank hard disk drive. • Windows 7 installation DVD or USB flash drive.
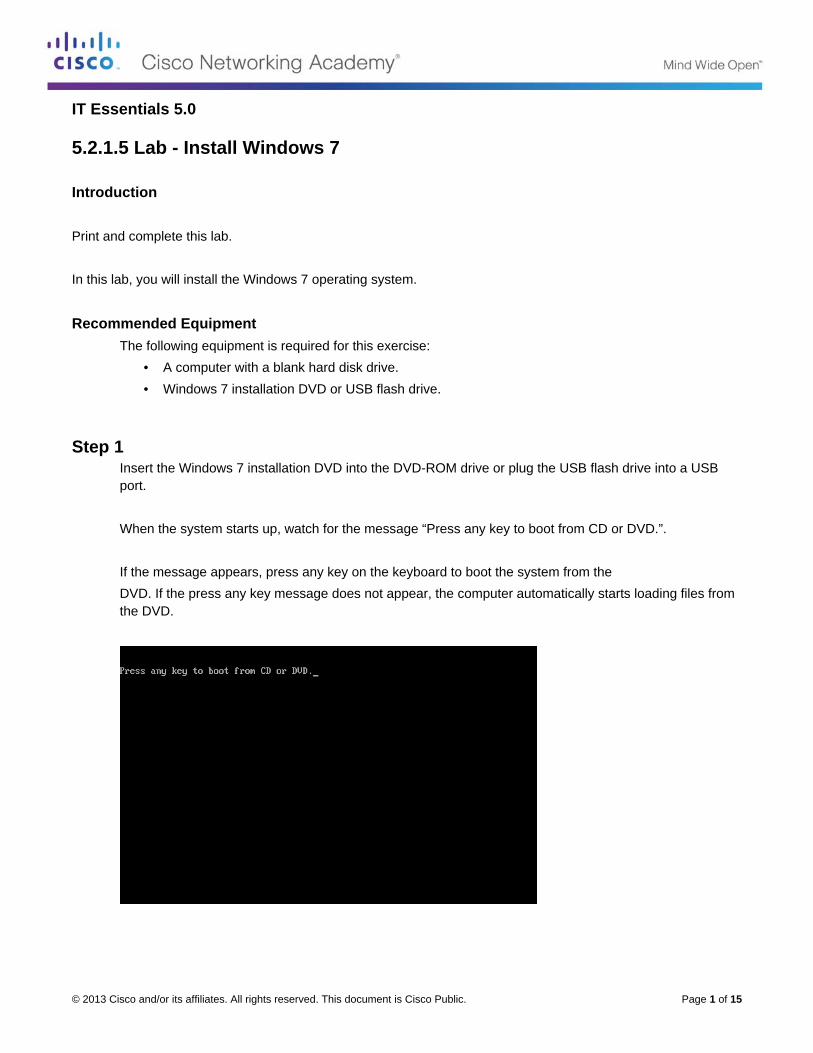
Step 1 Insert the Windows 7 installation DVD into the DVD-ROM drive or plug the USB flash drive into a USB port. When the system starts up, watch for the message “Press any key to boot from CD or DVD.”. If the message appears, press any key on the keyboard to boot the system from the DVD. If the press any key message does not appear, the computer automatically starts loading files from the DVD.
IT Essentials Chapter 5 Lab
© 2013 Cisco and/or its affiliates. All rights reserved. This document is Cisco Public. Page 2 of 15
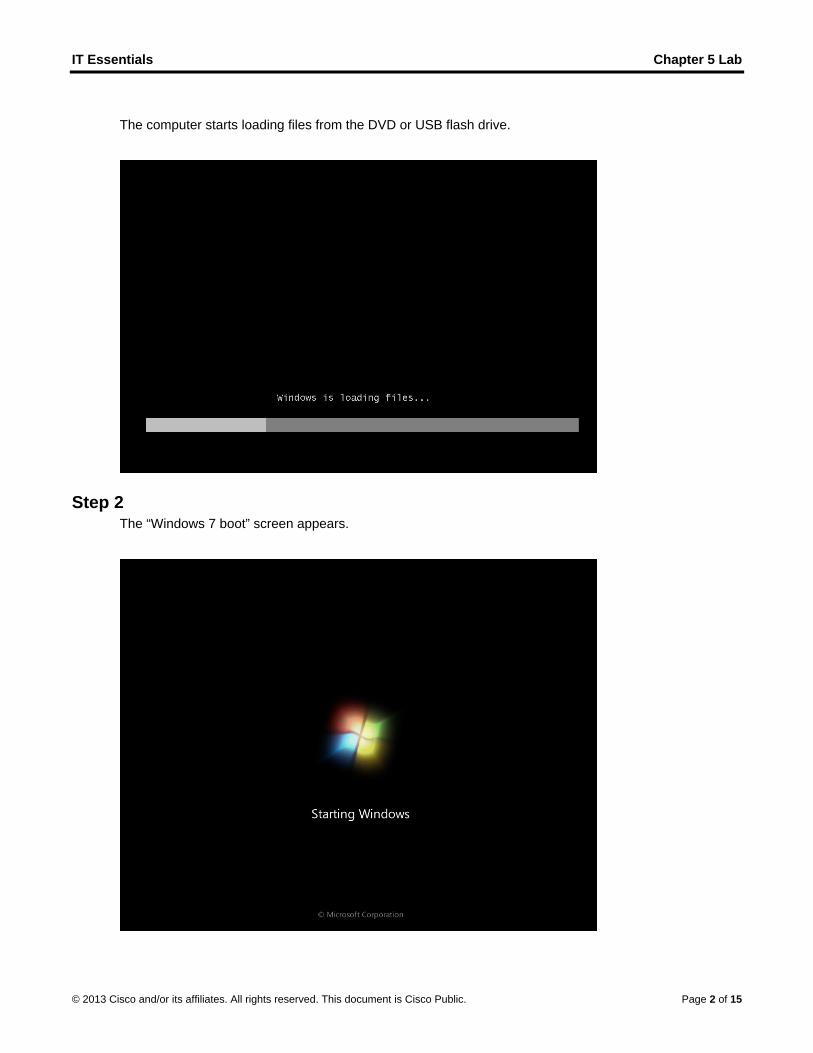
The computer starts loading files from the DVD or USB flash drive.
Step 2 The “Windows 7 boot” screen appears.
IT Essentials Chapter 5 Lab
© 2013 Cisco and/or its affiliates. All rights reserved. This document is Cisco Public. Page 3 of 15
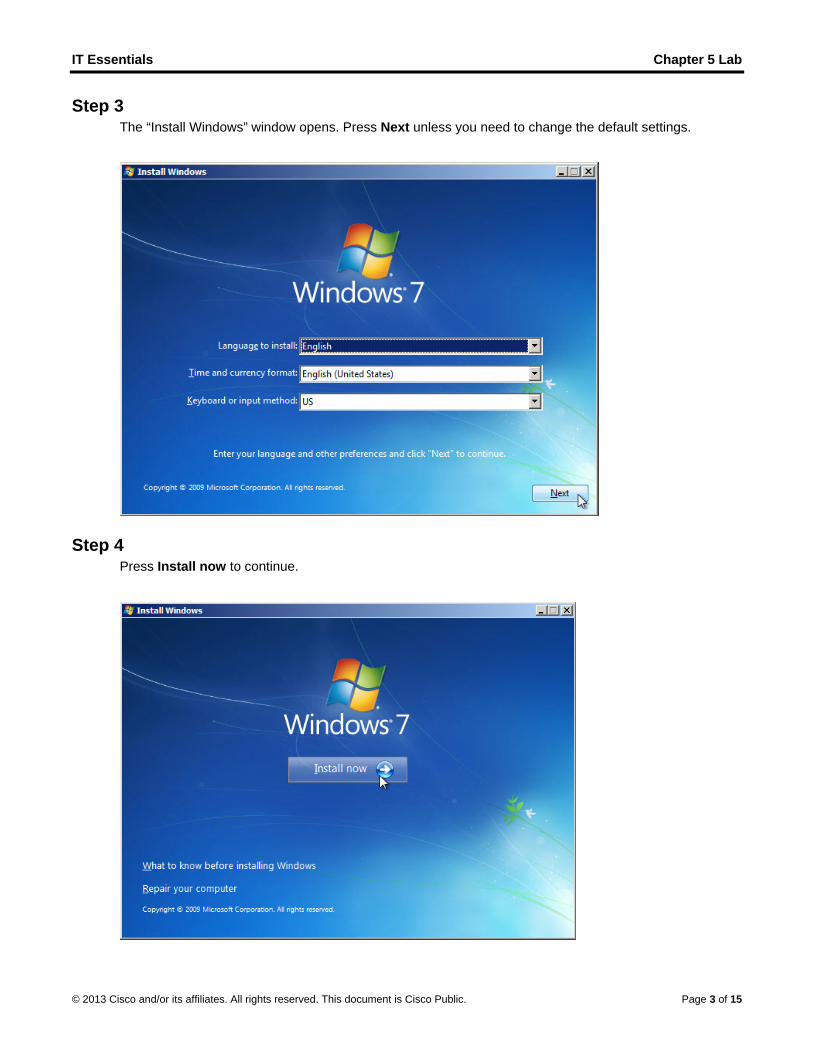
Step 3 The “Install Windows” window opens. Press Next unless you need to change the default settings.
Step 4 Press Install now to continue.
IT Essentials Chapter 5 Lab
© 2013 Cisco and/or its affiliates. All rights reserved. This document is Cisco Public. Page 4 of 15
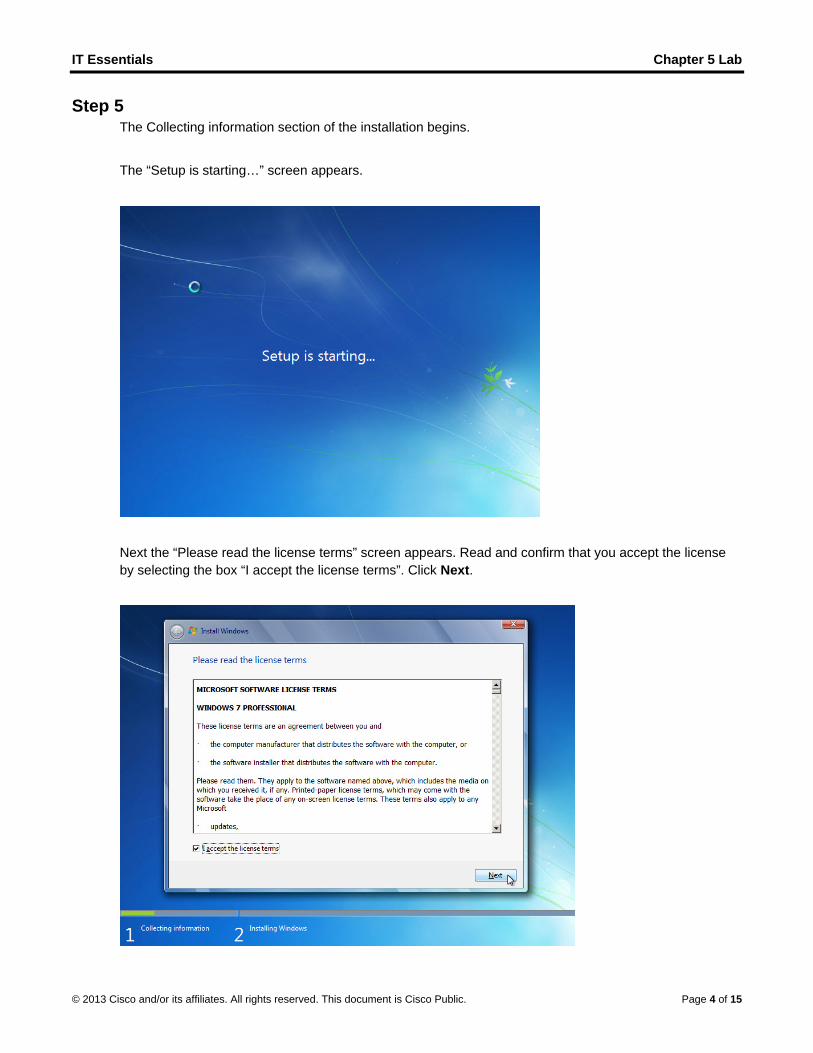
Step 5 The Collecting information section of the installation begins. The “Setup is starting…” screen appears.
Next the “Please read the license terms” screen appears. Read and confirm that you accept the license by selecting the box “I accept the license terms”. Click Next.
IT Essentials Chapter 5 Lab
© 2013 Cisco and/or its affiliates. All rights reserved. This document is Cisco Public. Page 5 of 15
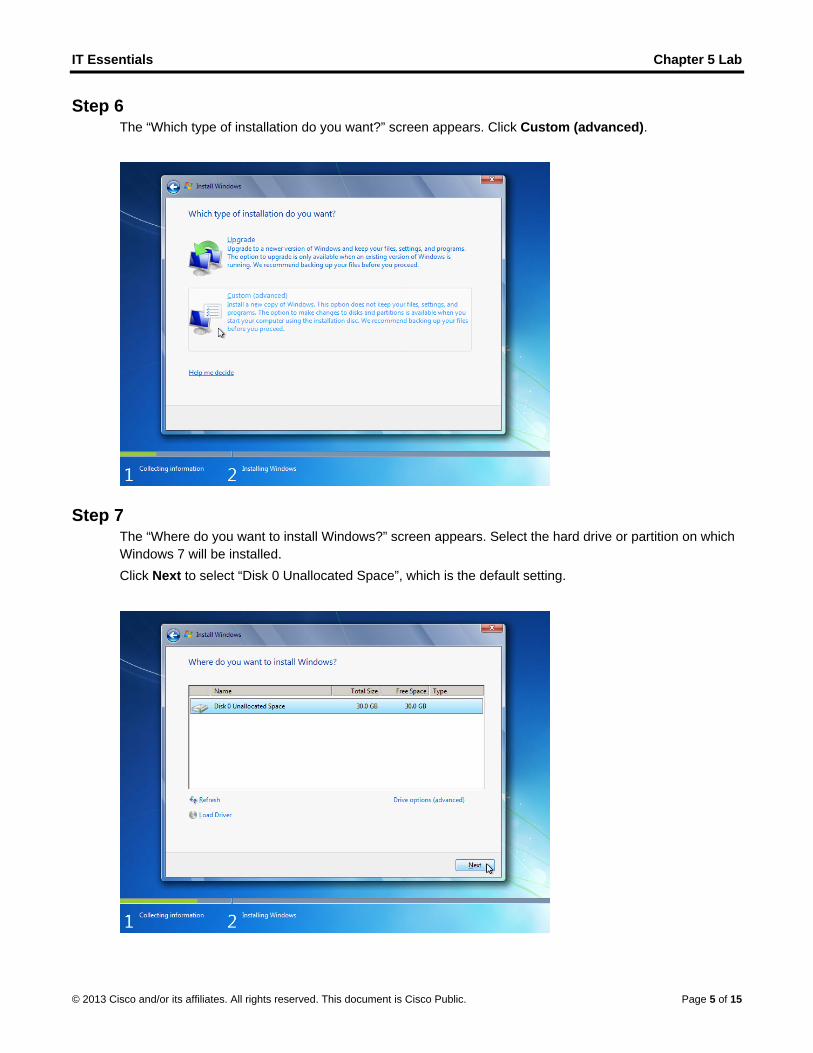
Step 6 The “Which type of installation do you want?” screen appears. Click Custom (advanced).
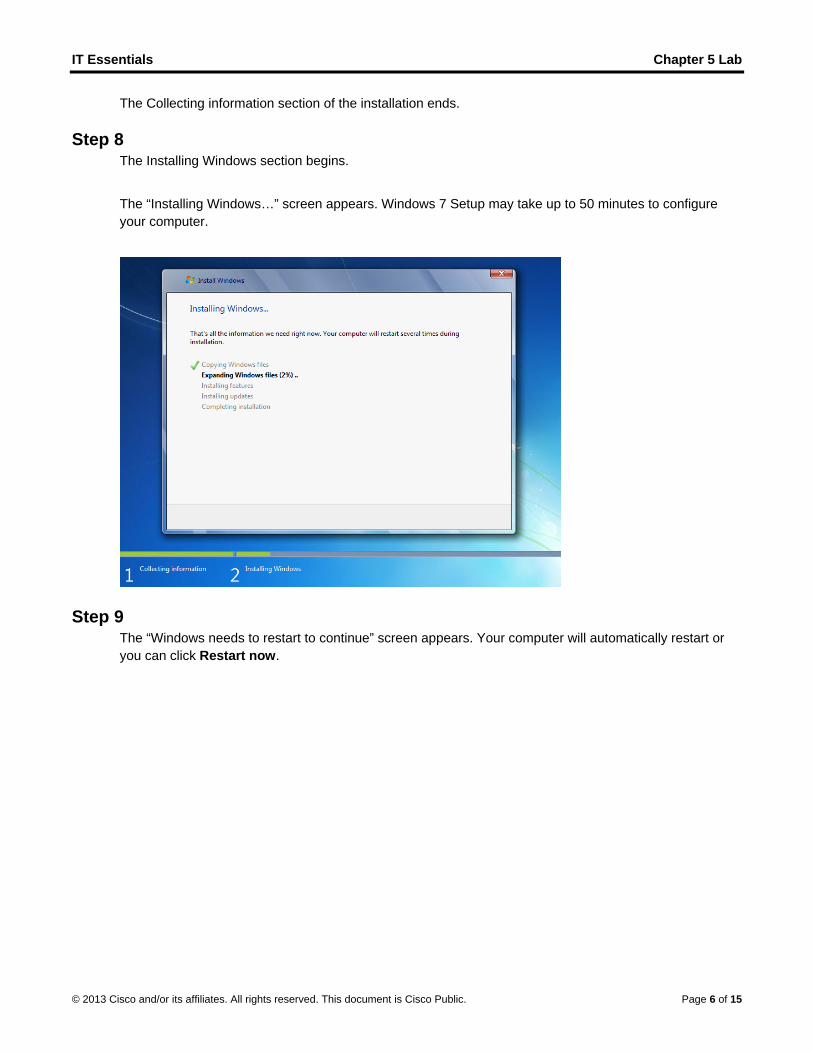
Step 7 The “Where do you want to install Windows?” screen appears. Select the hard drive or partition on which Windows 7 will be installed. Click Next to select “Disk 0 Unallocated Space”, which is the default setting.
IT Essentials Chapter 5 Lab
© 2013 Cisco and/or its affiliates. All rights reserved. This document is Cisco Public. Page 6 of 15
The Collecting information section of the installation ends.
Step 8 The Installing Windows section begins. The “Installing Windows…” screen appears. Windows 7 Setup may take up to 50 minutes to configure your computer.
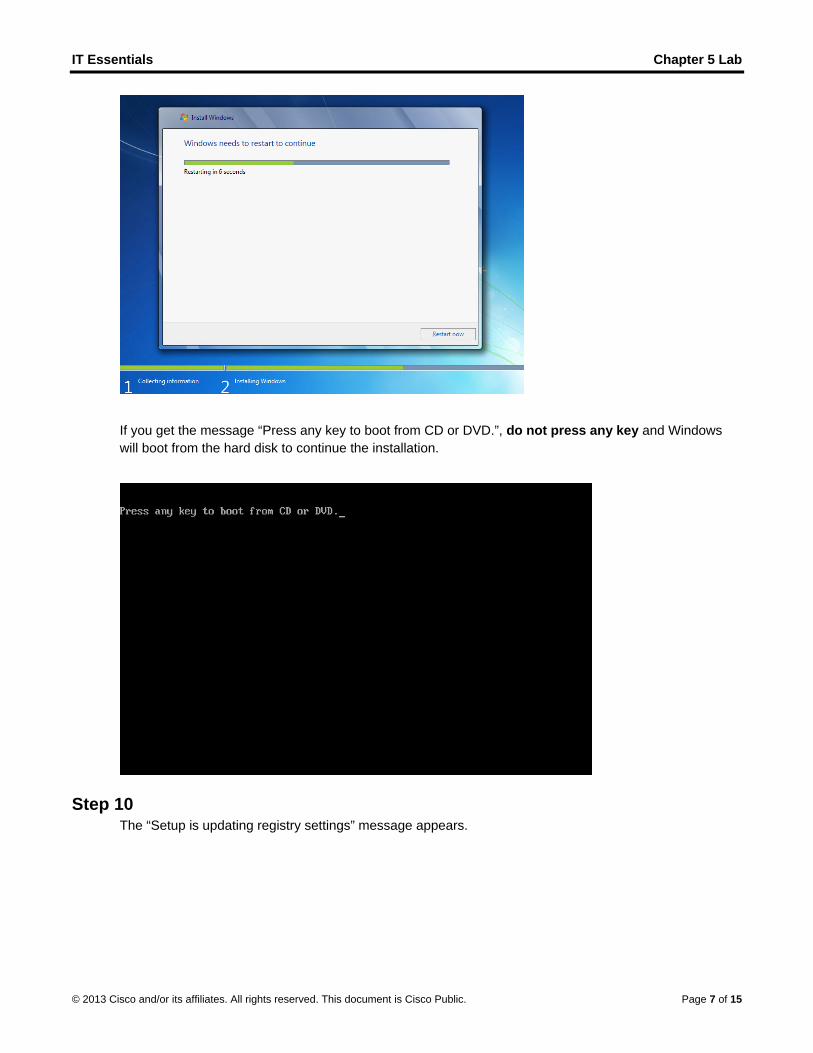
Step 9 The “Windows needs to restart to continue” screen appears. Your computer will automatically restart or you can click Restart now.
IT Essentials Chapter 5 Lab
© 2013 Cisco and/or its affiliates. All rights reserved. This document is Cisco Public. Page 7 of 15
If you get the message “Press any key to boot from CD or DVD.”, do not press any key and Windows will boot from the hard disk to continue the installation.
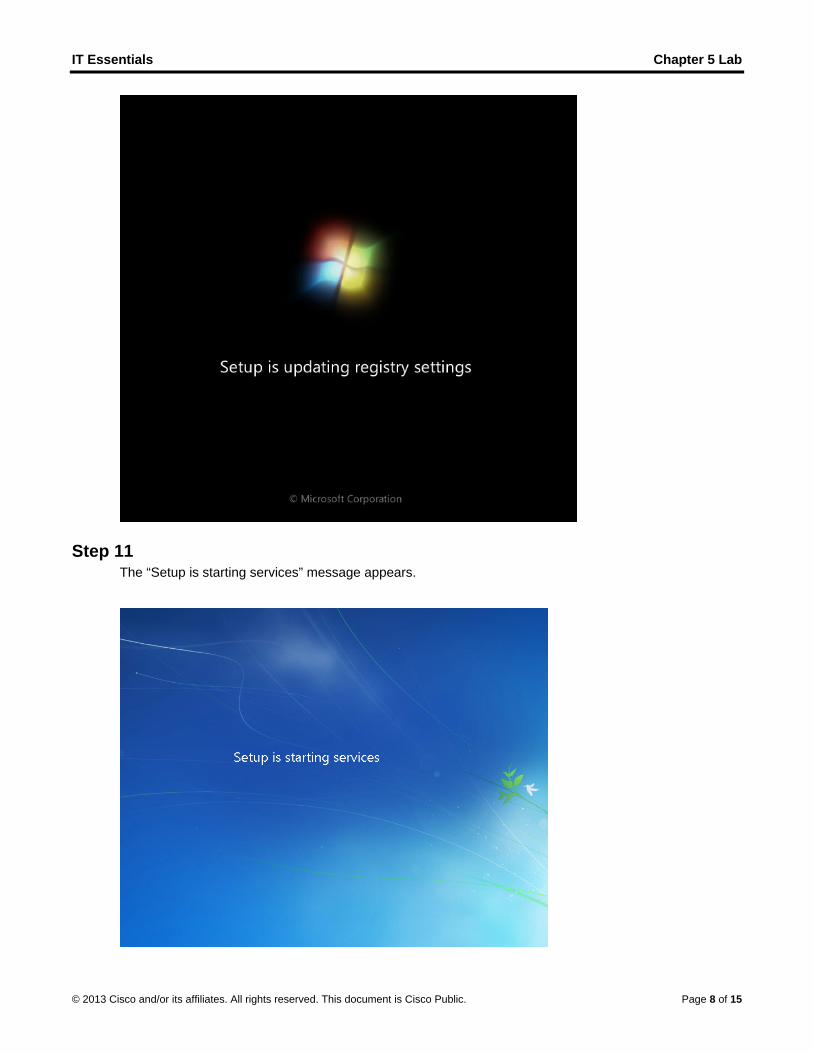
Step 10 The “Setup is updating registry settings” message appears.
IT Essentials Chapter 5 Lab
© 2013 Cisco and/or its affiliates. All rights reserved. This document is Cisco Public. Page 8 of 15
Step 11 The “Setup is starting services” message appears.
IT Essentials Chapter 5 Lab
© 2013 Cisco and/or its affiliates. All rights reserved. This document is Cisco Public. Page 9 of 15
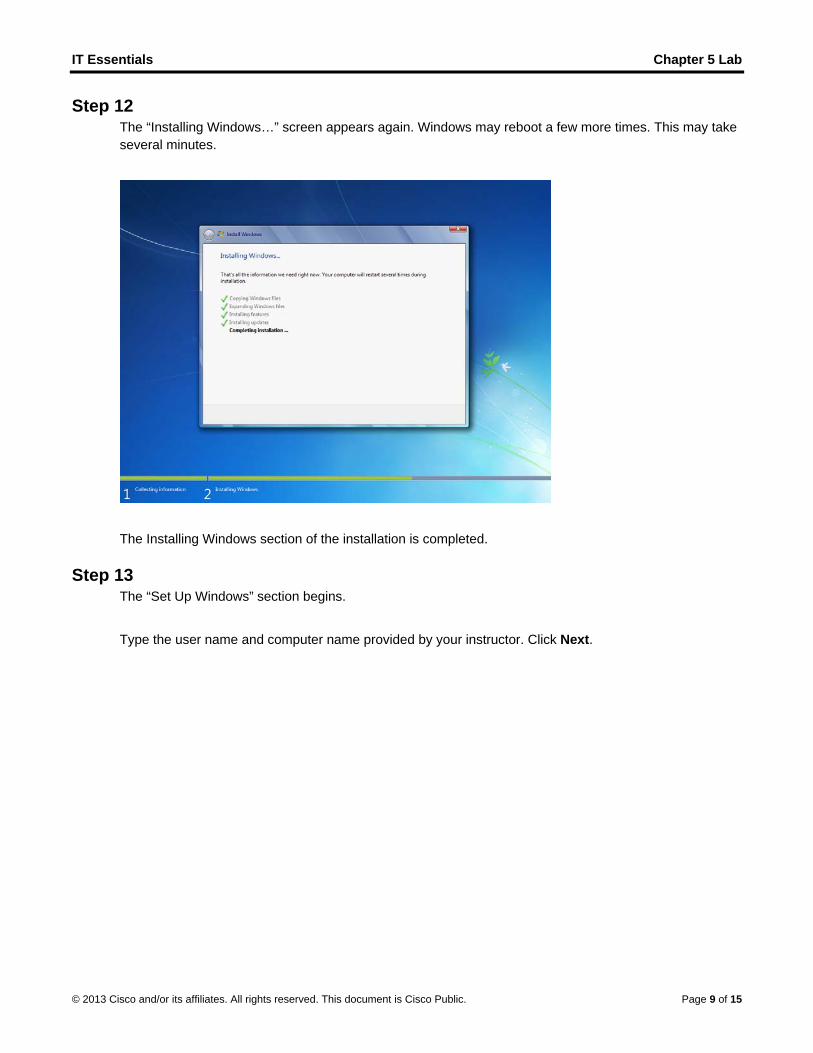
Step 12 The “Installing Windows…” screen appears again. Windows may reboot a few more times. This may take several minutes.
The Installing Windows section of the installation is completed.
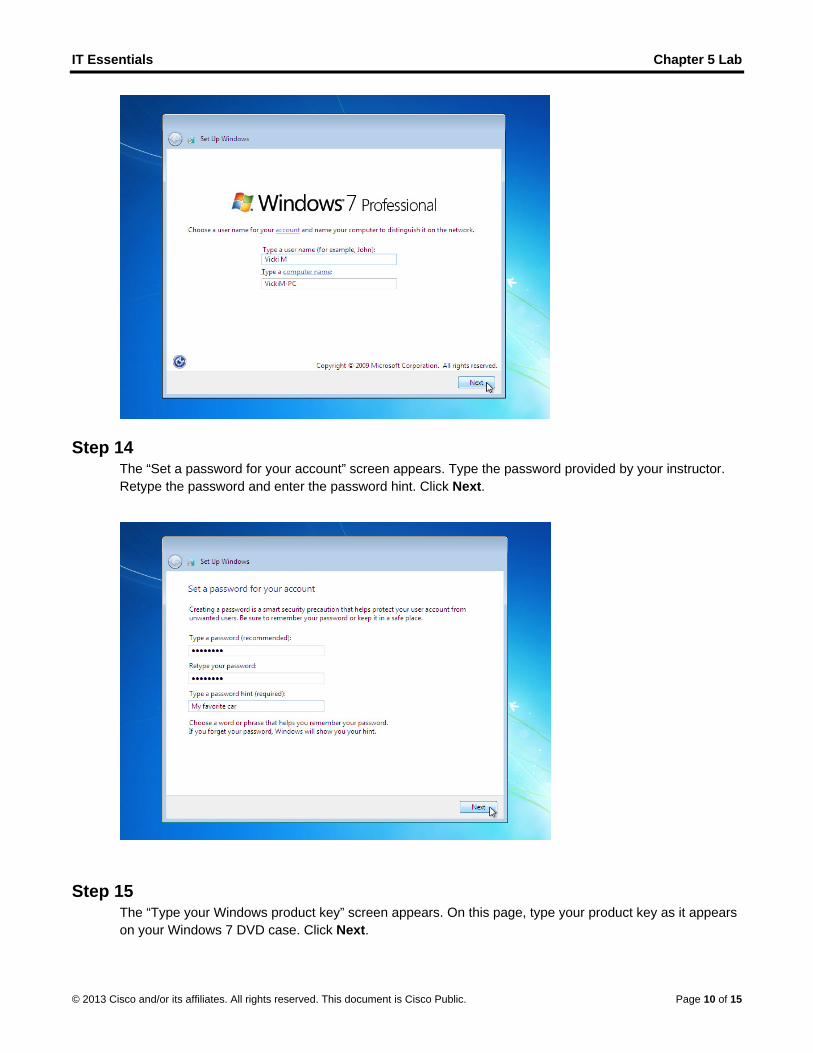
Step 13 The “Set Up Windows” section begins. Type the user name and computer name provided by your instructor. Click Next.
IT Essentials Chapter 5 Lab
© 2013 Cisco and/or its affiliates. All rights reserved. This document is Cisco Public. Page 10 of 15
Step 14 The “Set a password for your account” screen appears. Type the password provided by your instructor. Retype the password and enter the password hint. Click Next.
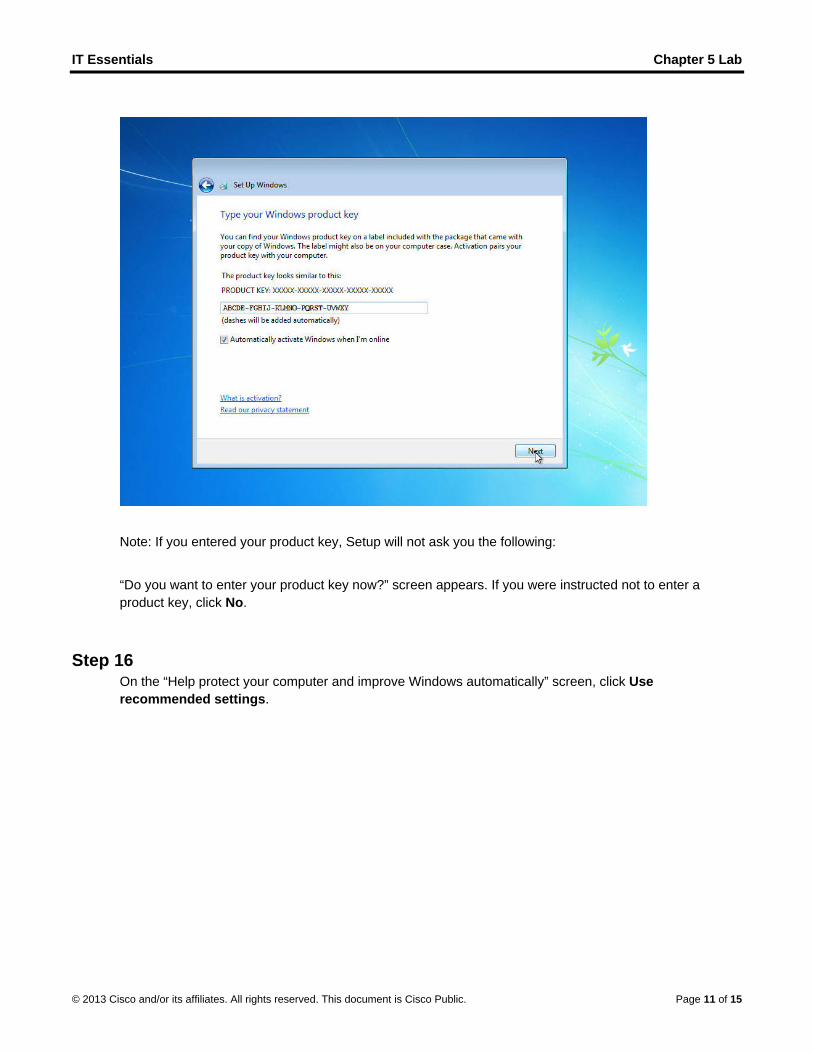
Step 15 The “Type your Windows product key” screen appears. On this page, type your product key as it appears on your Windows 7 DVD case. Click Next.
IT Essentials Chapter 5 Lab
© 2013 Cisco and/or its affiliates. All rights reserved. This document is Cisco Public. Page 11 of 15
Note: If you entered your product key, Setup will not ask you the following: “Do you want to enter your product key now?” screen appears. If you were instructed not to enter a product key, click No.
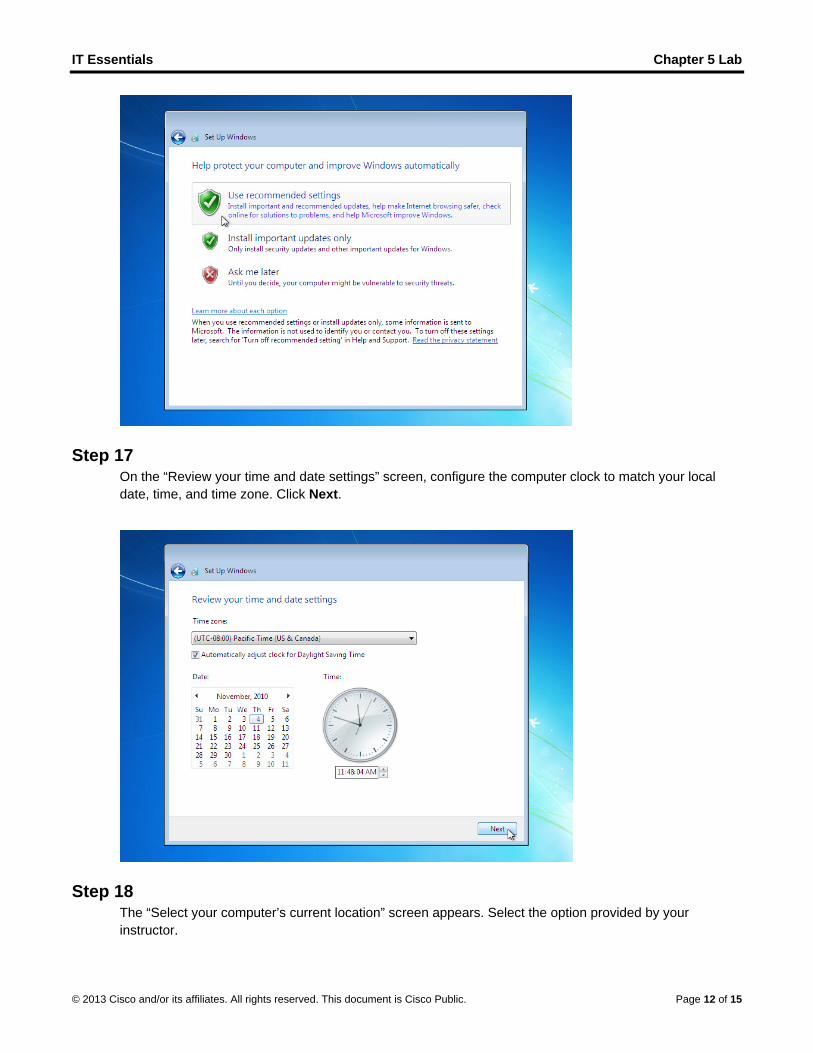
Step 16 On the “Help protect your computer and improve Windows automatically” screen, click Use recommended settings.
IT Essentials Chapter 5 Lab
© 2013 Cisco and/or its affiliates. All rights reserved. This document is Cisco Public. Page 12 of 15
Step 17 On the “Review your time and date settings” screen, configure the computer clock to match your local date, time, and time zone. Click Next.
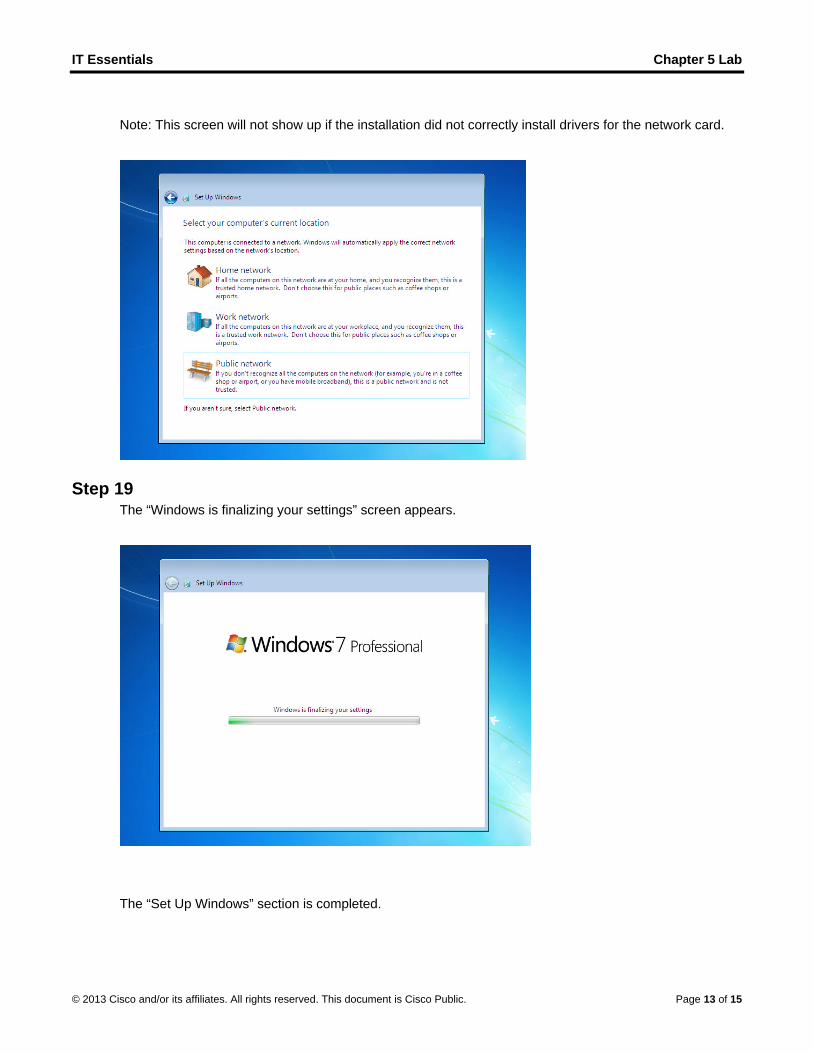
Step 18 The “Select your computer’s current location” screen appears. Select the option provided by your instructor.
IT Essentials Chapter 5 Lab
© 2013 Cisco and/or its affiliates. All rights reserved. This document is Cisco Public. Page 13 of 15
Note: This screen will not show up if the installation did not correctly install drivers for the network card.
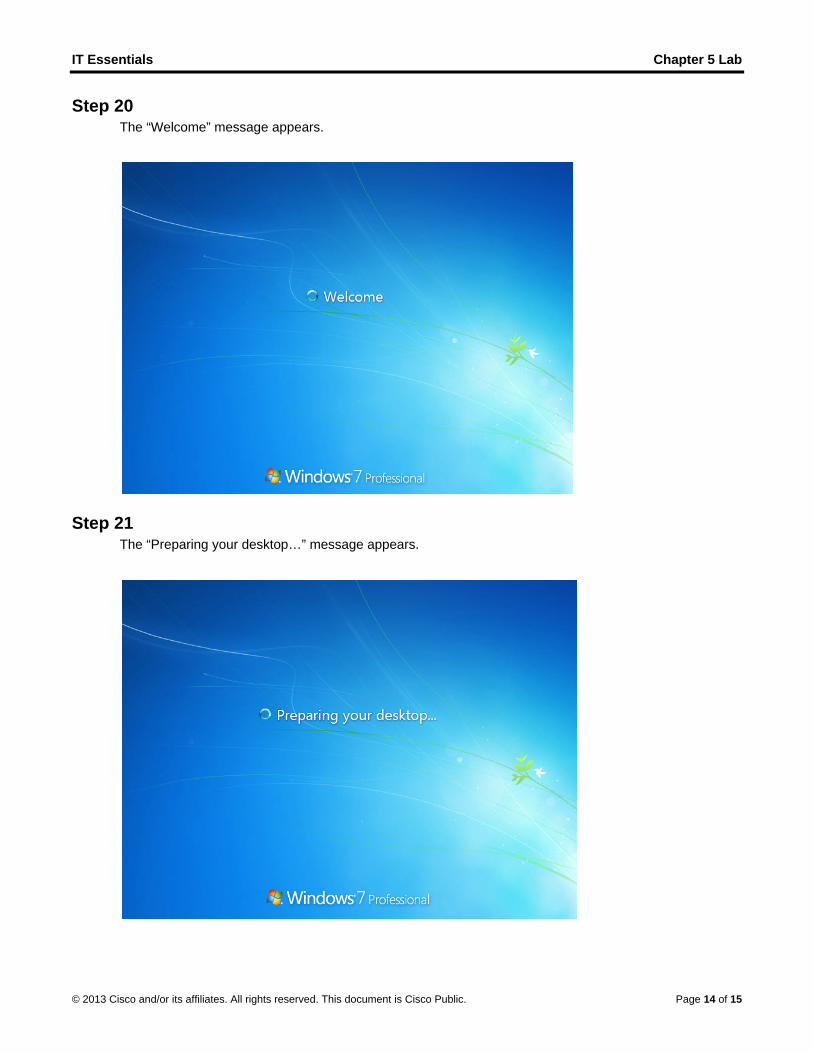
Step 19 The “Windows is finalizing your settings” screen appears.
The “Set Up Windows” section is completed.
IT Essentials Chapter 5 Lab
© 2013 Cisco and/or its affiliates. All rights reserved. This document is Cisco Public. Page 14 of 15
Step 20 The “Welcome” message appears.
Step 21 The “Preparing your desktop…” message appears.
IT Essentials Chapter 5 Lab
© 2013 Cisco and/or its affiliates. All rights reserved. This document is Cisco Public. Page 15 of 15
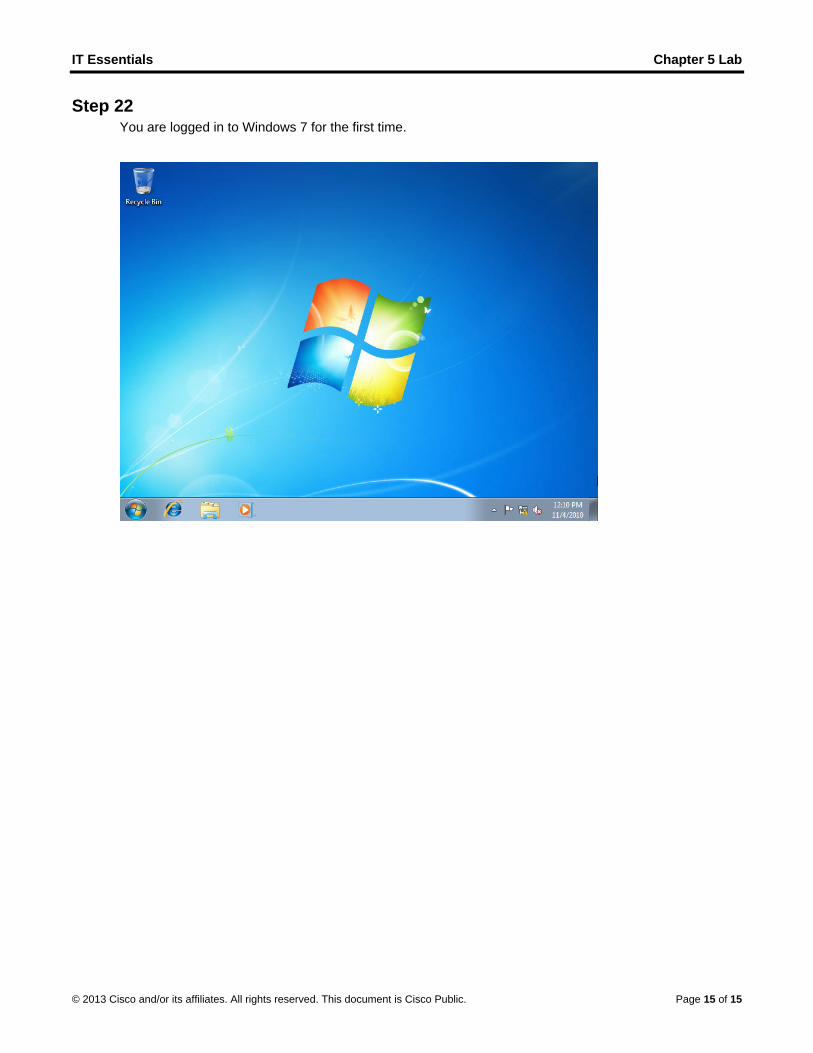
Step 22 You are logged in to Windows 7 for the first time.