Embed Size (px)
Citation preview

ADOBE INDESIGN CS3 SCRIPTING:WORKING WITH TRANSFORMATIONS
IN VBSCRIPT

Adobe® InDesign® CS3 Scripting: Working with Transformations in VBScript
© 2007 Adobe Systems Incorporated. All rights reserved.
Adobe, the Adobe logo, and InDesign are either registered trademarks or trademarks of Adobe Systems Incorporated in the United States and/or other countries. All other trademarks are the property of their respective owners.
The information in this document is furnished for informational use only, is subject to change without notice, and should not be construed as a commitment by Adobe Systems Incorporated. Adobe Systems Incorporated assumes no responsibility or liability for any errors or inaccuracies that may appear in this document. The software described in this document is furnished under license and may only be used or copied in accordance with the terms of such license.
Adobe Systems Incorporated, 345 Park Avenue, San Jose, California 95110, USA.
3
Adobe InDesign CS3 Scripting: Working with Transformations in VBScript
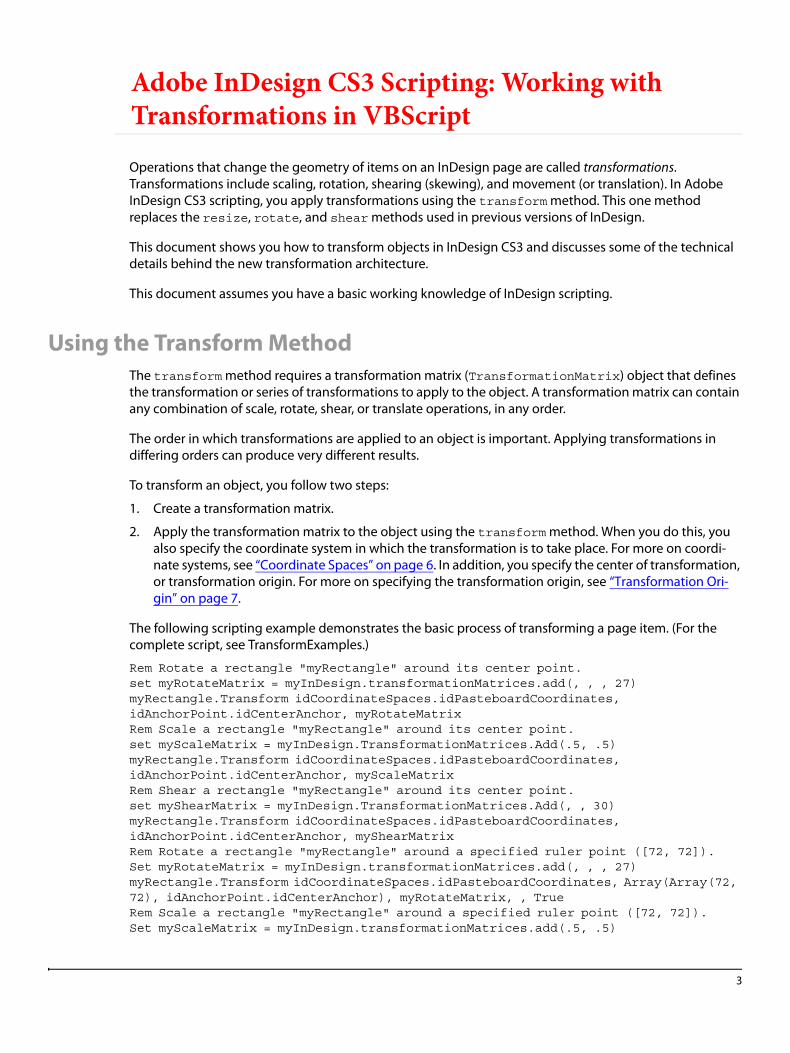
Operations that change the geometry of items on an InDesign page are called transformations. Transformations include scaling, rotation, shearing (skewing), and movement (or translation). In Adobe InDesign CS3 scripting, you apply transformations using the transform method. This one method replaces the resize, rotate, and shear methods used in previous versions of InDesign.
This document shows you how to transform objects in InDesign CS3 and discusses some of the technical details behind the new transformation architecture.
This document assumes you have a basic working knowledge of InDesign scripting.
Using the Transform MethodThe transform method requires a transformation matrix (TransformationMatrix) object that defines the transformation or series of transformations to apply to the object. A transformation matrix can contain any combination of scale, rotate, shear, or translate operations, in any order.
The order in which transformations are applied to an object is important. Applying transformations in differing orders can produce very different results.
To transform an object, you follow two steps:
1. Create a transformation matrix.
2. Apply the transformation matrix to the object using the transform method. When you do this, you also specify the coordinate system in which the transformation is to take place. For more on coordi-nate systems, see “Coordinate Spaces” on page 6. In addition, you specify the center of transformation, or transformation origin. For more on specifying the transformation origin, see “Transformation Ori-gin” on page 7.
The following scripting example demonstrates the basic process of transforming a page item. (For the complete script, see TransformExamples.)
Rem Rotate a rectangle "myRectangle" around its center point.set myRotateMatrix = myInDesign.transformationMatrices.add(, , , 27)myRectangle.Transform idCoordinateSpaces.idPasteboardCoordinates, idAnchorPoint.idCenterAnchor, myRotateMatrixRem Scale a rectangle "myRectangle" around its center point.set myScaleMatrix = myInDesign.TransformationMatrices.Add(.5, .5)myRectangle.Transform idCoordinateSpaces.idPasteboardCoordinates, idAnchorPoint.idCenterAnchor, myScaleMatrixRem Shear a rectangle "myRectangle" around its center point.set myShearMatrix = myInDesign.TransformationMatrices.Add(, , 30)myRectangle.Transform idCoordinateSpaces.idPasteboardCoordinates, idAnchorPoint.idCenterAnchor, myShearMatrixRem Rotate a rectangle "myRectangle" around a specified ruler point ([72, 72]).Set myRotateMatrix = myInDesign.transformationMatrices.add(, , , 27)myRectangle.Transform idCoordinateSpaces.idPasteboardCoordinates, Array(Array(72, 72), idAnchorPoint.idCenterAnchor), myRotateMatrix, , TrueRem Scale a rectangle "myRectangle" around a specified ruler point ([72, 72]).Set myScaleMatrix = myInDesign.transformationMatrices.add(.5, .5)
Adobe InDesign CS3 Scripting: Working with Transformations in VBScript Working with Transformation Matrices 4
myRectangle.Transform idCoordinateSpaces.idPasteboardCoordinates, Array(Array(72, 72), idAnchorPoint.idCenterAnchor), myScaleMatrix, , True
For a script that ”wraps” transformation routines in a series of easy-to-use functions, refer to the Transform script.
Working with Transformation MatricesA transformation matrix cannot be changed once it has been created, but a variety of methods can interact with the transformation matrix to create a new transformation matrix based on the existing transformation matrix. In the following examples, we show how to apply transformations to a transformation matrix and replace the original matrix. (For the complete script, see TransformMatrix.)
Rem Scale a transformation matrix by 50% in Rem both horizontal and vertical dimensions.var myTransformationMatrix = myTransformationMatrix.scaleMatrix(.5, .5);var myTransformationMatrix = myTransformationMatrix.scaleMatrix(.5, .5);//Rotate a transformation matrix by 45 degrees.myTransformationMatrix = myTransformationMatrix.rotateMatrix(45);//Shear a transformation matrix by 15 degrees.myTransformationMatrix = myTransformationMatrix.shearMatrix(15);
When you use the RotateMatrix method, you can use a sine or cosine value to transform the matrix, rather than an angle in degrees, as shown in the RotateMatrix script.
Rem The following statements are equivalentRem (0.25881904510252 is the sine of 15 degrees; 0.96592582628907, the cosine).Set myTransformationMatrix = myTransformationMatrix.RotateMatrix(15)Set myTransformationMatrix = myTransformationMatrix.RotateMatrix(, 0.96592582628907);Set myTransformationMatrix = myTransformationMatrix.RotateMatrix(, , 0.25881904510252);
When you use the shearMatrixmethod, you can provide a slope, rather than an angle in degrees, as shown in the ShearMatrix script.
Set myRectangle = myInDesign.Documents.Item(1).Pages.Item(1).Rectangles.Item(1)Set myTransformationMatrix = myInDesign.TransformationMatrices.Add(, , 0)Rem ShearMatrix can take the following parameters: byAngle, bySlopeRem Replace the current matrix with the sheared matrix.Set myTransformationMatrix = myTransformationMatrix.ShearMatrix(45)myRectangle.Transform idCoordinateSpaces.idPasteboardCoordinates, idAnchorPoint.idCenterAnchor, myTransformationMatrixRem The following statements are equivalent. Rem slope = rise/run--so a 45 degree slope is 1.Set myTransformationMatrix = myTransformationMatrix.shearMatrix(45)Set myTransformationMatrix = myTransformationMatrix.shearMatrix(, 1)
You can get the inverse of a transformation matrix using the InvertMatrix method, as shown in the following example. (For the complete script, see InvertMatrix.) You can use the inverted transformation matrix to undo the effect of the matrix.
Set myRectangle = myInDesign.Documents.Item(1).Pages.Item(1).Rectangles.Item(1)Set myTransformationMatrix = myInDesign.TransformationMatrices.Add(, , , 30, 12, 12)myRectangle.Transform idCoordinateSpaces.idPasteboardCoordinates, idAnchorPoint.idCenterAnchor, myTransformationMatrixSet myNewRectangle = myRectangle.Duplicate

Adobe InDesign CS3 Scripting: Working with Transformations in VBScript Working with Transformation Matrices 5
Rem Move the duplicated rectangle to the location of the original Rem rectangle by inverting, then applying the transformation matrix.Set myTransformationMatrix = myTransformationMatrix.InvertMatrixmyRectangle.Transform idCoordinateSpaces.idPasteboardCoordinates, idAnchorPoint.idCenterAnchor, myTransformationMatrix
You can add transformation matrices using the CatenateMatrix method, as shown in the following example. (For the complete script, see CatenateMatrix.)
Rem Transformation matrix with counterclockwise rotation angle = 30.Set myTransformationMatrixA = myInDesign.TransformationMatrices.Add(, , , 30)Rem Transformation matrix with horizontal translation = 12, Rem vertical translation = 12.Set myTransformationMatrixB = myInDesign.TransformationMatrices.Add(, , , , 12, 12)Set myRectangle = myInDesign.Documents.Item(1).Pages.Item(1).Rectangles.Item(1)Set myNewRectangle = myRectangle.DuplicateRem Rotate the duplicated rectangle.myNewRectangle.Transform idCoordinateSpaces.idPasteboardCoordinates, idAnchorPoint.idCenterAnchor, myTransformationMatrixASet myNewRectangle = myRectangle.DuplicateRem Move the duplicate (unrotated) rectangle.myNewRectangle.Transform idCoordinateSpaces.idPasteboardCoordinates, idAnchorPoint.idCenterAnchor, myTransformationMatrixB)Rem Merge the two transformation matrices.Set myTransformationMatrix = myTransformationMatrixA.CatenateMatrix(myTransformationMatrixB)Set myNewRectangle = myRectangle.DuplicateRem The duplicated rectangle will be both moved and rotated.myNewRectangle.Transform idCoordinateSpaces.idPasteboardCoordinates, idAnchorPoint.idCenterAnchor, myTransformationMatrix
When an object is transformed, you can get the transformation matrix that was applied to it, using the TransformValuesOf method, as shown in the following script fragment. (For the complete script, see TransformValuesOf.)
Set myRectangle = myInDesign.Documents.Item(1).Pages.Item(1).Rectangles.Item(1)Rem Note that transformValuesOf() always returns an array containing a single transformationMatrix.Set myTransformArray = myRectangle.TransformValuesOf(idCoordinateSpaces.idPasteboardCoordinates)Set myTransformationMatrix = myTransformArray.Item(1)myRotationAngle = myTransformationMatrix.CounterclockwiseRotationAnglemyShearAngle = myTransformationMatrix.ClockwiseShearAnglemyXScale = myTransformationMatrix.HorizontalScaleFactormyYScale = myTransformationMatrix.VerticalScaleFactormyXTranslate = myTransformationMatrix.HorizontalTranslationmyYTranslate = myTransformationMatrix.VerticalTranslationmyString = "Rotation Angle: " & myRotationAngle & vbCrmyString = myString & "Shear Angle: " & myShearAngle & vbCrmyString = myString & "Horizontal Scale Factor: " & myXScale & vbCrmyString = myString & "Vertical Scale Factor: " & myYScale & vbCrmyString = myString & "Horizontal Translation: " & myXTranslate & vbCrmyString = myString & "Vertical Translation: " & myYTranslate & vbCr & vbCrmyString = myString & "Note that the Horizontal Translation and" & vbCrmyString = myString & "Vertical Translation values are the location" & vbCrmyString = myString & "of the center anchor in pasteboard coordinates."MsgBox myString
Adobe InDesign CS3 Scripting: Working with Transformations in VBScript Coordinate Spaces 6
Note: The values in the horizontal- and vertical-translation fields of the transformation matrix returned by this method are the location of the upper-left anchor of the object, in pasteboard coordinates.
Coordinate SpacesIn the transformation scripts we presented earlier, you might have noticed the CoordinateSpaces.pasteboardCoordinates enumeration provided as a parameter for the transform method. This parameter determines the system of coordinates, or coordinate space, in which the transform operation occurs. The coordinate space can be one of three values:
• CoordinateSpaces.pasteboardCoordinates is a coordinate space that uses points as units and extends across all spreads in a document. It does not correspond to InDesign’s rulers or zero point. Transformations applied to objects have no effect on this coordinate space (e.g., the angle of the horizontal and vertical axes do not change).
• CoordinateSpaces.parentCoordinates is the coordinate space of the parent of the object. Any transformations applied to the parent affect the parent coordinates; for example, totating the parent object changes the angle of the horizontal and vertical axes of this coordinate space. In this case, the parent object refers to the group or page item containing the object; if the parent of the object is a page or spread, parent coordinates are the same as pasteboard coordinates.
• CoordinateSpaces.innerCoordinates is a coordinate space based on the object itself.
The following script shows the differences between the three coordinate spaces. (For the complete script, see CoordinateSpaces.)
Set myRectangle = myInDesign.Documents.Item(1).Pages.Item(1).Groups.Item(1).Rectangles.Item(1)'myString = "The page contains a group which has been" & vbCrmyString = myString & "rotated 45 degrees (counterclockwise)." & vbCrmyString = myString & "The rectangle inside the group was" & vbCrmyString = myString & "rotated 45 degrees counterclockwise" & vbCrmyString = myString & "before it was added to the group." & vbCr & vbcrmyString = myString & "Watch as we apply a series of scaling" & vbCrmyString = myString & "operations in different coordinate spaces." & vbCr & vbCrmyString = myString & "(You might need to move the alert aside" & vbCrmyString = myString & "to see the effect of the transformations.)" & vbCrMsgBox myStringRem Create a transformation matrix with horizontal scale factor = 2.Set myTransformationMatrix = myInDesign.TransformationMatrices.Add(2)Rem Transform the rectangle using inner coordinates.myRectangle.Transform idCoordinateSpaces.idInnerCoordinates, idAnchorPoint.idCenterAnchor, myTransformationMatrixRem Select the rectangle and display an alert.myInDesign.Select myRectangleMsgBox "Transformed by inner coordinates."Rem Undo the transformation.myInDesign.Documents.Item(1).UndoRem Transform using parent coordinates.myRectangle.Transform idCoordinateSpaces.idParentCoordinates, idAnchorPoint.idCenterAnchor, myTransformationMatrixmyInDesign.Select myRectangleMsgBox "Transformed by parent coordinates."myInDesign.Documents.Item(1).UndoRem Transform using pasteboard coordinates.myRectangle.Transform idCoordinateSpaces.idPasteboardCoordinates, idAnchorPoint.idCenterAnchor, myTransformationMatrix
Adobe InDesign CS3 Scripting: Working with Transformations in VBScript Transformation Origin 7
myInDesign.Select myRectangleMsgBox "Transformed by pasteboard coordinates."myInDesign.Documents.Item(1).Undo
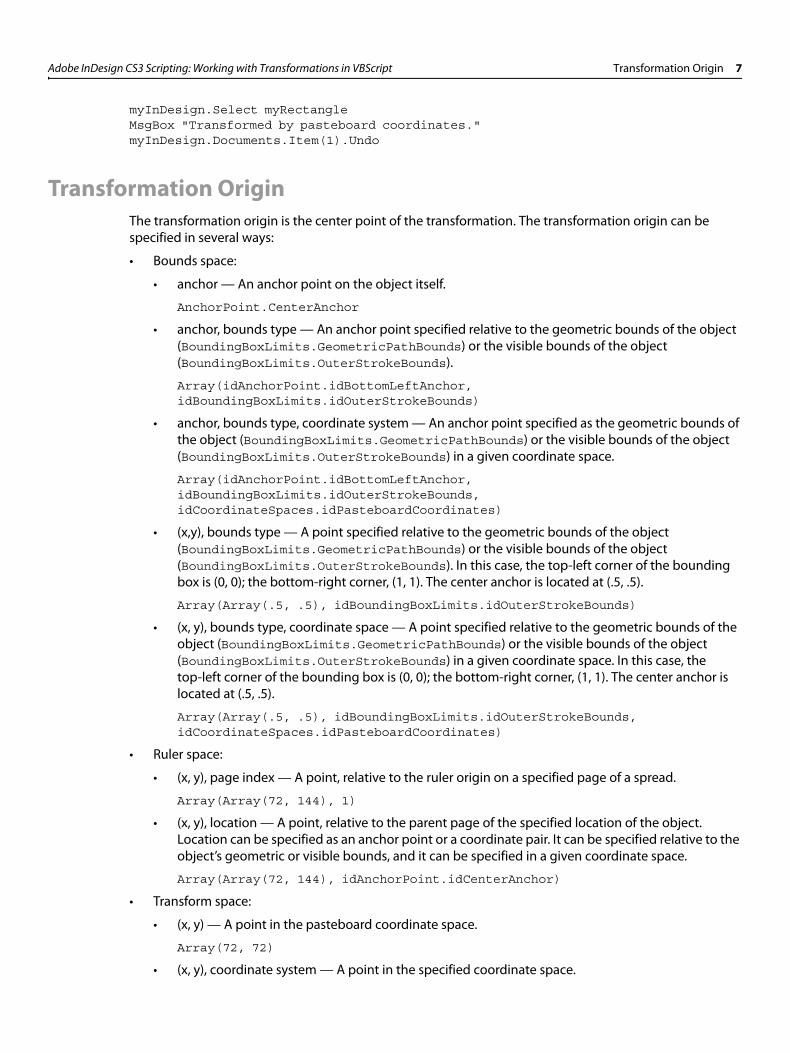
Transformation OriginThe transformation origin is the center point of the transformation. The transformation origin can be specified in several ways:
• Bounds space:
• anchor — An anchor point on the object itself.
AnchorPoint.CenterAnchor
• anchor, bounds type — An anchor point specified relative to the geometric bounds of the object (BoundingBoxLimits.GeometricPathBounds) or the visible bounds of the object (BoundingBoxLimits.OuterStrokeBounds).
Array(idAnchorPoint.idBottomLeftAnchor, idBoundingBoxLimits.idOuterStrokeBounds)
• anchor, bounds type, coordinate system — An anchor point specified as the geometric bounds of the object (BoundingBoxLimits.GeometricPathBounds) or the visible bounds of the object (BoundingBoxLimits.OuterStrokeBounds) in a given coordinate space.
Array(idAnchorPoint.idBottomLeftAnchor, idBoundingBoxLimits.idOuterStrokeBounds, idCoordinateSpaces.idPasteboardCoordinates)
• (x,y), bounds type — A point specified relative to the geometric bounds of the object (BoundingBoxLimits.GeometricPathBounds) or the visible bounds of the object (BoundingBoxLimits.OuterStrokeBounds). In this case, the top-left corner of the bounding box is (0, 0); the bottom-right corner, (1, 1). The center anchor is located at (.5, .5).
Array(Array(.5, .5), idBoundingBoxLimits.idOuterStrokeBounds)
• (x, y), bounds type, coordinate space — A point specified relative to the geometric bounds of the object (BoundingBoxLimits.GeometricPathBounds) or the visible bounds of the object (BoundingBoxLimits.OuterStrokeBounds) in a given coordinate space. In this case, the top-left corner of the bounding box is (0, 0); the bottom-right corner, (1, 1). The center anchor is located at (.5, .5).
Array(Array(.5, .5), idBoundingBoxLimits.idOuterStrokeBounds, idCoordinateSpaces.idPasteboardCoordinates)
• Ruler space:
• (x, y), page index — A point, relative to the ruler origin on a specified page of a spread.
Array(Array(72, 144), 1)
• (x, y), location — A point, relative to the parent page of the specified location of the object. Location can be specified as an anchor point or a coordinate pair. It can be specified relative to the object’s geometric or visible bounds, and it can be specified in a given coordinate space.
Array(Array(72, 144), idAnchorPoint.idCenterAnchor)
• Transform space:
• (x, y) — A point in the pasteboard coordinate space.
Array(72, 72)
• (x, y), coordinate system — A point in the specified coordinate space.
Adobe InDesign CS3 Scripting: Working with Transformations in VBScript Transformation Origin 8
Array(Array(72, 72), idCoordinateSpaces.idParentCoordinates
• ((x, y)) — A point in the coordinate space given as the in parameter of the transform method.
Array(Array(72, 72))
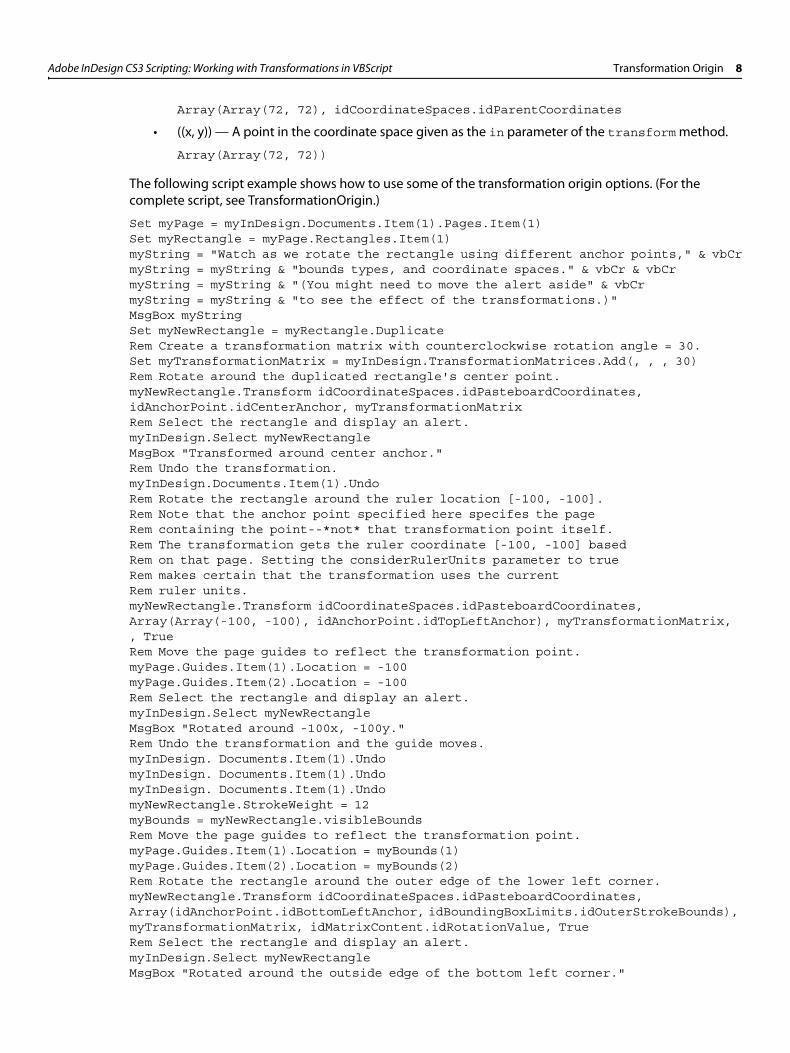
The following script example shows how to use some of the transformation origin options. (For the complete script, see TransformationOrigin.)
Set myPage = myInDesign.Documents.Item(1).Pages.Item(1)Set myRectangle = myPage.Rectangles.Item(1)myString = "Watch as we rotate the rectangle using different anchor points," & vbCrmyString = myString & "bounds types, and coordinate spaces." & vbCr & vbCrmyString = myString & "(You might need to move the alert aside" & vbCrmyString = myString & "to see the effect of the transformations.)"MsgBox myStringSet myNewRectangle = myRectangle.DuplicateRem Create a transformation matrix with counterclockwise rotation angle = 30.Set myTransformationMatrix = myInDesign.TransformationMatrices.Add(, , , 30)Rem Rotate around the duplicated rectangle's center point.myNewRectangle.Transform idCoordinateSpaces.idPasteboardCoordinates, idAnchorPoint.idCenterAnchor, myTransformationMatrixRem Select the rectangle and display an alert.myInDesign.Select myNewRectangleMsgBox "Transformed around center anchor."Rem Undo the transformation.myInDesign.Documents.Item(1).UndoRem Rotate the rectangle around the ruler location [-100, -100]. Rem Note that the anchor point specified here specifes the pageRem containing the point--*not* that transformation point itself. Rem The transformation gets the ruler coordinate [-100, -100] basedRem on that page. Setting the considerRulerUnits parameter to true Rem makes certain that the transformation uses the currentRem ruler units.myNewRectangle.Transform idCoordinateSpaces.idPasteboardCoordinates, Array(Array(-100, -100), idAnchorPoint.idTopLeftAnchor), myTransformationMatrix, , TrueRem Move the page guides to reflect the transformation point.myPage.Guides.Item(1).Location = -100myPage.Guides.Item(2).Location = -100Rem Select the rectangle and display an alert.myInDesign.Select myNewRectangleMsgBox "Rotated around -100x, -100y."Rem Undo the transformation and the guide moves.myInDesign. Documents.Item(1).UndomyInDesign. Documents.Item(1).UndomyInDesign. Documents.Item(1).UndomyNewRectangle.StrokeWeight = 12myBounds = myNewRectangle.visibleBoundsRem Move the page guides to reflect the transformation point.myPage.Guides.Item(1).Location = myBounds(1)myPage.Guides.Item(2).Location = myBounds(2)Rem Rotate the rectangle around the outer edge of the lower left corner.myNewRectangle.Transform idCoordinateSpaces.idPasteboardCoordinates, Array(idAnchorPoint.idBottomLeftAnchor, idBoundingBoxLimits.idOuterStrokeBounds), myTransformationMatrix, idMatrixContent.idRotationValue, TrueRem Select the rectangle and display an alert.myInDesign.Select myNewRectangleMsgBox "Rotated around the outside edge of the bottom left corner."
Adobe InDesign CS3 Scripting: Working with Transformations in VBScript Resolving Locations 9
Rem Undo the transformation and the guide moves.myInDesign. Documents.Item(1).UndomyInDesign. Documents.Item(1).UndomyInDesign. Documents.Item(1).UndomyInDesign. Documents.Item(1).Undo
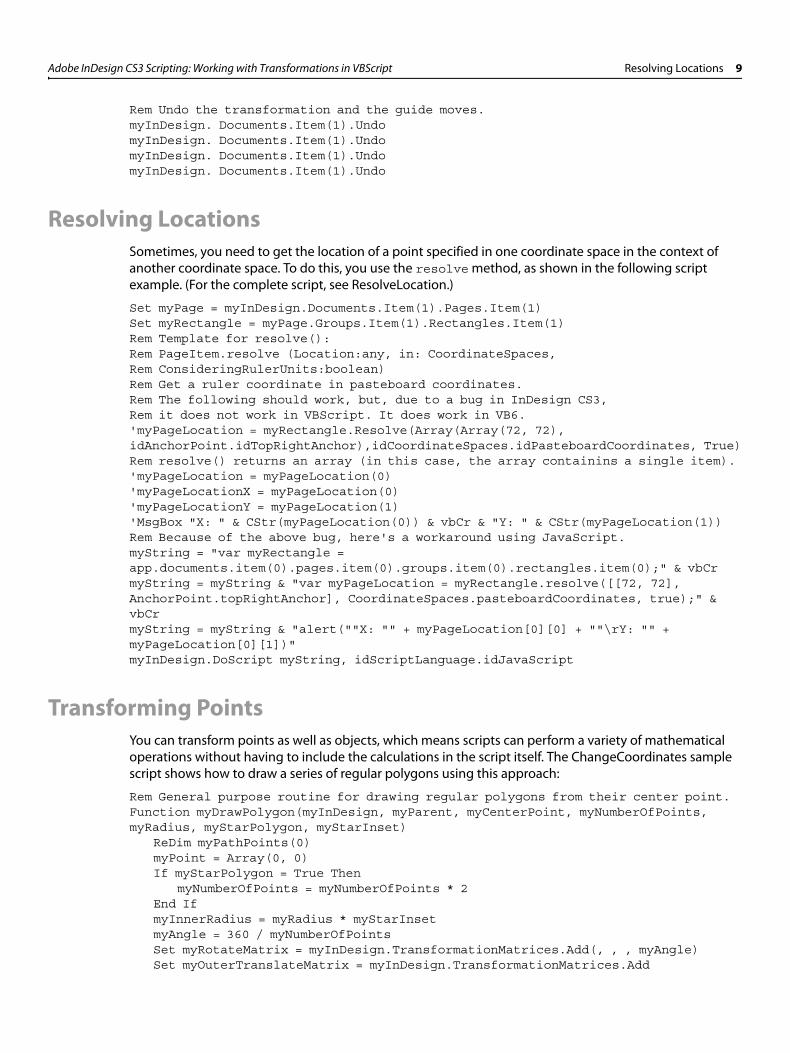
Resolving LocationsSometimes, you need to get the location of a point specified in one coordinate space in the context of another coordinate space. To do this, you use the resolve method, as shown in the following script example. (For the complete script, see ResolveLocation.)
Set myPage = myInDesign.Documents.Item(1).Pages.Item(1)Set myRectangle = myPage.Groups.Item(1).Rectangles.Item(1)Rem Template for resolve():Rem PageItem.resolve (Location:any, in: CoordinateSpaces,Rem ConsideringRulerUnits:boolean)Rem Get a ruler coordinate in pasteboard coordinates.Rem The following should work, but, due to a bug in InDesign CS3, Rem it does not work in VBScript. It does work in VB6.'myPageLocation = myRectangle.Resolve(Array(Array(72, 72), idAnchorPoint.idTopRightAnchor),idCoordinateSpaces.idPasteboardCoordinates, True)Rem resolve() returns an array (in this case, the array containins a single item).'myPageLocation = myPageLocation(0)'myPageLocationX = myPageLocation(0)'myPageLocationY = myPageLocation(1)'MsgBox "X: " & CStr(myPageLocation(0)) & vbCr & "Y: " & CStr(myPageLocation(1))Rem Because of the above bug, here's a workaround using JavaScript.myString = "var myRectangle = app.documents.item(0).pages.item(0).groups.item(0).rectangles.item(0);" & vbCrmyString = myString & "var myPageLocation = myRectangle.resolve([[72, 72], AnchorPoint.topRightAnchor], CoordinateSpaces.pasteboardCoordinates, true);" & vbCrmyString = myString & "alert(""X: "" + myPageLocation[0][0] + ""\rY: "" + myPageLocation[0][1])"myInDesign.DoScript myString, idScriptLanguage.idJavaScript
Transforming PointsYou can transform points as well as objects, which means scripts can perform a variety of mathematical operations without having to include the calculations in the script itself. The ChangeCoordinates sample script shows how to draw a series of regular polygons using this approach:
Rem General purpose routine for drawing regular polygons from their center point.Function myDrawPolygon(myInDesign, myParent, myCenterPoint, myNumberOfPoints, myRadius, myStarPolygon, myStarInset)
ReDim myPathPoints(0)myPoint = Array(0, 0)If myStarPolygon = True Then
myNumberOfPoints = myNumberOfPoints * 2End IfmyInnerRadius = myRadius * myStarInsetmyAngle = 360 / myNumberOfPointsSet myRotateMatrix = myInDesign.TransformationMatrices.Add(, , , myAngle)Set myOuterTranslateMatrix = myInDesign.TransformationMatrices.Add
Adobe InDesign CS3 Scripting: Working with Transformations in VBScript Transforming Again 10
(, , , , myRadius) Set myInnerTranslateMatrix = myInDesign.TransformationMatrices.Add
(, , , , myInnerRadius)For myPointCounter = 0 To myNumberOfPoints
Rem Translate the point to the inner/outer radius.If ((myStarInset = 1) Or (myIsEven(myPointCounter) = True)) Then
myTransformedPoint = myOuterTranslateMatrix.ChangeCoordinates(myPoint)Else
myTransformedPoint = myInnerTranslateMatrix.ChangeCoordinates(myPoint)End IfmyTransformedPoint = myRotateMatrix.ChangeCoordinates(myTransformedPoint)myPathPoints = myPush(myPathPoints, myTransformedPoint)Set myRotateMatrix = myRotateMatrix.RotateMatrix(myAngle)
NextRem Create a new polygon.Set myPolygon = myParent.Polygons.AddRem Set the entire path of the polygon to the array we've created.myPolygon.Paths.Item(1).EntirePath = myPathPointsRem If the center point is somewhere other than [0,0],Rem translate the polygon to the center point.If (myCenterPoint(0) <> 0) Or (myCenterPoint(1) <> 0) Then
Set myTranslateMatrix = myInDesign.TransformationMatrices.Add(, , , , myCenterPoint(0), myCenterPoint(1))myPolygon.Transform idCoordinateSpaces.idPasteboardCoordinates,idAnchorPoint.idCenterAnchor, myTranslateMatrix
End IfSet myDrawPolygon = myPolygon
End FunctionRem Generic function for adding a value to an array.Function myPush(myArray, myValue)
If Not (IsEmpty(myArray(0))) Then ReDim Preserve myArray(UBound(myArray) + 1)End IfSet myArray(UBound(myArray)) = myValuemyPush = myArray
End FunctionRem This function returns true if myNumber is even, false if it is not.Function myIsEven(myNumber)
myResult = myNumber Mod 2If myResult = 0 Then
myResult = TrueElse
myResult = FalseEnd IfmyIsEven = myResult
End Function
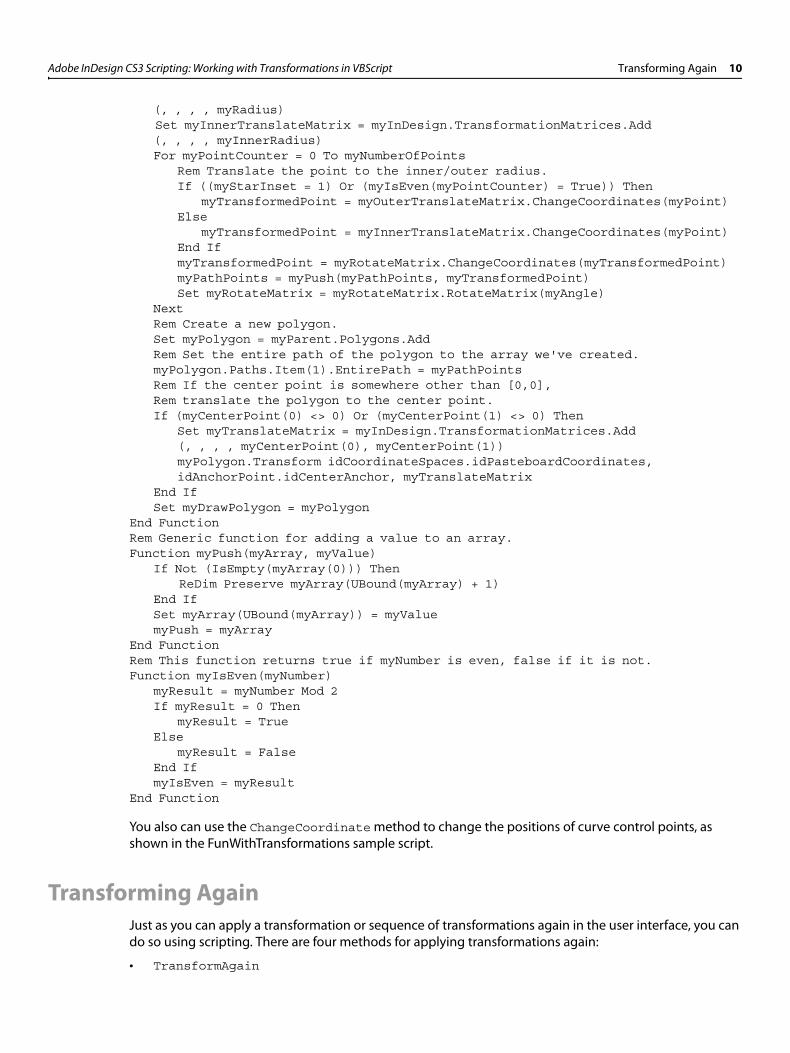
You also can use the ChangeCoordinate method to change the positions of curve control points, as shown in the FunWithTransformations sample script.
Transforming AgainJust as you can apply a transformation or sequence of transformations again in the user interface, you can do so using scripting. There are four methods for applying transformations again:
• TransformAgain

Adobe InDesign CS3 Scripting: Working with Transformations in VBScript Transforming Again 11
• TransformAgainIndividually
• TransformSequenceAgain
• TransformSequenceAgainIndividually
The following script fragment shows how to use TransformAgain. (For the complete script, see TransformAgain.)
set myRectangle = myPage.Rectangles.Item(1)myBounds = myRectangle.GeometricBoundsmyX1 = myBounds(1)myY1 = myBounds(0)Set myRectangleA = myPage.Rectangles.AddmyRectangleA.GeometricBounds = Array(myY1-12, myX1-12, myY1+12, myX1+12)Set myTransformationMatrix = myInDesign.TransformationMatrices.add(, , , 45)myRectangleA.Transform idCoordinateSpaces.idPasteboardCoordinates, idAnchorPoint.idCenterAnchor, myTransformationMatrixSet myRectangleB = myRectangleA.DuplicatemyRectangleB.Transform idCoordinateSpaces.idPasteboardCoordinates, Array(Array(0,0), idAnchorPoint.idTopLeftAnchor), myTransformationMatrix, , TrueSet myRectangleC = myRectangleB.DuplicatemyRectangleC.TransformAgainSet myRectangleD = myRectangleC.DuplicatemyRectangleD.transformAgainSet myRectangleE = myRectangleD.DuplicatemyRectangleE.TransformAgainset myRectangleF = myRectangleE.DuplicatemyRectangleF.TransformAgainset myRectangleG = myRectangleF.DuplicatemyRectangleG.TransformAgainset myRectangleH = myRectangleG.DuplicatemyRectangleH.TransformAgainmyRectangleA.Transform idCoordinateSpaces.idPasteboardCoordinates, idAnchorPoint.idCenterAnchor, myTransformationMatrixmyRectangleD.TransformAgainmyRectangleF.TransformAgainmyRectangleH.TransformAgain