Embed Size (px)
Citation preview

AP Payment Processor
Created on 11/3/2016 11:18:00 AM

Training Guide
Page i
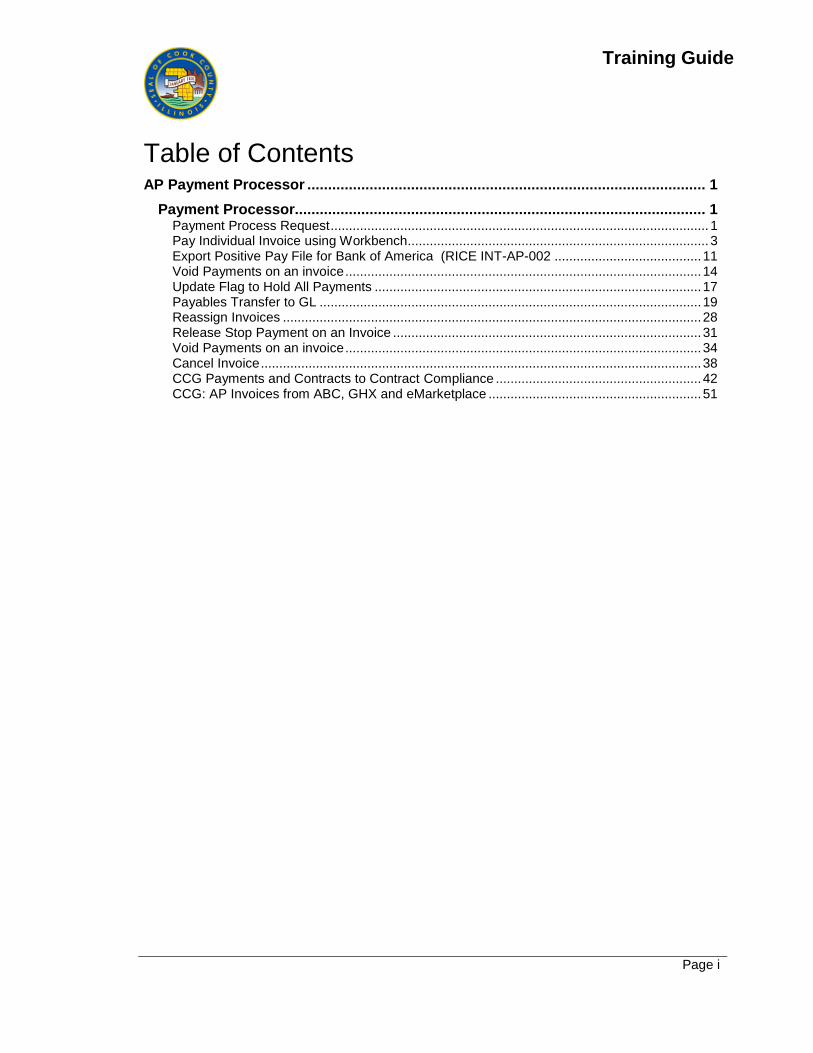
Table of Contents AP Payment Processor ................................................................................................ 1
Payment Processor................................................................................................... 1 Payment Process Request ....................................................................................................... 1 Pay Individual Invoice using Workbench.................................................................................. 3 Export Positive Pay File for Bank of America (RICE INT-AP-002 ........................................ 11 Void Payments on an invoice ................................................................................................. 14 Update Flag to Hold All Payments ......................................................................................... 17 Payables Transfer to GL ........................................................................................................ 19 Reassign Invoices .................................................................................................................. 28 Release Stop Payment on an Invoice .................................................................................... 31 Void Payments on an invoice ................................................................................................. 34 Cancel Invoice ........................................................................................................................ 38 CCG Payments and Contracts to Contract Compliance ........................................................ 42 CCG: AP Invoices from ABC, GHX and eMarketplace .......................................................... 51

Training Guide
Page 1
AP Payment Processor
Payment Processor
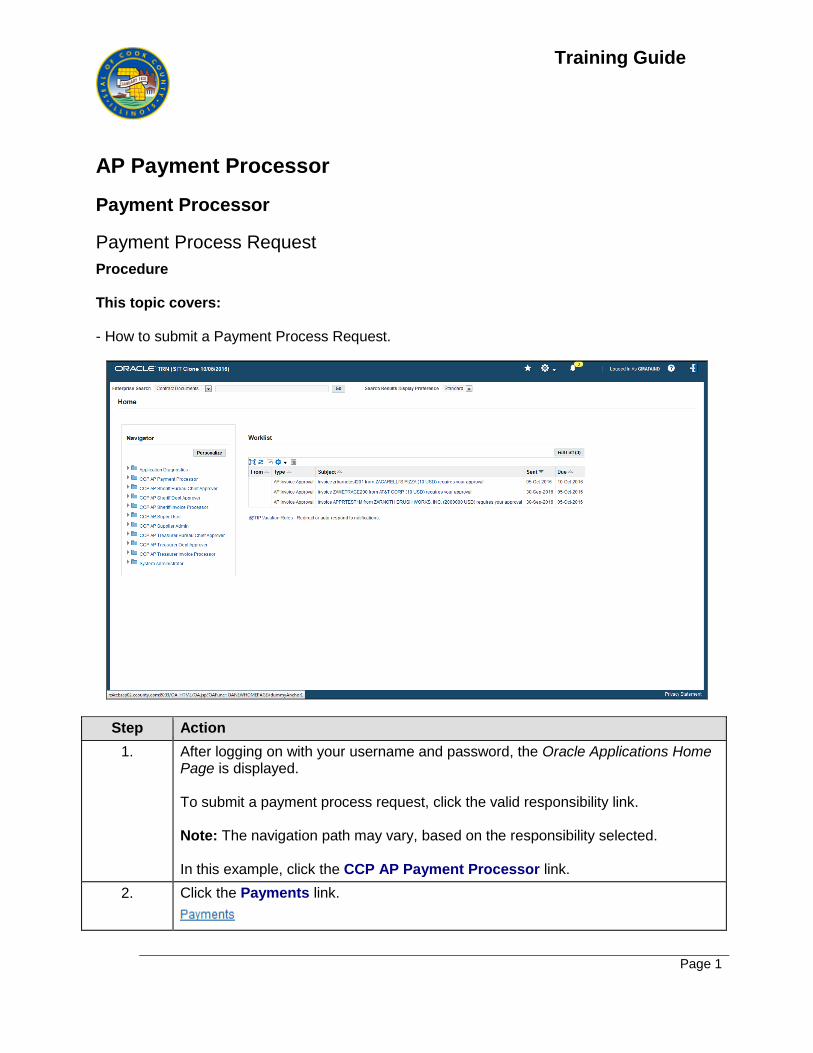
Payment Process Request
Procedure This topic covers: - How to submit a Payment Process Request.
Step Action
1. After logging on with your username and password, the Oracle Applications Home Page is displayed. To submit a payment process request, click the valid responsibility link. Note: The navigation path may vary, based on the responsibility selected. In this example, click the CCP AP Payment Processor link.
2. Click the Payments link.
Training Guide
Page 2
Step Action
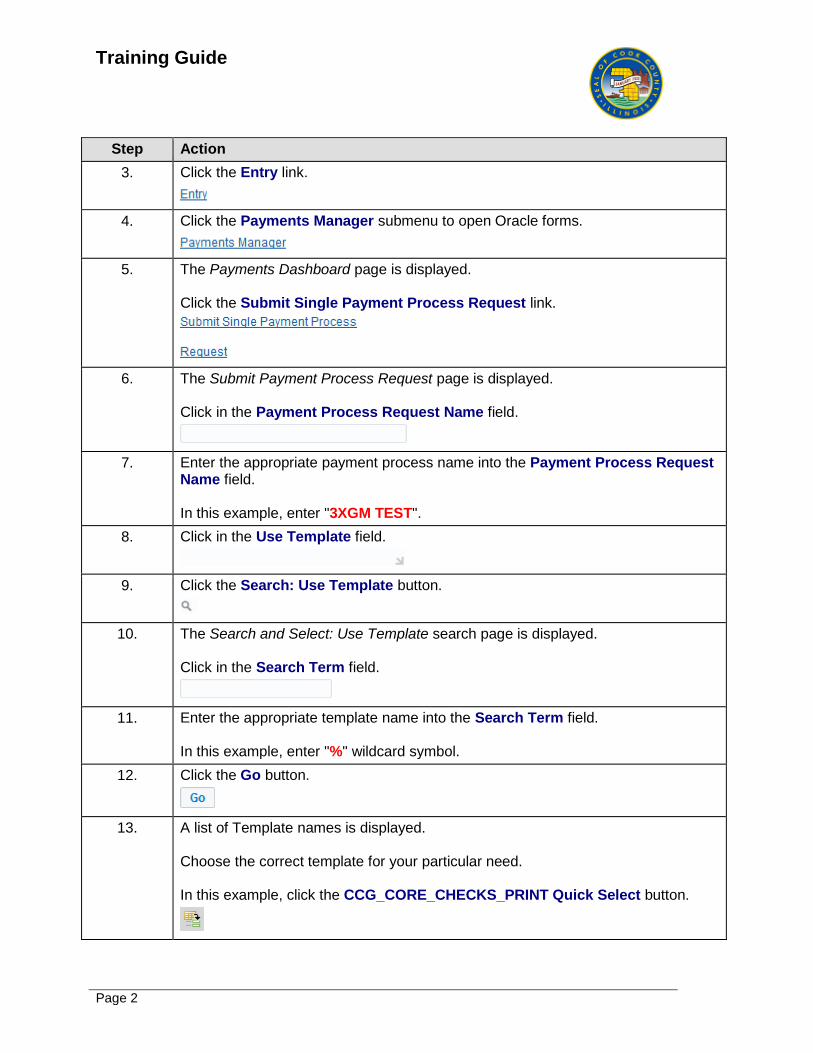
3. Click the Entry link.
4. Click the Payments Manager submenu to open Oracle forms.
5. The Payments Dashboard page is displayed. Click the Submit Single Payment Process Request link.
6. The Submit Payment Process Request page is displayed. Click in the Payment Process Request Name field.
7. Enter the appropriate payment process name into the Payment Process Request Name field. In this example, enter "3XGM TEST".
8. Click in the Use Template field.
9. Click the Search: Use Template button.
10. The Search and Select: Use Template search page is displayed. Click in the Search Term field.
11. Enter the appropriate template name into the Search Term field. In this example, enter "%" wildcard symbol.
12. Click the Go button.
13. A list of Template names is displayed. Choose the correct template for your particular need. In this example, click the CCG_CORE_CHECKS_PRINT Quick Select button.
Training Guide
Page 3
Step Action
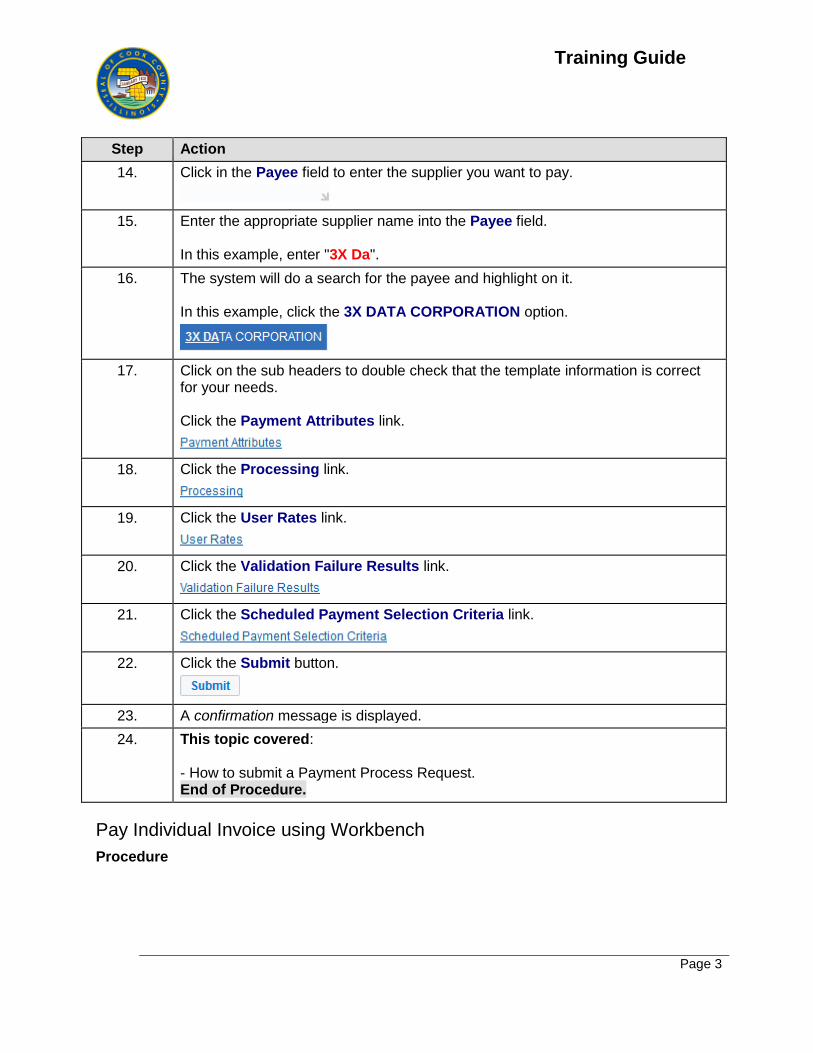
14. Click in the Payee field to enter the supplier you want to pay.
15. Enter the appropriate supplier name into the Payee field. In this example, enter "3X Da".
16. The system will do a search for the payee and highlight on it. In this example, click the 3X DATA CORPORATION option.
17. Click on the sub headers to double check that the template information is correct for your needs. Click the Payment Attributes link.
18. Click the Processing link.
19. Click the User Rates link.
20. Click the Validation Failure Results link.
21. Click the Scheduled Payment Selection Criteria link.
22. Click the Submit button.
23. A confirmation message is displayed.
24. This topic covered: - How to submit a Payment Process Request. End of Procedure.
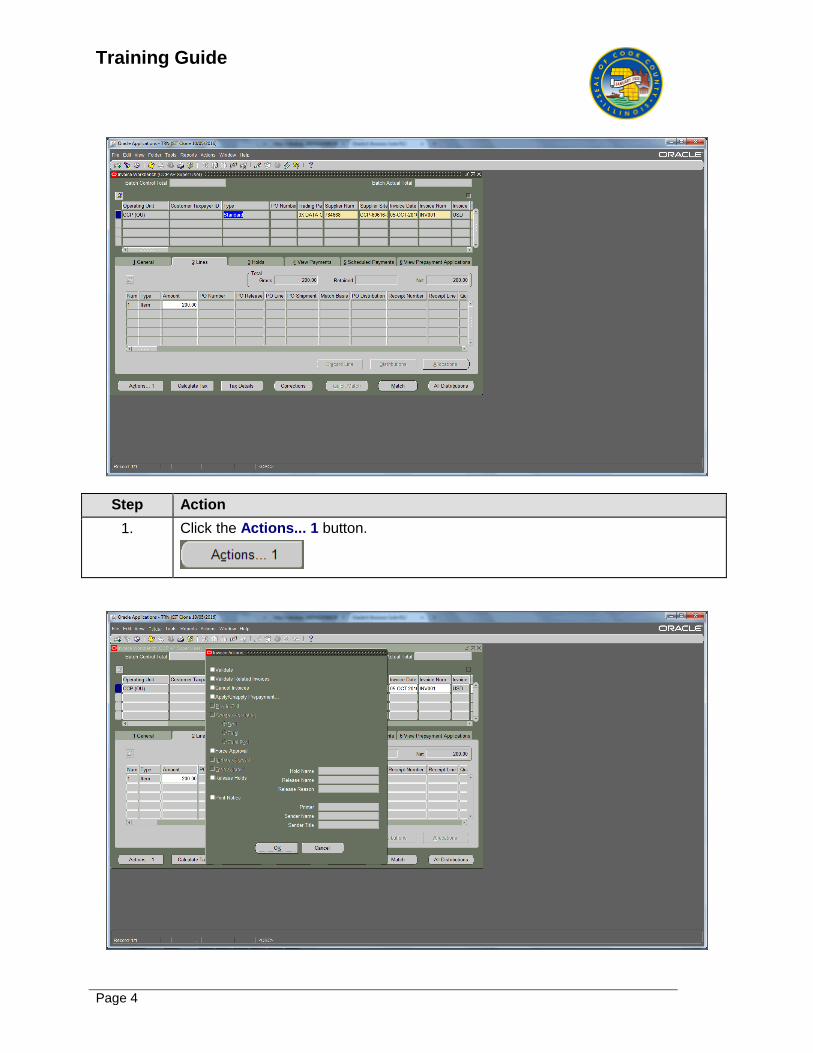
Pay Individual Invoice using Workbench
Procedure
Training Guide
Page 4
Step Action
1. Click the Actions... 1 button.
Training Guide
Page 5
Step Action
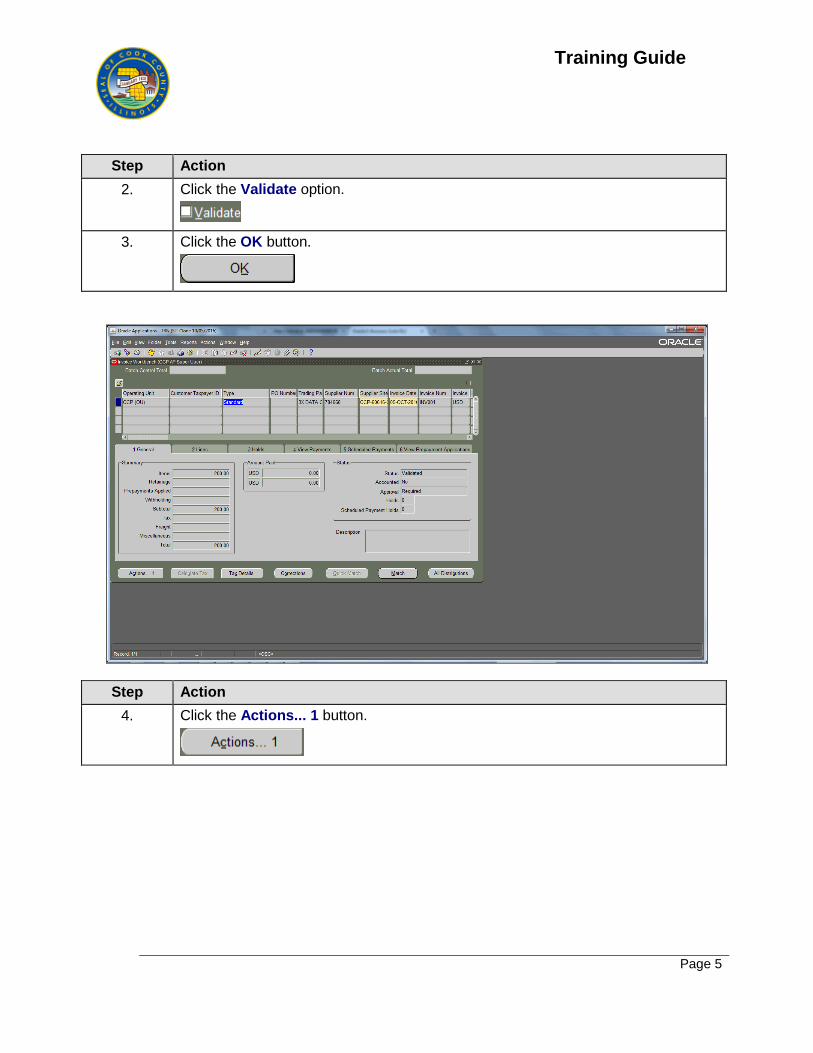
2. Click the Validate option.
3. Click the OK button.
Step Action
4. Click the Actions... 1 button.
Training Guide
Page 6
Step Action
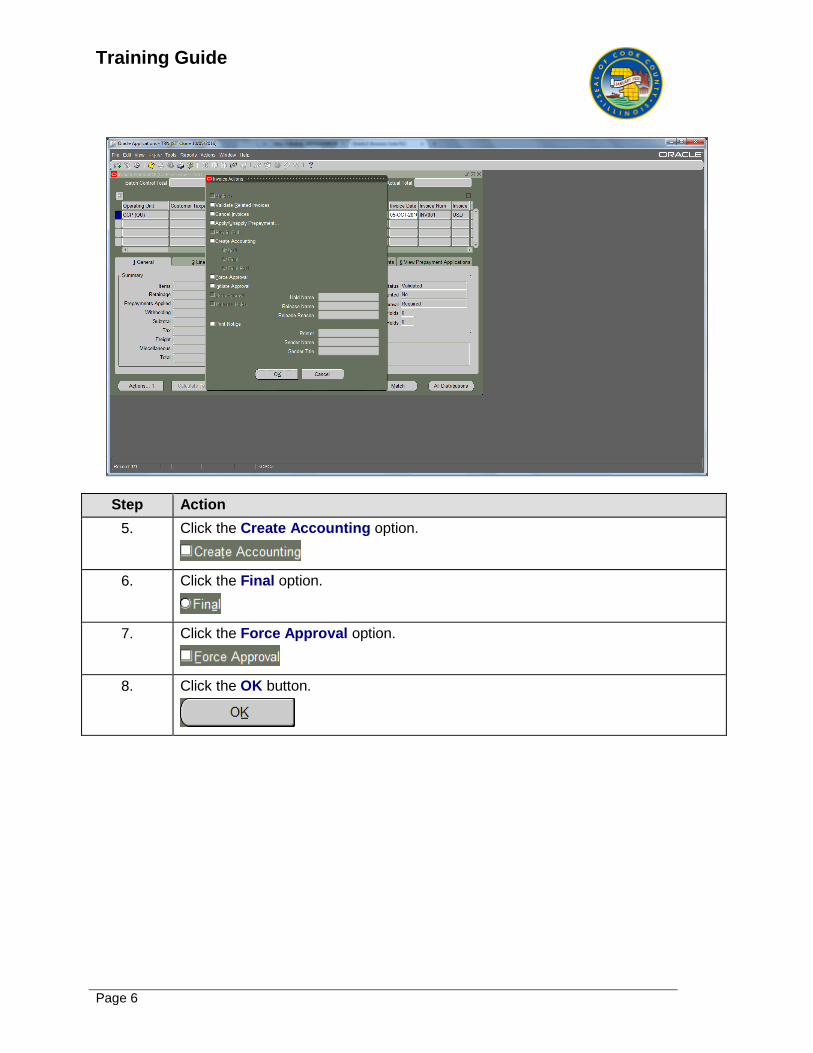
5. Click the Create Accounting option.
6. Click the Final option.
7. Click the Force Approval option.
8. Click the OK button.
Training Guide
Page 7
Step Action
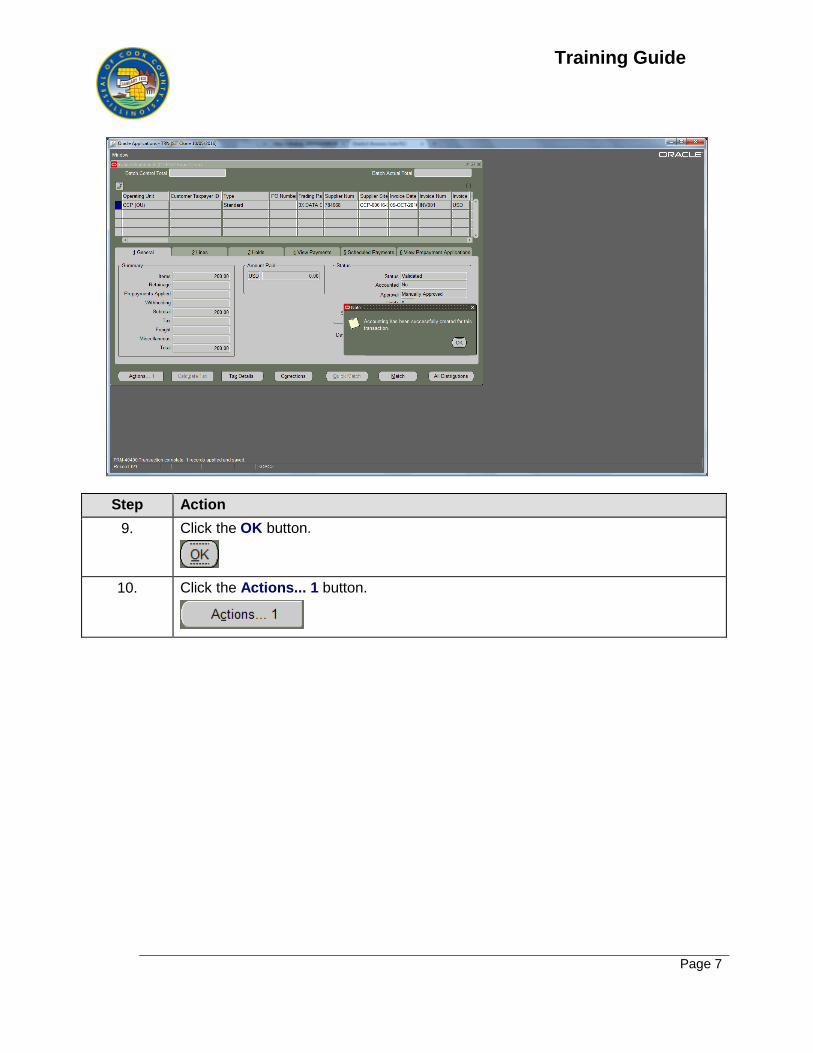
9. Click the OK button.
10. Click the Actions... 1 button.
Training Guide
Page 8
Step Action
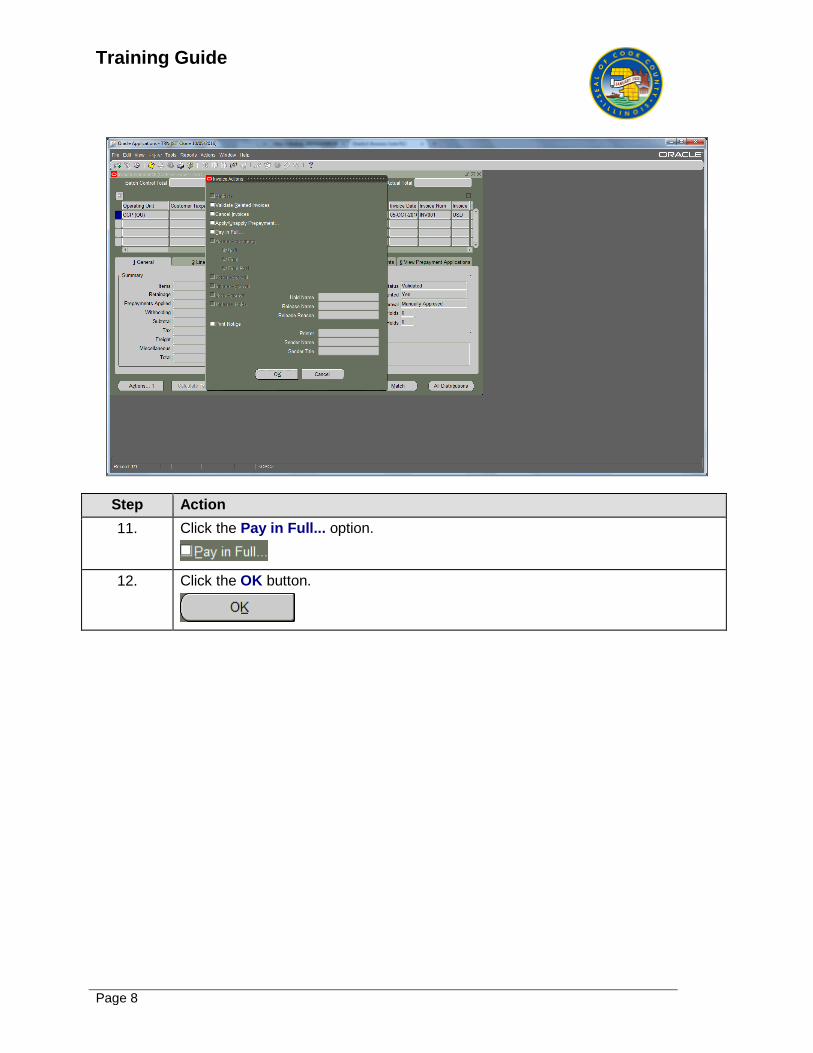
11. Click the Pay in Full... option.
12. Click the OK button.

Training Guide
Page 9
Step Action
13. Click the EwtLWScrollbar scrollbar.
14. Click in the Payment Process Profile field.
15. Click the Payment Process Profile button.
16. Click the Payment Process Profile cell.
17. Click the OK button.
18. Click the Payment Date button.
Training Guide
Page 10
Step Action
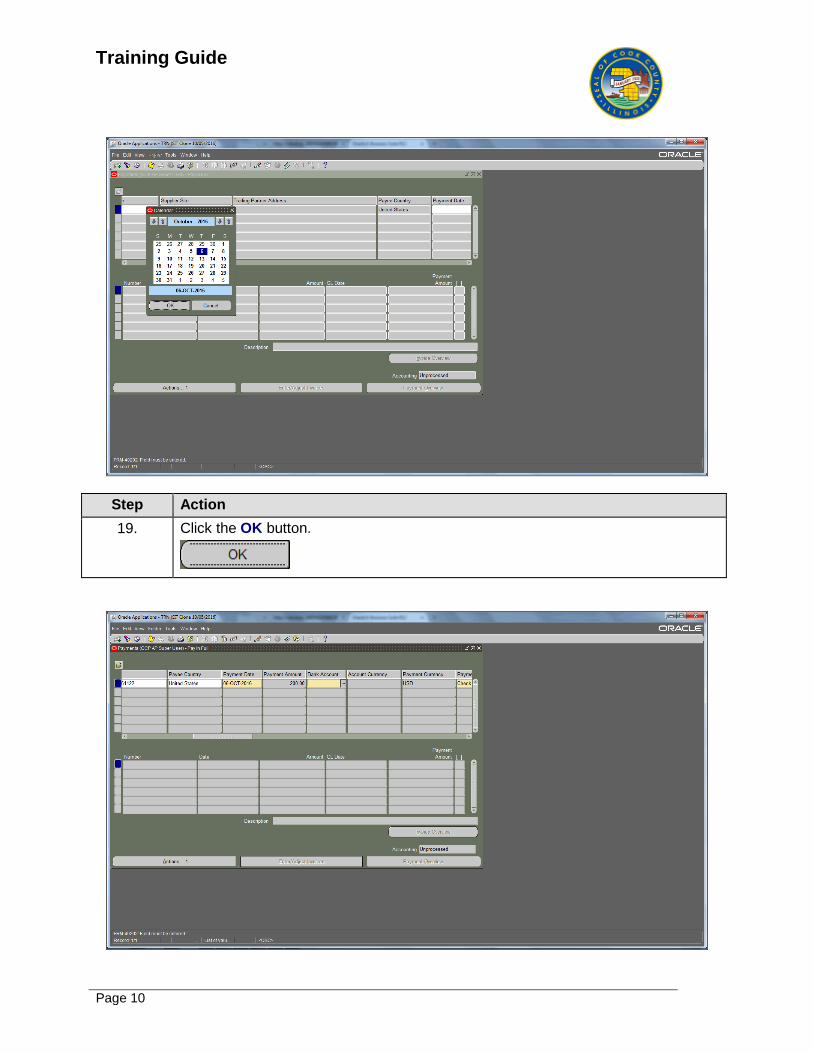
19. Click the OK button.
Training Guide
Page 11
Step Action
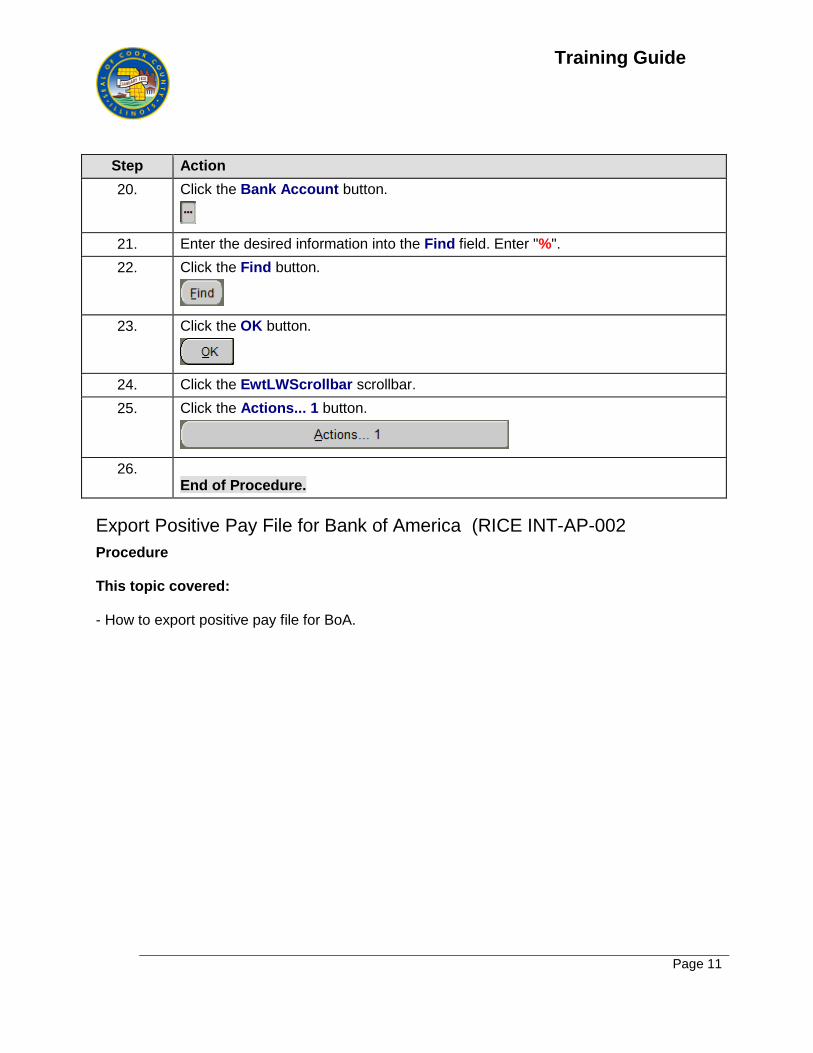
20. Click the Bank Account button.
21. Enter the desired information into the Find field. Enter "%".
22. Click the Find button.
23. Click the OK button.
24. Click the EwtLWScrollbar scrollbar.
25. Click the Actions... 1 button.
26. End of Procedure.
Export Positive Pay File for Bank of America (RICE INT-AP-002
Procedure This topic covered: - How to export positive pay file for BoA.
Training Guide
Page 12
Step Action
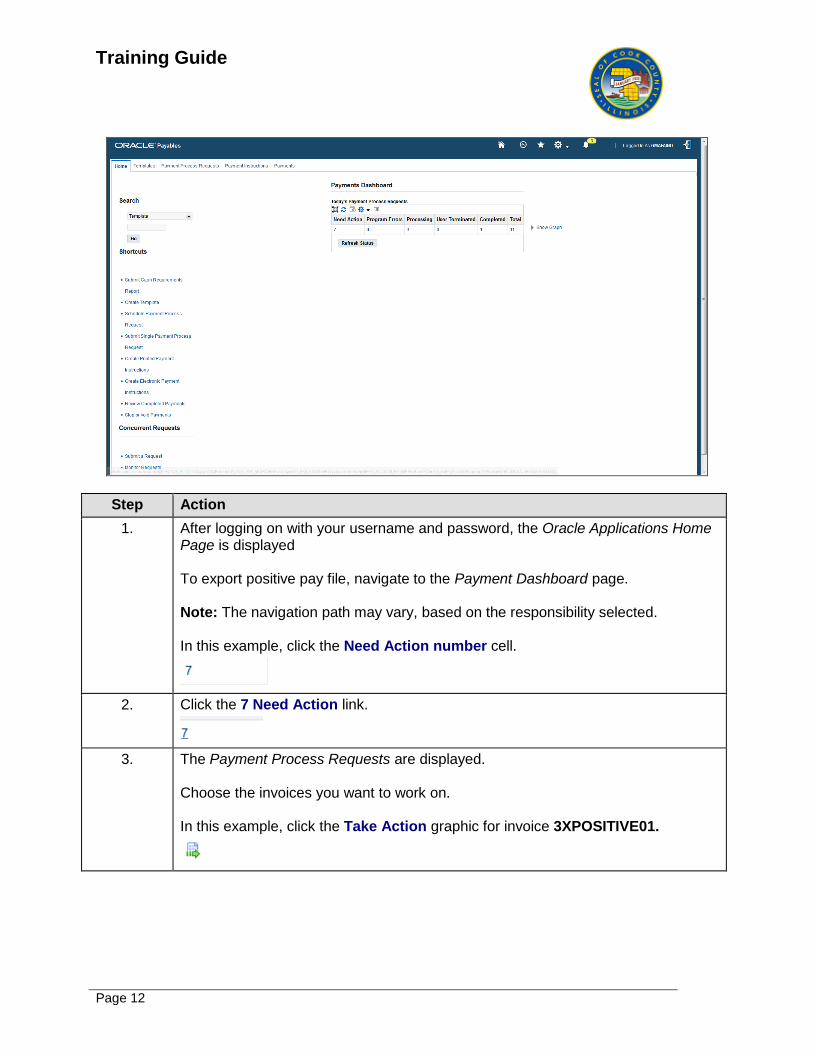
1. After logging on with your username and password, the Oracle Applications Home Page is displayed To export positive pay file, navigate to the Payment Dashboard page. Note: The navigation path may vary, based on the responsibility selected. In this example, click the Need Action number cell.
2. Click the 7 Need Action link.
3. The Payment Process Requests are displayed. Choose the invoices you want to work on. In this example, click the Take Action graphic for invoice 3XPOSITIVE01.
Training Guide
Page 13
Step Action
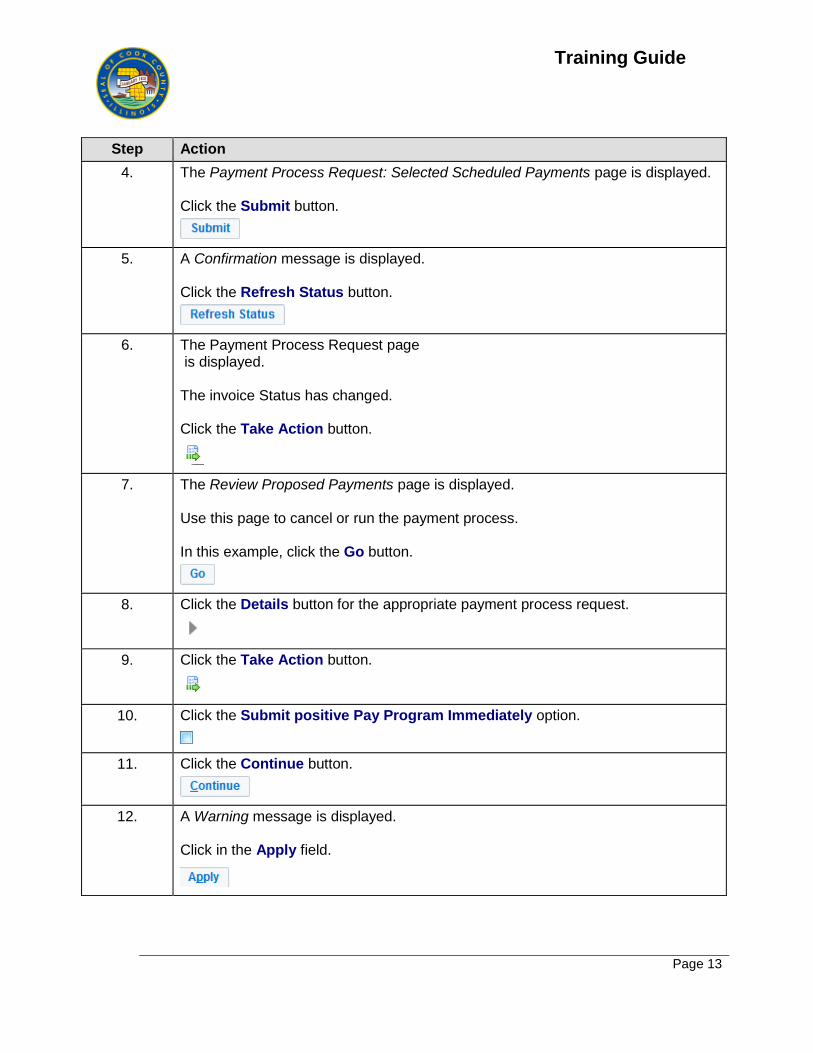
4. The Payment Process Request: Selected Scheduled Payments page is displayed. Click the Submit button.
5. A Confirmation message is displayed. Click the Refresh Status button.
6. The Payment Process Request page is displayed. The invoice Status has changed. Click the Take Action button.
7. The Review Proposed Payments page is displayed. Use this page to cancel or run the payment process. In this example, click the Go button.
8. Click the Details button for the appropriate payment process request.
9. Click the Take Action button.
10. Click the Submit positive Pay Program Immediately option.
11. Click the Continue button.
12. A Warning message is displayed. Click in the Apply field.
Training Guide
Page 14
Step Action
13. This topic covered: - How to export positive pay file for BoA. End of Procedure.
Void Payments on an invoice
Procedure This topic covers: - How to void a payment on an invoice
Step Action
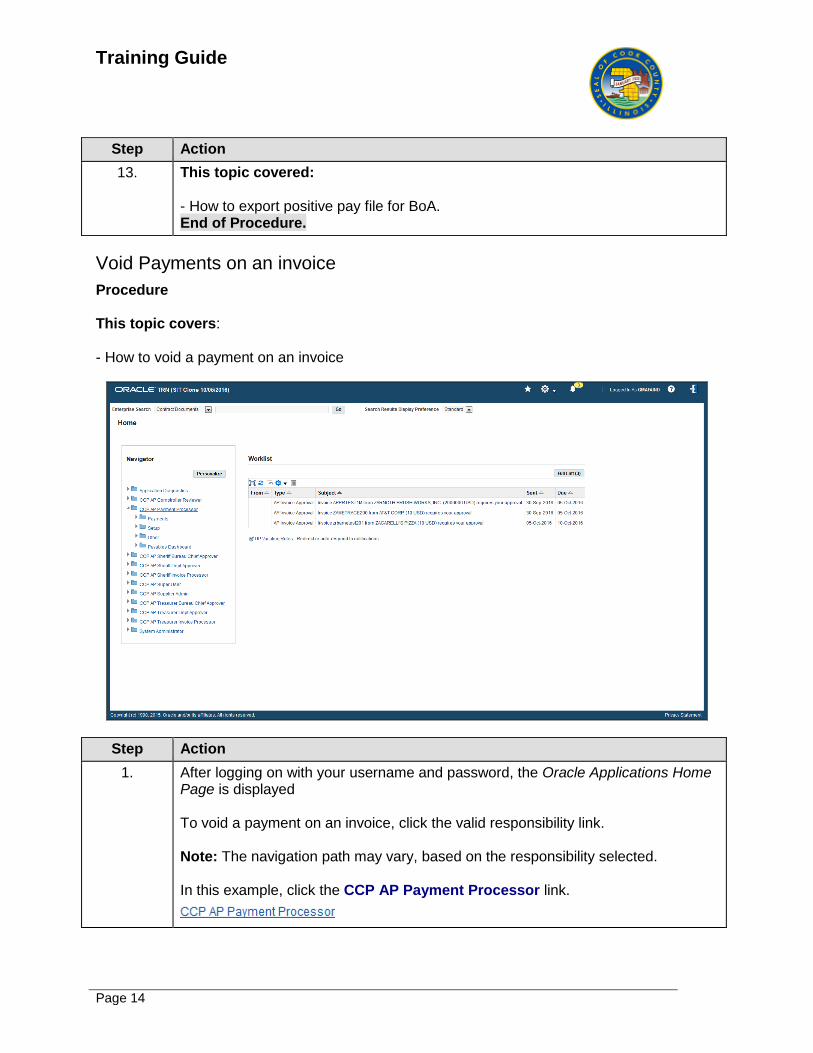
1. After logging on with your username and password, the Oracle Applications Home Page is displayed To void a payment on an invoice, click the valid responsibility link. Note: The navigation path may vary, based on the responsibility selected. In this example, click the CCP AP Payment Processor link.

Training Guide
Page 15
Step Action
2. Click the Payments link.
3. Click the Entry link.
4. Click the Payments link to open Oracle forms.
Step Action
5. The Payments window is displayed. To execute a void payment, begin by locating the relevant payment. Click the View menu.
6. To query a payment you can use the Query by Example. In this example, click the Enter sub-menu to enter the query item.
Training Guide
Page 16
Step Action
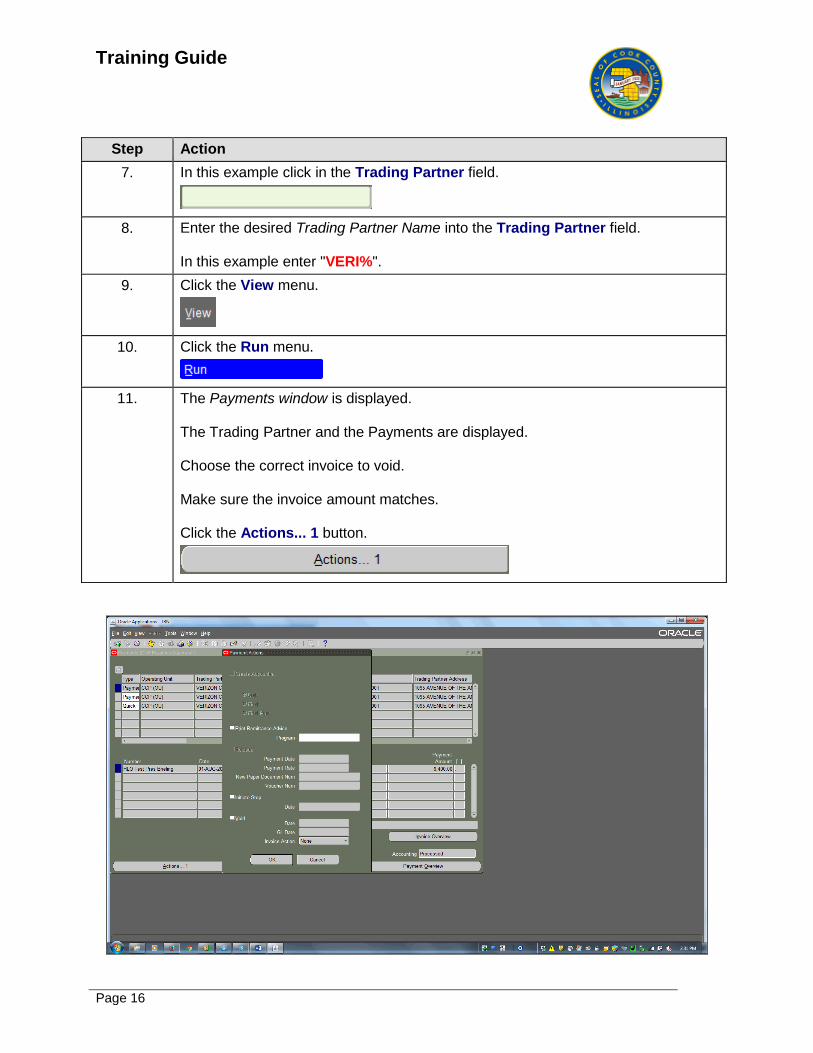
7. In this example click in the Trading Partner field.
8. Enter the desired Trading Partner Name into the Trading Partner field. In this example enter "VERI%".
9. Click the View menu.
10. Click the Run menu.
11. The Payments window is displayed. The Trading Partner and the Payments are displayed. Choose the correct invoice to void. Make sure the invoice amount matches. Click the Actions... 1 button.
Training Guide
Page 17
Step Action
12. The Payment Actions window is displayed. Click the Void option.
13. The Payment Actions page is displayed. It shows the : - Void Action - The Date - The GL Date
14. Click the OK button.
15. The Caution Box is displayed. A message is displayed alerting you that the action cannot be undone. In this example, click the OK button.
16. This topic covered: - How to void a payment on an invoice End of Procedure.
Update Flag to Hold All Payments
Procedure This topic covers: - How to update Flag to Hold Payments.
Training Guide
Page 18
Step Action
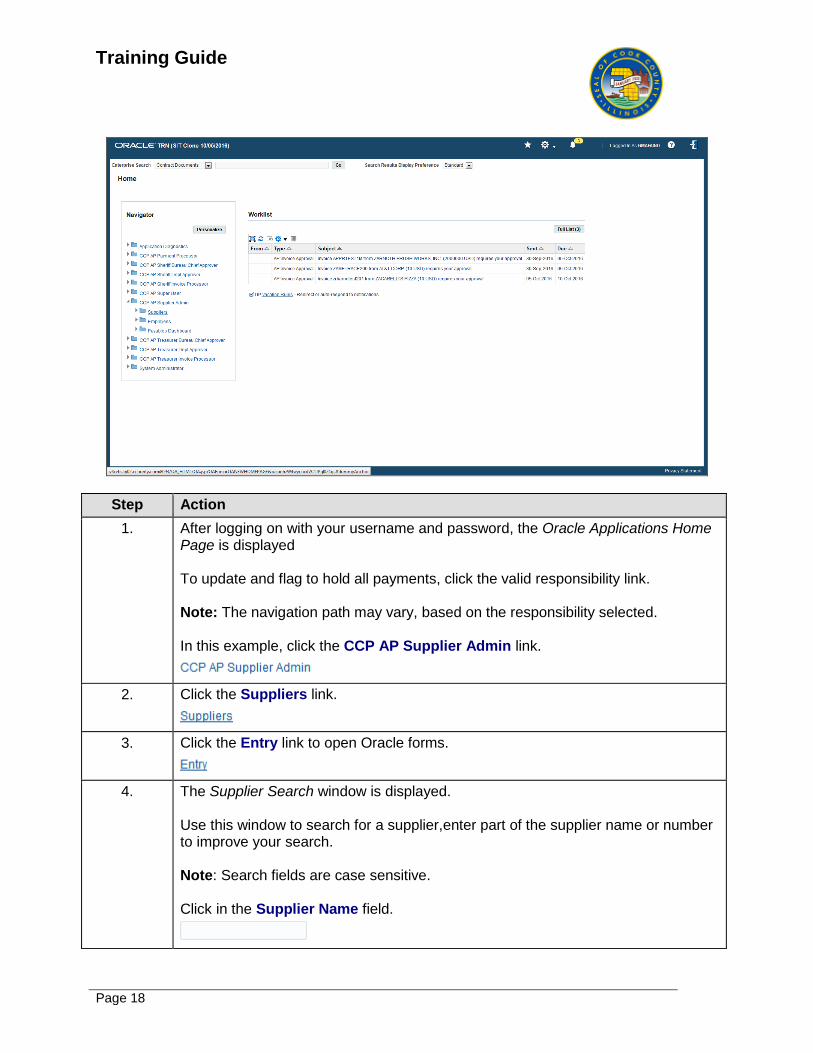
1. After logging on with your username and password, the Oracle Applications Home Page is displayed To update and flag to hold all payments, click the valid responsibility link. Note: The navigation path may vary, based on the responsibility selected. In this example, click the CCP AP Supplier Admin link.
2. Click the Suppliers link.
3. Click the Entry link to open Oracle forms.
4. The Supplier Search window is displayed. Use this window to search for a supplier,enter part of the supplier name or number to improve your search. Note: Search fields are case sensitive. Click in the Supplier Name field.
Training Guide
Page 19
Step Action
5. Enter the desired information into the Supplier Name field. In this example enter "Vision Global 2".
6. Click the Go button.
7. The Quick Update window is displayed showing the queried supplier. To hold invoice payment, click the Invoice Management link.
8. The Invoice Management window is displayed. In this window you can make changes to how invoices are managed for this supplier. To hold invoices select between the following options: - All Invoices - Unmatched Invoices - Unvalidated Invoices In this example, hold all invoices by clicking the All Invoices option.
9. Click in the Save field.
10. A Confirmation message is displayed, showing that the changes made to invoices management have been saved.
11. This topic covered: - How to update Flag to Hold Payments. End of Procedure.
Payables Transfer to GL
Procedure This topic covers: - How to run Payables Transfer to GL.
Training Guide
Page 20
Step Action
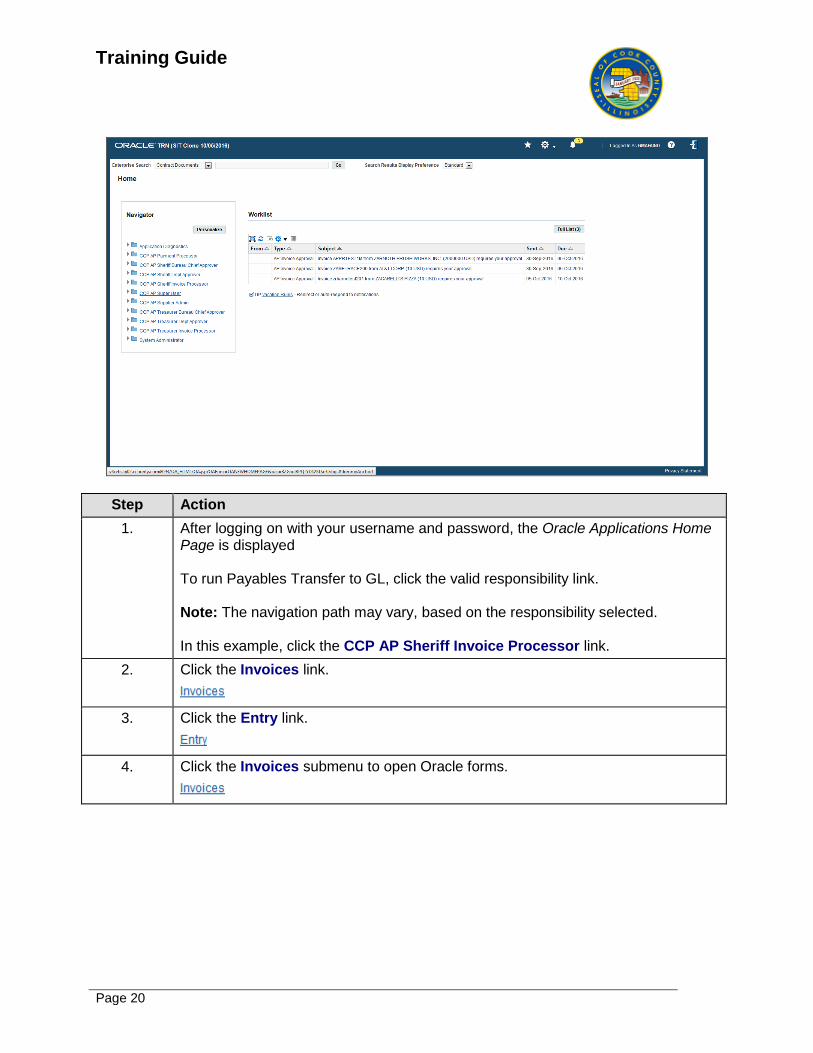
1. After logging on with your username and password, the Oracle Applications Home Page is displayed To run Payables Transfer to GL, click the valid responsibility link. Note: The navigation path may vary, based on the responsibility selected. In this example, click the CCP AP Sheriff Invoice Processor link.
2. Click the Invoices link.
3. Click the Entry link.
4. Click the Invoices submenu to open Oracle forms.
Training Guide
Page 21
Step Action
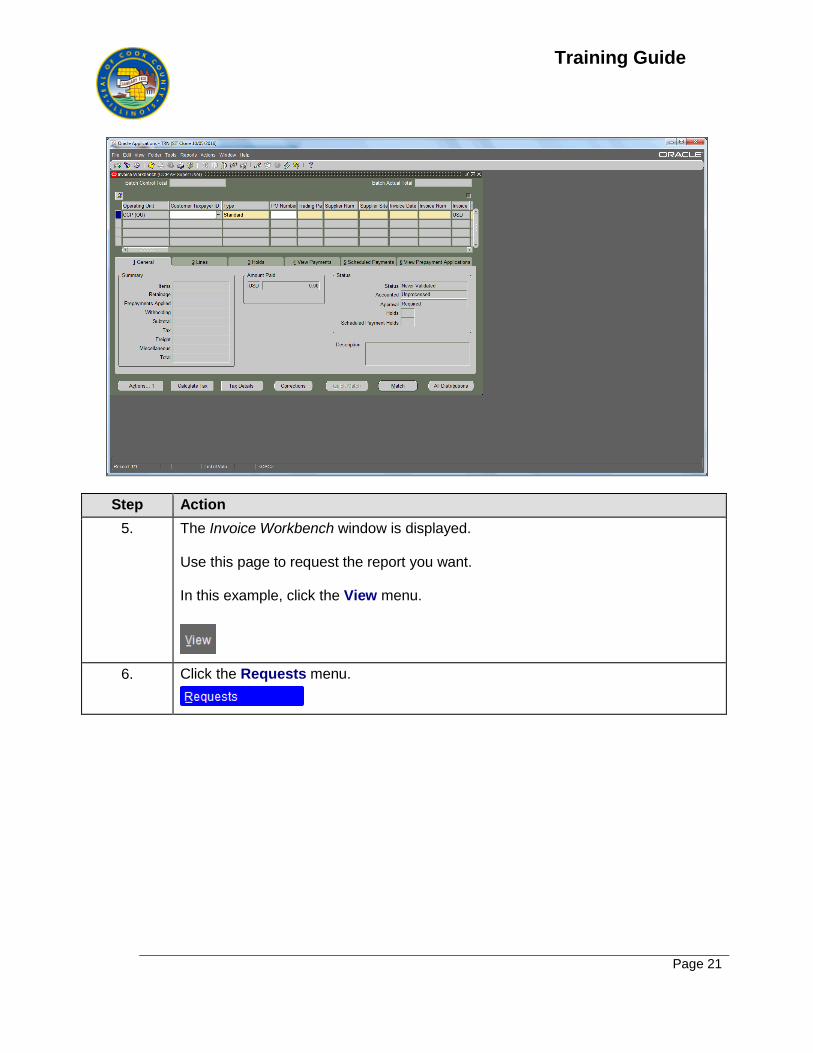
5. The Invoice Workbench window is displayed. Use this page to request the report you want. In this example, click the View menu.
6. Click the Requests menu.
Training Guide
Page 22
Step Action
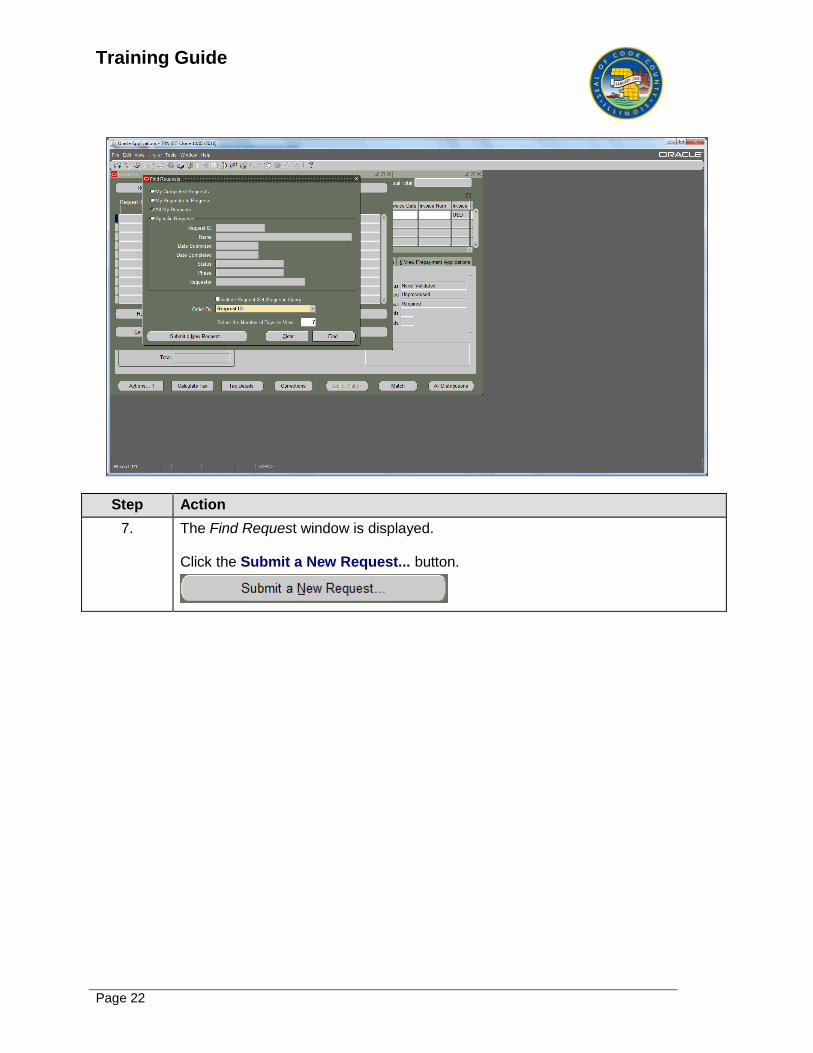
7. The Find Request window is displayed. Click the Submit a New Request... button.

Training Guide
Page 23
Step Action
8. The Submit a New Request window is displayed. In this example a single request is selected by default. Click the OK button.
Training Guide
Page 24
Step Action
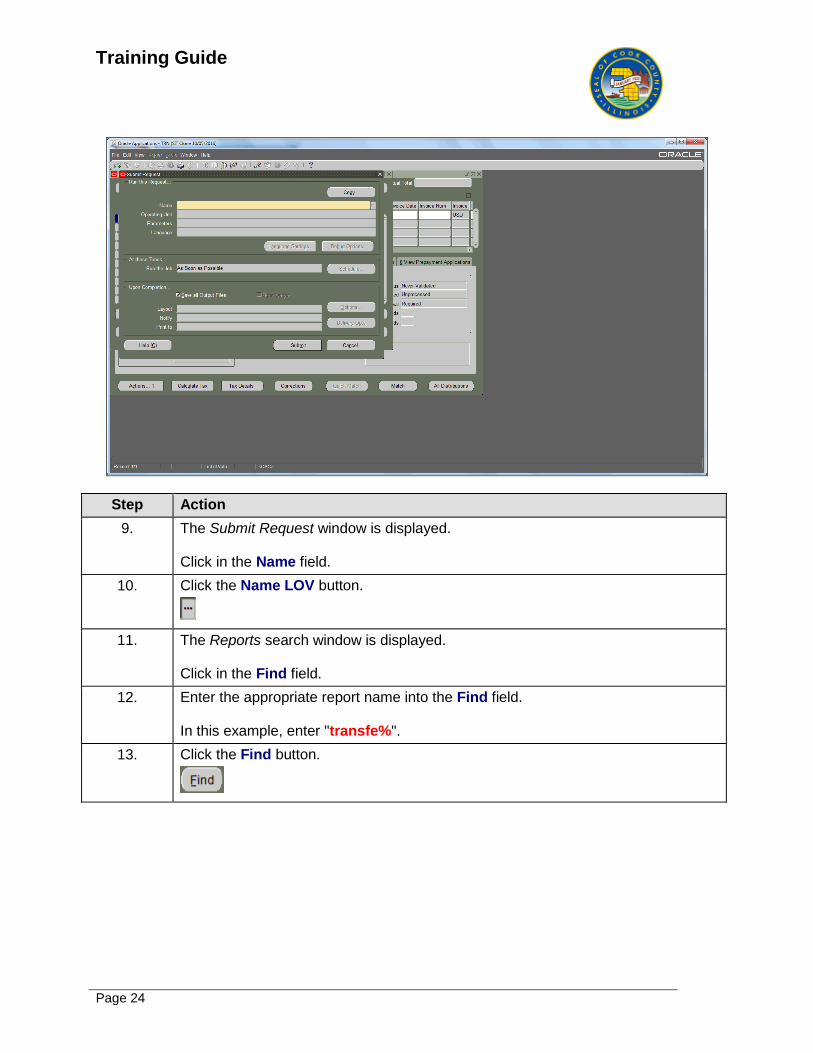
9. The Submit Request window is displayed. Click in the Name field.
10. Click the Name LOV button.
11. The Reports search window is displayed. Click in the Find field.
12. Enter the appropriate report name into the Find field. In this example, enter "transfe%".
13. Click the Find button.
Training Guide
Page 25
Step Action
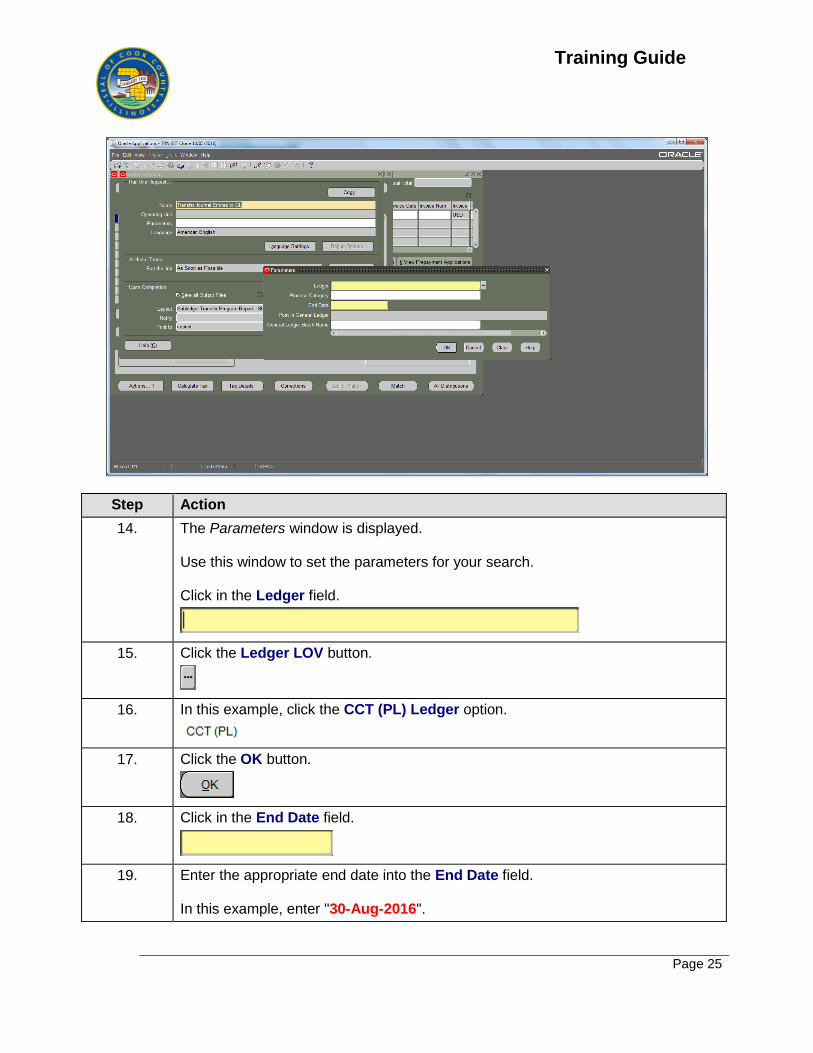
14. The Parameters window is displayed. Use this window to set the parameters for your search. Click in the Ledger field.
15. Click the Ledger LOV button.
16. In this example, click the CCT (PL) Ledger option.
17. Click the OK button.
18. Click in the End Date field.
19. Enter the appropriate end date into the End Date field. In this example, enter "30-Aug-2016".
Training Guide
Page 26
Step Action
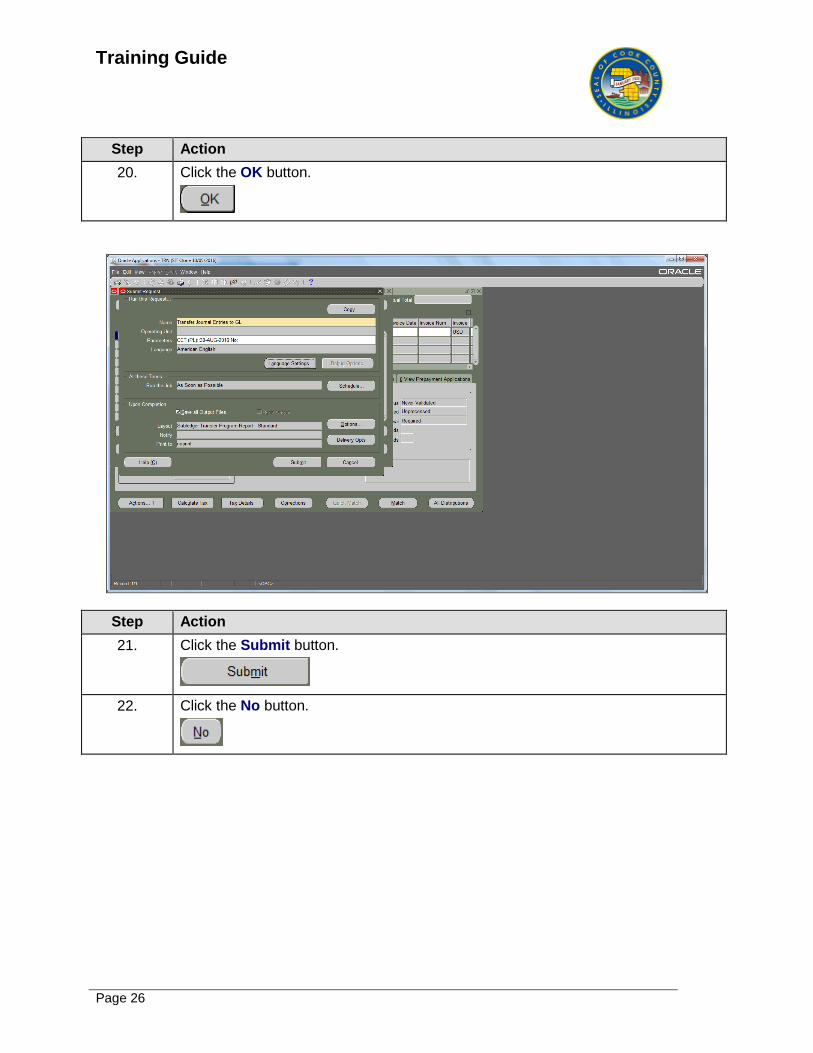
20. Click the OK button.
Step Action
21. Click the Submit button.
22. Click the No button.
Training Guide
Page 27
Step Action
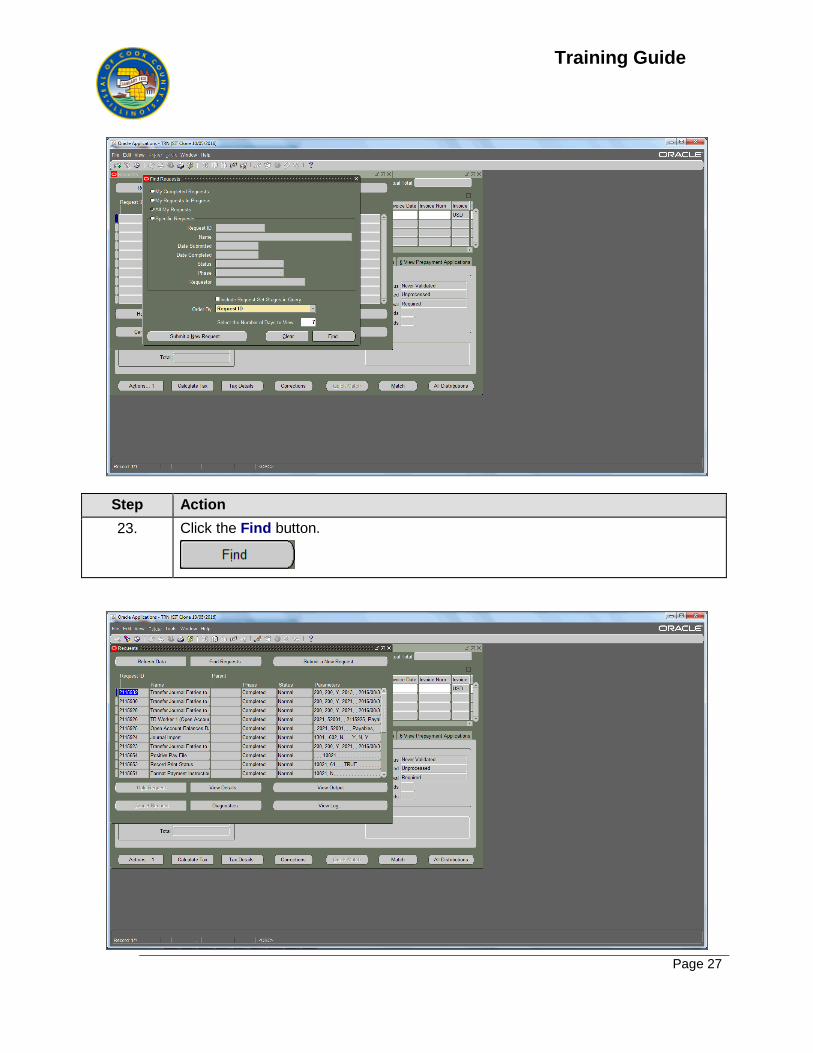
23. Click the Find button.
Training Guide
Page 28
Step Action
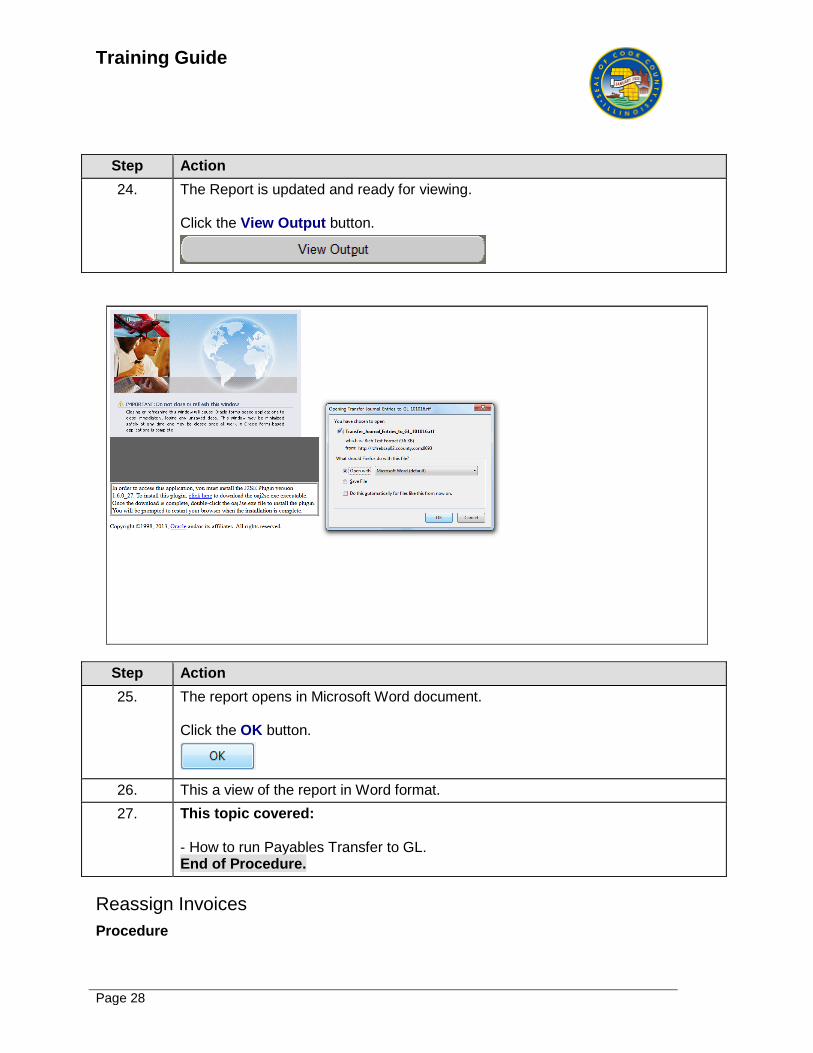
24. The Report is updated and ready for viewing. Click the View Output button.
Step Action
25. The report opens in Microsoft Word document. Click the OK button.
26. This a view of the report in Word format.
27. This topic covered: - How to run Payables Transfer to GL. End of Procedure.
Reassign Invoices
Procedure
Training Guide
Page 29
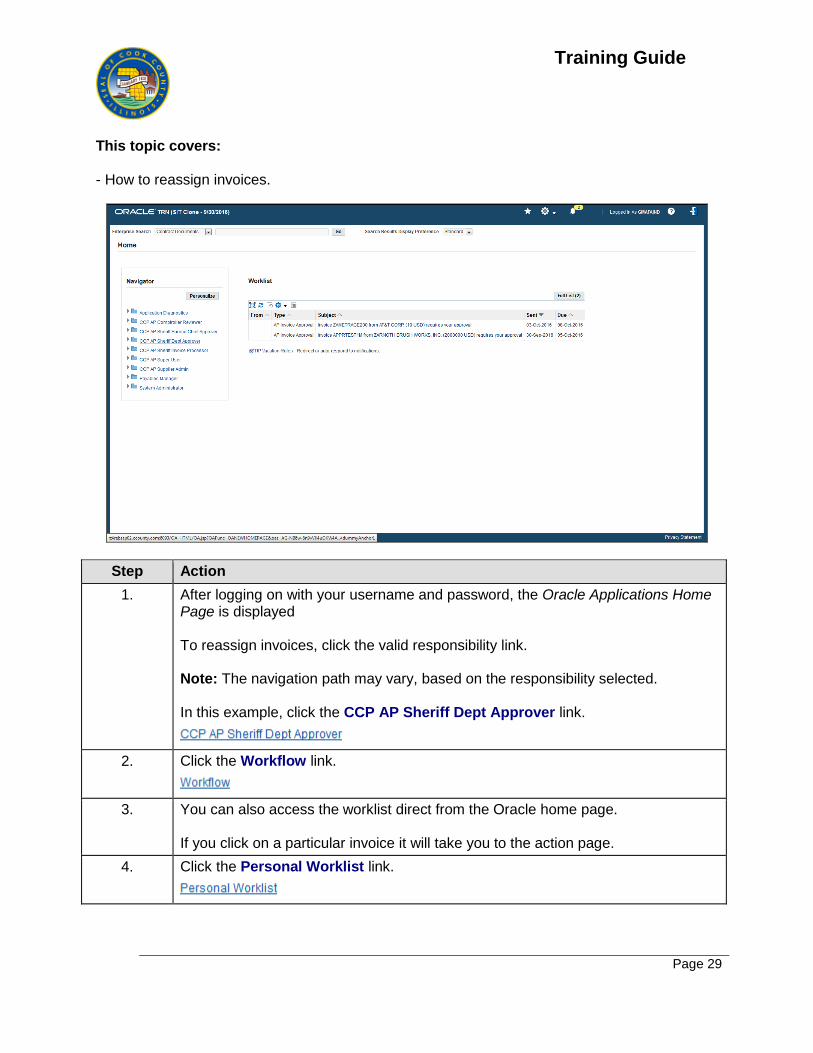
This topic covers: - How to reassign invoices.
Step Action
1. After logging on with your username and password, the Oracle Applications Home Page is displayed To reassign invoices, click the valid responsibility link. Note: The navigation path may vary, based on the responsibility selected. In this example, click the CCP AP Sheriff Dept Approver link.
2. Click the Workflow link.
3. You can also access the worklist direct from the Oracle home page. If you click on a particular invoice it will take you to the action page.
4. Click the Personal Worklist link.
Training Guide
Page 30
Step Action
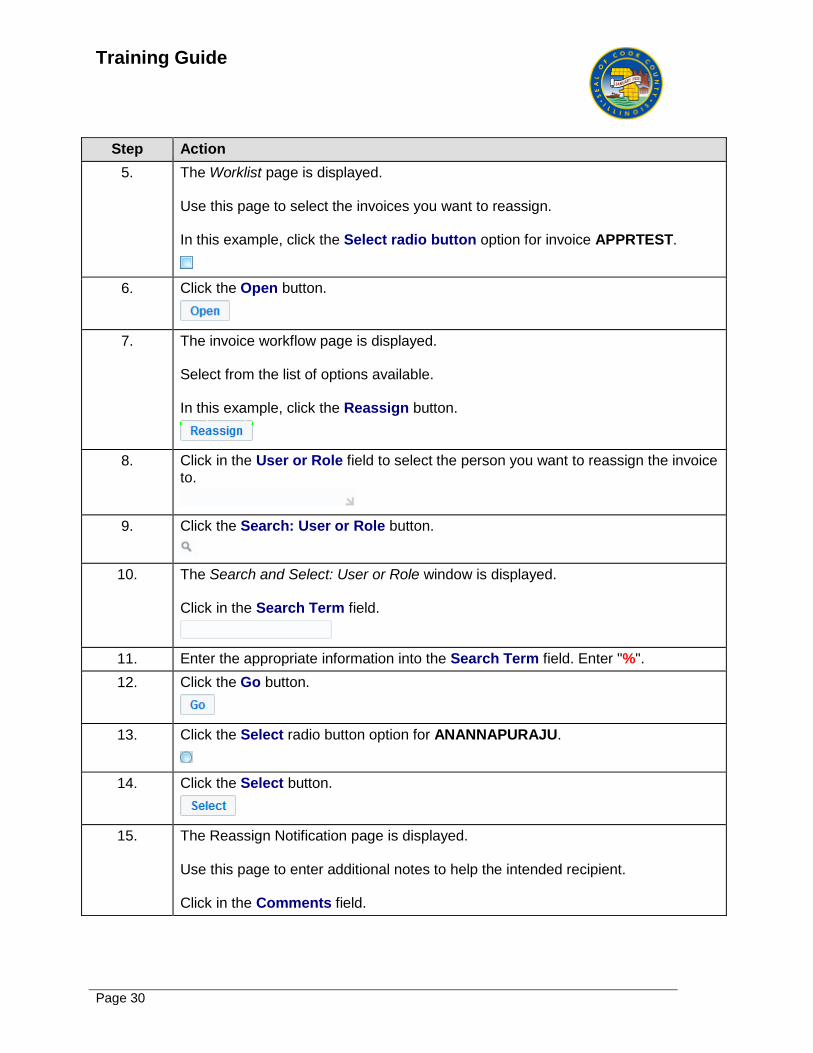
5. The Worklist page is displayed. Use this page to select the invoices you want to reassign. In this example, click the Select radio button option for invoice APPRTEST.
6. Click the Open button.
7. The invoice workflow page is displayed. Select from the list of options available. In this example, click the Reassign button.
8. Click in the User or Role field to select the person you want to reassign the invoice to.
9. Click the Search: User or Role button.
10. The Search and Select: User or Role window is displayed. Click in the Search Term field.
11. Enter the appropriate information into the Search Term field. Enter "%".
12. Click the Go button.
13. Click the Select radio button option for ANANNAPURAJU.
14. Click the Select button.
15. The Reassign Notification page is displayed. Use this page to enter additional notes to help the intended recipient. Click in the Comments field.
Training Guide
Page 31
Step Action
16. Enter the appropriate comments into the field In this example, enter "Please action on this ".
17. Click in the Submit field.
18. The invoice has been removed from your worklist. Click the Home button.
19. This topic covered: - How to reassign invoices. End of Procedure.
Release Stop Payment on an Invoice
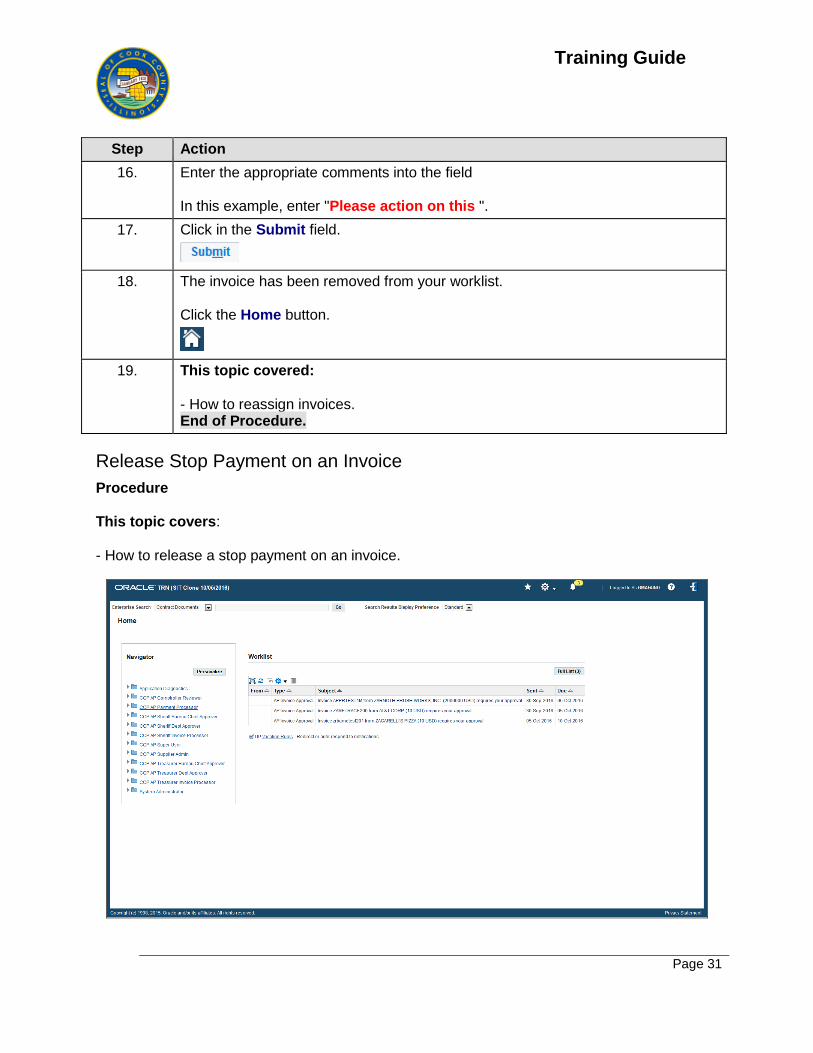
Procedure This topic covers: - How to release a stop payment on an invoice.
Training Guide
Page 32
Step Action
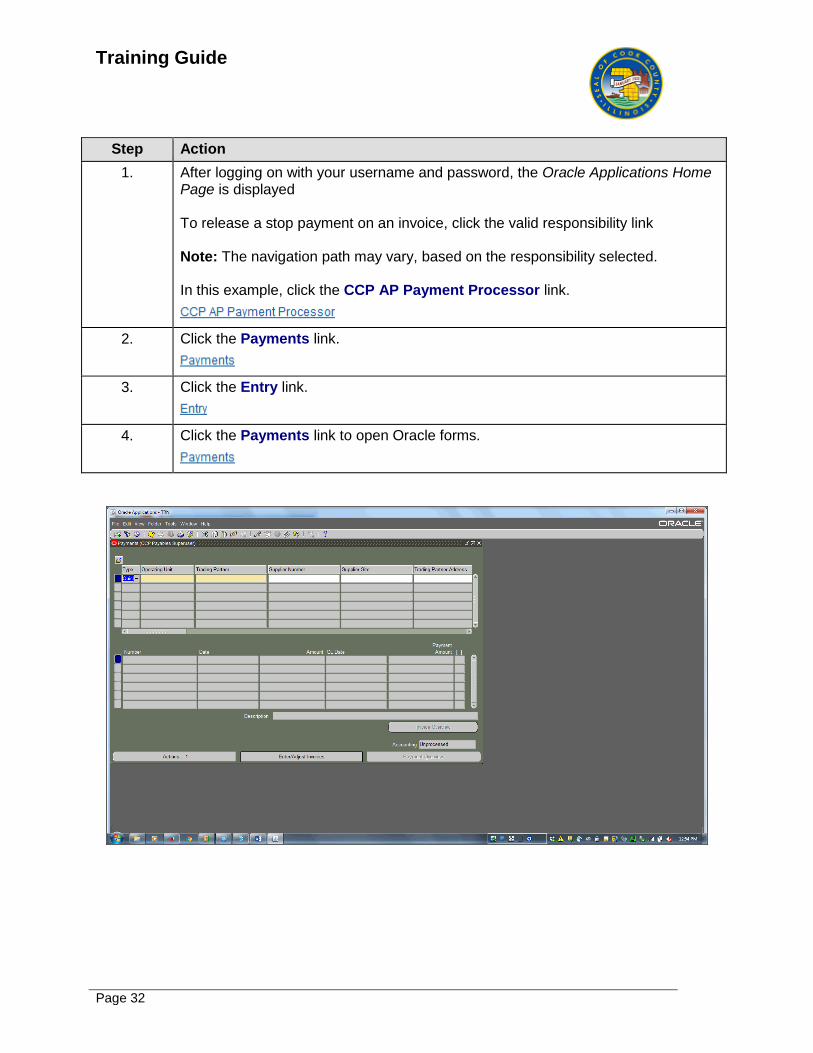
1. After logging on with your username and password, the Oracle Applications Home Page is displayed To release a stop payment on an invoice, click the valid responsibility link Note: The navigation path may vary, based on the responsibility selected. In this example, click the CCP AP Payment Processor link.
2. Click the Payments link.
3. Click the Entry link.
4. Click the Payments link to open Oracle forms.
Training Guide
Page 33
Step Action
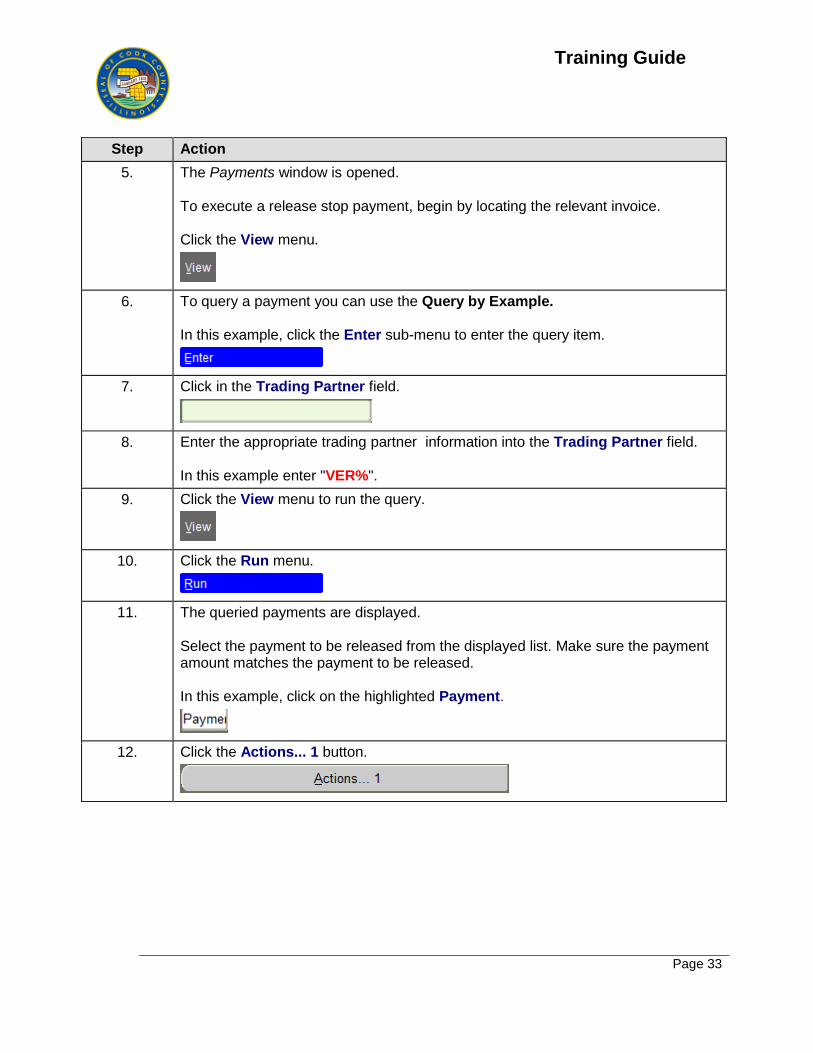
5. The Payments window is opened. To execute a release stop payment, begin by locating the relevant invoice. Click the View menu.
6. To query a payment you can use the Query by Example. In this example, click the Enter sub-menu to enter the query item.
7. Click in the Trading Partner field.
8. Enter the appropriate trading partner information into the Trading Partner field. In this example enter "VER%".
9. Click the View menu to run the query.
10. Click the Run menu.
11. The queried payments are displayed. Select the payment to be released from the displayed list. Make sure the payment amount matches the payment to be released. In this example, click on the highlighted Payment.
12. Click the Actions... 1 button.
Training Guide
Page 34
Step Action
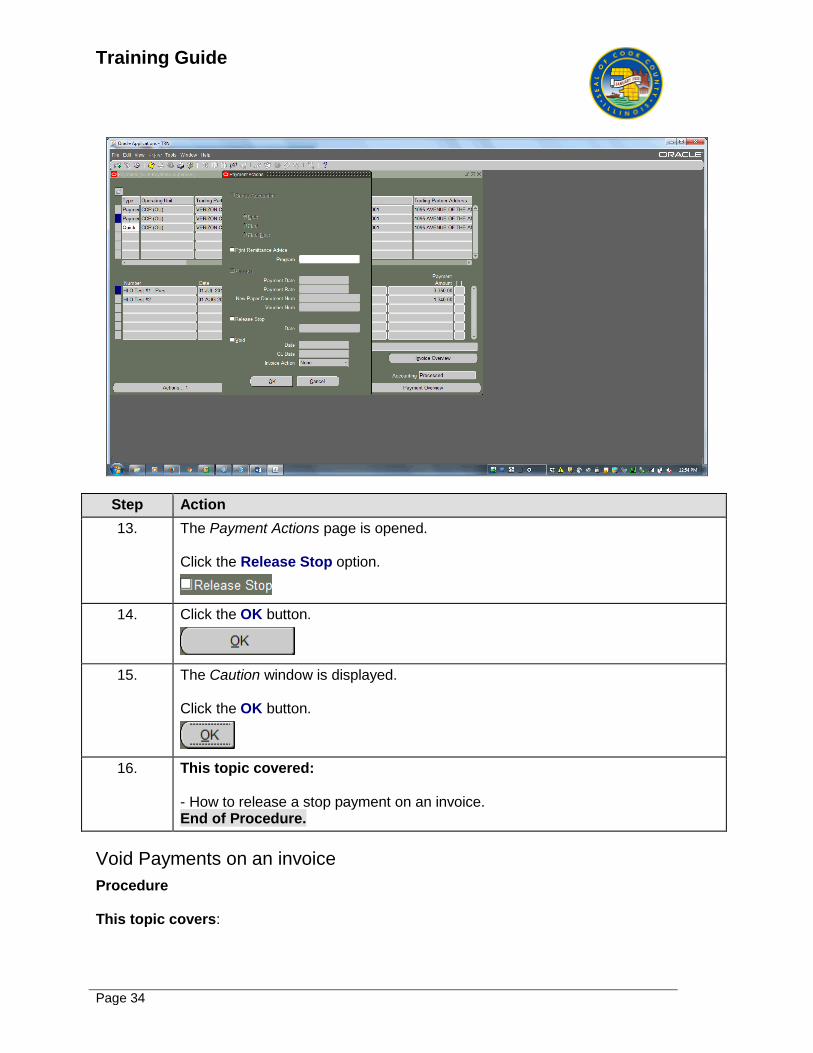
13. The Payment Actions page is opened. Click the Release Stop option.
14. Click the OK button.
15. The Caution window is displayed. Click the OK button.
16. This topic covered: - How to release a stop payment on an invoice. End of Procedure.
Void Payments on an invoice
Procedure This topic covers:
Training Guide
Page 35
- How to void a payment on an invoice
Step Action
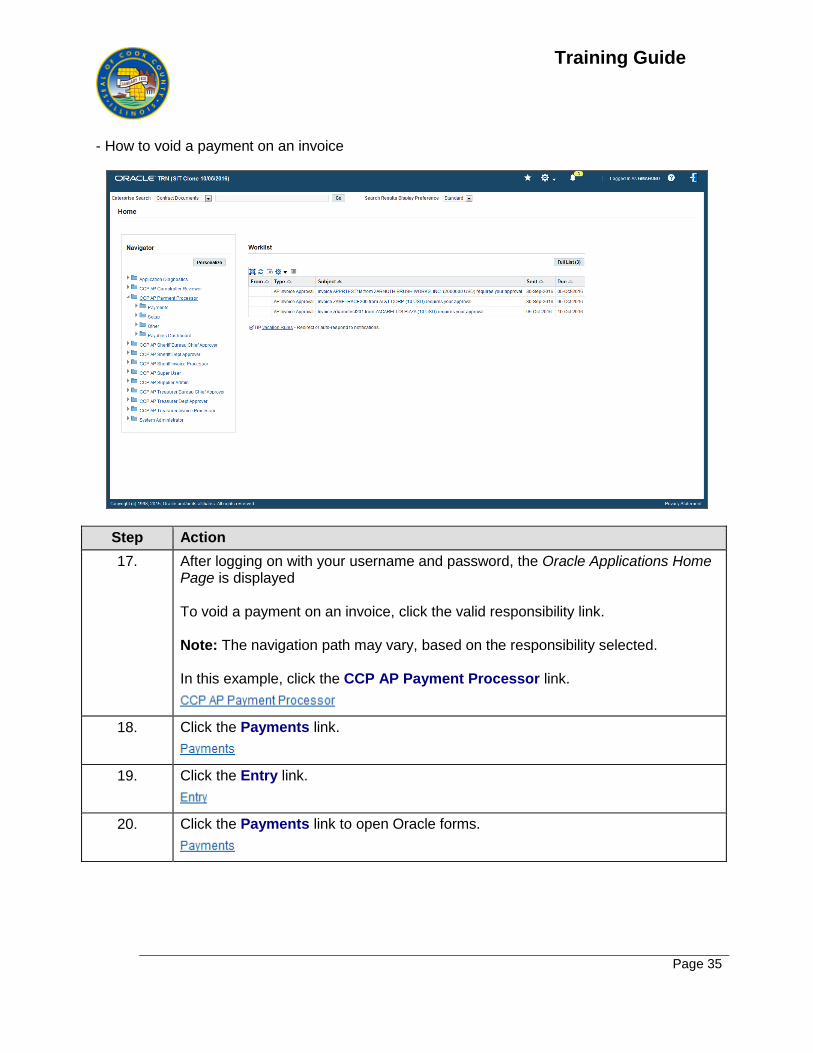
17. After logging on with your username and password, the Oracle Applications Home Page is displayed To void a payment on an invoice, click the valid responsibility link. Note: The navigation path may vary, based on the responsibility selected. In this example, click the CCP AP Payment Processor link.
18. Click the Payments link.
19. Click the Entry link.
20. Click the Payments link to open Oracle forms.
Training Guide
Page 36
Step Action
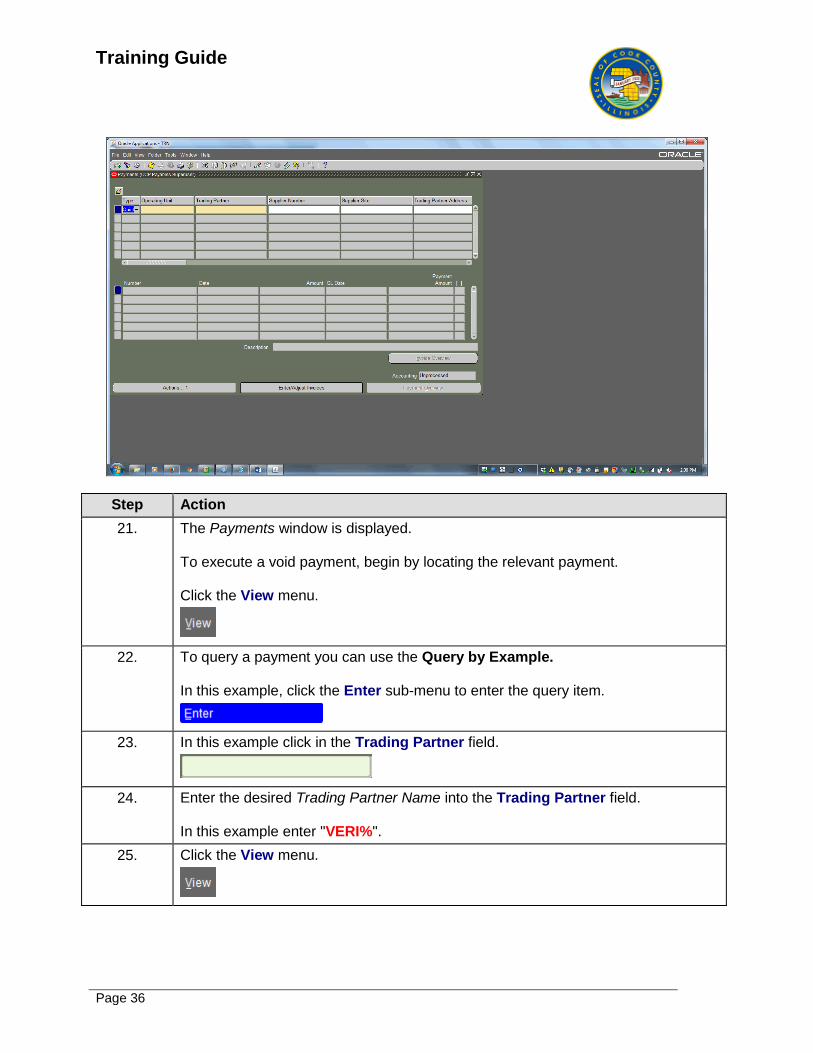
21. The Payments window is displayed. To execute a void payment, begin by locating the relevant payment. Click the View menu.
22. To query a payment you can use the Query by Example. In this example, click the Enter sub-menu to enter the query item.
23. In this example click in the Trading Partner field.
24. Enter the desired Trading Partner Name into the Trading Partner field. In this example enter "VERI%".
25. Click the View menu.
Training Guide
Page 37
Step Action
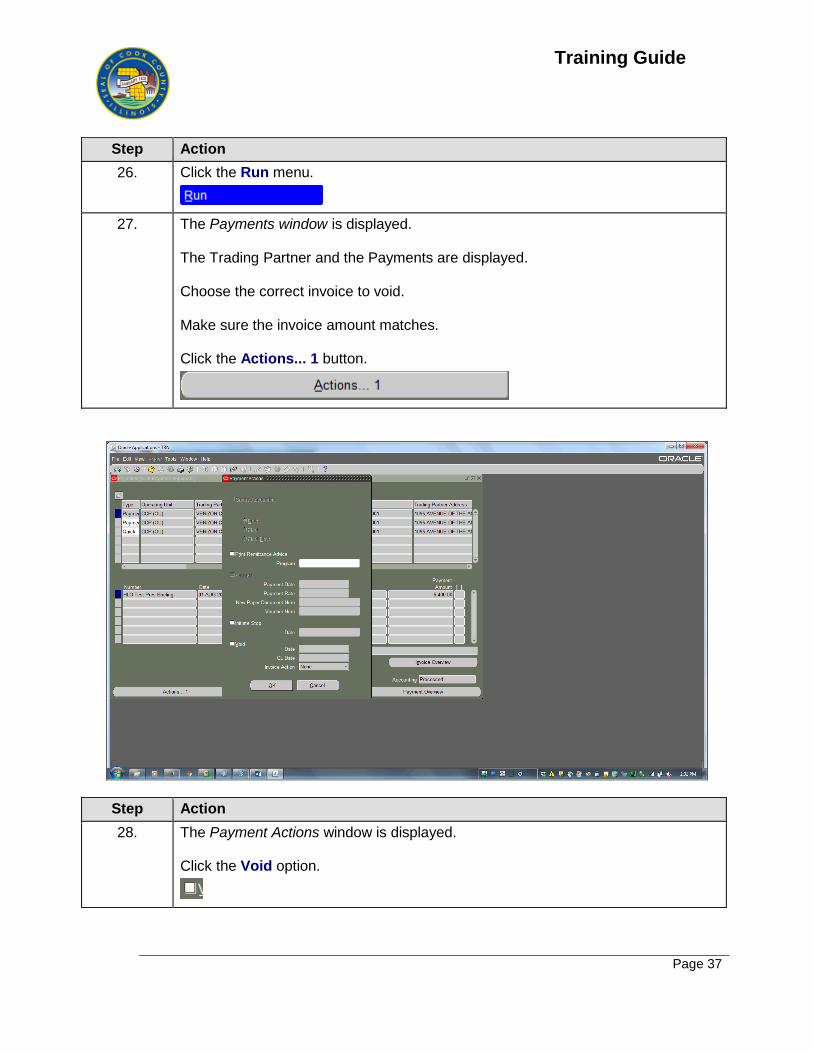
26. Click the Run menu.
27. The Payments window is displayed. The Trading Partner and the Payments are displayed. Choose the correct invoice to void. Make sure the invoice amount matches. Click the Actions... 1 button.
Step Action
28. The Payment Actions window is displayed. Click the Void option.
Training Guide
Page 38
Step Action
29. The Payment Actions page is displayed. It shows the : - Void Action - The Date - The GL Date
30. Click the OK button.
31. The Caution Box is displayed. A message is displayed alerting you that the action cannot be undone. In this example, click the OK button.
32. This topic covered: - How to void a payment on an invoice End of Procedure.
Cancel Invoice
Procedure This topic covers: - How to cancel payables documents (Invoices).
Training Guide
Page 39
Step Action
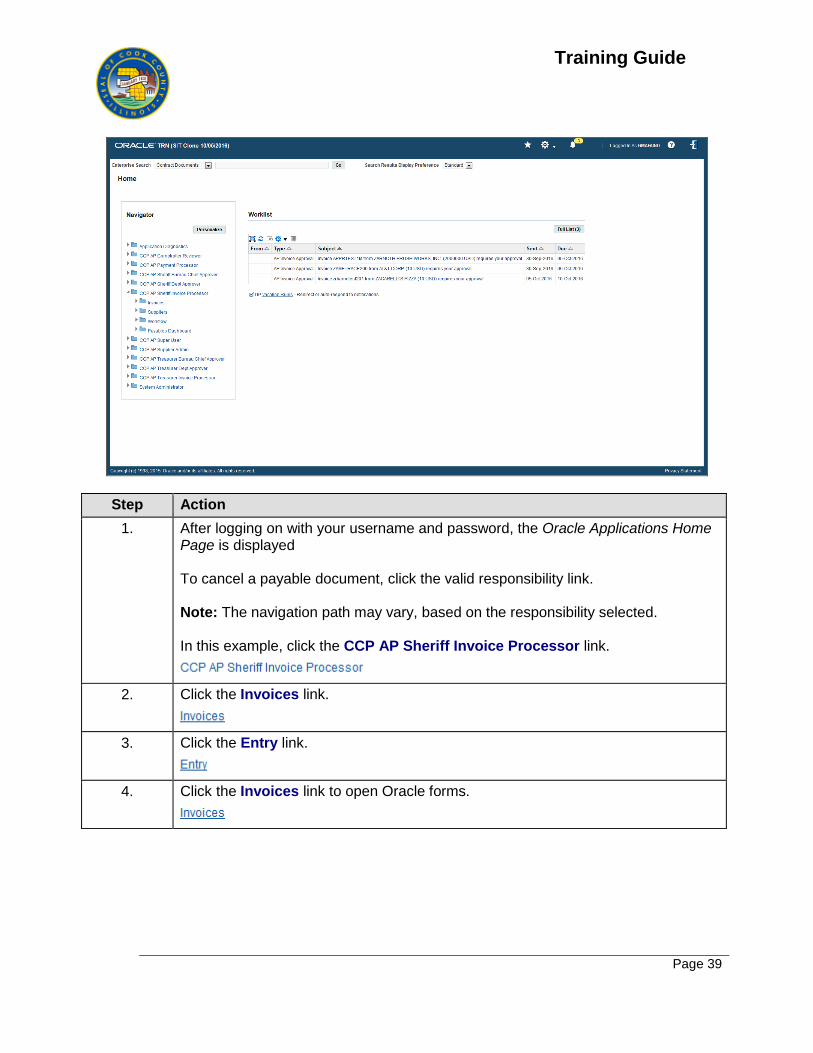
1. After logging on with your username and password, the Oracle Applications Home Page is displayed To cancel a payable document, click the valid responsibility link. Note: The navigation path may vary, based on the responsibility selected. In this example, click the CCP AP Sheriff Invoice Processor link.
2. Click the Invoices link.
3. Click the Entry link.
4. Click the Invoices link to open Oracle forms.
Training Guide
Page 40
Step Action
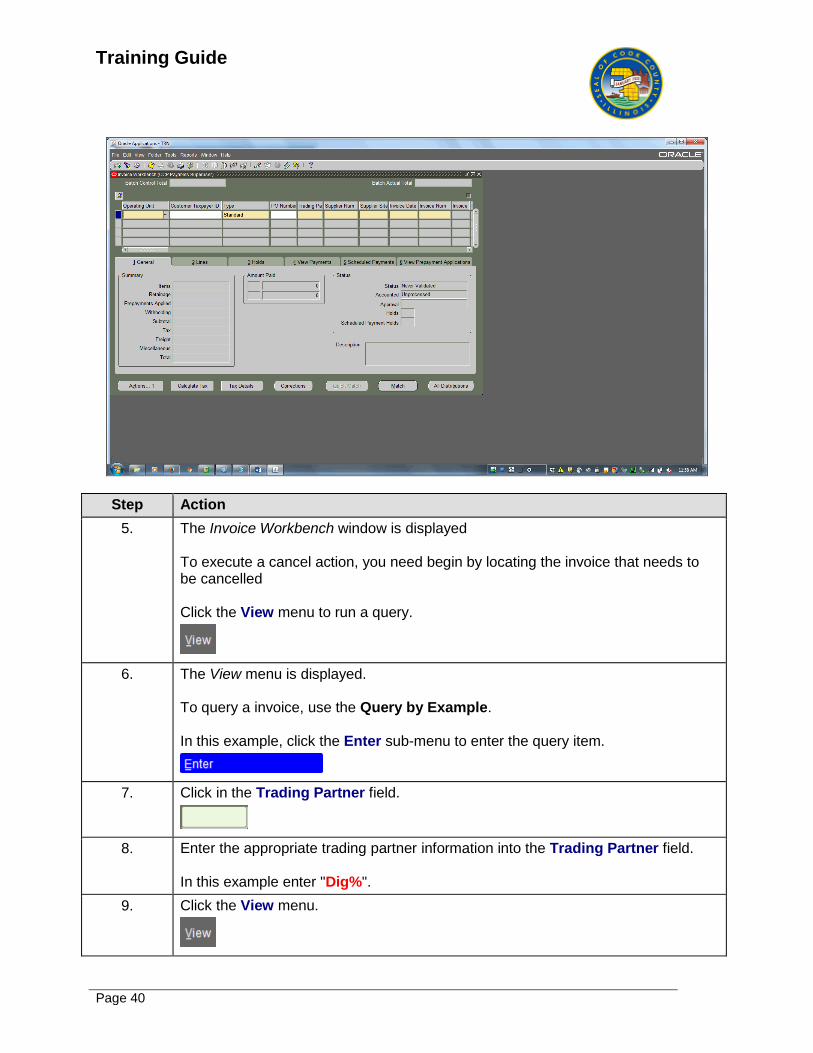
5. The Invoice Workbench window is displayed To execute a cancel action, you need begin by locating the invoice that needs to be cancelled Click the View menu to run a query.
6. The View menu is displayed. To query a invoice, use the Query by Example. In this example, click the Enter sub-menu to enter the query item.
7. Click in the Trading Partner field.
8. Enter the appropriate trading partner information into the Trading Partner field. In this example enter "Dig%".
9. Click the View menu.

Training Guide
Page 41
Step Action
10. Click the Run menu.
11. The invoices associated with this trading partner are displayed Choose the invoice you want to cancel.
12. The queried invoices are displayed. Select the invoice to be cancelled from the displayed list. Make sure the payment amount matches the invoice to be cancelled. In this example click on invoice number DG0066.
13. Click the Actions... 1 button.
Step Action
Training Guide
Page 42
Step Action
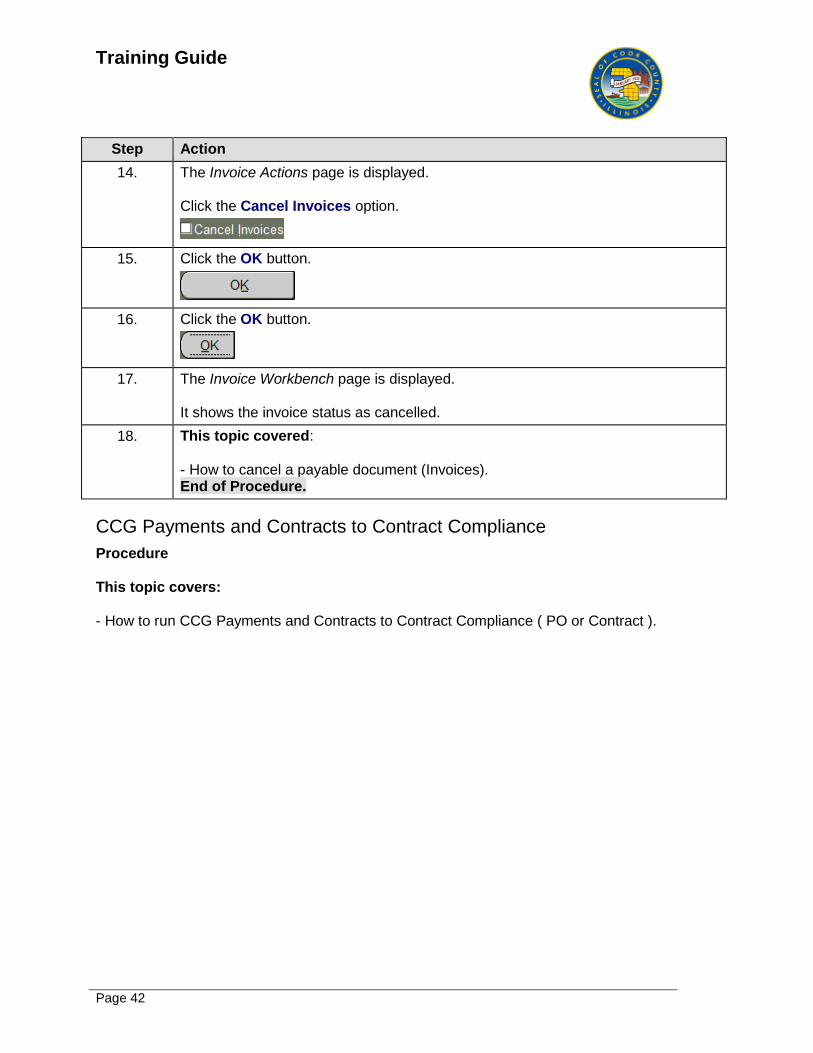
14. The Invoice Actions page is displayed. Click the Cancel Invoices option.
15. Click the OK button.
16. Click the OK button.
17. The Invoice Workbench page is displayed. It shows the invoice status as cancelled.
18. This topic covered: - How to cancel a payable document (Invoices). End of Procedure.
CCG Payments and Contracts to Contract Compliance
Procedure This topic covers: - How to run CCG Payments and Contracts to Contract Compliance ( PO or Contract ).
Training Guide
Page 43
Step Action
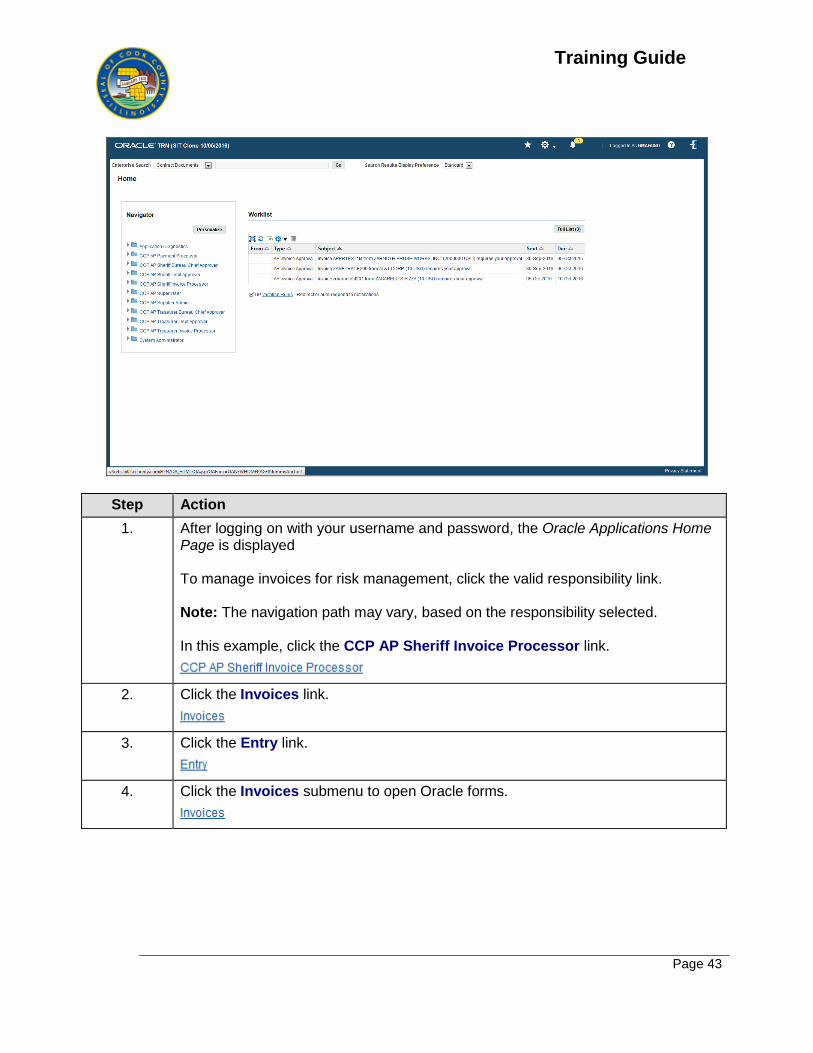
1. After logging on with your username and password, the Oracle Applications Home Page is displayed To manage invoices for risk management, click the valid responsibility link. Note: The navigation path may vary, based on the responsibility selected. In this example, click the CCP AP Sheriff Invoice Processor link.
2. Click the Invoices link.
3. Click the Entry link.
4. Click the Invoices submenu to open Oracle forms.
Training Guide
Page 44
Step Action
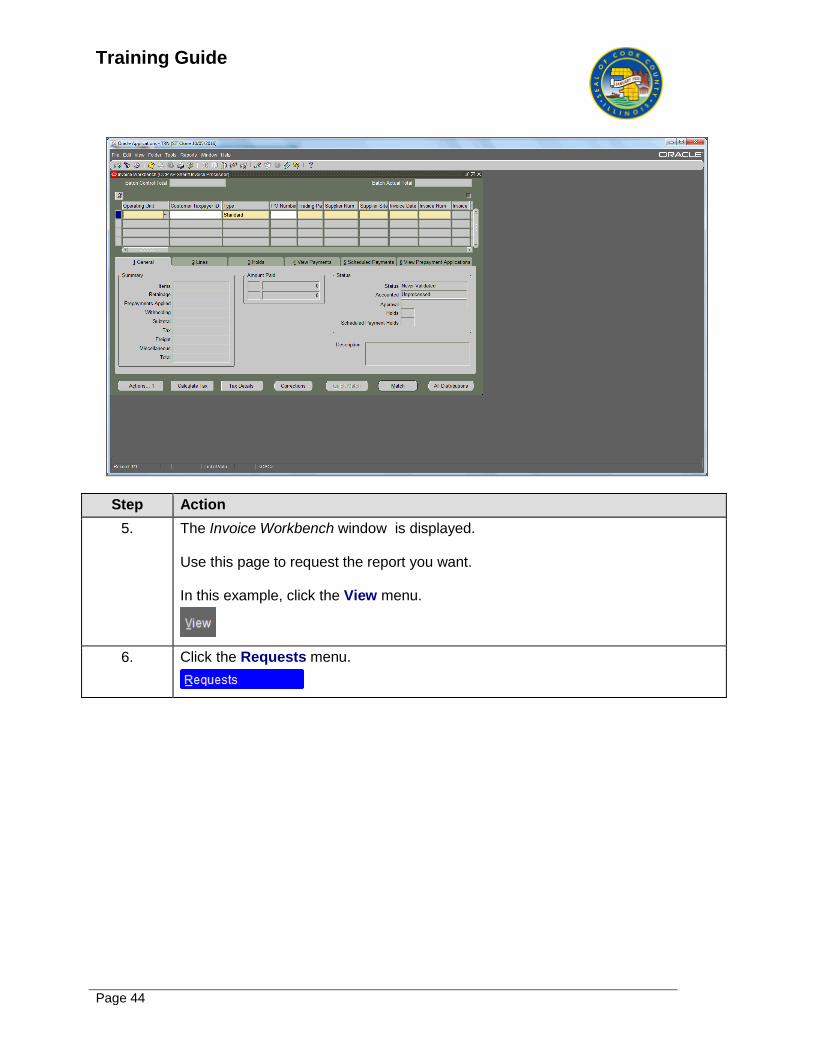
5. The Invoice Workbench window is displayed. Use this page to request the report you want. In this example, click the View menu.
6. Click the Requests menu.
Training Guide
Page 45
Step Action
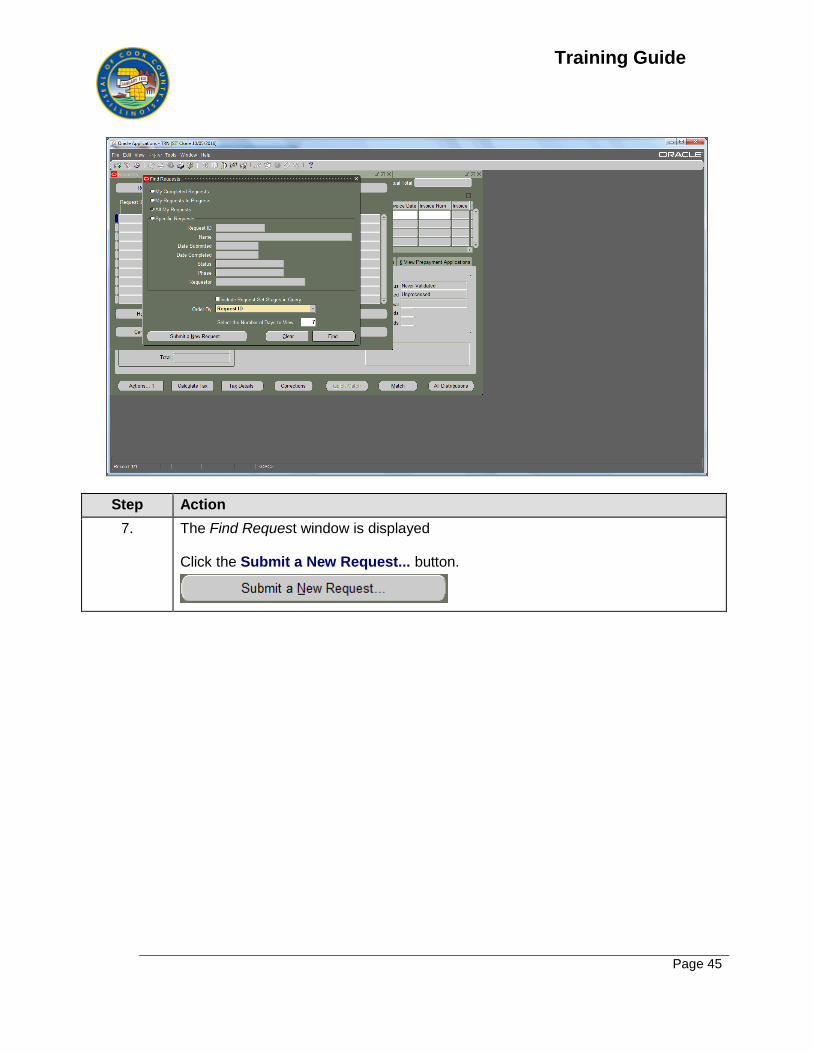
7. The Find Request window is displayed Click the Submit a New Request... button.

Training Guide
Page 46
Step Action
8. The Submit a New Request window is displayed. In this example a single request is selected by default. Click the OK button.
Training Guide
Page 47
Step Action
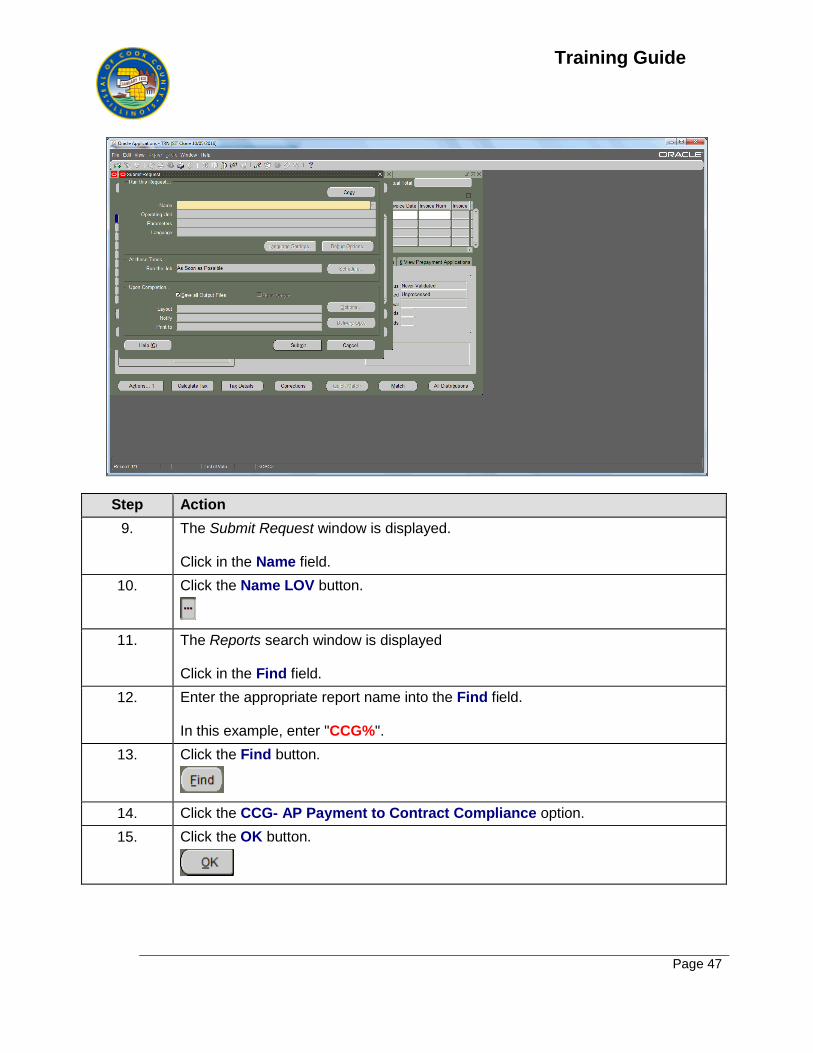
9. The Submit Request window is displayed. Click in the Name field.
10. Click the Name LOV button.
11. The Reports search window is displayed Click in the Find field.
12. Enter the appropriate report name into the Find field. In this example, enter "CCG%".
13. Click the Find button.
14. Click the CCG- AP Payment to Contract Compliance option.
15. Click the OK button.
Training Guide
Page 48
Step Action
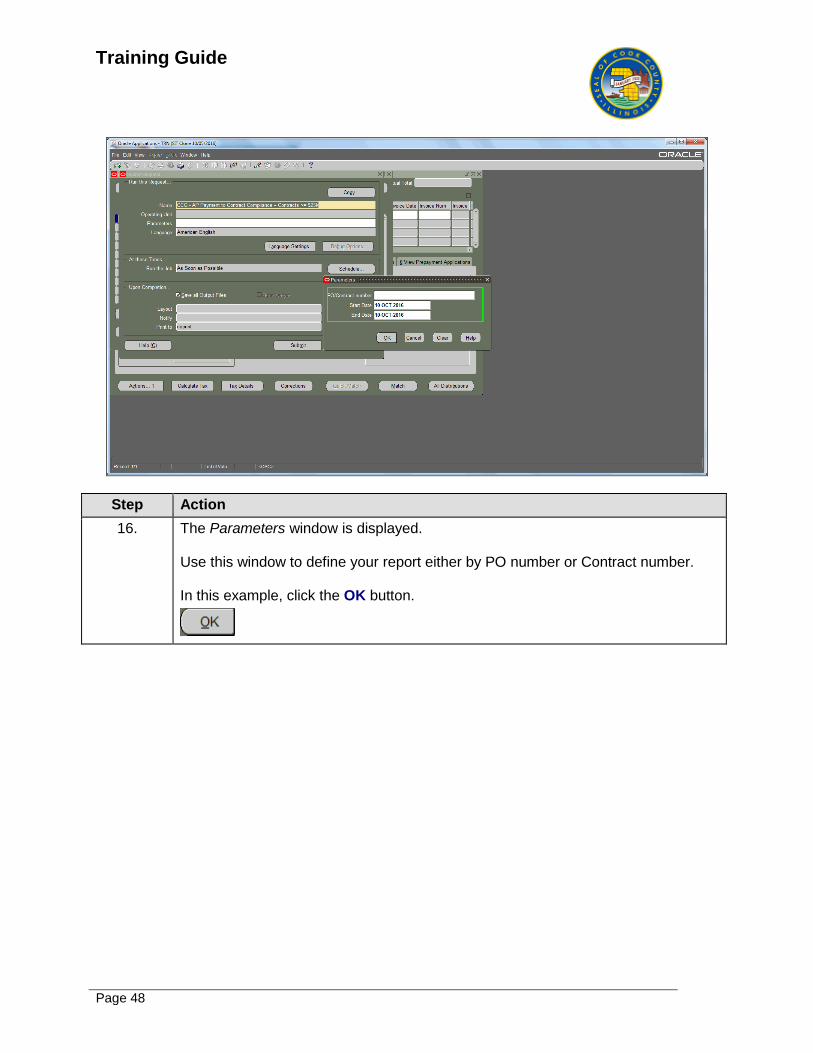
16. The Parameters window is displayed. Use this window to define your report either by PO number or Contract number. In this example, click the OK button.
Training Guide
Page 49
Step Action
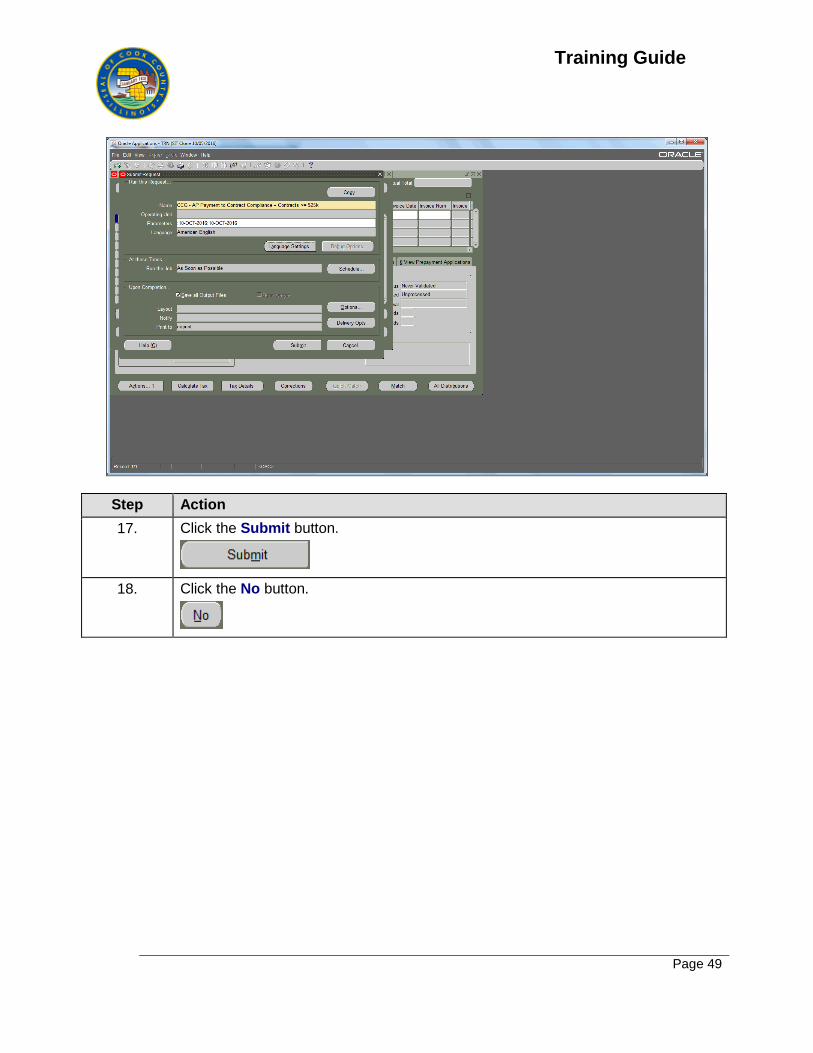
17. Click the Submit button.
18. Click the No button.
Training Guide
Page 50
Step Action
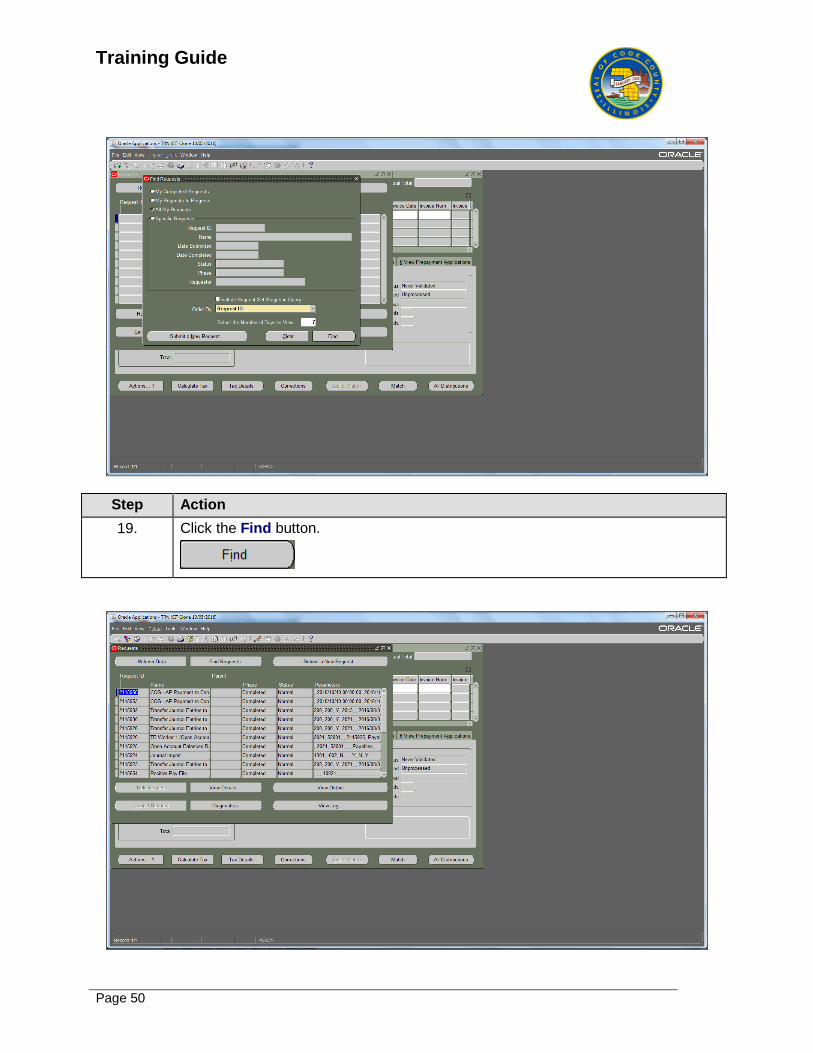
19. Click the Find button.
Training Guide
Page 51
Step Action
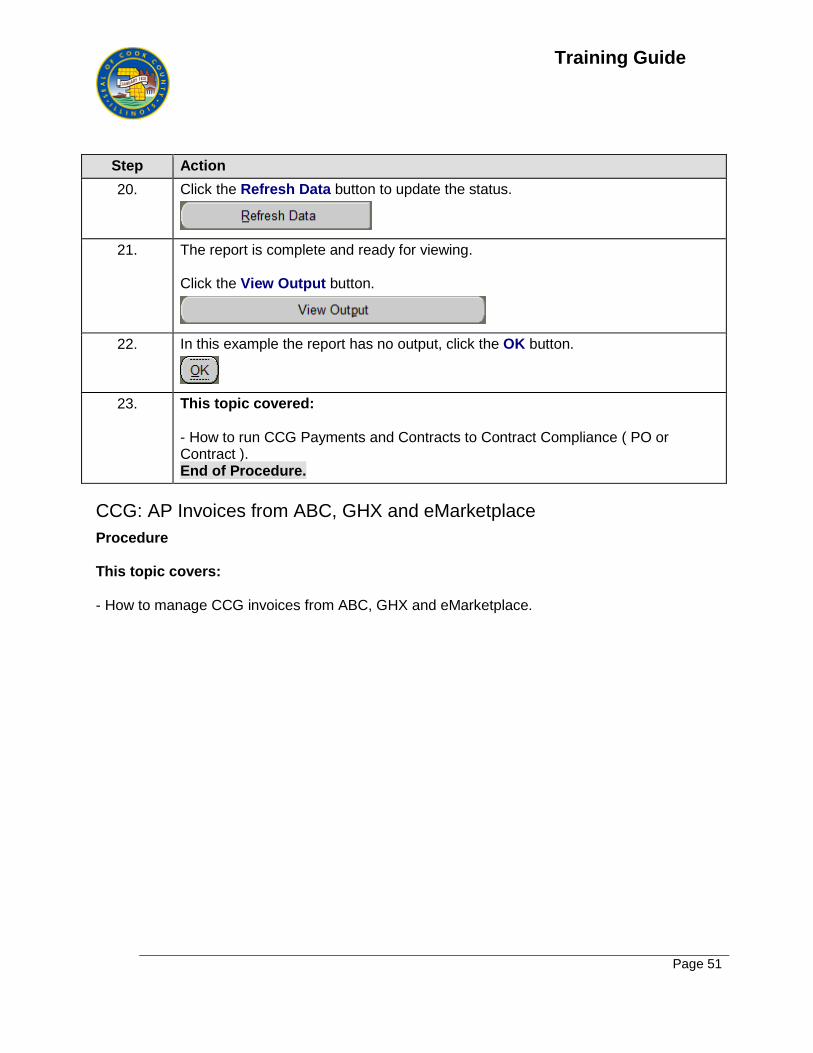
20. Click the Refresh Data button to update the status.
21. The report is complete and ready for viewing. Click the View Output button.
22. In this example the report has no output, click the OK button.
23. This topic covered: - How to run CCG Payments and Contracts to Contract Compliance ( PO or Contract ). End of Procedure.
CCG: AP Invoices from ABC, GHX and eMarketplace
Procedure This topic covers: - How to manage CCG invoices from ABC, GHX and eMarketplace.
Training Guide
Page 52
Step Action
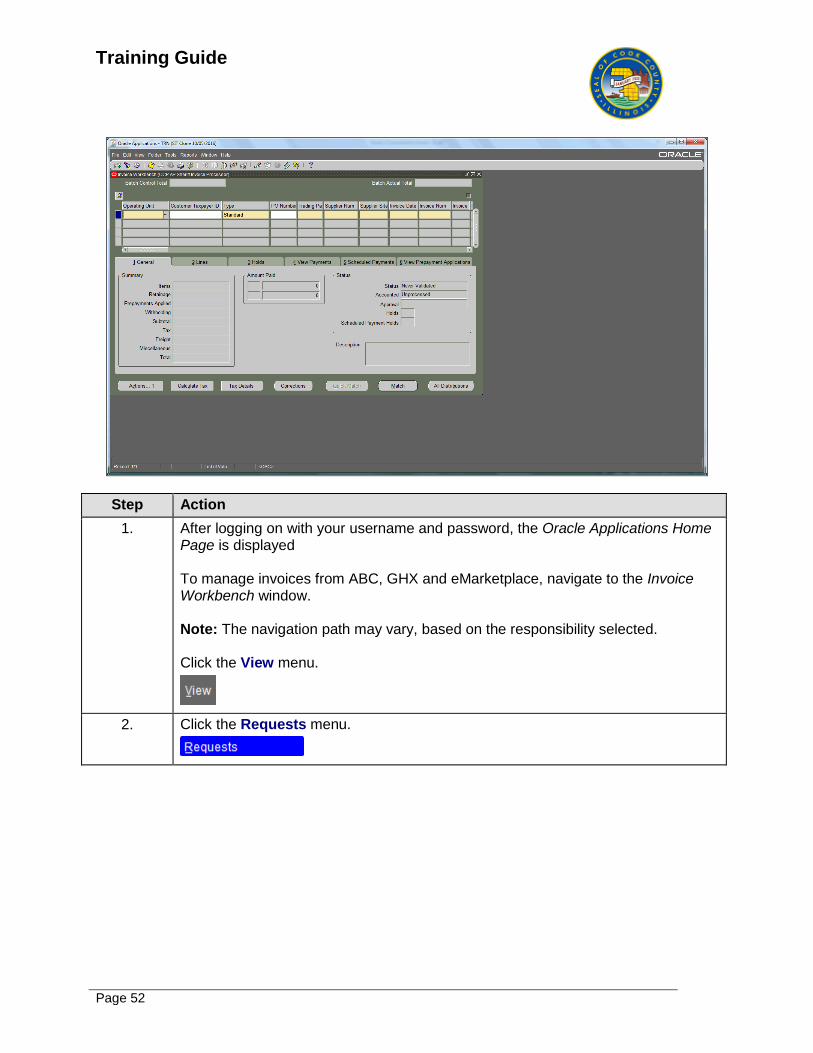
1. After logging on with your username and password, the Oracle Applications Home Page is displayed To manage invoices from ABC, GHX and eMarketplace, navigate to the Invoice Workbench window. Note: The navigation path may vary, based on the responsibility selected. Click the View menu.
2. Click the Requests menu.

Training Guide
Page 53
Step Action
3. The Find Request window is displayed. Click the Submit a New Request... button.
Training Guide
Page 54
Step Action
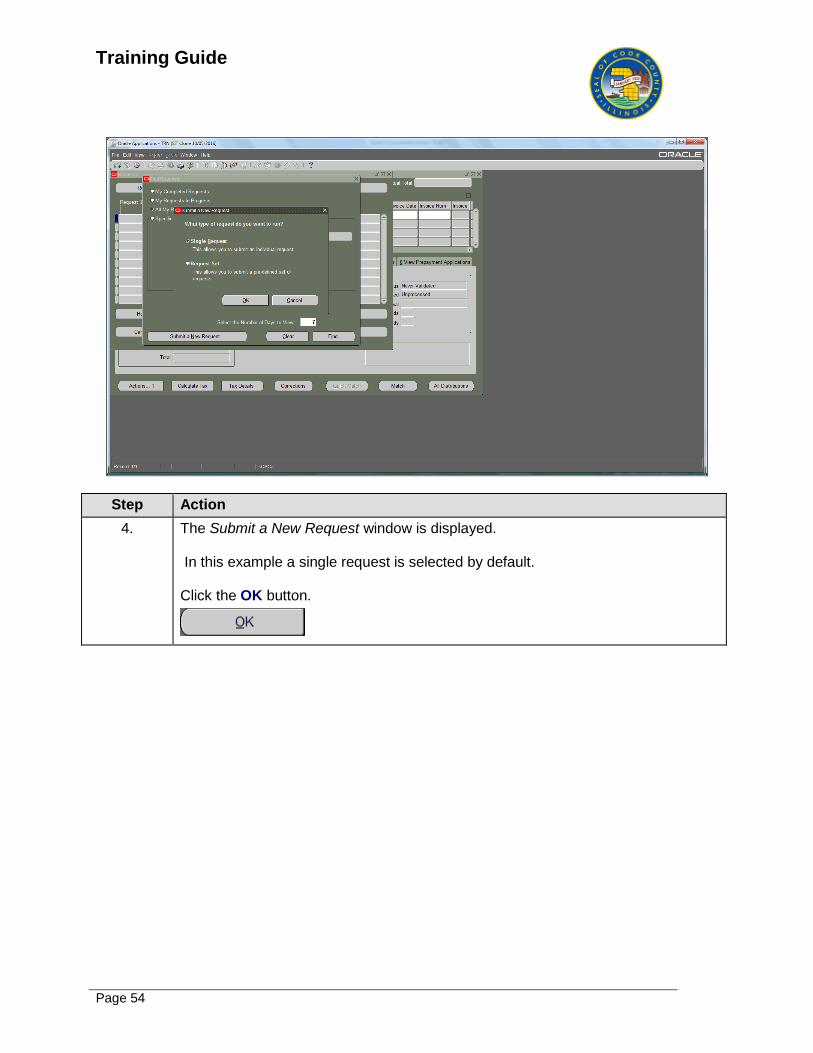
4. The Submit a New Request window is displayed. In this example a single request is selected by default. Click the OK button.

Training Guide
Page 55
Step Action
5. The Submit Request window is displayed. Click in the Name field.
6. Click the Name LOV button.
7. The Reports search window is displayed Click in the Find field.
8. Enter the appropriate report name into the Find field. In this example, enter "CCG%".
9. Click the Find button.
10. Click the CCG AP invoices from ABC, GHX and eMarketplace option.
11. Click the OK button.
Training Guide
Page 56
Step Action
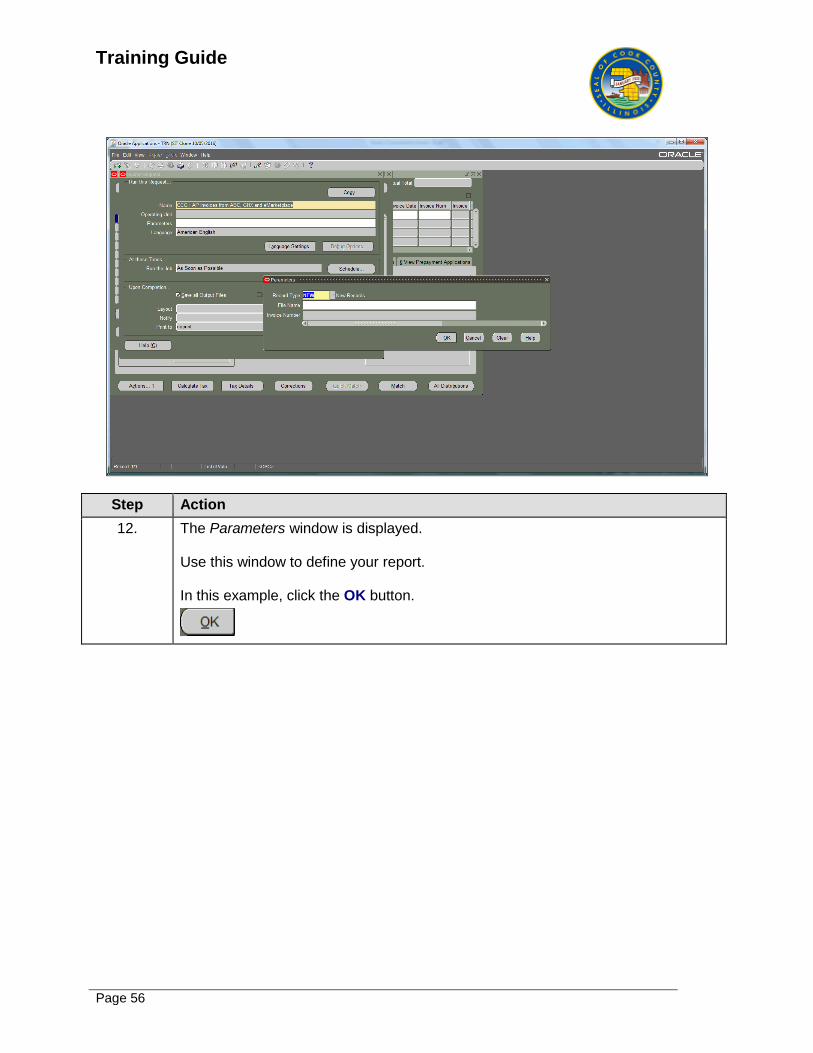
12. The Parameters window is displayed. Use this window to define your report. In this example, click the OK button.
Training Guide
Page 57
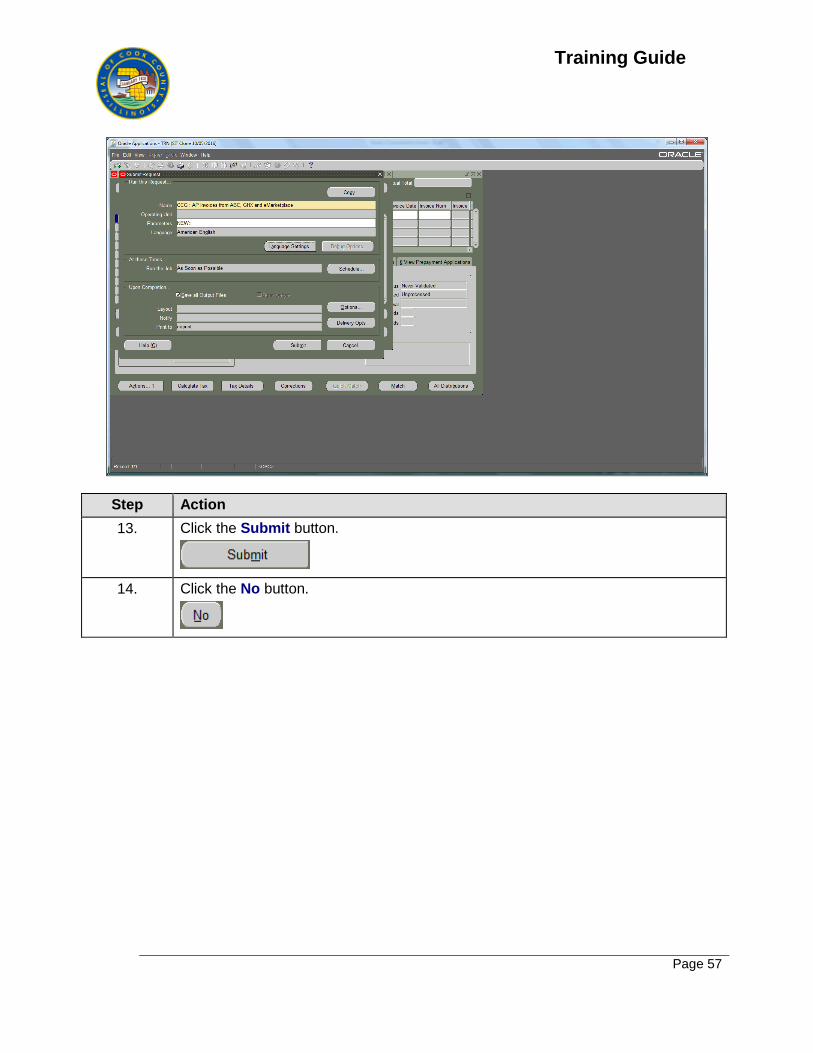
Step Action
13. Click the Submit button.
14. Click the No button.
Training Guide
Page 58
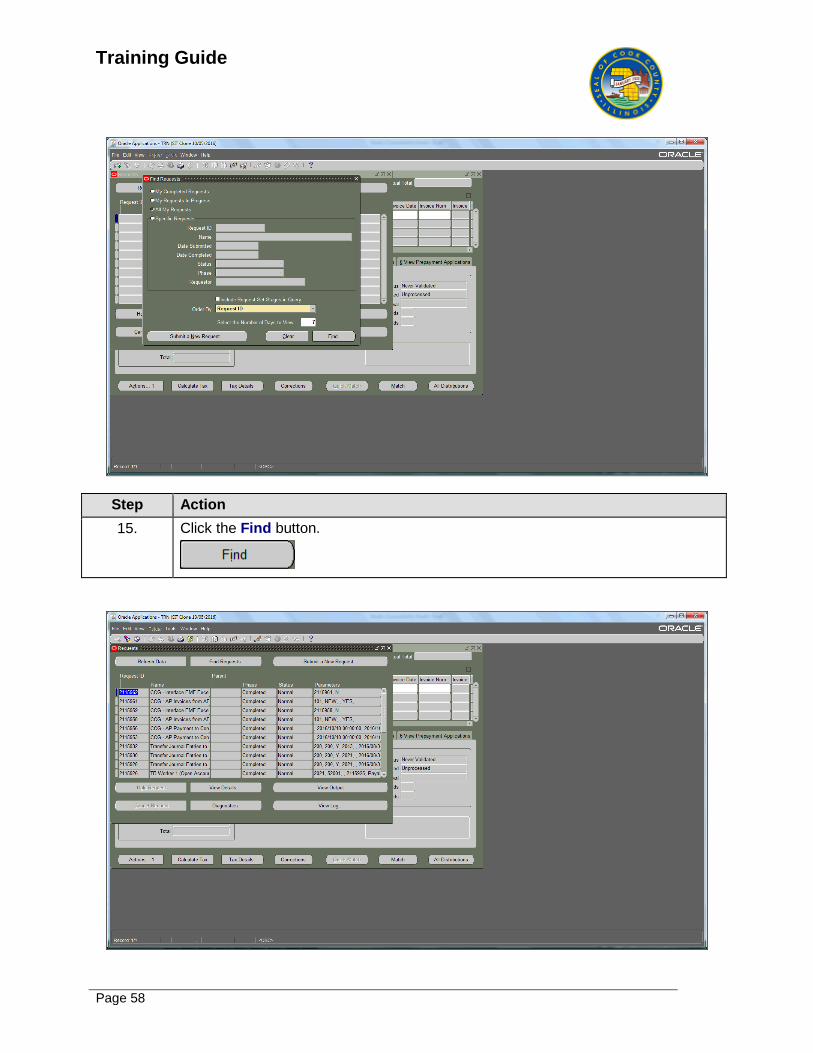
Step Action
15. Click the Find button.
Training Guide
Page 59
Step Action
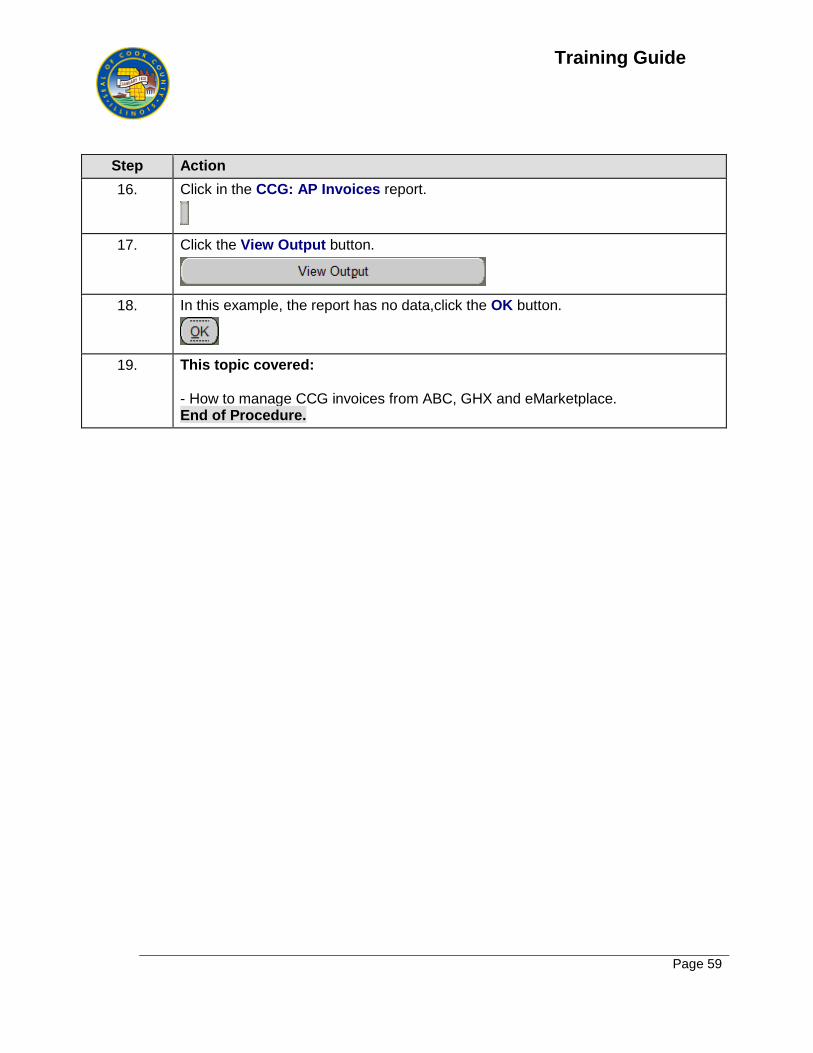
16. Click in the CCG: AP Invoices report.
17. Click the View Output button.
18. In this example, the report has no data,click the OK button.
19. This topic covered: - How to manage CCG invoices from ABC, GHX and eMarketplace. End of Procedure.