Embed Size (px)
Citation preview
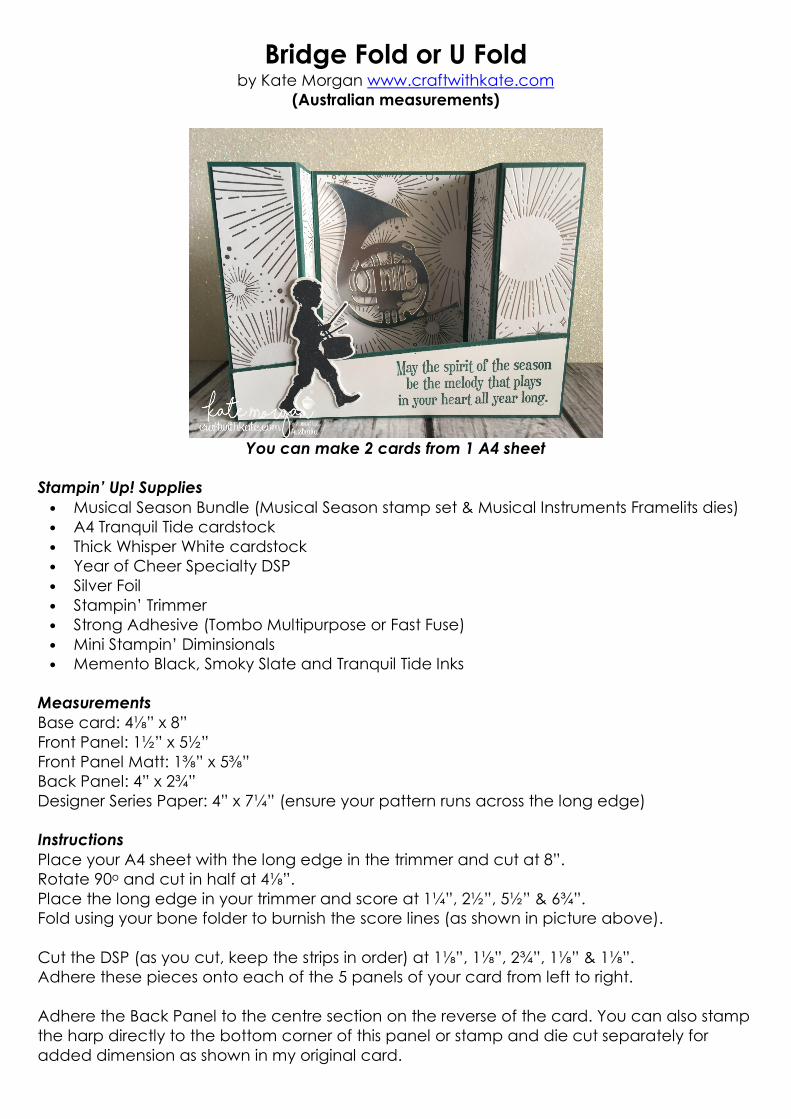
Bridge Fold or U Fold by Kate Morgan www.craftwithkate.com
(Australian measurements)
You can make 2 cards from 1 A4 sheet
Stampin’ Up! Supplies
• Musical Season Bundle (Musical Season stamp set & Musical Instruments Framelits dies)
• A4 Tranquil Tide cardstock
• Thick Whisper White cardstock
• Year of Cheer Specialty DSP
• Silver Foil
• Stampin’ Trimmer
• Strong Adhesive (Tombo Multipurpose or Fast Fuse)
• Mini Stampin’ Diminsionals
• Memento Black, Smoky Slate and Tranquil Tide Inks
Measurements
Base card: 4⅛” x 8”
Front Panel: 1½” x 5½”
Front Panel Matt: 1⅜” x 5⅜”
Back Panel: 4” x 2¾”
Designer Series Paper: 4” x 7¼” (ensure your pattern runs across the long edge)
Instructions
Place your A4 sheet with the long edge in the trimmer and cut at 8”.
Rotate 90o and cut in half at 4⅛”.
Place the long edge in your trimmer and score at 1¼”, 2½”, 5½” & 6¾”.
Fold using your bone folder to burnish the score lines (as shown in picture above).
Cut the DSP (as you cut, keep the strips in order) at 1⅛”, 1⅛”, 2¾”, 1⅛” & 1⅛”.
Adhere these pieces onto each of the 5 panels of your card from left to right.
Adhere the Back Panel to the centre section on the reverse of the card. You can also stamp
the harp directly to the bottom corner of this panel or stamp and die cut separately for
added dimension as shown in my original card.
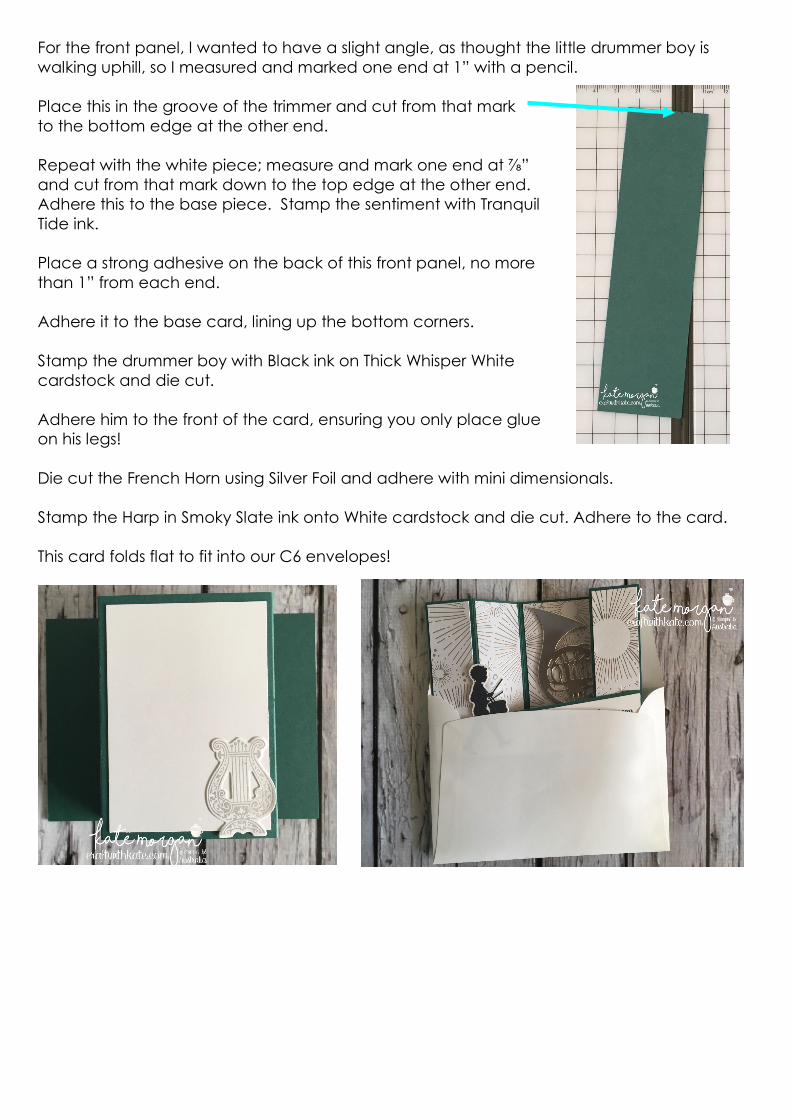
For the front panel, I wanted to have a slight angle, as thought the little drummer boy is
walking uphill, so I measured and marked one end at 1” with a pencil.
Place this in the groove of the trimmer and cut from that mark
to the bottom edge at the other end.
Repeat with the white piece; measure and mark one end at ⅞”
and cut from that mark down to the top edge at the other end.
Adhere this to the base piece. Stamp the sentiment with Tranquil
Tide ink.
Place a strong adhesive on the back of this front panel, no more
than 1” from each end.
Adhere it to the base card, lining up the bottom corners.
Stamp the drummer boy with Black ink on Thick Whisper White
cardstock and die cut.
Adhere him to the front of the card, ensuring you only place glue
on his legs!
Die cut the French Horn using Silver Foil and adhere with mini dimensionals.
Stamp the Harp in Smoky Slate ink onto White cardstock and die cut. Adhere to the card.
This card folds flat to fit into our C6 envelopes!