Embed Size (px)
Citation preview
1
Chapter 5: Database Access with ADO.NET
Difference between ADO and ADO.NET
ADO
1.It is a COM based library.
2.Classic ADO requires active connection with the data store.
3.Locking feature is available.
4.Data is stored in binary format.
5.XML integration is not possible.
6.It uses the object named Recordset to reference data from the data store.
7.Using Classic ADO, we can obtain information from one table or set of tables through
join. We cannot fetch records from multiple tables independently.
8.Firewall might prevent execution of Classic ADO.
9.Classic ADO architecture includes client side cursor and server side cursor.
10.We cannot send multiple transactions using a single connection instance.
ADO.NET
1.It is a CLR based library.
2.ADO.NET architecture works while the data store is disconnected.
3.Locking feature is not available.
4.Data is stored in XML.
5.XML integration is possible.
6.It uses Dataset Object for data access and representation.
7.Dataset object of ADO.NET includes collection of DataTables wherein each DataTable
will contain records fetched from a particular table. Hence multiple table records are
maintained independently.
8.ADO.NET has firewall proof and its execution will never be interrupted.
9.ADO.NET architecture doesn't include such cursors.
10.We can send multiple transactions using a single connection instance.
Definition of ADO.NET
• ActiveX Data Object.NET (ADO.NET) is a software library in the .NET framework
consisting of software components providing data access services.
• ADO.NET is designed to enable developers to write managed code for obtaining
disconnected access to data sources, which can be relational or non-relational (such as
XML or application data).
• This feature of ADO.NET helps to create data-sharing, distributed applications

2
The Two Faces of ADO.NET
• The ADO.NET libraries can be used in two conceptually unique manners: connected or
disconnected.
• Connected architecture: the application remains connected with the database throughout the processing.
• Disconnected architecture: the application automatically connects/disconnects during
the processing. The application uses temporary data on the application side called a DataSet.
• When you are making use of the connected layer, your code base will explicitly connect to and
disconnect from the underlying data store.
• When you are using ADO.NET in this manner, you typically interact with the data store using
connection objects, command objects, and data reader objects.
• As you will see later in this chapter, data readers provide a way to pull records from a data store
using a forward-only, read-only approach (much like a fire-hose cursor).
• The disconnected layer, on the other hand, allows you to obtain a set of DataTable objects
(contained within a DataSet) that functions as a client-side copy of the external data.
• When you obtain a DataSet using a related data adapter object, the connection is automatically
opened and closed on your behalf.
Understanding ADO.NET Data Providers
• ADO.NET does not provide a single set of types that communicate with multiple database
management systems (DBMSs).
• Rather, ADO.NET supports multiple data providers, each of which is optimized to interact with a
specific DBMS.
• The first benefit of this approach is that a specific data provider can be programmed to access any
unique features of the DBMS.
• Another benefit is that a specific data provider is able to directly connect to the underlying engine
of the DBMS without an intermediate mapping layer standing between the tiers.
• SimplySimply put, a data provider is a set of types defined in a given namespace that understand
how to communicate with a specific data source.
• Regardless of which data provider you make use of, each defines a set of class types that provide
core functionality.

3
Figure 22-1 illustrates the big picture behind ADO.NET data providers. Note that in the diagram,
the “Client Assembly” can literally be any type of .NET application: console program, Windows Forms
application, ASP.NET web page, XML web service, .NET code library, and so on.

4
Microsoft-Supplied Data Providers
• As of version 2.0, Microsoft’s .NET distribution ships with numerous data providers, including a
provider for Oracle, SQL Server, and ODBC-style connectivity.
• Table 22-2 documents the namespace and containing assembly for each Microsoft ADO.NET data
provider.
• The OLE DB data provider, which is composed of the types defined in the System.Data.OleDb
namespace, allows you to access data located in any data store that supports the classic COM-
based OLE DB protocol.
• Using this provider, you may communicate with any OLE DB–compliant database simply by
tweaking the “Provider” segment of your connection string.
• Be aware, however, that the OLE DB provider interacts with various COM objects behind the
scenes, which can affect the performance of your application.
• By and large, the OLE DB data provider is only useful if you are interacting with a DBMS that does
not define a specific .NET data provider.
• The Microsoft SQL Server data provider offers direct access to Microsoft SQL Server data stores,
and only SQL Server data stores (version 7.0 and greater).
• The System.Data.SqlClient namespace contains the types used by the SQL Server provider and
offers the same basic functionality as the OLE DB provider.
• The key difference is that the SQL Server provider bypasses the OLE DB layer and thus gives
numerous performance benefits. As well, the Microsoft SQL Server data provider allows you to
gain access to the unique features of this particular DBMS.

5
Third-Party Data Providers
• In addition to the data providers that ship from Microsoft, numerous third-party data providers
exist for various open source and commercial databases.
• Table 22-3 documents where to obtain managed providers for several databases that do not
directly ship with Microsoft .NET 2.0
Understanding the Connected Layer of ADO.NET
• the connected layer of ADO.NET allows you to interact with a database using the connection,
command, and data reader objects of your data provider.
• When you wish to connect to a database and read the records using a data reader object, you
need to perform the following steps:
1. Allocate, configure, and open your connection object.
2. Allocate and configure a command object, specifying the connection object as a constructor argument
or via the Connection property.
3. Call ExecuteReader() on the configured command object.
4. Process each record using the Read() method of the data reader.
• In the example program, The goal is to open a connection (via the SqlConnection object) and
submit a SQL query (via the SqlCommandobject) to obtain all records within the Inventory table
of the Cars database.
• At this point, you will use a SqlDataReader to print out the results using the type indexer.
• Here is the complete code within Main(), with analysis to follow:
class Program
{
static void Main(string[] args)
{
Console.WriteLine("***** Fun with Data Readers *****\n");
// Create an open a connection.
SqlConnection cn = new SqlConnection();
cn.ConnectionString =
"uid=sa;pwd=;Initial Catalog=Cars; Data Source=(local)";

6
cn.Open();
// Create a SQL command object.
string strSQL = "Select * From Inventory";
SqlCommand myCommand = new SqlCommand(strSQL, cn);
// Obtain a data reader a la ExecuteReader().
SqlDataReader myDataReader;
myDataReader = myCommand.ExecuteReader(CommandBehavior.CloseConnection);
// Loop over the results.
while (myDataReader.Read())
{
Console.WriteLine("-> Make: {0}, PetName: {1}, Color: {2}.",
myDataReader["Make"].ToString().Trim(),
myDataReader["PetName"].ToString().Trim(),
myDataReader["Color"].ToString().Trim());
}
// Because we specified CommandBehavior.CloseConnection, we
// don't need to explicitly call Close() on the connection.
myDataReader.Close();
}
}
Working with Connection Objects
• The first step to take when working with a data provider is to establish a session with the data
source using the connection object (which, as you recall, derives from DbConnection).
• .NET connection types are provided with a formatted connection string, which contains a number
of name/value pairs separated by semicolons.
• This information is used to identify the name of the machine you wish to connect to, required
security settings, the name of the database on that machine, and other data provider–specific
information.
• As you can infer from the preceding code, the Initial Catalog name refers to the database you are
attempting to establish a session with (Pubs, Northwind, Cars, etc.).
• The Data Source name identifies the name of the machine that maintains the database (for
simplicity, I have assumed no specific password is required for local system administrators).
• Once your construction string has been established, a call to Open() establishes your connection
with the DBMS.
• In addition to the ConnectionString, Open(), and Close() members, a connection object provides
a number of members that let you configure attritional settings regarding your connection, such
as timeout settings and transactional information.
• Table 22-6 lists some (but not all) members of the DbConnection base class.

7
• As you can see, the properties of the DbConnection type are typically read-only in nature and are
only useful when you wish to obtain the characteristics of a connection at runtime.
• When you wish to override default settings, you must alter the construction string itself.
• For example, the connection string sets the connection timeout setting from 15 seconds to 30
seconds (via the Connect Timeout segment of the connection string):
static void Main(string[] args)
{
SqlConnection cn = new SqlConnection();
cn.ConnectionString =
"uid=sa;pwd=;Initial Catalog=Cars;" +
"Data Source=(local);Connect Timeout=30";
cn.Open();
// New helper function (see below).
ShowConnectionStatus(cn);
...
}
• In the preceding code, notice you have now passed your connection object as a parameter to a
new static helper method in the Program class named ShowConnectionStatus(), implemented as
so:
static void ShowConnectionStatus(DbConnection cn)
{
// Show various stats about current connection object.
Console.WriteLine("***** Info about your connection *****");
Console.WriteLine("Database location: {0}", cn.DataSource);
Console.WriteLine("Database name: {0}", cn.Database);
Console.WriteLine("Timeout: {0}", cn.ConnectionTimeout);
Console.WriteLine("Connection state: {0}\n", cn.State.ToString());

8
}
• While most of these properties are self-explanatory, the State property is worth special mention.
• Although this property may be assigned any value of the ConnectionState enumeration
public enum System.Data.ConnectionState
{
Broken, Closed,
Connecting, Executing,
Fetching, Open
}
• the only valid ConnectionState values are ConnectionState.Open and ConnectionState.Closed
(the remaining members of this enum are reserved for future use). Also, understand that it is
always safe to close a connection whose connection state is currently ConnectionState.Closed.
Working with .NET 2.0 ConnectionStringBuilders
• the Microsoft-supplied ADO.NET data providers now support connection string builder objects,
which allow you to establish the name/value pairs using strongly typed properties.
• Consider the following Main() method:
static void Main(string[] args)
{
// Create a connection string via the builder object.
SqlConnectionStringBuilder cnStrBuilder =
new SqlConnectionStringBuilder();
cnStrBuilder.UserID = "sa";
cnStrBuilder.Password = "";
cnStrBuilder.InitialCatalog = "Cars";
cnStrBuilder.DataSource = "(local)";
cnStrBuilder.ConnectTimeout = 30;
SqlConnection cn = new SqlConnection();
cn.ConnectionString = cnStrBuilder.ConnectionString;
cn.Open();
ShowConnectionStatus(cn);
...
}
• In this iteration, you create an instance of SqlConnectionStringBuilder, set the properties
accordingly, and obtain the internal string via the ConnectionString property.
• Also note that you make use of the default constructor of the type.
• If you so choose, you can also create an instance of your data provider’s connection string builder
object by passing in an existing connection string as a starting point (which can be helpful when
you are reading these values dynamically from an app.config file).
• Once you have hydrated the object with the initial string data, you can change specific name/value
pairs using the related properties, for example:
static void Main(string[] args)

9
{
Console.WriteLine("***** Fun with Data Readers *****\n");
// Assume you really obtained cnStr from a *.config file.
string cnStr = "uid=sa;pwd=;Initial Catalog=Cars;" +
"Data Source=(local);Connect Timeout=30";
SqlConnectionStringBuilder cnStrBuilder =
new SqlConnectionStringBuilder(cnStr);
cnStrBuilder.UserID = "sa";
cnStrBuilder.Password = "";
cnStrBuilder.InitialCatalog = "Cars";
cnStrBuilder.DataSource = "(local)";
// Change timeout value.
cnStrBuilder.ConnectTimeout = 5;
...
}
Working with Command Objects
• The SqlCommand type (which derives from DbCommand) is an OO representation of a SQL query,
table name, or stored procedure.
• The type of command is specified using the CommandType property, which may take any value
from the CommandType enum:
public enum System.Data.CommandType
{
StoredProcedure,
TableDirect,
Text // Default value.
}
• When creating a command object, you may establish the SQL query as a constructor parameter
or directly via the CommandText property.
• Also when you are creating a command object, you need to specify the connection to be used.
Again, you may do so as a constructor parameter or via the Connection property:
static void Main(string[] args)
{
SqlConnection cn = new SqlConnection();
...
// Create command object via ctor args.
string strSQL = "Select * From Inventory";
SqlCommand myCommand = new SqlCommand(strSQL, cn);
// Create another command object via properties.
SqlCommand testCommand = new SqlCommand();
testCommand.Connection = cn;
testCommand.CommandText = strSQL;
...

10
}
• Realize that at this point, you have not literally submitted the SQL query to the Cars database,but
rather prepped the state of the command type for future use.
• Table 22-7 highlights some additional members of the DbCommand type.
Working with Data Readers
• Once you have established the active connection and SQL command, the next step is to submit
the query to the data source.
• As you might guess, you have a number of ways to do so.
• The DbDataReader type (which implements IDataReader) is the simplest and fastest way to obtain
information from a data store.
• Recall that data readers represent a read-only, forward-only stream of data returned one record
at a time.
• Given this, it should stand to reason that data readers are useful only when submitting SQL
selection statements to the underlying data store.
• Data readers are useful when you need to iterate over large amounts of data very quickly and
have no need to maintain an in-memory representation.
• For example, if you request 20,000 records from a table to store in a text file, it would be rather
memory-intensive to hold this information in a DataSet.
• A better approach is to create a data reader that spins over each record as rapidly as possible.
• Data reader objects maintain an open connection to their data source until you explicitly close
the session.

11
• Data reader objects are obtained from the command object via a call to ExecuteReader().
• When invoking this method, you may optionally instruct the reader to automatically close down
the related connection object by specifying CommandBehavior.CloseConnection.
• The following use of the data reader leverages the Read() method to determine when you have
reached the end of your records (via a false return value).
• For each incoming record, you are making use of the type indexer to print out the make, pet name,
and color of each automobile.
• Also note that you call Close() as soon as you are finished processing the records, to free up the
connection object:
static void Main(string[] args)
{
...
// Obtain a data reader a la ExecuteReader().
SqlDataReader myDataReader;
myDataReader = myCommand.ExecuteReader(CommandBehavior.CloseConnection);
// Loop over the results.
while (myDataReader.Read())
{
Console.WriteLine("-> Make: {0}, PetName: {1}, Color: {2}.",
myDataReader["Make"].ToString().Trim(),
myDataReader["PetName"].ToString().Trim(),
myDataReader["Color"].ToString().Trim());
}
myDataReader.Close();
ShowConnectionStatus(cn);
}
• The indexer of a data reader object has been overloaded to take either a string (representing the
name of the column) or an integer (representing the column’s ordinal position).
• Thus, you could clean up the current reader logic (and avoid hard-coded string names) with the
following update(note the use of the FieldCount property):
while (myDataReader.Read())
{
Console.WriteLine("***** Record *****");
for (int i = 0; i < myDataReader.FieldCount; i++)
{
Console.WriteLine("{0} = {1} ",
myDataReader.GetName(i),
myDataReader.GetValue(i).ToString().Trim());
}
Console.WriteLine();
}

12
• If you compile and run your project, you should be presented with a list of all automobiles in the
Inventory table of the Cars database (see Figure 22-7).
Obtaining Multiple Result Sets Using a Data Reader
• Data reader objects are able to obtain multiple result sets from a single command object.
• For example, if you are interested in obtaining all rows from the Inventory table as well as all rows
from the Customers table, you are able to specify both SQL select statements using a semicolon
delimiter:
string theSQL = "Select * From Inventory;Select * from Customers";
• Once you obtain the data reader, you are able to iterate over each result set via the NextResult()
method.
• Do be aware that you are always returned the first result set automatically.
• Thus, if you wish to read over the rows of each table, you will be able to build the following
iteration construct:
do
{
while(myDataReader.Read())
{
// Read the info of the current result set.
}
}while(myDataReader.NextResult());

13
• So, at this point, you should be more aware of the functionality data reader objects bring to the
table.
Modifying Tables Using Command Objects
• when you wish to submit SQL commands that result in the modification of a given table, you will
call the ExecuteNonQuery() method of your command object.
• This single method will perform inserts, updates, and deletes based on the format of your
command text.
• To illustrate how to modify an existing database using nothing more than a call to
ExecuteNonQuery(), you will now build a new console application (CarsInventoryUpdater) that
allows the caller to modify the Inventory table of the Cars database.
• Like in other examples in this text, the Main() method is responsible for prompting the user for a
specific course of action and executing that request via a switch statement. This program will
allow the user to enter the following commands:
• I: Inserts a new record into the Inventory table
• U: Updates an existing record in the Inventory table
• D: Deletes an existing record from the Inventory table
• L: Displays the current inventory using a data reader
• S: Shows these options to the user
• Q: Quits the program
• Each possible option is handled by a unique static method within the Program class.
• For the purpose of completion, here is the implementation of Main(), which I assume requires no
further comment:
static void Main(string[] args)
{
Console.WriteLine("***** Car Inventory Updater *****");
bool userDone = false;
string userCommand = "";
SqlConnection cn = new SqlConnection();
cn.ConnectionString =
"uid=sa;pwd=;Initial Catalog=Cars;" +
"Data Source=(local);Connect Timeout=30";
cn.Open();
ShowInstructions();
do
{
Console.Write("Please enter your command: ");
userCommand = Console.ReadLine();
14
Console.WriteLine();
switch (userCommand.ToUpper())
{
case "I":
InsertNewCar(cn);
break;
case "U":
UpdateCarPetName(cn);
break;
case "D":
DeleteCar(cn);
break;
case "L":
ListInventory(cn);
break;
case "S":
ShowInstructions();
break;
case "Q":
userDone = true;
break;
default:
Console.WriteLine("Bad data! Try again");
break;
}
} while (!userDone);
cn.Close();
}
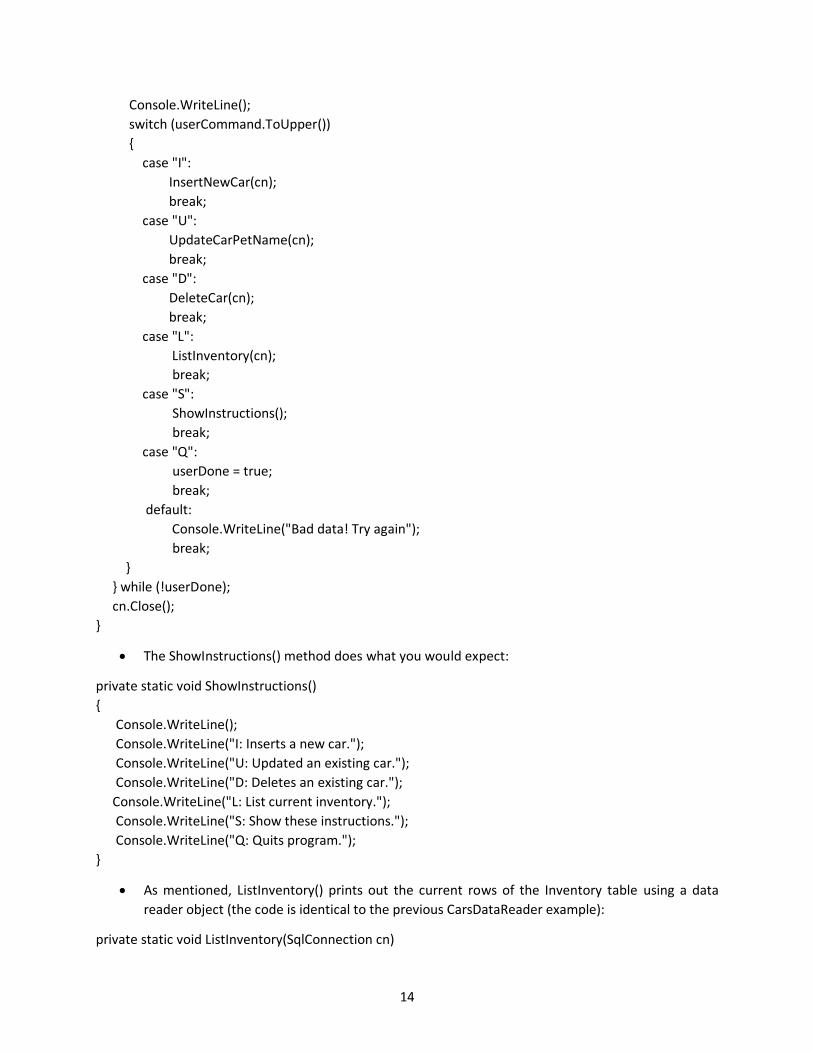
• The ShowInstructions() method does what you would expect:
private static void ShowInstructions()
{
Console.WriteLine();
Console.WriteLine("I: Inserts a new car.");
Console.WriteLine("U: Updated an existing car.");
Console.WriteLine("D: Deletes an existing car.");
Console.WriteLine("L: List current inventory.");
Console.WriteLine("S: Show these instructions.");
Console.WriteLine("Q: Quits program.");
}
• As mentioned, ListInventory() prints out the current rows of the Inventory table using a data
reader object (the code is identical to the previous CarsDataReader example):
private static void ListInventory(SqlConnection cn)

15
{
string strSQL = "Select * From Inventory";
SqlCommand myCommand = new SqlCommand(strSQL, cn);
SqlDataReader myDataReader;
myDataReader = myCommand.ExecuteReader();
while (myDataReader.Read())
{
for (int i = 0; i < myDataReader.FieldCount; i++)
{
Console.Write("{0} = {1} ",
myDataReader.GetName(i),
myDataReader.GetValue(i).ToString().Trim());
}
Console.WriteLine();
}
myDataReader.Close();
}
Inserting New Records
• Inserting a new record into the Inventory table is as simple as formatting the SQL insert
statement(based on user input) and calling ExecuteNonQuery().
private static void InsertNewCar(SqlConnection cn)
{
// Gather info about new car.
Console.Write("Enter CarID: ");
int newCarID = int.Parse(Console.ReadLine());
Console.Write("Enter Make: ");
string newCarMake = Console.ReadLine();
Console.Write("Enter Color: ");
string newCarColor = Console.ReadLine();
Console.Write("Enter PetName: ");
string newCarPetName = Console.ReadLine();
// Format and execute SQL statement.
string sql = string.Format("Insert Into Inventory" +
"(CarID, Make, Color, PetName) Values" +
"('{0}', '{1}', '{2}', '{3}')", newCarID, newCarMake,
newCarColor, newCarPetName);
SqlCommand cmd = new SqlCommand(sql, cn);
cmd.ExecuteNonQuery();
}
16
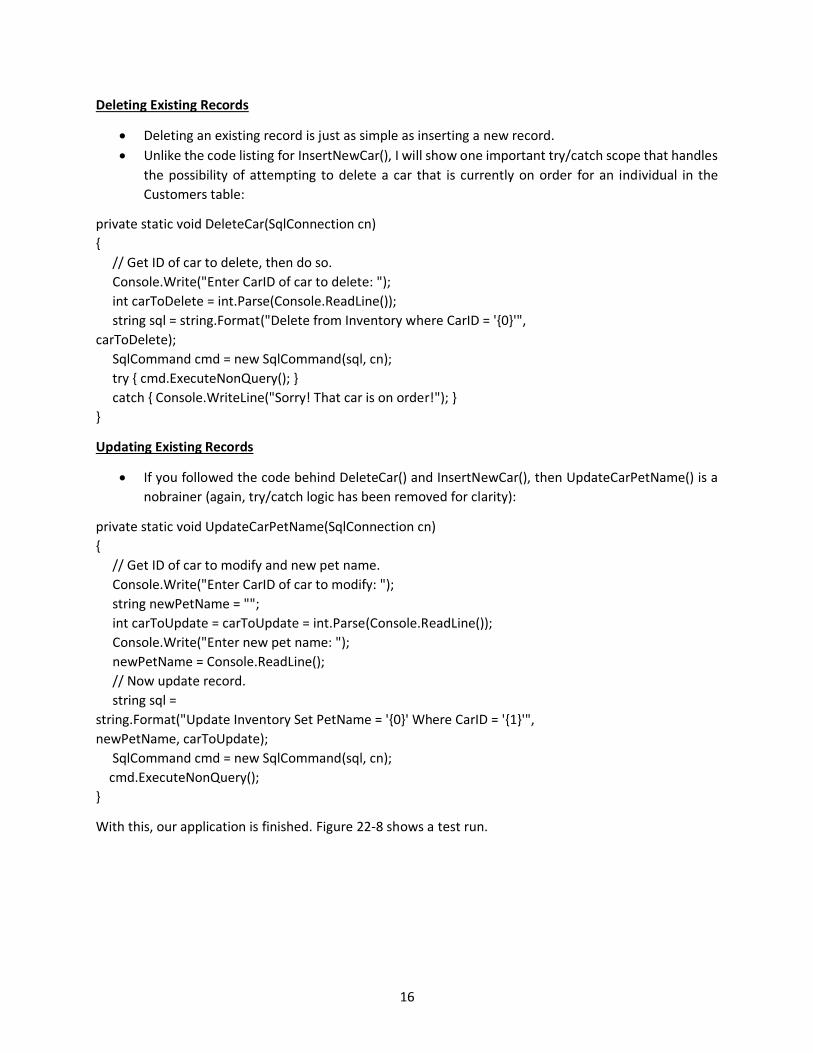
Deleting Existing Records
• Deleting an existing record is just as simple as inserting a new record.
• Unlike the code listing for InsertNewCar(), I will show one important try/catch scope that handles
the possibility of attempting to delete a car that is currently on order for an individual in the
Customers table:
private static void DeleteCar(SqlConnection cn)
{
// Get ID of car to delete, then do so.
Console.Write("Enter CarID of car to delete: ");
int carToDelete = int.Parse(Console.ReadLine());
string sql = string.Format("Delete from Inventory where CarID = '{0}'",
carToDelete);
SqlCommand cmd = new SqlCommand(sql, cn);
try { cmd.ExecuteNonQuery(); }
catch { Console.WriteLine("Sorry! That car is on order!"); }
}
Updating Existing Records
• If you followed the code behind DeleteCar() and InsertNewCar(), then UpdateCarPetName() is a
nobrainer (again, try/catch logic has been removed for clarity):
private static void UpdateCarPetName(SqlConnection cn)
{
// Get ID of car to modify and new pet name.
Console.Write("Enter CarID of car to modify: ");
string newPetName = "";
int carToUpdate = carToUpdate = int.Parse(Console.ReadLine());
Console.Write("Enter new pet name: ");
newPetName = Console.ReadLine();
// Now update record.
string sql =
string.Format("Update Inventory Set PetName = '{0}' Where CarID = '{1}'",
newPetName, carToUpdate);
SqlCommand cmd = new SqlCommand(sql, cn);
cmd.ExecuteNonQuery();
}
With this, our application is finished. Figure 22-8 shows a test run.

17