Embed Size (px)
Citation preview
Tooltip
1 Deploying Adobe Acrobat or Reader
Deploying Adobe Acrobat or Reader using SyAM
Management Utilities
The Third Party Software Deployment feature of SyAM Management Utilities can be used to
perform a silent installation of Adobe Acrobat or Reader across your network to managed client
machines. In this document we’ll show how to use Adobe Configuration Wizard to customize the
Reader installation. With this method you can install Reader with automatic updates disabled, or
with the end-user license agreement already accepted on the user’s behalf. The procedures that
we document here for Reader can also be used for Acrobat installations.
Requirements: Download the Reader installation executable and the Adobe Customization
Wizard installation executable from Adobe. To obtain the Reader installation that supports
enterprise deployment, you will need to contact Adobe and obtain a valid Distribution
Agreement. To request distribution rights, visit this page:
http://www.adobe.com/products/reader/rdr_distribution1.html
The version of Customization Wizard must be the same major release as the Reader
version. To download, browse to:
http://www.adobe.com/devnet-docs/acrobatetk/
In the left-hand menu under Tool Downloads, click the Win Customization Wizard link. A link to
the Customization Wizard installation executable will appear on the page.
Windows target systems must have the SyAM System Client installed and reporting to SyAM
System Area Manager. Target systems must be discovered by Management Utility.
Step 1: Install Adobe Customization Wizard On the Management Utilities server, install Adobe Customization Wizard with default settings.
Tooltip
2 Deploying Adobe Acrobat or Reader
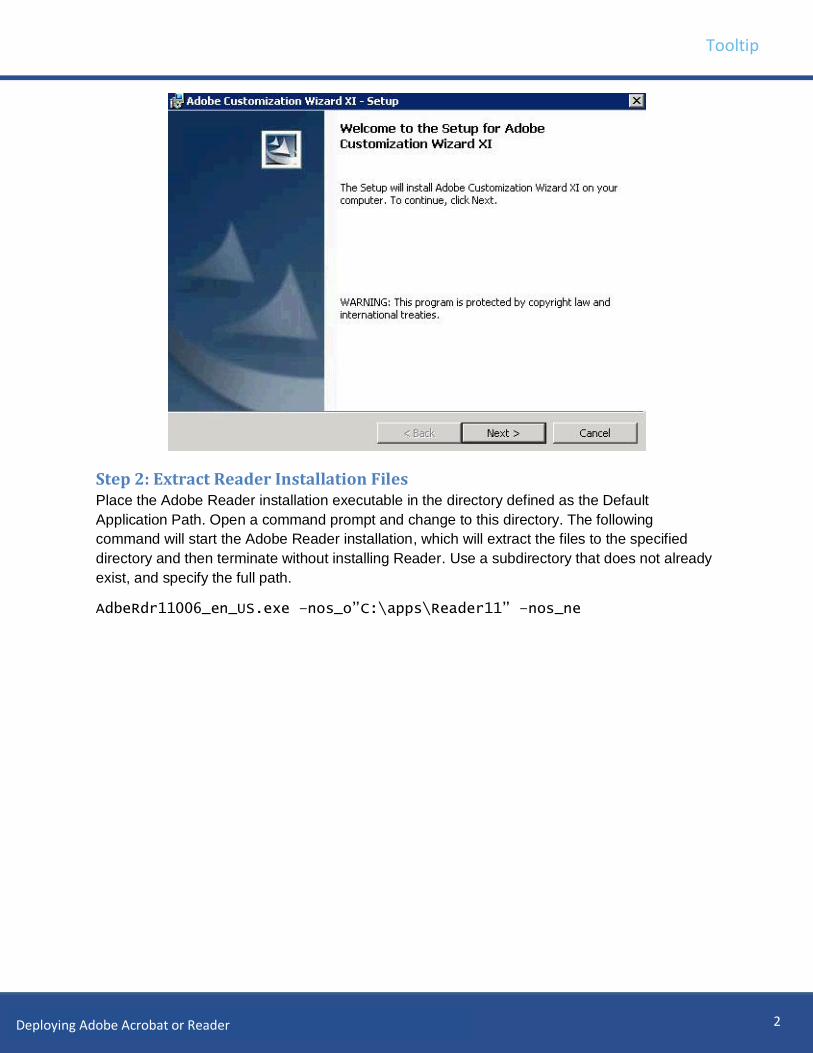
Step 2: Extract Reader Installation Files Place the Adobe Reader installation executable in the directory defined as the Default
Application Path. Open a command prompt and change to this directory. The following
command will start the Adobe Reader installation, which will extract the files to the specified
directory and then terminate without installing Reader. Use a subdirectory that does not already
exist, and specify the full path.
AdbeRdr11006_en_US.exe –nos_o”C:\apps\Reader11” –nos_ne
Tooltip
3 Deploying Adobe Acrobat or Reader
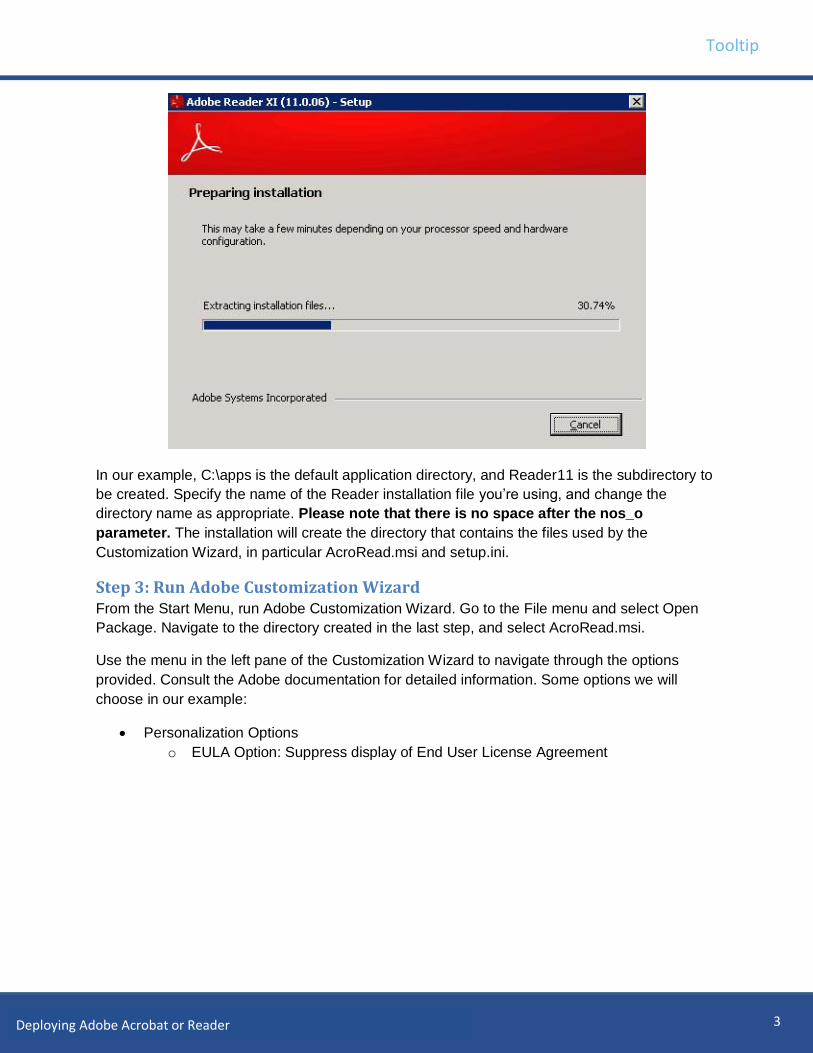
In our example, C:\apps is the default application directory, and Reader11 is the subdirectory to
be created. Specify the name of the Reader installation file you’re using, and change the
directory name as appropriate. Please note that there is no space after the nos_o
parameter. The installation will create the directory that contains the files used by the
Customization Wizard, in particular AcroRead.msi and setup.ini.
Step 3: Run Adobe Customization Wizard From the Start Menu, run Adobe Customization Wizard. Go to the File menu and select Open
Package. Navigate to the directory created in the last step, and select AcroRead.msi.
Use the menu in the left pane of the Customization Wizard to navigate through the options
provided. Consult the Adobe documentation for detailed information. Some options we will
choose in our example:
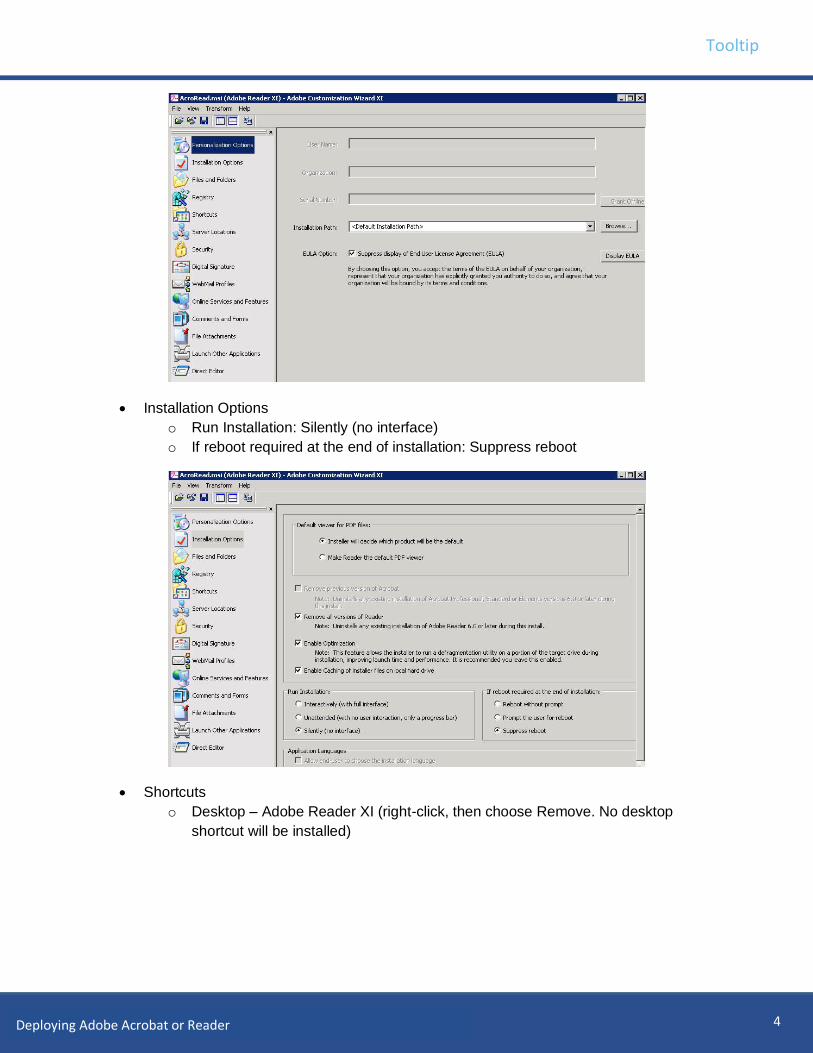
Personalization Options
o EULA Option: Suppress display of End User License Agreement
Tooltip
4 Deploying Adobe Acrobat or Reader
Installation Options
o Run Installation: Silently (no interface)
o If reboot required at the end of installation: Suppress reboot
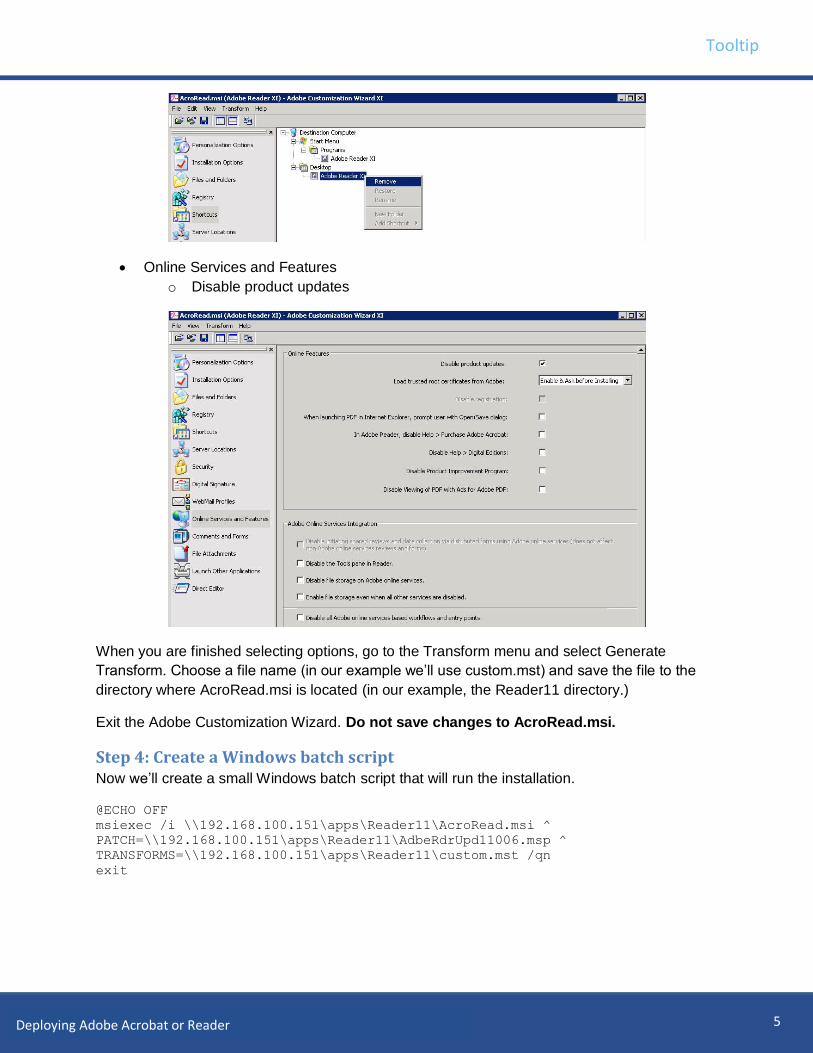
Shortcuts
o Desktop – Adobe Reader XI (right-click, then choose Remove. No desktop
shortcut will be installed)
Tooltip
5 Deploying Adobe Acrobat or Reader
Online Services and Features
o Disable product updates
When you are finished selecting options, go to the Transform menu and select Generate
Transform. Choose a file name (in our example we’ll use custom.mst) and save the file to the
directory where AcroRead.msi is located (in our example, the Reader11 directory.)
Exit the Adobe Customization Wizard. Do not save changes to AcroRead.msi.
Step 4: Create a Windows batch script Now we’ll create a small Windows batch script that will run the installation.
@ECHO OFF
msiexec /i \\192.168.100.151\apps\Reader11\AcroRead.msi ^
PATCH=\\192.168.100.151\apps\Reader11\AdbeRdrUpd11006.msp ^
TRANSFORMS=\\192.168.100.151\apps\Reader11\custom.mst /qn
exit
Tooltip
6 Deploying Adobe Acrobat or Reader
In our example, \\192.168.100.151\apps is the Default Application Path as defined on the
Administration Settings page of the Management Utility, and Reader11 is the subdirectory we
created in Step 2 of this procedure. In your batch file, substitute the correct path for your
environment, as well as the correct name for the transform (.mst) file.
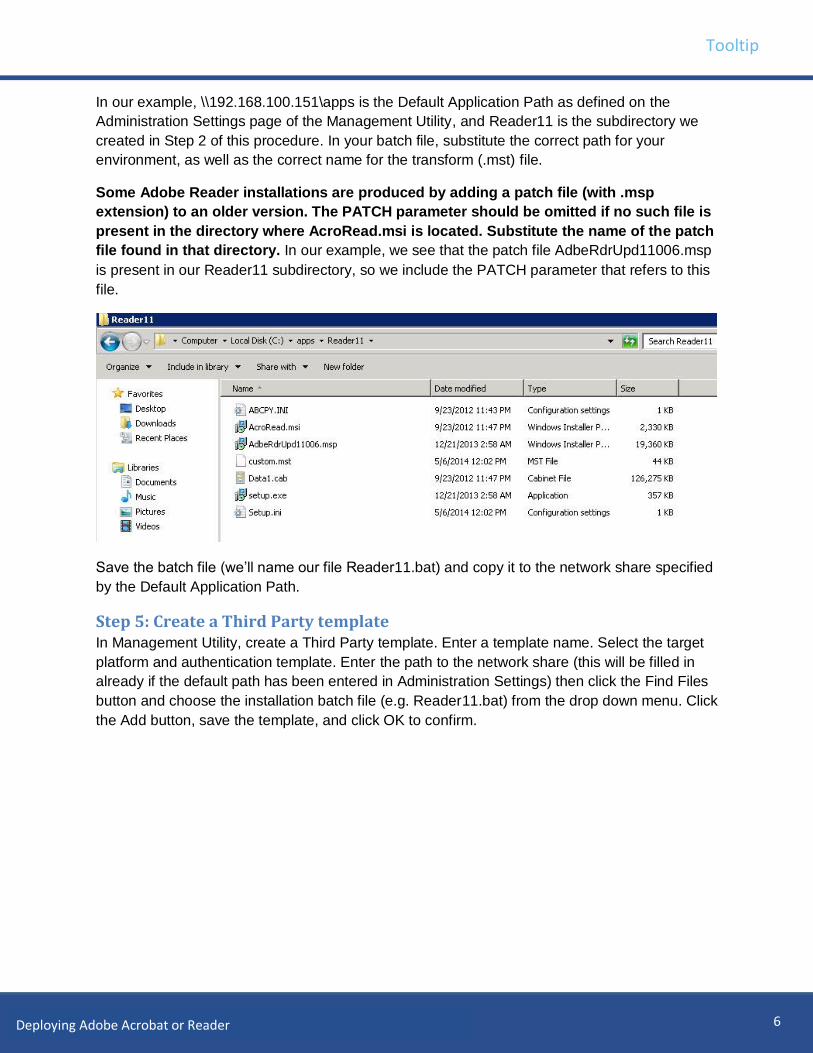
Some Adobe Reader installations are produced by adding a patch file (with .msp
extension) to an older version. The PATCH parameter should be omitted if no such file is
present in the directory where AcroRead.msi is located. Substitute the name of the patch
file found in that directory. In our example, we see that the patch file AdbeRdrUpd11006.msp
is present in our Reader11 subdirectory, so we include the PATCH parameter that refers to this
file.
Save the batch file (we’ll name our file Reader11.bat) and copy it to the network share specified
by the Default Application Path.
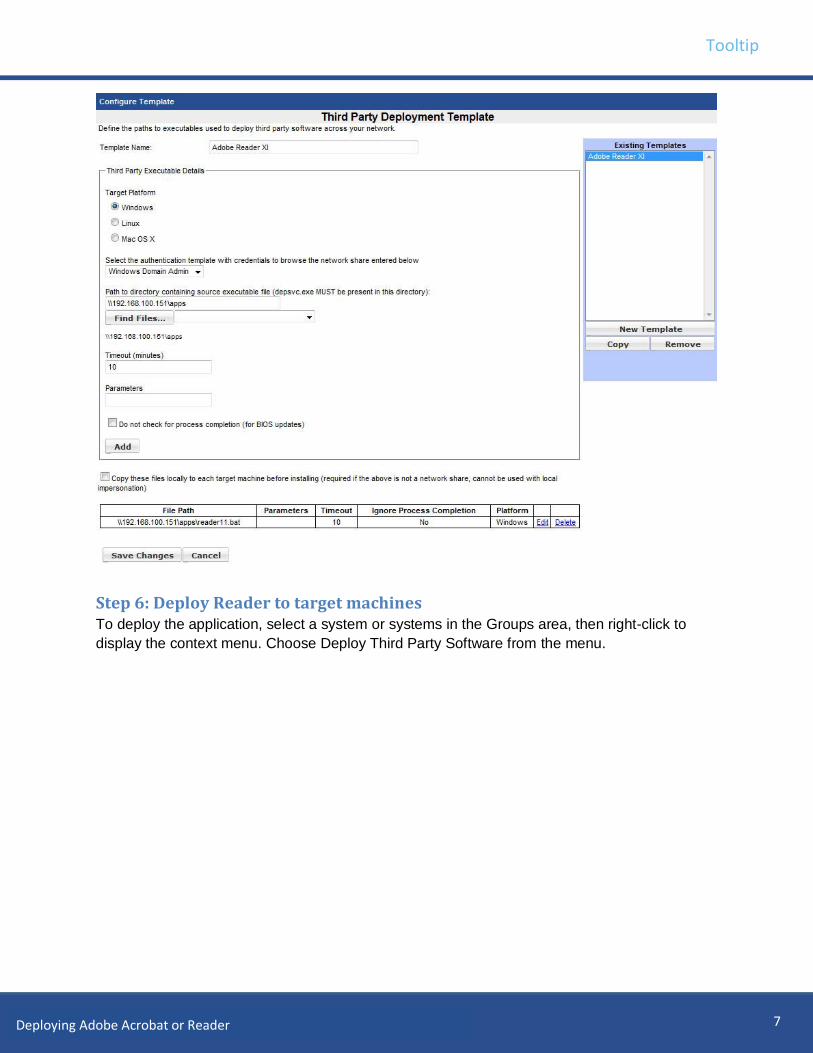
Step 5: Create a Third Party template In Management Utility, create a Third Party template. Enter a template name. Select the target
platform and authentication template. Enter the path to the network share (this will be filled in
already if the default path has been entered in Administration Settings) then click the Find Files
button and choose the installation batch file (e.g. Reader11.bat) from the drop down menu. Click
the Add button, save the template, and click OK to confirm.
Tooltip
7 Deploying Adobe Acrobat or Reader
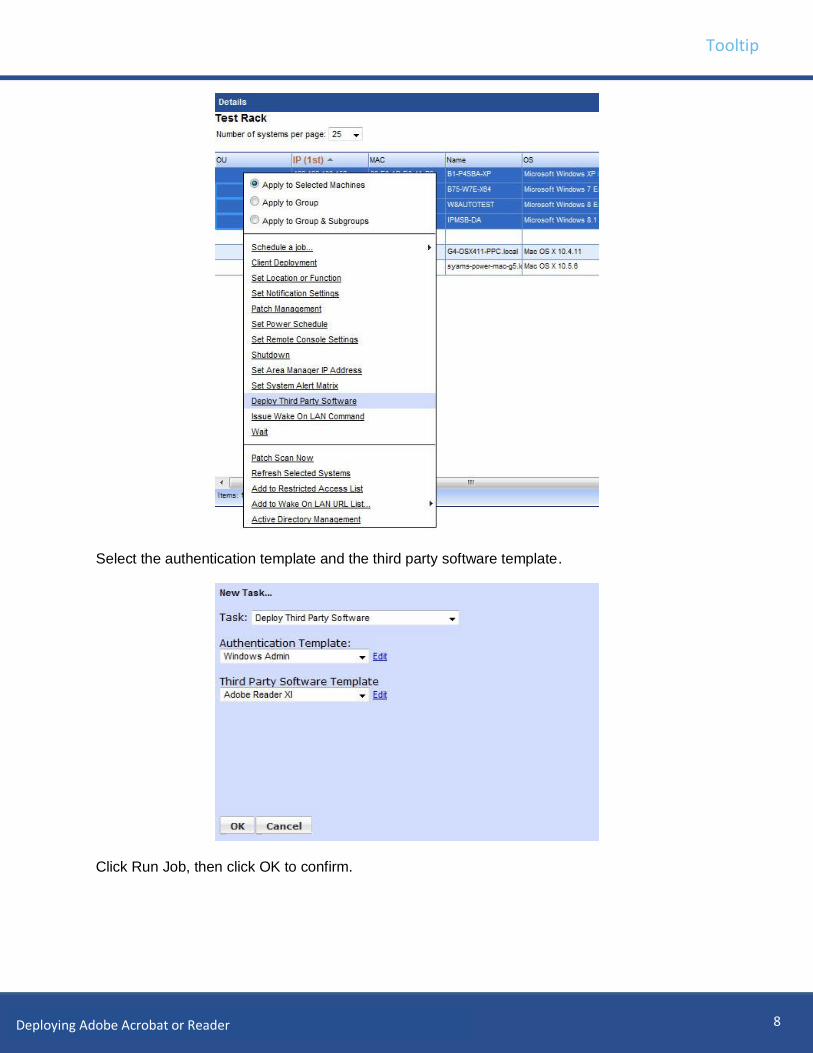
Step 6: Deploy Reader to target machines To deploy the application, select a system or systems in the Groups area, then right-click to
display the context menu. Choose Deploy Third Party Software from the menu.
Tooltip
8 Deploying Adobe Acrobat or Reader
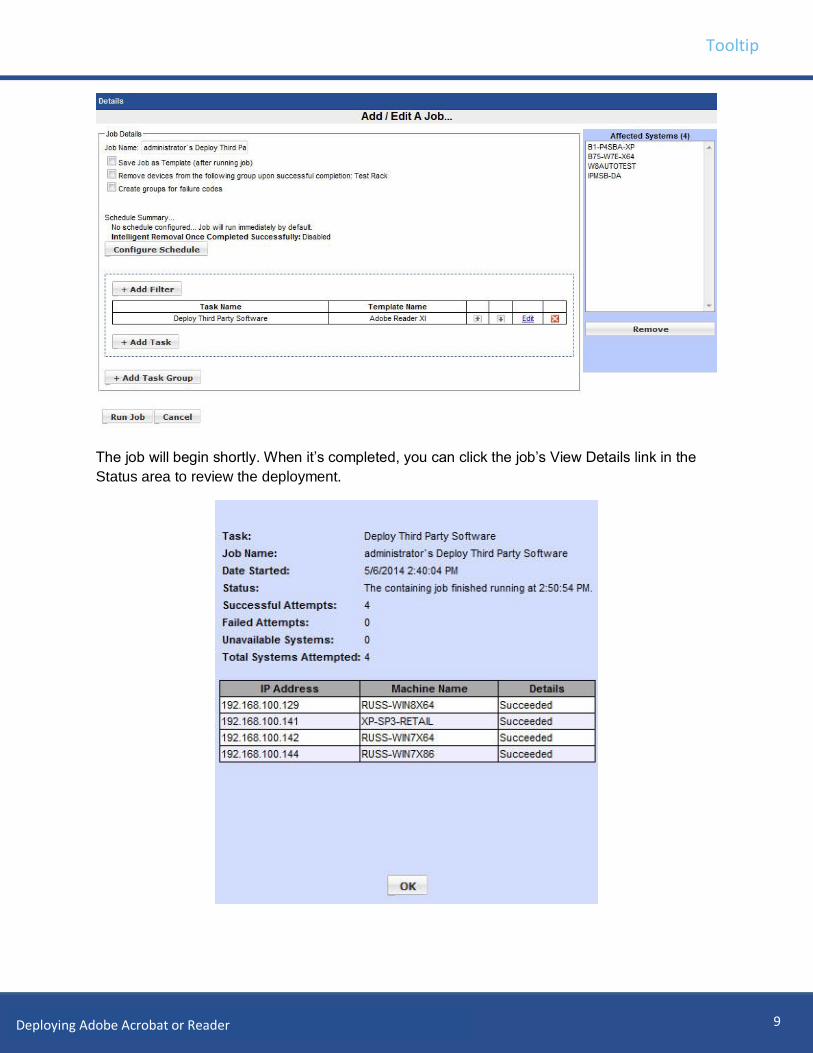
Select the authentication template and the third party software template.
Click Run Job, then click OK to confirm.
Tooltip
9 Deploying Adobe Acrobat or Reader
The job will begin shortly. When it’s completed, you can click the job’s View Details link in the
Status area to review the deployment.


![[Chap. 1-4] au format PDF (Acrobat Reader)](https://img.pdfslide.net/doc/110x75/586e17a11a28abe2128be092/chap-1-4-au-format-pdf-acrobat-reader.jpg)