Embed Size (px)
Citation preview
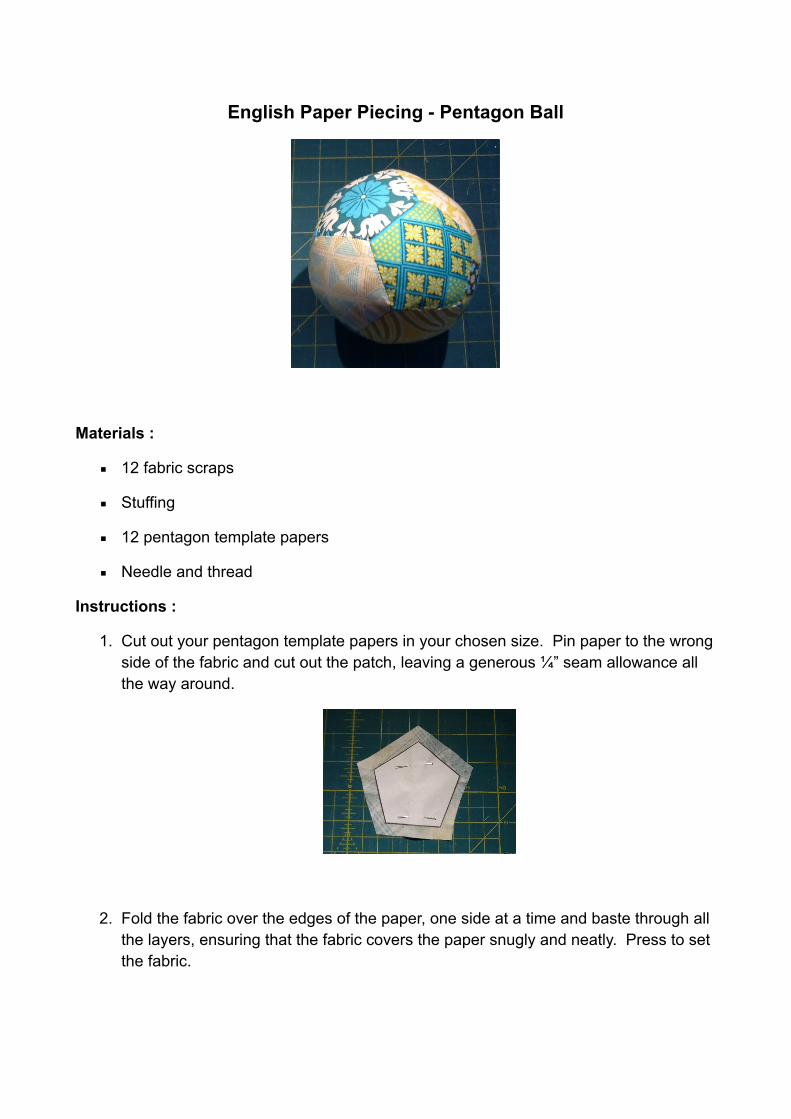
English Paper Piecing - Pentagon Ball
!
Materials :
▪ 12 fabric scraps
▪ Stuffing
▪ 12 pentagon template papers
▪ Needle and thread
Instructions :
1. Cut out your pentagon template papers in your chosen size. Pin paper to the wrong side of the fabric and cut out the patch, leaving a generous ¼” seam allowance all the way around.
"
2. Fold the fabric over the edges of the paper, one side at a time and baste through all the layers, ensuring that the fabric covers the paper snugly and neatly. Press to set the fabric.

�
3. Take two patches and place right sides together, aligning the edges. Whipstitch along this edge using small neat stitches – the neater they are the less visible they’ll be from the right side.
"
4. Continue stitching together 6 pentagons to form a flower.
"
5. Make a second flower shape with the remaining 6 pentagon patches.
6. Take one of your flowers. Press together 2 two adjacent sides, right sides together and whipstitch the edges together.
"
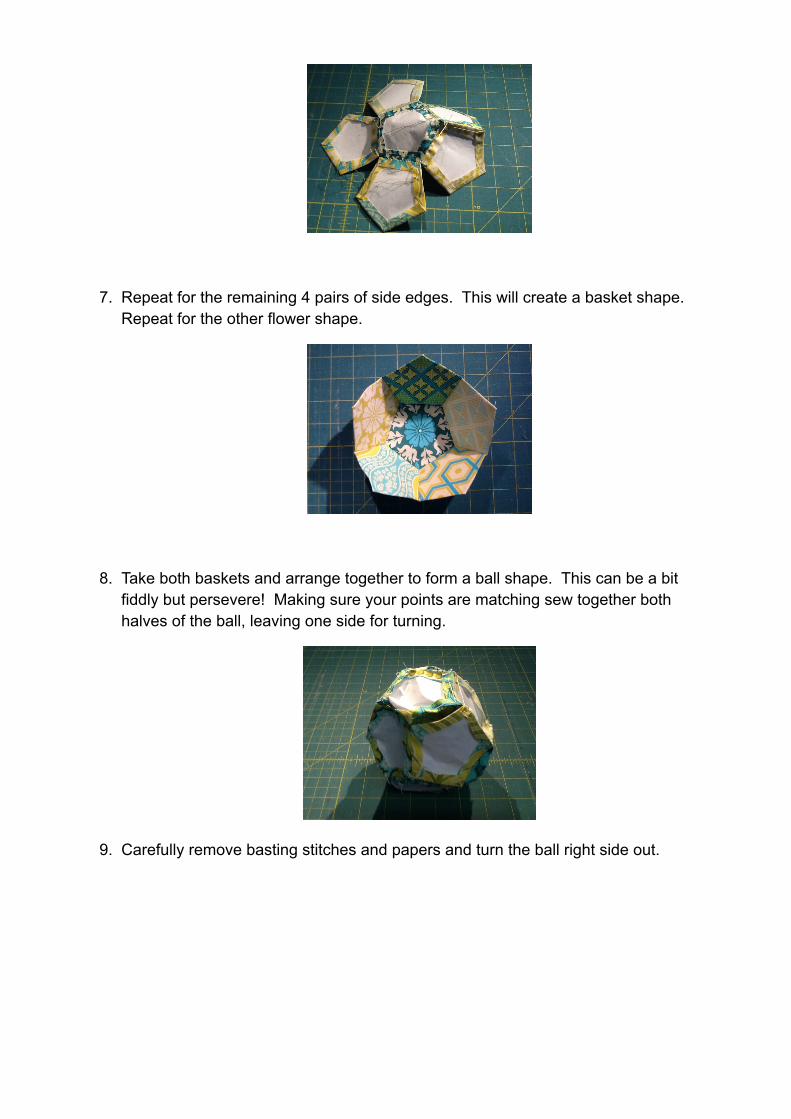
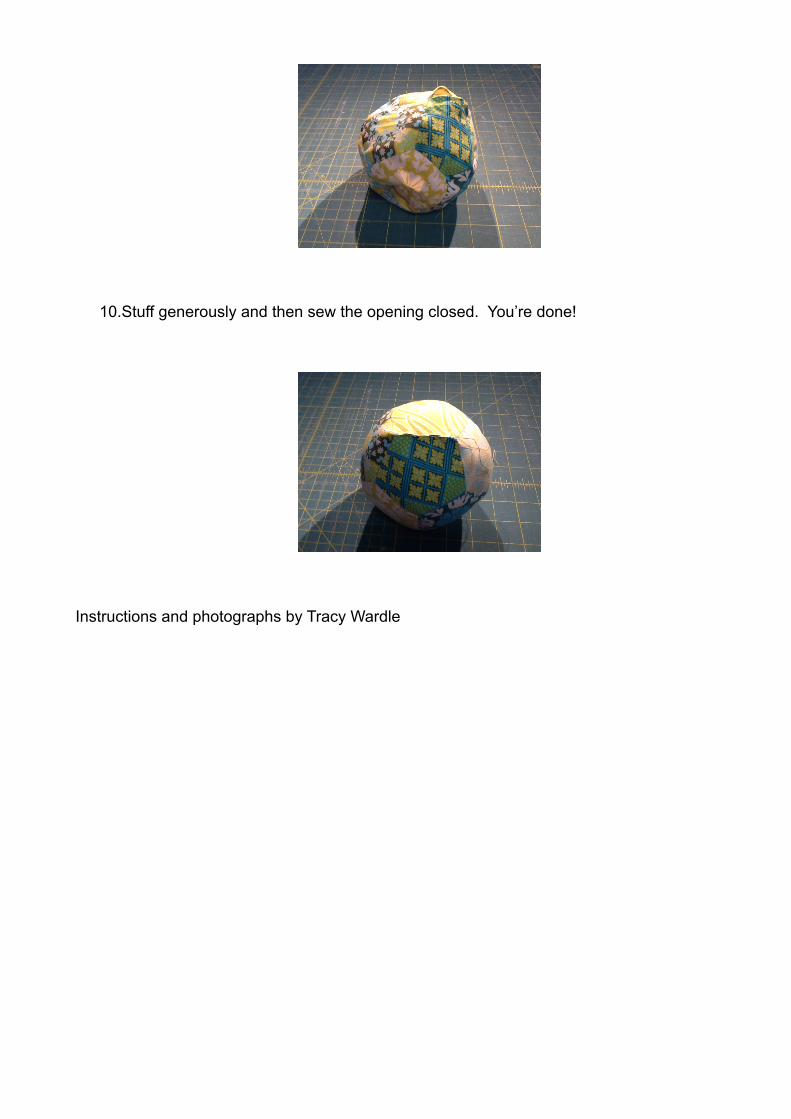
7. Repeat for the remaining 4 pairs of side edges. This will create a basket shape. Repeat for the other flower shape.
"
8. Take both baskets and arrange together to form a ball shape. This can be a bit fiddly but persevere! Making sure your points are matching sew together both halves of the ball, leaving one side for turning.
"
9. Carefully remove basting stitches and papers and turn the ball right side out.
"
10.Stuff generously and then sew the opening closed. You’re done!
"
Instructions and photographs by Tracy Wardle


![Piecing it all together[1]](https://img.pdfslide.net/doc/110x75/5593f88d1a28aba1088b46d5/piecing-it-all-together1.jpg)