Embed Size (px)
Citation preview
GETTING STARTED WITH COSCHEDULE
The Best Way To Manage Your Blogand Grow Your Business
with CoSchedule

15 Steps to Finding the Light Bulb Moment with CoSchedule
Table of Contents
The TL;DR Version 2
Introduction to Blogging with CoSchedule 4
Step 1: How to Brainstorm and Fill Up Your Ideas Bin 5
Step 2: The Perfect To-Do List to Get Your Blogs Accomplished on Time 7
Step 3: Save Time Writing Blogs Using the Text Editor or Google Doc Integration 9
Step 4: Get More Traffic by Choosing the Perfect Headline 11
Step 5: Get More Traffic with Social Campaigns and Save Time with Social Templates 12
Step 6: Schedule Your Content and
Let CoSchedule Do the Rest 13
25 Steps to Finding the Light Bulb Moment with CoSchedule
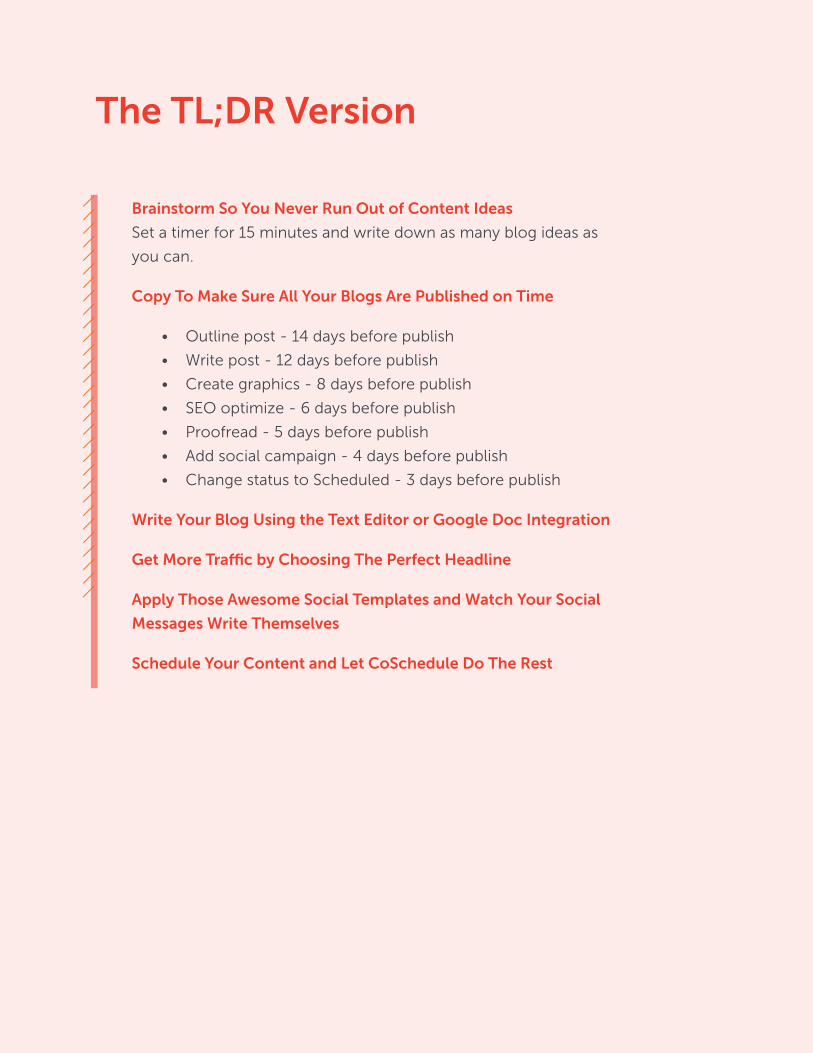
The TL;DR Version
Brainstorm So You Never Run Out of Content Ideas
Set a timer for 15 minutes and write down as many blog ideas as
you can.
Copy To Make Sure All Your Blogs Are Published on Time
• Outline post - 14 days before publish
• Write post - 12 days before publish
• Create graphics - 8 days before publish
• SEO optimize - 6 days before publish
• Proofread - 5 days before publish
• Add social campaign - 4 days before publish
• Change status to Scheduled - 3 days before publish
Write Your Blog Using the Text Editor or Google Doc Integration
Get More Traffic by Choosing The Perfect Headline
Apply Those Awesome Social Templates and Watch Your Social
Messages Write Themselves
Schedule Your Content and Let CoSchedule Do The Rest
35 Steps to Finding the Light Bulb Moment with CoSchedule
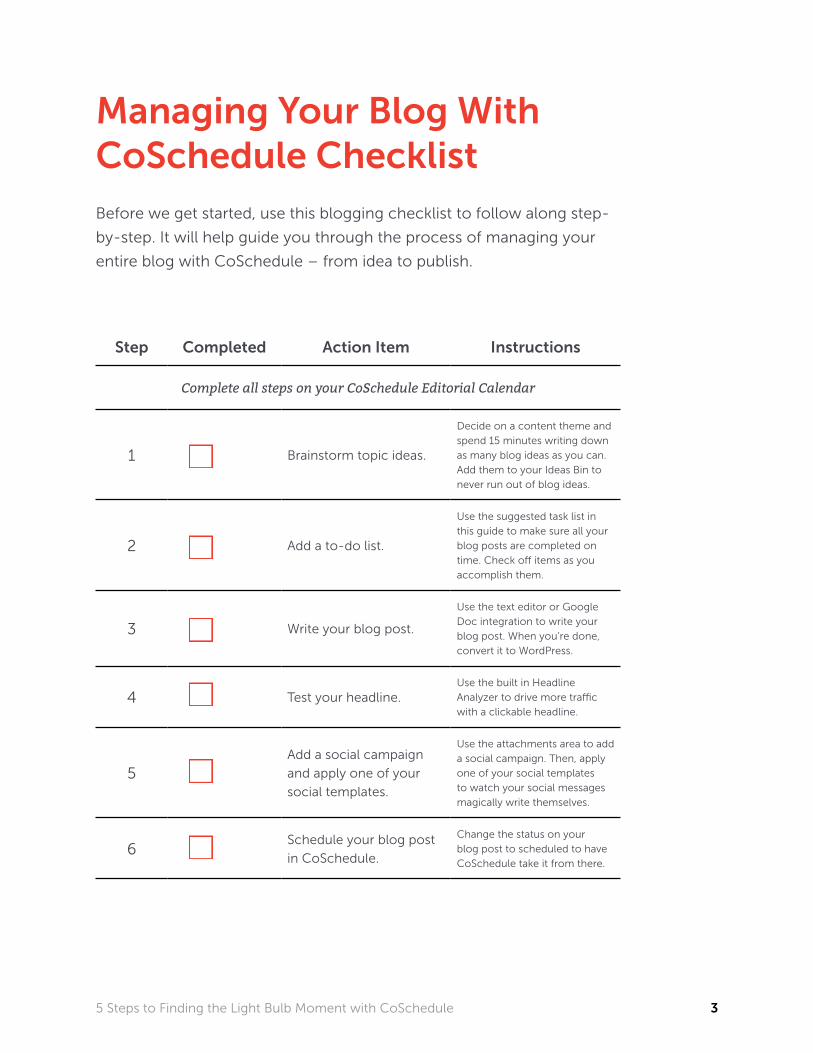
Managing Your Blog With CoSchedule ChecklistBefore we get started, use this blogging checklist to follow along step-
by-step. It will help guide you through the process of managing your
entire blog with CoSchedule – from idea to publish.
Step Completed Action Item Instructions
Complete all steps on your CoSchedule Editorial Calendar
1 Brainstorm topic ideas.
Decide on a content theme and
spend 15 minutes writing down
as many blog ideas as you can.
Add them to your Ideas Bin to
never run out of blog ideas.
2 Add a to-do list.
Use the suggested task list in
this guide to make sure all your
blog posts are completed on
time. Check off items as you
accomplish them.
3 Write your blog post.
Use the text editor or Google
Doc integration to write your
blog post. When you’re done,
convert it to WordPress.
4 Test your headline.Use the built in Headline
Analyzer to drive more traffic
with a clickable headline.
5Add a social campaign
and apply one of your
social templates.
Use the attachments area to add
a social campaign. Then, apply
one of your social templates
to watch your social messages
magically write themselves.
6Schedule your blog post
in CoSchedule.
Change the status on your
blog post to scheduled to have
CoSchedule take it from there.
45 Steps to Finding the Light Bulb Moment with CoSchedule
00INTRODUCTION TO
Blogging with CoScheduleYou’ve made it.
You’re almost a CoSchedule pro. The final piece of the puzzle is tying it
all together for a top to bottom blog management process.
If your current process is disorganized, messy, and time-consuming, this
guide is for you.
You’ll learn the perfect strategy and the CoSchedule recommended
process for getting your blog in order – from brainstorming to
promotion.
Let this guide be your blueprint to turning your blog from a haphazard
mess, into a streamlined, well-oiled machine.
Just imagine…
• A month of blog content scheduled in advance.
• Your social channels filled with messages with almost no effort
from you.
• Never running out of content ideas.
• AND getting more traffic than ever to your website.
This might sound too good to be true, but the fact is, CoSchedule has
made this a reality for thousands of bloggers, solopreneurs and small
businesses.
What is This Guide?
This guide gives you the perfect blueprint for managing your blog in
CoSchedule.
Who’s This Guide For?
This guide is specifically designed to help bloggers, solopreneurs and
small businesses run their blogs more efficiently.
55 Steps to Finding the Light Bulb Moment with CoSchedule
01STEP 1
Start Brainstorming and Filling Up Your Ideas BinOne of the best parts about CoSchedule is the ability to build a treasure
trove of content ideas, so you’ll never be left scratching your head
wondering what to write about.
To start, come up with a handful of content themes. Here are some
examples for different use cases to help:
Food Bloggers:
• Super Bowl appetizers
• Christmas cookie recipes from around the world
• Halloween party must haves
Fashion/lifestyle Bloggers:
• Amazon finds
• Designer dupes
• Gift guides
Fitness Bloggers:
• Couch to 10k
• Post baby boot camp
• Move of the week
Mommy Bloggers:
• Must-have baby items
• How-to blogs
• Toddler menus
Based on these content themes, you can start brainstorming content
65 Steps to Finding the Light Bulb Moment with CoSchedule
ideas. Set a timer for 15 minutes and write down as many blog ideas as
you can.
Don’t worry if they’re any good or not – you can vet them later. For
now, you just want to get as many things as possible down on paper.
Next, put them all into your ideas bin in CoSchedule. You can also skip
the pen and paper exercise and do this directly in your ideas bin if you
wish.
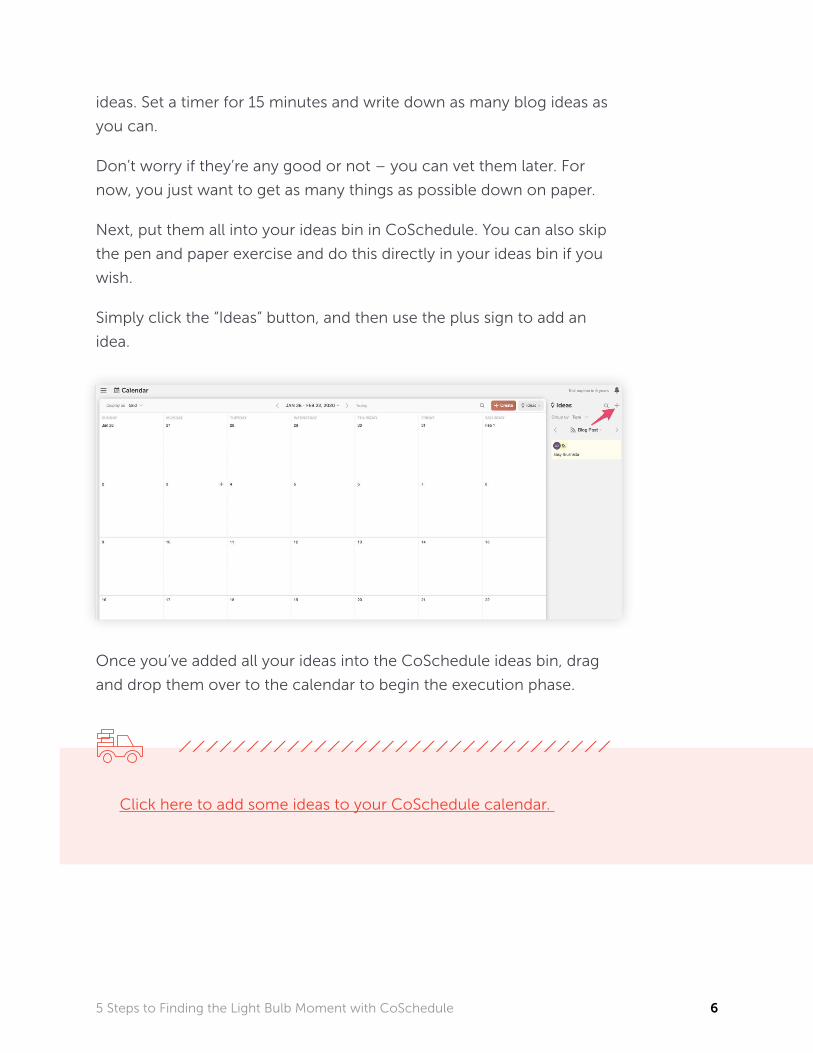
Simply click the “Ideas” button, and then use the plus sign to add an
idea.
Once you’ve added all your ideas into the CoSchedule ideas bin, drag
and drop them over to the calendar to begin the execution phase.
Click here to add some ideas to your CoSchedule calendar.
75 Steps to Finding the Light Bulb Moment with CoSchedule
02STEP 2
The Perfect To-Do List to Get Your Blogs Accomplished on TimeOnce you’ve moved a blog post from your ideas bin to the calendar, add
some tasks to make sure that everything will get accomplished on time.
Here’s our recommended blog post task list for you to copy and paste
into your calendar.
• Outline post - 14 days before publish
• Write post - 12 days before publish
• Create graphics - 8 days before publish
• SEO optimize - 6 days before publish
• Proofread - 5 days before publish
• Add social campaign - 4 days before publish
• Change status to Scheduled - 3 days before publish
TIP: This to-do list gives you a starting point. Feel free to alter based
on your unique process.
85 Steps to Finding the Light Bulb Moment with CoSchedule
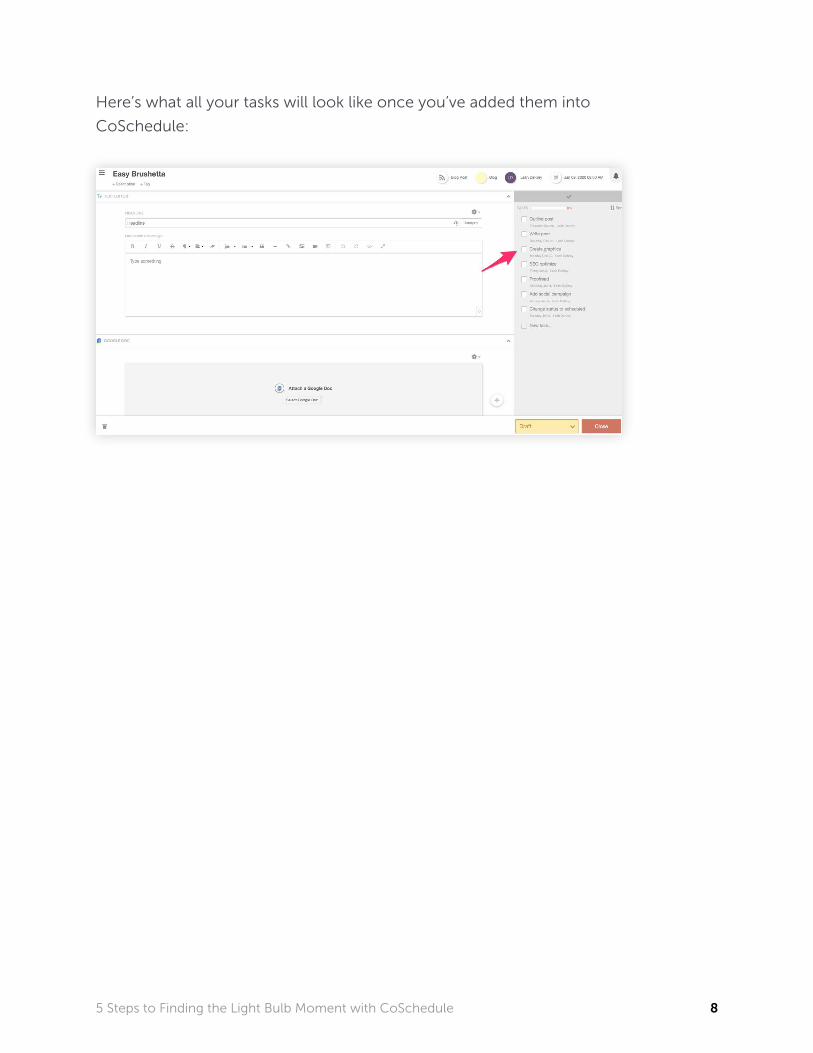
Here’s what all your tasks will look like once you’ve added them into
CoSchedule:
95 Steps to Finding the Light Bulb Moment with CoSchedule
03STEP 3
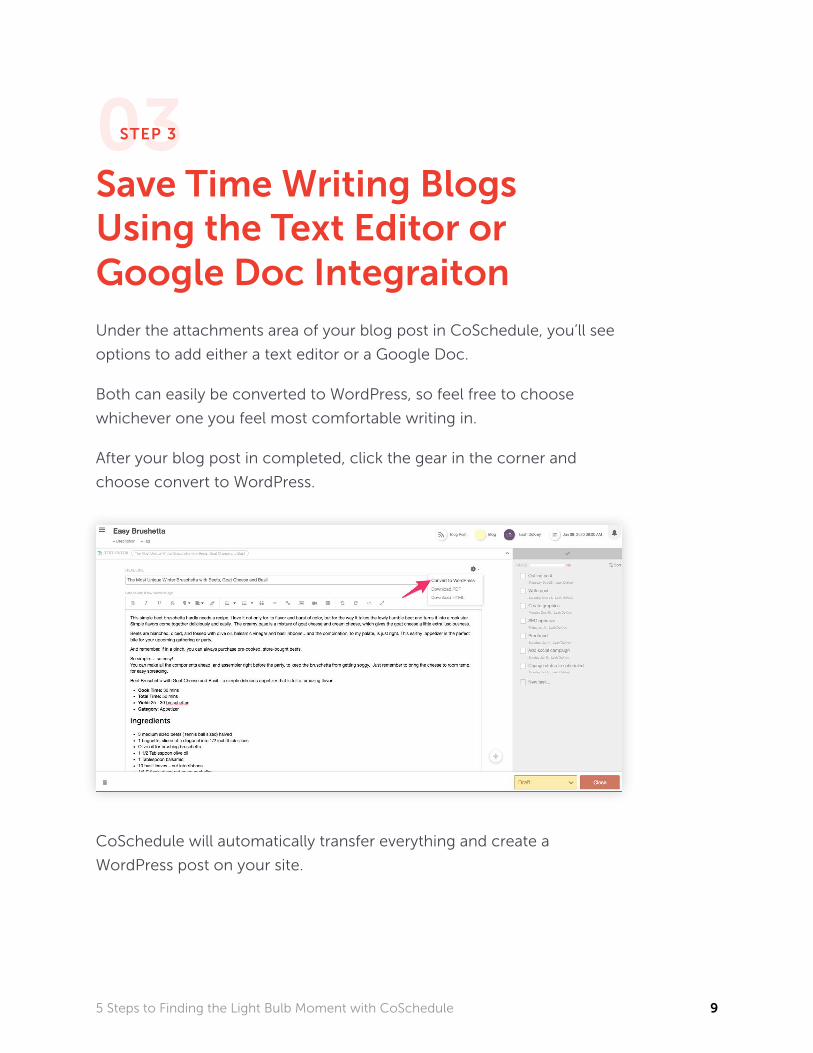
Save Time Writing Blogs Using the Text Editor or Google Doc IntegraitonUnder the attachments area of your blog post in CoSchedule, you’ll see
options to add either a text editor or a Google Doc.
Both can easily be converted to WordPress, so feel free to choose
whichever one you feel most comfortable writing in.
After your blog post in completed, click the gear in the corner and
choose convert to WordPress.
CoSchedule will automatically transfer everything and create a
WordPress post on your site.
105 Steps to Finding the Light Bulb Moment with CoSchedule
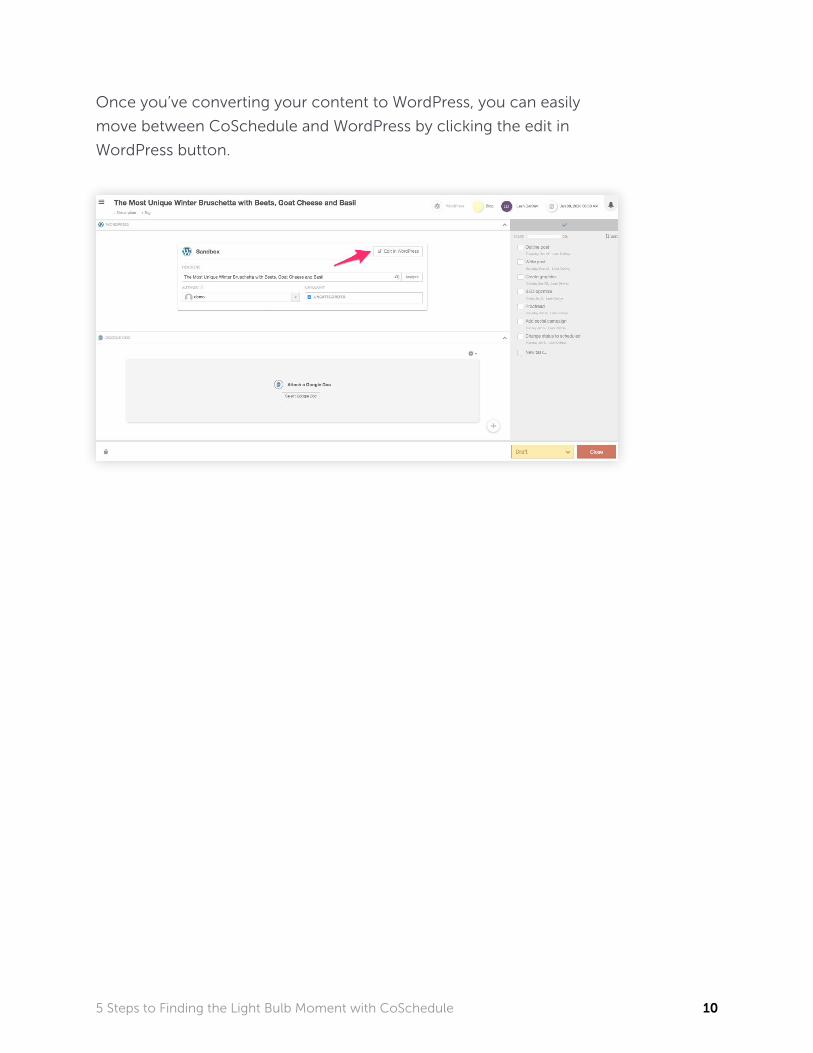
Once you’ve converting your content to WordPress, you can easily
move between CoSchedule and WordPress by clicking the edit in
WordPress button.
115 Steps to Finding the Light Bulb Moment with CoSchedule
04STEP 4
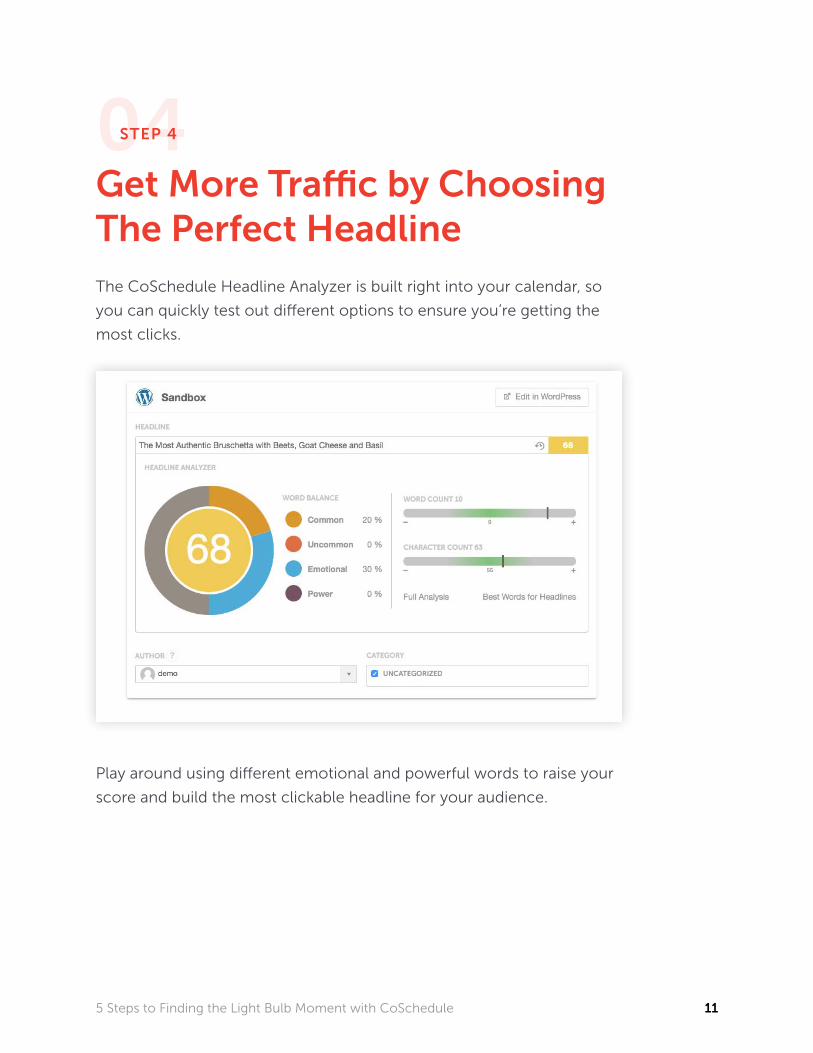
Get More Traffic by Choosing The Perfect HeadlineThe CoSchedule Headline Analyzer is built right into your calendar, so
you can quickly test out different options to ensure you’re getting the
most clicks.
Play around using different emotional and powerful words to raise your
score and build the most clickable headline for your audience.
125 Steps to Finding the Light Bulb Moment with CoSchedule
05STEP 5
Get More Traffic With Social Campaigns and Save Time With Social TemplatesSocial campaigns in CoSchedule ensure that you’re driving more traffic
to your blog by consistently posting social messages over an extended
period of time.
In an earlier guide, you created the perfect social campaign and turned
it into a template to reuse every time you write a blog post.
If you missed that chapter, no worries. You can re-read it here.
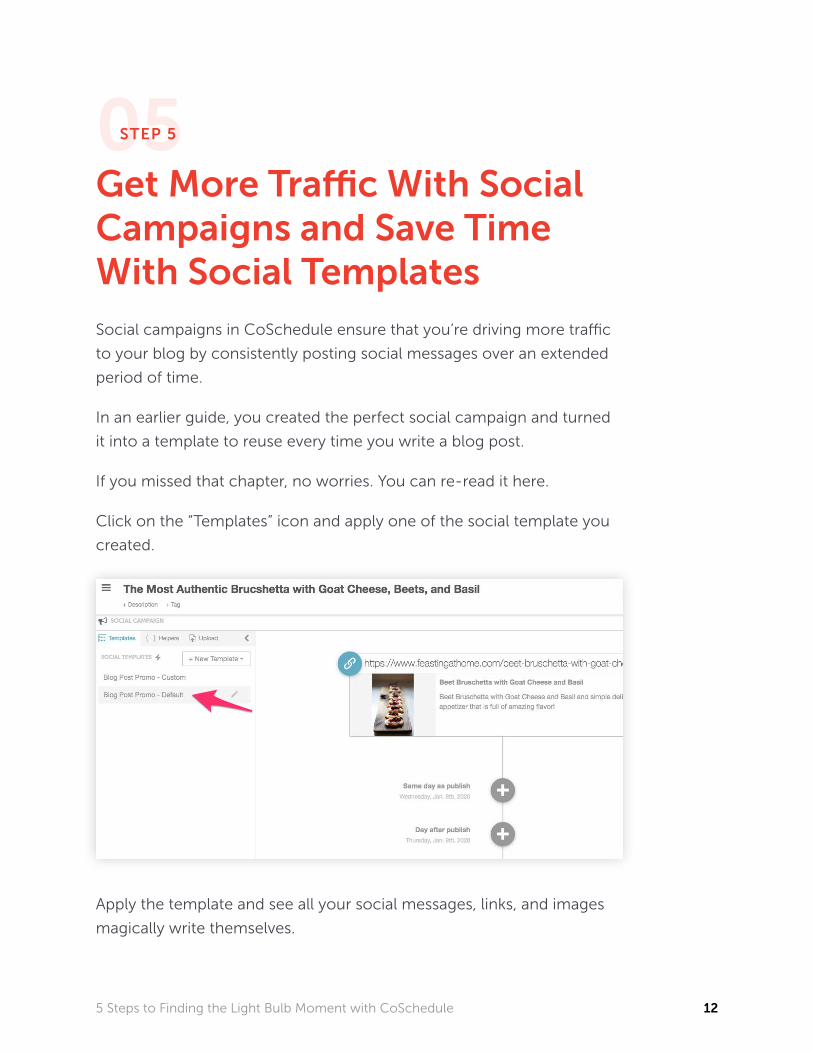
Click on the “Templates” icon and apply one of the social template you
created.
Apply the template and see all your social messages, links, and images
magically write themselves.
135 Steps to Finding the Light Bulb Moment with CoSchedule
06STEP 6
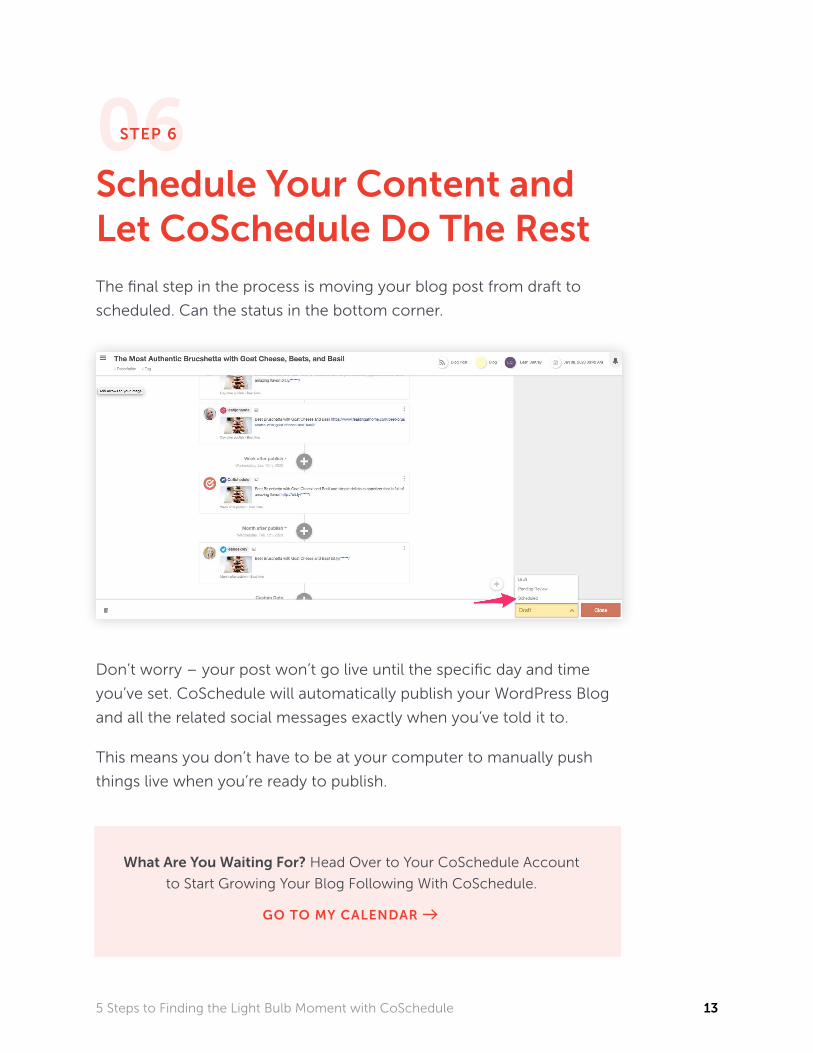
Schedule Your Content and Let CoSchedule Do The Rest The final step in the process is moving your blog post from draft to
scheduled. Can the status in the bottom corner.
Don’t worry – your post won’t go live until the specific day and time
you’ve set. CoSchedule will automatically publish your WordPress Blog
and all the related social messages exactly when you’ve told it to.
This means you don’t have to be at your computer to manually push
things live when you’re ready to publish.
What Are You Waiting For? Head Over to Your CoSchedule Account
to Start Growing Your Blog Following With CoSchedule.
GO TO MY CALENDAR