Embed Size (px)
Citation preview
How to install SSS\Progman on Windows 7 64bit Thanks to Randomy at www.bimmerforums.com
PDF created and how-to for Windows 7 64bit by MaikelK at www.bimmerforums.com
Downloaded from http://www.4shared.com/dir/LfFoCBq2/An_EasyDis_Machine.html
First of all you must be able to use Carsoft, and INPA already. If you have not figured out how to get
those working: Go back and work on them, SSS will not work without those working.
Download software from 4shared site.
VMWare 6
ERDcommander 2008
SSS Base 3.1 hack ISO
BMW Progman v.28 or v.32
Changes.iso
How To Install SSS Progman
• If you don’t have VMWare installed, install it with the default options.
• Install INPA and be certain that it works by following my guide
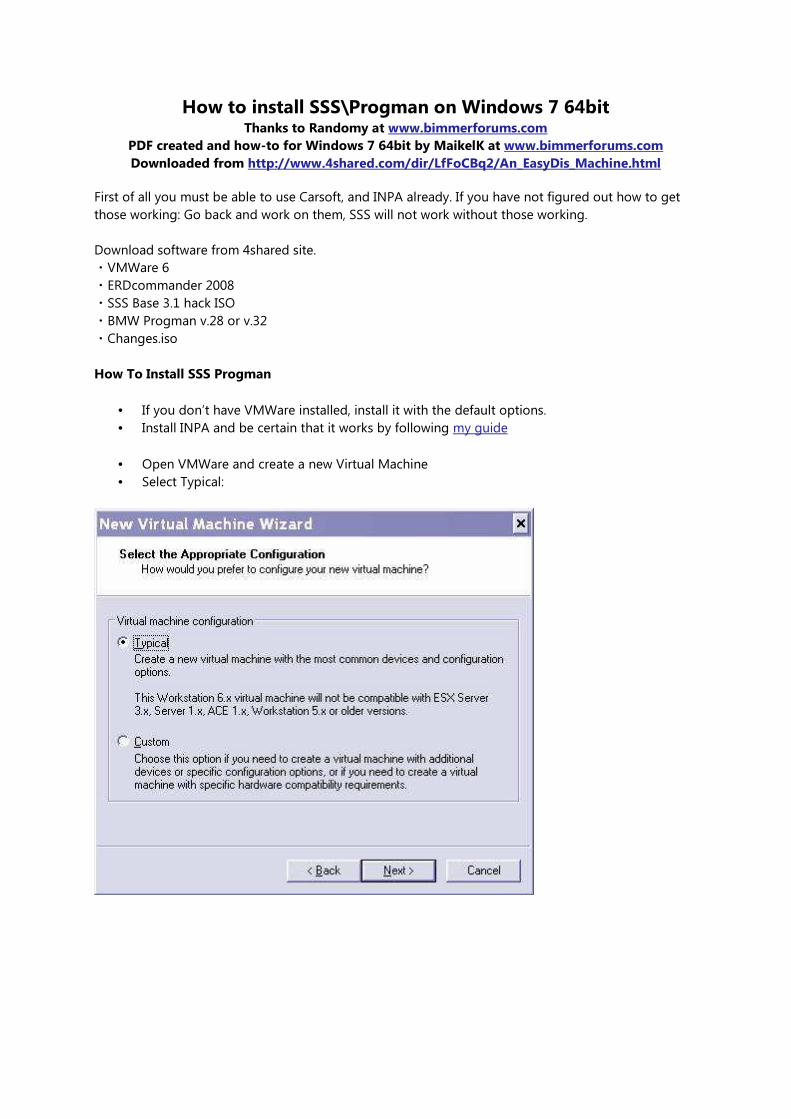
• Open VMWare and create a new Virtual Machine
• Select Typical:
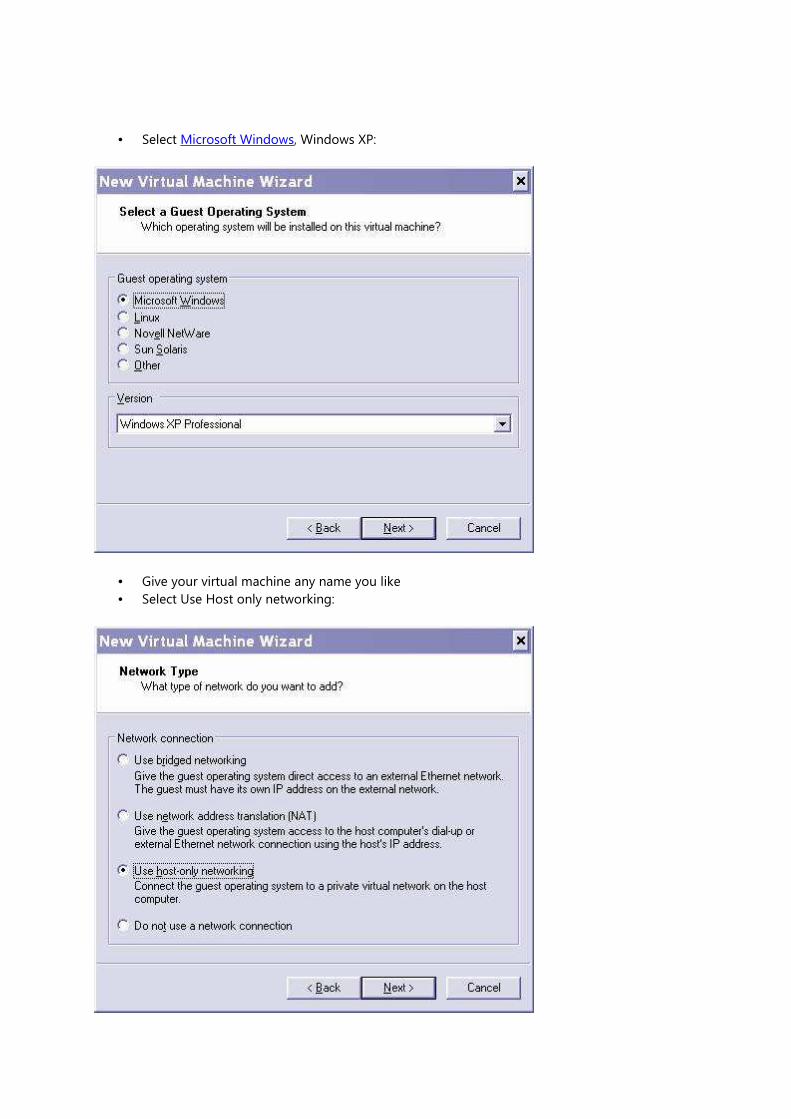
• Select Microsoft Windows, Windows XP:
• Give your virtual machine any name you like
• Select Use Host only networking:
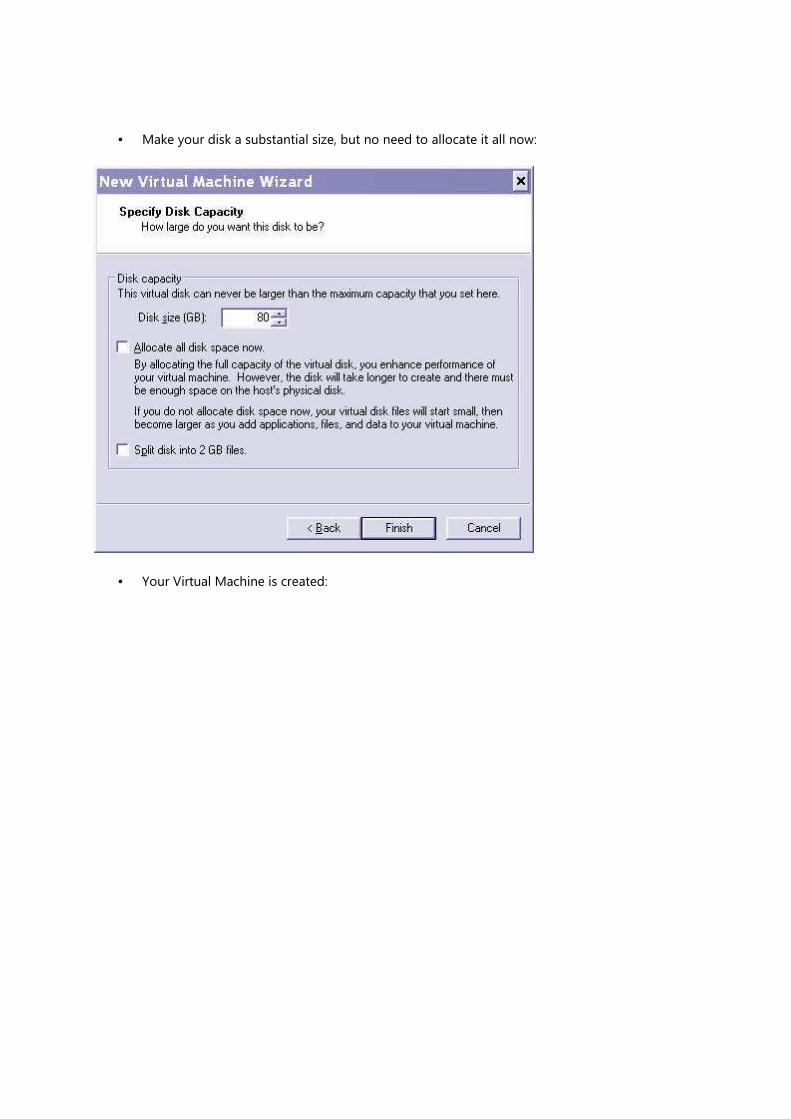
• Make your disk a substantial size, but no need to allocate it all now:
• Your Virtual Machine is created:
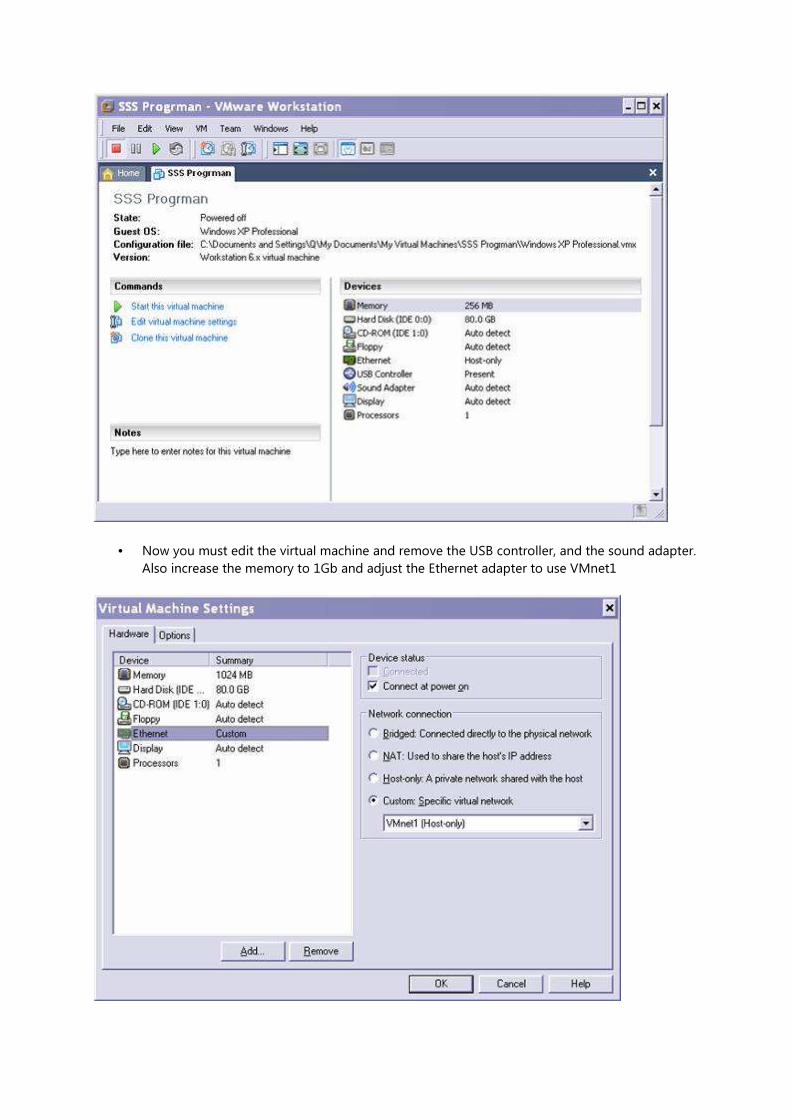
• Now you must edit the virtual machine and remove the USB controller, and the sound adapter.
Also increase the memory to 1Gb and adjust the Ethernet adapter to use VMnet1
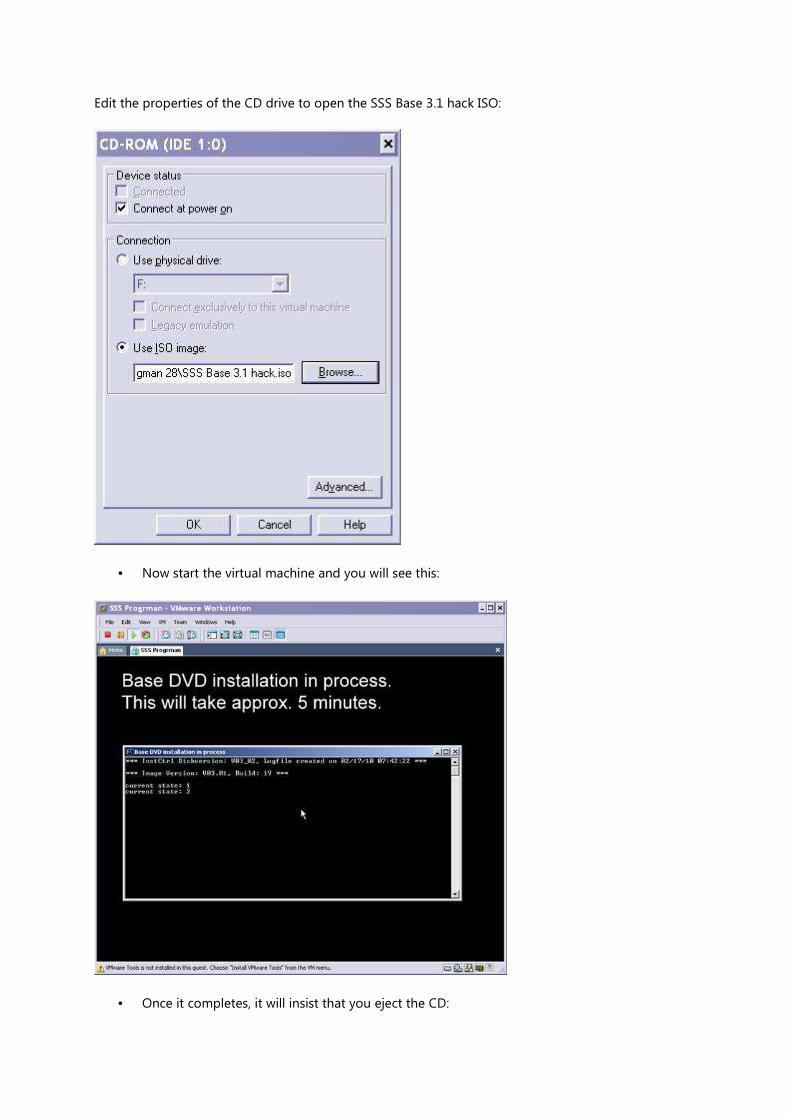
Edit the properties of the CD drive to open the SSS Base 3.1 hack ISO:
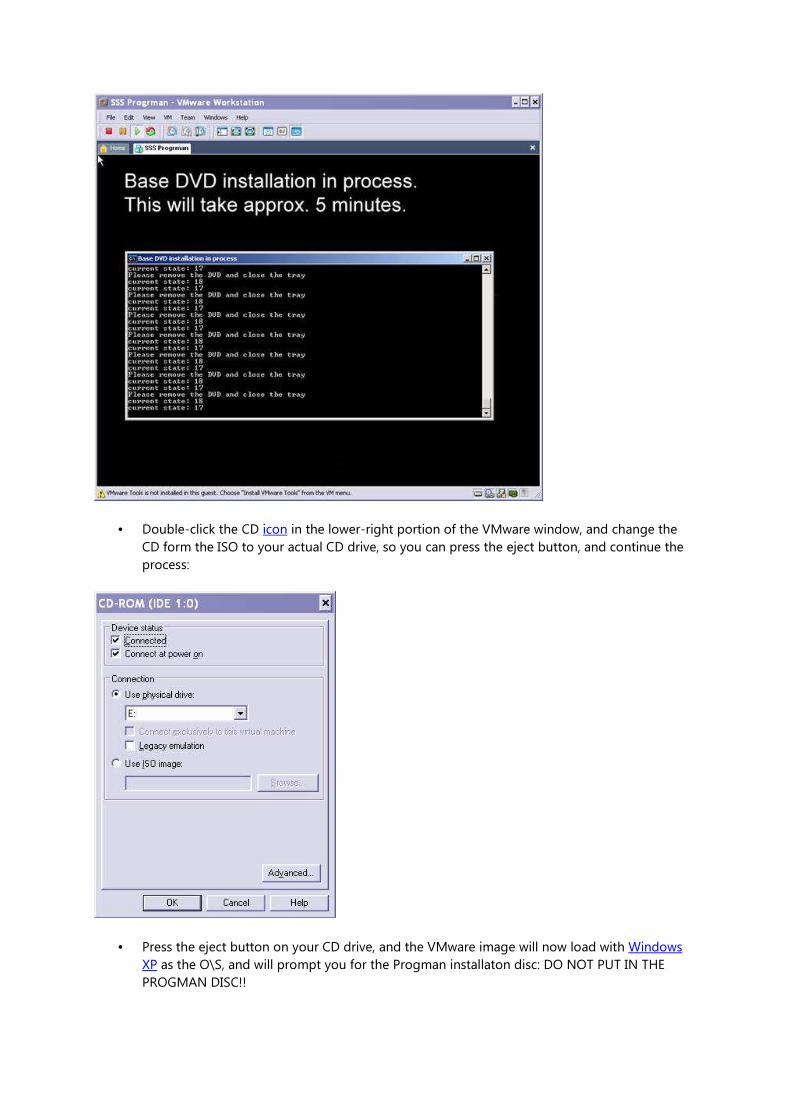
• Now start the virtual machine and you will see this:
• Once it completes, it will insist that you eject the CD:
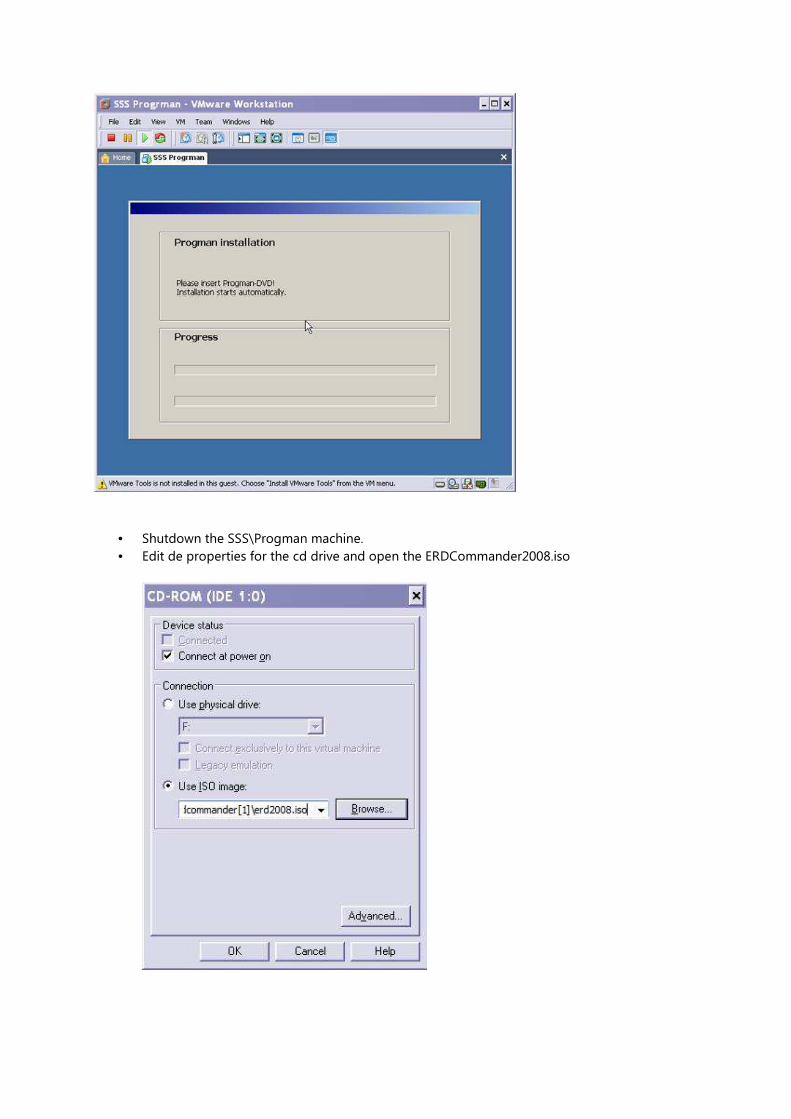
• Double-click the CD icon in the lower-right portion of the VMware window, and change the
CD form the ISO to your actual CD drive, so you can press the eject button, and continue the
process:
• Press the eject button on your CD drive, and the VMware image will now load with Windows
XP as the O\S, and will prompt you for the Progman installaton disc: DO NOT PUT IN THE
PROGMAN DISC!!
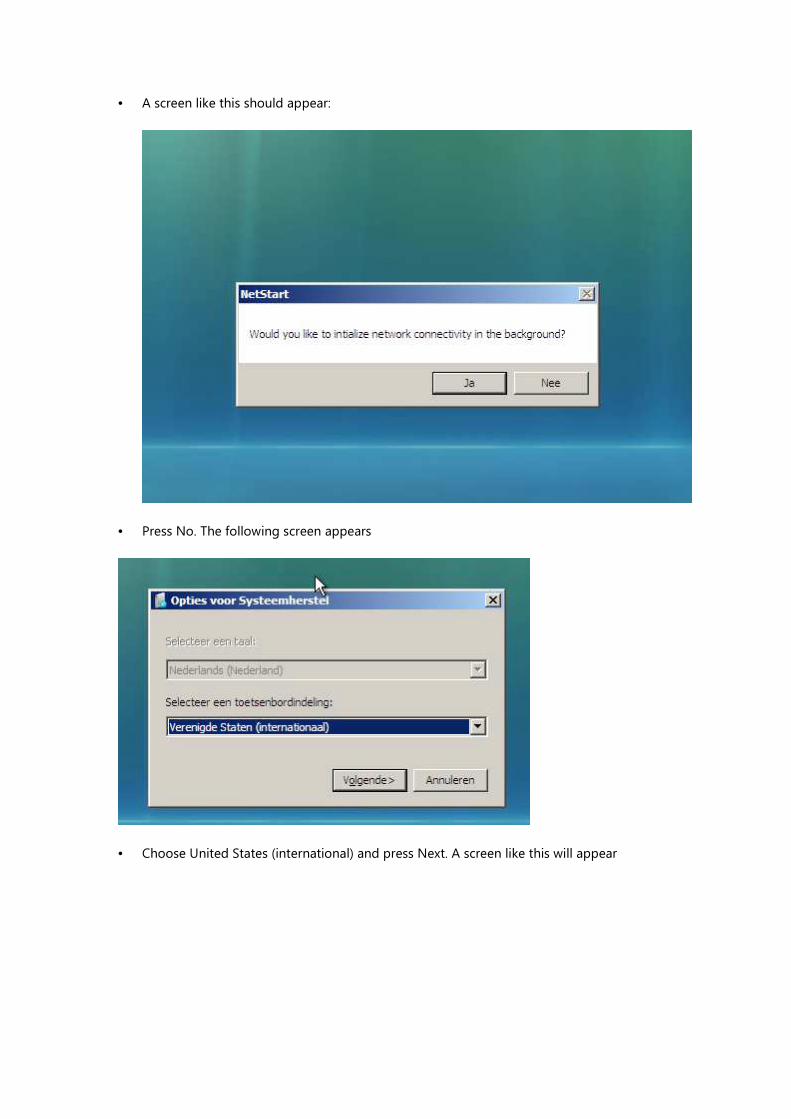
• Shutdown the SSS\Progman machine.
• Edit de properties for the cd drive and open the ERDCommander2008.iso

Boot the machine and enter Bios by pressing F2 during boot. Go to Boot.
Change the boot setup by press – or + so that CD-ROM Drive comes first
Then go to Exit and choose for the option Exit and save changes. Your machine will
reboot.
• A screen like this should appear:
• Press No. The following screen appears
• Choose United States (international) and press Next. A screen like this will appear
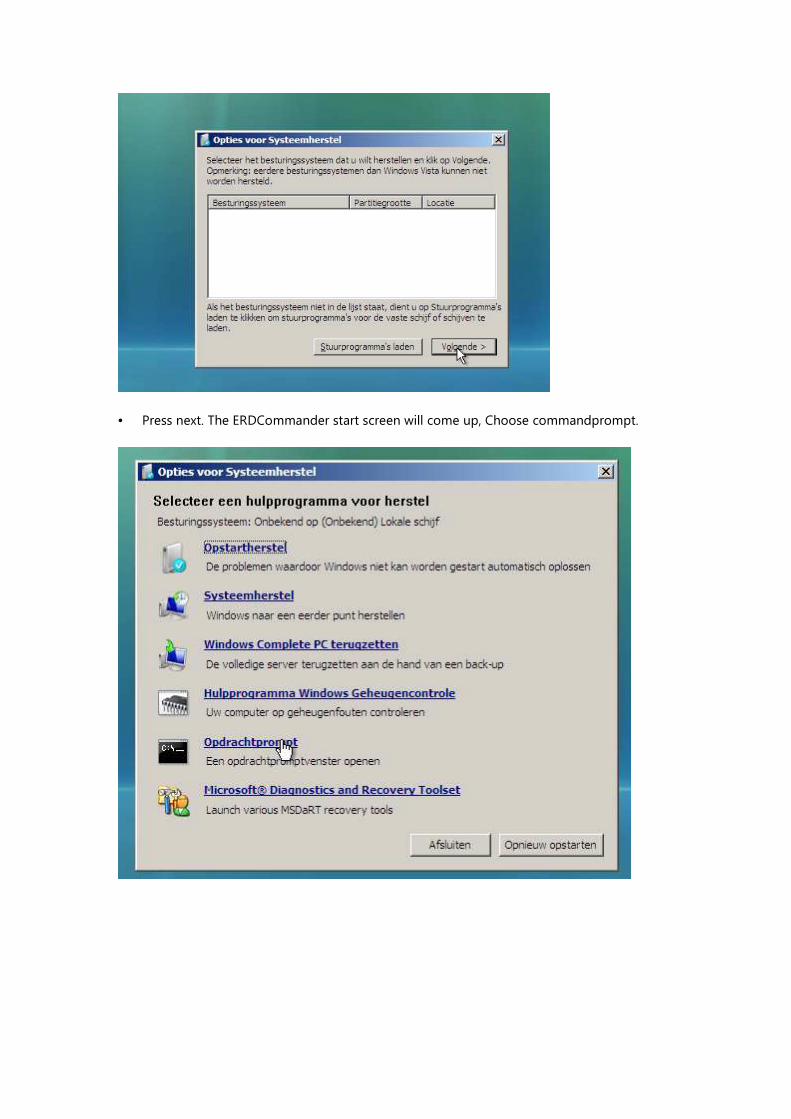
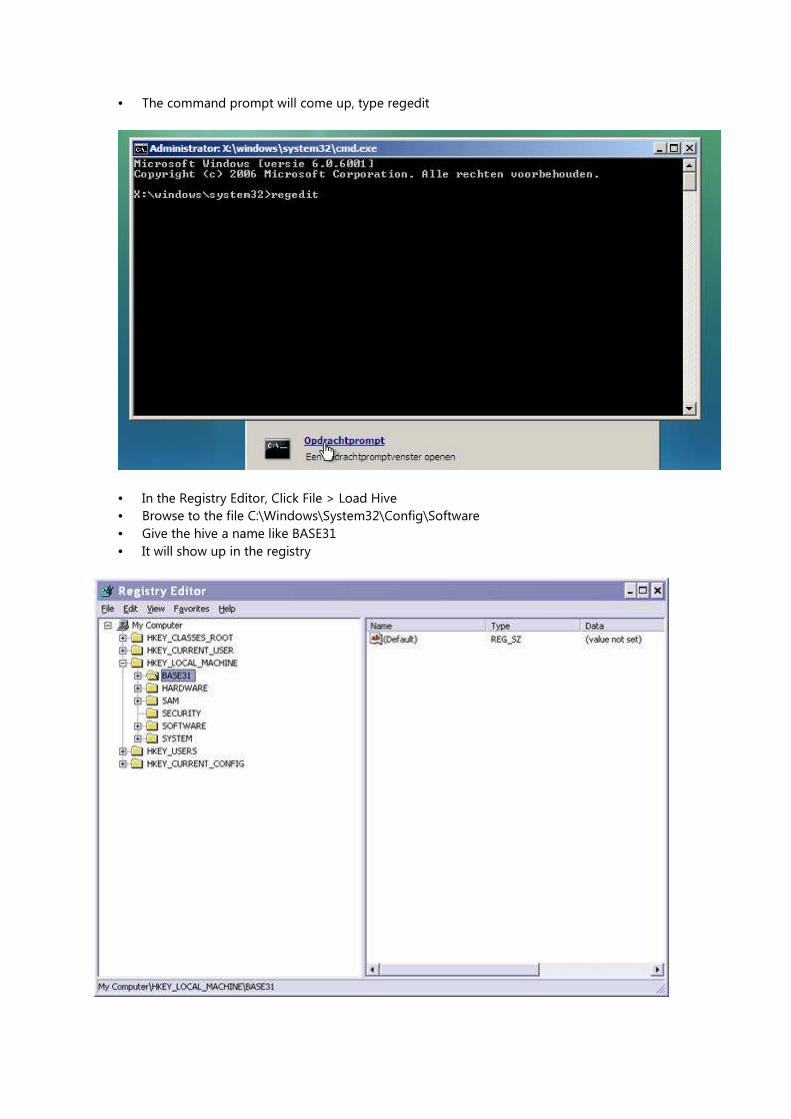
• Press next. The ERDCommander start screen will come up, Choose commandprompt.
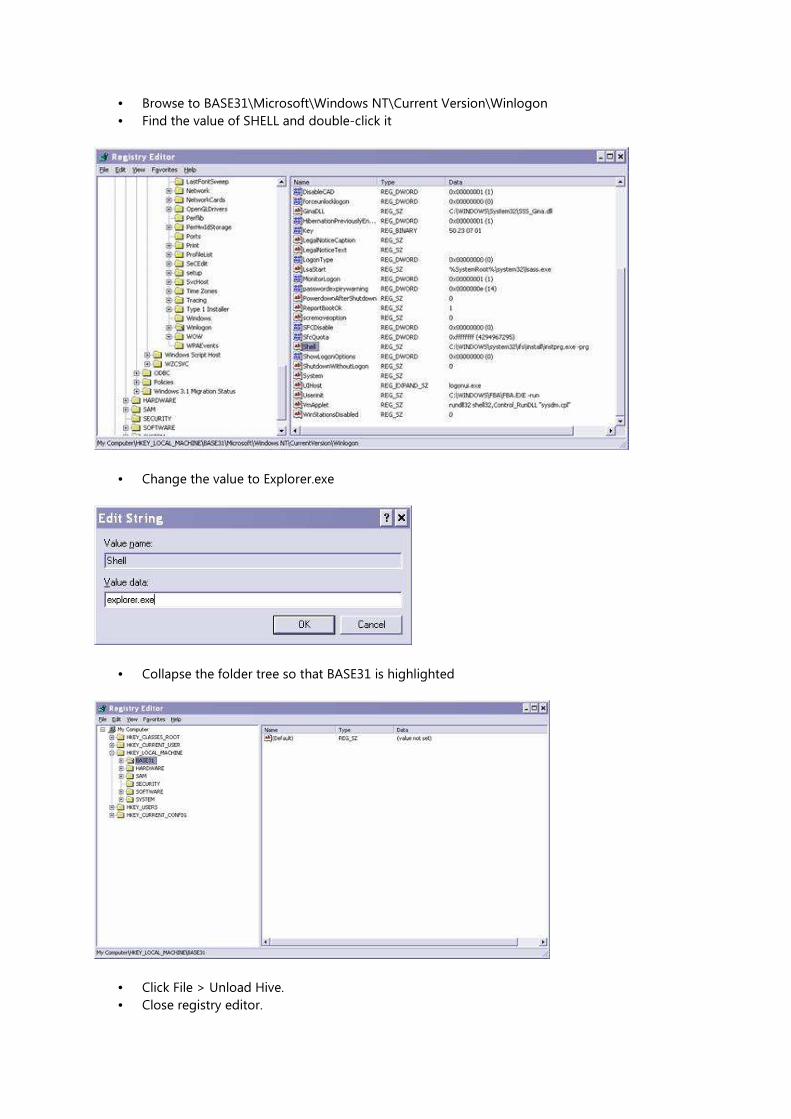
• The command prompt will come up, type regedit
• In the Registry Editor, Click File > Load Hive
• Browse to the file C:\Windows\System32\Config\Software
• Give the hive a name like BASE31
• It will show up in the registry
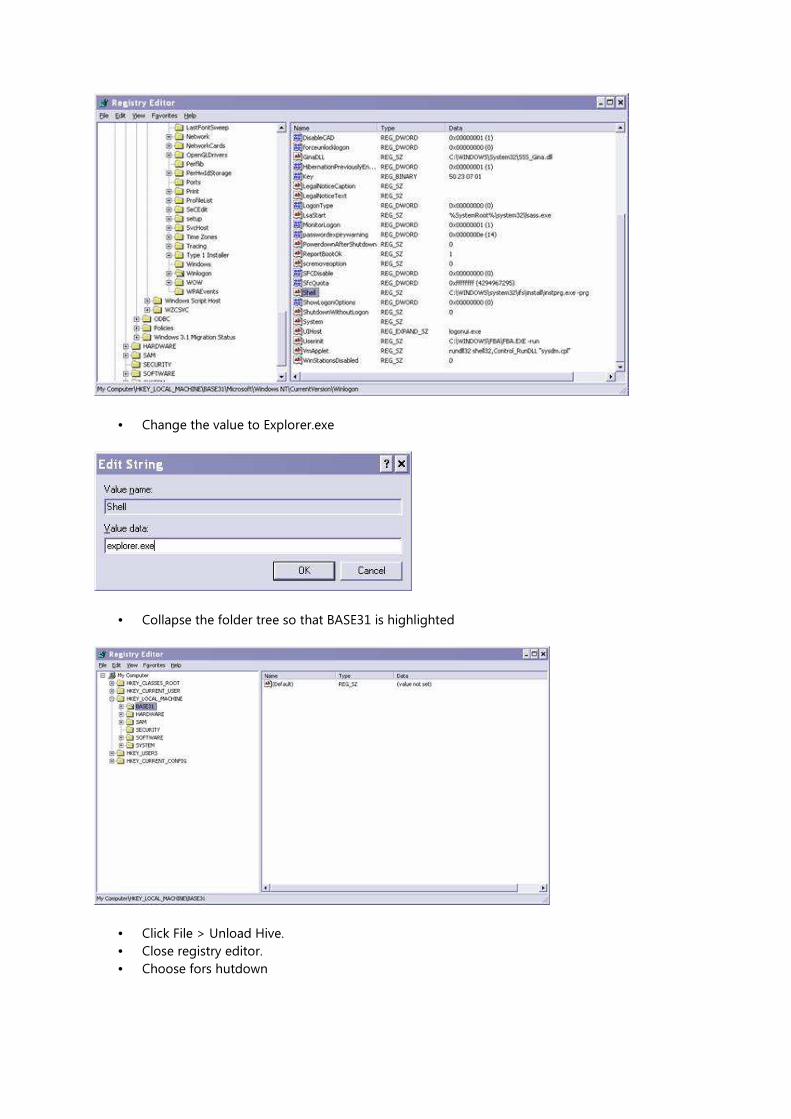
• Browse to BASE31\Microsoft\Windows NT\Current Version\Winlogon
• Find the value of SHELL and double-click it
• Change the value to Explorer.exe
• Collapse the folder tree so that BASE31 is highlighted
• Click File > Unload Hive.
• Close registry editor.
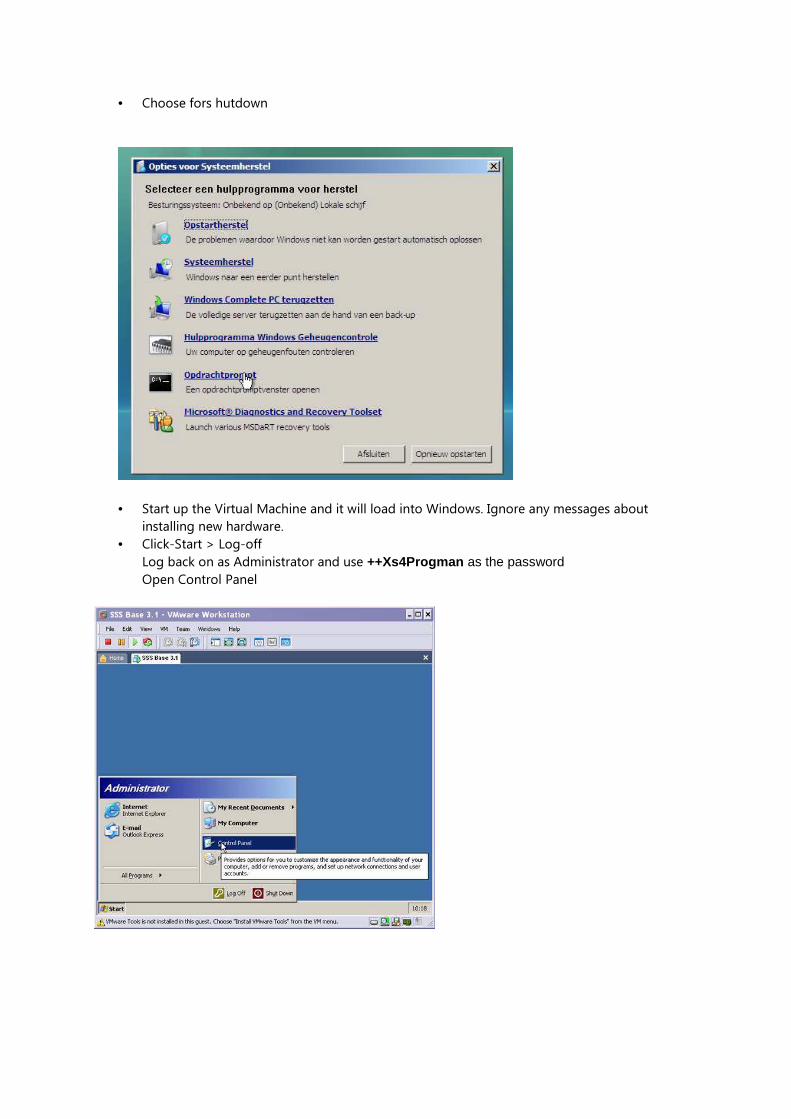
• Choose fors hutdown
• Start up the Virtual Machine and it will load into Windows. Ignore any messages about
installing new hardware.
• Click-Start > Log-off
Log back on as Administrator and use ++Xs4Progman as the password Open Control Panel
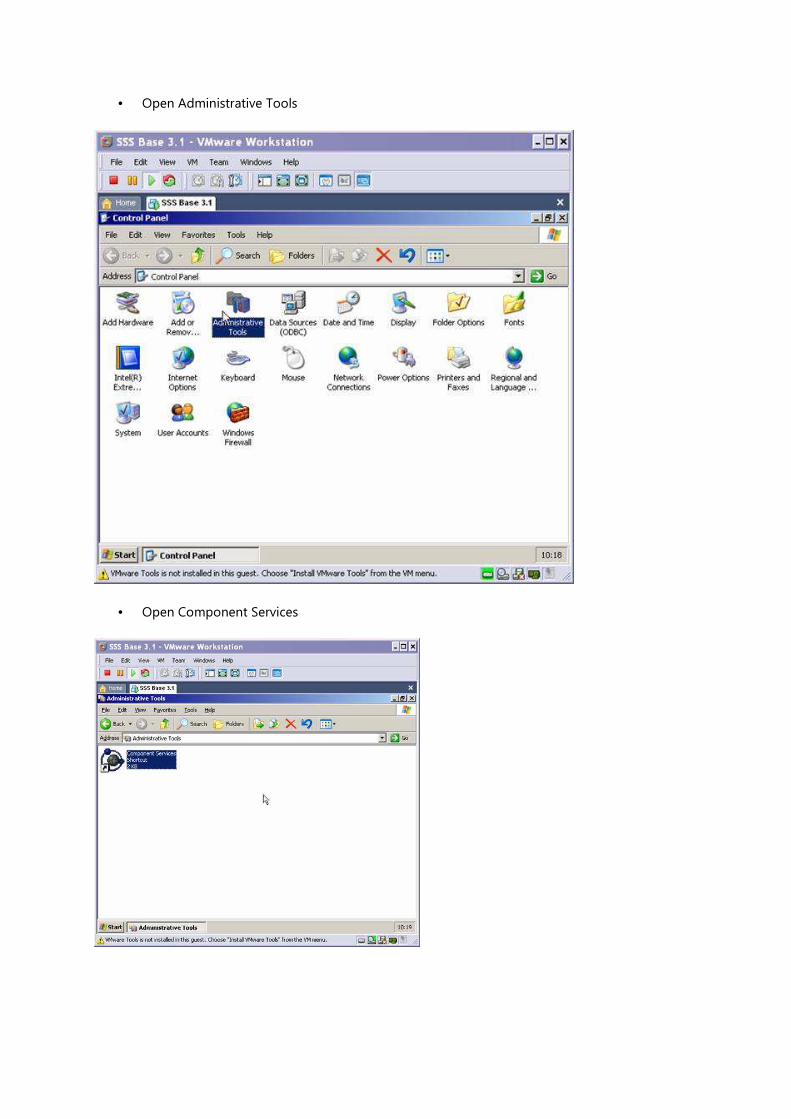
• Open Administrative Tools
• Open Component Services
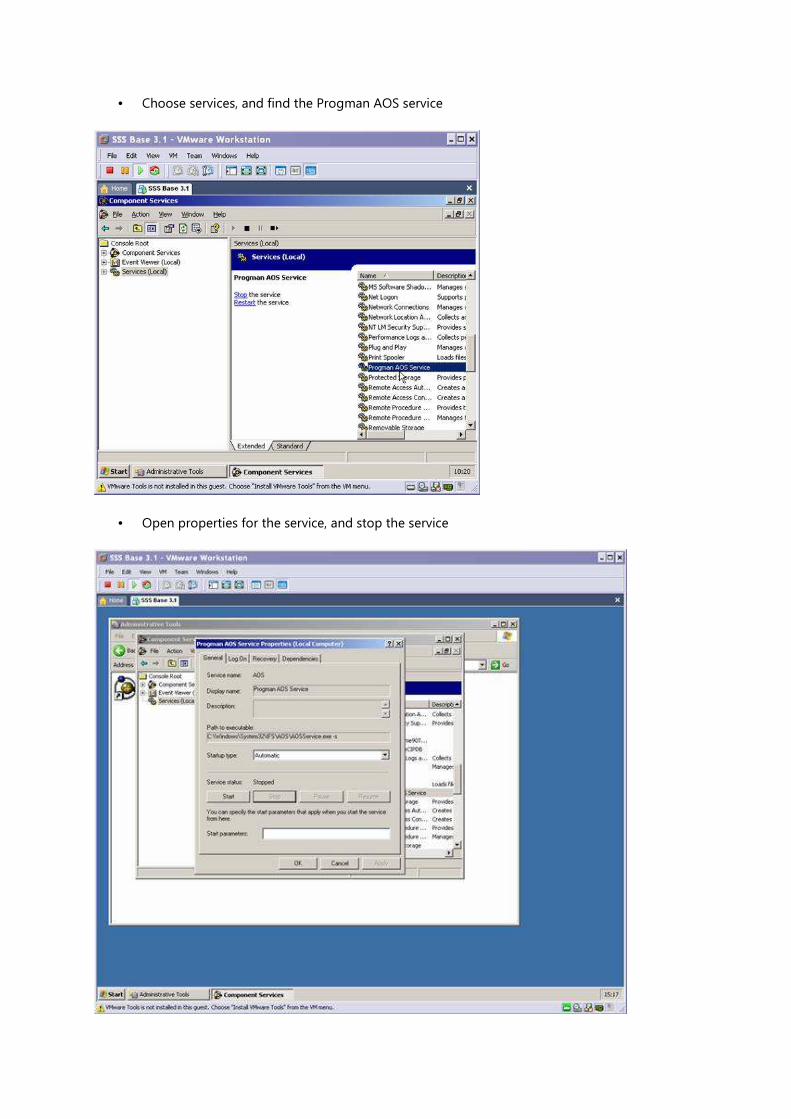
• Choose services, and find the Progman AOS service
• Open properties for the service, and stop the service
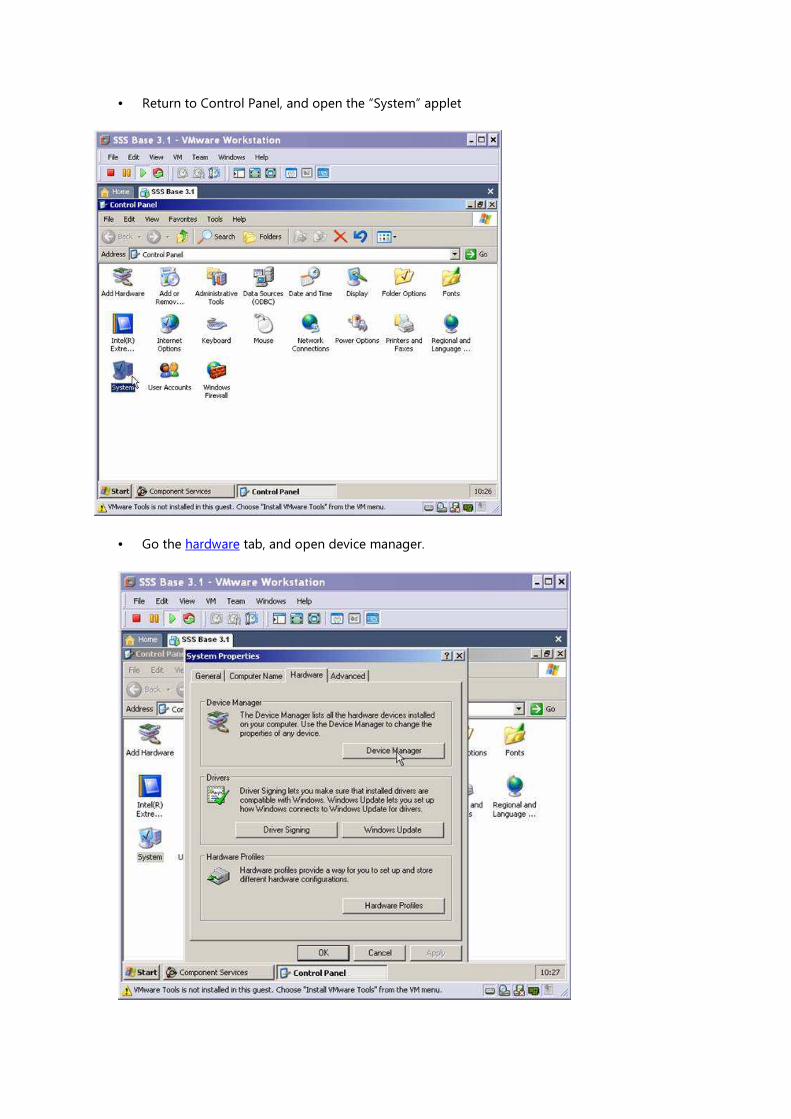
• Return to Control Panel, and open the “System” applet
• Go the hardware tab, and open device manager.
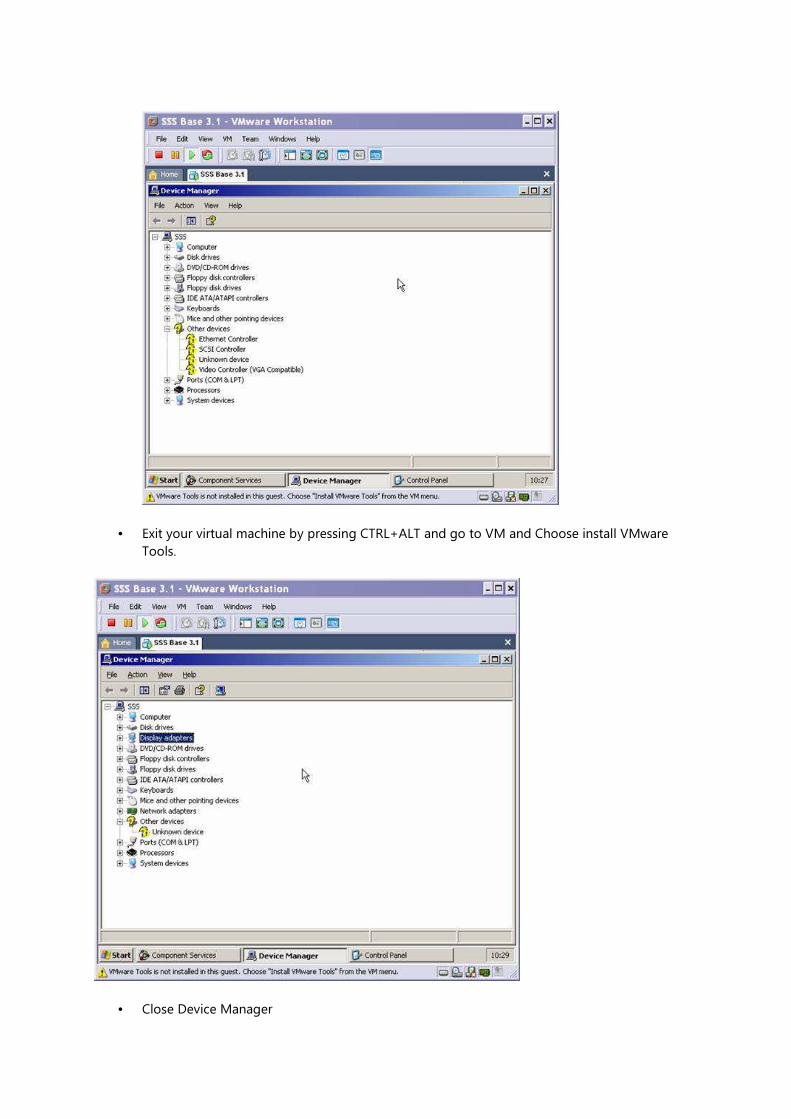
• Exit your virtual machine by pressing CTRL+ALT and go to VM and Choose install VMware
Tools.
• Close Device Manager
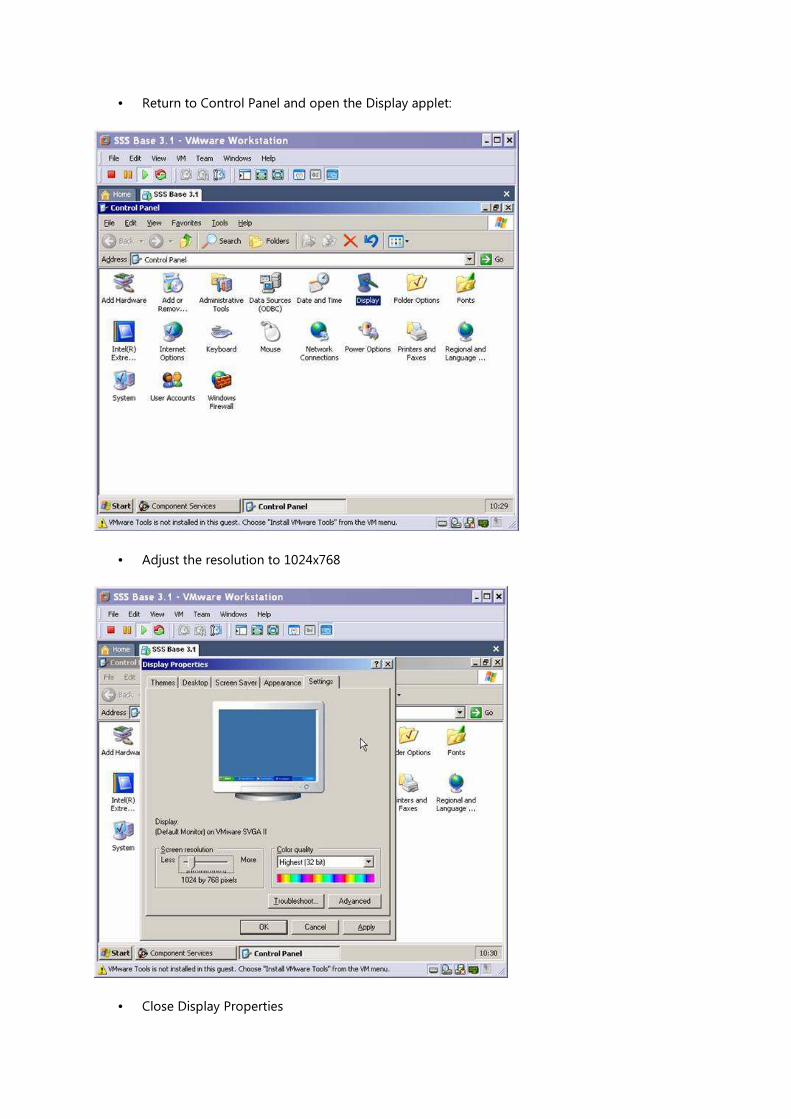
• Return to Control Panel and open the Display applet:
• Adjust the resolution to 1024x768
• Close Display Properties
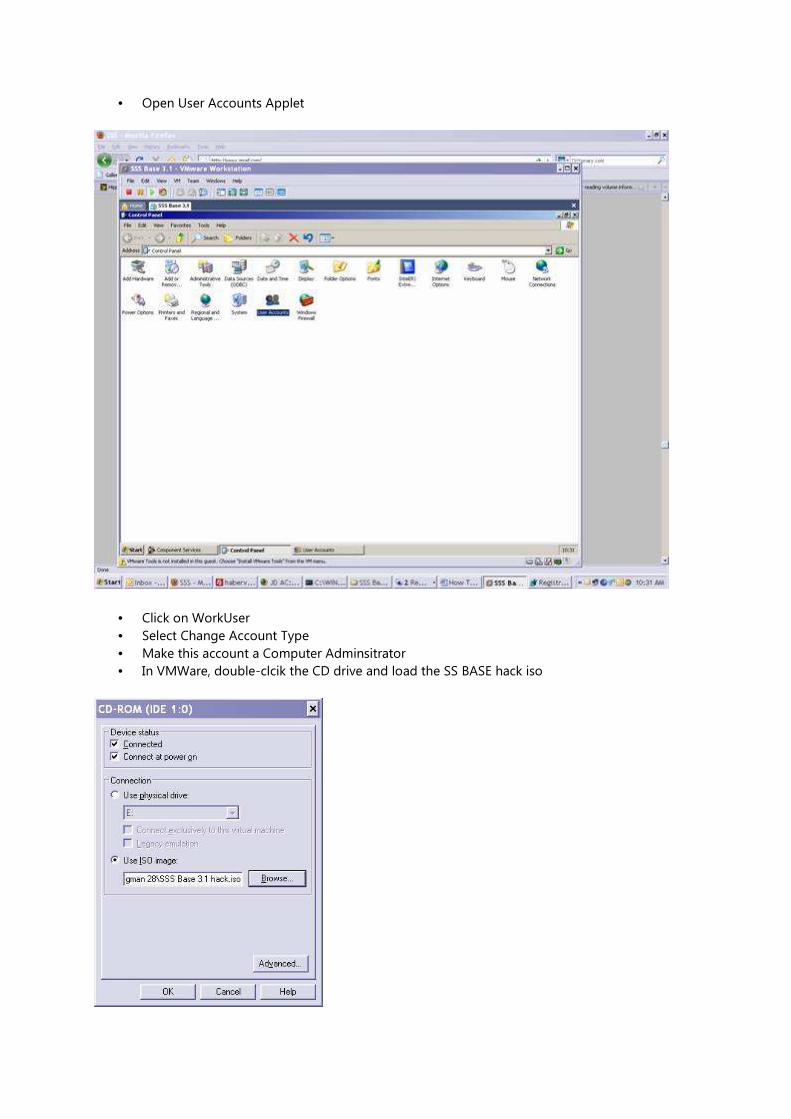
• Open User Accounts Applet
• Click on WorkUser
• Select Change Account Type
• Make this account a Computer Adminsitrator
• In VMWare, double-clcik the CD drive and load the SS BASE hack iso
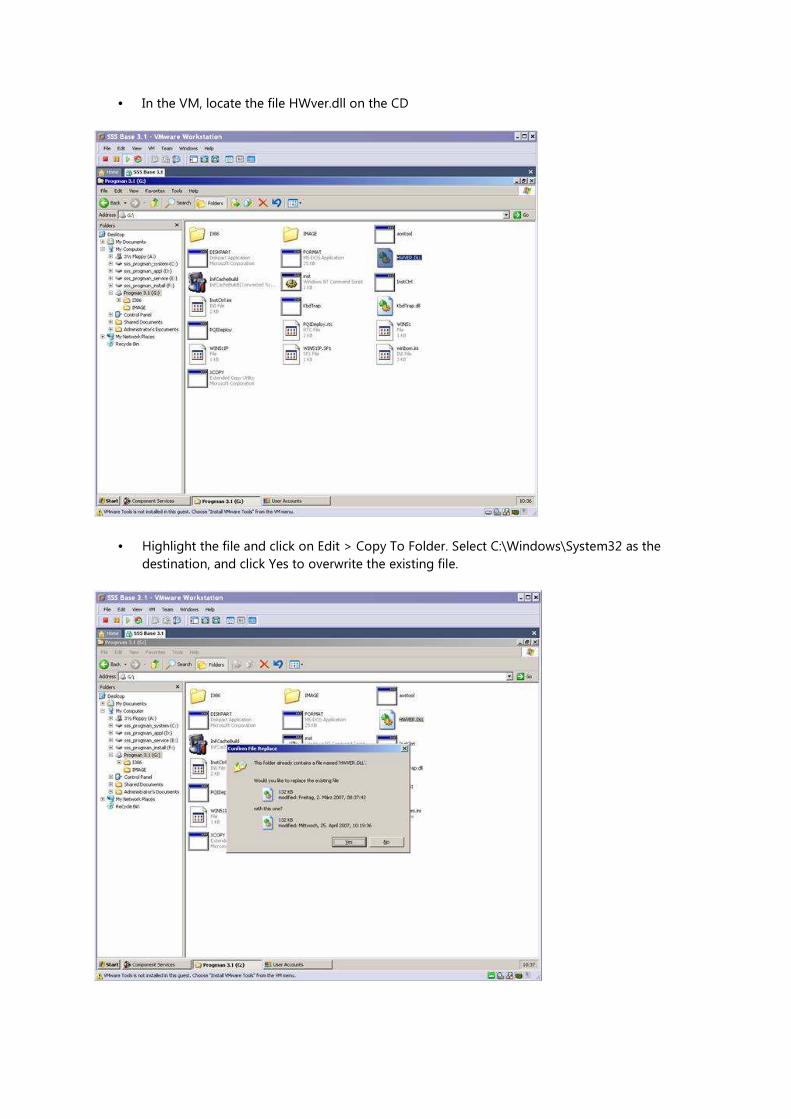
• In the VM, locate the file HWver.dll on the CD
• Highlight the file and click on Edit > Copy To Folder. Select C:\Windows\System32 as the
destination, and click Yes to overwrite the existing file.
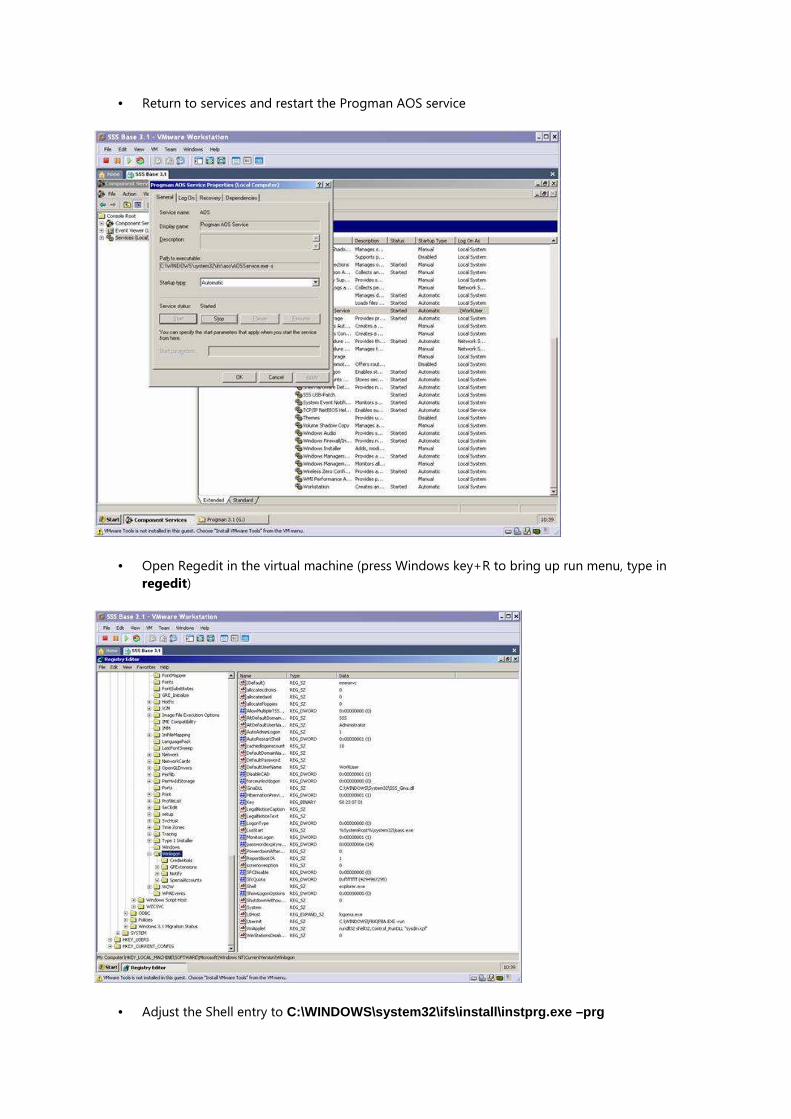
• Return to services and restart the Progman AOS service
• Open Regedit in the virtual machine (press Windows key+R to bring up run menu, type in
regedit)
• Adjust the Shell entry to C:\WINDOWS\system32\ifs\install\instprg.exe –prg
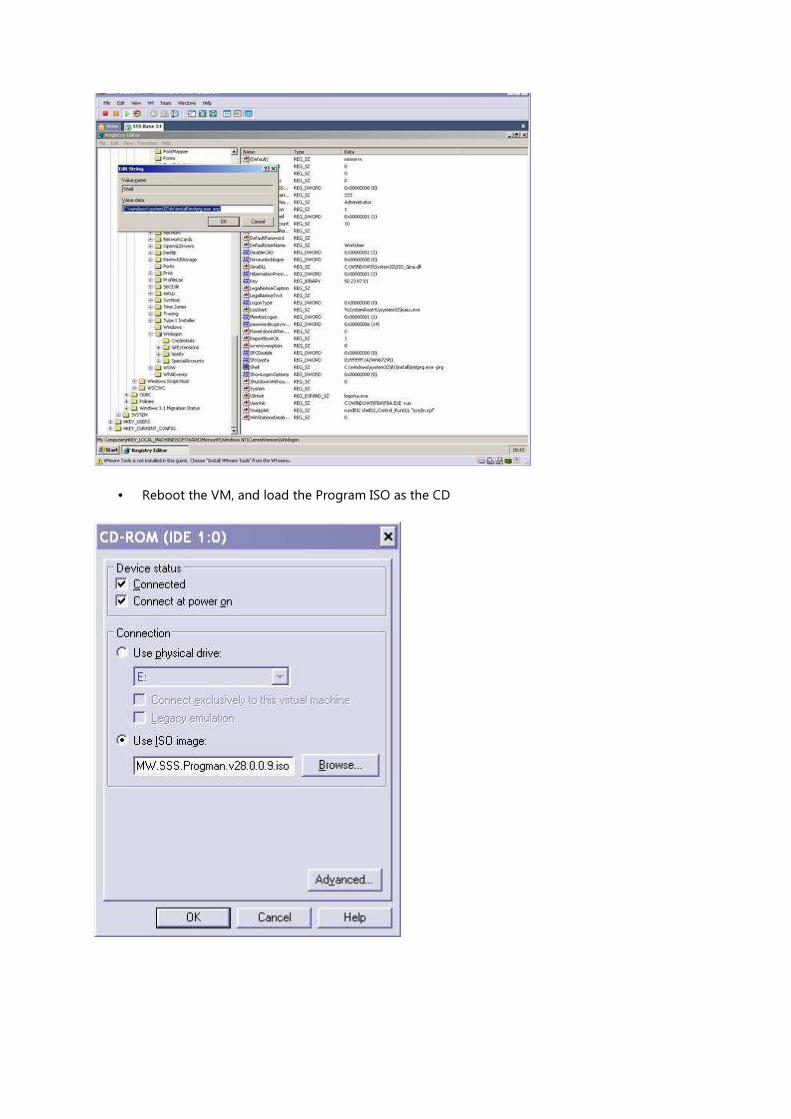
• Reboot the VM, and load the Program ISO as the CD
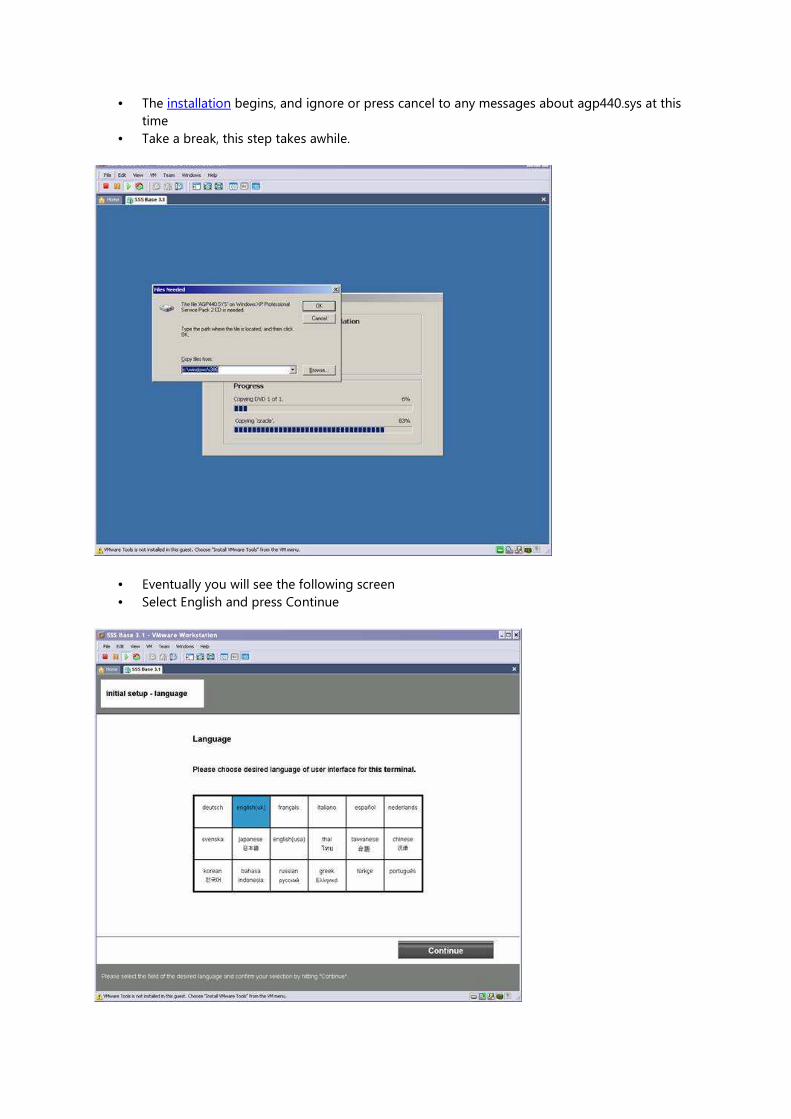
• The installation begins, and ignore or press cancel to any messages about agp440.sys at this
time
• Take a break, this step takes awhile.
• Eventually you will see the following screen
• Select English and press Continue
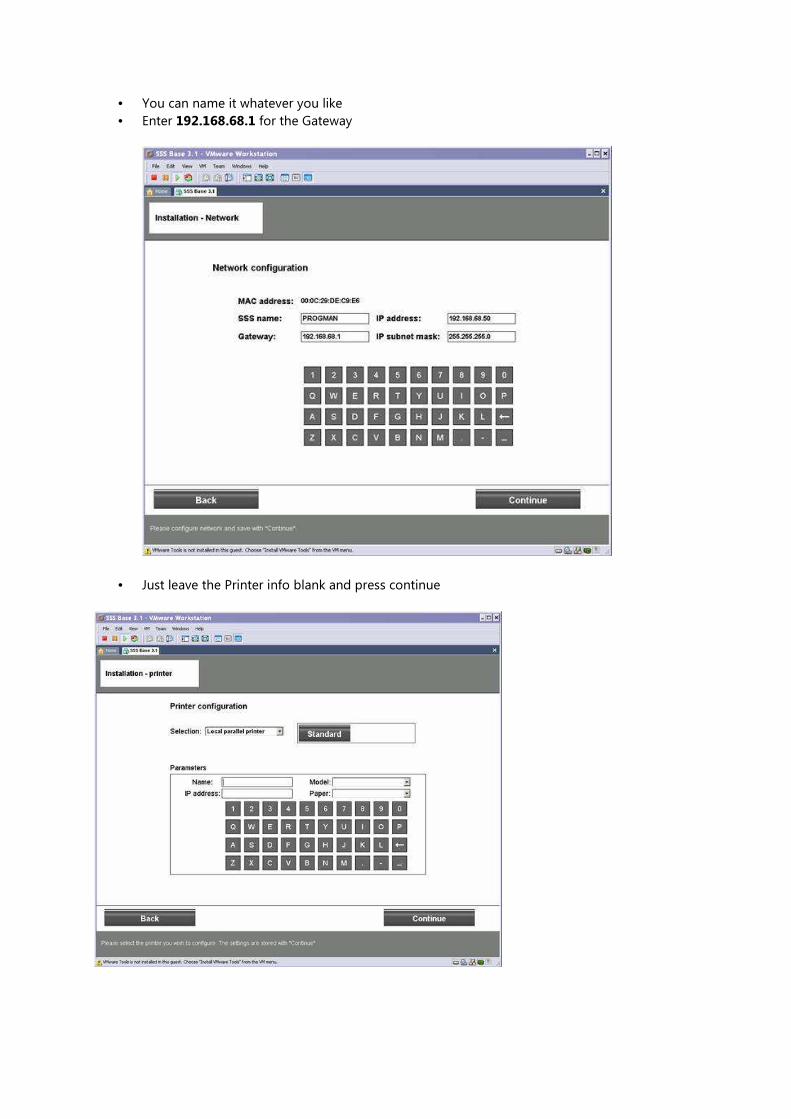
• You can name it whatever you like
• Enter 192.168.68.1 for the Gateway
• Just leave the Printer info blank and press continue
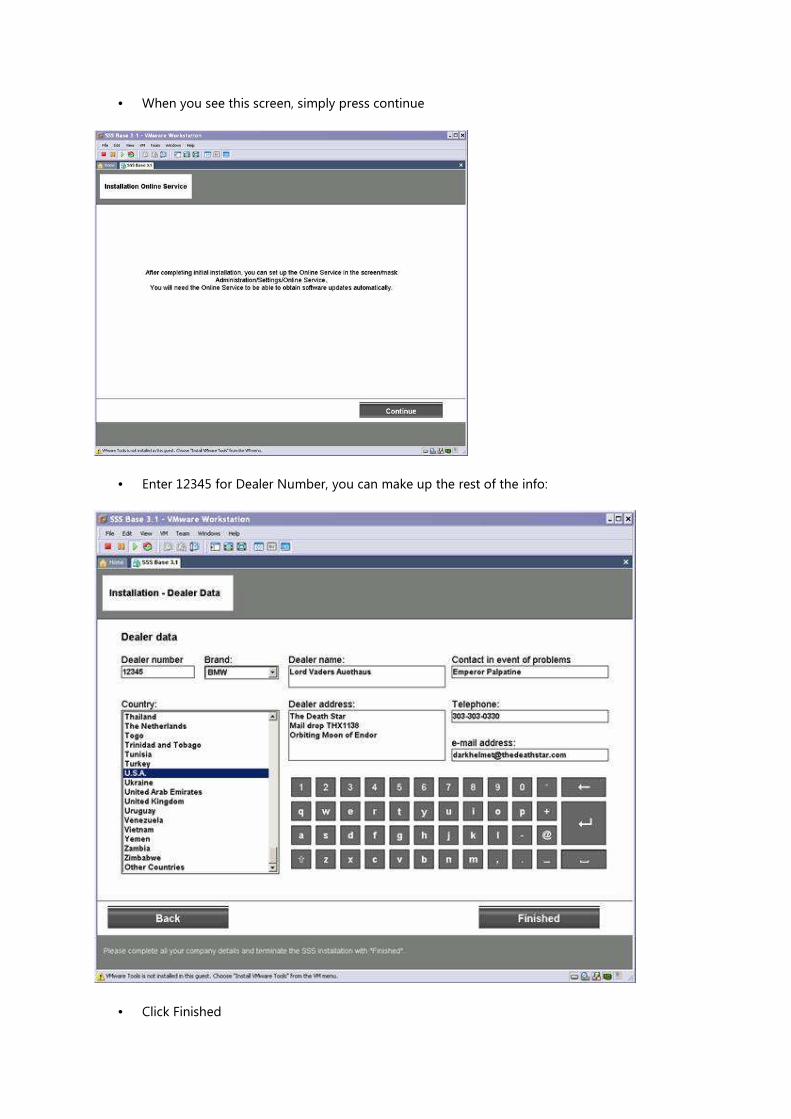
• When you see this screen, simply press continue
• Enter 12345 for Dealer Number, you can make up the rest of the info:
• Click Finished
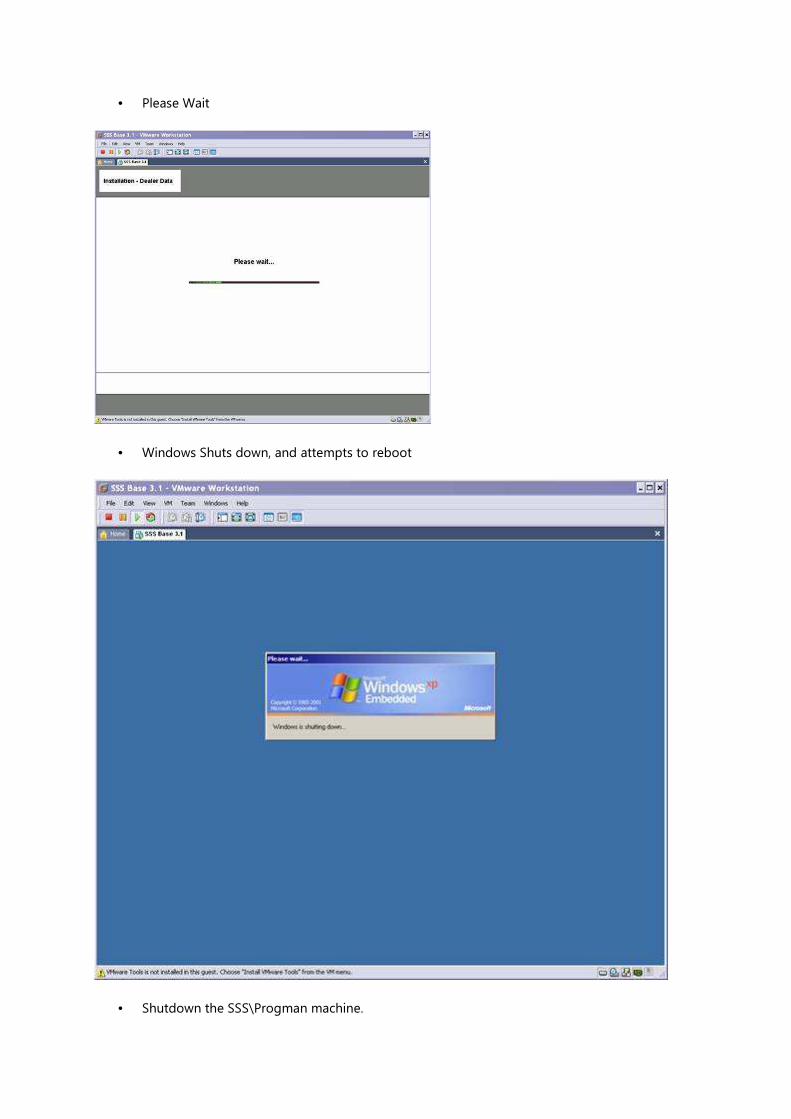
• Please Wait
• Windows Shuts down, and attempts to reboot
• Shutdown the SSS\Progman machine.
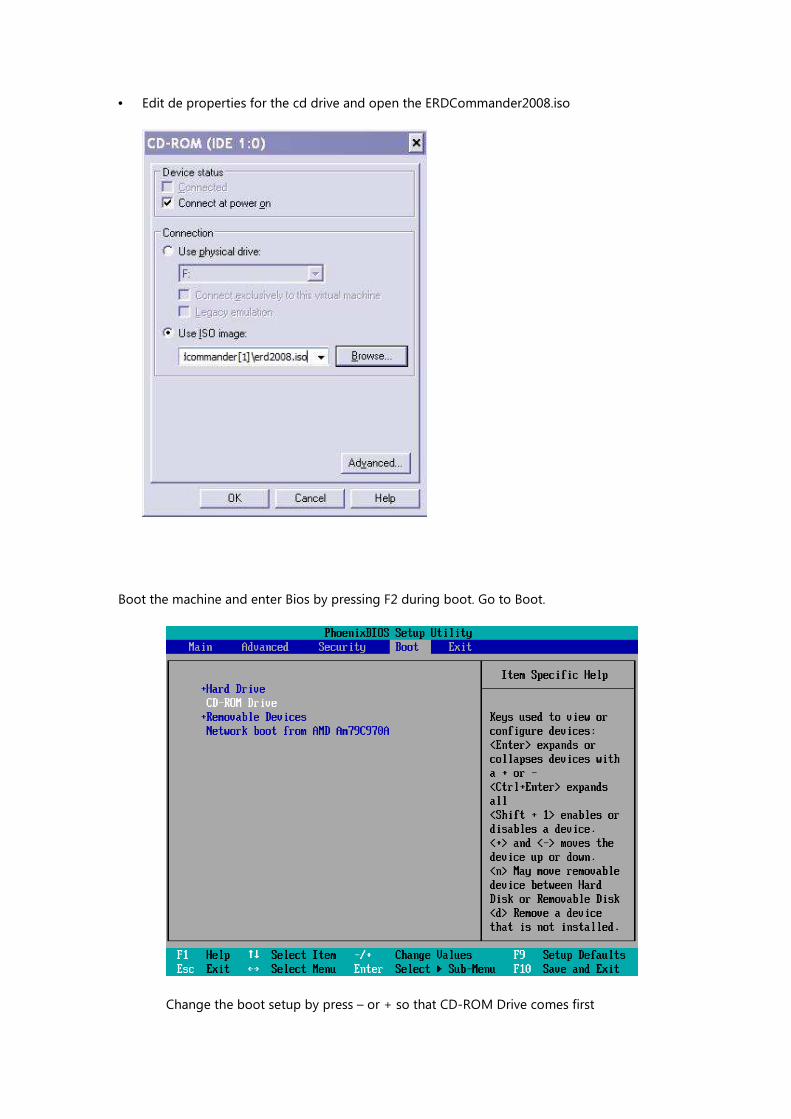
• Edit de properties for the cd drive and open the ERDCommander2008.iso
Boot the machine and enter Bios by pressing F2 during boot. Go to Boot.
Change the boot setup by press – or + so that CD-ROM Drive comes first

Then go to Exit and choose for the option Exit and save changes. Your machine will
reboot.
• A screen like this should appear:

• Press No. The following screen appears
• Choose United States (international) and press Next. A screen like this will appear
• Press next. The ERDCommander start screen will come up, Choose commandprompt.
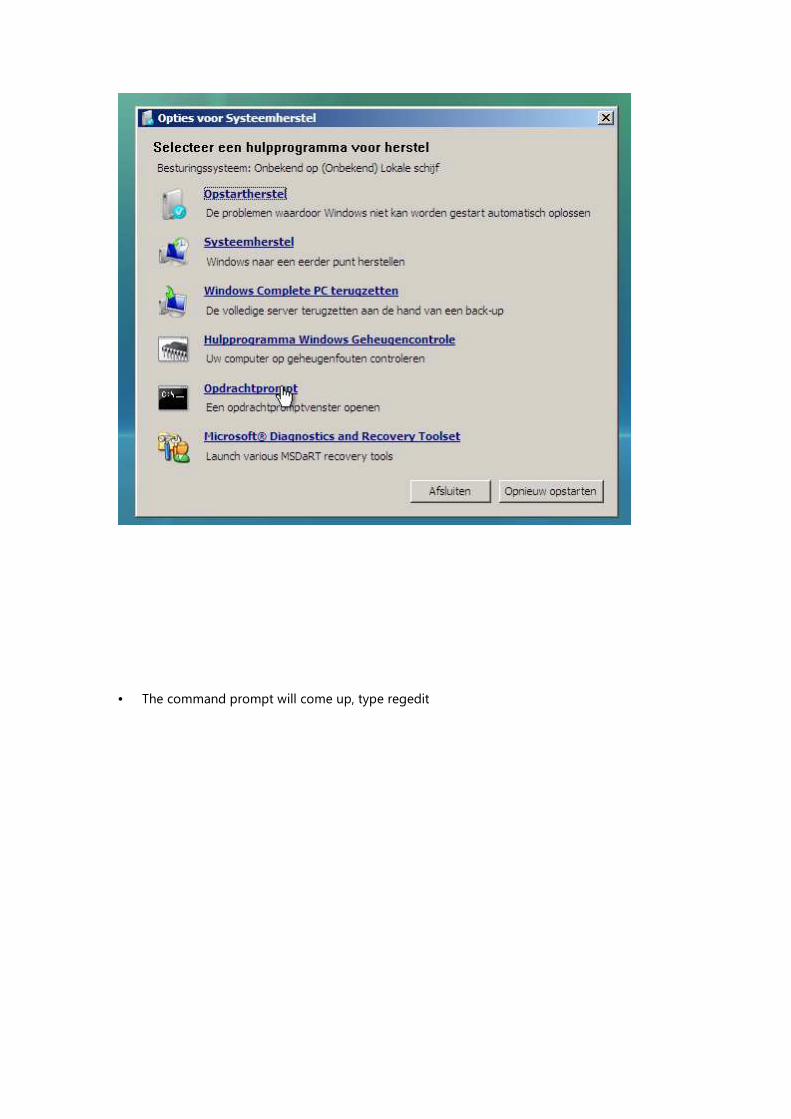
• The command prompt will come up, type regedit
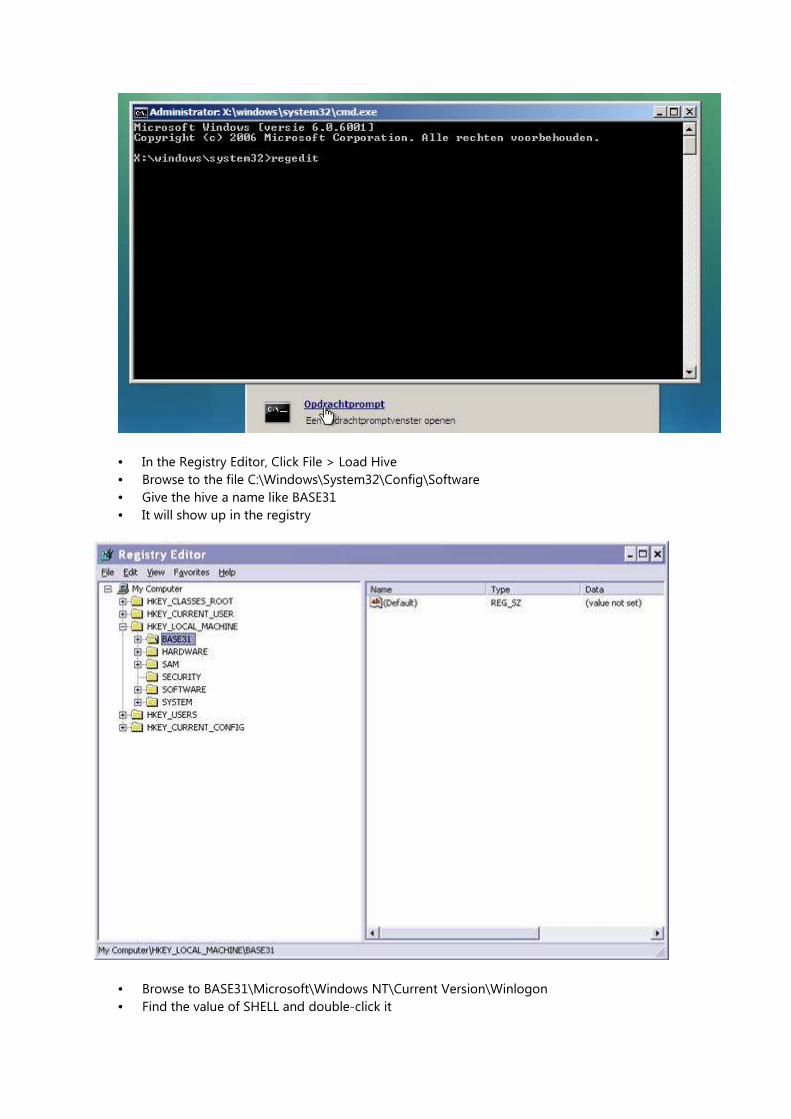
• In the Registry Editor, Click File > Load Hive
• Browse to the file C:\Windows\System32\Config\Software
• Give the hive a name like BASE31
• It will show up in the registry
• Browse to BASE31\Microsoft\Windows NT\Current Version\Winlogon
• Find the value of SHELL and double-click it
• Change the value to Explorer.exe
• Collapse the folder tree so that BASE31 is highlighted
• Click File > Unload Hive.
• Close registry editor.
• Choose fors hutdown
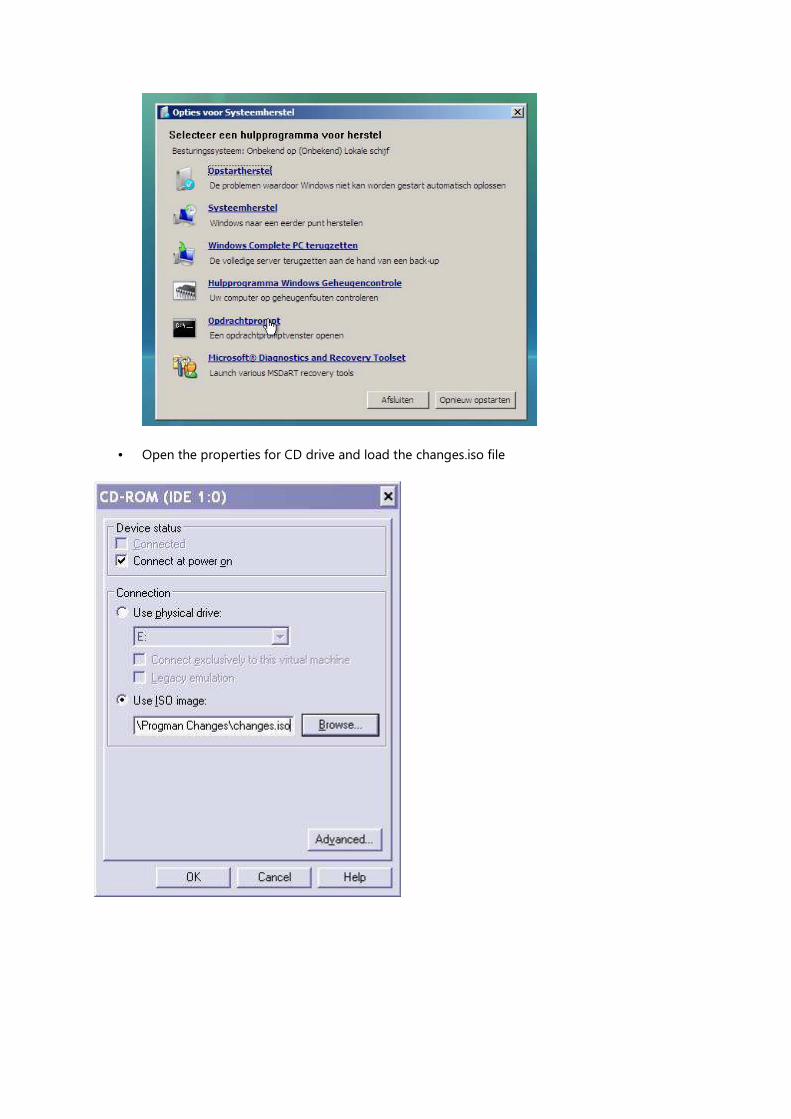
• Open the properties for CD drive and load the changes.iso file
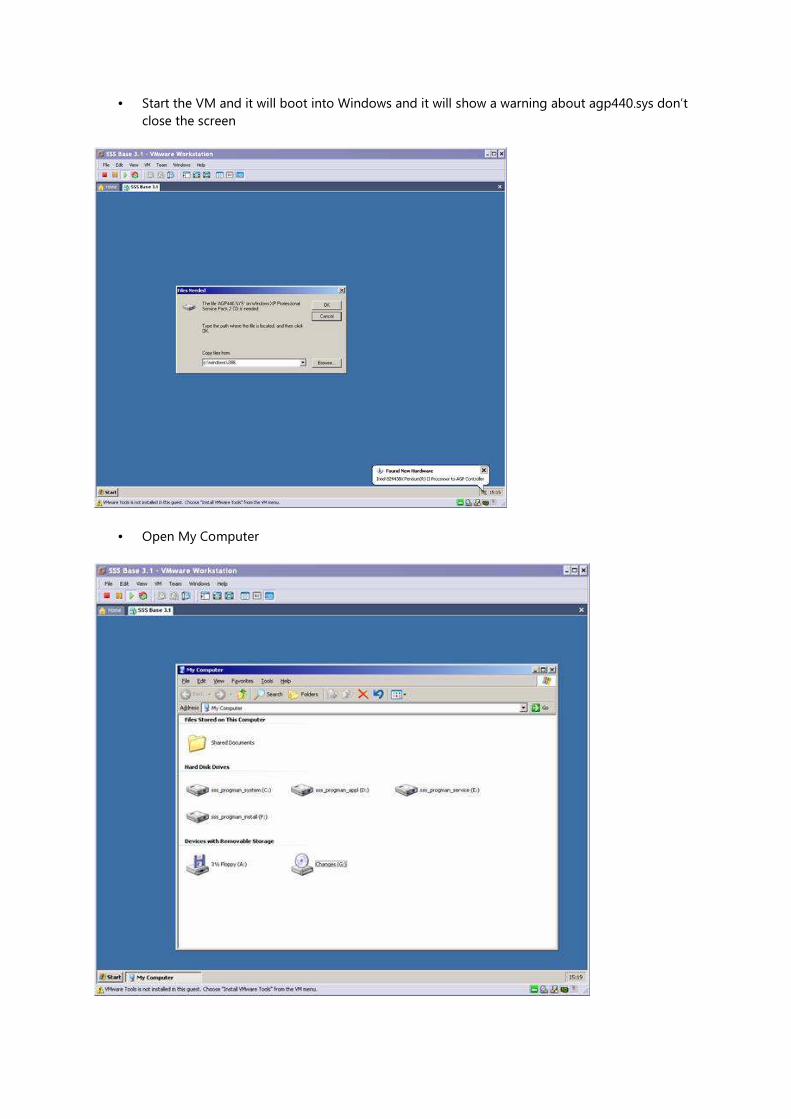
• Start the VM and it will boot into Windows and it will show a warning about agp440.sys don’t
close the screen
• Open My Computer
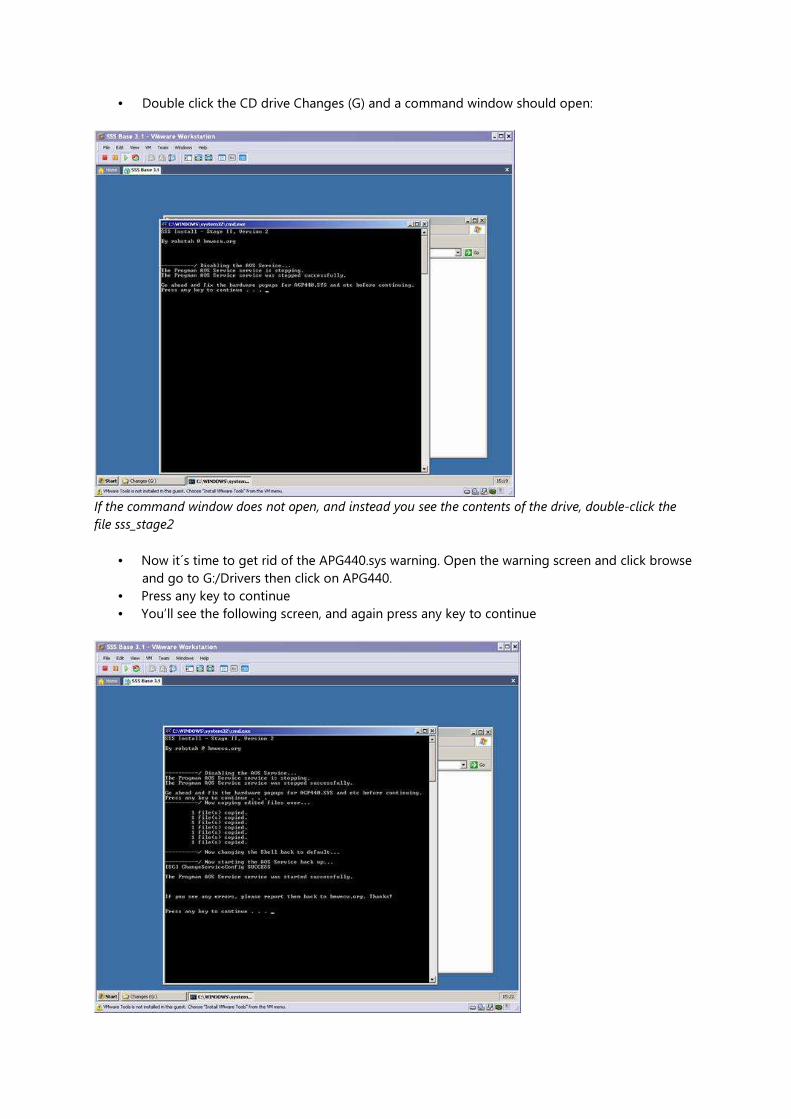
• Double click the CD drive Changes (G) and a command window should open:
If the command window does not open, and instead you see the contents of the drive, double-click the
file sss_stage2
• Now it´s time to get rid of the APG440.sys warning. Open the warning screen and click browse
and go to G:/Drivers then click on APG440.
• Press any key to continue
• You’ll see the following screen, and again press any key to continue
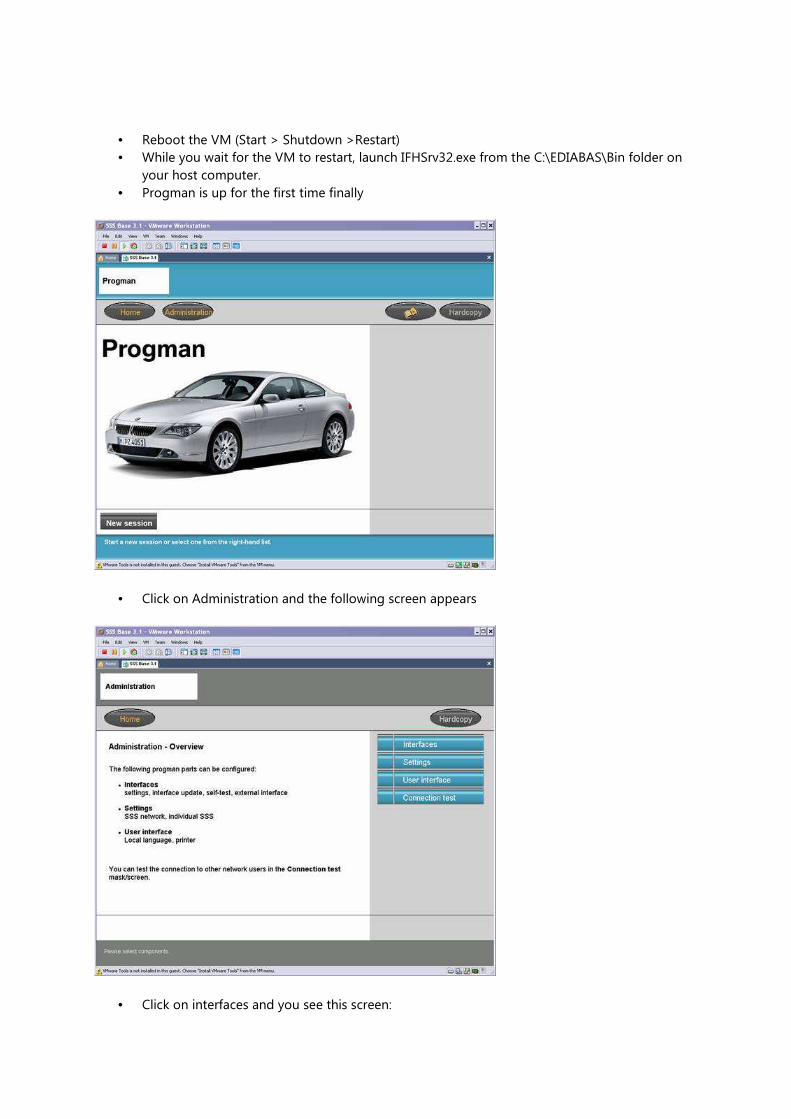
• Reboot the VM (Start > Shutdown >Restart)
• While you wait for the VM to restart, launch IFHSrv32.exe from the C:\EDIABAS\Bin folder on
your host computer.
• Progman is up for the first time finally
• Click on Administration and the following screen appears
• Click on interfaces and you see this screen:
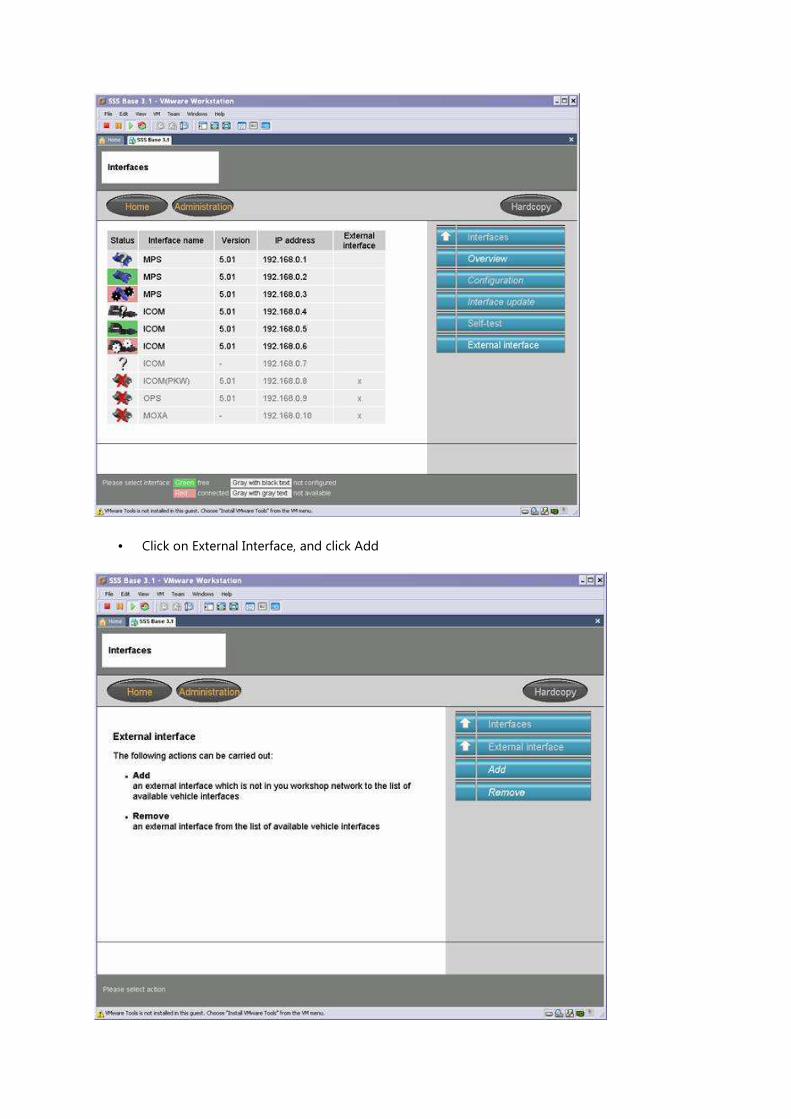
• Click on External Interface, and click Add
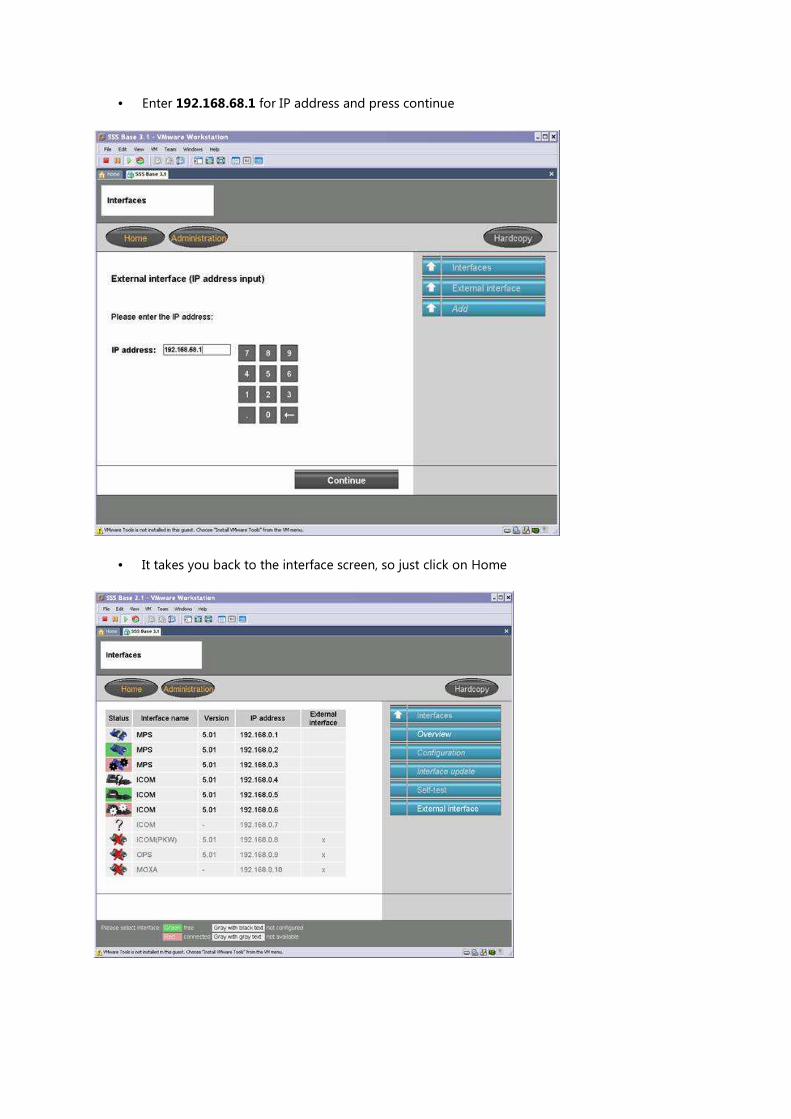
• Enter 192.168.68.1 for IP address and press continue
• It takes you back to the interface screen, so just click on Home
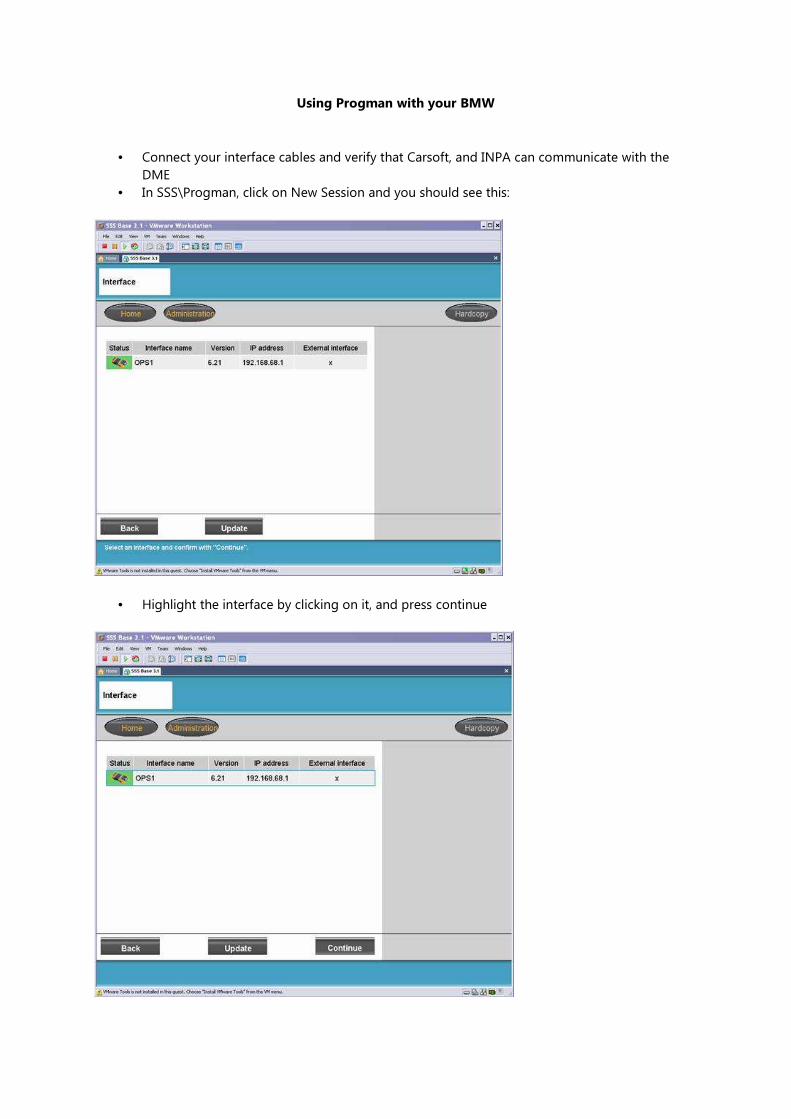
Using Progman with your BMW
• Connect your interface cables and verify that Carsoft, and INPA can communicate with the
DME
• In SSS\Progman, click on New Session and you should see this:
• Highlight the interface by clicking on it, and press continue
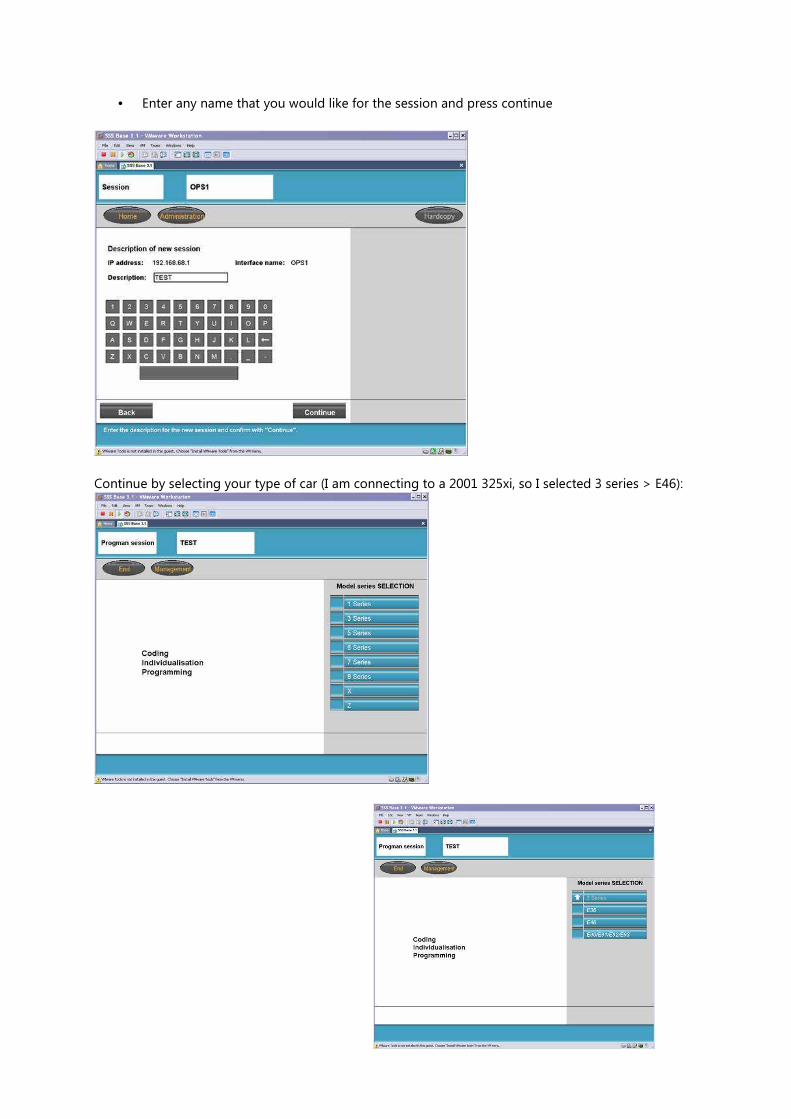
• Enter any name that you would like for the session and press continue
Continue by selecting your type of car (I am connecting to a 2001 325xi, so I selected 3 series > E46):
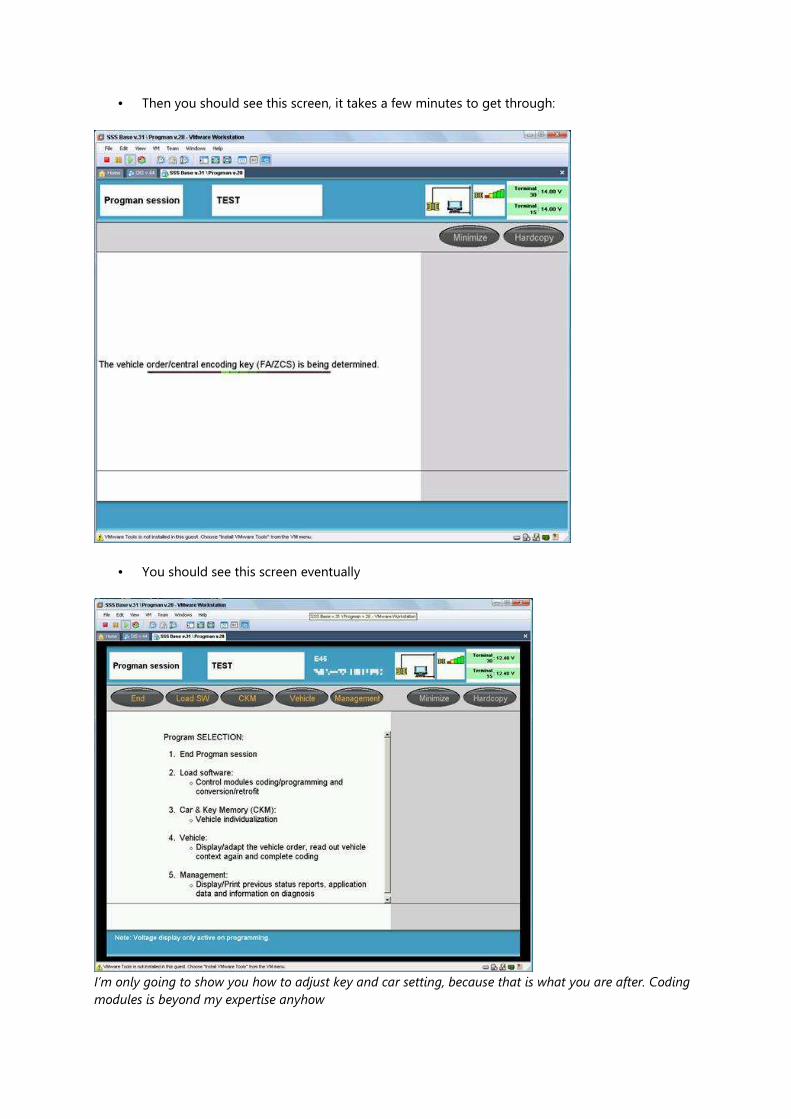
• Then you should see this screen, it takes a few minutes to get through:
• You should see this screen eventually
I’m only going to show you how to adjust key and car setting, because that is what you are after. Coding
modules is beyond my expertise anyhow
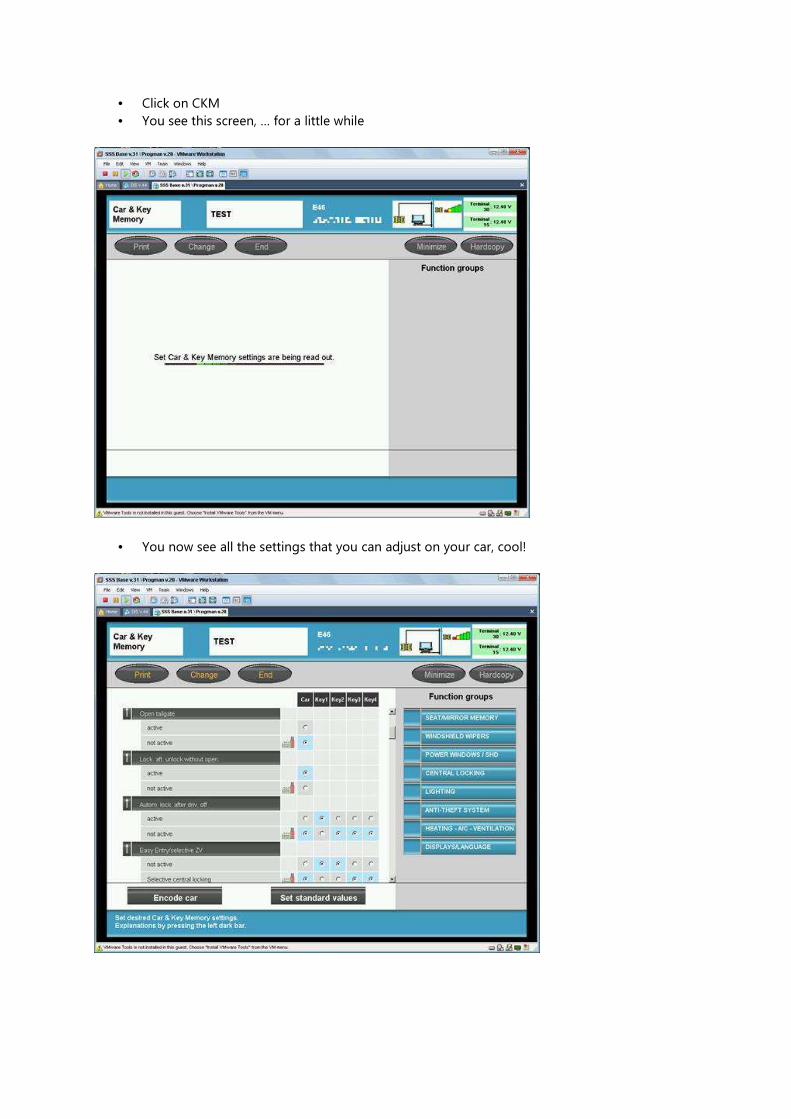
• Click on CKM
• You see this screen, … for a little while
• You now see all the settings that you can adjust on your car, cool!

Click on the individual items like “daytime running light to get a brief description of the adjustment”
• Once you have made all of your desired adjustments, press the Encode button
• Your new settings are now saved, and you have saved yourself a trip to the dealer and the cost
of the labor they would have charged you to make these adjustments