Embed Size (px)
Citation preview
How to scan images into Photoshop and edit them. This guide is for how to scan in an image file. It is recommended for individuals scanning images for PowerPoint slides, online photo albums, websites, or anytime the image will be saved as an image file (.jpg).
1. Open Photoshop.
2. Place the image on the flatbed scanner. You can flip it and crop it later if it's not fitting right on the scanner.
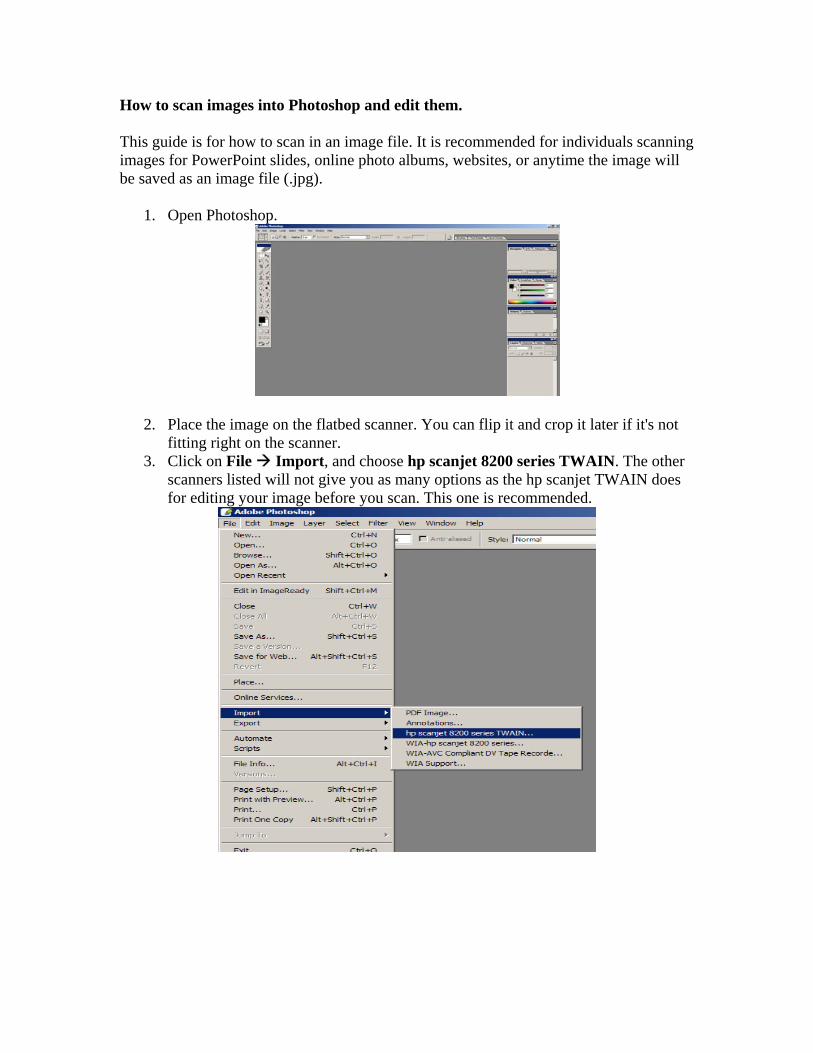
3. Click on File Import, and choose hp scanjet 8200 series TWAIN. The other scanners listed will not give you as many options as the hp scanjet TWAIN does for editing your image before you scan. This one is recommended.
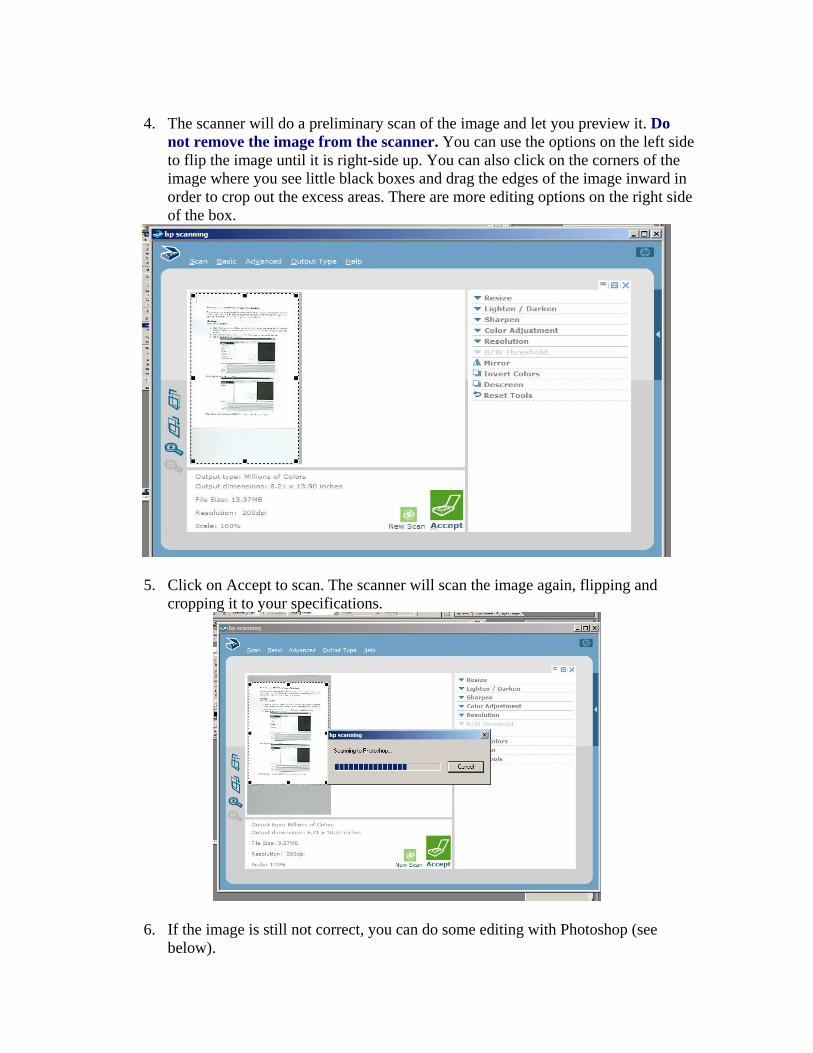
4. The scanner will do a preliminary scan of the image and let you preview it. Do
not remove the image from the scanner. You can use the options on the left side to flip the image until it is right-side up. You can also click on the corners of the image where you see little black boxes and drag the edges of the image inward in order to crop out the excess areas. There are more editing options on the right side of the box.
5. Click on Accept to scan. The scanner will scan the image again, flipping and cropping it to your specifications.
6. If the image is still not correct, you can do some editing with Photoshop (see below).
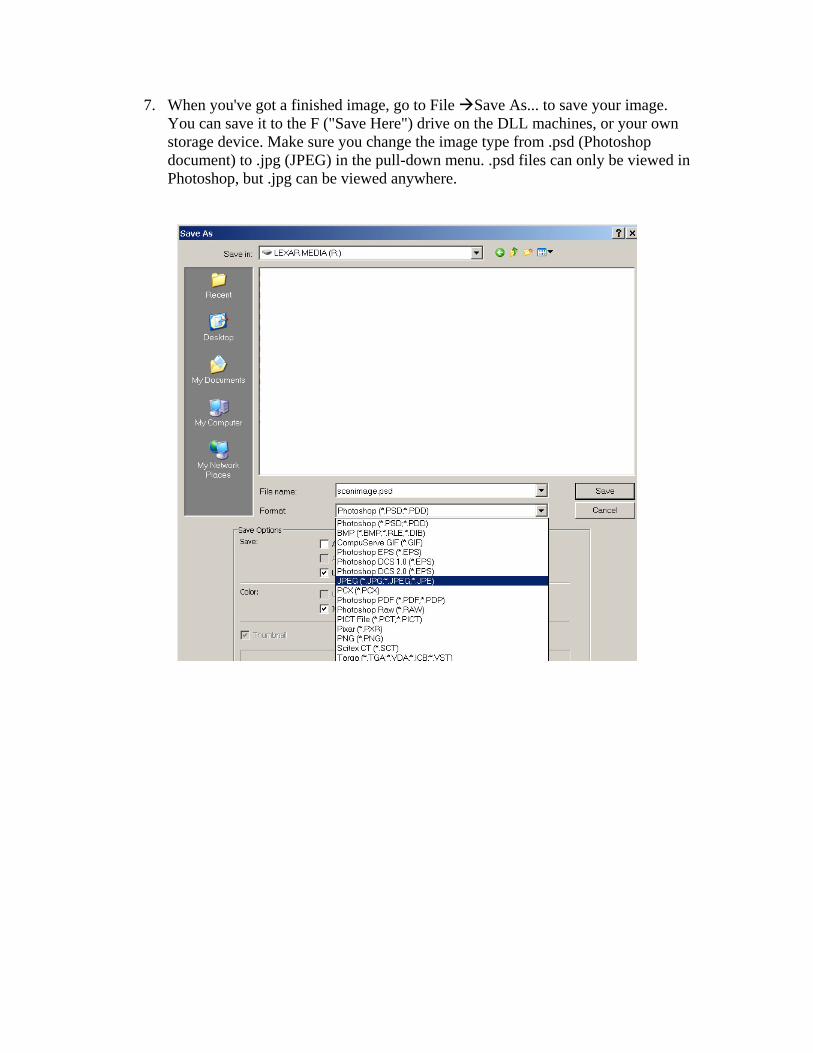
7. When you've got a finished image, go to File Save As... to save your image. You can save it to the F ("Save Here") drive on the DLL machines, or your own storage device. Make sure you change the image type from .psd (Photoshop document) to .jpg (JPEG) in the pull-down menu. .psd files can only be viewed in Photoshop, but .jpg can be viewed anywhere.
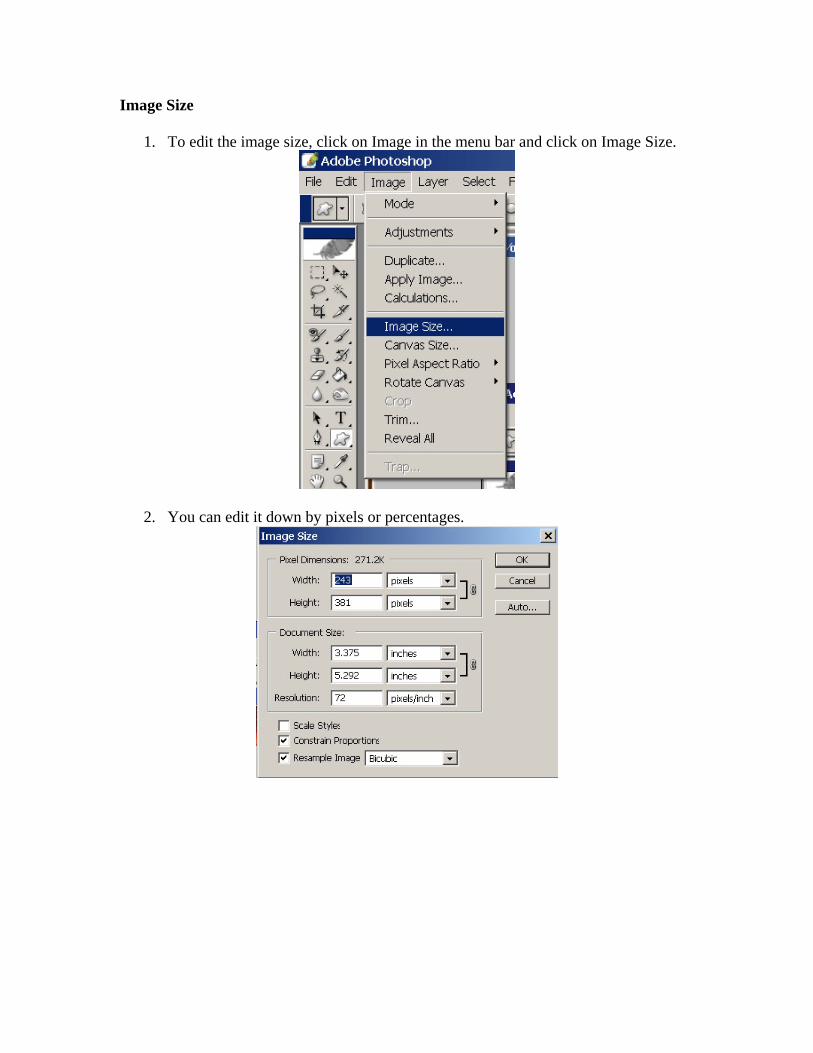
Image Size
1. To edit the image size, click on Image in the menu bar and click on Image Size.
2. You can edit it down by pixels or percentages.
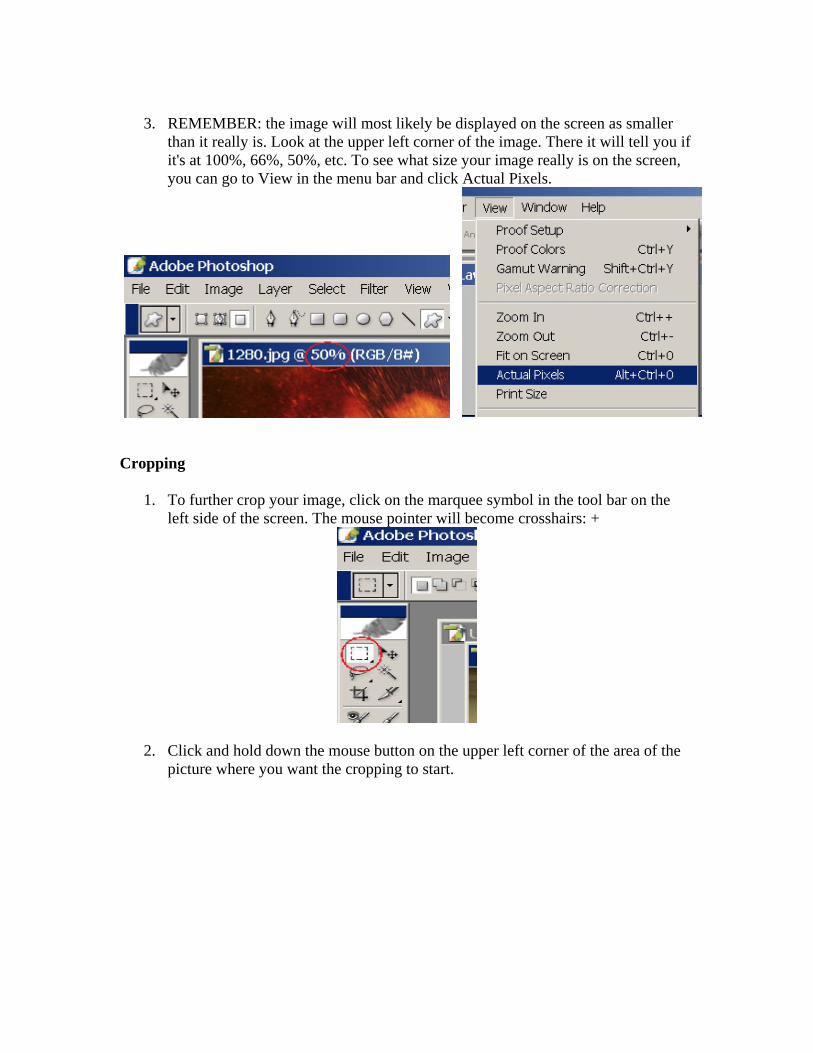
3. REMEMBER: the image will most likely be displayed on the screen as smaller
than it really is. Look at the upper left corner of the image. There it will tell you if it's at 100%, 66%, 50%, etc. To see what size your image really is on the screen, you can go to View in the menu bar and click Actual Pixels.
Cropping
1. To further crop your image, click on the marquee symbol in the tool bar on the left side of the screen. The mouse pointer will become crosshairs: +
2. Click and hold down the mouse button on the upper left corner of the area of the picture where you want the cropping to start.
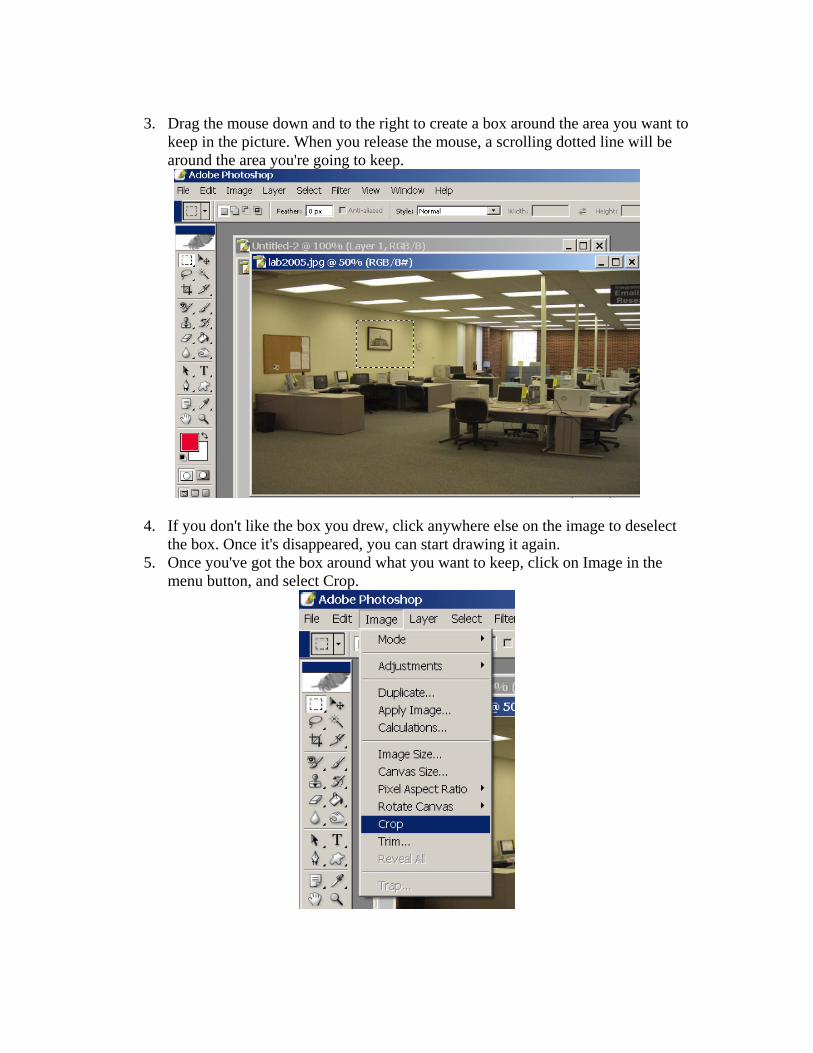
3. Drag the mouse down and to the right to create a box around the area you want to
keep in the picture. When you release the mouse, a scrolling dotted line will be around the area you're going to keep.
4. If you don't like the box you drew, click anywhere else on the image to deselect the box. Once it's disappeared, you can start drawing it again.
5. Once you've got the box around what you want to keep, click on Image in the menu button, and select Crop.
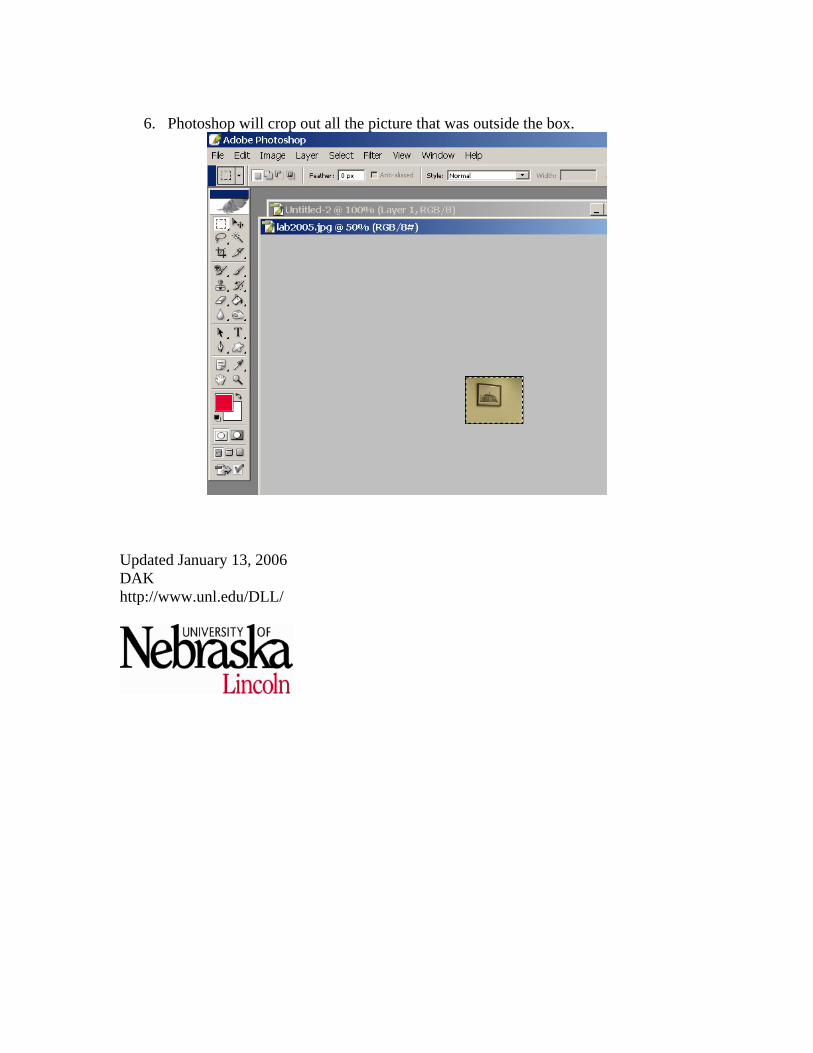
6. Photoshop will crop out all the picture that was outside the box.
Updated January 13, 2006 DAK http://www.unl.edu/DLL/