Embed Size (px)
Citation preview

INFINITE CAMPUS
ATTENDANCE GRADEBOOKREPORTING
OVERVIEWNavigation
Infinite Campus toolbarOutline
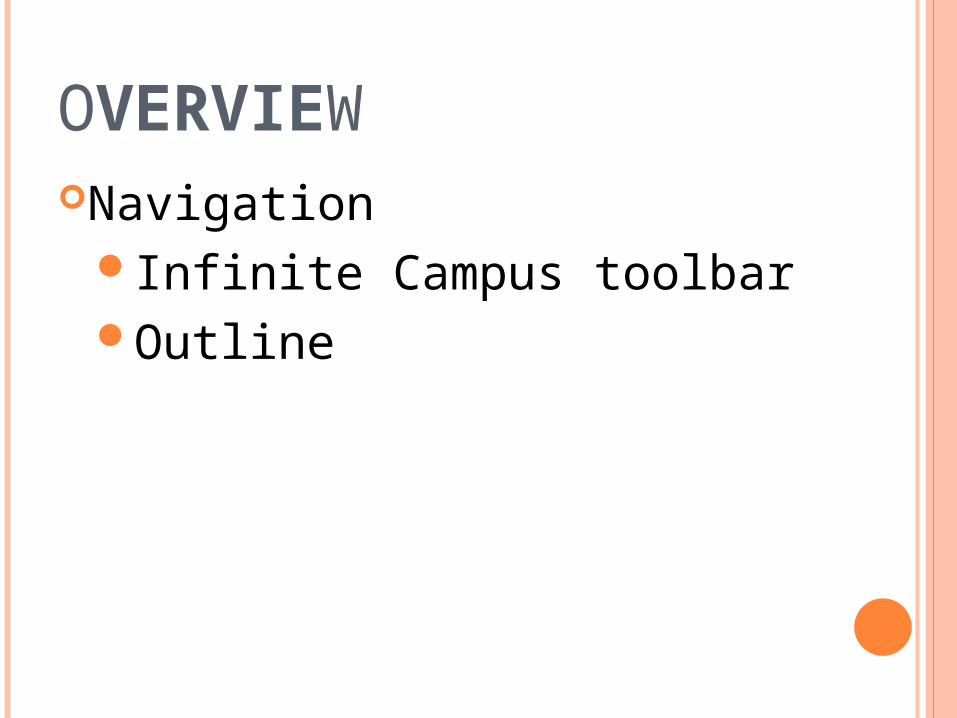
KEY POINTSDo not use the back buttonAlways hit SAVESAVE when it is highlighted red
Don’t use the X button to close, LOGOUTLOGOUT
60 minutes of inactivity = automatic logout
F11 key will hide the internet tool bar
Strong passwordAfter 5 login attempts-locked outMust have Adobe Reader for reports
WEBSITE
LoginPassword
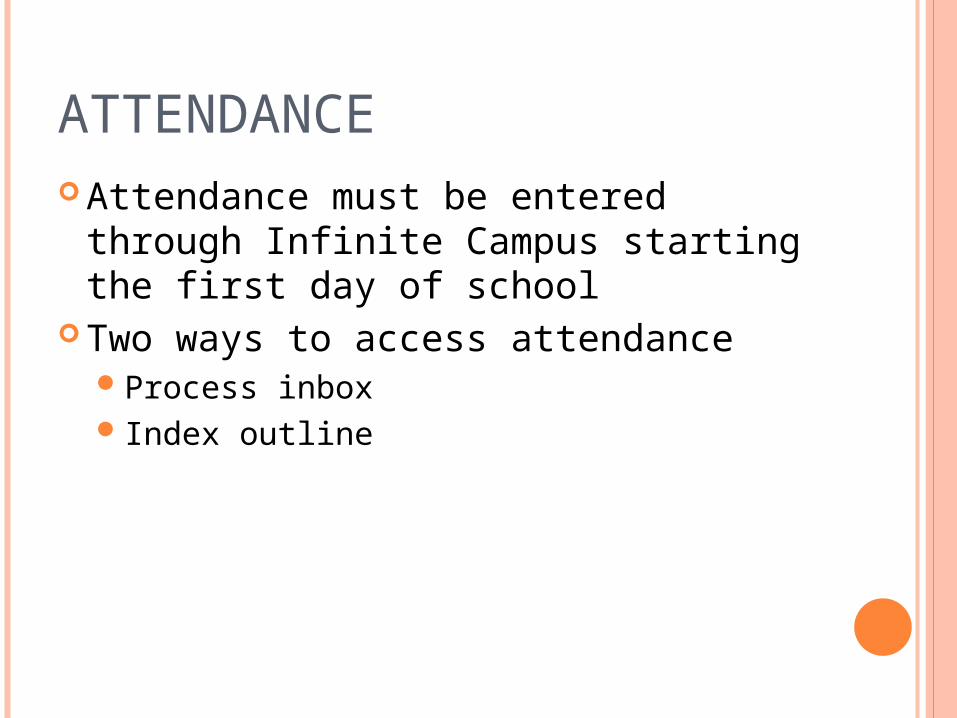
ATTENDANCE Attendance must be entered through
Infinite Campus starting the first day of school
Two ways to access attendanceProcess inbox Index outline

PROCESS INBOX
Click on the link and enter attendance. Reminder will disappear once attendance has been entered.
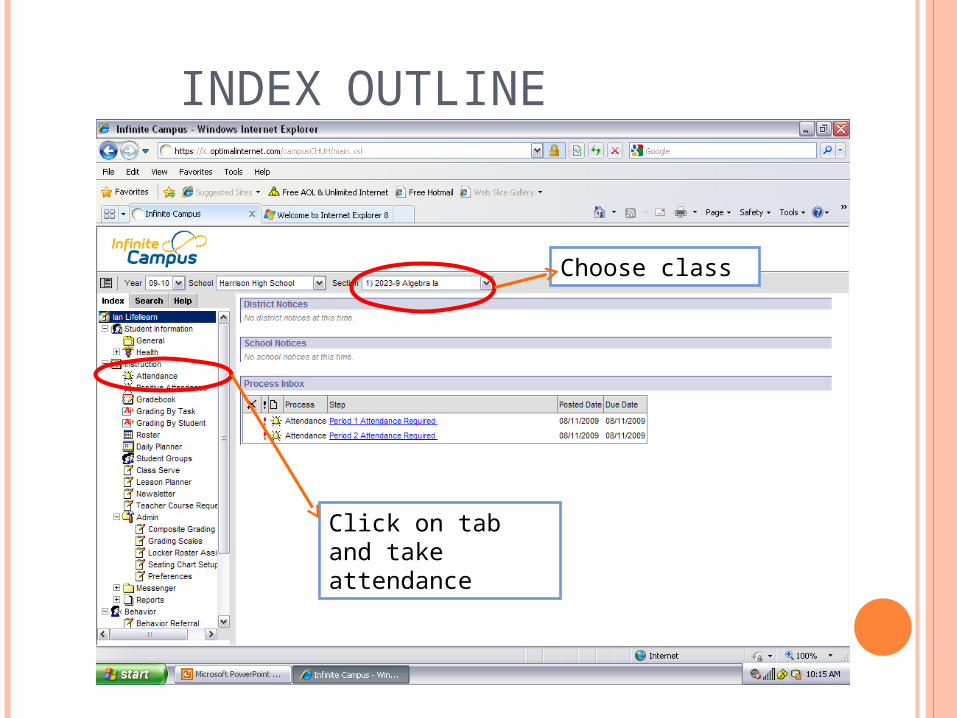
INDEX OUTLINE
Click on tab and take attendance
Choose class
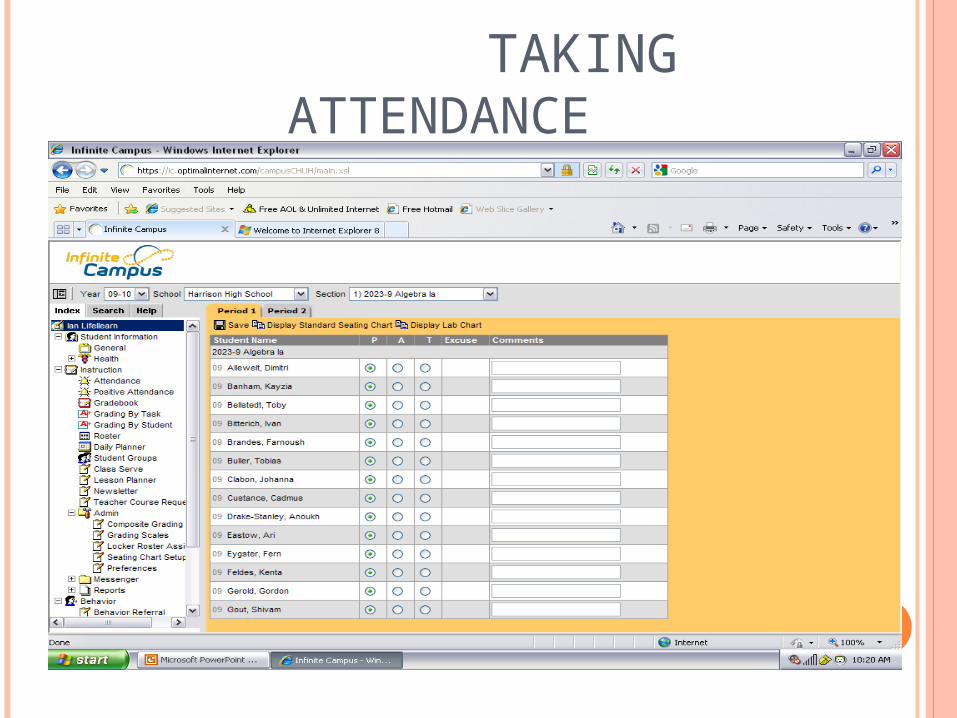
TAKING ATTENDANCE
TAKING ATTENDANCE Similar to Webtools Mark students Absent or Tardy Take attendance even if all students are
present Don’t forget to hit SAVE Attendance is available until midnight each
day Can’t override attendance that has been
entered from the office Substitute- same as Webtools
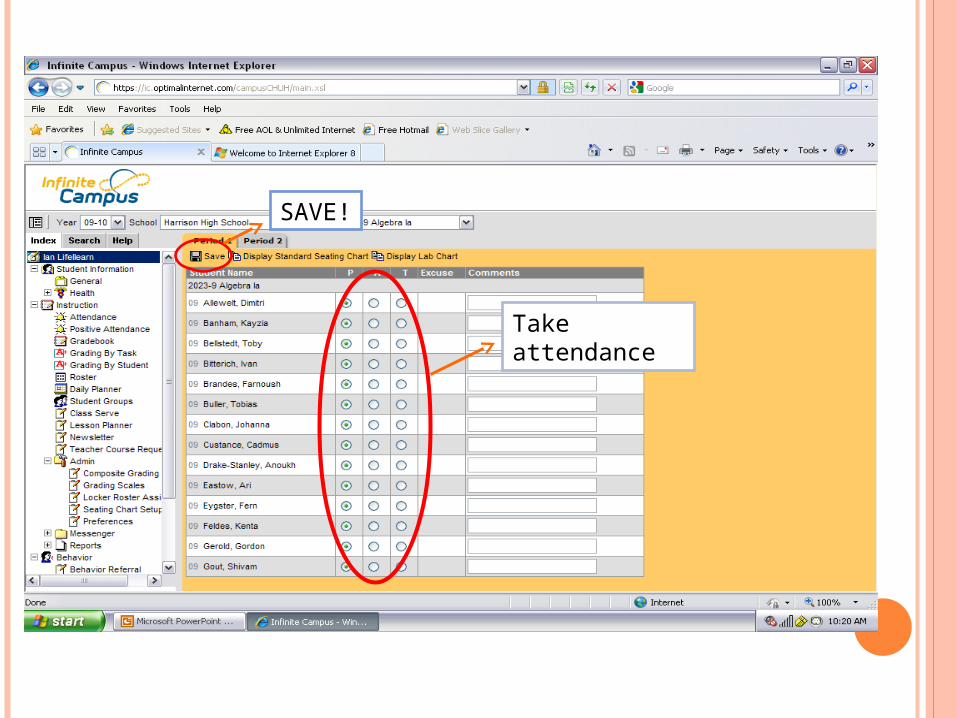
Take attendance
SAVE!
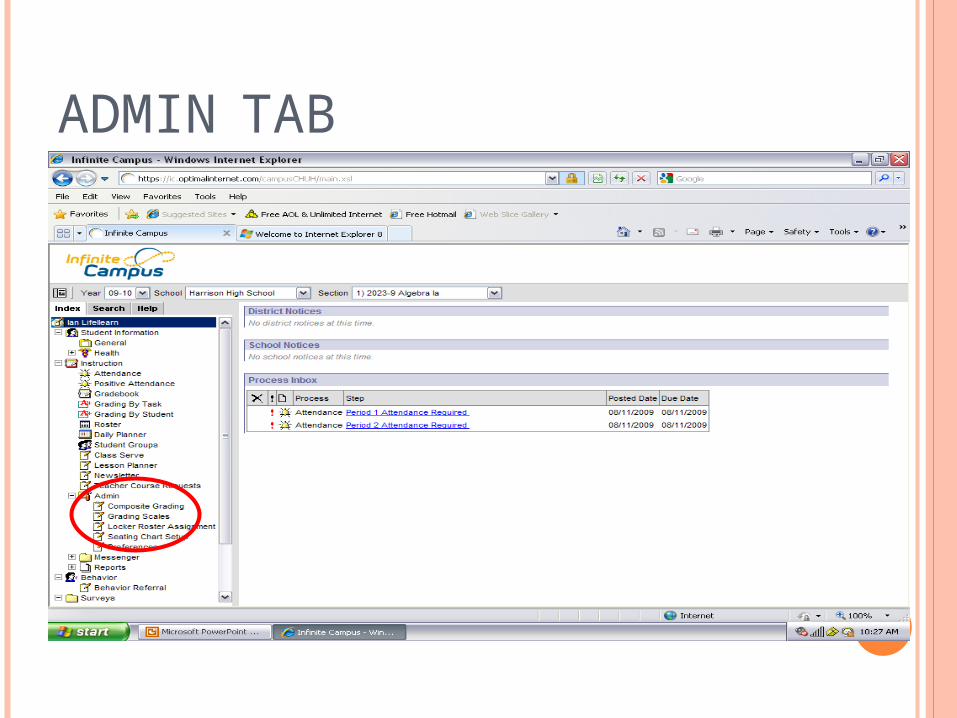
ADMIN TAB
ADMIN TABComposite grading
Set according to district policy, cannot be changed
SEATING CHARTS Click on Seating Chart Set up Enter the dimensions of the classroom Options for assigning seats
Auto fillsDrop down lists Excluding seats

Set dimensions-hit save!
Auto assign students
Assign studentsusing drop down box or exclude seat
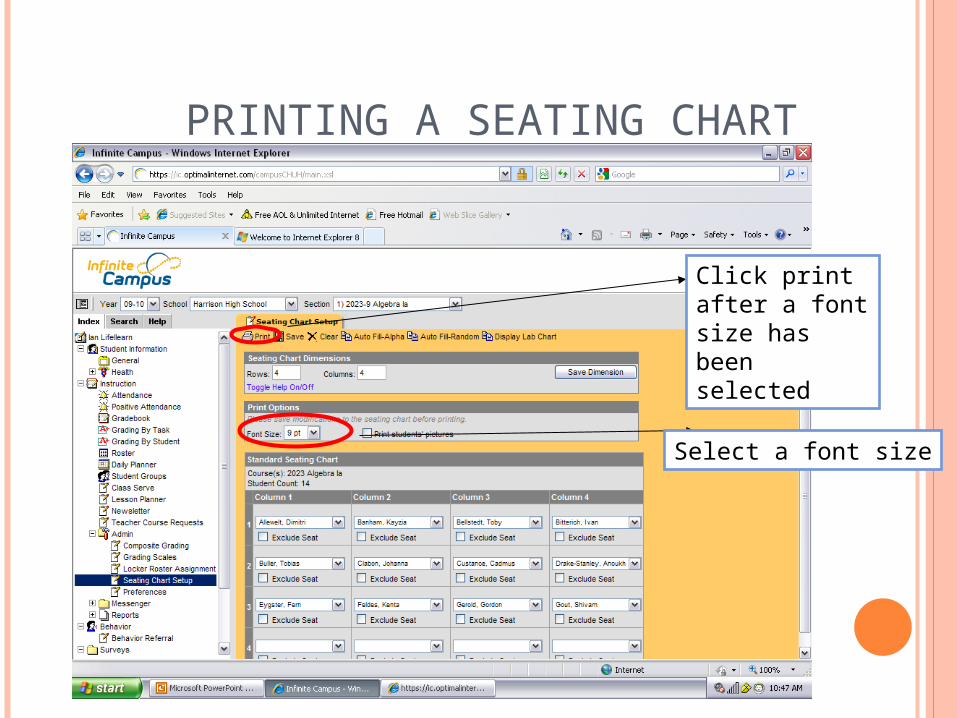
PRINTING A SEATING CHART
Select a font size
Click print after a font size has been selected
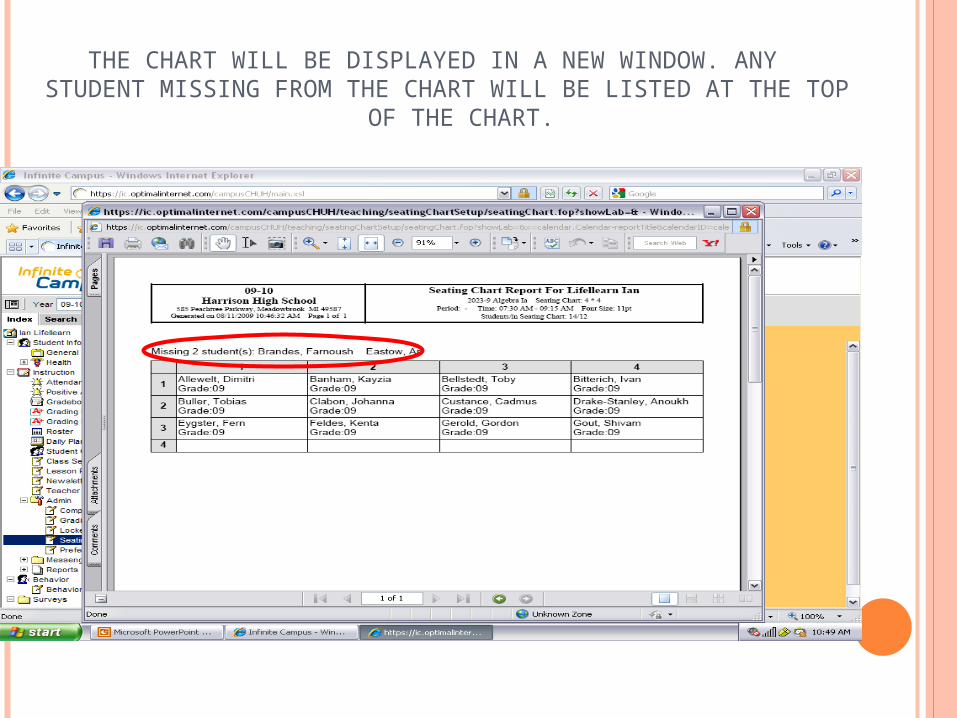
THE CHART WILL BE DISPLAYED IN A NEW WINDOW. ANY STUDENT MISSING FROM THE CHART WILL BE LISTED AT THE TOP
OF THE CHART.
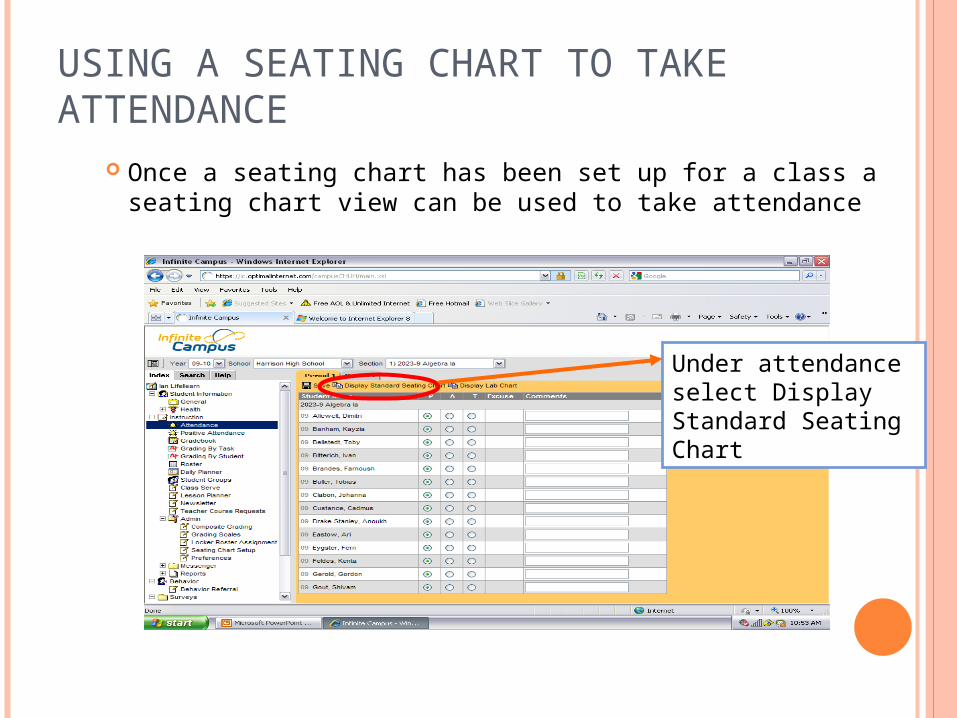
USING A SEATING CHART TO TAKE ATTENDANCE
Once a seating chart has been set up for a class a seating chart view can be used to take attendance
Under attendance select Display Standard Seating Chart

Attendance can be taken using the seating chart view
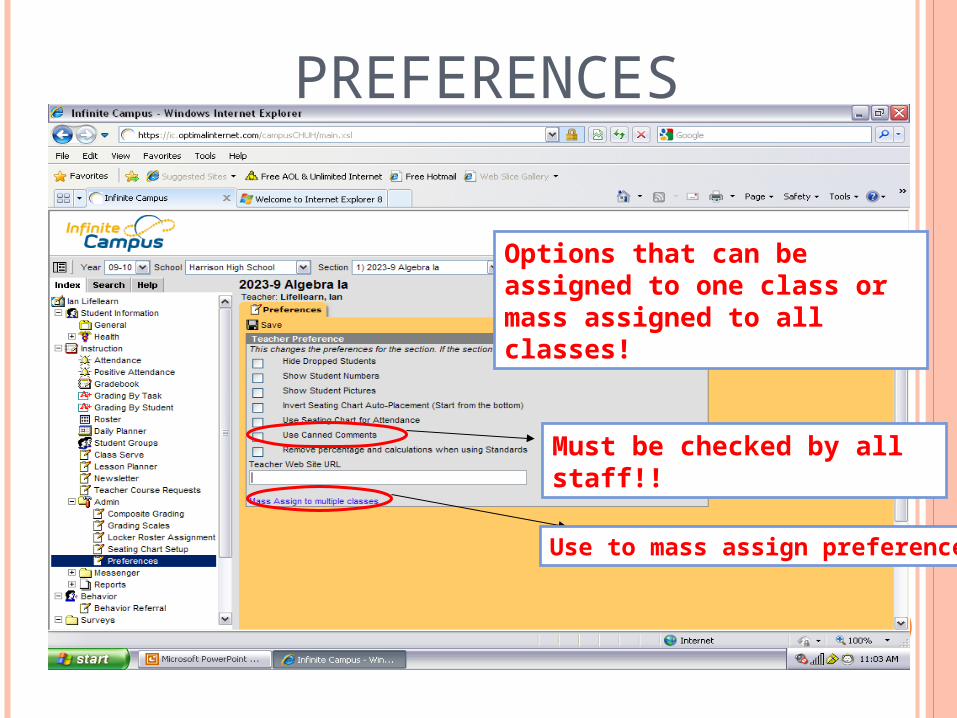
PREFERENCES
Must be checked by all staff!!
Options that can be assigned to one class or mass assigned to all classes!
Use to mass assign preferences

LESSON PLANNER
SETUP
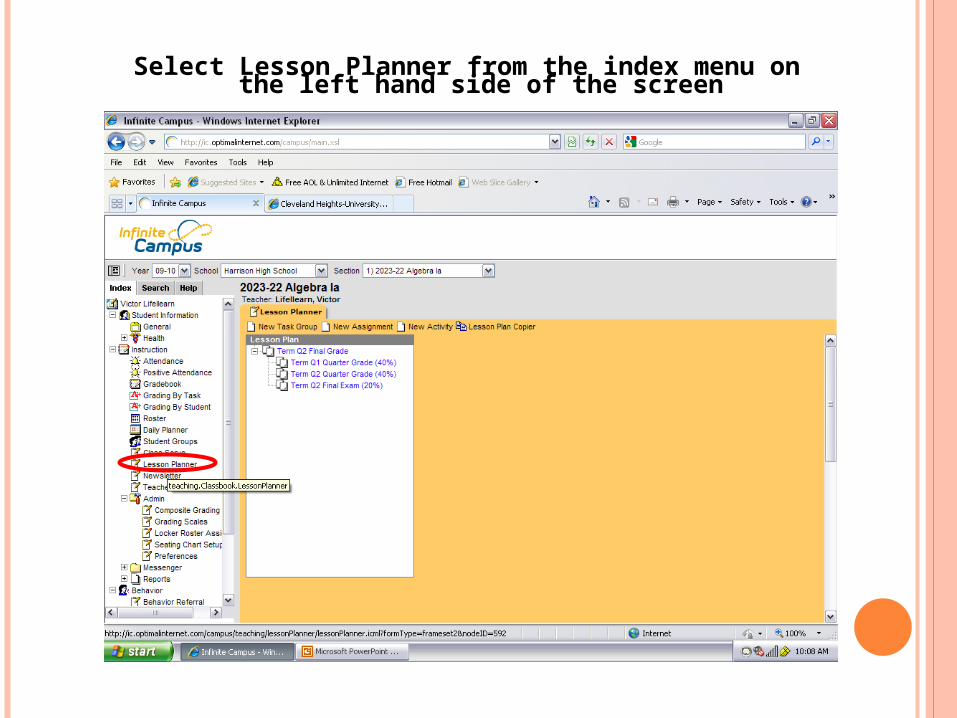
Select Lesson Planner from the index menu on the left hand side of the screen
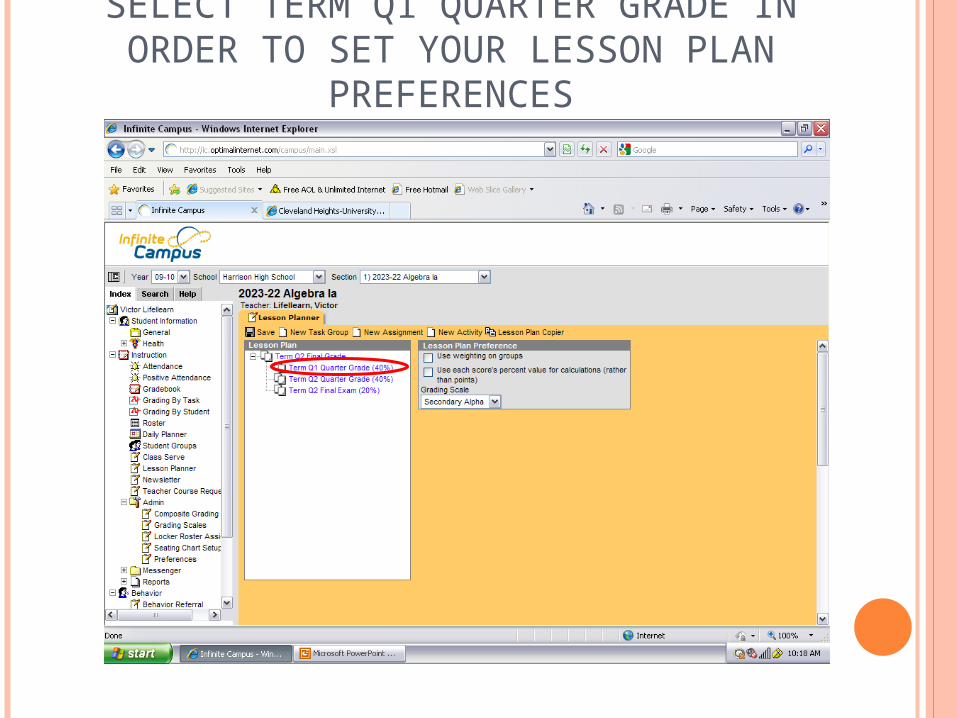
SELECT TERM Q1 QUARTER GRADE IN ORDER TO SET YOUR LESSON PLAN
PREFERENCES
LESSON PLANNER PREFERENCESIn your lesson planner
preferences you have three options:Use weighting on groupsUse each scores percent value for
calculation (rather than points)Grading Scale- this should already
be set to “secondary”
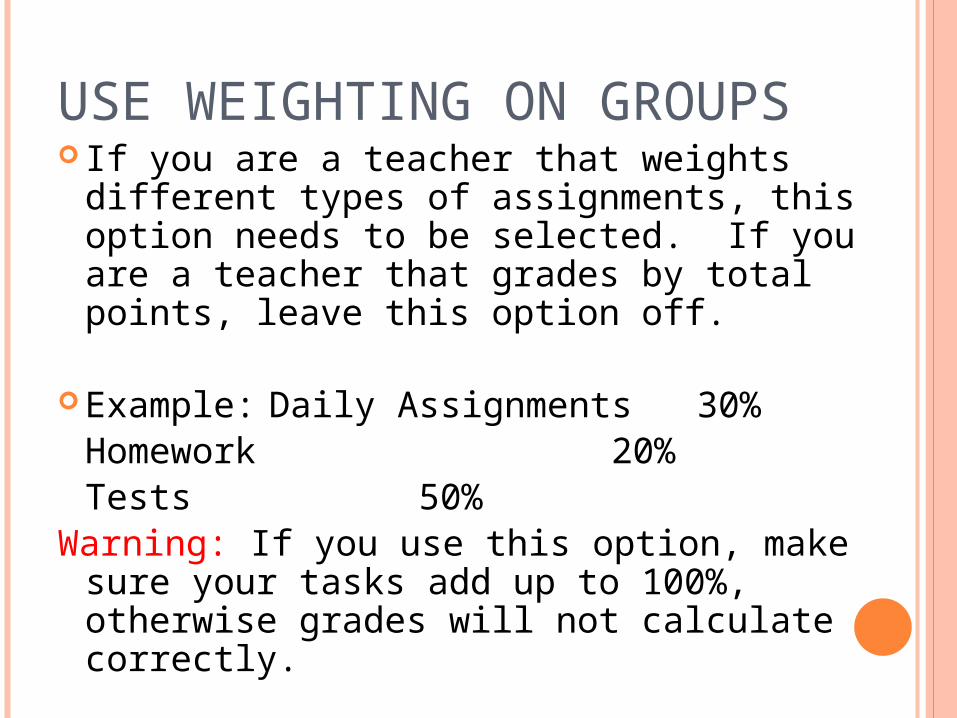
USE WEIGHTING ON GROUPS If you are a teacher that weights different
types of assignments, this option needs to be selected. If you are a teacher that grades by total points, leave this option off.
Example: Daily Assignments 30%Homework
20%Tests 50%
Warning: If you use this option, make sure your tasks add up to 100%, otherwise grades will not calculate correctly.
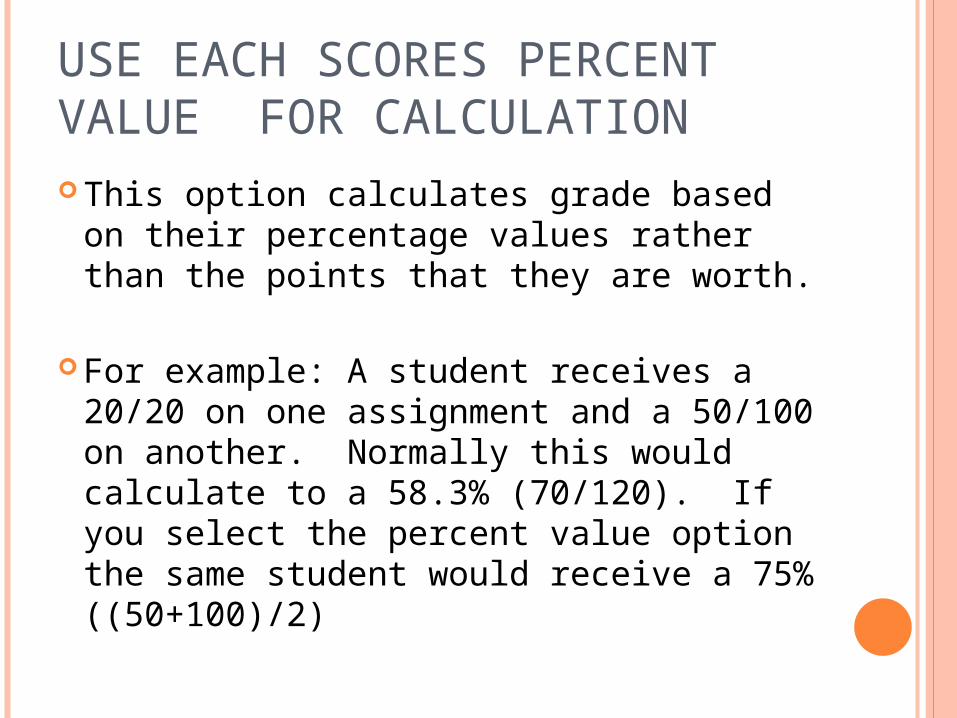
USE EACH SCORES PERCENT VALUE FOR CALCULATION This option calculates grade based on
their percentage values rather than the points that they are worth.
For example: A student receives a 20/20 on one assignment and a 50/100 on another. Normally this would calculate to a 58.3% (70/120). If you select the percent value option the same student would receive a 75% ((50+100)/2)
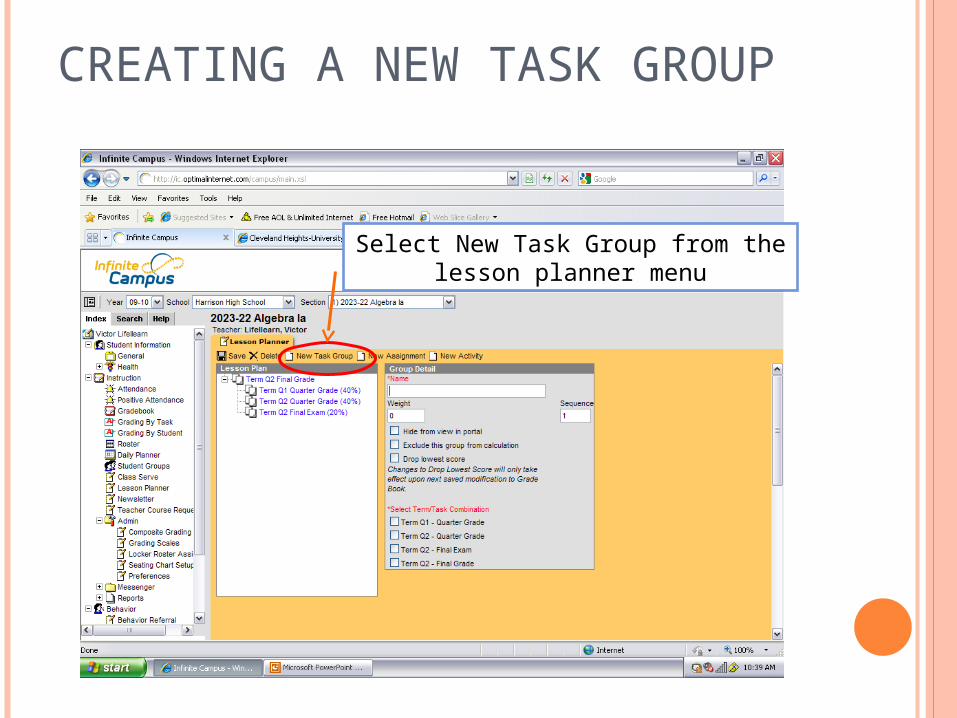
CREATING A NEW TASK GROUP
Select New Task Group from the lesson planner menu
CREATING A NEW TASK GROUP Create a name for your task group. Example:
Daily Work If you selected “Use weighting on groups”,
insert a percentage that you would like to assign to that group. Example 30.
Select which term this group should be a part of.
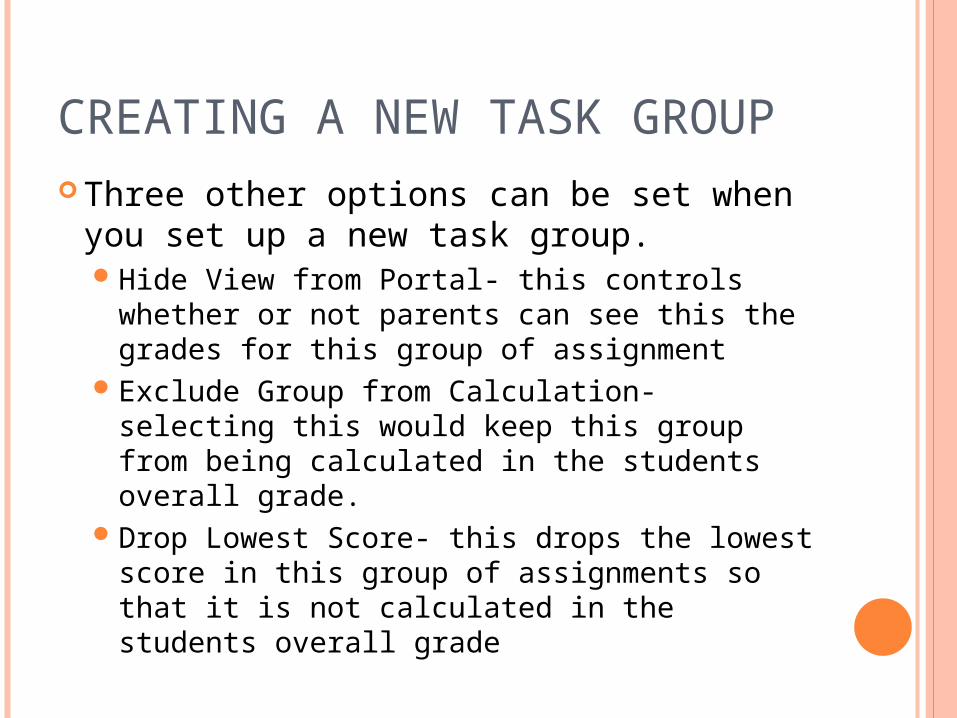
CREATING A NEW TASK GROUP Three other options can be set when
you set up a new task group.Hide View from Portal- this controls
whether or not parents can see this the grades for this group of assignment
Exclude Group from Calculation- selecting this would keep this group from being calculated in the students overall grade.
Drop Lowest Score- this drops the lowest score in this group of assignments so that it is not calculated in the students overall grade
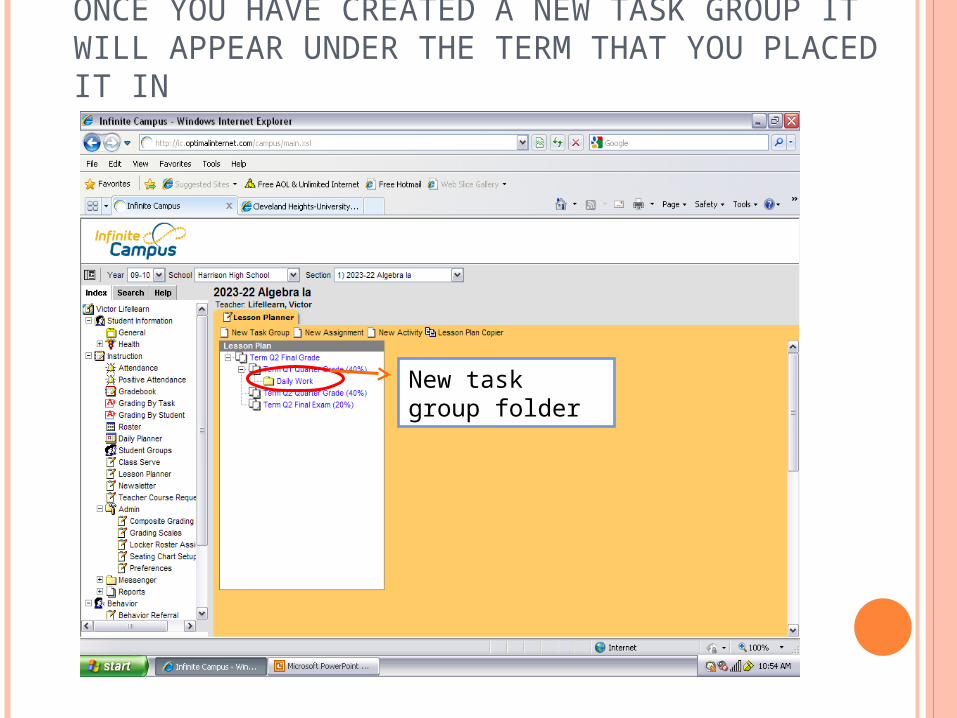
ONCE YOU HAVE CREATED A NEW TASK GROUP IT WILL APPEAR UNDER THE TERM THAT YOU PLACED IT IN
New task group folder
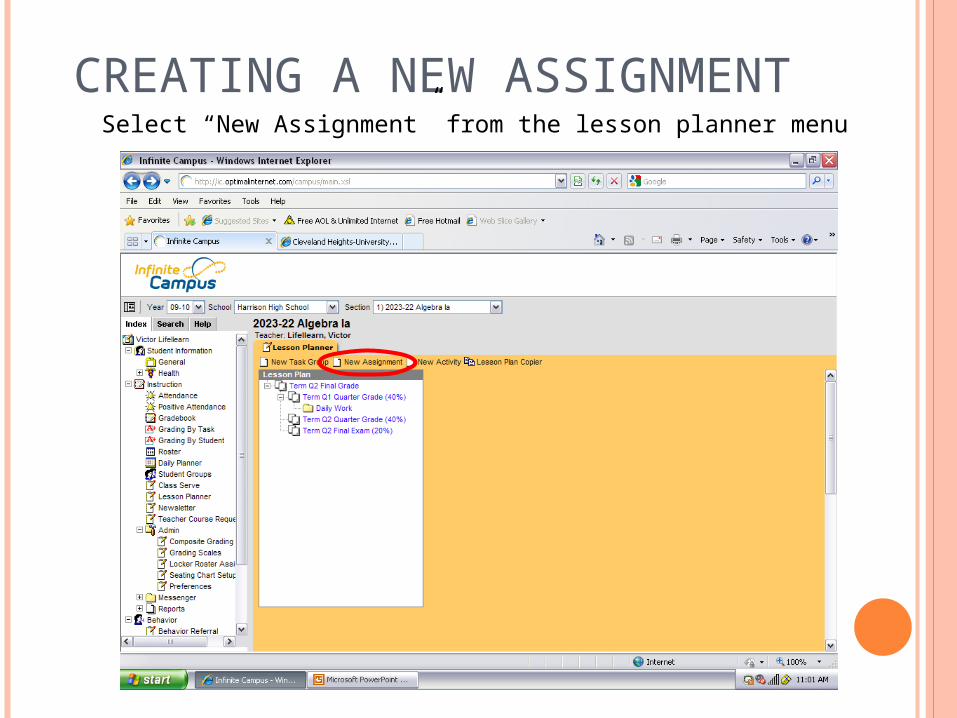
CREATING A NEW ASSIGNMENTSelect “New Assignment” from the lesson planner menu
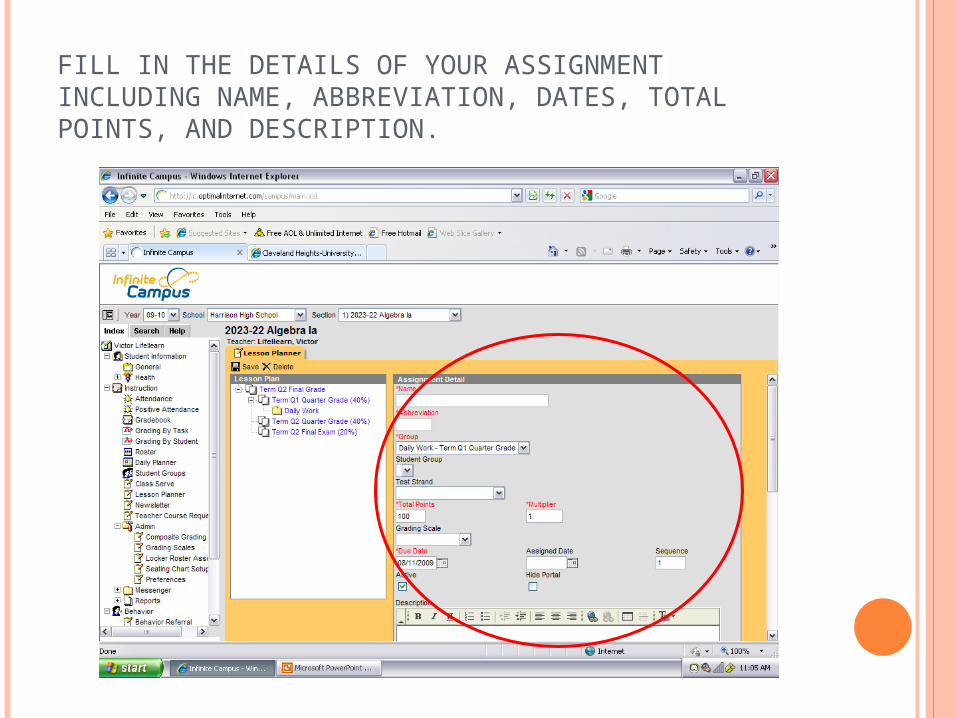
FILL IN THE DETAILS OF YOUR ASSIGNMENT INCLUDING NAME, ABBREVIATION, DATES, TOTAL POINTS, AND DESCRIPTION.
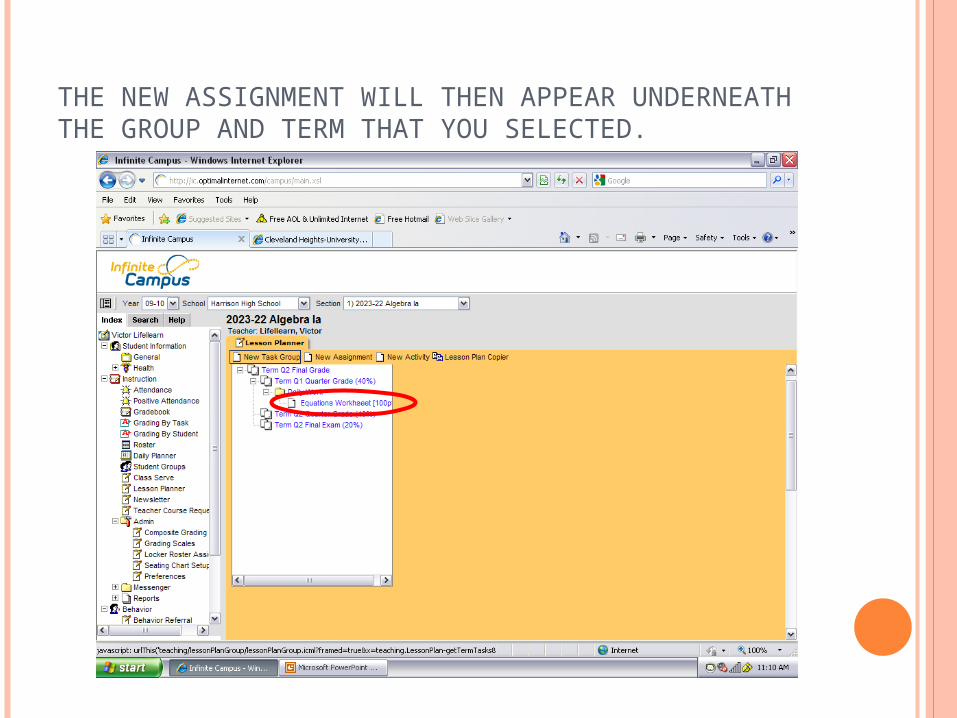
THE NEW ASSIGNMENT WILL THEN APPEAR UNDERNEATH THE GROUP AND TERM THAT YOU SELECTED.
CREATING STUDENT GROUPS This option can be used in order to
give specific assignments to a particular group of students in one class.
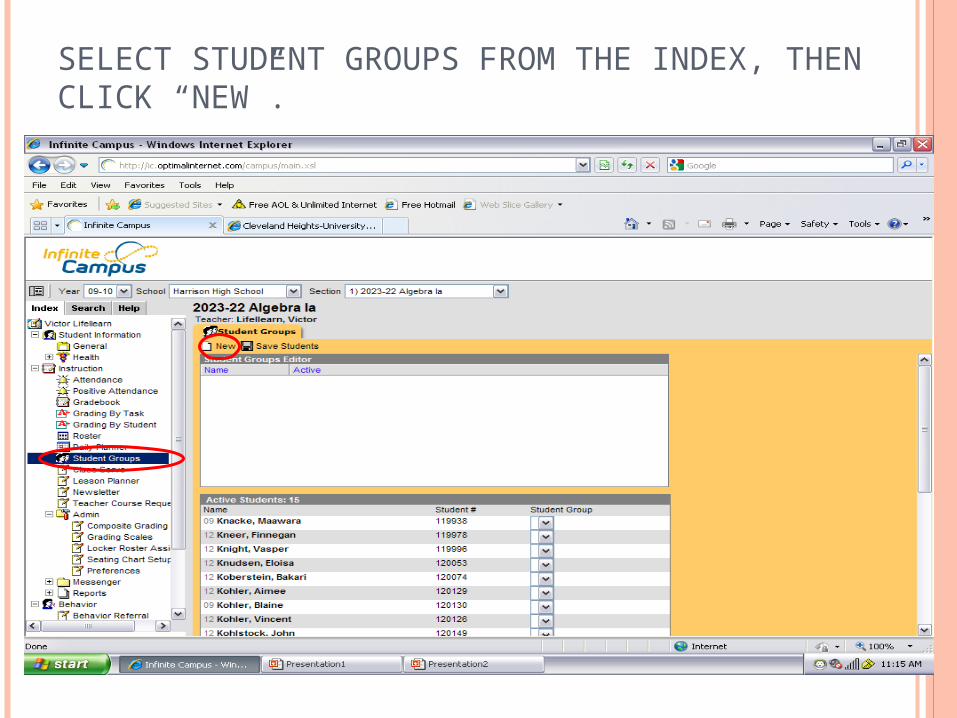
SELECT STUDENT GROUPS FROM THE INDEX, THEN CLICK “NEW”.
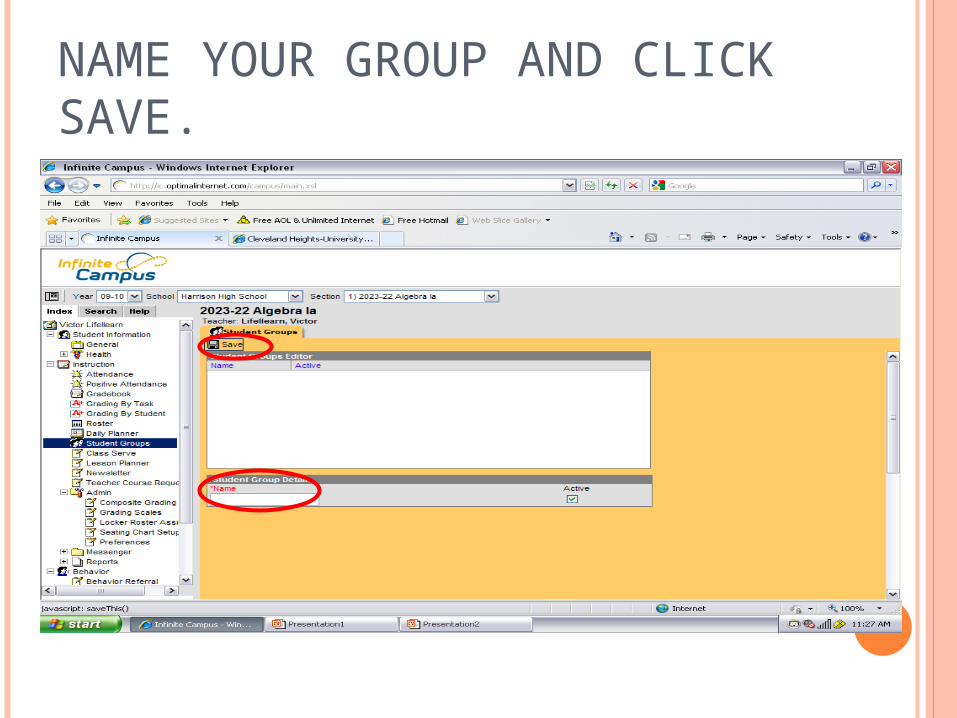
NAME YOUR GROUP AND CLICK SAVE.
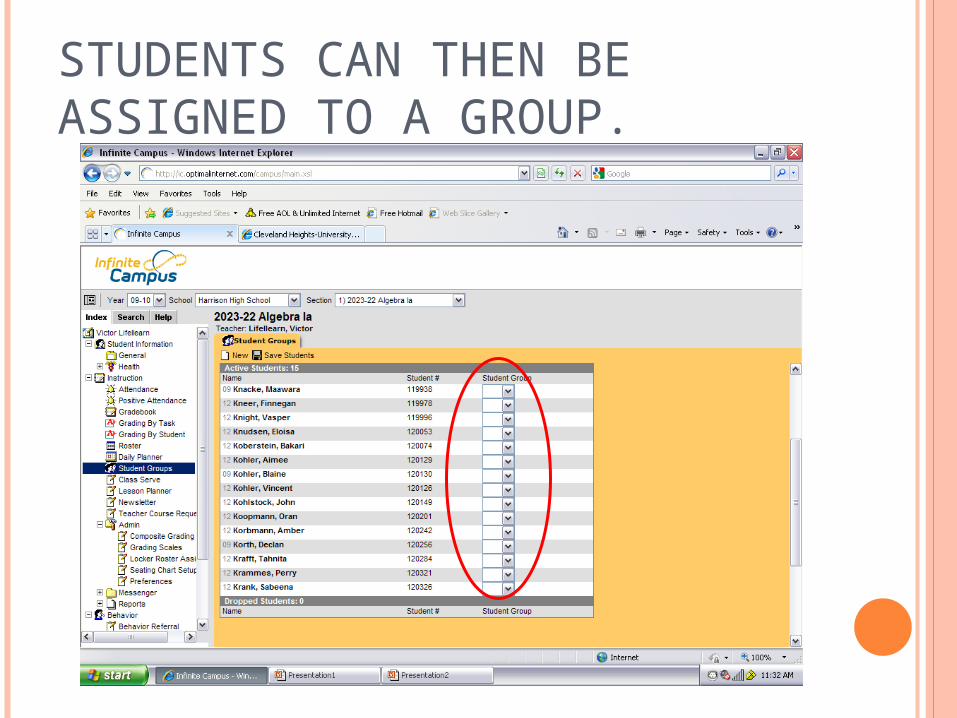
STUDENTS CAN THEN BE ASSIGNED TO A GROUP.
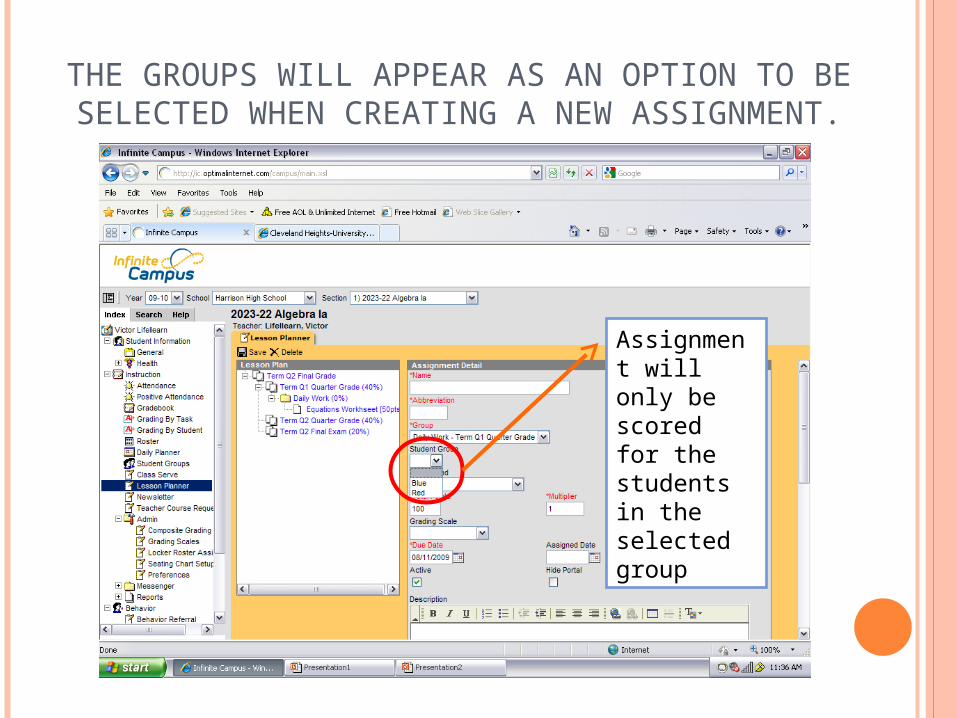
THE GROUPS WILL APPEAR AS AN OPTION TO BE SELECTED WHEN CREATING A NEW ASSIGNMENT.
Assignment will only be scored for the students in the selected group

SETTING UP & USING THE GRADE
BOOK
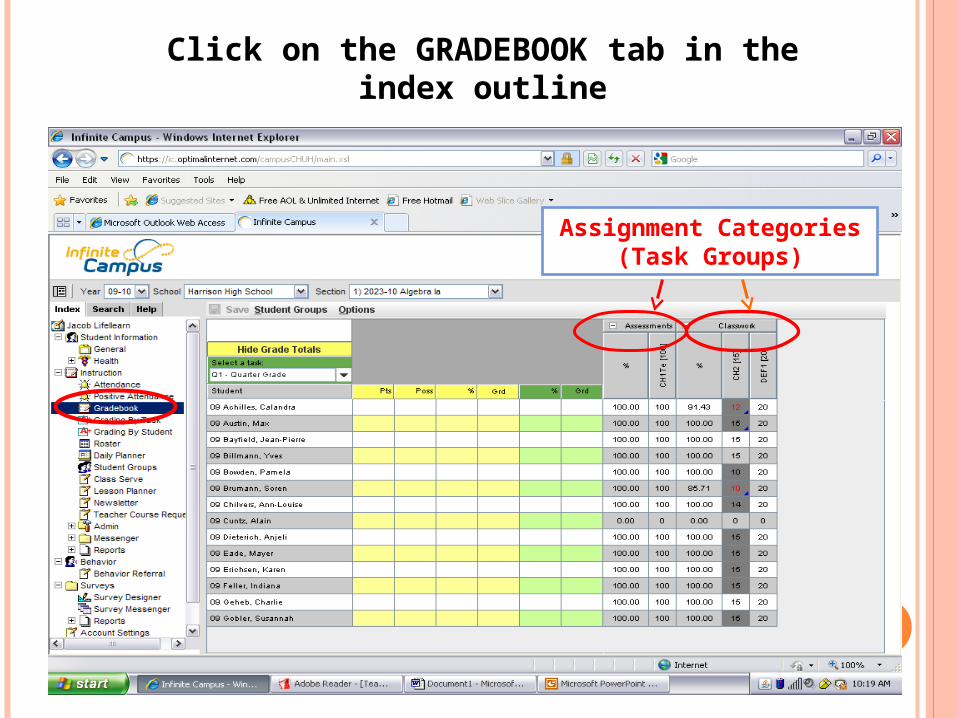
Click on the GRADEBOOK tab in the index outline
Assignment Categories (Task Groups)
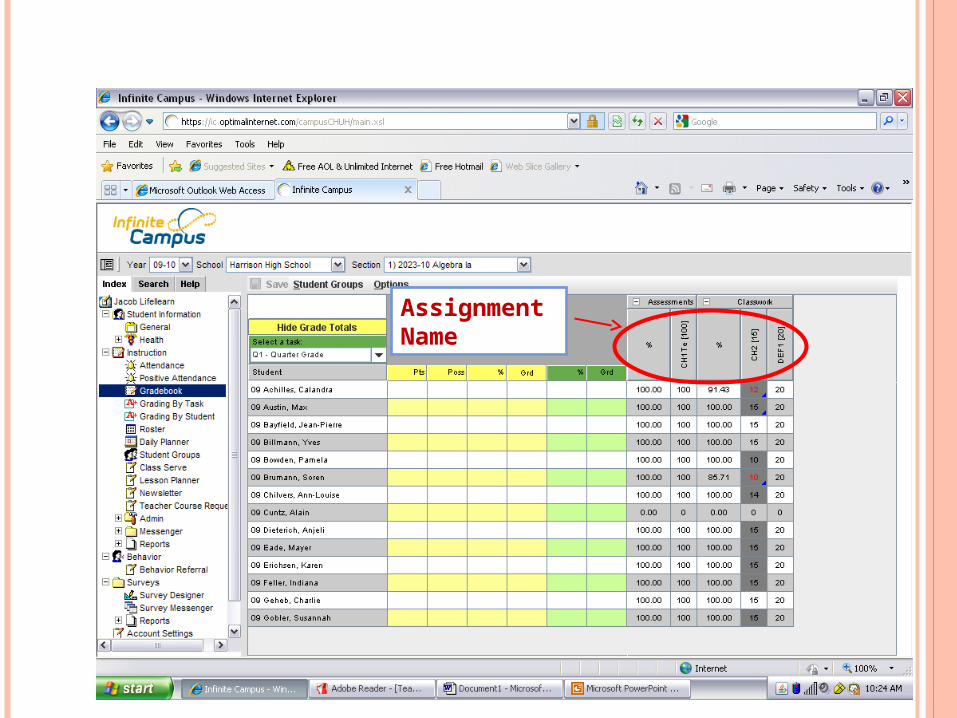
Assignment Name
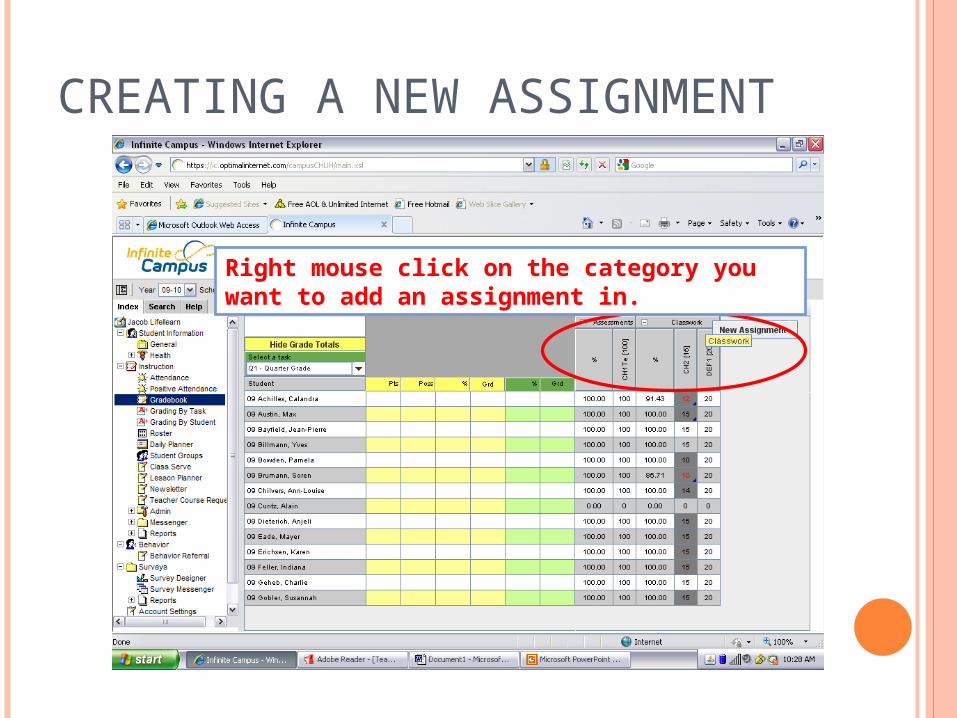
CREATING A NEW ASSIGNMENT
Right mouse click on the category you want to add an assignment in.
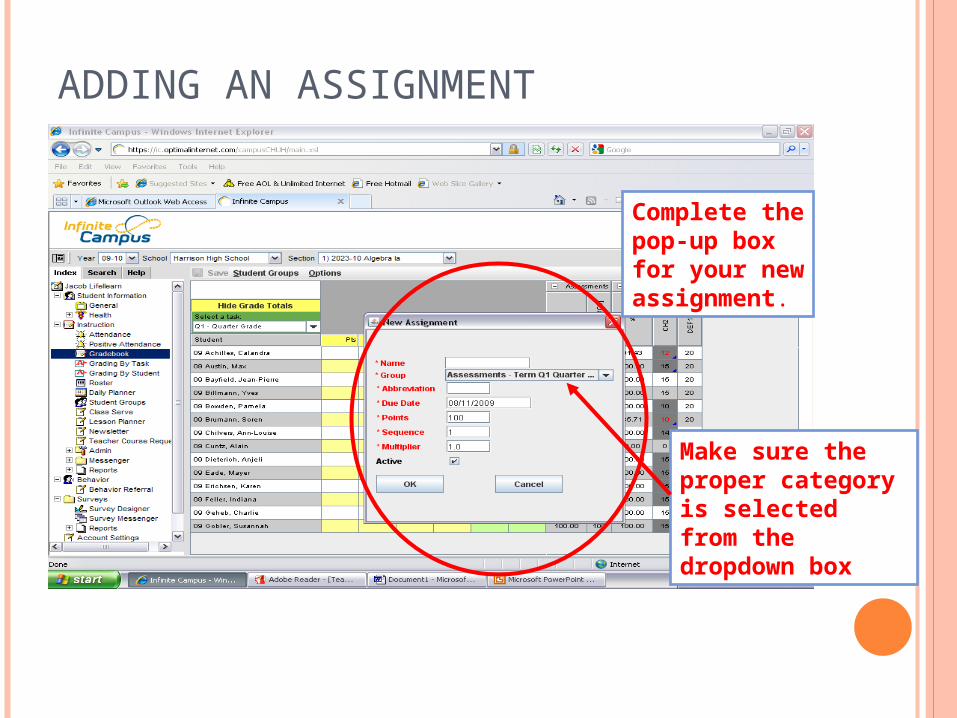
ADDING AN ASSIGNMENT
Complete the pop-up box for your new assignment.
Make sure the proper category is selected from the dropdown box
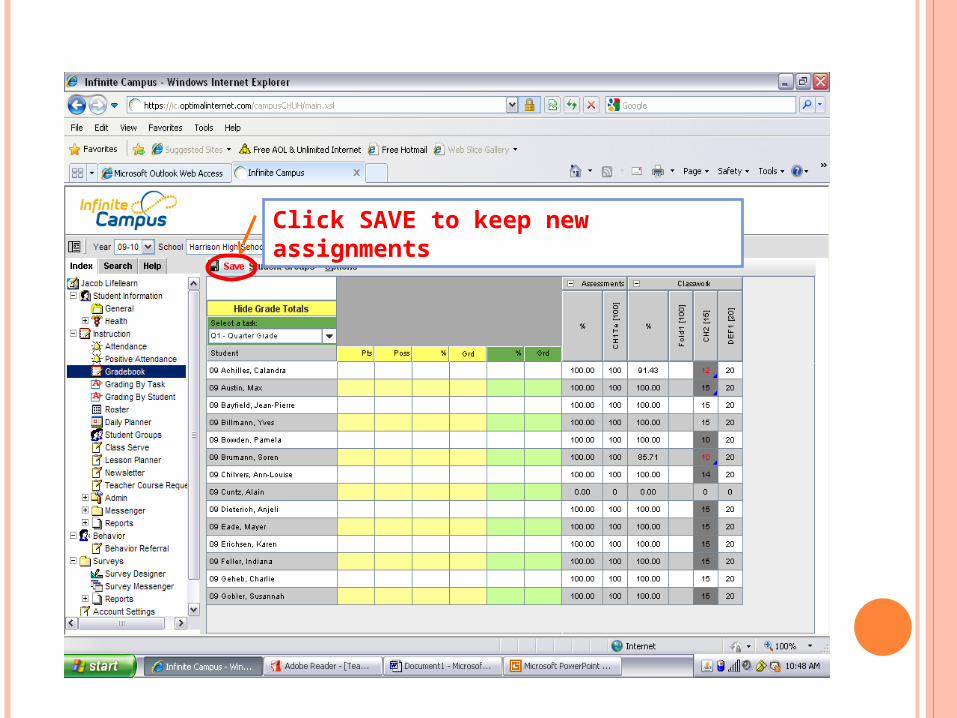
Click SAVE to keep new assignments
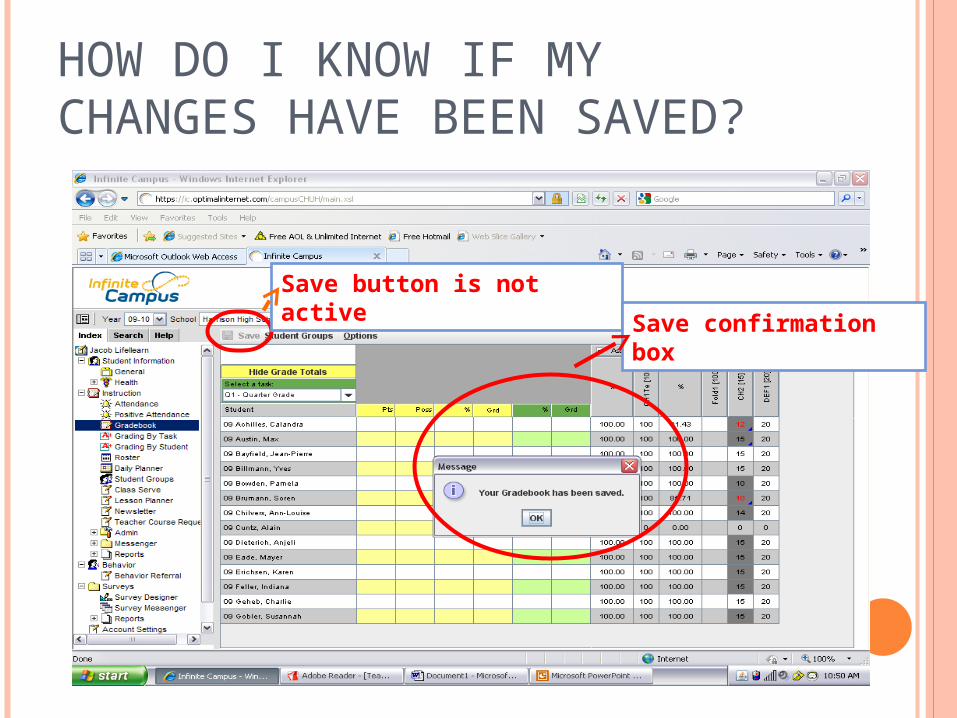
HOW DO I KNOW IF MY CHANGES HAVE BEEN SAVED?
Save button is not active Save confirmation
box
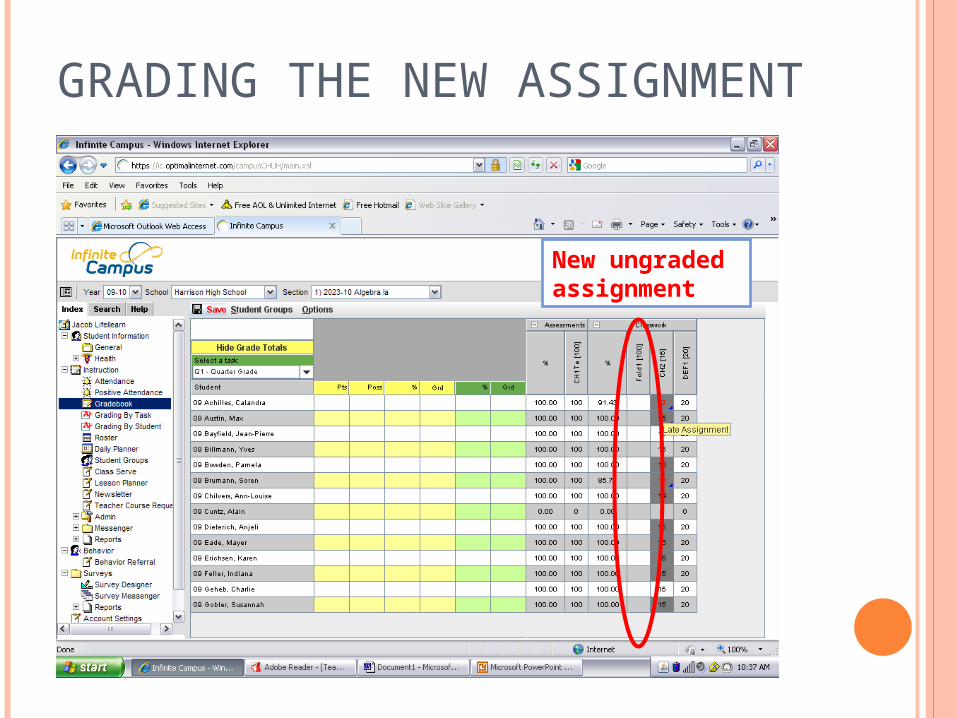
GRADING THE NEW ASSIGNMENT
New ungraded assignment
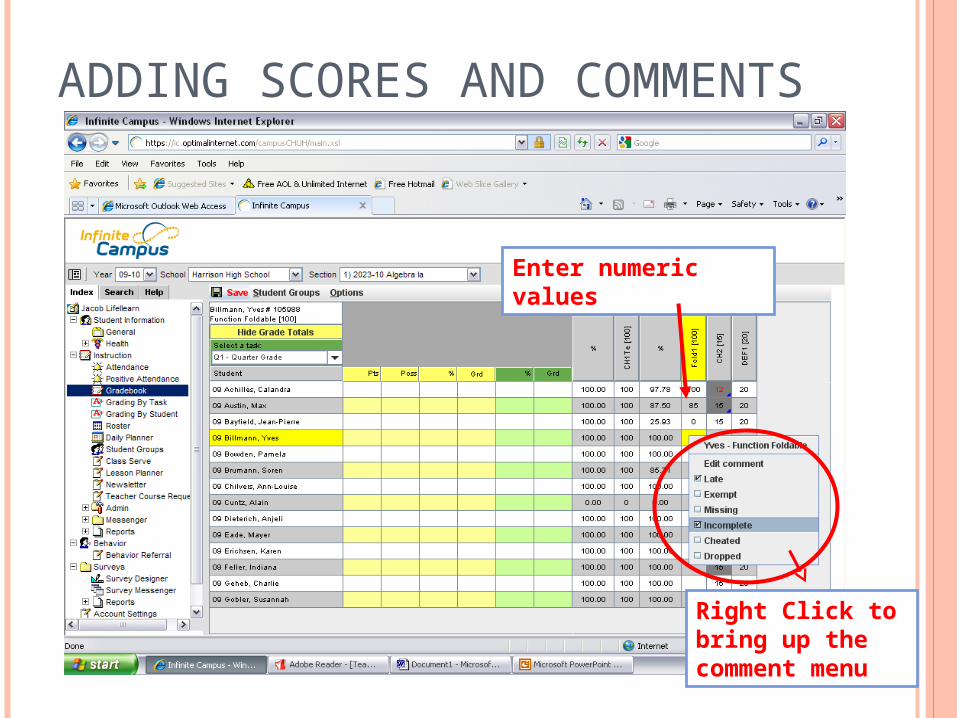
ADDING SCORES AND COMMENTS
Right Click to bring up the comment menu
Enter numeric values
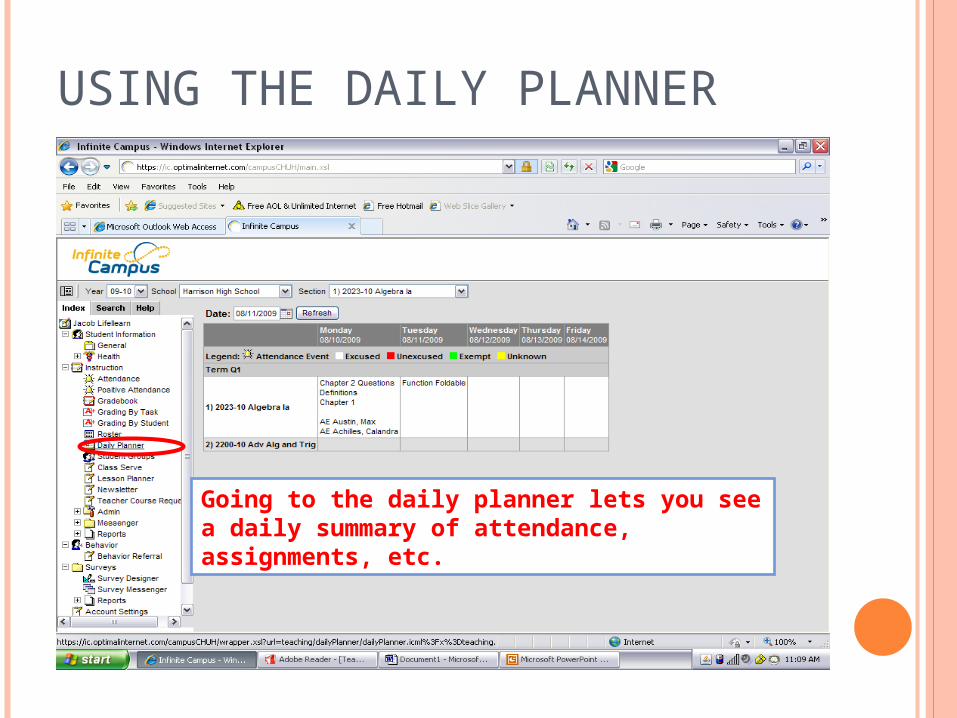
USING THE DAILY PLANNER
Going to the daily planner lets you see a daily summary of attendance, assignments, etc.
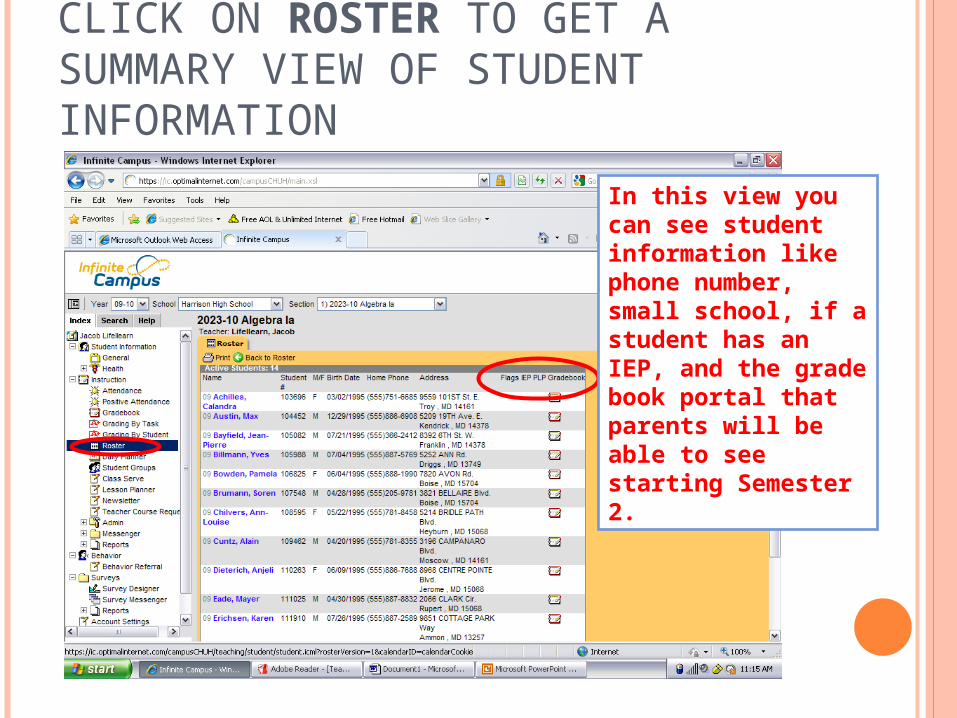
CLICK ON ROSTER TO GET A SUMMARY VIEW OF STUDENT INFORMATION
In this view you can see student information like phone number, small school, if a student has an IEP, and the grade book portal that parents will be able to see starting Semester 2.