Embed Size (px)
Citation preview

Install Fedora 8 (Werewolf) on Windows XP with Qemu.
The Complete Tutorial
1. FETCH AND INSTALL QEMU
Qemu home site is: http://fabrice.bellard.free.fr/qemu/
Last version on windows as of today is qemu-0.9.0-windows: http://www.h7.dion.ne.jp/~qemu-win/
2. FETCH THE BOOT.ISO FEDORA 8 IMAGE:
A complete list of mirrors for downloading Fedora 8 can be found here: http://mirrors.fedoraproject.org/
Select the boot.iso file under i386/os/images/.
For example:
http://ftp.funet.fi/pub/mirrors/fedora.redhat.com/pub/fedora/linux/releases/8/Fedora/i386/os/images/boo
t.iso
3. CREATE A BLANK VIRTUAL DISK FOR FEDORA 8
In a windows command windows use the following command:
qemu-img create myimage.img mysize
For example for a 10 G disk image:
..\bin\qemu-img.exe create fedora8.img 10G
Formating 'fedora8.img', fmt=raw, size=10485760 kB
4. USE NETINSTALL WITH THE BOOT.ISO IMAGE
4.1 START QEMU WITH THIS IMAGE:
qemu.exe -L Bios -m 256 -hda Images\fedora8.img -soundhw all -localtime -M
pc -net nic,model=ne2k_pci -net user -no-acpi –boot d –cdrom Images\boot-
F8.iso
Option description:
-L Bios Local path of all BIOS relatively to the Qeme.exe
file
-m 256 Memory is set to 256 Mbytes
-hda Images\fedora8.img First hard drive is the image created in step above
(warning: since Fedora 7 all drives – including ATA
– are detected as SCSI. Here the disk will be sda
in Fedora)
-net nic,model=ne2k_pci -
net user Network card is a NE2000-PCI in Qemu user mode

network
–boot d –cdrom
Images\boot-F8.iso Boot from CDROM (d) and use the downloaded iso
file as the cdrom image
The cdrom image should start automatically:
Choose “Install or upgrade an existing system”
4.2 ANACONDA INSTALLER
The anaconda installer is then starting:
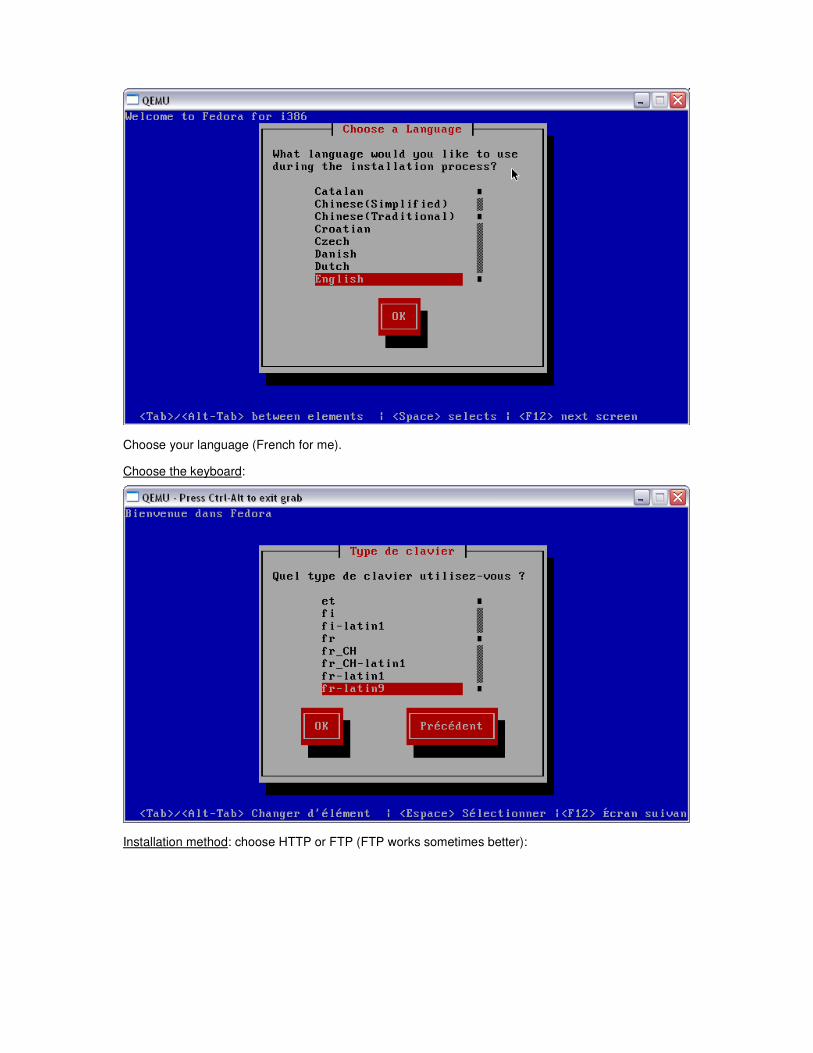
Choose your language (French for me).
Choose the keyboard:
Installation method: choose HTTP or FTP (FTP works sometimes better):

TCP/IP configuration: remove IPv6 and choose “Dynamic IP Configuration” DHCP as this will be
provided to the running anaconda by Qemu (See “3.7.3 Using the user mode network stack“ from the
Qemu documentation):
HTTP Configuration: select the source web site (for example ftp.funet.fi) and the complete path up to
“/os/”.

The installer is now fetching .img files from the selected web site (Alt-F3: switches to the debug
screen):
Now it’s a quite long process and every error from now on leads to a complete crash and you have to
restart from point 4.1.
Biggest probability is a blocked stage2.img file. Here it’s working well:

4.3 ANACONDA INSTALLER: GRAPHICAL INSTALLATION
4.3.1 Start
After this point the graphical (X11 version) version of anaconda is starting:

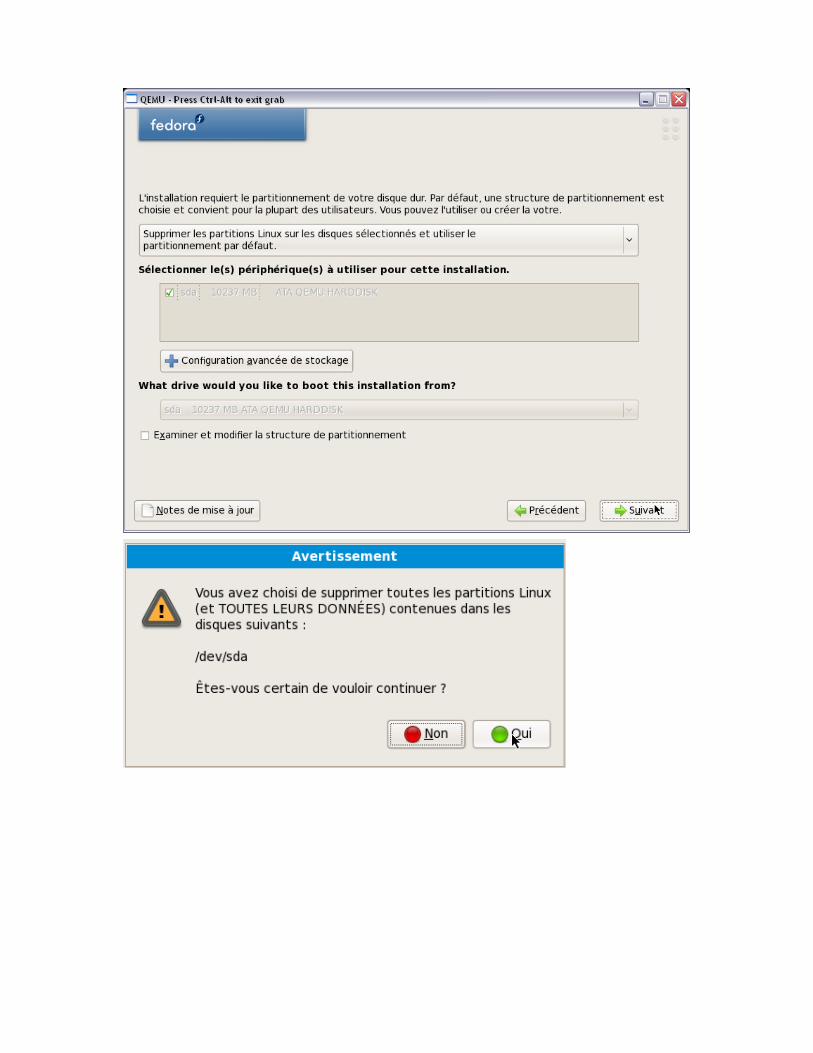
4.3.2 Format disk
The Qemu disk image is detected and formatting is needed, click Yes or Next in the following screens:

Small memory (remember that Qemu was launched with 256 Mb only) detected and request for
enabling partition table and swap right now:
4.3.3 Network setting
All default values are OK for Qemu.
4.3.4 Time setting
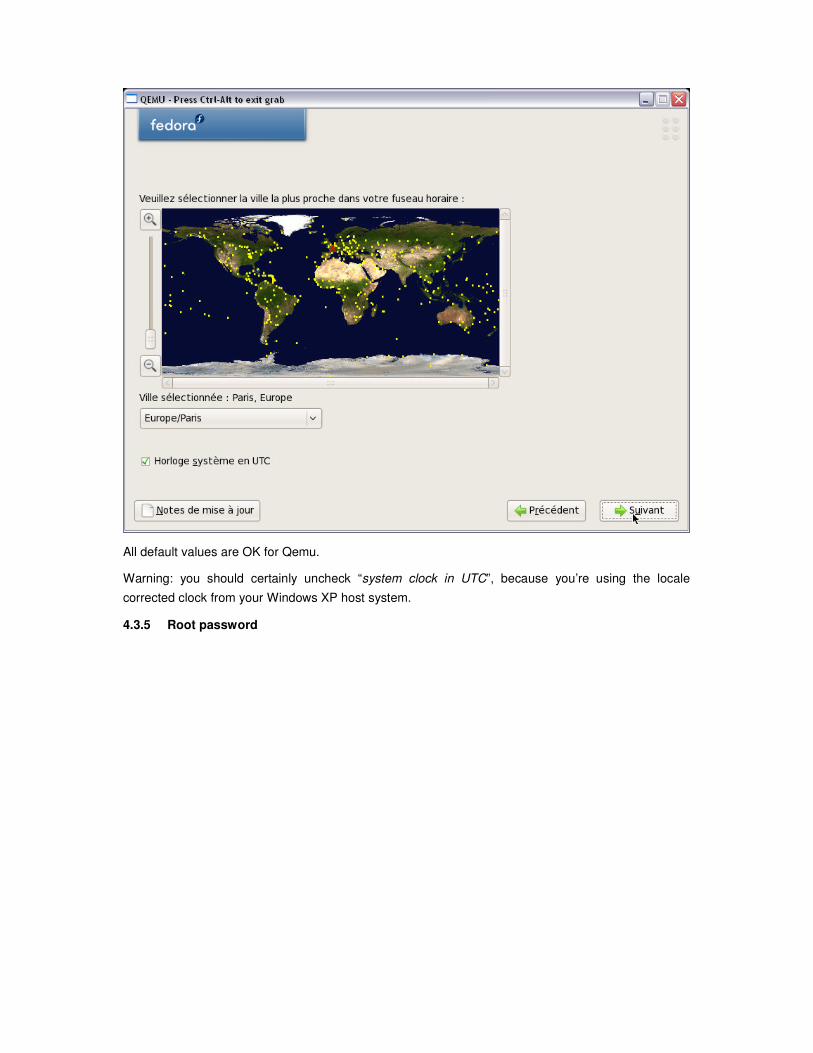
All default values are OK for Qemu.
Warning: you should certainly uncheck “system clock in UTC”, because you’re using the locale
corrected clock from your Windows XP host system.
4.3.5 Root password
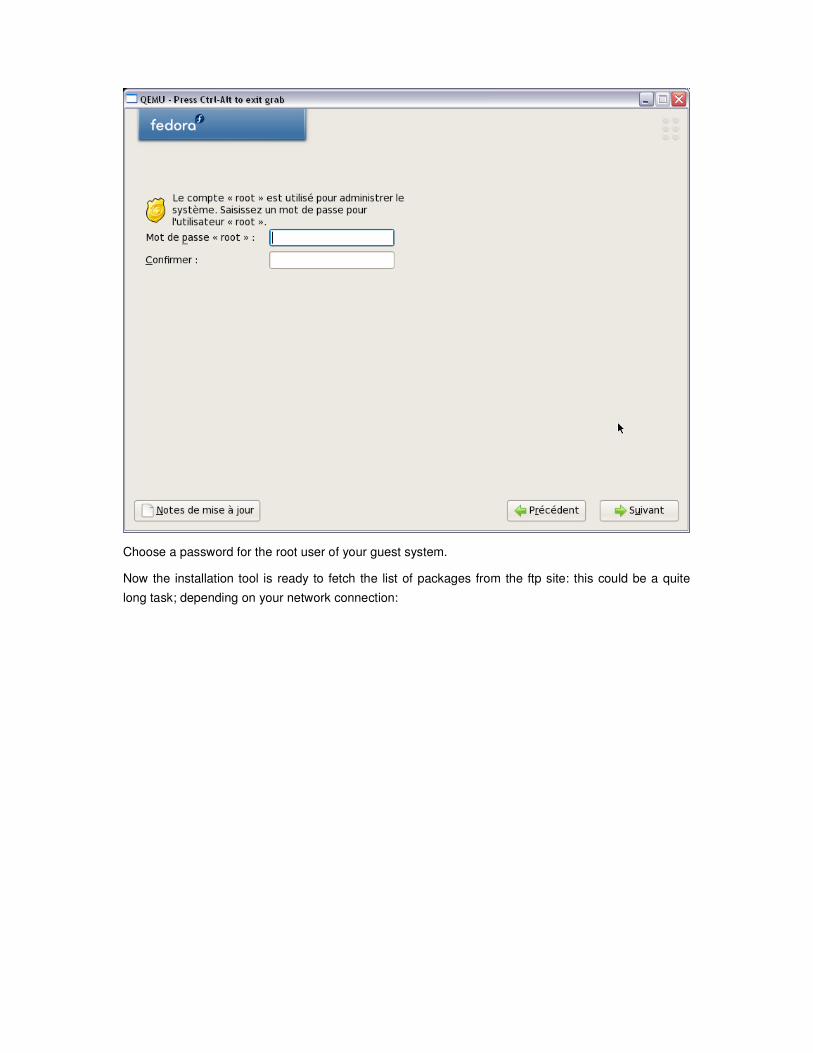
Choose a password for the root user of your guest system.
Now the installation tool is ready to fetch the list of packages from the ftp site: this could be a quite
long task; depending on your network connection:
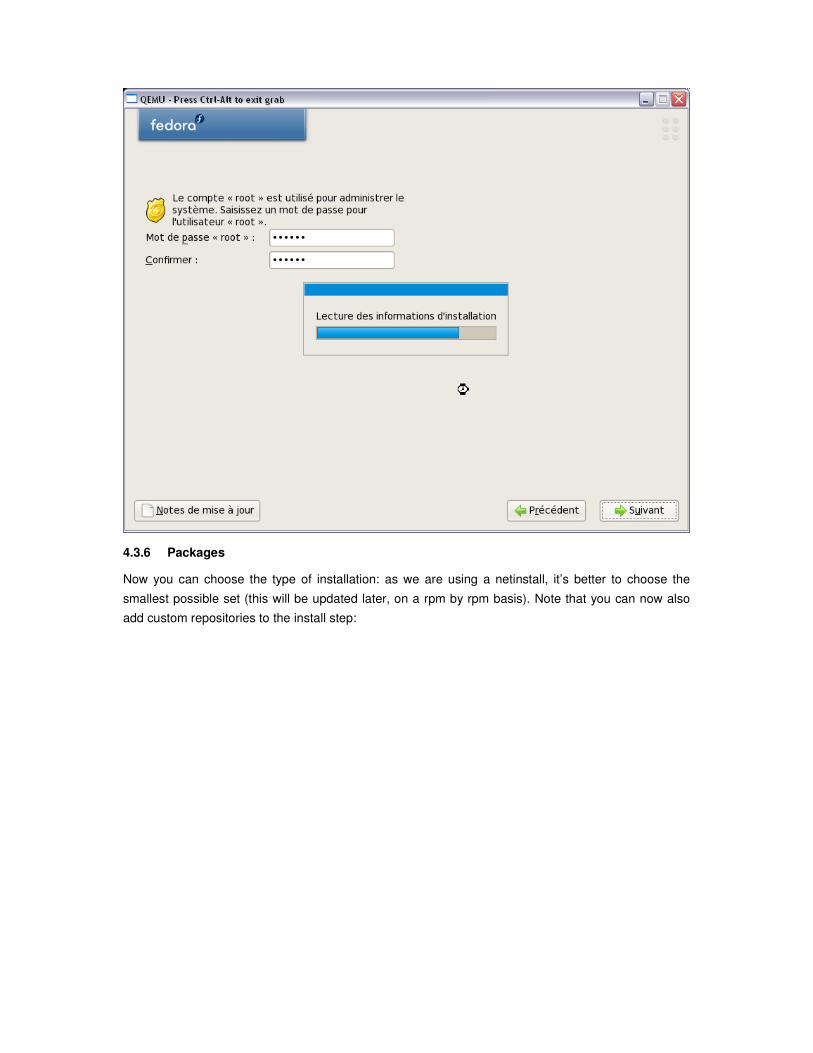
4.3.6 Packages
Now you can choose the type of installation: as we are using a netinstall, it’s better to choose the
smallest possible set (this will be updated later, on a rpm by rpm basis). Note that you can now also
add custom repositories to the install step:

Uncheck all “supplementary tasks” and select custom installation now (this will be longer to setup, but
the download time will be reduced) and proceed with Next.

For all categories, remove what you do not need for the base install: no devel packages, no office
tools, no server tools, and so on. Carefully review each category and click the “Optional Packages”
button to review the detailed lists. When done, proceed with “Next” until requested to start the “real”
installation:

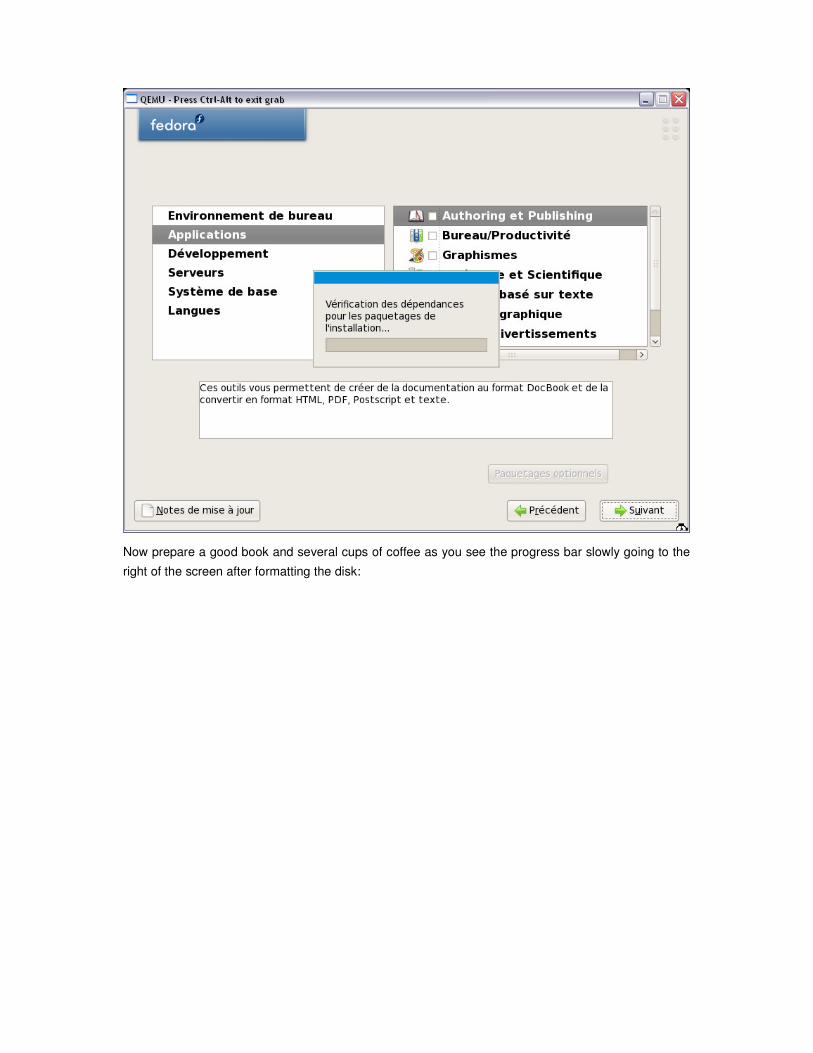
Now prepare a good book and several cups of coffee as you see the progress bar slowly going to the
right of the screen after formatting the disk:

After up to several hours (this was my case !) you can restart the freshly installed guest Fedora 8:
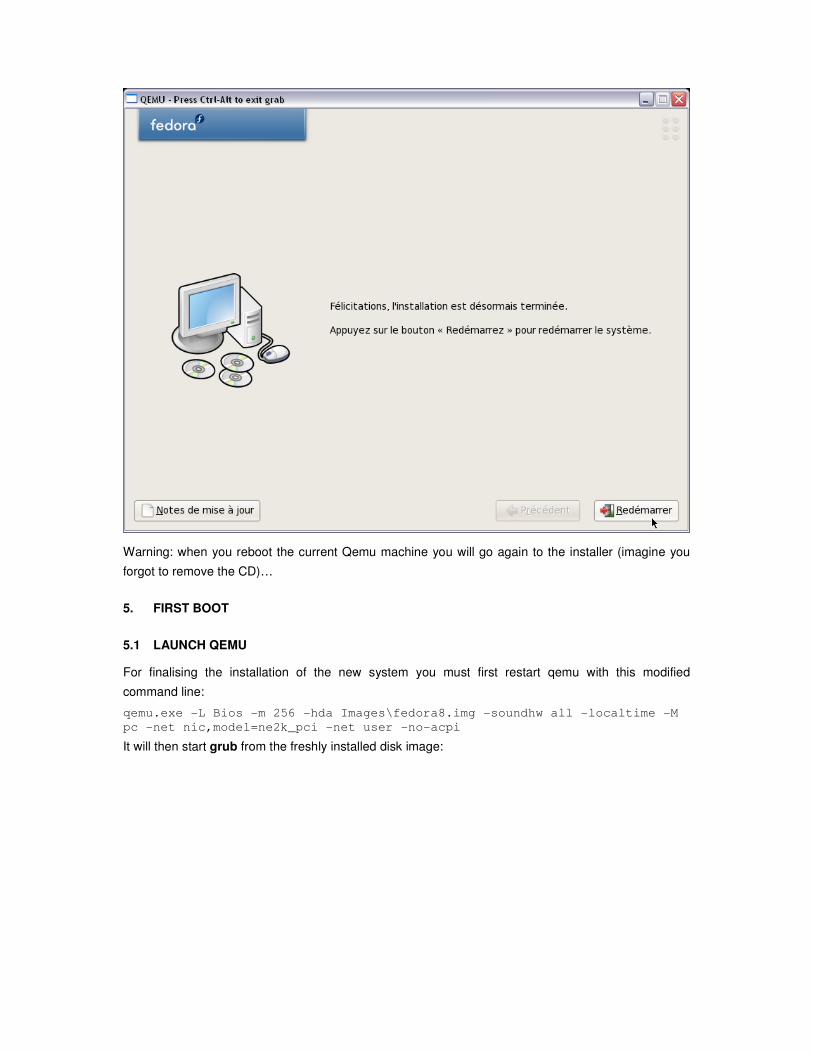
Warning: when you reboot the current Qemu machine you will go again to the installer (imagine you
forgot to remove the CD)…
5. FIRST BOOT
5.1 LAUNCH QEMU
For finalising the installation of the new system you must first restart qemu with this modified
command line:
qemu.exe -L Bios -m 256 -hda Images\fedora8.img -soundhw all -localtime -M
pc -net nic,model=ne2k_pci -net user -no-acpi
It will then start grub from the freshly installed disk image:
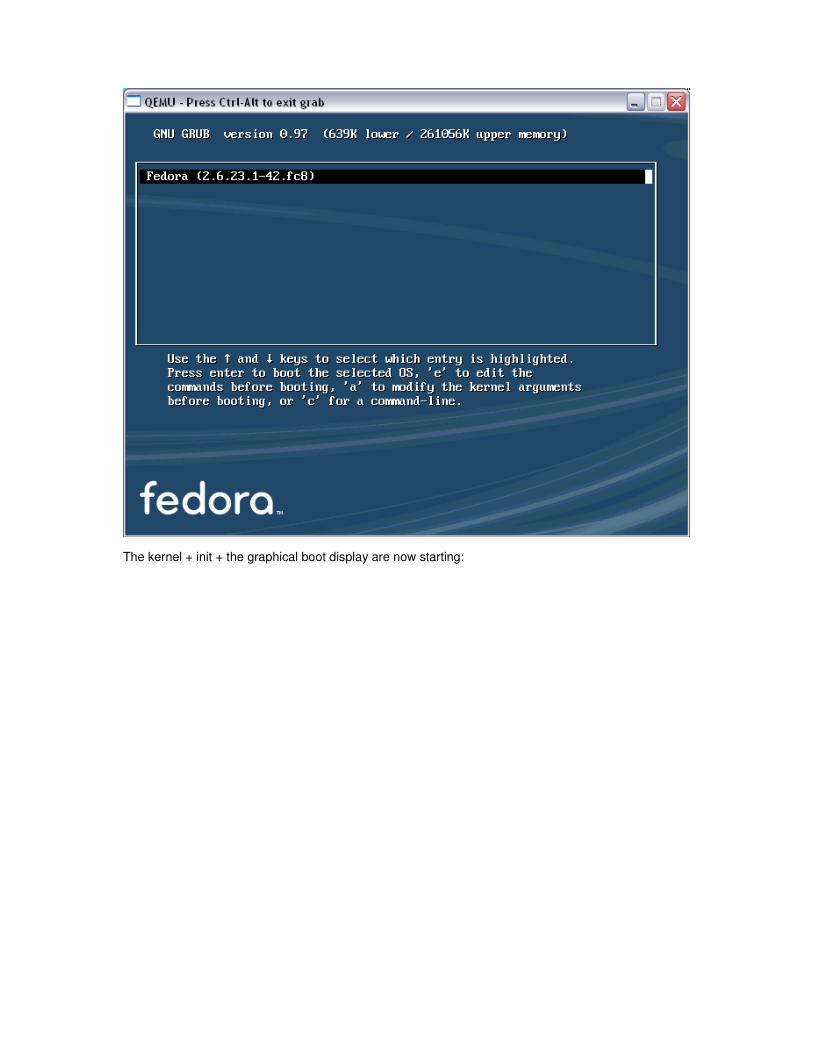
The kernel + init + the graphical boot display are now starting:

5.2 FIRSTBOOT APPLICATION
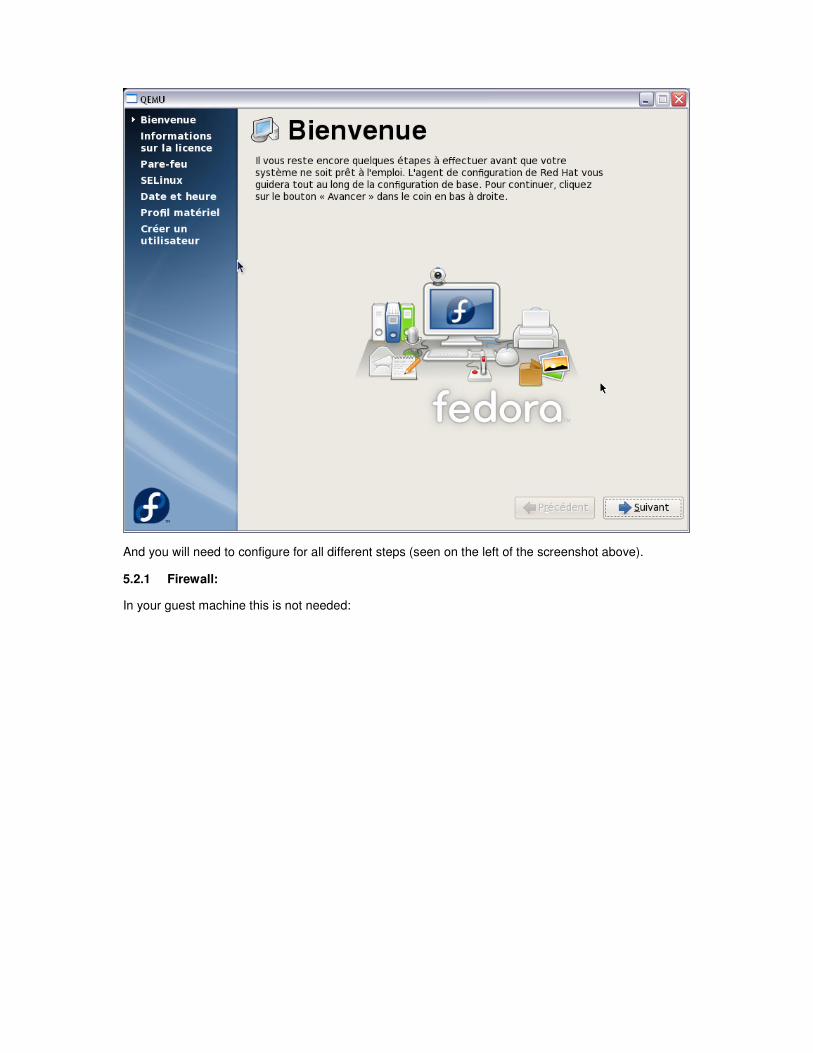
And you will need to configure for all different steps (seen on the left of the screenshot above).
5.2.1 Firewall:
In your guest machine this is not needed:

5.2.2 SELinux
In your guest machine this is not needed:

5.2.3 Date and time
Update time if needed:
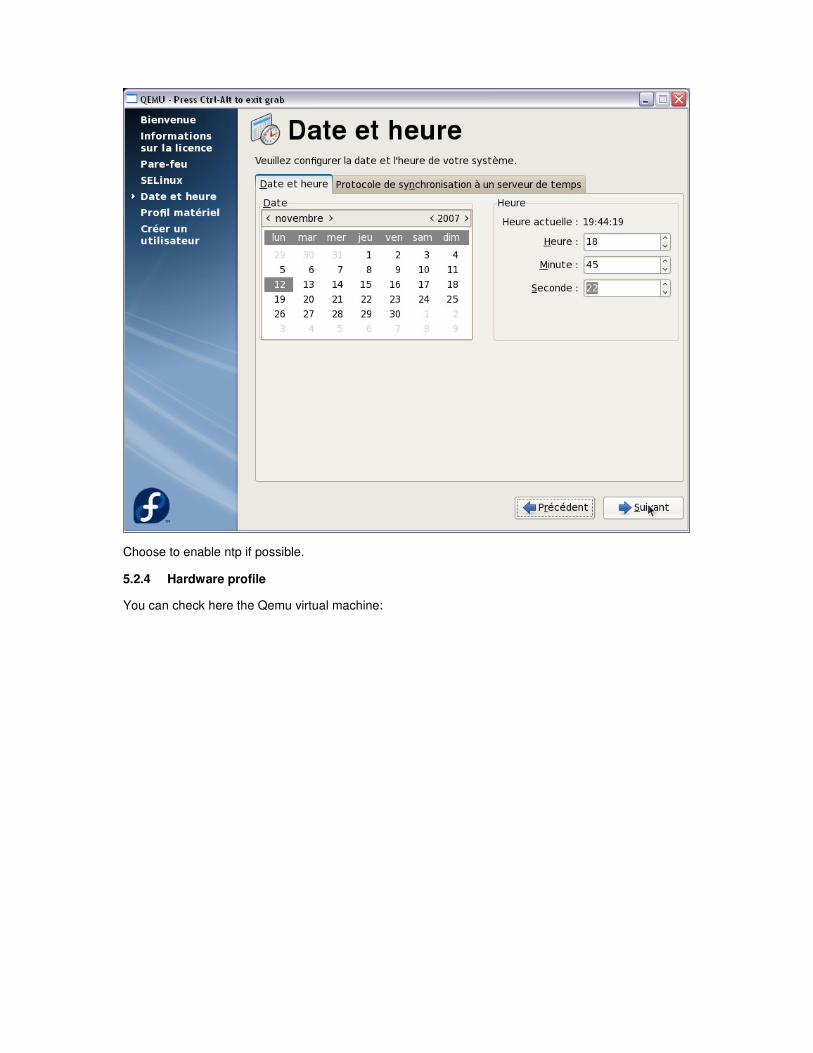
Choose to enable ntp if possible.
5.2.4 Hardware profile
You can check here the Qemu virtual machine:
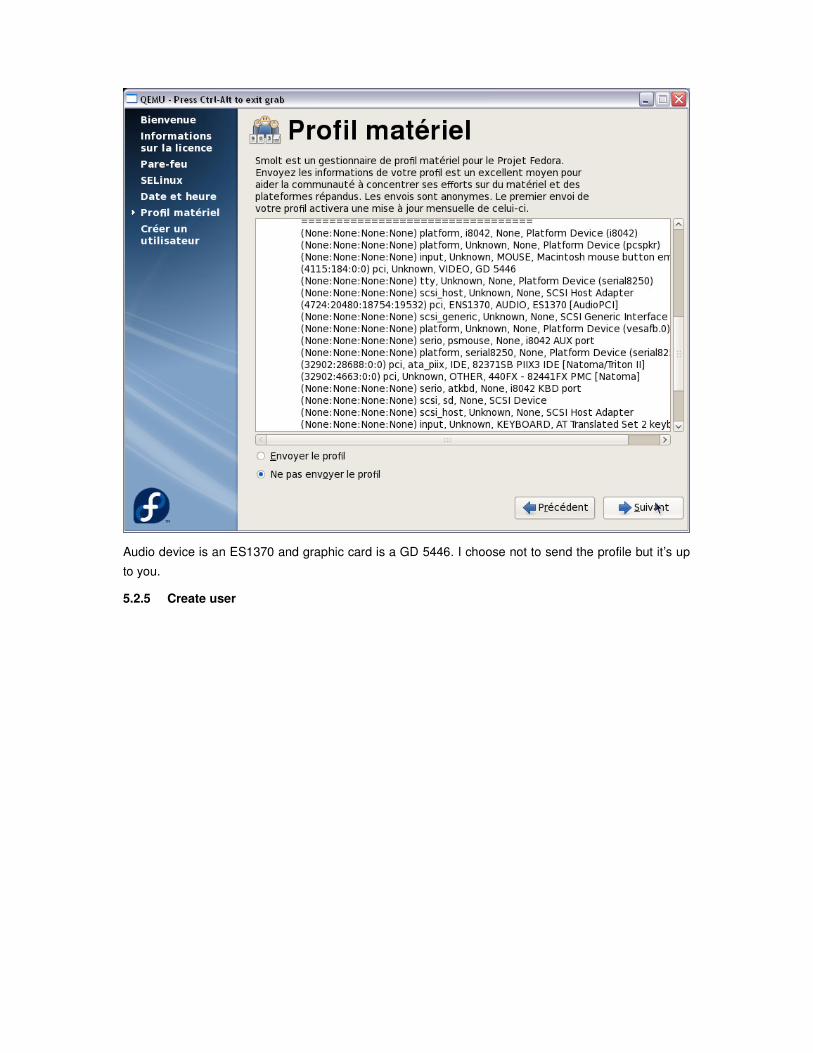
Audio device is an ES1370 and graphic card is a GD 5446. I choose not to send the profile but it’s up
to you.
5.2.5 Create user
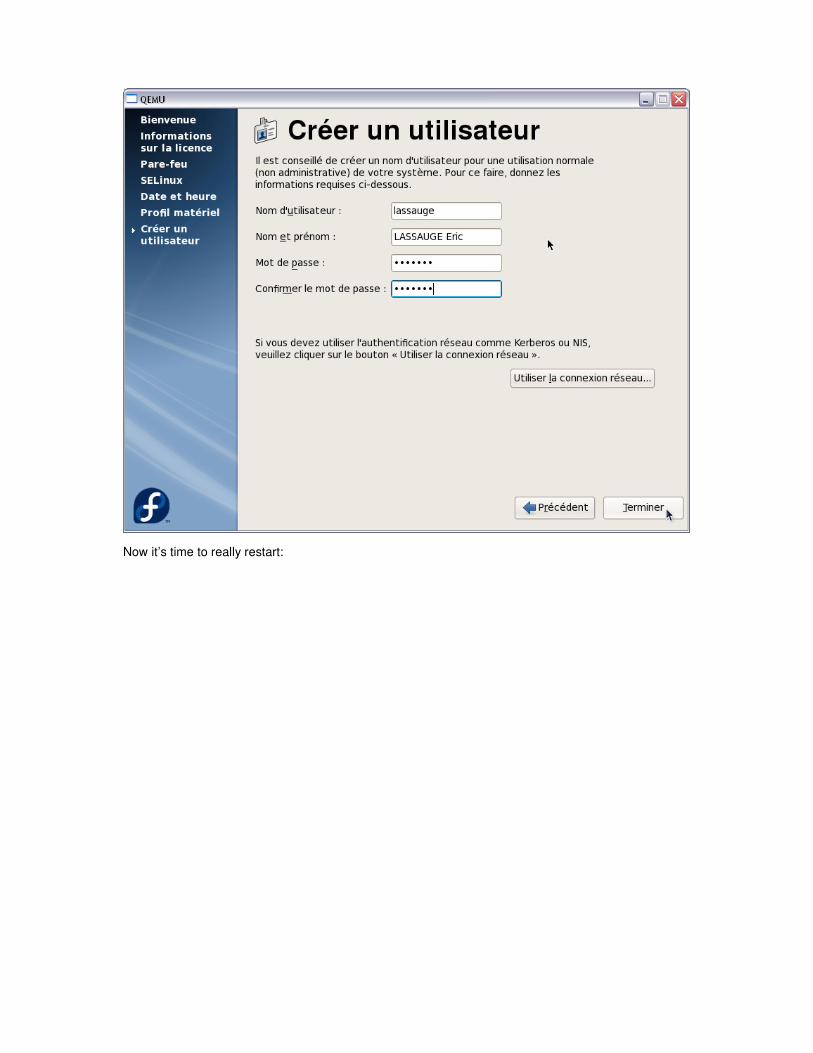
Now it’s time to really restart:
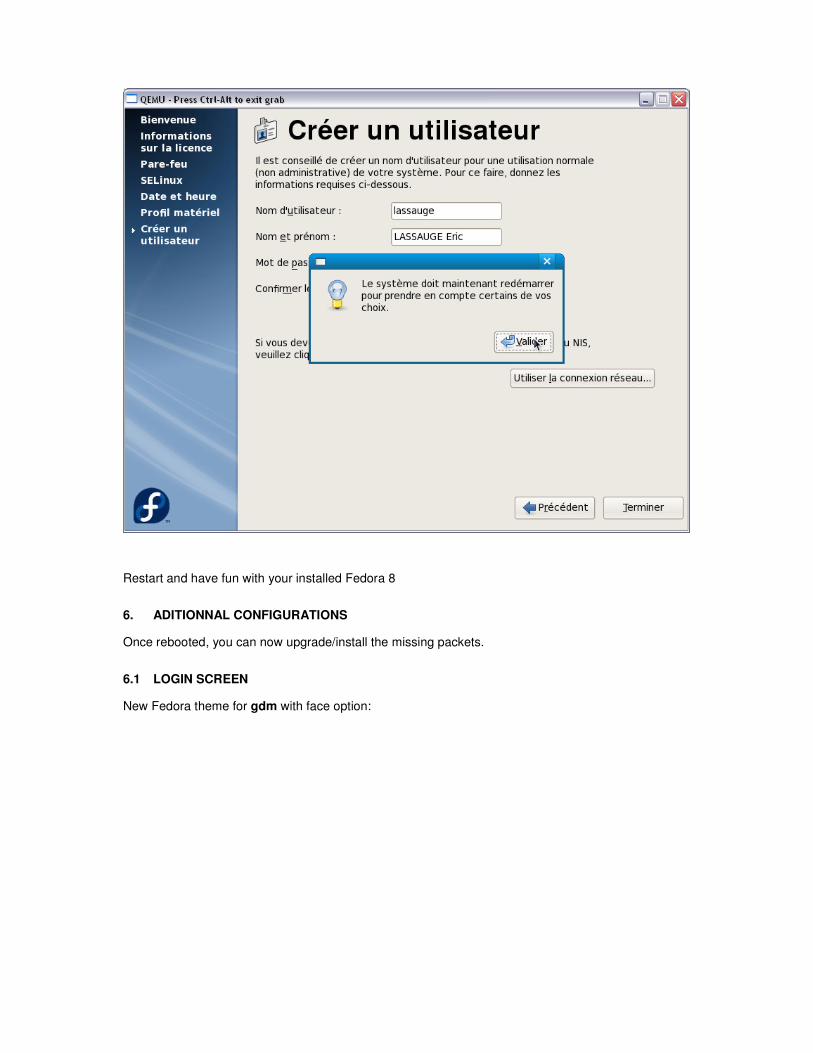
Restart and have fun with your installed Fedora 8
6. ADITIONNAL CONFIGURATIONS
Once rebooted, you can now upgrade/install the missing packets.
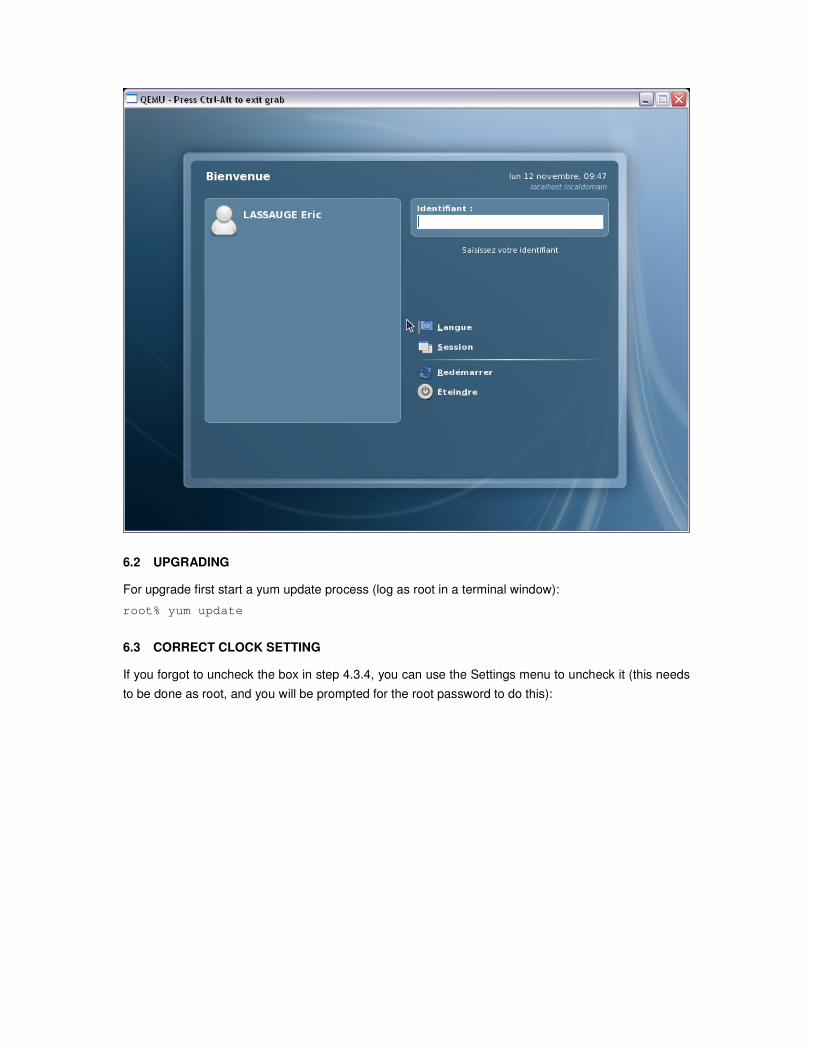
6.1 LOGIN SCREEN
New Fedora theme for gdm with face option:
6.2 UPGRADING
For upgrade first start a yum update process (log as root in a terminal window):
root% yum update
6.3 CORRECT CLOCK SETTING
If you forgot to uncheck the box in step 4.3.4, you can use the Settings menu to uncheck it (this needs
to be done as root, and you will be prompted for the root password to do this):

7. SHARE DATAS BETWEEN HOST AND GUEST SYSTEMS
Some definitions:
Host System where Qemu is started : the real hardware Windows XP
Guest System « running under » Qemu in the virtual machine Fedora 8
Using CIFS (windows share):
In the host system, enable folder sharing (right click on the folder) :

In the guest system, connect with smbclient (rpm package samba-client-3.0.26a-6.fc8) to be able to
browse the shared directory and copy some files.
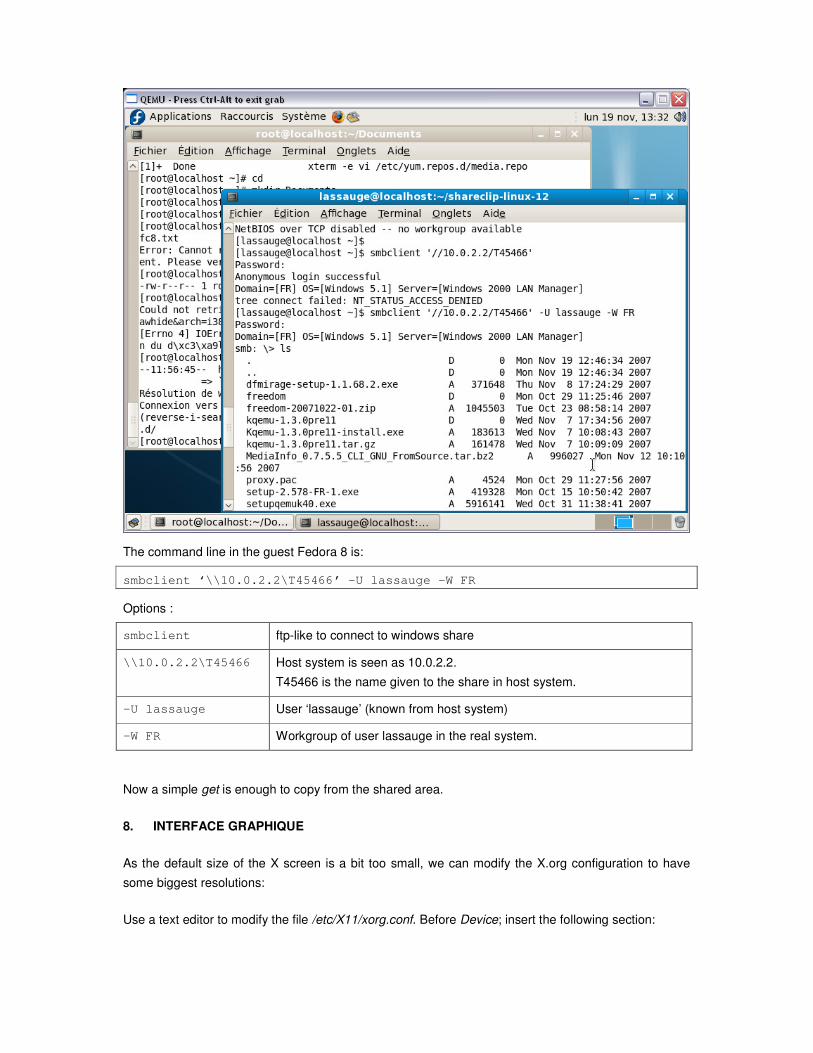
The command line in the guest Fedora 8 is:
smbclient ‘\\10.0.2.2\T45466’ –U lassauge –W FR
Options :
smbclient ftp-like to connect to windows share
\\10.0.2.2\T45466 Host system is seen as 10.0.2.2.
T45466 is the name given to the share in host system.
–U lassauge User ‘lassauge’ (known from host system)
–W FR Workgroup of user lassauge in the real system.
Now a simple get is enough to copy from the shared area.
8. INTERFACE GRAPHIQUE
As the default size of the X screen is a bit too small, we can modify the X.org configuration to have
some biggest resolutions:
Use a text editor to modify the file /etc/X11/xorg.conf. Before Device; insert the following section:

Section "Monitor"
Identifier "Monitor0"
HorizSync 31.5 - 95.0
VertRefresh 59.0 - 75.0
EndSection
In the Screen section, between Device and DefaultDepth, add this line:
Monitor "Monitor0"
Finally, in subsection Display add this list:
Modes "1152x864" "1024x768" "832x624" "800x600" "640x480"
Log off and reconnect to see the new graphical screen. Note that the poor emulated graphics card has
only 4 Mbytes of RAM an cannot reach higher resolutions (this value in confirmed by reading
/var/log/Xorg.0.log :
(--) CIRRUS(0): VideoRAM: 4096 kByte ).
See this screen dump, after the update, and compare with the one in section 7:
9. SHARED CLIPBOARD

For exchanging between host and guest systems you can use a network clipboard. Download Share
Clip for both systems.
On Windows first start Share Clipboard:
On the guest Fedora you must first ensure that compat-libstdc++ is installed (use yum install compat-
libstdc++ if it’s not the case) before starting the linux version of Share Clip. Then click on Connect and
use the IP address of the host system (as seen from the guest): 10.0.2.2
Now each copy paste is reflected in both Share Clips:


![[Werewolf - The Apocalipse] the Art of Werewolf the Apocalypse](https://img.pdfslide.net/doc/110x75/577cdb2f1a28ab9e78a78c65/werewolf-the-apocalipse-the-art-of-werewolf-the-apocalypse.jpg)