Embed Size (px)
Citation preview
Integrating Forms, Reports and Discoverer into Portal 9.0.2
Chris OstrowskiTechnical Management Consultant
TUSC
Session id: 36846
Topics Covered
Introduction Why do we want to Integrate? Native Support in Portal Oracle Reports Oracle Forms Oracle Discoverer Summary
Introduction
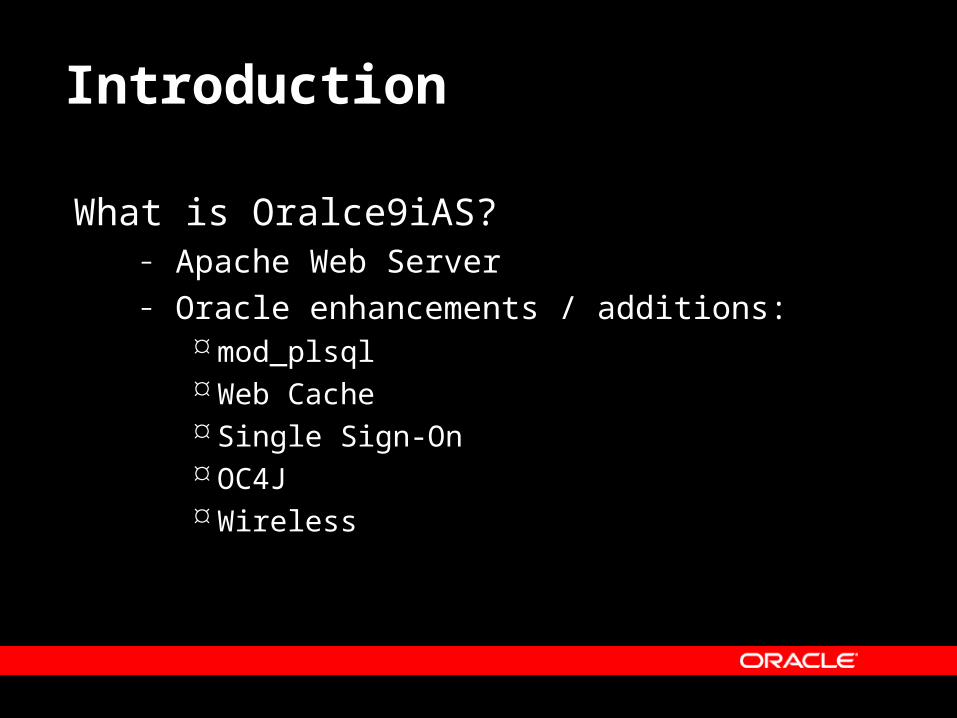
What is Oralce9iAS?– Apache Web Server– Oracle enhancements / additions:
mod_plsql Web Cache Single Sign-On OC4J Wireless
Introduction
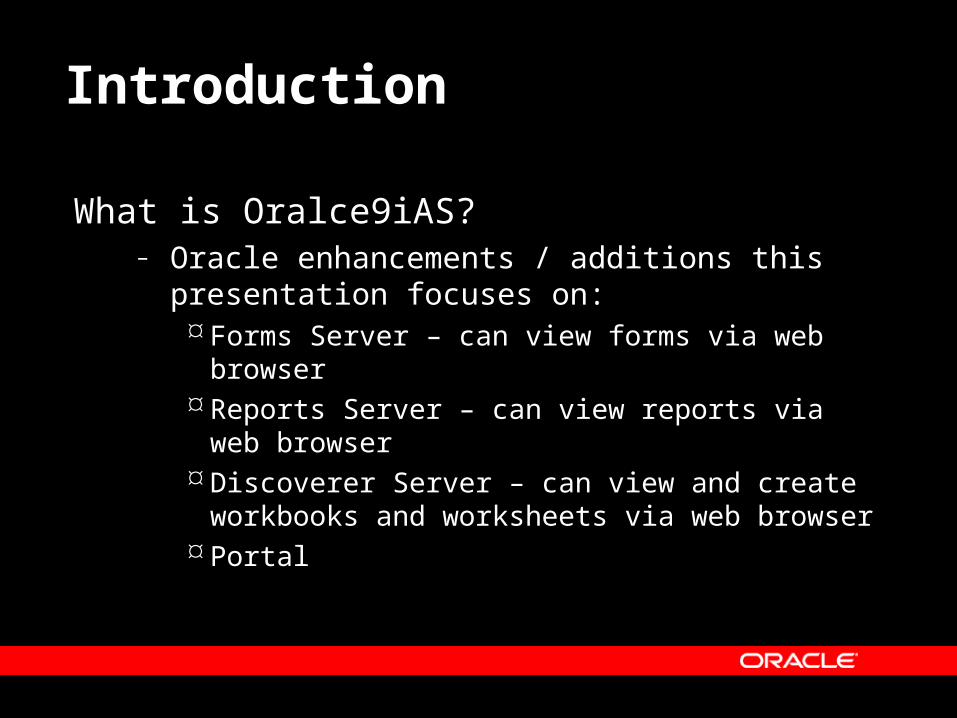
What is Oralce9iAS?– Oracle enhancements / additions this
presentation focuses on: Forms Server – can view forms via web browser Reports Server – can view reports via web
browser Discoverer Server – can view and create
workbooks and worksheets via web browser Portal
Introduction
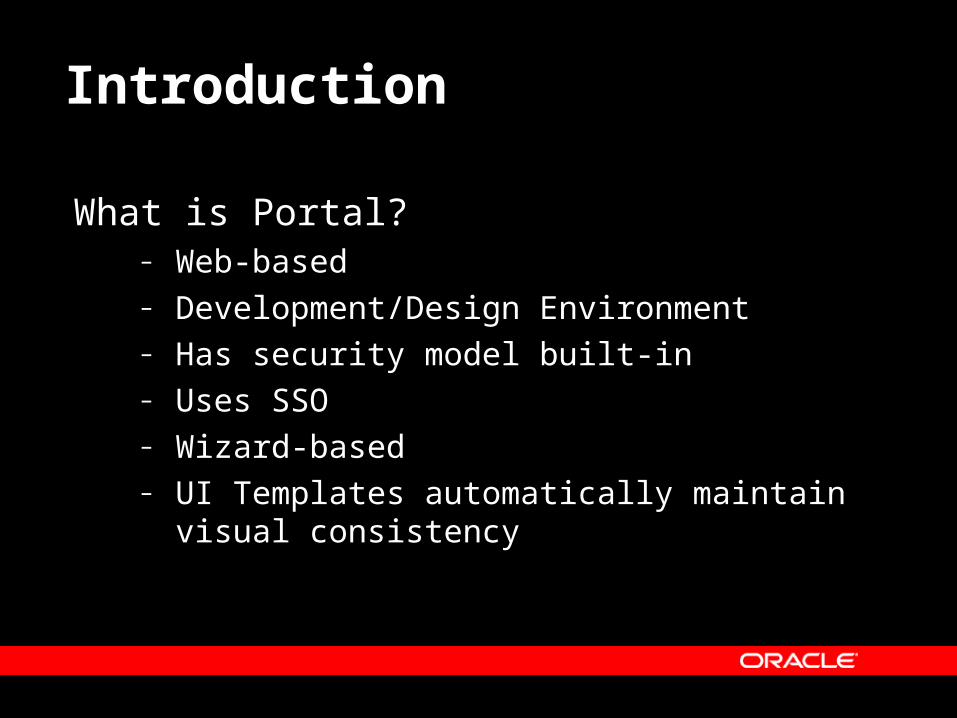
What is Portal?– Web-based– Development/Design Environment– Has security model built-in– Uses SSO– Wizard-based– UI Templates automatically maintain visual
consistency
Why do we want to Integrate?
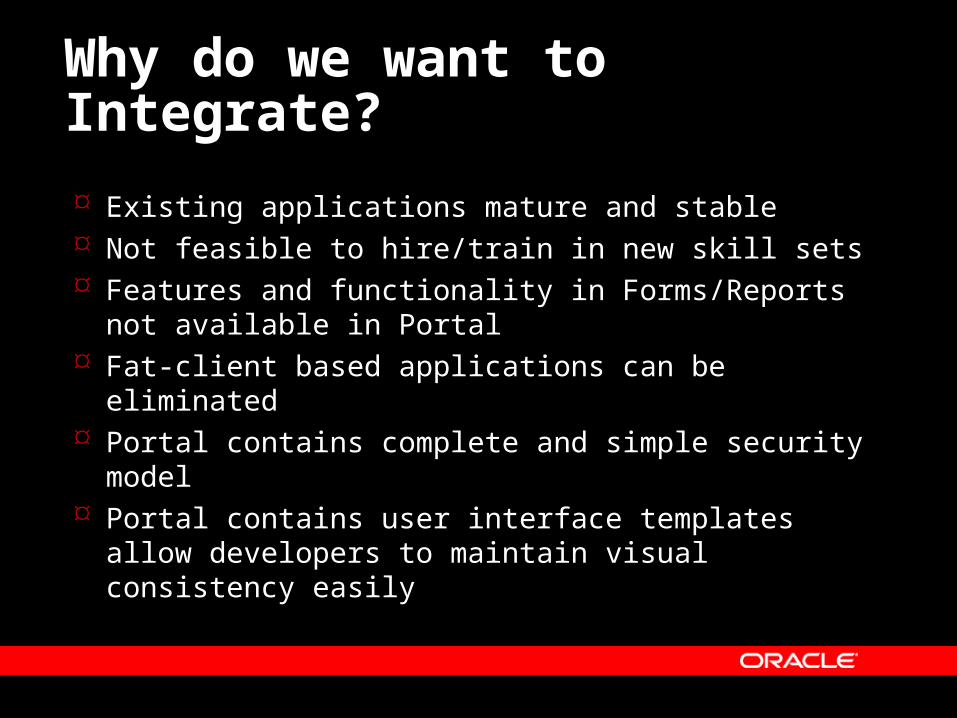
Existing applications mature and stable Not feasible to hire/train in new skill sets Features and functionality in Forms/Reports not
available in Portal Fat-client based applications can be eliminated Portal contains complete and simple security model Portal contains user interface templates allow
developers to maintain visual consistency easily
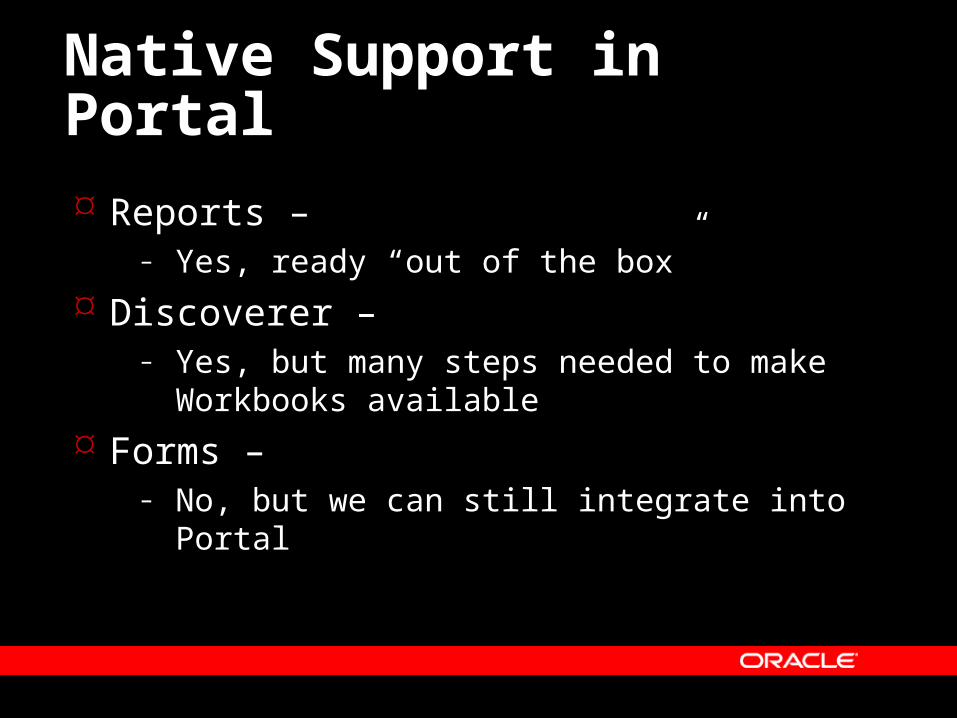
Native Support in Portal
Reports – – Yes, ready “out of the box”
Discoverer – – Yes, but many steps needed to make Workbooks
available
Forms – – No, but we can still integrate into Portal
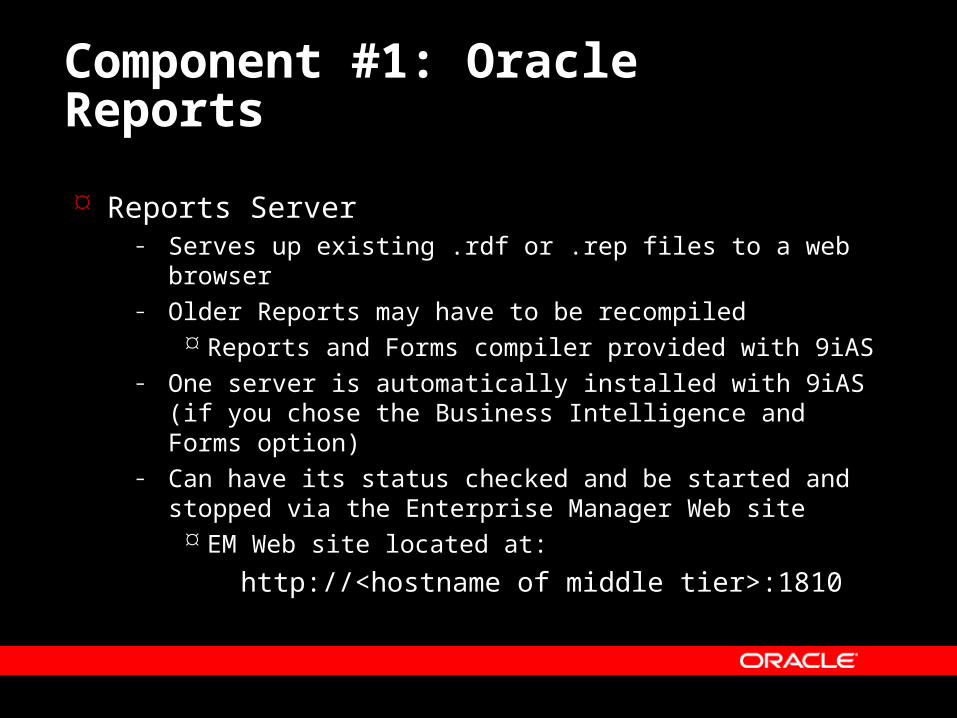
Component #1: Oracle Reports
Reports Server– Serves up existing .rdf or .rep files to a web browser– Older Reports may have to be recompiled
Reports and Forms compiler provided with 9iAS– One server is automatically installed with 9iAS (if you
chose the Business Intelligence and Forms option)– Can have its status checked and be started and stopped
via the Enterprise Manager Web site EM Web site located at:
http://<hostname of middle tier>:1810

Component #1: Oracle Reports
Reports Server– Reports Server status can also be checked
at:
http://<Middle-tier server>:<port>/reports/rwservlet/showjobs?server=<server_name>
– Bug shows status down in EM Website. See Metalink document # 212551.1
– At least one Reports Server must be running to display reports in Portal
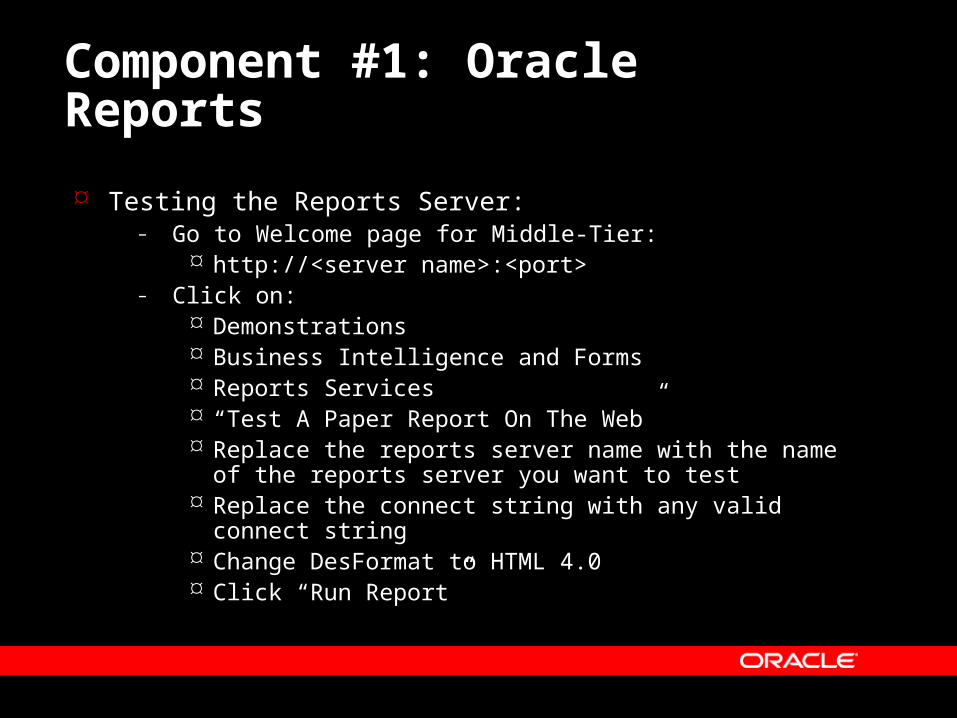
Component #1: Oracle Reports
Testing the Reports Server:– Go to Welcome page for Middle-Tier:
http://<server name>:<port>– Click on:
Demonstrations Business Intelligence and Forms Reports Services “Test A Paper Report On The Web” Replace the reports server name with the name of the reports
server you want to test Replace the connect string with any valid connect string Change DesFormat to HTML 4.0 Click “Run Report”
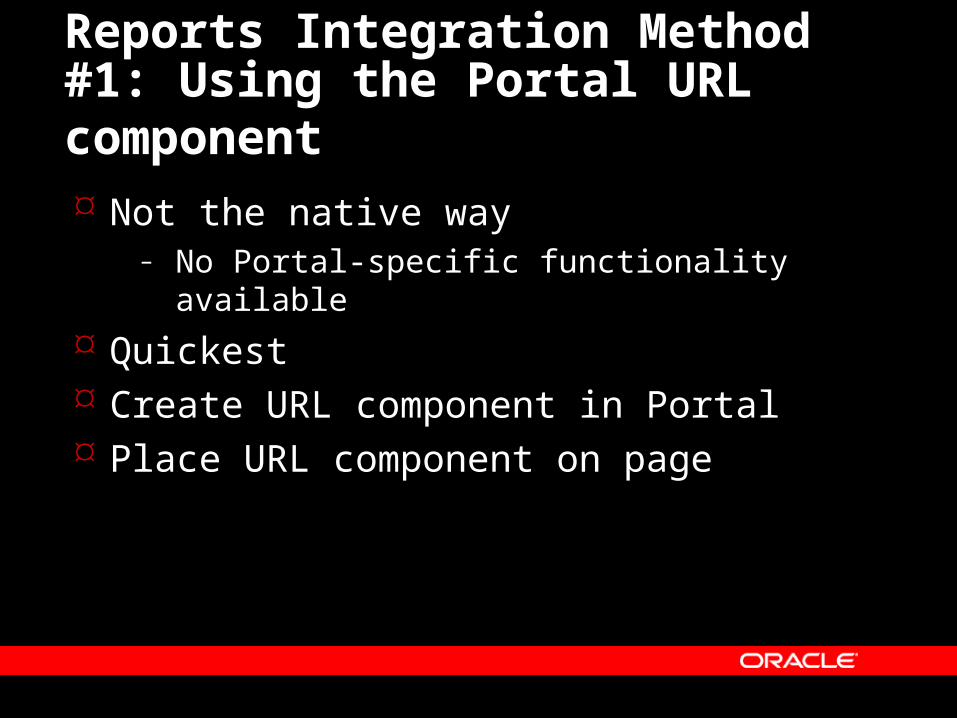
Reports Integration Method #1: Using the Portal URL component
Not the native way– No Portal-specific functionality available
Quickest Create URL component in Portal Place URL component on page
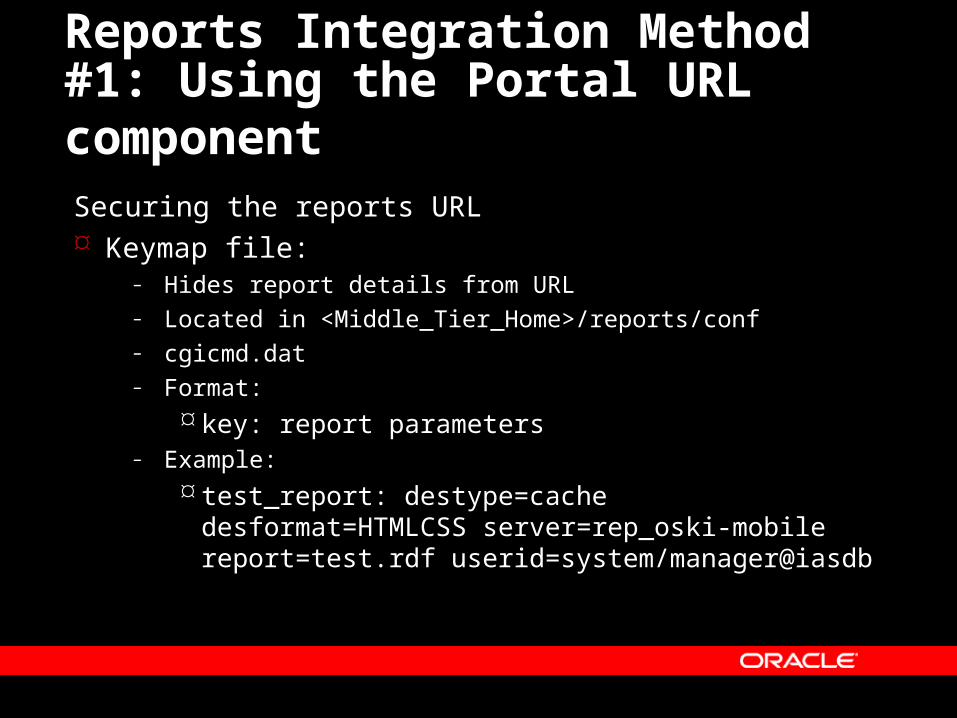
Reports Integration Method #1: Using the Portal URL component
Securing the reports URL Keymap file:
– Hides report details from URL– Located in <Middle_Tier_Home>/reports/conf – cgicmd.dat– Format:
key: report parameters– Example:
test_report: destype=cache desformat=HTMLCSS server=rep_oski-mobile report=test.rdf userid=system/manager@iasdb
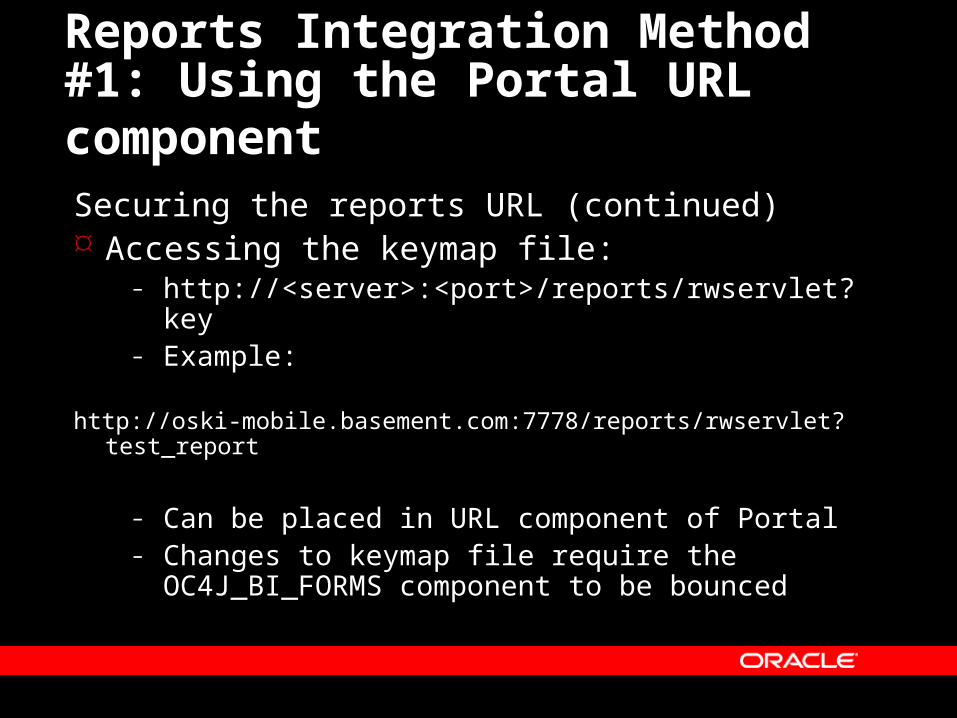
Reports Integration Method #1: Using the Portal URL component
Securing the reports URL (continued) Accessing the keymap file:
– http://<server>:<port>/reports/rwservlet?key– Example:
http://oski-mobile.basement.com:7778/reports/rwservlet?test_report
– Can be placed in URL component of Portal– Changes to keymap file require the
OC4J_BI_FORMS component to be bounced
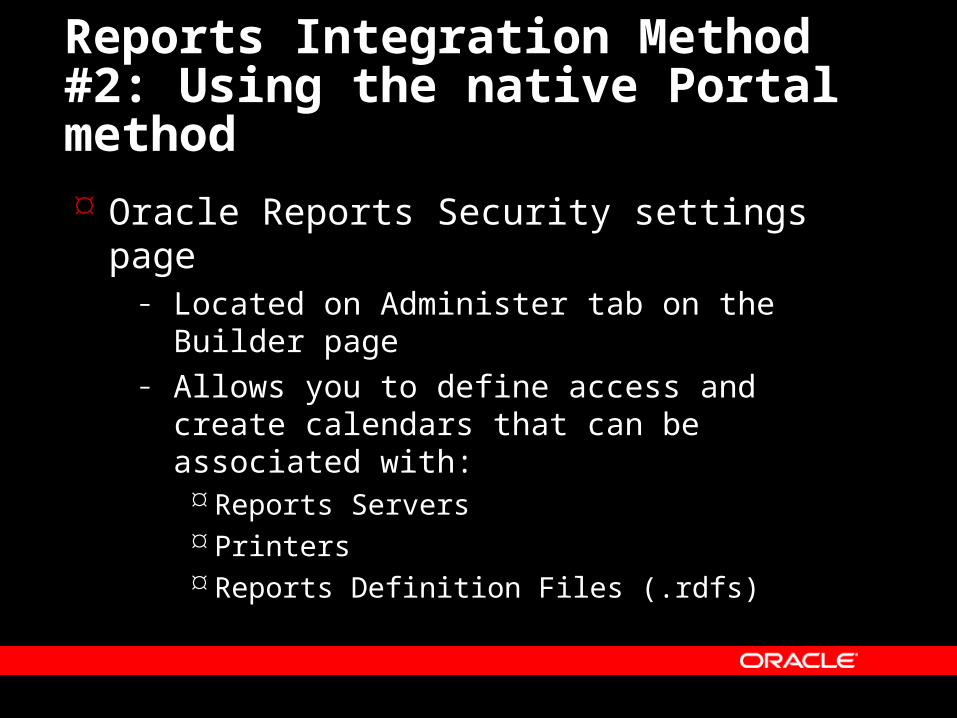
Reports Integration Method #2: Using the native Portal method
Oracle Reports Security settings page– Located on Administer tab on the Builder page– Allows you to define access and create calendars
that can be associated with: Reports Servers Printers Reports Definition Files (.rdfs)

Reports Integration Method #2: Using the native Portal method
Oracle Reports Security settings page (continued)
– Once access to an .rdf is defined, it shows up as a component within a Portal Database Provider
– That component can then be placed on a page and manipulated like any other Portal component

Reports Integration Method #2: Using the native Portal method
Oracle Reports Security settings page (continued)
– Using keymap file entries when you define entries in the Reports Definition File Access portlet: Entries in keymap file will override anything
specified in Reports Definition File Access portlet Create Reports Definition File Access, then click
Customize. Specify key in CGI/Servlet Command Key field

Reports Integration: Reports Server Administration
rwserver– Executable in <Middle_Tier_Home>/bin– Starting/Creating a Reports Server:
rwserver server=<server_name> Will create a new server if <server_name> doesn’t
exist– Stopping a Reports Server:
rwserver server=<server_name> shutdown=immediate– Creating a Reports Server as a Windows Service:
rwserver server=<server_name> install autostart=yes
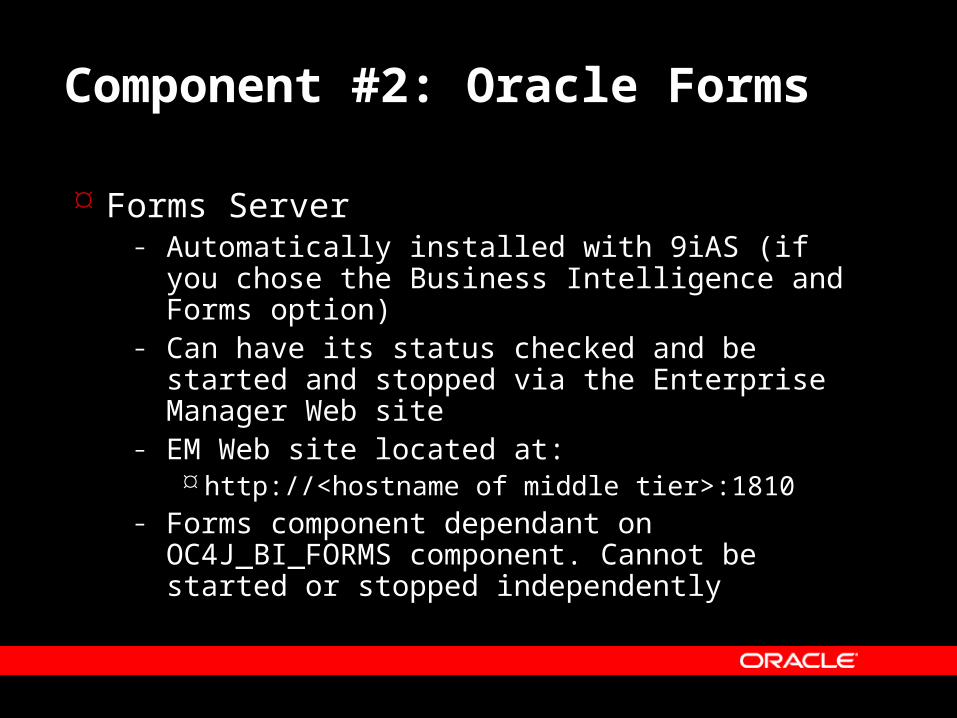
Component #2: Oracle Forms
Forms Server– Automatically installed with 9iAS (if you chose the
Business Intelligence and Forms option)– Can have its status checked and be started and
stopped via the Enterprise Manager Web site– EM Web site located at:
http://<hostname of middle tier>:1810– Forms component dependant on
OC4J_BI_FORMS component. Cannot be started or stopped independently

Component #2: Oracle Forms
Testing the Forms Server:– Go to welcome page for Middle-Tier:
http://<server name>:<port>– Click on:
Demonstrations Business Intelligence and Forms The Forms Services link next to the text that
starts, “Demonstrates a test form…” If this is the first time you’re attempting to run
an Oracle form, you will be prompted to install a browser plug-in called JInitiator
Component #2: Oracle Forms
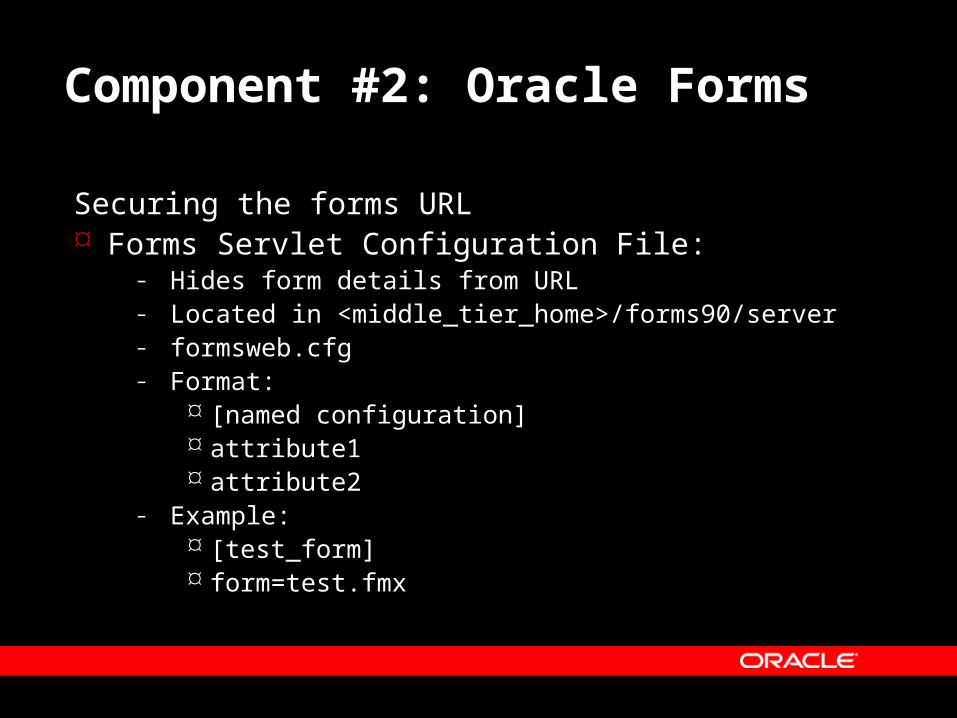
Securing the forms URL Forms Servlet Configuration File:
– Hides form details from URL– Located in <middle_tier_home>/forms90/server– formsweb.cfg – Format:
[named configuration] attribute1 attribute2
– Example: [test_form] form=test.fmx
Component #2: Oracle Forms
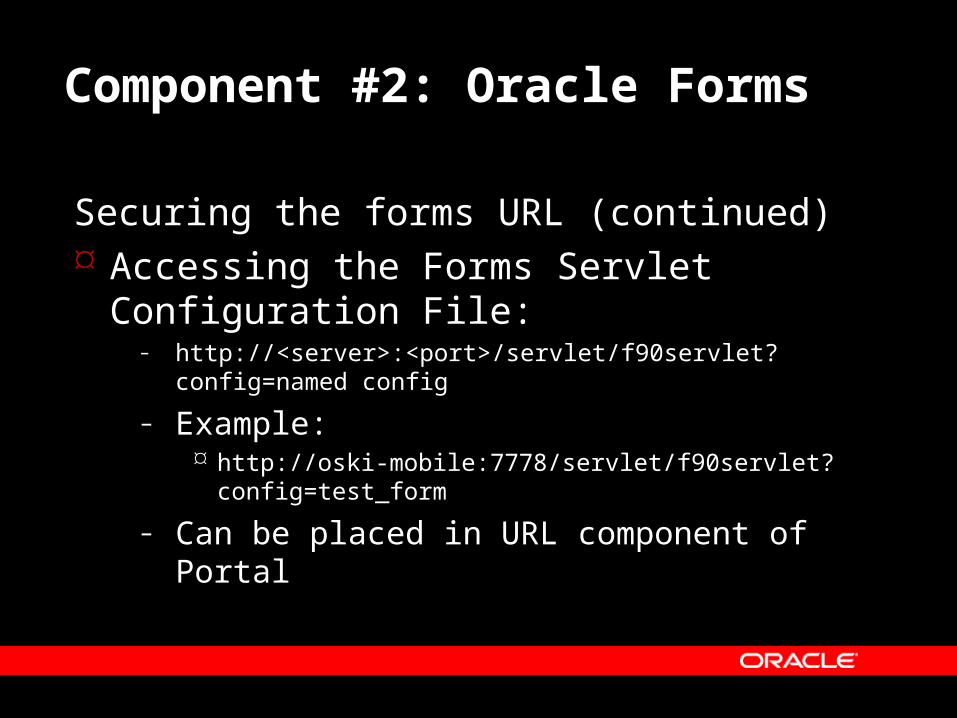
Securing the forms URL (continued) Accessing the Forms Servlet Configuration
File:– http://<server>:<port>/servlet/f90servlet?config=named config
– Example: http://oski-mobile:7778/servlet/f90servlet?config=test_form
– Can be placed in URL component of Portal

Component #2: Oracle Forms
Securing the forms URL (continued) Changes to Forms Servlet Configuration File
require the OC4J_BI_FORMS component to be bounced

Component #2: Oracle Forms
Be aware of default parameter settings in beginning of formsweb.cfg file
Any reference to non-existent named configurations will result in default parameters being used
Comment out default parameters or direct users/developers to help page
If form is displayed via URL component in Portal, end-users won’t have the ability to change URL
Component #3: Oracle Discoverer
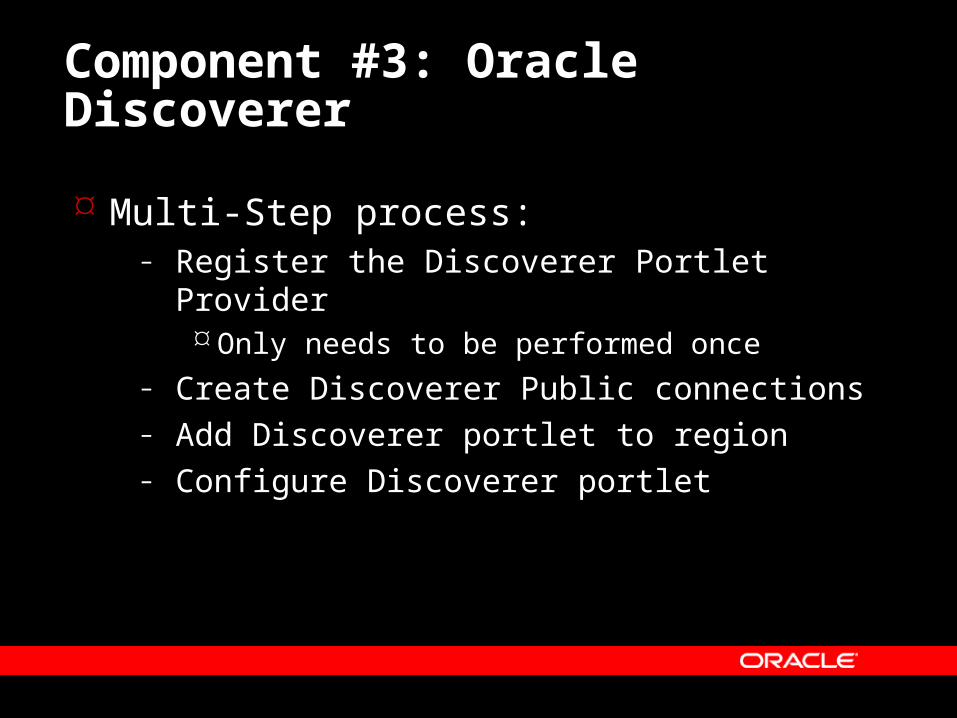
Multi-Step process:– Register the Discoverer Portlet Provider
Only needs to be performed once
– Create Discoverer Public connections– Add Discoverer portlet to region– Configure Discoverer portlet
Component #3: Oracle Discoverer
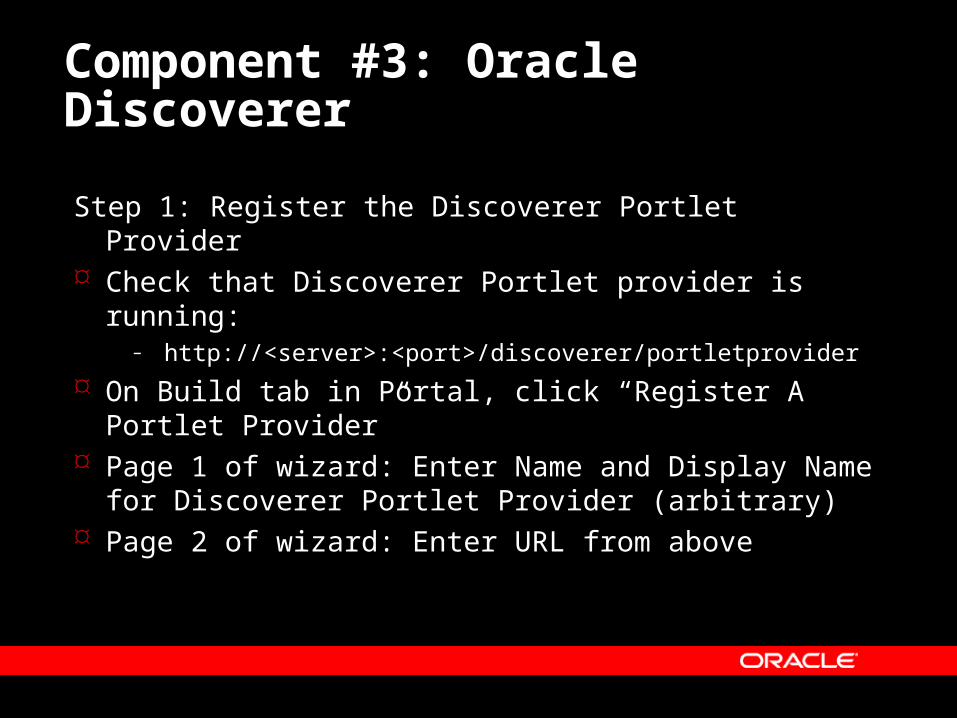
Step 1: Register the Discoverer Portlet Provider Check that Discoverer Portlet provider is running:
– http://<server>:<port>/discoverer/portletprovider
On Build tab in Portal, click “Register A Portlet Provider”
Page 1 of wizard: Enter Name and Display Name for Discoverer Portlet Provider (arbitrary)
Page 2 of wizard: Enter URL from above
Component #3: Oracle Discoverer
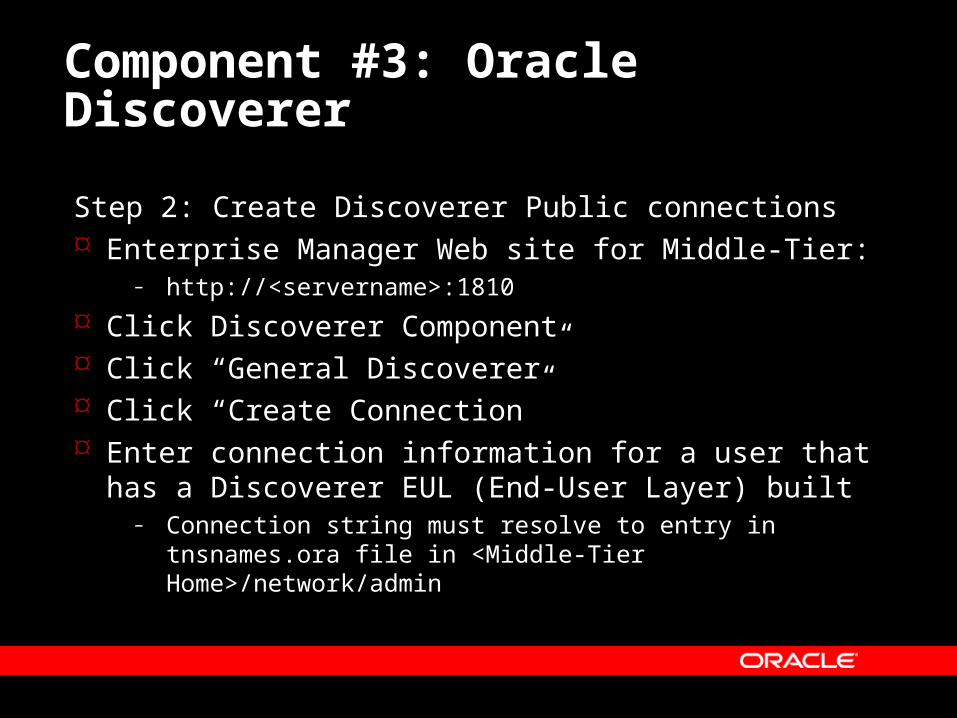
Step 2: Create Discoverer Public connections Enterprise Manager Web site for Middle-Tier:
– http://<servername>:1810
Click Discoverer Component Click “General Discoverer” Click “Create Connection” Enter connection information for a user that has a
Discoverer EUL (End-User Layer) built– Connection string must resolve to entry in tnsnames.ora
file in <Middle-Tier Home>/network/admin
Component #3: Oracle Discoverer
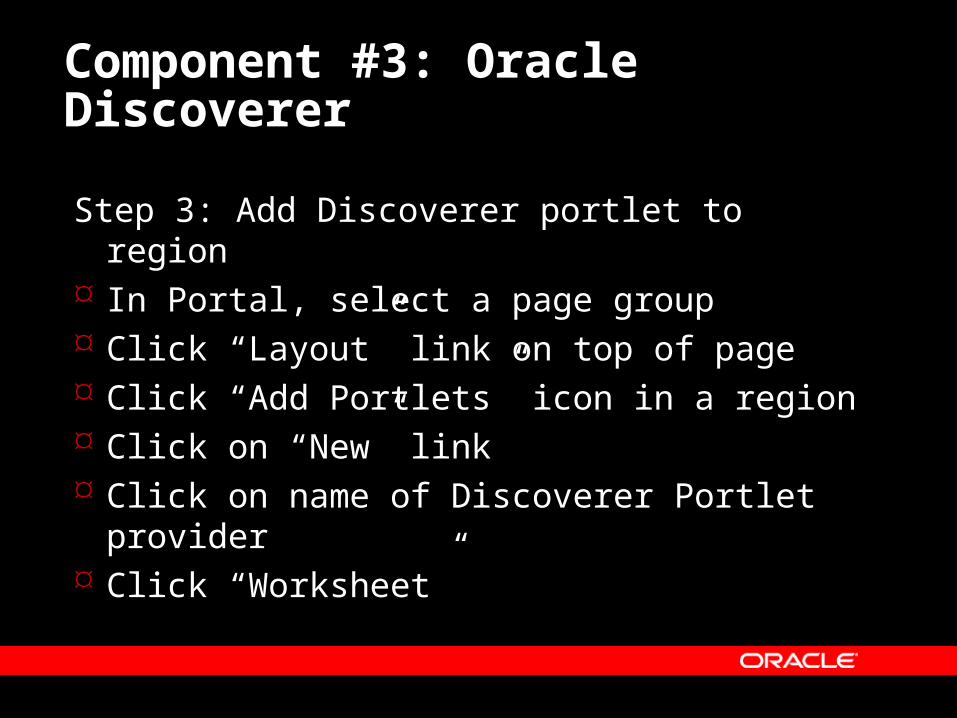
Step 3: Add Discoverer portlet to region In Portal, select a page group Click “Layout” link on top of page Click “Add Portlets” icon in a region Click on “New” link Click on name of Discoverer Portlet provider Click “Worksheet”
Component #3: Oracle Discoverer
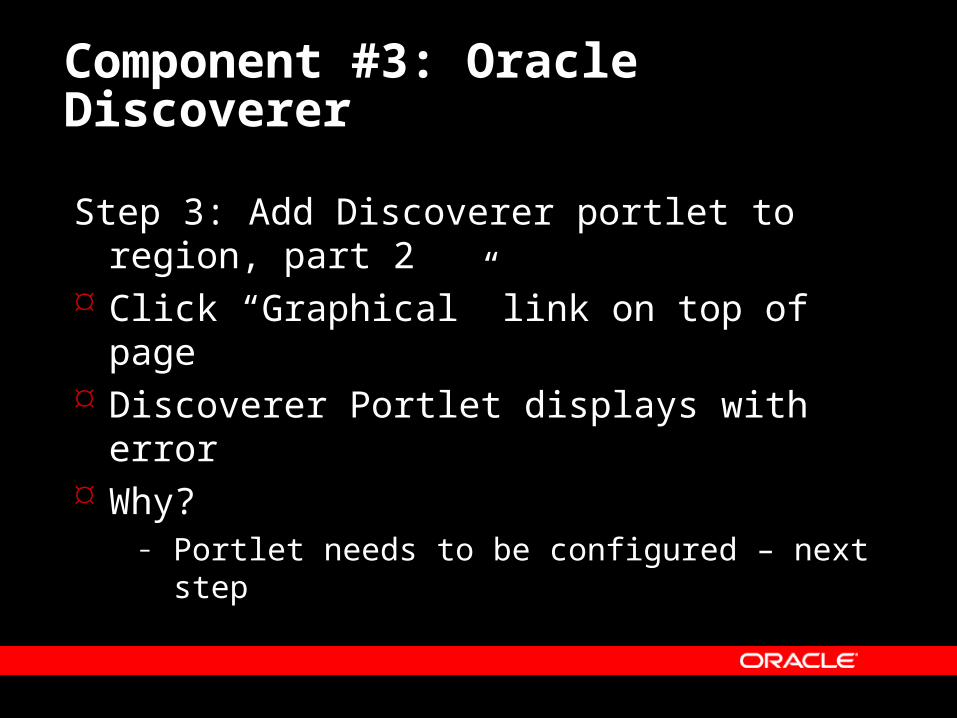
Step 3: Add Discoverer portlet to region, part 2 Click “Graphical” link on top of page Discoverer Portlet displays with error Why?
– Portlet needs to be configured – next step
Component #3: Oracle Discoverer
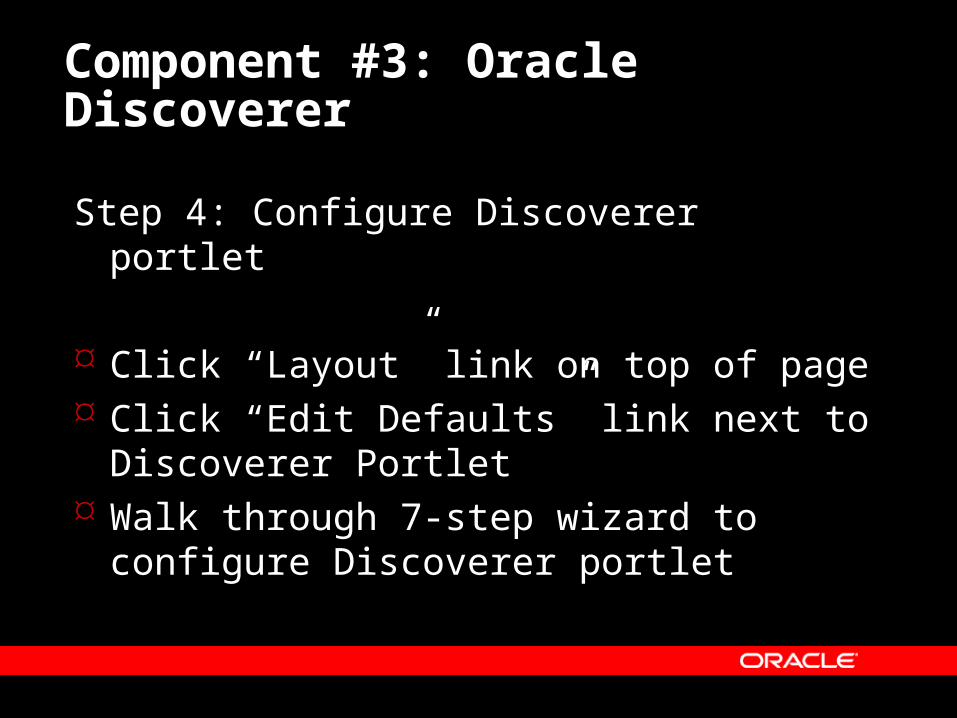
Step 4: Configure Discoverer portlet
Click “Layout” link on top of page Click “Edit Defaults” link next to Discoverer
Portlet Walk through 7-step wizard to configure
Discoverer portlet
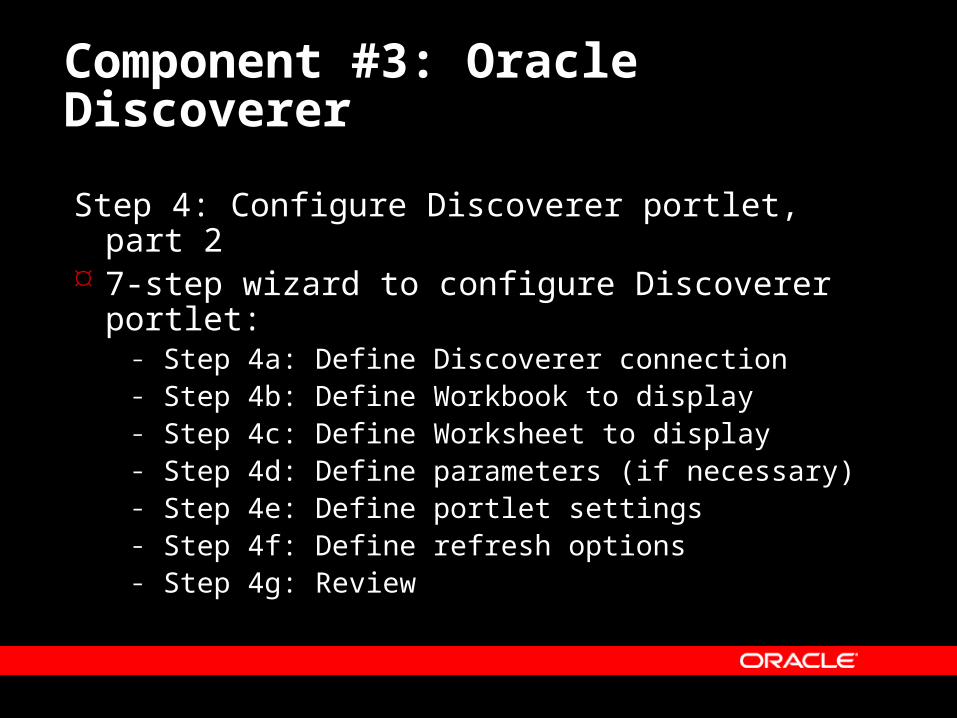
Component #3: Oracle Discoverer
Step 4: Configure Discoverer portlet, part 2 7-step wizard to configure Discoverer portlet:
– Step 4a: Define Discoverer connection– Step 4b: Define Workbook to display– Step 4c: Define Worksheet to display– Step 4d: Define parameters (if necessary)– Step 4e: Define portlet settings– Step 4f: Define refresh options– Step 4g: Review
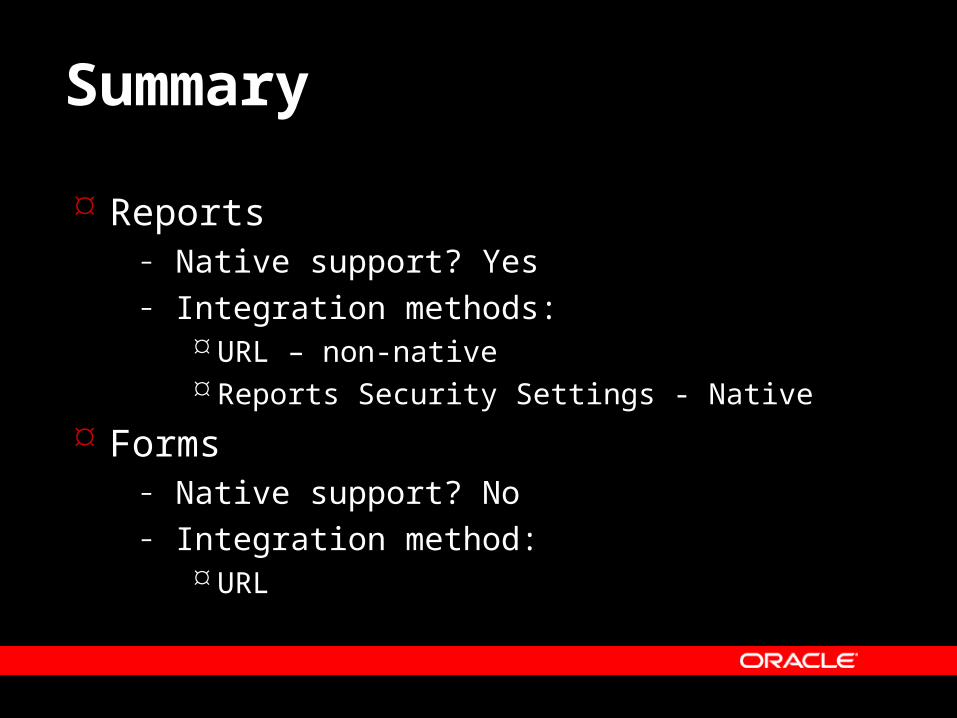
Summary
Reports– Native support? Yes– Integration methods:
URL – non-native Reports Security Settings - Native
Forms– Native support? No– Integration method:
URL

Summary
Discoverer– Native support? Yes
Register Discoverer Portlet Provider Create Discoverer Connection Place Discoverer Portlet on page Configure Discoverer Portlet
Questions and Answers
http://metalink.oracle.com http://technet.oracle.com http://portalstudio.oracle.com http://tahiti.oracle.com http://www.avanco.com/n/wp_index.html
http://www.tusc.com
Where to Get More Information
Please report errors to TUSC. Neither TUSC, Oracle or the author warrant that this document is error-free.
TUSC © 2003. This document may not be copied or reproduced without the express written consent of TUSC.
Integrating Forms, Reports and Discoverer into Portal 9.0.2


![TUSC Book 5 - WordPress.com · (Cole porter 1934) [G]Oh [D7]give me [G] ... Your feet were so heavy 'til they hardly could move, (G) ... TUSC Book 5 Nipper](https://img.pdfslide.net/doc/110x75/5ad61c887f8b9aff228de58a/tusc-book-5-cole-porter-1934-goh-d7give-me-g-your-feet-were-so-heavy.jpg)