Embed Size (px)
Citation preview
THE MINISTRY OF AGRICULTURE, LIVESTOCK AND FISHERIES (KENYA CEREALS ENHANCEMENT PROGRAMME- KCEP)
KCEP-Management Information System
(kcep-mis)
SYSTEM MANUAL
Nairobi Office
Nicholson Court, Nicholson Drive
Off Ngong Road
P.O. Box 10677
00100 – Nairobi, Kenya.
Kisumu Office
Re-insurance Plaza, 1st Floor
Next to Bank Street
P.O. Box 2592-
40100- Kisumu, Kenya.
Mombasa Office
Milfan Court, Shanzu
Off Mombasa – Malindi Road
P.O. Box 3498
80100- Mombasa, Kenya
Tel: +254 20-2712156
Fax :+254 202017254
E-mail: [email protected]
Http: www.logassociates.com
Tel: +254 57-2021105
Fax :+254 57-2501826
E-mail: [email protected]
Http: www.logassociates.com
Tel: +254 202712156
Fax :+254 202017254
E-mail: [email protected]
Http: www.logassociates.com
October 2016
Revision Sheet
User’s Manual Page i
Revision Sheet
Release No. Date Revision Description
Rev. 0
Rev. 1
Rev. 2
User’s Manual Page ii
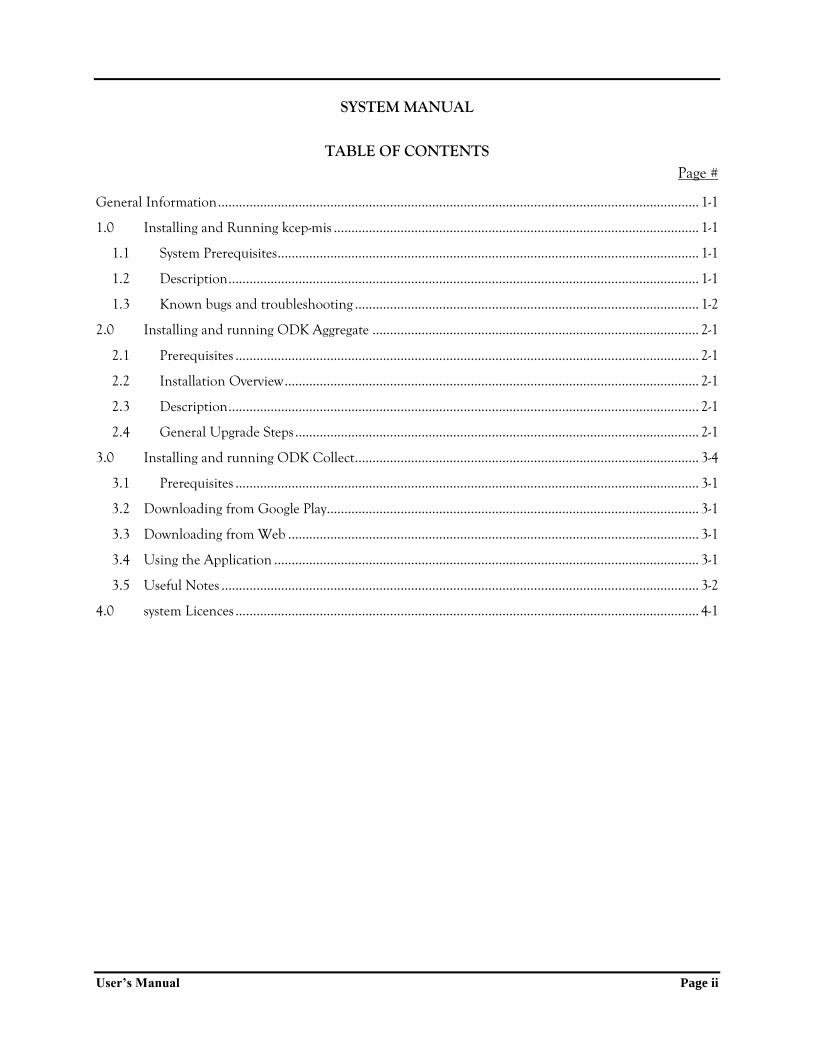
SYSTEM MANUAL
TABLE OF CONTENTS Page #
General Information ......................................................................................................................................... 1-1
1.0 Installing and Running kcep-mis ........................................................................................................ 1-1
1.1 System Prerequisites ........................................................................................................................ 1-1
1.2 Description ...................................................................................................................................... 1-1
1.3 Known bugs and troubleshooting .................................................................................................. 1-2
2.0 Installing and running ODK Aggregate ............................................................................................. 2-1
2.1 Prerequisites .................................................................................................................................... 2-1
2.2 Installation Overview ...................................................................................................................... 2-1
2.3 Description ...................................................................................................................................... 2-1
2.4 General Upgrade Steps ................................................................................................................... 2-1
3.0 Installing and running ODK Collect .................................................................................................. 3-4
3.1 Prerequisites .................................................................................................................................... 3-1
3.2 Downloading from Google Play .......................................................................................................... 3-1
3.3 Downloading from Web ..................................................................................................................... 3-1
3.4 Using the Application ......................................................................................................................... 3-1
3.5 Useful Notes ........................................................................................................................................ 3-2
4.0 system Licences .................................................................................................................................... 4-1

1.0 General Information
User’s Manual Page 1-1
GENERAL INFORMATION
A System Brief
The MIS system manual comes in three parts. The whole system is composed of the kcep-mis server complete with a database, the survey tool server complete with a database, and a mobile app. As such, this manual has three parts addressing the specific parts of the components making the system. By design, for effective working of the system, the three components of the system should be able to work simultaneously.
B Server Requirements
Some of the server considerations are as next;
Availability; Must it stay up when the power goes out? For how long?
How rapidly do you need it operational after a failure (e.g., disk failure)?
How much data loss can you tolerate?
How big is your dataset?
How secure and protected do you need your data to be?
3.0 Installing and Running kcep-mis
User’s Manual
1.0 INSTALLING AND RUNNING KCEP-MIS

3.0: Installing and Running kcep-mis
System Manual Page 1-1
1.1 System Prerequisites
To successfully install and run the system, the below prerequisites need to be installed to the server computer.
The Java SE Runtime Environment (JRE) is required. This should be installed prior to the installation of Apache TomEE. For full details on the installation of JRE, check out this page: [ JDK 8 and JRE 8 Installation Start Here ].
MySQL server this should also be installed prior to installing TomEE. For full details on the installation , check out this page [ https://dev.mysql.com/downloads/mysql/ ].
TomEE is the application server used in the development and subsequently needed for the running of kcep-mis. Installing tomee is a simple process which is well outlined in this page: [ http://tomee.apache.org/installing-tomee.html ]
1.2 Description
Kcep-mis comes as a web archive- war file [kcep-mis.war ]. Kcep-mis.war is generated by running the clean build command on Netbeans (or any such command on eclipse, or any other IDE used in the development of kcep-mis webapp). When the building is successful the war file will be found in this path: kcep-mis/target/kcep-mis.war. To run this application, one ought to copy this file into the webbaps folder [$CATALINA_HOME/webapps/ ]. The top-level directory of the unpacked TomEE archive is called apache-tomee-plus-x.y.z/. This is the directory referred to as $CATALINA_HOME. After the copying the next step involves starting TomEE Server. To start TomEE process, invoke: $CATALINA_HOME/bin/startup.sh (For Ubuntu OS) or . This will start TomEE as a background process. As TomEE starts, the war file will be extracted and deployed. You can then access kcep-mis on your browser using an address of the form: http://[hosting address]8080/kcep-mis/ where the hosting address is in the format xx.xx.xx.xx.
3.0: Installing and Running kcep-mis
System Manual Page 1-2
When running TomEE in background, it will only print a couple of environment variables. The log messages go to a file : $CATALINA_HOME/logs/catalina.out (there will be a number of these varied by dates) With time changes will be made to the system. These changes will have to be effected. This is handled is by stopping TomEE, deleting kcep-mis.war file and kceip-mis folder from $CATALINA_HOME/webapps/ folder, and repeating the process of deploying a war file but this time, the war file with incorporated changes will be used. To stop TomEE, invoke: $CATALINA_HOME/bin/shutdown.sh
1.3 Known bugs and troubleshooting
The system is prone to failure on request for closure of an evaluation session. This particularly happens during the evaluation assessment that is stimulated on evaluation session closure. The simplest approach in finding a solution to this mishap and any other mishap is by going through the TomEE logs in $CATALINA_HOME/logs folder, specifically the file catalina.out. Normally, the exception will be specified towards the end of this particular file. On getting an understanding on the exception, debugging process starts in a bid to ensure a smooth running of kcep-mis. Any other system malfunction shall be solved following the process explained in the previous paragraph.

4.0. Installing and Running ODK Aggregate
User’s Manual
2.0 INSTALLING AND RUNNING ODK AGGREGATE
5.0 Installing and Running ODK Aggregate
User’s Manual
2.1 Prerequisites
To successfully install and run the system, the below prerequisites need to be installed to the server computer.
The Java SE Runtime Environment (JRE) is required. This should be installed prior to the installation of Apache TomEE. For full details on the installation of JRE, check out this page: [ JDK 8 and JRE 8 Installation Start Here ].
MySQL server this should also be installed prior to installing TomEE. For full details on the installation , check out this page [ https://dev.mysql.com/downloads/mysql/ ].
TomEE is the application server used in the development and subsequently needed for the running of kcep-mis. Installing tomee is a simple process which is well outlined in this page: [ http://tomee.apache.org/installing-tomee.html ]
2.2 Installation Overview
The general sequence for setting up the system is as follows;
Install Tomcat on your server.
Configure your server and network devices so that laptops or Android devices connecting to the internet from an external access point can access your server. You may wish to restrict access to your server to devices directly connected to your local network. In this case, ODK Collect would not be able to access your server (to download forms or upload finalized forms) until the ODK Collect device returns to your site and establishes a direct connection to your local network.
Select and Install your database server (MySQL or PostgreSQL). https://dev.mysql.com/downloads/mysql/
2.3 Description
Odk-mis comes as a web archive- war file [surveys.war ]. surveys.war is generated by running the set up available at https://opendatakit.org/downloads/download-info/odk-aggregate-linux-x64-installer-run/
2.4 General Upgrade Steps
It is recommended that you first use ODK Briefcase to make a copy of all data on your ODK Aggregate before you upgrade. The general steps are:
2.4.1 disable all submissions to ODK Aggregate via the Forms Management tab.
2.4.2 use ODK Briefcase to pull a copy of all data to your computer.
5.0 Installing and Running ODK Aggregate
User’s Manual
2.4.3 search upward in the release notes below, starting from your current ODK Aggregate version to locate the most recent ODK Aggregate version that does not require any manual upgrade steps. e.g., if you were using v1.3, searching upward would reveal that v1.4 required manual upgrade actions. The release prior to that which did not require any manual upgrade actions is v1.3.4. Download that version of ODK Aggreate and upgrade to it (in this case, v1.3.4).
2.4.4 log onto your server to confirm that it is still functioning 2.4.5 download the next ODK Aggregate version, perform the manual upgrade
steps and upgrade to that version (and perform any post-install upgrade steps, if any).
2.4.6 log onto your server to confirm that it is still functioning 2.4.7 repeat 3-6 until current. 2.4.8 enable submissions to ODK Aggregate via the Forms Management tab.
Note that the submission Filter broke beginning with ODK Aggregate 1.4.6, so if you use it, you should upgrade through to at least 1.4.8. Submission filters were fixed in ODK Aggregate 1.4.8. e.g., If you are running 1.3;
Disable submissions Pull all data using ODK Briefcase (this is your catastrophic back-up) Clear your browser cache (the only applicable upgrade step for 1.4) Upgrade to 1.4.2 (you can skip installing 1.3.4 and 1.4 since the only upgrade step was to clear your browser's cache, which doesn't impact your computer or the server). Verify you can login You would then do the upgrade steps for 1.4.3 (installing java 7).
5.0 Installing and Running ODK Aggregate
User’s Manual
And then update to 1.4.3 Verify you can log in And then update to 1.4.5 or 1.4.7 if the submission-filter feature is not important. Verify you can log in Enable submissions. Note that you need to know the exact "instance name" that was used in prior installs in order for your username and password to continue to work. If you add a space or change capitalization or spelling, the passwords will be invalid (you just need to re-run the installer with the correct string to correct the problem).
5.0 Installing and Running ODK Aggregate
User’s Manual
3.0 INSTALLING AND RUNNING ODK COLLECT
5.0. Installing and Running ODK Mobile App
User’s Manual Page 3-1
3.1 Prerequisites
You will need an Android device to install ODK Collect.
There must be an external SD Card on the device. Most Android 4.x devices have one of these built-in. Older Android 2.x devices generally do not and require that one be installed (typically in a slot near your SIM card). If ODK Collect fails to start, it is likely because the SDCard has become unseated or is missing. Re-seat or install the SDCard and try again.
3.2 Downloading from Google Play 3.2.1 From your device's application drawer, choose the Play Store. 3.2.2 Search for "ODK" and choose "ODK Collect" from "Open Data Kit". 3.2.3 Select that result and click the Install button. Click OK after viewing the
security settings. 3.2.4 Download the Zxing Barcode Scanner using the same method.
3.3 Downloading from Web 3.3.1 From your device's application drawer, choose Settings, then Applications.
Make sure Unknown sources is checked. 3.3.2 Return to the application drawer and choose Browser. Navigate
to downloads/download-category/collect/ and download ODK Collect v N.N.N.apk
3.3.3 In the download window, you will see ODK_Collect_vN.N.N.apk. Select it to download the file. On older devices, the APK will automatically install after you approve the security settings. On newer devices, you must go to the download list, rename the file to restore the .apk extension (the extension will have been renamed to .man during the download process), then click on it to install it.
3.3.4 If you would like to use the barcode scanning capabilities, you should find and install the Zxing Barcode Scanner in the market, or at https://github.com/zxing/zxing.
3.4 Using the Application 3.4.1 ODK Collect will appear in your application drawer. Select it to launch the
application. 3.4.2 Configure the app to connect to the server. 3.4.3 To change ODK Collect preferences, press your device's dedicated Menu
button when you are in the ODK Collect start screen. On Android 3.x and 4.x devices without a dedicated Menu button, the Menu button functions
5.0. Installing and Running ODK Mobile App
User’s Manual Page 3-2
are accessed through the narrow vertical glyph of three-small-squares displayed in the top right of the menu bar.
3.5 Useful Notes
The Android emulator is slow and buggy. If you can deploy on a real Android device, we highly recommend that approach.
Once you are satisfied with how Collect works, you will likely want to setup your own private of Aggregate to store your own forms and data. Use these instructions.
Your application url must be given to Collect before it will get forms from and submit data to your copy of Aggregate. In Collect's Main Menu, press the Menu button. Select Change Settings to set http:// http://www.kcep-mis.co.ke:8080/surveys/ as the server URL.
Forms you design do not have to be uploaded to Aggregate for them to be used. They can be manually added to the device. Simply place them in the /odk/forms folder on your Android device's SD card.
Like forms, data does not have to be sent to Aggregate. You write an HTTP post to any web server or use an offline processor like Kobo Post Processor. You can also retrieve them from /odk/instances folder on your Android device's SD card.
If you want to debug what Android or Collect is doing, install the Android SDK and adb logcat to get a trace.
Use the Android SDK's adb tool if you need to install/uninstall the ODK Collect APK file when you are without an Internet connection.
If you'd like to fill out forms in a web browser (say, on a laptop), try Enketo or PurcForms orTouchForms.
7.0: Appendices
User’s Manual Page 4-1
4.0 SYSTEM LICENCES