Embed Size (px)
Citation preview
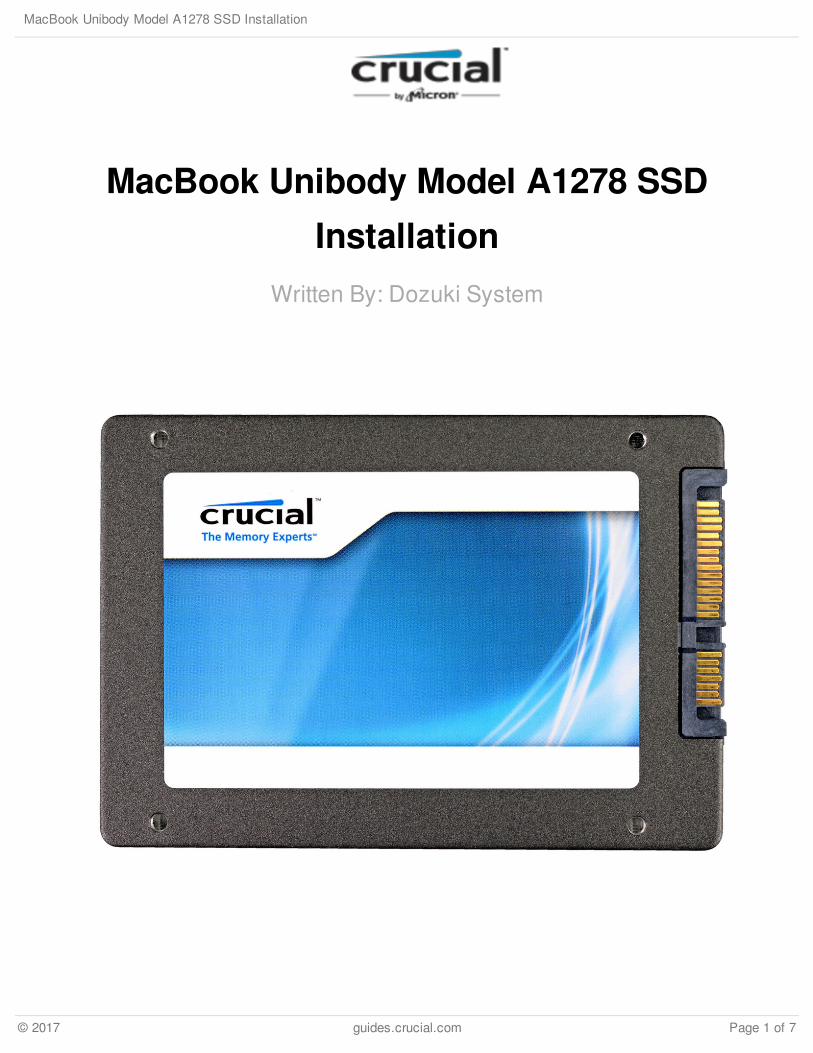
MacBook Unibody Model A1278 SSDInstallation
Written By: Dozuki System
MacBook Unibody Model A1278 SSD Installation
© 2017 guides.crucial.com Page 1 of 7
INTRODUCTION
When replacing your hard drive, you must transfer the Torx screws from the old drive to the newone.
Some drive bays have a height of 7 mm, while others have a height of 9.5 mm. Depending onthe size of your drive bay, you may need to use a spacer to make your SSD fit properly.
TOOLS:Phillips #00 Screwdriver (1)
Spudger (1)
T6 Torx Screwdriver (1)
PARTS:SSD Upgrade Kit (1)
MacBook Unibody Model A1278 SSD Installation
© 2017 guides.crucial.com Page 2 of 7
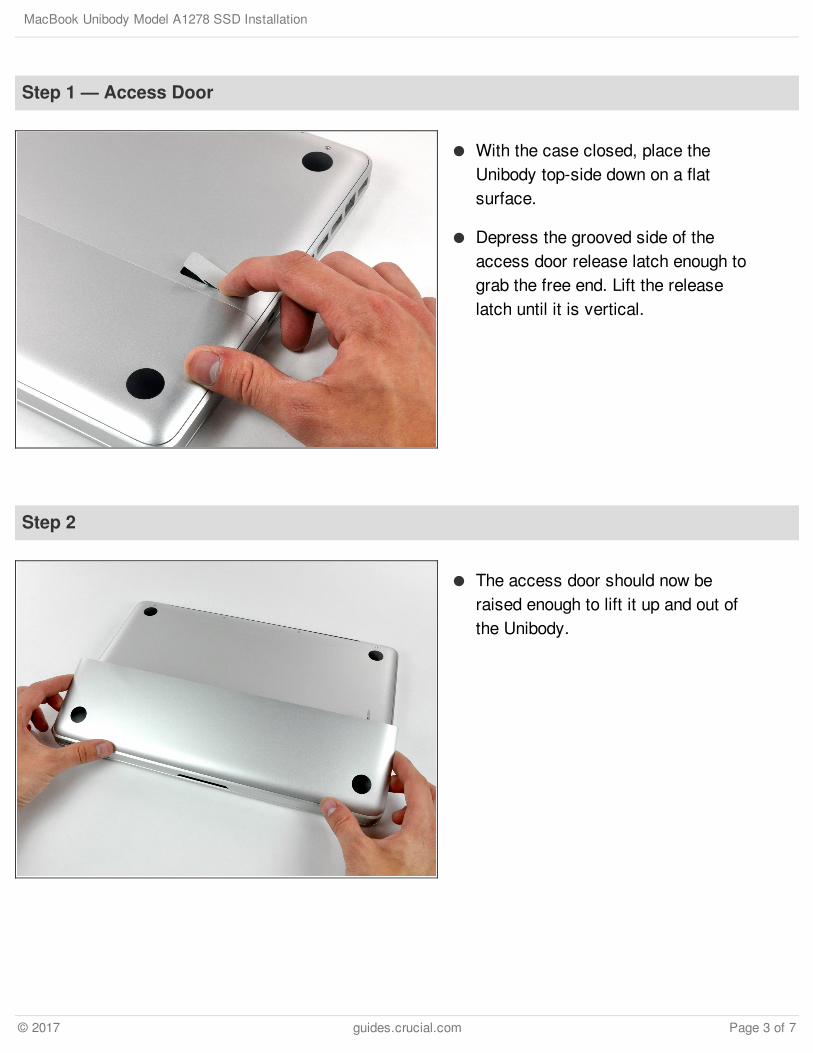
Step 1 — Access Door
With the case closed, place theUnibody top-side down on a flatsurface.
Depress the grooved side of theaccess door release latch enough tograb the free end. Lift the releaselatch until it is vertical.
Step 2
The access door should now beraised enough to lift it up and out ofthe Unibody.
MacBook Unibody Model A1278 SSD Installation
© 2017 guides.crucial.com Page 3 of 7
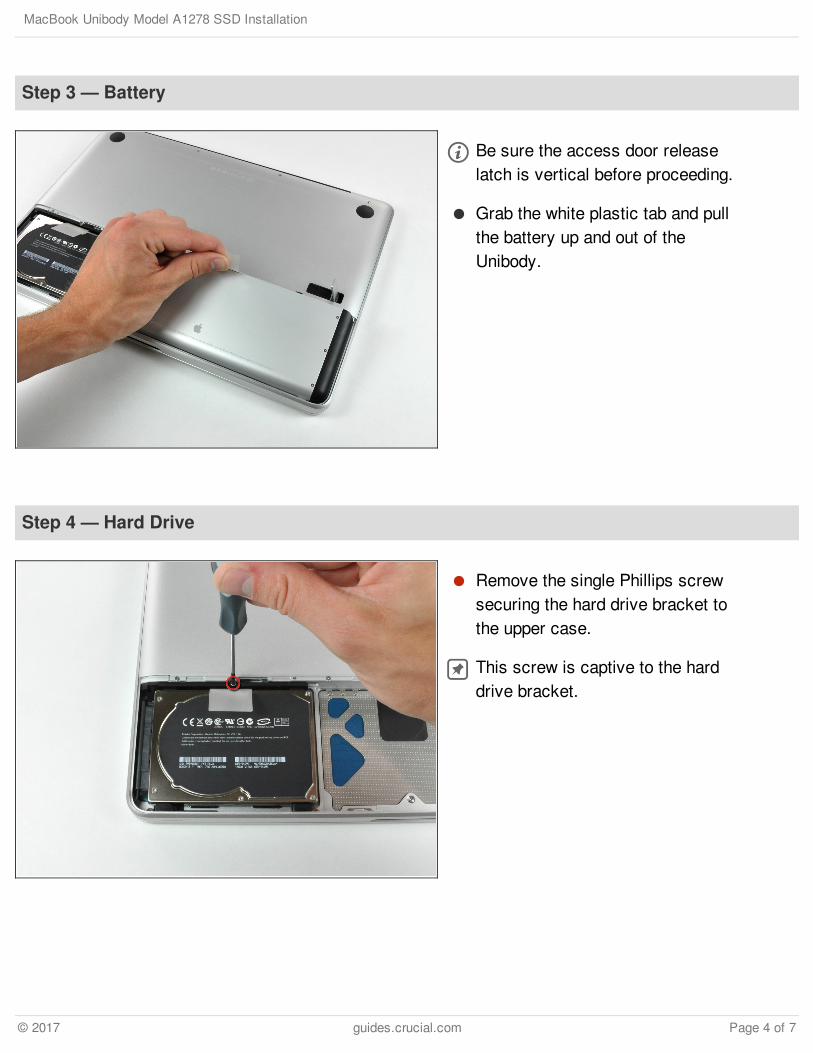
Step 3 — Battery
Be sure the access door releaselatch is vertical before proceeding.
Grab the white plastic tab and pullthe battery up and out of theUnibody.
Step 4 — Hard Drive
Remove the single Phillips screwsecuring the hard drive bracket tothe upper case.
This screw is captive to the harddrive bracket.
MacBook Unibody Model A1278 SSD Installation
© 2017 guides.crucial.com Page 4 of 7

Step 5
Lift the hard drive by its pull tabenough to grab and remove theretaining bracket.
Lift the hard drive out of the chassis,minding the cable attaching it to thecomputer.
Step 6
Remove the hard drive from itscable by pulling the cable connectorstraight away from the drive.
MacBook Unibody Model A1278 SSD Installation
© 2017 guides.crucial.com Page 5 of 7
To reassemble your device, follow these instructions in reverse order.
This document was last generated on 2017-06-16 03:09:14 PM.
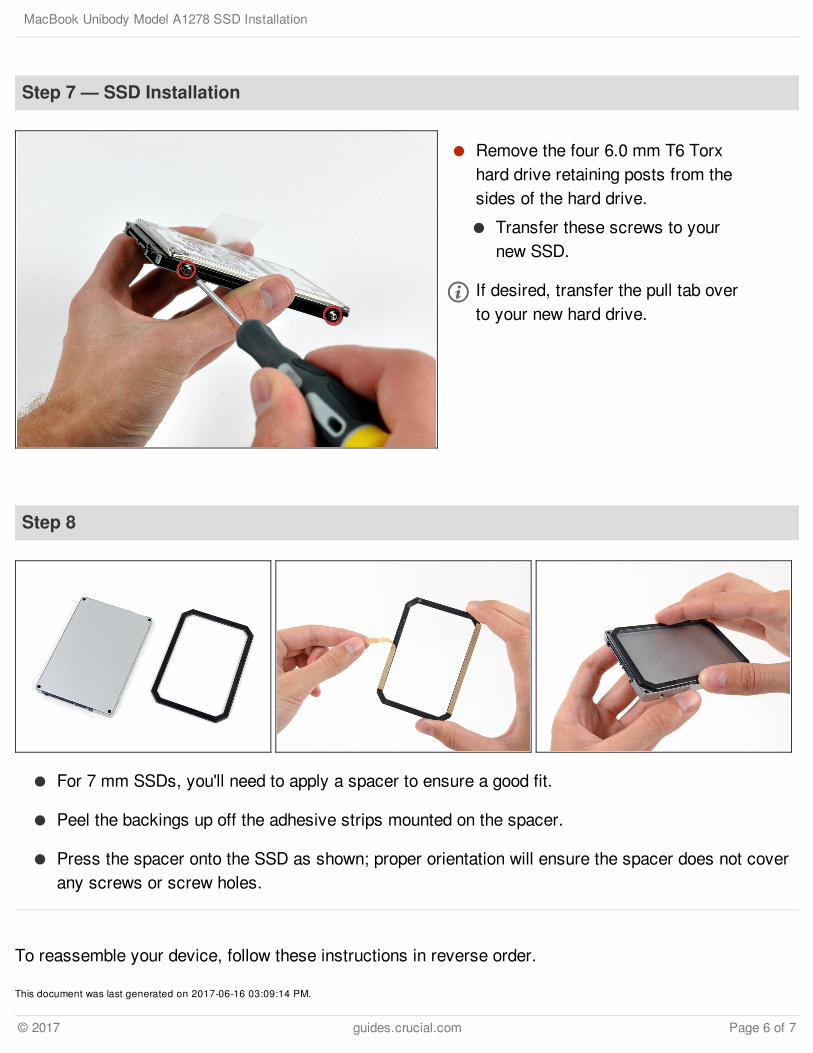
Step 7 — SSD Installation
Remove the four 6.0 mm T6 Torxhard drive retaining posts from thesides of the hard drive.
Transfer these screws to yournew SSD.
If desired, transfer the pull tab overto your new hard drive.
Step 8
For 7 mm SSDs, you'll need to apply a spacer to ensure a good fit.
Peel the backings up off the adhesive strips mounted on the spacer.
Press the spacer onto the SSD as shown; proper orientation will ensure the spacer does not coverany screws or screw holes.
MacBook Unibody Model A1278 SSD Installation
© 2017 guides.crucial.com Page 6 of 7

MacBook Unibody Model A1278 SSD Installation
© 2017 guides.crucial.com Page 7 of 7