Embed Size (px)
Citation preview
Multimedia
Photography
1
Lesson Objectives
Identify features of a digital camera
Identify types of composition techniques
Capture still-shot images using a digital camera
Transfer still-shot images to memory device
Enhance photographs by using digital manipulation software
2
Digital Camera FeaturesMost cameras have the same basic
features: Battery – replace or recharge as needed
Power On/Off switch – switch camera off when not in use to preserve battery life
Lens – keep clean from dust/fingerprints; clean with soft cloth
Viewing screen – keep clean from dust/fingerprints; clean with soft cloth
Memory – removable card or internal memory
Strap – for carrying purposes
3
Camera Phone Differences
Most camera phones are simpler than separate digital cameras.
Their fixed-focus lenses and smaller sensors limit their performance in poor lighting.
Optical zoom and tripod screws are rare and none has a hot shoe for attaching an external flash.
Some also lack a USB connection or a removable memory card.
Most have Bluetooth and WiFi, and can make geotagged photographs. 4

The Power of Camera PhonesCitizen Journalism
Nearly everyone has the capacity to take photos, capture video-as well as tweet/share world events in real time. Police officer shot a man handcuffed,
unarmed and on the ground claiming self-defense. Cell phone footage showed the actual event.
The 2010 Moscow Metro bombings showed different perspectives of the story from people who experienced the tragedy first-hand.
5

STORY TELLING
who, what, when, where, why and how

STORY-TELLING | SHOW THE SETTING
Also called an establishing shot

STORY-TELLING | SHOW THE SETTING
Also called an establishing shot

STORY-TELLING | SHOW DETAILS

STORY-TELLING | SHOW DETAILS

STORY-TELLING | SHOW EMOTION

STORY-TELLING | SHOW EMOTION

STORY-TELLING | SHOW ACTION

STORY-TELLING | SHOW ACTION

STORY-TELLING | SHOW REACTIONS

STORY-TELLING | SHOW REACTIONS

STORY-TELLING | REPETITION
COMPOSITION
Photos should be composed with the same care taken in reporting, writing
and editing.
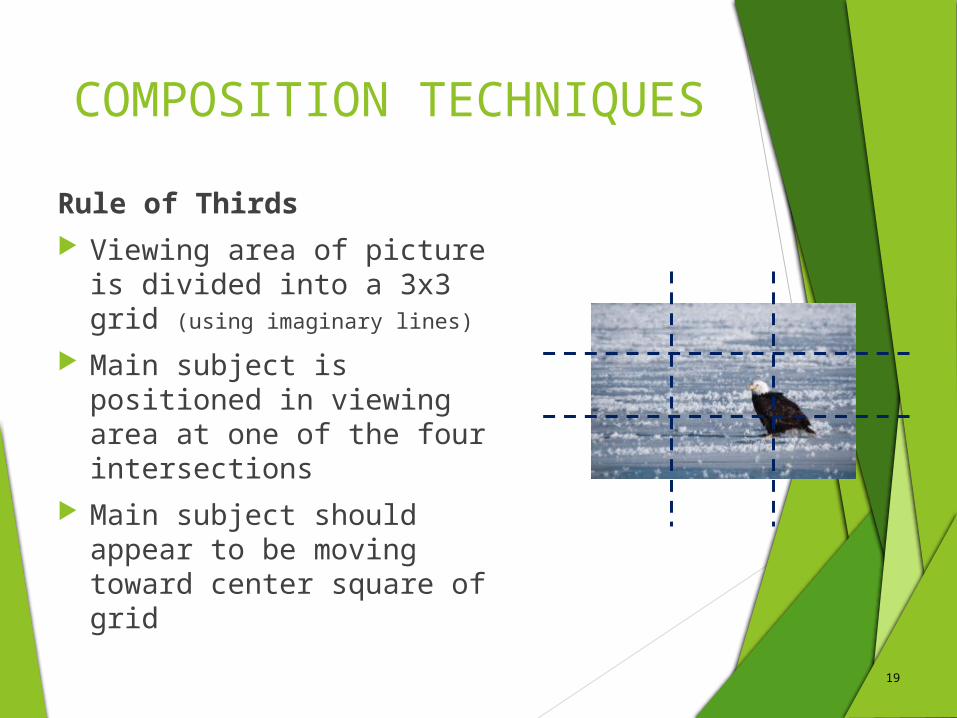
COMPOSITION TECHNIQUES
Rule of Thirds Viewing area of picture is
divided into a 3x3 grid (using imaginary lines)
Main subject is positioned in viewing area at one of the four intersections
Main subject should appear to be moving toward center square of grid
19

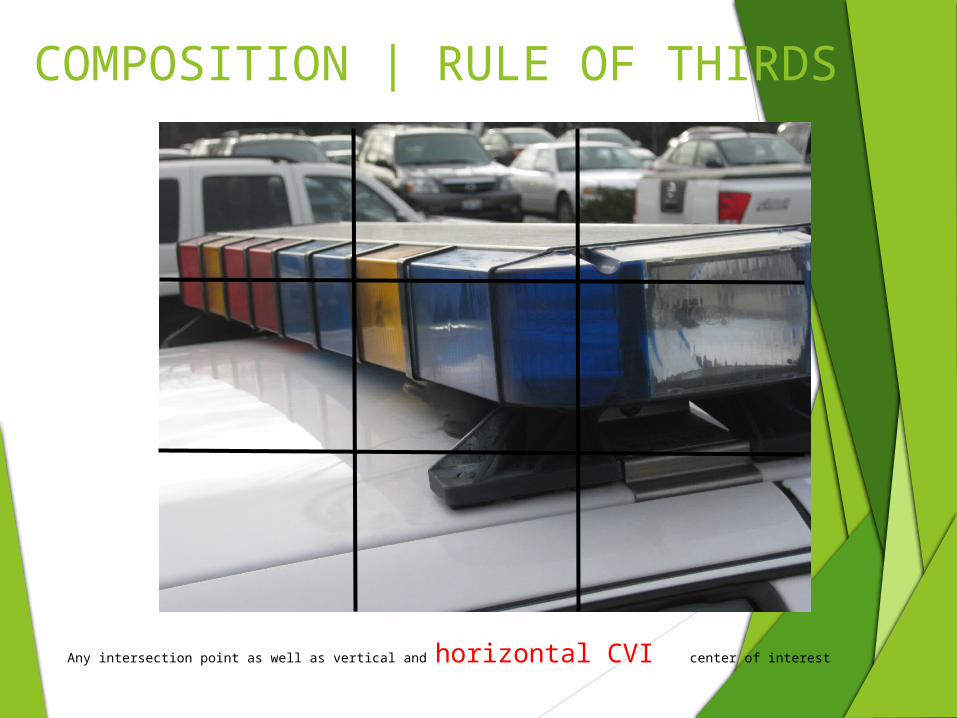
COMPOSITION | RULE OF THIRDS
Any intersection point as well as vertical and horizontal CVI center of interest
COMPOSITION | RULE OF THIRDS
Any intersection point as well as vertical and horizontal CVI center of interest
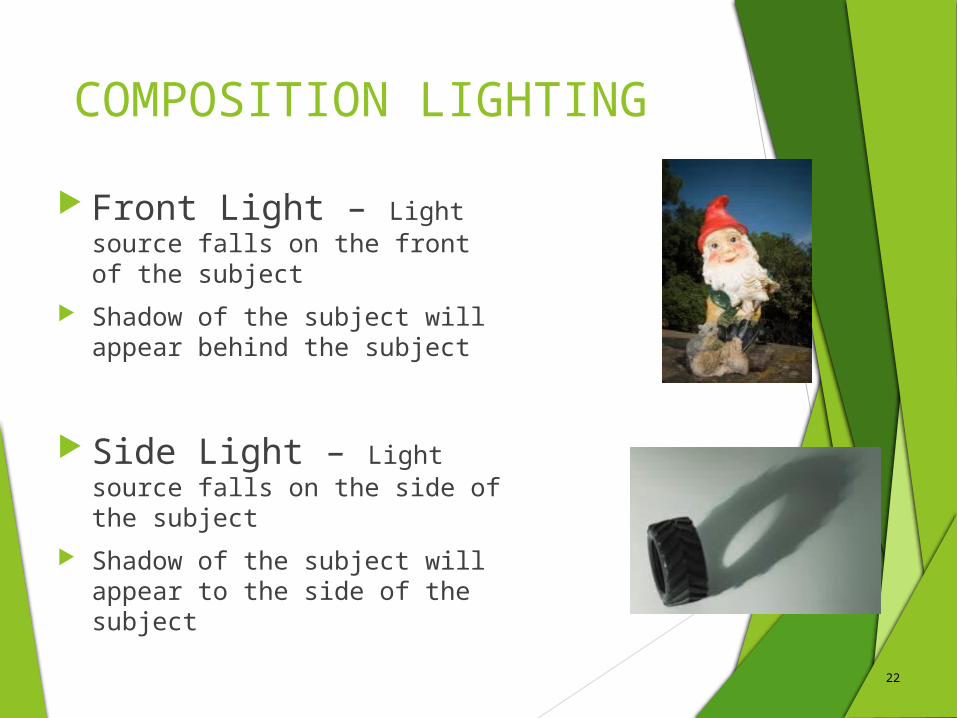
COMPOSITION LIGHTING
Front Light – Light source falls on the front of the subject
Shadow of the subject will appear behind the subject
Side Light – Light source falls on the side of the subject
Shadow of the subject will appear to the side of the subject
22
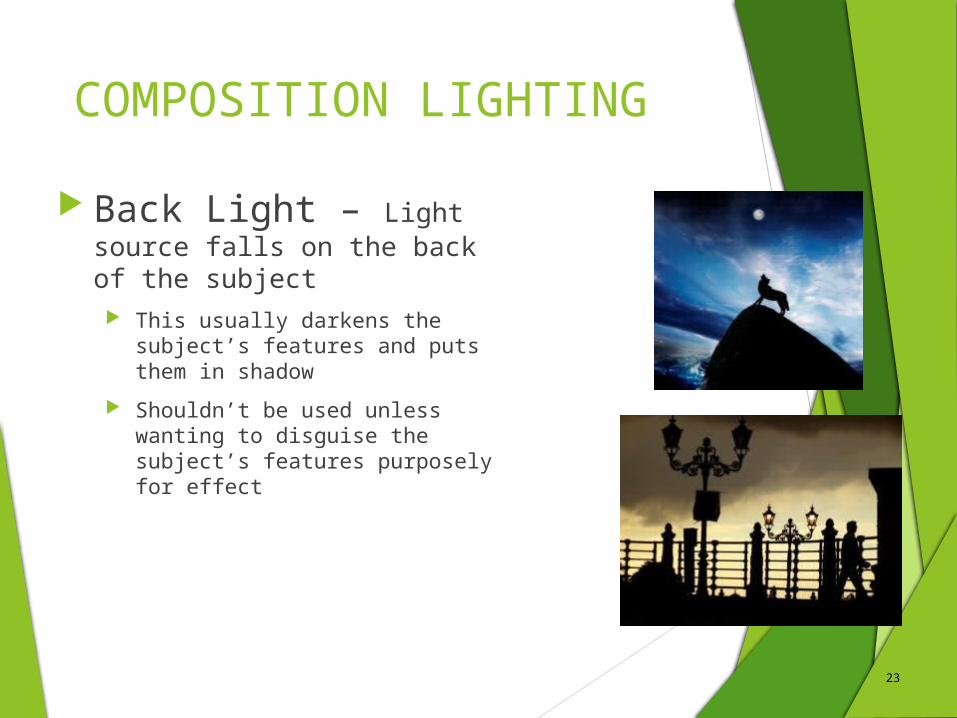
COMPOSITION LIGHTING
Back Light – Light source falls on the back of the subject This usually darkens the subject’s
features and puts them in shadow
Shouldn’t be used unless wanting to disguise the subject’s features purposely for effect
23
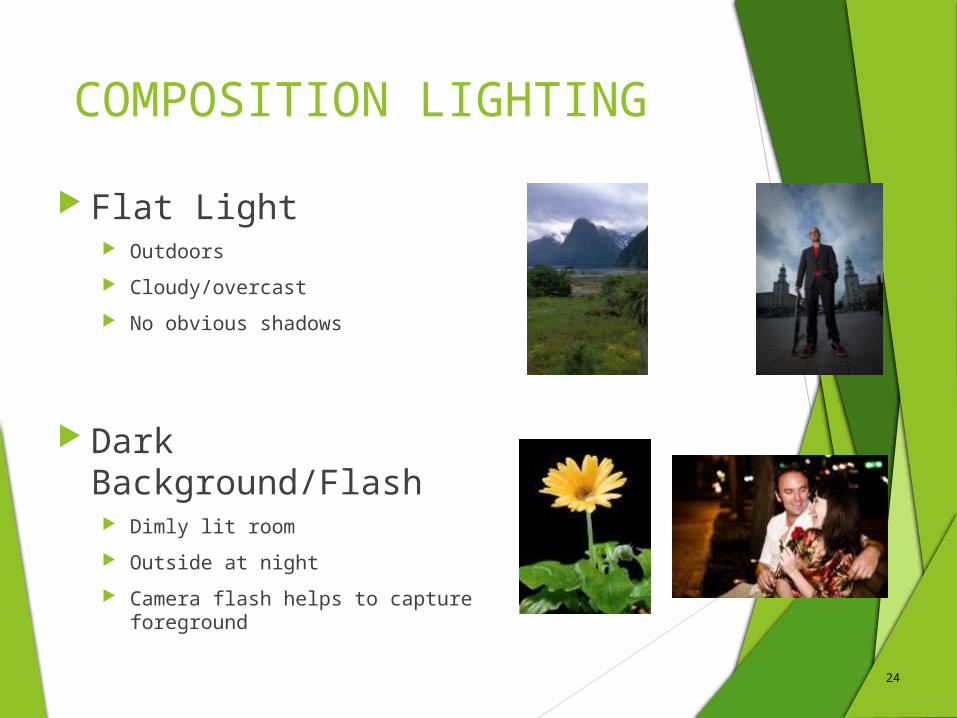
COMPOSITION LIGHTING
Flat Light Outdoors
Cloudy/overcast
No obvious shadows
Dark Background/Flash Dimly lit room
Outside at night
Camera flash helps to capture foreground
24
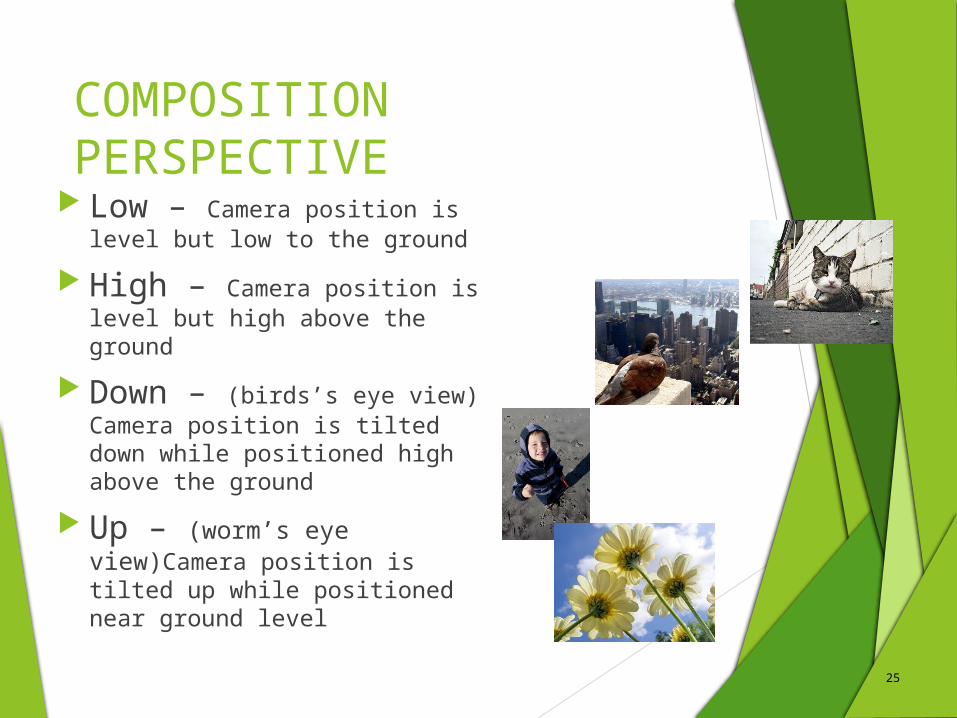
COMPOSITION PERSPECTIVE
Low – Camera position is level but low to the ground
High – Camera position is level but high above the ground
Down – (birds’s eye view) Camera position is tilted down while positioned high above the ground
Up – (worm’s eye view)Camera position is tilted up while positioned near ground level
25
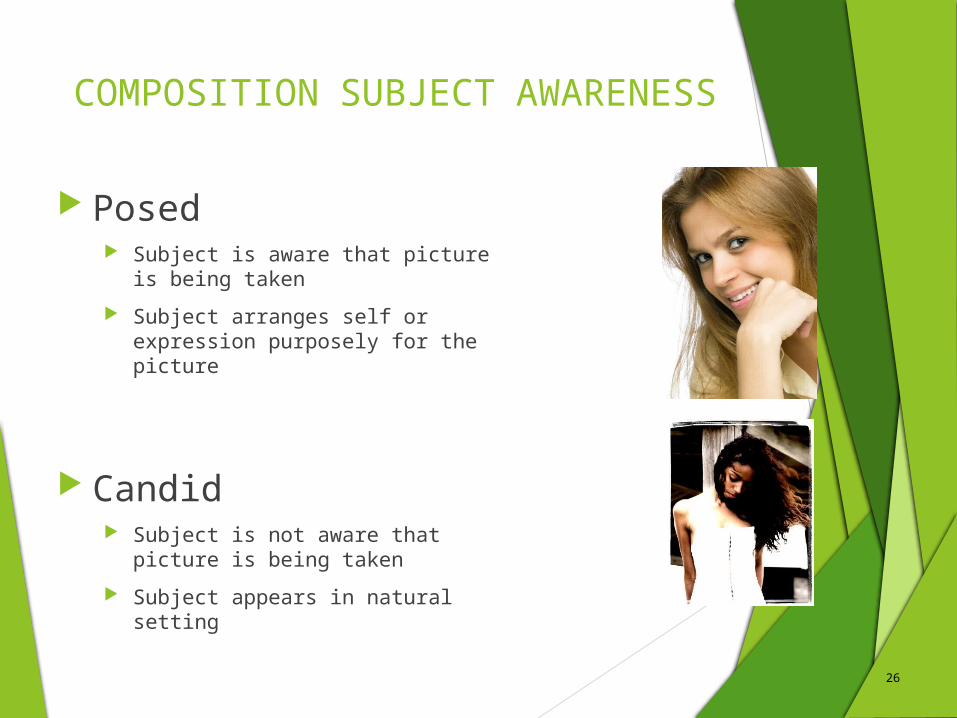
COMPOSITION SUBJECT AWARENESS
Posed Subject is aware that picture is
being taken
Subject arranges self or expression purposely for the picture
Candid Subject is not aware that picture
is being taken
Subject appears in natural setting
26
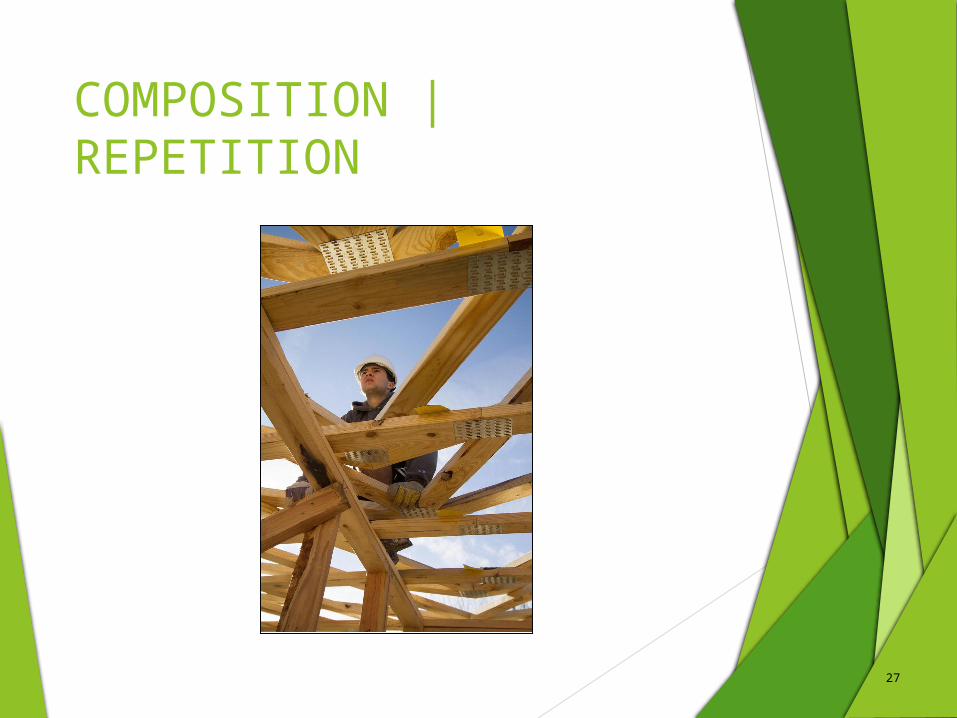
COMPOSITION | REPETITION
27
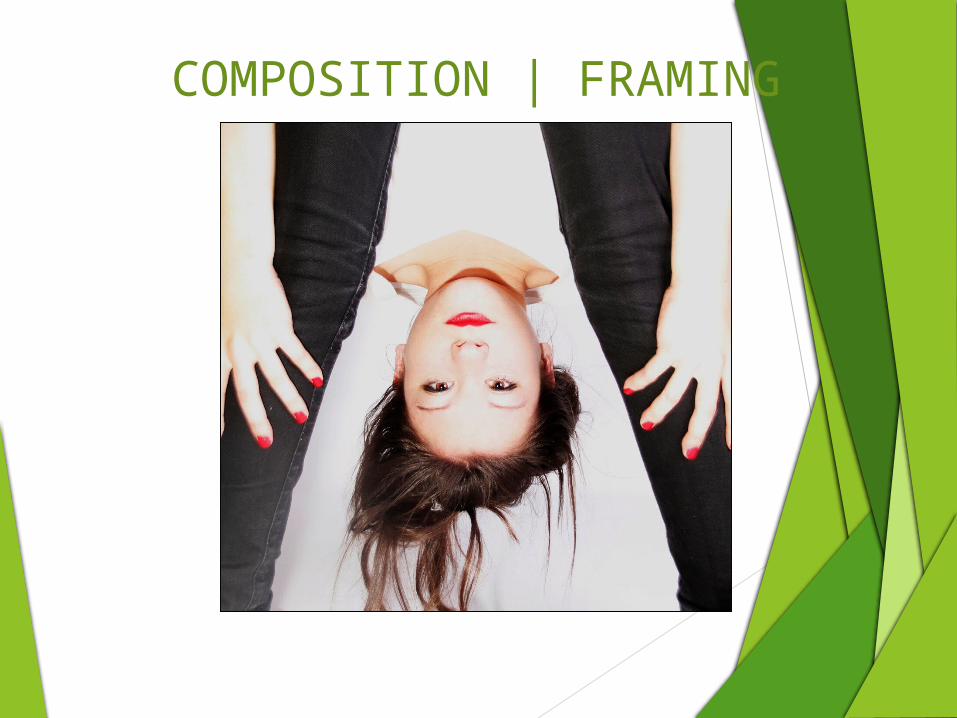
COMPOSITION | FRAMING
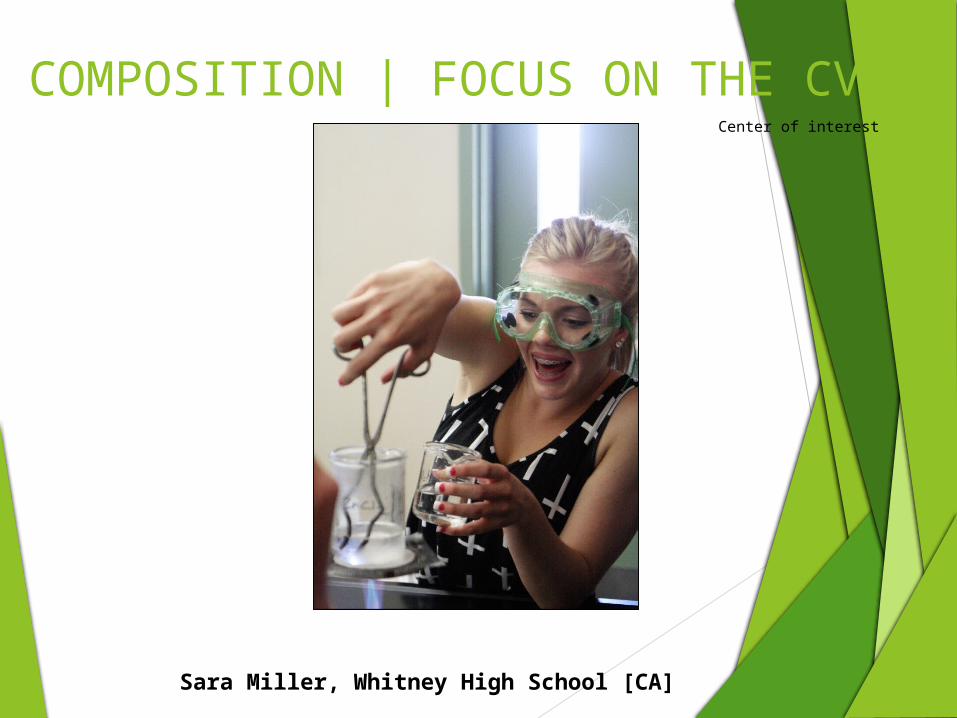
Sara Miller, Whitney High School [CA]
COMPOSITION | FOCUS ON THE CVICenter of interest
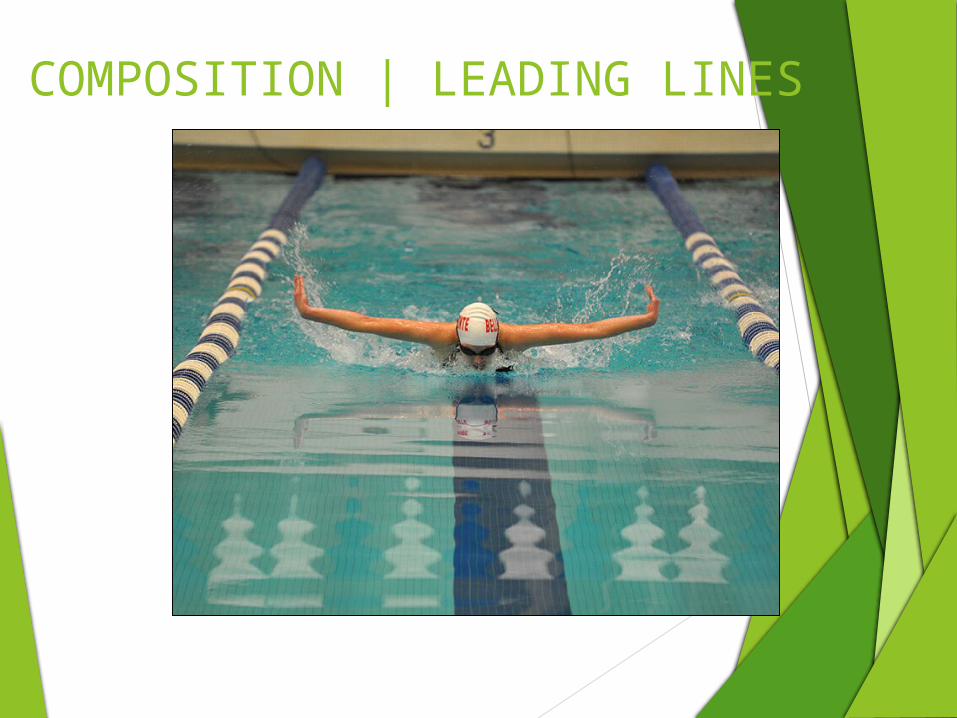
COMPOSITION | LEADING LINES
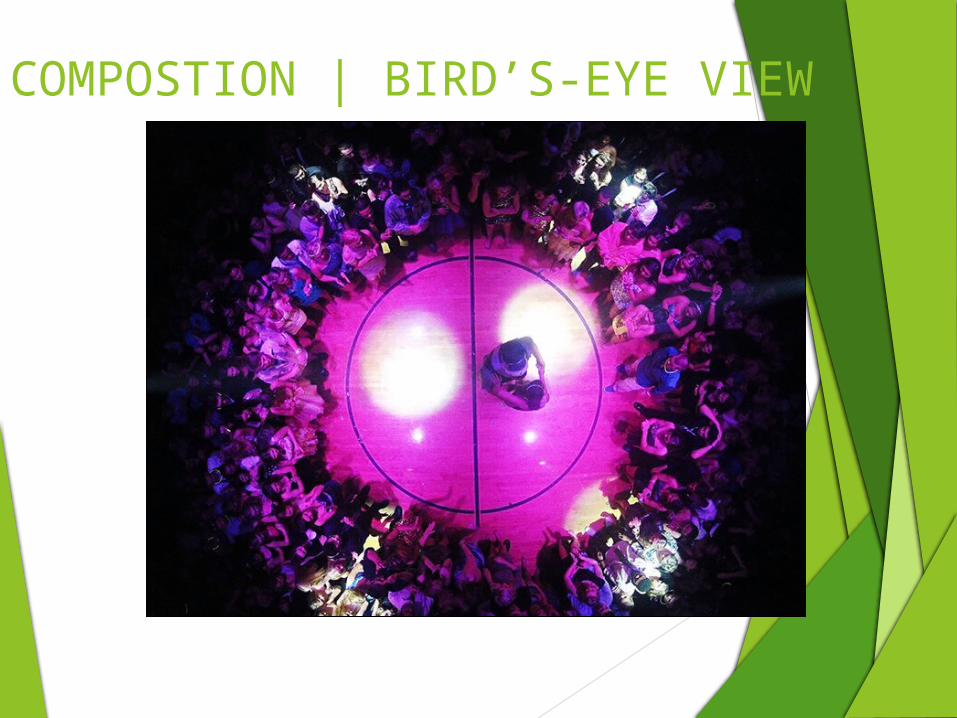
COMPOSTION | BIRD’S-EYE VIEW
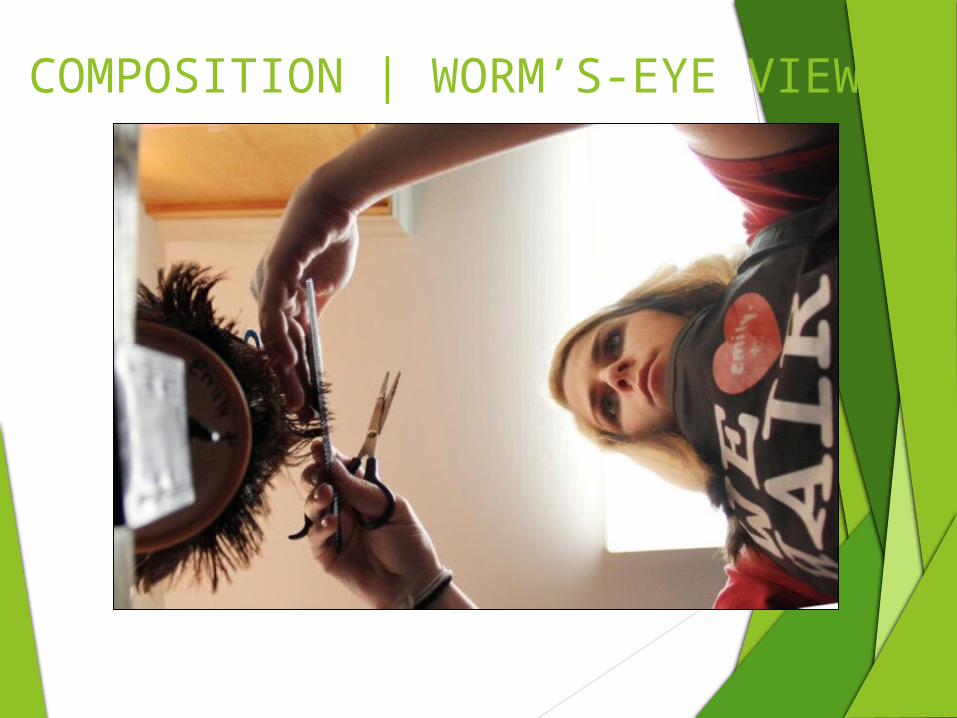
COMPOSITION | WORM’S-EYE VIEW
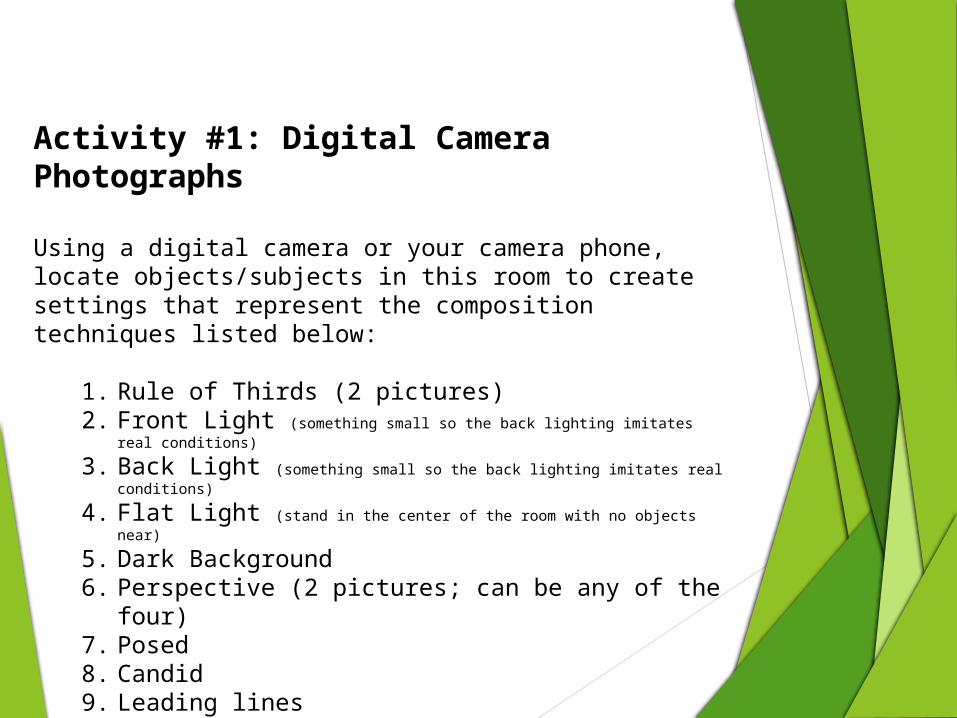
Activity #1: Digital Camera Photographs
Using a digital camera or your camera phone, locate objects/subjects in this room to create settings that represent the composition techniques listed below:
1. Rule of Thirds (2 pictures) 2. Front Light (something small so the back lighting imitates real conditions)
3. Back Light (something small so the back lighting imitates real conditions)
4. Flat Light (stand in the center of the room with no objects near)
5. Dark Background 6. Perspective (2 pictures; can be any of the four) 7. Posed 8. Candid 9. Leading lines10. Framing
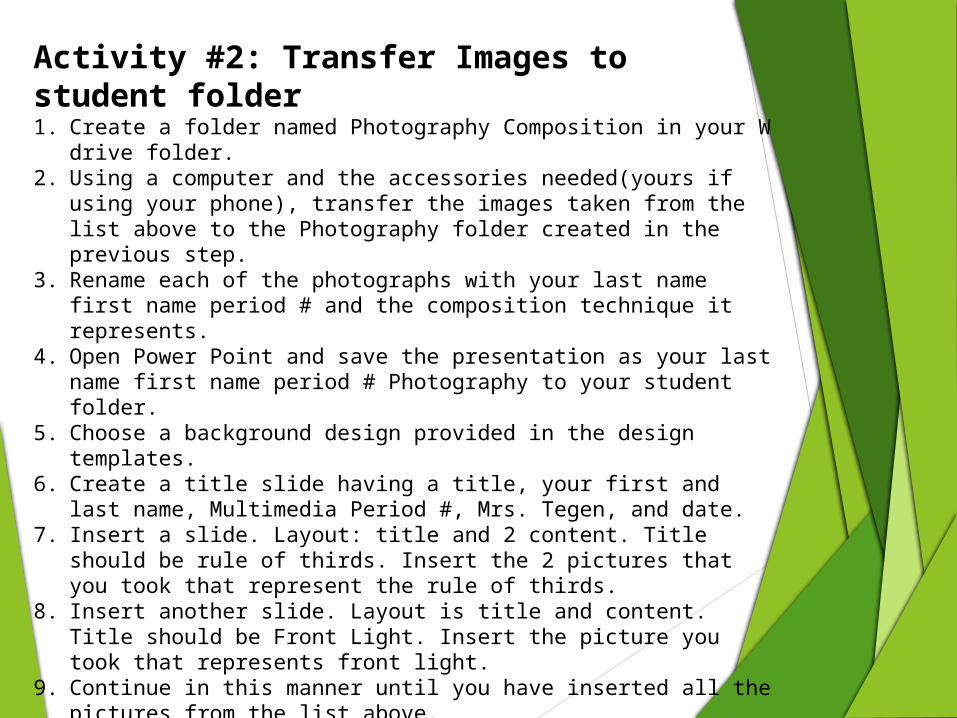
Activity #2: Transfer Images to student folder1. Create a folder named Photography Composition in your W drive folder.2. Using a computer and the accessories needed(yours if using your phone), transfer
the images taken from the list above to the Photography folder created in the previous step.
3. Rename each of the photographs with your last name first name period # and the composition technique it represents.
4. Open Power Point and save the presentation as your last name first name period # Photography to your student folder.
5. Choose a background design provided in the design templates.6. Create a title slide having a title, your first and last name, Multimedia Period #,
Mrs. Tegen, and date.7. Insert a slide. Layout: title and 2 content. Title should be rule of thirds. Insert the 2
pictures that you took that represent the rule of thirds.8. Insert another slide. Layout is title and content. Title should be Front Light. Insert
the picture you took that represents front light.9. Continue in this manner until you have inserted all the pictures from the list
above.10. The Rule of Thirds slide and the Perspective slide should have two pictures on
them. All other slides should have only one picture.11. Create a THE END slide.12. Save changes.13. Submit an electronic copy to your instructor.