Embed Size (px)
Citation preview
MVR 2.0 Quick Start Guide
This guide will show you how to get started quickly, select your MVR phone number, and get your basic system set up and ready to start generating inbound lead calls…all in a matter of minutes.
For Client Support [email protected]
or call 800.959.3959 ext. 2

Step #1 – Login
Go to: https://beta.proquesttechnologies.com
New Users: Username: Your email address Password: proquest (all lower-case letters) * Your first login you will be asked to change your password.
Current Users: Username: Your current username Password: Your current password
Step #2 - Pick Your Phone Number
You can choose a local number or an 800 number. Just type your area code, or 800 if you want an 800 number, in the area code field and it will give you a list of numbers to choose from. Choose one and click “Set Up Your Number”.

This is the first screen you will see once you are logged into the system.

Hover over the Beta Team contact record and click the message icon to read your welcome message.
Step #3 - Click the Extension Icon in the Left Column
You’ll notice three sample property recordings and five free seller report extensions set up in your system. The Listing recordings are samples. The free report extensions are live and ready to use.

Step 4 - Download the Appropriate App for Your Phone
iPhone Users - Click Here
Android Users - Click Here
Step 5 - Login to Your MVR 2.0 Mobile App
Step 6 - Call Your MVR Number from a Different Phone Call your new MVR number from a different phone and enter extension 1001. Listen to the recording and then your mobile phone will vibrate and play our Proquest Technologies ringtone.

Step 7 - Tap the notification and swipe your screen When you get a notification it will look like the image on the left. Tap the notification and it brightens, highlighting it. Then swipe your screen below the notification. It will open your phone’s dialer. Tap dial button and you’ll be connected to your MVR system.
Step 8 - Prepare to Have a Conversation with a Prospect. Once the app connects you will hear a message telling you how many seconds before the prospect is going to say “Yes.” Once those few seconds pass, you’ll hear, “The caller is ready begin talking now.”
That’s when you’ll use the scripts in your action plan to answer appropriately. For a listing it will be, “Hi, this is (your name), which property may I get photos and pricing for you today, please?” For a report it’s, “Hi, this is (your name), which free report may I send you today, please?” Now you’re in a live conversation with a prospect.
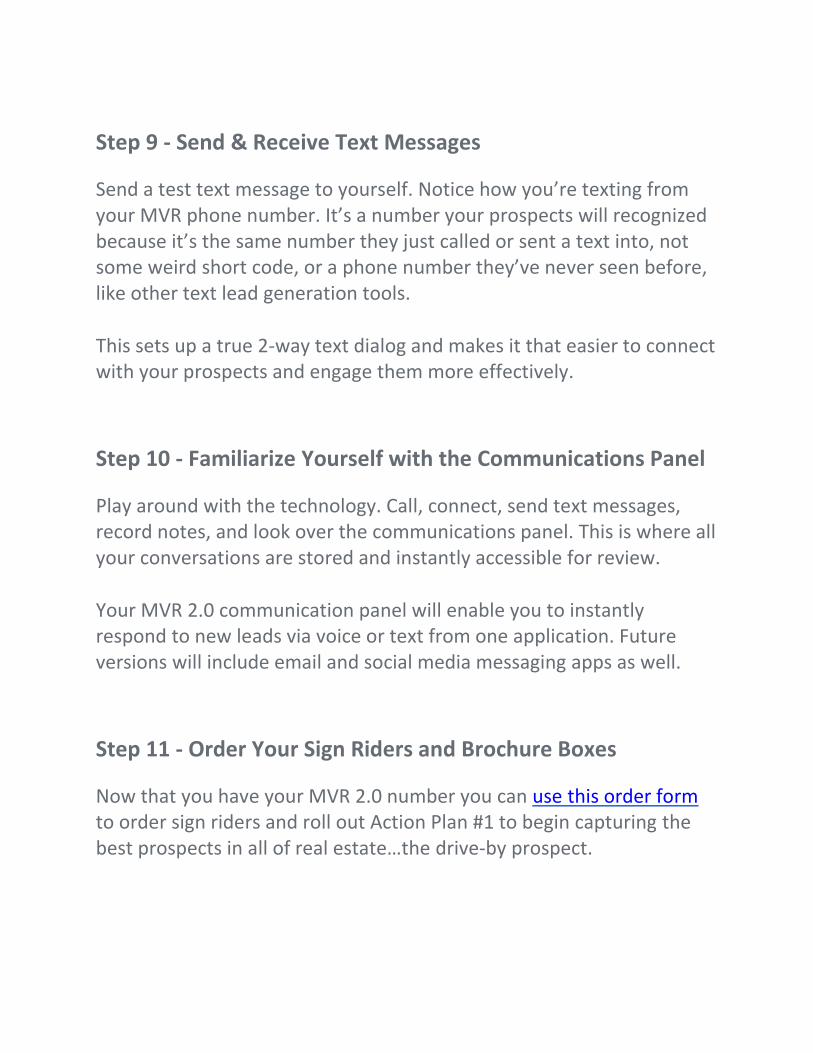
Step 9 - Send & Receive Text Messages
Send a test text message to yourself. Notice how you’re texting from your MVR phone number. It’s a number your prospects will recognized because it’s the same number they just called or sent a text into, not some weird short code, or a phone number they’ve never seen before, like other text lead generation tools. This sets up a true 2-way text dialog and makes it that easier to connect with your prospects and engage them more effectively.
Step 10 - Familiarize Yourself with the Communications Panel
Play around with the technology. Call, connect, send text messages, record notes, and look over the communications panel. This is where all your conversations are stored and instantly accessible for review. Your MVR 2.0 communication panel will enable you to instantly respond to new leads via voice or text from one application. Future versions will include email and social media messaging apps as well.
Step 11 - Order Your Sign Riders and Brochure Boxes
Now that you have your MVR 2.0 number you can use this order form to order sign riders and roll out Action Plan #1 to begin capturing the best prospects in all of real estate…the drive-by prospect.

Step 12 - Begin Setting Up Your Automated Info Extensions
Click the second icon in the far left column to open the Extension management window. Then click the ADD NEW EXTENSION link at the bottom of the window.
It will open the add new extension dialog box…
Enter the extension number you wish to create. Select the type of extension, a listing or a report. Then click “Save and Edit” to be taken to the following screen.

Click to plus sign and select Text to Speech
Enter text in the box, click button on the right to create your recording, and then click the blue checkmark to save the recording and you’re done. Your recording is ready to go and you can begin your marketing.

If you wish to change any of our default setting which are designed to push every opportunity to a live conversation, you can change those options in the window below the recording.
Most of the other features and settings in your MVR 2.0 portal are fairly self-explanatory and should be fairly easy to navigate. However, if you have questions or comments please text the Beta Team through the communications panel and we will respond quickly. Also, there is a series of brief tutorials in the training portal you can refer to for help with the setup process. Thank you for joining us! …and here’s to your continued real estate success! Your Client Support Team 800.959.3959 ext.2