Embed Size (px)
DESCRIPTION
describe about internet cables/ patch cords
Citation preview
1. How to Make CROSS & STRAIGHT cable
STEP 1: Choose the right cable…1. To Connect PC to PC Cross Cable.
2. To Connect PC to HUB/SWITCH/ROUTER Straight Cable.
3. To Connect HUB/SWITCH/ROUTER to HUB/SWITCH/ROUTERStraightCable
STEP 2: Understanding CAT 5 Cables…
Wires: CAT 5 Cable has 4 pairs of copper wire inside it.
Colors: Standard cables has BROWN, BROWN WHITE, GREEN, GREEN- WHITE, BLUE, BLUE WHITE, ORANGE, ORANGE WHITE.
STEP 3: Making Straight Cable…
Nomenclature: let us first give a number scheme for cabling which we will follow throughout this tuto. BROWN (8), BROWN WHITE (7), GREEN (6), GREEN WHITE (3), BLUE (4), BLUE WHITE (5), ORANGE (2), ORANGE WHITE (1)
Requirements: Two RJ45 Connectors, Crimping tool & CAT 5 cable of desired length(less than 250 meters).
STEP 3.1:
There are two standards adopted for Cabling EIA/TIA 568A & EIA/TIA 568B.
When you use single standard (either EIA/TIA 568A or EIA/TIA 568B) on both the end of cable then the resulting cable is STRAIGHT CABLE.
On the other hand if you use different cabling standard on the ends of cable then the resulting cable is CROSS CABLE
I’ll use EIA/TIA 568B standard for creating cross and straight cable
The figure below very well define the EIA/TIA 568B standard…
1. Remove the covering of CAT 5 cable.2. Straighten the eight wires of the cable.3. Using Crimping tool’s cutter cut the end of wires so that they are of same length4. Arrange the wire in order 1, 2, 3, 4, 5, 6, 7 & 8 respectively as I have mention or as shown in the diagram.5. Insert the arranged cable in the RJ45 connector with clip pointing down exactly as shown in the figure.
6. In crimping tool insert the head of RJ45 connector and crimp (press) it hardly.7. Follow same step with same color order for the other end of cable too.8. The wire you made by following these steps is a STRAIGHT cable.
STEP 4: Making CROSS Cable…
Of the Eight wires in Cat 5 not all are used for data transfer when using 100Mbps Ethernet card. Only 2 pairs of cable are used i.e. 2 wire fortransmitting signal and two wires for receiving signal.Following diagram describes what I want to say:
So now you can guess why we have to make CROSS CABLE for connecting same kind of devices. Because if use same color coding on both the side than transmitter of one m/c will send data to transmitter of another and data packets will lost, so we have to change wiring code so that transmitter of one connects to reciver of other and vice-versa.Reference diagram:
Here are the Steps:Steps 1 to 6 are same as for STRAIGHT through cables7. Only difference is in color coding of other side of wire.8. Wire that is on 1st number on A-side (one end) should be on 3rd number on B-side (other side) & vice-versa.9. Wire that is on 2st number on A-side (one end) should be on 6rd number on B-side (other side) & vice versa. 10. Now Crimp the RJ45 connector.11. Your CROSS wire is completed.
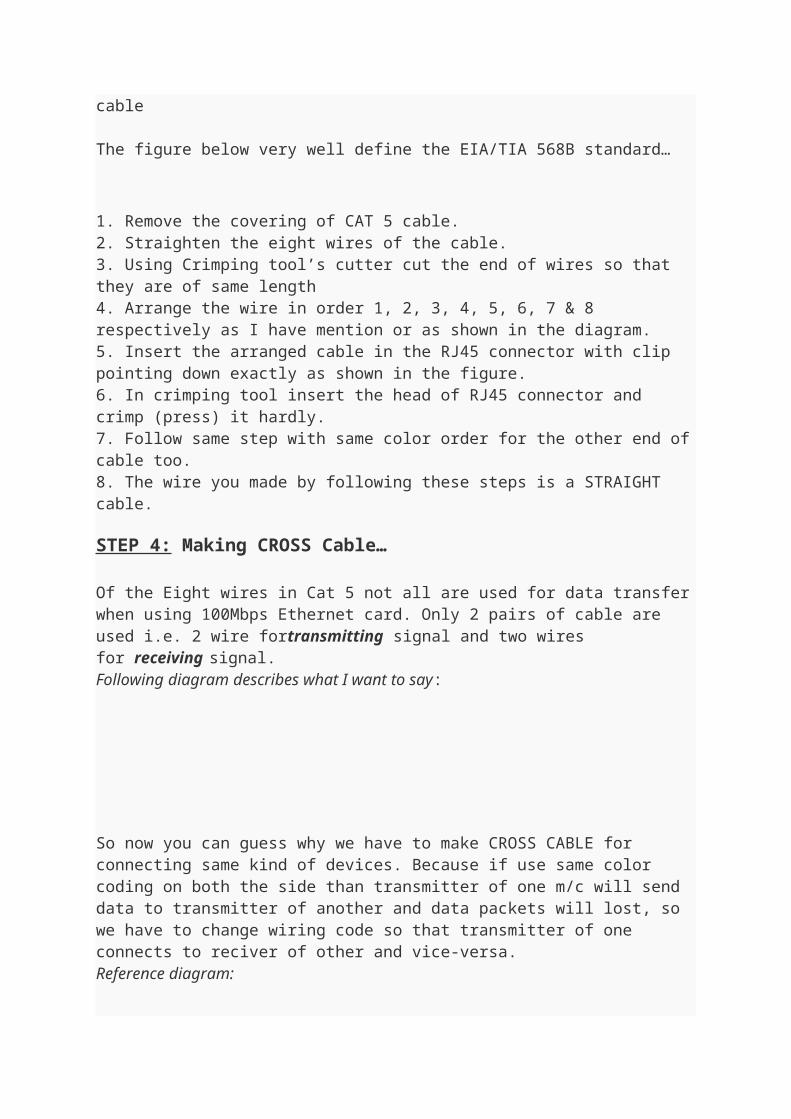
RJ-11 (Registered Jack)Standard telephone cable connectors, RJ-11 has 4 wires (and RJ-12 has 6 wires). RJ-11 is the acronym for Registered Jack-11, a four- or six-wire connector primarily used to connect telephone equipment.
RJ-11 Pin Signal Name
1 VCC (5 volts regulated)
2 Power Ground
3 One Wire Data
4 One Wire Ground
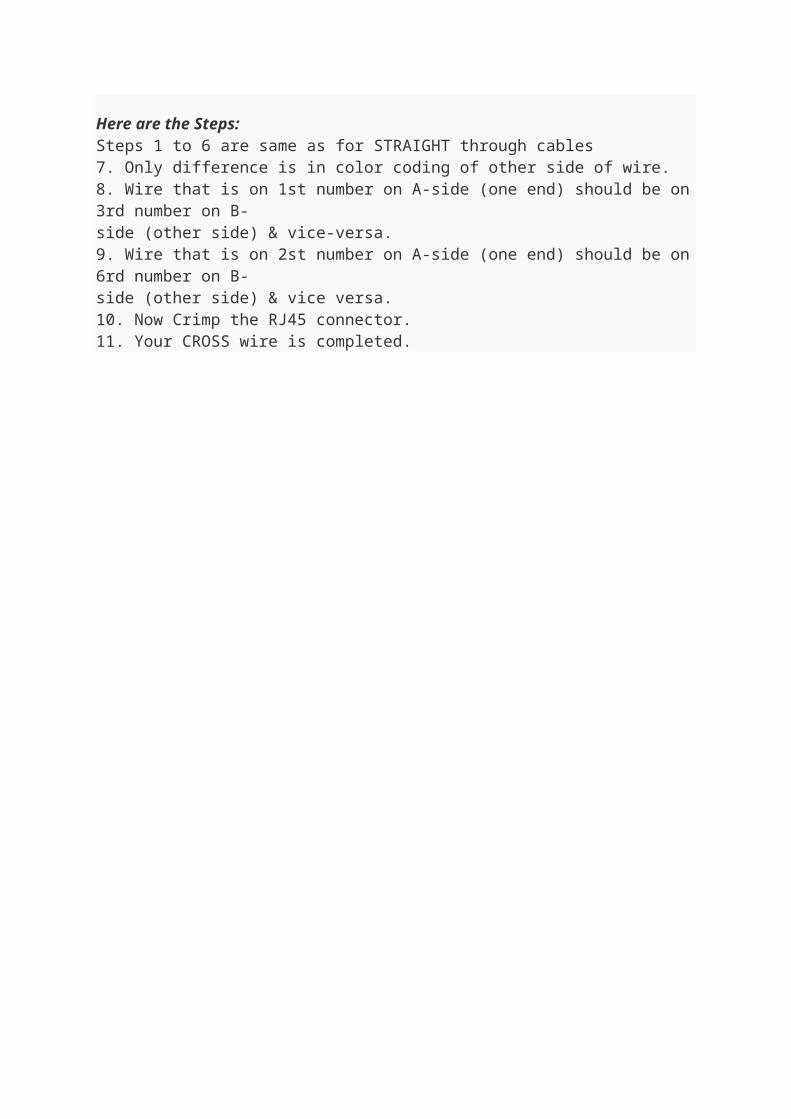
RJ-45 (Registered Jack)The acronym for Registered Jack-45 is RJ-45. The RJ-45 connector is an eight-wire connector that is commonly used to connect computers to a local area network (LAN), particularly Ethernet LANs. Although they are slightly larger than the more commonly used RJ-11 connectors, RJ-45s can be used to connect some types of telephone equipment.
F-TypeThe F connector is a type of RF connector commonly used for cable and universally for satellite television. They are also used for the cable TV connection in DOCSIS cable modems, usually with RG-6 tri-shield cable. The F connector is inexpensive, yet has good performance up to 1 GHz. One reason for its low cost is that it uses the center wire of the coaxial cable as the pin of the male connector. The male connector body is typically crimped onto the exposed outer braid. Female connectors have a 3/8-32 thread. Most male connectors have a matching threaded connecting ring, though push-on versions are also available.
ST (Straight Tip) and SC (Subscriber Connector or Standard Connector)Fiber network segments always require two fiber cables: one for transmitting data, and one for receiving. Each end of a fiber cable is fitted with a plug that can be inserted into a network adapter, hub, or switch. In the North America, most cables use a square SC connector (Subscriber Connector or Standard Connector) that slides and locks into place when inserted into a node or connected to another fiber cable, Europeans use a round ST connector (Straight Tip) instead.
SC connector ST connector
Fiber LC (Local Connector)These connectors are used for single-mode and multimode fiber-optic cables. FC connectors offer extremely precise positioning of the fiber-optic cable with respect to the transmitter's optical source emitter and the receiver's optical detector. FC connectors feature a position locatable notch and a threaded receptacle.
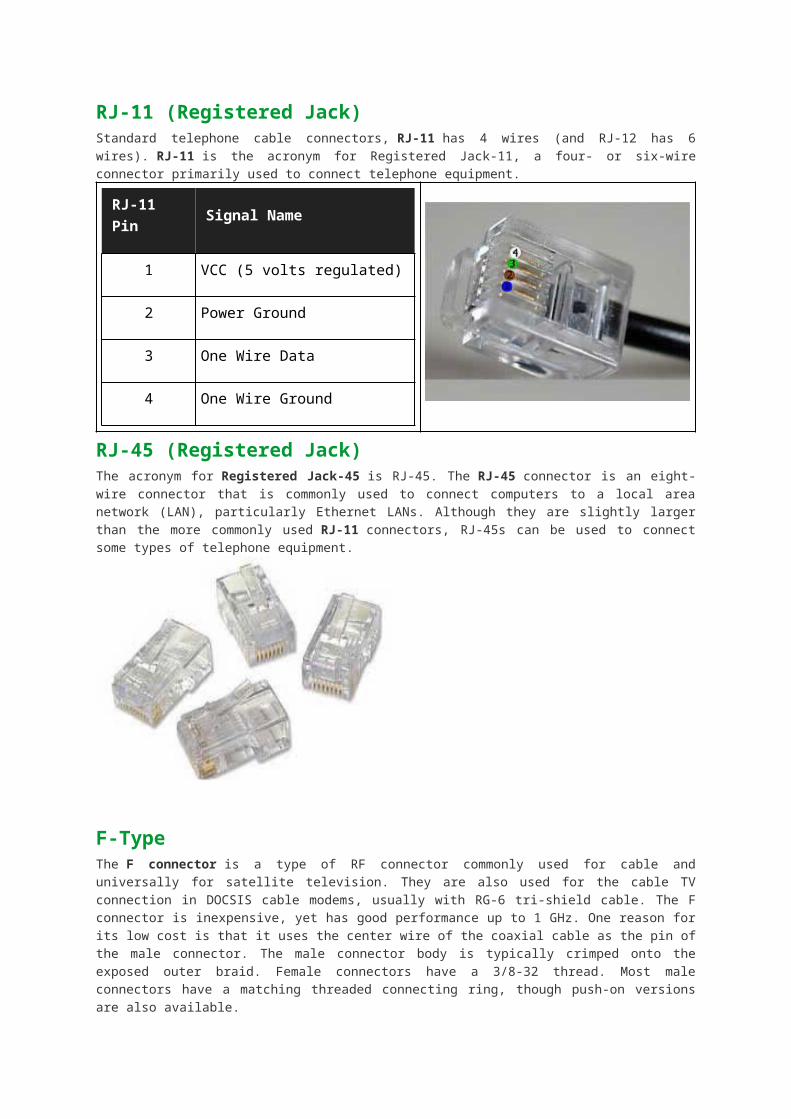
MT-RJ (Mechanical Transfer Registered Jack)MT-RJ connectors are used with single-mode and multimode fiber-optic cables. The MT-RJ connectors are constructed with a plastic housing and provide for accurate alignment via their metal guide pins and plastic ferrules.

Used for Gigabit ethernet. To connect to modules with MT-RJinterfaces, use multimode fiber-optic cables.
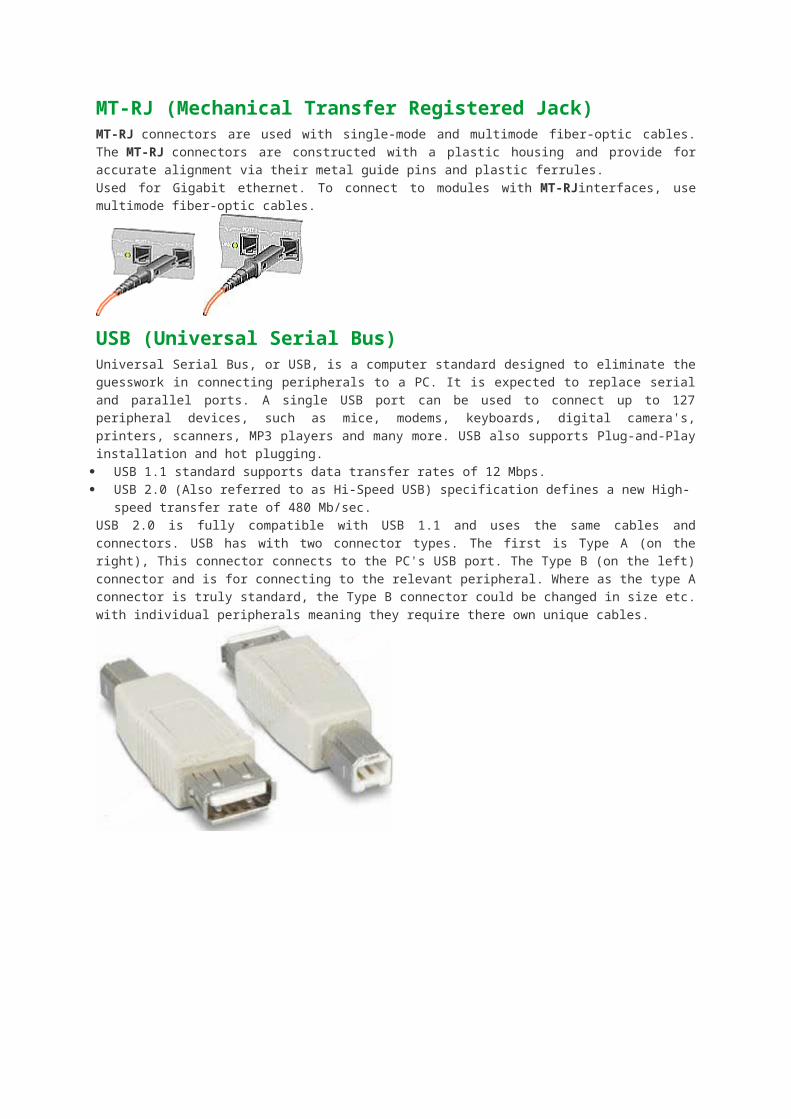
USB (Universal Serial Bus)Universal Serial Bus, or USB, is a computer standard designed to eliminate the guesswork in connecting peripherals to a PC. It is expected to replace serial and parallel ports. A single USB port can be used to connect up to 127 peripheral devices, such as mice, modems, keyboards, digital camera's, printers, scanners, MP3 players and many more. USB also supports Plug-and-Play installation and hot plugging.
USB 1.1 standard supports data transfer rates of 12 Mbps. USB 2.0 (Also referred to as Hi-Speed USB) specification defines a new High-speed transfer rate of 480
Mb/sec.USB 2.0 is fully compatible with USB 1.1 and uses the same cables and connectors. USB has with two connector types. The first is Type A (on the right), This connector connects to the PC's USB port. The Type B (on the left) connector and is for connecting to the relevant peripheral. Where as the type A connector is truly standard, the Type B connector could be changed in size etc. with individual peripherals meaning they require there own unique cables.
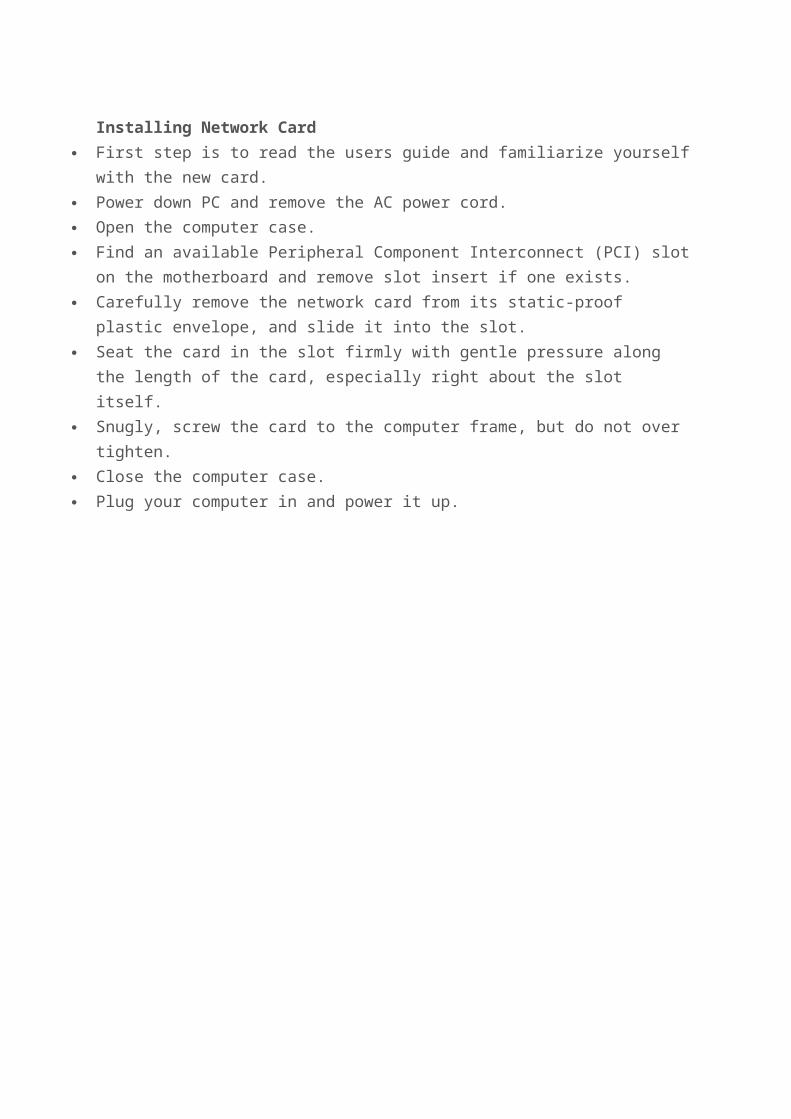
Installing Network Card First step is to read the users guide and familiarize yourself with the new card. Power down PC and remove the AC power cord. Open the computer case. Find an available Peripheral Component Interconnect (PCI) slot on the motherboard
and remove slot insert if one exists. Carefully remove the network card from its static-proof plastic envelope, and slide it
into the slot. Seat the card in the slot firmly with gentle pressure along the length of the card,
especially right about the slot itself. Snugly, screw the card to the computer frame, but do not over tighten. Close the computer case. Plug your computer in and power it up.
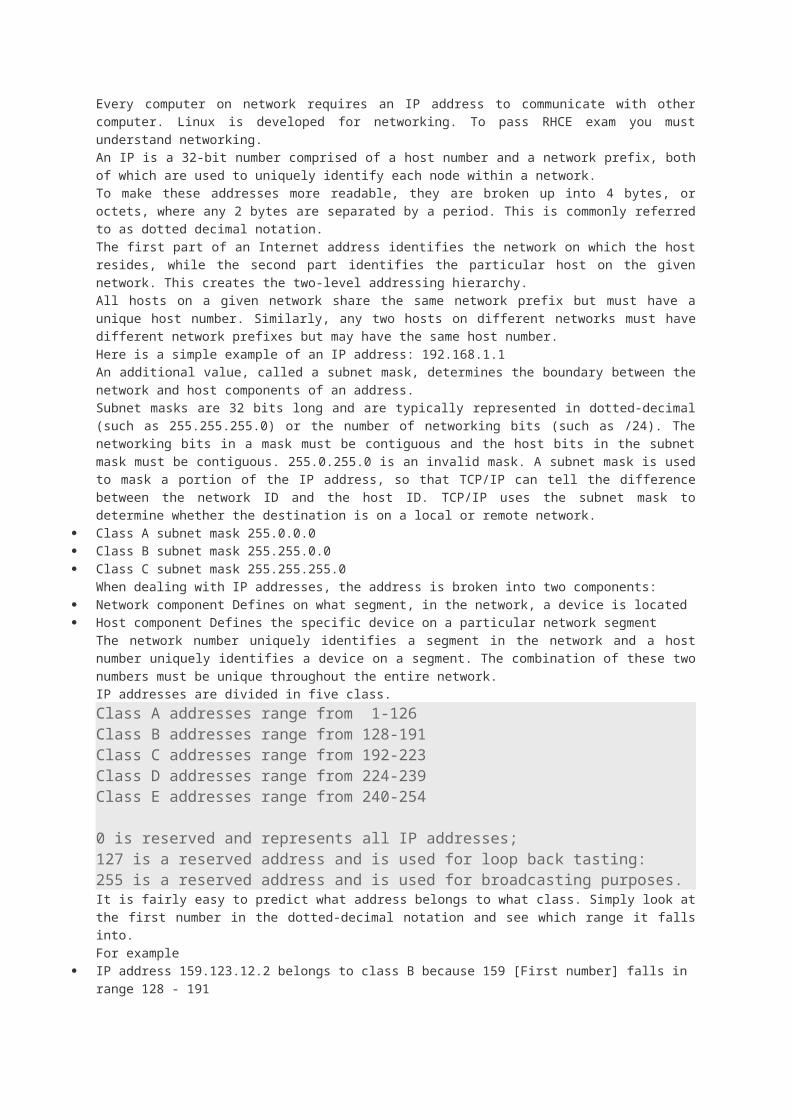
Every computer on network requires an IP address to communicate with other computer. Linux is developed for networking. To pass RHCE exam you must understand networking.An IP is a 32-bit number comprised of a host number and a network prefix, both of which are used to uniquely identify each node within a network.To make these addresses more readable, they are broken up into 4 bytes, or octets, where any 2 bytes are separated by a period. This is commonly referred to as dotted decimal notation.The first part of an Internet address identifies the network on which the host resides, while the second part identifies the particular host on the given network. This creates the two-level addressing hierarchy.All hosts on a given network share the same network prefix but must have a unique host number. Similarly, any two hosts on different networks must have different network prefixes but may have the same host number.Here is a simple example of an IP address: 192.168.1.1An additional value, called a subnet mask, determines the boundary between the network and host components of an address.Subnet masks are 32 bits long and are typically represented in dotted-decimal (such as 255.255.255.0) or the number of networking bits (such as /24). The networking bits in a mask must be contiguous and the host bits in the subnet mask must be contiguous. 255.0.255.0 is an invalid mask. A subnet mask is used to mask a portion of the IP address, so that TCP/IP can tell the difference between the network ID and the host ID. TCP/IP uses the subnet mask to determine whether the destination is on a local or remote network.
Class A subnet mask 255.0.0.0 Class B subnet mask 255.255.0.0 Class C subnet mask 255.255.255.0
When dealing with IP addresses, the address is broken into two components: Network component Defines on what segment, in the network, a device is located Host component Defines the specific device on a particular network segment
The network number uniquely identifies a segment in the network and a host number uniquely identifies a device on a segment. The combination of these two numbers must be unique throughout the entire network.IP addresses are divided in five class.Class A addresses range from 1-126Class B addresses range from 128-191Class C addresses range from 192-223Class D addresses range from 224-239Class E addresses range from 240-254
0 is reserved and represents all IP addresses;127 is a reserved address and is used for loop back tasting:255 is a reserved address and is used for broadcasting purposes.It is fairly easy to predict what address belongs to what class. Simply look at the first number in the dotted-decimal notation and see which range it falls into.For example
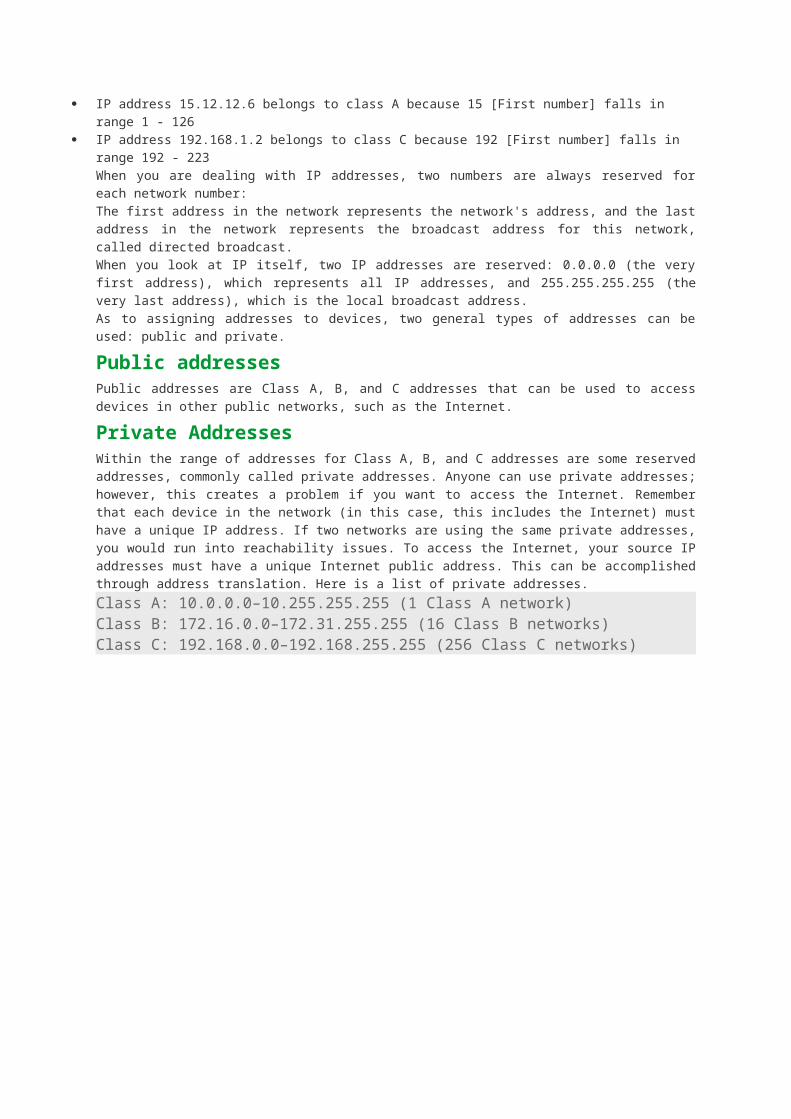
IP address 159.123.12.2 belongs to class B because 159 [First number] falls in range 128 - 191 IP address 15.12.12.6 belongs to class A because 15 [First number] falls in range 1 - 126 IP address 192.168.1.2 belongs to class C because 192 [First number] falls in range 192 - 223
When you are dealing with IP addresses, two numbers are always reserved for each network number:The first address in the network represents the network's address, and the last address in the network represents the broadcast address for this network, called directed broadcast.When you look at IP itself, two IP addresses are reserved: 0.0.0.0 (the very first address), which represents all IP addresses, and 255.255.255.255 (the very last address), which is the local broadcast address.As to assigning addresses to devices, two general types of addresses can be used: public and private.
Public addressesPublic addresses are Class A, B, and C addresses that can be used to access devices in other public networks, such as the Internet.
Private AddressesWithin the range of addresses for Class A, B, and C addresses are some reserved addresses, commonly called private addresses. Anyone can use private addresses; however, this creates a problem if you want to access the Internet. Remember that each device in the network (in this case, this includes the Internet) must have a unique IP address. If two networks are using the same private addresses, you would run into reachability issues. To access the Internet, your source IP addresses must have a unique Internet public address. This can be accomplished through address translation. Here is a list of private addresses.Class A: 10.0.0.0–10.255.255.255 (1 Class A network)Class B: 172.16.0.0–172.31.255.255 (16 Class B networks)Class C: 192.168.0.0–192.168.255.255 (256 Class C networks)
Linux - User managementUSESDEFRITBR
November 2015
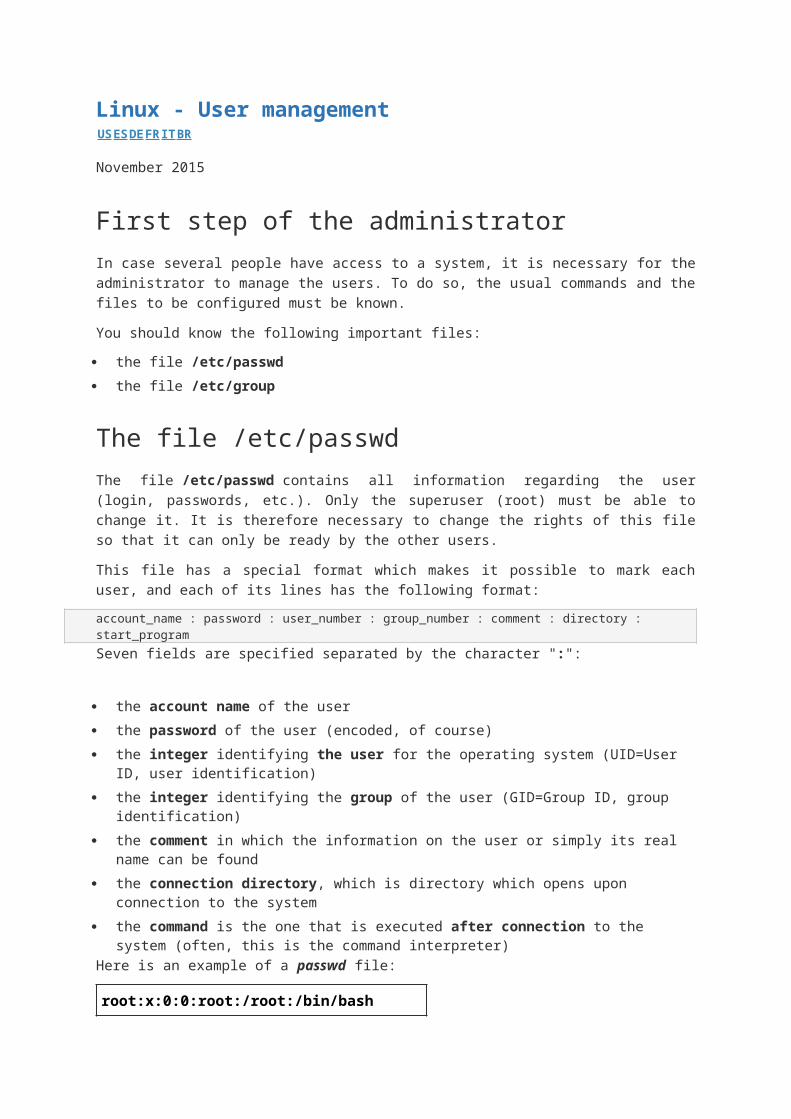
First step of the administratorIn case several people have access to a system, it is necessary for the administrator to manage the users. To do so, the usual commands and the files to be configured must be known.
You should know the following important files:
the file /etc/passwd the file /etc/group
The file /etc/passwdThe file /etc/passwd contains all information regarding the user (login, passwords, etc.). Only the superuser (root) must be able to change it. It is therefore necessary to change the rights of this file so that it can only be ready by the other users.
This file has a special format which makes it possible to mark each user, and each of its lines has the following format:
account_name : password : user_number : group_number : comment : directory : start_programSeven fields are specified separated by the character ":":
the account name of the user the password of the user (encoded, of course) the integer identifying the user for the operating system (UID=User ID, user identification) the integer identifying the group of the user (GID=Group ID, group identification) the comment in which the information on the user or simply its real name can be found the connection directory, which is directory which opens upon connection to the system the command is the one that is executed after connection to the system (often, this is the
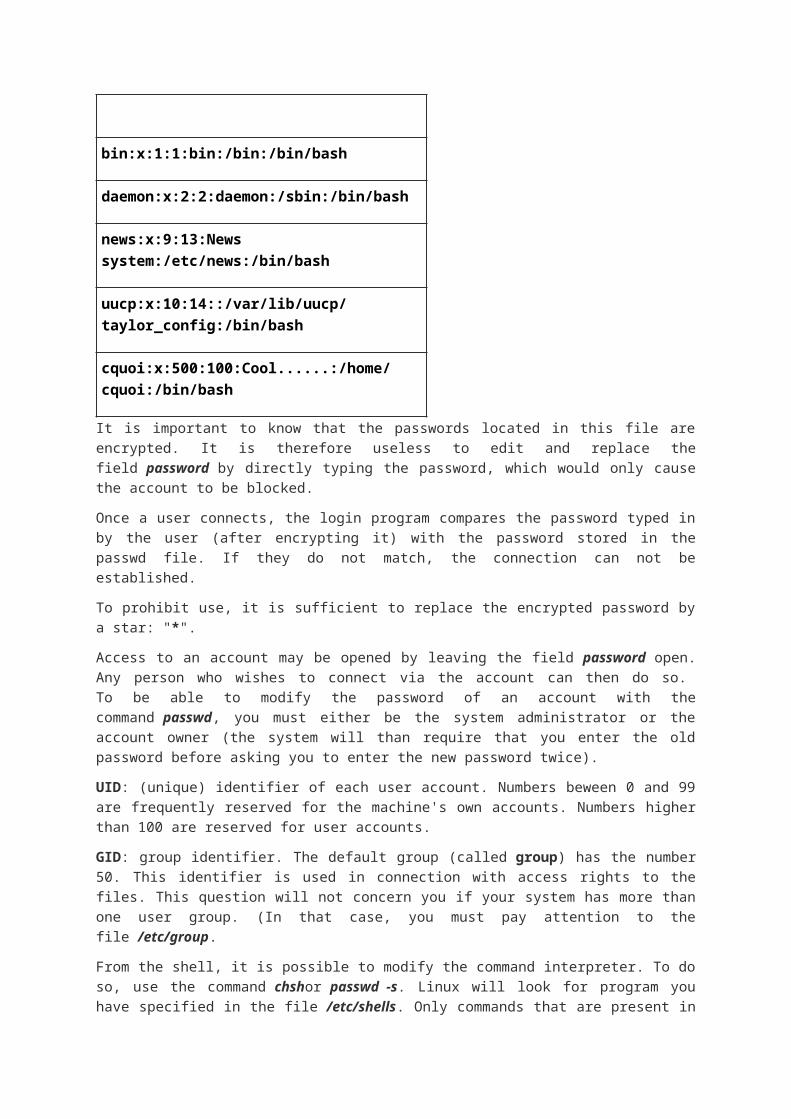
command interpreter)Here is an example of a passwd file:
root:x:0:0:root:/root:/bin/bash
bin:x:1:1:bin:/bin:/bin/bash
daemon:x:2:2:daemon:/sbin:/bin/bash
news:x:9:13:News system:/etc/news:/bin/bash
uucp:x:10:14::/var/lib/uucp/taylor_config:/bin/bash
cquoi:x:500:100:Cool......:/home/cquoi:/bin/bash
It is important to know that the passwords located in this file are encrypted. It is therefore useless to edit and replace the field password by directly typing the password, which would only cause the account to be blocked.
Once a user connects, the login program compares the password typed in by the user (after encrypting it) with the password stored in the passwd file. If they do not match, the connection can not be established.
To prohibit use, it is sufficient to replace the encrypted password by a star: "*".
Access to an account may be opened by leaving the field password open. Any person who wishes to connect via the account can then do so. To be able to modify the password of an account with the command passwd, you must either be the system administrator or the account owner (the system will than require that you enter the old password before asking you to enter the new password twice).
UID: (unique) identifier of each user account. Numbers beween 0 and 99 are frequently reserved for the machine's own accounts. Numbers higher than 100 are reserved for user accounts.
GID: group identifier. The default group (called group) has the number 50. This identifier is used in connection with access rights to the files. This question will not concern you if your system has more than one user group. (In that case, you must pay attention to the file /etc/group.
From the shell, it is possible to modify the command interpreter. To do so, use the command chshor passwd -s. Linux will look for program you have specified in the file /etc/shells. Only commands that are present in this file will be accepted and will replace the current value of the fieldstart_program. These restrictions do not apply to the superuser account. Make sure that the access rights to the file /etc/shells are the same as for the file /etc/passwd The superuser may not necessarily be called root. To change this, just replace the root account name by the desired name. A privileged account is an account whose identifier (UID, User ID) is zero.
The file /etc/groupThe file /etc/group contains a list of the users who belong to the different groups. As a matter of fact, whenever a large number of users may have access to the system, they are frequently placed in different groups, each of which has it own access rights to the files and directories.
It has different fields that are separated by ":":
groupe_name : special_field : group_number : member1, member2
The special field is frequently blank. The group number is the number which makes the link between the /etc/group and /etc/passwdfiles.
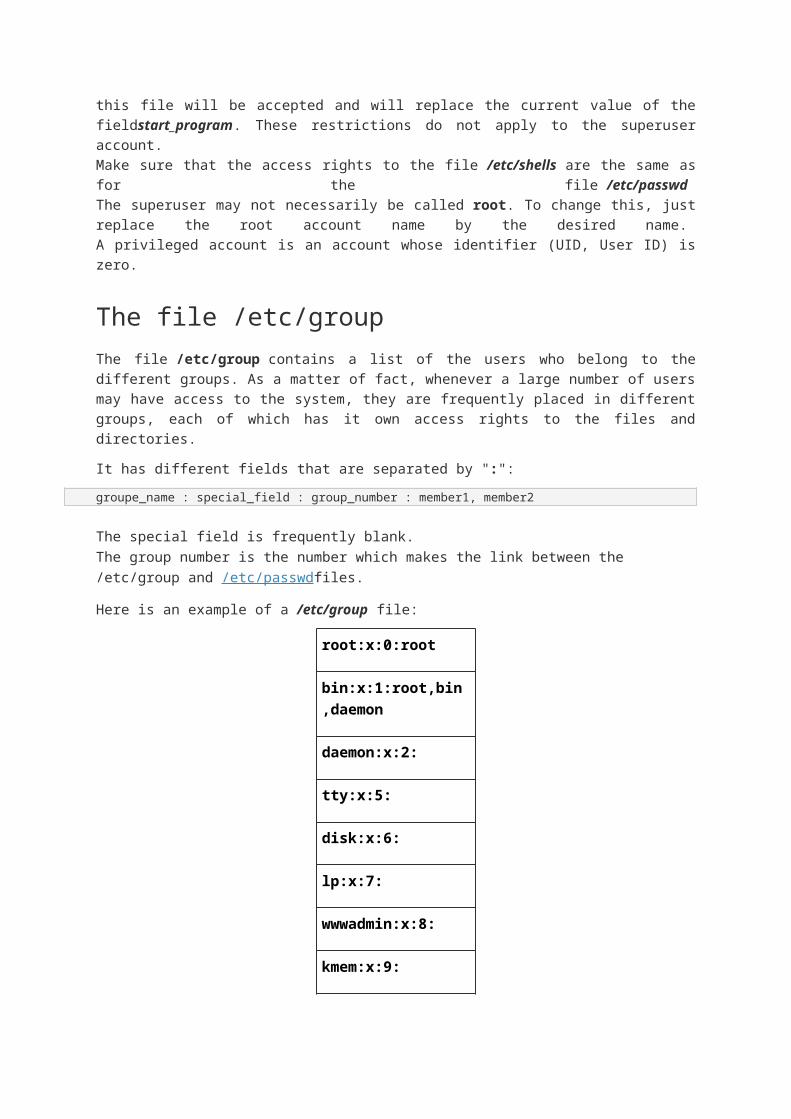
Here is an example of a /etc/group file:
root:x:0:root
bin:x:1:root,bin,daemon
daemon:x:2:
tty:x:5:
disk:x:6:
lp:x:7:
wwwadmin:x:8:
kmem:x:9:
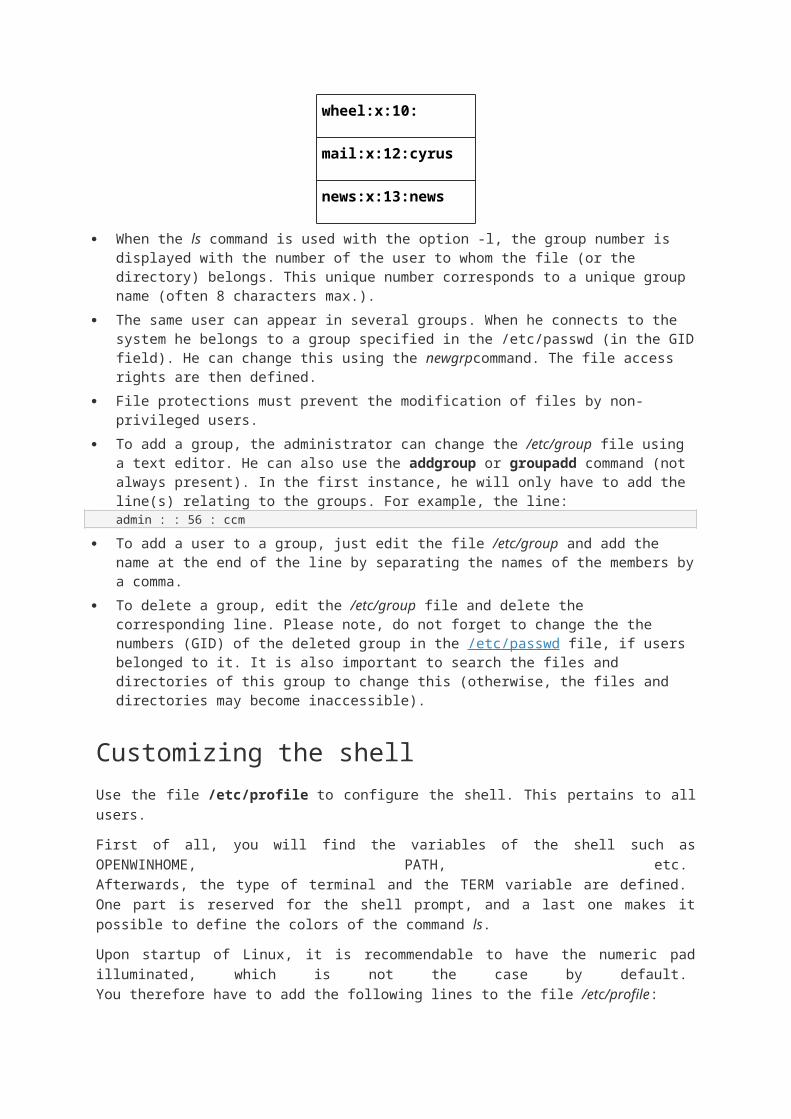
wheel:x:10:
mail:x:12:cyrus
news:x:13:news
When the ls command is used with the option -l, the group number is displayed with the number of the user to whom the file (or the directory) belongs. This unique number corresponds to a unique group name (often 8 characters max.).
The same user can appear in several groups. When he connects to the system he belongs to a group specified in the /etc/passwd (in the GID field). He can change this using the newgrpcommand. The file access rights are then defined.
File protections must prevent the modification of files by non-privileged users. To add a group, the administrator can change the /etc/group file using a text editor. He can
also use the addgroup or groupadd command (not always present). In the first instance, he will only have to add the line(s) relating to the groups. For example, the line:admin : : 56 : ccm
To add a user to a group, just edit the file /etc/group and add the name at the end of the line by separating the names of the members by a comma.
To delete a group, edit the /etc/group file and delete the corresponding line. Please note, do not forget to change the the numbers (GID) of the deleted group in the /etc/passwd file, if users belonged to it. It is also important to search the files and directories of this group to change this (otherwise, the files and directories may become inaccessible).
Customizing the shellUse the file /etc/profile to configure the shell. This pertains to all users.
First of all, you will find the variables of the shell such as OPENWINHOME, PATH, etc. Afterwards, the type of terminal and the TERM variable are defined.
One part is reserved for the shell prompt, and a last one makes it possible to define the colors of the command ls.
Upon startup of Linux, it is recommendable to have the numeric pad illuminated, which is not the case by default. You therefore have to add the following lines to the file /etc/profile:
INITTY=/dev/tty[1-7]
for tty in $INITTY;
do setleds -D +num < $tty
done
Upon connection to the shell, the first thing that appears is the prompt, which can be configured at the user's discretion. In case the administrator wishes a prompt which reads: "Hello#", just edit the file /etc/profile. This file contains a variable called PS1. All lines pertaining to this variable must then be preceded by a number sign: #. The line PS1='Hello#' must be added.
Just save an log on again. Some changes will be noted. Tip: leave a blank space after the prompt to improve readability.
It is also possible to use variables in the prompt (for example, to display the time or name of the machine, etc.):
\d to add the date (English format)
\t to add the time(HH:MM:SS)
\u to add the user name
\r to return to the line
\w to add the full path of the current directory
\W to add the current directory
\h to add the name of the machine
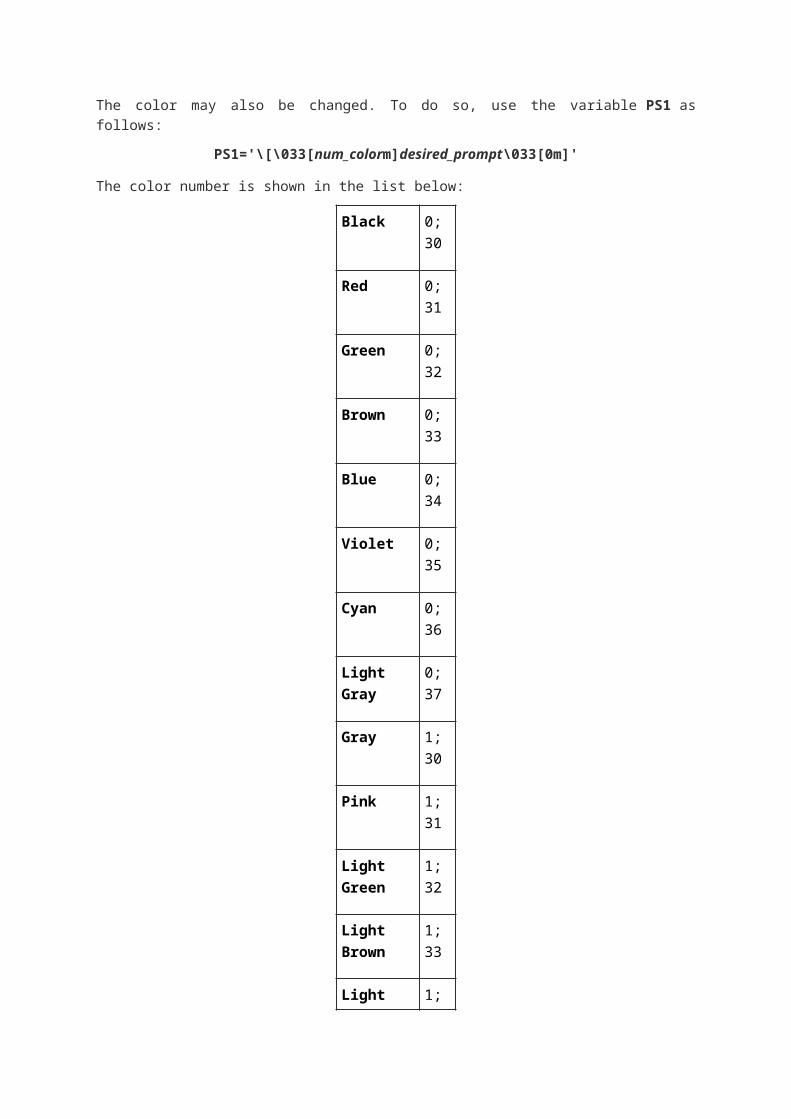
The color may also be changed. To do so, use the variable PS1 as follows:
PS1='\[\033[num_colorm]desired_prompt\033[0m]'
The color number is shown in the list below:
Black 0;30
Red 0;31
Green 0;32
Brown 0;33
Blue 0;34
Violet 0;35
Cyan 0;36
Light Gray 0;37
Gray 1;30
Pink 1;31
Light Green 1;32
Light Brown
1;33
Light Blue 1;34
Light Violet 1;35
Light Cyan 1;36
White 1;37
Here is an example which shows the time followed by the user name in red:

How to Manage Users in Windows 7
2 COMMENTS
By Michael Scalisi, PCWorld
A computer running Windows 7 might be used by a single person, by a group of people
in an office, or by a family in a home. Fortunately, Windows 7 was designed from the
ground up to be a multiuser operating system. The new OS is flexible and can support
many different scenarios, with each user having appropriate permissions and a
customized environment. Every person using Windows 7 must log in with an account,
and each account has a personalized desktop, Start menu, documents folder, history,
favorites, and other customizations.
The 'User Accounts and Family Safety' control panel provides a straightforward interface for managing users.
All of that stuff resides in the Users folder on the root of the system drive, where each account has a subfolder named after it. The two main tools I'll describe in this article are the 'User Accounts and Family Safety' wizard-based tool, which you can find in the Control Panel, and the traditional 'Local Users and Groups' tool, which is available in Computer Management.
Account Types
Before you start creating new users on your Windows 7 computer, you should
understand the difference between the two main account types.
Administrators have full control over the system. They can install software programs
and hardware drivers, and they can create and modify new users and groups.
Additionally, they can reset passwords, set policies, and edit the Registry. The OS
identifies tasks that require administrator permissions with a Windows security icon.
Standard users are permitted to log on to the computer, run programs, customize their
accounts, and save files in their user folders. Users are restricted from making
systemwide changes.

The First User
When Windows first installs, it asks you for a user name and password, which it then
uses to create your first account. This account joins the Administrators group, which has
the highest set of privileges. From this account you can create and manage all other
user accounts. When one person is the sole user of a computer, this first account is
sometimes the only one ever created. However, even if you are the only user, a
recommended practice is to create a second, standard account for daily use, so that you
have it separate from your account with administrative privileges for managing the
system. If you want to install software or make other system changes while logged in as
a standard user, never fear: When you attempt to make the change, Windows will
prompt you to authenticate your administrator account so that you won't need to log on
with it.
Creating a New AccountCreate a new user with the Create New Account wizard.
To create a new account, open Control Panel and choose User Accounts and Family Safety, Add or remove user accounts. Click on Create a new account. Type in the new account name, select either the Administrators or Standard Users user type, and then click Create Account. By default, Windows assigns no password; you can make one by
clicking on that user's icon and selectingCreate a password. Alternatively, you can leave it blank to allow the user to set a password when they first log on.
Editing Accounts
Once you've created an account, you can customize it further by editing. To edit an
account, open Control Panel once again and select User Accounts and Family
Safety,Add or remove user accounts. This takes you to the Manage Accounts window,
where you can select an account to edit by clicking on its icon. In this window, you can
change the account name, create or remove a password, change the picture, set up
parental controls, change the account type, or delete the account. Be cautious when
removing a password, since it will cause that user to lose any encrypted files, personal
certificates, and stored passwords.
If You Accidentally Delete Your Last Administrator Account
Windows 7 has a built-in Administrator account that has no password and is hidden by
default. Like all other administrator accounts, it has full control of the system; for you to
use it, however, it must be the only remaining administrator account, and you must start
the computer in Safe Mode.
Parental Controls
Concerned parents are often wary about letting their children have free rein on the family
computer. Windows 7's parental controls offer parents a way to keep their children's
Web surfing or gaming in check. To arrange parental controls, go to Control Panel and
selectUser Accounts and Family Safety, Set up parental controls for any user. Click on
the user for which you want to set controls.
Since all administrators can disable these controls, if an administrator account doesn't
have a password, Windows 7's parental controls will offer the option to force that person
to set a password at the next log-on.

At 10 p.m., Windows will log Jeffrey off automatically if he is still on the computer.
Turn on parental controls by selecting On, enforce current settings, and then modify each setting as appropriate.
Time limits: If you want Windows to boot your child off the computer after, say, 10 p.m., this is where you can explicitly permit or deny computer usage by time and by the day of the week.
Games: Here you can define whether the account is permitted to play games, which game ratings are acceptable, and whether unrated games are allowed. You may also allow or block particular games.
Allow and block specific programs: If you want to limit your child's computer use to certain applications, this is where you choose them.