Embed Size (px)
Citation preview
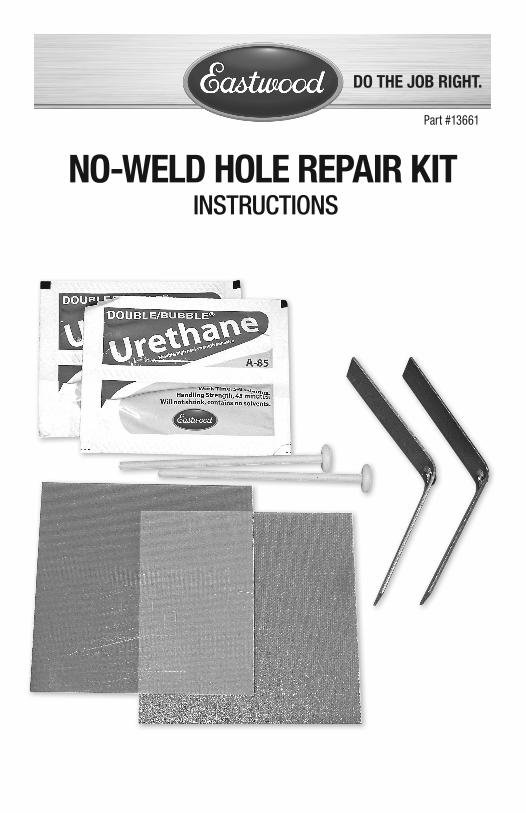
NO-WELD HOLE REPAIR KIT INSTRUCTIONS
Part #13661
2 Eastwood Technical Assistance: 800.544.5118 >> [email protected] To order parts and supplies: 800.345.1178 >> eastwood.com 3
The Eastwood No-Weld Hole Repair Kit provides a quick, weld-free solution to repair up to 2” dia. holes in steel, aluminum, fi berglass and plastic body panels while minimizing sanding damage and the amount of required surface preparation.
WARNINGS• Wear protective gloves when cutting out damaged areas. Sharp edges can cause cuts.• Wear protective gloves when trimming fl exible fi berglass backing panels. Exposed glass fi bers
can cause cuts.• Follow package directions carefully and wear disposable gloves when handling backer adhesive
and use in a well ventilated area. The use of a NIOSH approved mask for respiratory protection is recommended.
• For use with exterior body panels only. Not intended for use in fl oor panels or structural areas.
INCLUDES• (2) 3” x 3” x 0.02” Flexible G10 fi berglass
composite backer sheets.• (2) 3” long x 1/8” dia. Nylon retainer pins.• (2) 3” x 5/8” Steel Retaining Clips.• (2) Packets of Urethane Adhesive/fi ller.
PROCEDURE• Determine damage and cut out all rust with sheet metal
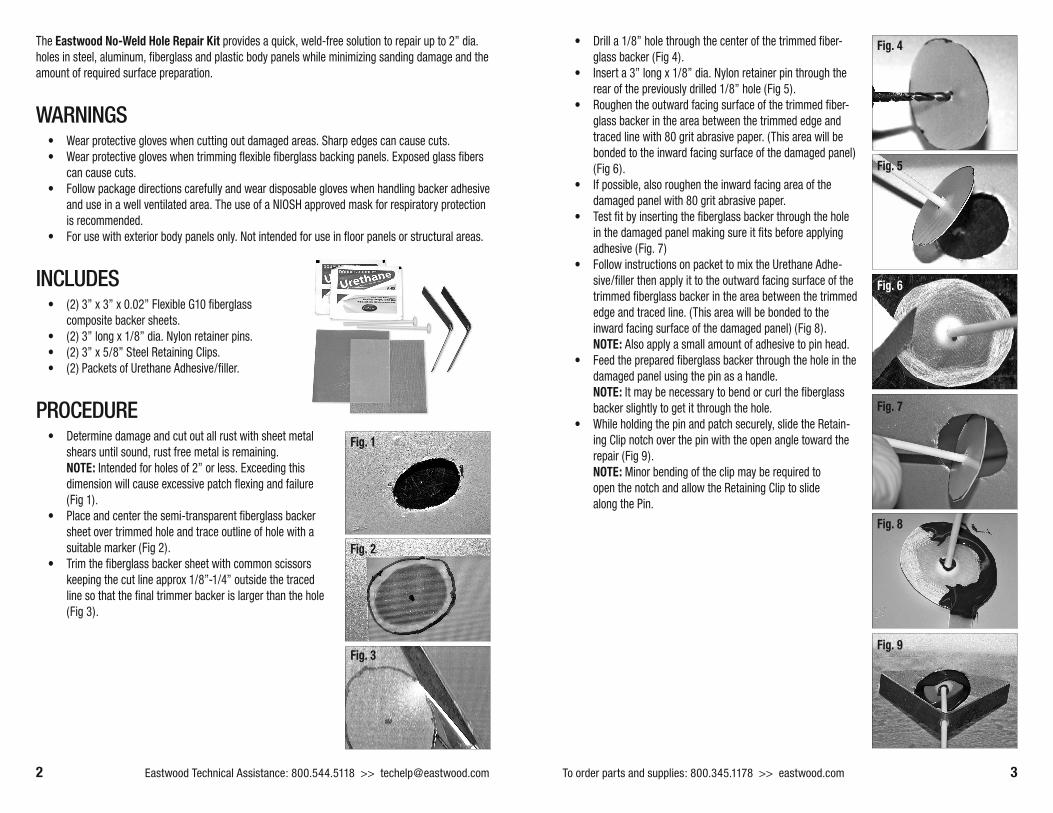
shears until sound, rust free metal is remaining. NOTE: Intended for holes of 2” or less. Exceeding this dimension will cause excessive patch fl exing and failure (Fig 1).
• Place and center the semi-transparent fi berglass backer sheet over trimmed hole and trace outline of hole with a suitable marker (Fig 2).
• Trim the fi berglass backer sheet with common scissors keeping the cut line approx 1/8”-1/4” outside the traced line so that the fi nal trimmer backer is larger than the hole (Fig 3).
Fig. 1
Fig. 2
Fig. 3
Fig. 4
Fig. 5
Fig. 6
Fig. 7
Fig. 8
Fig. 9
• Drill a 1/8” hole through the center of the trimmed fi ber-glass backer (Fig 4).
• Insert a 3” long x 1/8” dia. Nylon retainer pin through the rear of the previously drilled 1/8” hole (Fig 5).
• Roughen the outward facing surface of the trimmed fi ber-glass backer in the area between the trimmed edge and traced line with 80 grit abrasive paper. (This area will be bonded to the inward facing surface of the damaged panel) (Fig 6).
• If possible, also roughen the inward facing area of the damaged panel with 80 grit abrasive paper.
• Test fi t by inserting the fi berglass backer through the hole in the damaged panel making sure it fi ts before applying adhesive (Fig. 7)
• Follow instructions on packet to mix the Urethane Adhe-sive/fi ller then apply it to the outward facing surface of the trimmed fi berglass backer in the area between the trimmed edge and traced line. (This area will be bonded to the inward facing surface of the damaged panel) (Fig 8).NOTE: Also apply a small amount of adhesive to pin head.
• Feed the prepared fi berglass backer through the hole in the damaged panel using the pin as a handle. NOTE: It may be necessary to bend or curl the fi berglass backer slightly to get it through the hole.
• While holding the pin and patch securely, slide the Retain-ing Clip notch over the pin with the open angle toward the repair (Fig 9). NOTE: Minor bending of the clip may be required to open the notch and allow the Retaining Clip to slide along the Pin.
© Copyright 2012 Easthill Group, Inc. Instruction part #13661Q Rev. 7/12
If you have any questions about the use of this product, please contact The Eastwood Technical Assistance Service Department:
800.544.5118 >> email: [email protected]
The Eastwood Company 263 Shoemaker Road, Pottstown, PA 19464, USAUS and Canada: 800.345.1178 outside US: 610.718.8335
Fax: 610.323.6268 eastwood.com
Fig. 10
Fig. 11
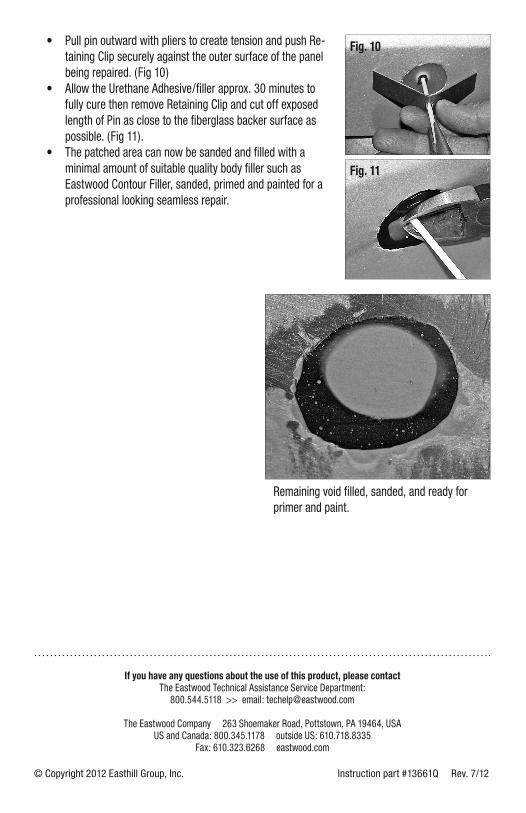
• Pull pin outward with pliers to create tension and push Re-taining Clip securely against the outer surface of the panel being repaired. (Fig 10)
• Allow the Urethane Adhesive/fi ller approx. 30 minutes to fully cure then remove Retaining Clip and cut off exposed length of Pin as close to the fi berglass backer surface as possible. (Fig 11).
• The patched area can now be sanded and fi lled with a minimal amount of suitable quality body fi ller such as Eastwood Contour Filler, sanded, primed and painted for a professional looking seamless repair.
Remaining void fi lled, sanded, and ready for primer and paint.