Embed Size (px)
Citation preview
ArcGISSM
Onlinefor Public Accounts
Quick Start Guide to
2
Using ArcGIS Online with a Public Account
ArcGISSM Online is a cloud-based mapping platform that allows you to easily and quickly make maps, collaborate, and share your maps with others. ArcGIS Online is available for personal use through a free public account or organization-wide through an annual subscription. As an ArcGIS Online user, you retain all rights to your data and control who has access to it. This guide is a quick tutorial designed to get you started using ArcGIS Online with a public account and provides short instructions for common tasks. More information is available at esri.com/agolhelp.
3 Getting started: Sign up for a free public account
3 Explore ArcGIS Online
4 Create and share a map4 Add data from ArcGIS Online to your map
4 Add your data from a text file
4 Symbolize and configure your data
5 Save your map to My Content
5 Share your map: Embed in a website or create a free application
6 Add features to your web map
7 Organize your data with groups
3
Getting started: Sign up for a free public account
ArcGIS Online provides access to data, web maps, and applications from Esri and the global GIS community. Here’s how to get started:
1. Go to arcgis.com/home.
2. Sign up for a public account so you can save your maps in and upload data into Esri’s cloud.
Explore ArcGIS Online
ArcGIS Online gives you access to information and applications shared by others. Follow the steps below to explore and discover content:
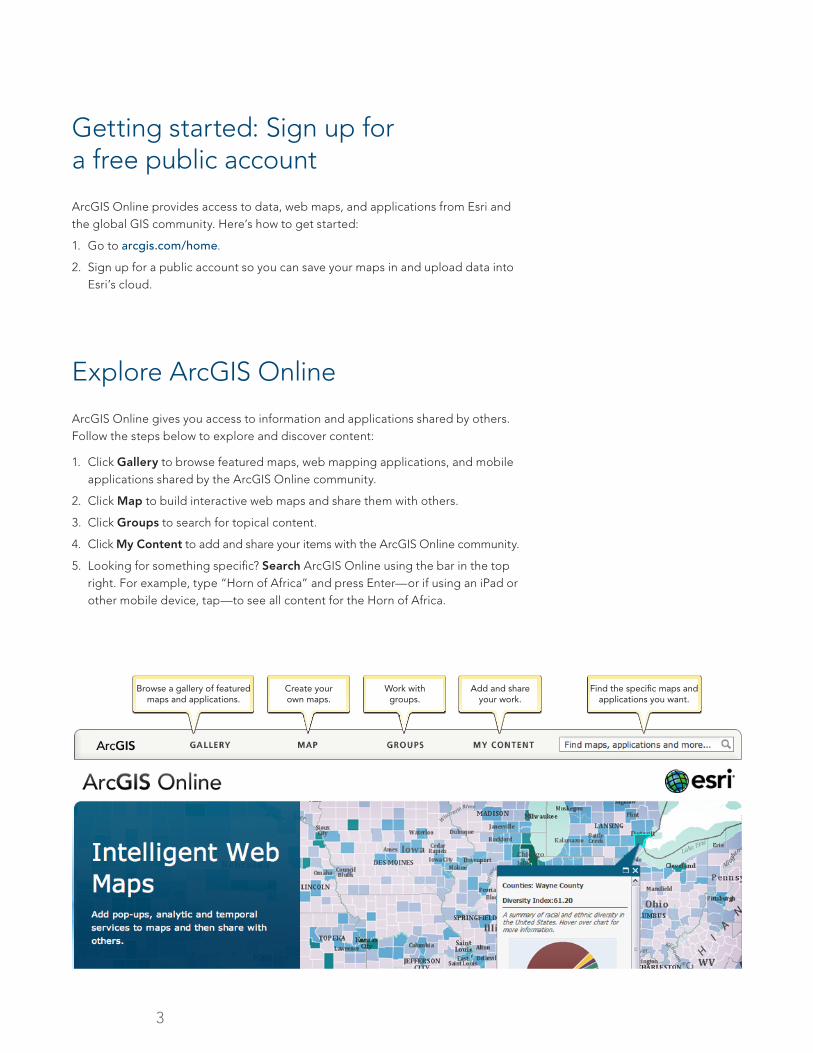
1. Click Gallery to browse featured maps, web mapping applications, and mobile applications shared by the ArcGIS Online community.
2. Click Map to build interactive web maps and share them with others.
3. Click Groups to search for topical content.
4. Click My Content to add and share your items with the ArcGIS Online community.
5. Looking for something specific? Search ArcGIS Online using the bar in the top right. For example, type “Horn of Africa” and press Enter—or if using an iPad or other mobile device, tap—to see all content for the Horn of Africa.
Browse a gallery of featured maps and applications.
Create your own maps.
Work with groups.
Add and share your work.
Find the speci�c maps and applications you want.
4
Create and share a map
You can make your own map using data available in ArcGIS Online, and you can add your own data as well. Step through making a map using data from ArcGIS Online, adding your data from a text file, symbolizing the data, and then sharing your map with others.
Add data from ArcGIS Online to your map1. From the ArcGIS Online home page (arcgis.com/home), click Map to open the
built-in map viewer.
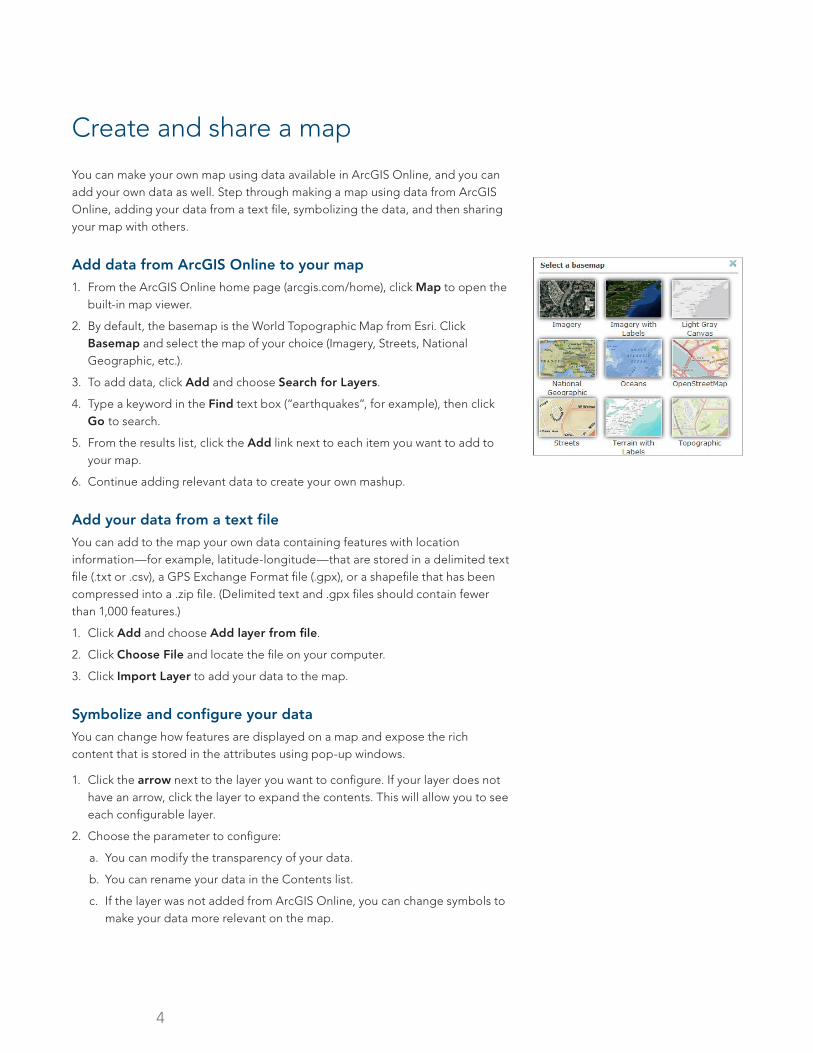
2. By default, the basemap is the World Topographic Map from Esri. Click Basemap and select the map of your choice (Imagery, Streets, National Geographic, etc.).
3. To add data, click Add and choose Search for Layers.
4. Type a keyword in the Find text box (“earthquakes”, for example), then click Go to search.
5. From the results list, click the Add link next to each item you want to add to your map.
6. Continue adding relevant data to create your own mashup.
Add your data from a text fileYou can add to the map your own data containing features with location information—for example, latitude-longitude—that are stored in a delimited text file (.txt or .csv), a GPS Exchange Format file (.gpx), or a shapefile that has been compressed into a .zip file. (Delimited text and .gpx files should contain fewer than 1,000 features.)
1. Click Add and choose Add layer from file.
2. Click Choose File and locate the file on your computer.
3. Click Import Layer to add your data to the map.
Symbolize and configure your dataYou can change how features are displayed on a map and expose the rich content that is stored in the attributes using pop-up windows.
1. Click the arrow next to the layer you want to configure. If your layer does not have an arrow, click the layer to expand the contents. This will allow you to see each configurable layer.
2. Choose the parameter to configure:
a. You can modify the transparency of your data.
b. You can rename your data in the Contents list.
c. If the layer was not added from ArcGIS Online, you can change symbols to make your data more relevant on the map.
5
Save your map to My ContentOnce you have created your map, you can save it in My Content so that only you can see it and use it later.
1. Make sure you are signed in to ArcGIS Online.
2. Click Save at the top of your map to save your map.
3. Enter a title for your map.
4. Enter tags or keywords for your map and data.
5. Enter a summary of the map you created.
6. Choose the Save in folder on your profile to save your map.
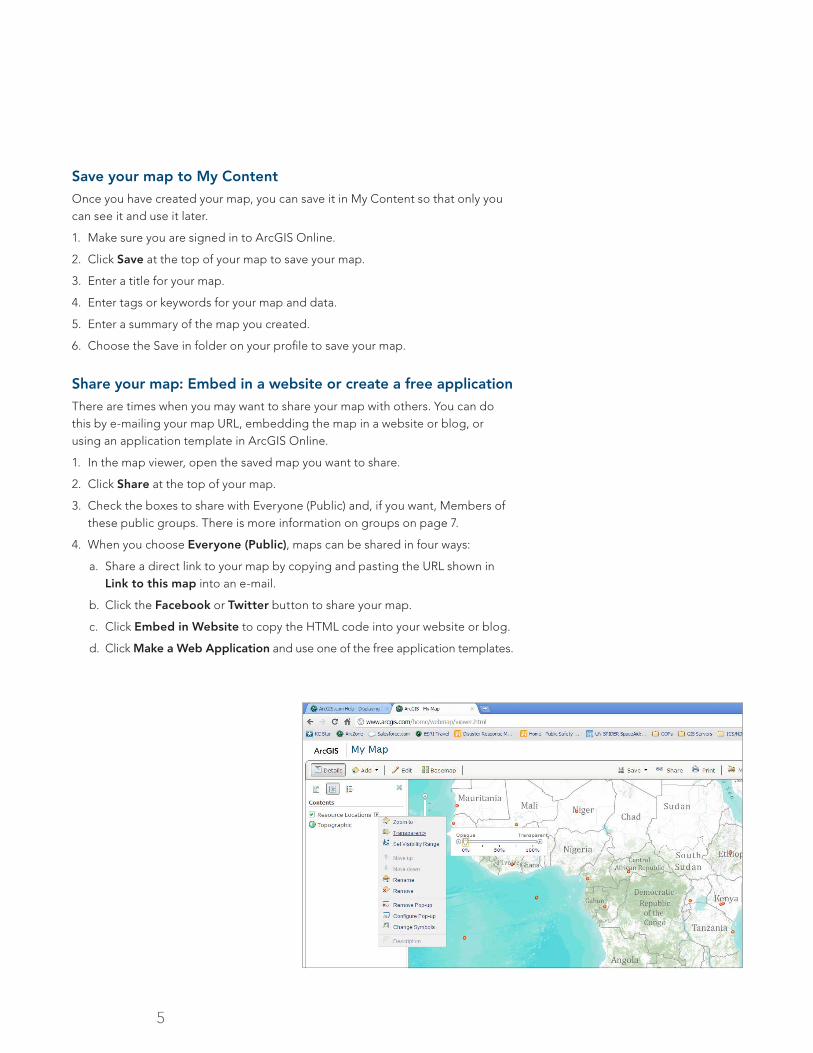
Share your map: Embed in a website or create a free applicationThere are times when you may want to share your map with others. You can do this by e-mailing your map URL, embedding the map in a website or blog, or using an application template in ArcGIS Online.
1. In the map viewer, open the saved map you want to share.
2. Click Share at the top of your map.
3. Check the boxes to share with Everyone (Public) and, if you want, Members of these public groups. There is more information on groups on page 7.
4. When you choose Everyone (Public), maps can be shared in four ways:
a. Share a direct link to your map by copying and pasting the URL shown in Link to this map into an e-mail.
b. Click the Facebook or Twitter button to share your map.
c. Click Embed in Website to copy the HTML code into your website or blog.
d. Click Make a Web Application and use one of the free application templates.
6
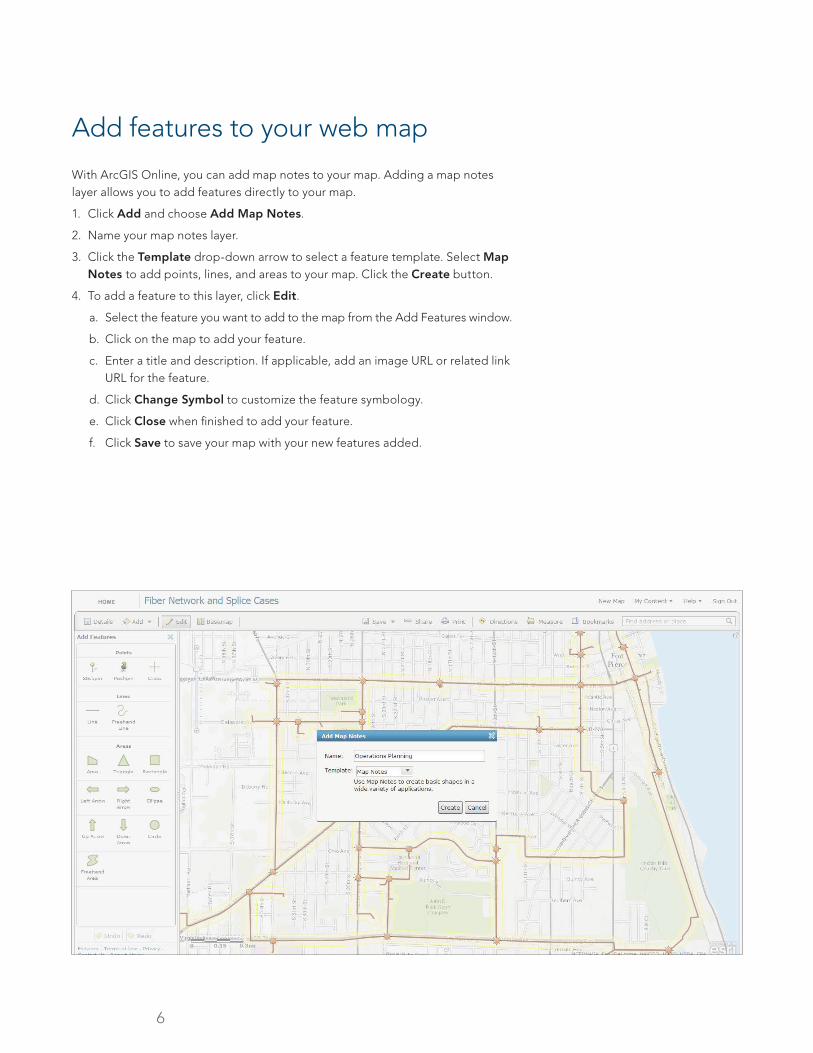
Add features to your web map
With ArcGIS Online, you can add map notes to your map. Adding a map notes layer allows you to add features directly to your map.
1. Click Add and choose Add Map Notes.
2. Name your map notes layer.
3. Click the Template drop-down arrow to select a feature template. Select Map Notes to add points, lines, and areas to your map. Click the Create button.
4. To add a feature to this layer, click Edit.
a. Select the feature you want to add to the map from the Add Features window.
b. Click on the map to add your feature.
c. Enter a title and description. If applicable, add an image URL or related link URL for the feature.
d. Click Change Symbol to customize the feature symbology.
e. Click Close when finished to add your feature.
f. Click Save to save your map with your new features added.
7
Organize your data with groups
Public groups provide a great way to share content related to a specific topic. You can use a public group to collect all the maps and apps you want to display in a gallery application. Here is how to create a public group:
1. On the ArcGIS Online home page, click Groups.
2. Click Create a Group.
3. Enter a name, summary, description, and tags for your group. You can also add a thumbnail image for your group.
4. Set the status of your group: Click Users can apply to join group if you want to allow others to join your group.
5. Click Save to create your new group.
Want to do even more? Get a free, 30-day trial so you and others in your organization can access
all the great features ArcGIS Online offers.
Visit esri.com/agoleval to sign up.
Printed in USA
Contact Esri
380 New York Street Redlands, California 92373-8100 usa
1 800 447 9778 t 909 793 2853 f 909 793 5953 [email protected] esri.com
Offices worldwide esri.com/locations
Esri inspires and enables people to positively impact their future through a deeper, geographic understanding of the changing world around them.
Governments, industry leaders, academics, and nongovernmental
organizations trust us to connect them with the analytic knowledge
they need to make the critical decisions that shape the planet. For
more than 40 years, Esri has cultivated collaborative relationships
with partners who share our commitment to solving earth’s most
pressing challenges with geographic expertise and rational resolve.
Today, we believe that geography is at the heart of a more resilient
and sustainable future. Creating responsible products and solutions
drives our passion for improving quality of life everywhere.
Copyright © 2013 Esri. All rights reserved. Esri, the Esri globe logo, ArcGIS, arcgis.com, @esri.com, and esri.com are trademarks, service marks, or registered marks of Esri in the United States, the European Community, or certain other jurisdictions. Other companies and products or services mentioned herein may be trademarks, service marks, or registered marks of their respective mark owners.
G57667ESRI4/13ek