Embed Size (px)
Citation preview
COMMUNITY EMERGENCY RESPONSE TEAM SESSION III: DISASTER MEDICAL OPERATIONS — PART 1 Michigan Version Revised by: Michigan Citizen Corps Council May 2003
EMERGENCY MANAGEMENT INSTITUTE NATIONAL EMERGENCY TRAINING CENTER

IG III-1
DISASTER MEDICAL OPERATIONS
SESSION III DISASTER MEDICAL OPERATIONS—PART 1 TIME: 2 hours 30 minutes OBJECTIVES At the conclusion of this session, the participants will be able to: 1. Identify the “killers.” 2. Apply techniques for opening airways, controlling bleeding, and
treating for shock. 3. Conduct triage under simulated disaster conditions. SCOPE � Introduction And Session Overview � Treatment Of Life-Threatening Conditions � Triage � Session Summary TRAINING METHODS
The lead instructor will begin this session by welcoming the participants to Session III: Disaster Medical Operations—Part 1, and will introduce the instructors for the session. The instructor will then overview the topics of the session: treatment of life-threatening conditions that may be encountered (airway obstruction, bleeding, and shock), and conducting triage.
Next, the instructor will discuss and demonstrate the immediate
procedures required for opening the airway, controlling bleeding, and treating for shock. The participants will have the opportunity to practice techniques for treating each of these conditions. During this period, some discussion will take place about the differences between disaster medical operations and the participants’ image of everyday first aid. (For example, mouth-to-mouth resuscitation and cardiopulmonary resuscitation (CPR) lose some of their importance in disaster situations.)
IG III-2
DISASTER MEDICAL OPERATIONS
TRAINING METHODS (Continued)
The next topic of this session will deal with triage. The instructor will open with a discussion of the meaning and goal of triage and provide background from the military’s experience using triage for prioritizing treatment in multi-casualty situations. This background will lead to comparisons of triage in disaster circumstances and the steps that CERT members will follow when conducting triage.
Finally, the participants will practice triage evaluation and immediate
treatment in a simulated multi-casualty exercise. This exercise will illustrate the need to conduct triage effectively and expeditiously under pressure and to focus on rescuer safety.
REFERENCES Community Emergency Response Team Instructor Guide Community Emergency Response Team Participant Handbook Visuals 3.1 through 3.6 EQUIPMENT In addition to the equipment listed at the front of this Instructor Guide,
you will need the following equipment for this session: • 1 mannequin. • 1 box of latex examination gloves. • 1 box of 4 � 4 bandages. • 1 triangular bandage. • 1 roll of roller gauze. • Note cards, markers, and masking tape.
IG III-3
DISASTER MEDICAL OPERATIONS
PREPARATION The triage exercise near the end of this session requires materials prepared in advance of the activity. Prepare note cards listing the injuries of six “victims.” The class will be divided into groups of six, and each group will need a copy of the set of cards. See page IG III-26 for details.
NOTES A suggested time plan for this unit is as follows:
Introduction And Session Overview......................................10 minutes Treatment Of Life-Threatening Conditions ...........................90 minutes Opening The Airway Exercise: Opening The Airway Controlling Bleeding Exercise: Controlling Bleeding Recognizing And Treating For Shock Exercise: Treating For Shock Triage .....................................................................................45 minutes Exercise: Conducting Triage Session Summary.....................................................................5 minutes Total Time: 2 hours 30 minutes
Total Unit: 2 hours 30 minutes
SESSION III: DISASTER MEDICAL OPERATIONS—PART 1
Total Topic: 10 minutes Visual 3.1
Visual 3.1
Unit III
Disaster Medical Operations
Part 1
INTRODUCTION AND SESSION OVERVIEW � Welcome the participants to Session III of the CERT
training program. • � Introduce the new instructors for this session and asks
each to briefly describe his or her experience in medical operations.
• Introduce this session by explaining that the need for
disaster medical operation is based on two assumptions: • The number of victims will exceed local capacity for treatment. • Survivors will assist others. They will do whatever
they know how to do but it cannot be assumed that most will know lifesaving first aid or post-disaster survival techniques.
Participant Hand-book, page PH III-3.
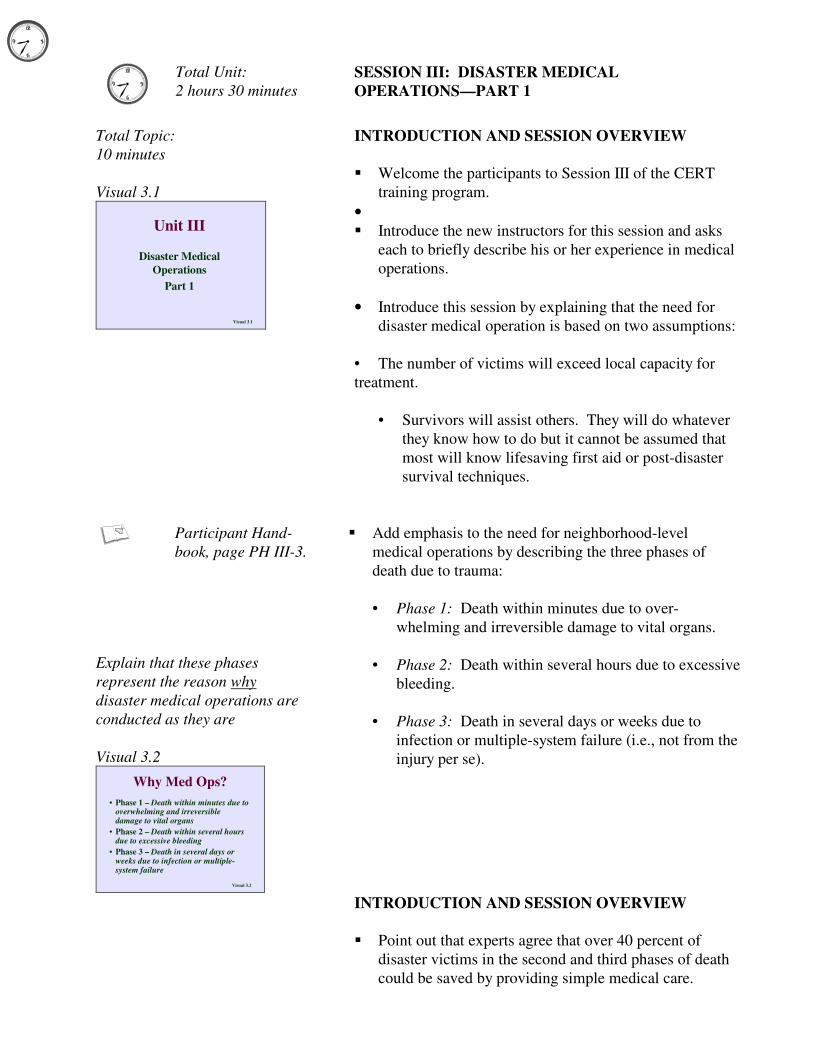
Explain that these phases represent the reason why disaster medical operations are conducted as they are Visual 3.2
Visual 3.2
Why Med Ops?• Phase 1 – Death within minutes due to
overwhelming and irreversible damage to vital organs
• Phase 2 – Death within several hours due to excessive bleeding
• Phase 3 – Death in several days or weeks due to infection or multiple-system failure
� Add emphasis to the need for neighborhood-level medical operations by describing the three phases of death due to trauma:
• Phase 1: Death within minutes due to over-
whelming and irreversible damage to vital organs. • Phase 2: Death within several hours due to excessive
bleeding. • Phase 3: Death in several days or weeks due to
infection or multiple-system failure (i.e., not from the injury per se).
INTRODUCTION AND SESSION OVERVIEW � Point out that experts agree that over 40 percent of
disaster victims in the second and third phases of death could be saved by providing simple medical care.
DISASTER MEDICAL OPERATIONS
INSTRUCTOR NOTES CONTENT/ACTIVITY
IG III-5
� Add that CERT disaster operations personnel are trained
to provide: • First aid treatment for life-threatening conditions—
airway obstruction, bleeding, and shock—and for other less urgent conditions.
• The greatest good for the greatest number of
victims by conducting triage evaluations. � Introduce the concept of Simple Triage And Rapid
Treatment (START) when initially dealing with casualties in a disaster.
Note that those who have taken first aid courses typically have the most difficulty adjusting to disaster medical operations.
� Poll the group to see how many have taken first aid courses.
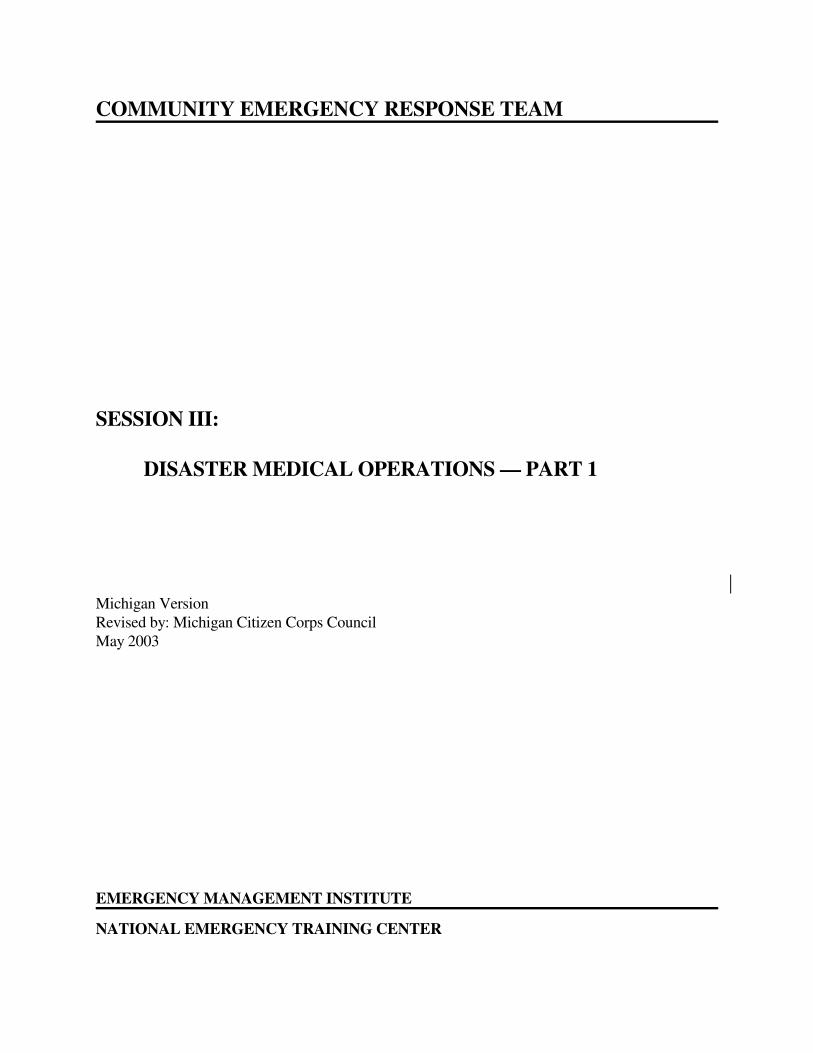
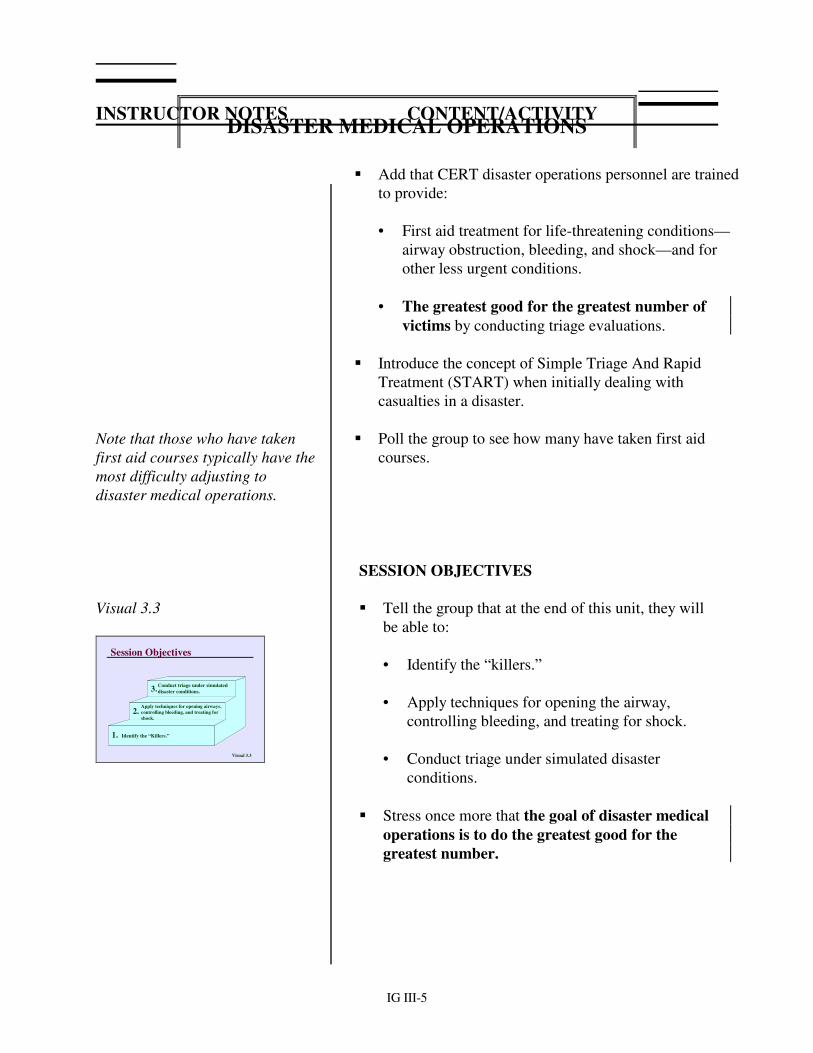
SESSION OBJECTIVES Visual 3.3
Visual 3.3
Session Objectives
3.
2.
1.
Conduct triage under simulateddisaster conditions.
Apply techniques for opening airways,controlling bleeding, and treating forshock.
Identify the “Killers.”
� Tell the group that at the end of this unit, they will be able to:
• Identify the “killers.” • Apply techniques for opening the airway,
controlling bleeding, and treating for shock. • Conduct triage under simulated disaster
conditions.
� Stress once more that the goal of disaster medical operations is to do the greatest good for the greatest number.
DISASTER MEDICAL OPERATIONS
INSTRUCTOR NOTES CONTENT/ACTIVITY
IG III-6
SUMMARY AND TRANSITION � Explain that this session will introduce the
participants to disaster first aid treatment and the principles of triage. Tell the group that, through-out the session, they will have opportunities to practice the first aid techniques and, at the end of the session, they will have the opportunity to conduct triage evaluations in a simulated disaster.
? Discussion question. � Ask the participants if anyone has any questions.
� Explain that the first section will deal with
treatment for life-threatening conditions: airway obstruction, excessive bleeding, and shock.
YOUR NOTES:
Total Topic: 1 hour 30 minutes
RECOGNIZING AND TREATING LIFE-THREATENING CONDITIONS
Visual 3.4
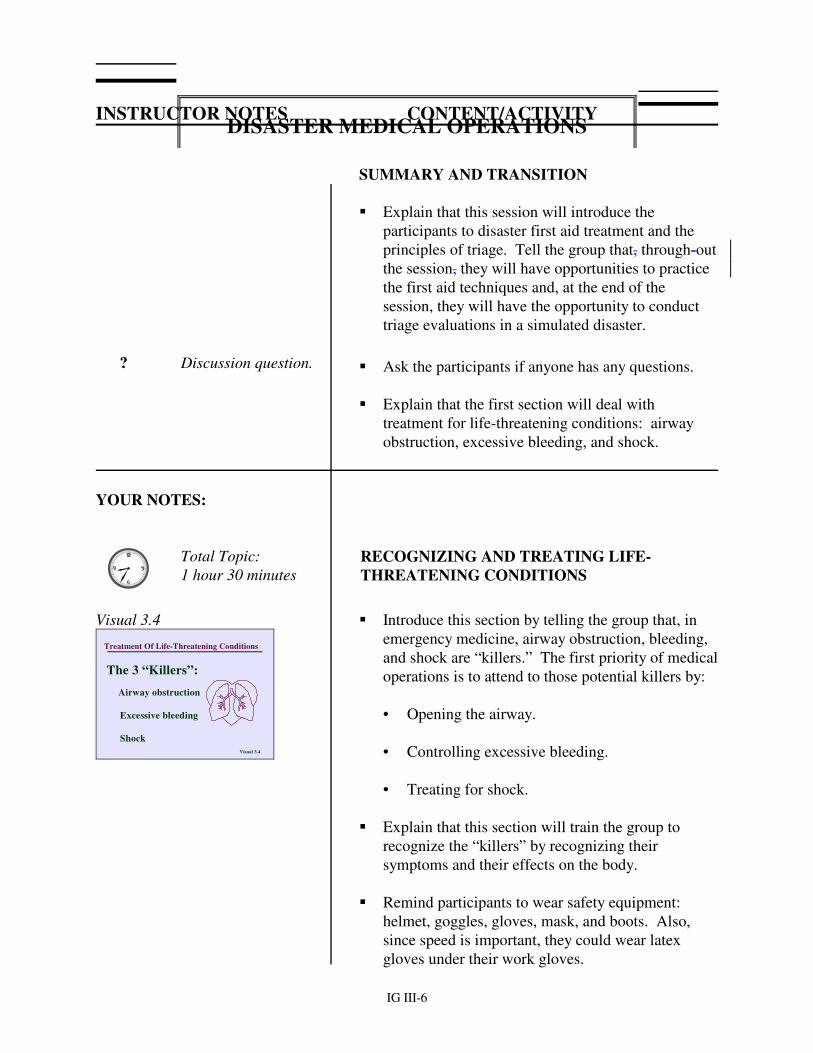
Visual 3.4
Treatment Of Life-Threatening Conditions
The 3 “Killers”:
� Airway obstruction
� Excessive bleeding
� Shock
� Introduce this section by telling the group that, in emergency medicine, airway obstruction, bleeding, and shock are “killers.” The first priority of medical operations is to attend to those potential killers by:
• Opening the airway. • Controlling excessive bleeding. • Treating for shock. � Explain that this section will train the group to
recognize the “killers” by recognizing their symptoms and their effects on the body.
� Remind participants to wear safety equipment:
helmet, goggles, gloves, mask, and boots. Also, since speed is important, they could wear latex gloves under their work gloves.

DISASTER MEDICAL OPERATIONS
INSTRUCTOR NOTES CONTENT/ACTIVITY
IG III-7
Participant Hand-book, page PH III-5.
OPENING THE AIRWAY
Visual 3.5
Visual 3.5
Treatment Of Life-Threatening ConditionsComponents of the Respiratory System:
Lung
Bronchus
Larynx(voice box)
Pharynx(throat)
Nasal AirPassage
Tongue
Trachea(wind pipe)
��Display the components of the respiratory system. Point out that the respiratory system includes airways, lungs, and muscles.
��Point to the airway on the visual. Then ask the
participants if they know what the most common airway obstruction is.
Participant Hand-book, page PH III-6.
If not mentioned, tell the group that the most common airway obstruction is the tongue. (Refer the participants to the illustration in their Participant Handbooks.) Explain that, in an unconscious or semiconscious victim, especially one positioned on his or her back, the tongue—which is a muscle—may relax and block the airway. A victim with a suspected airway obstruction must be checked immediately for breathing and, if necessary, the airway must be opened.
Participant Hand-book, page PH III-7.
� Explain that when an airway obstruction is suspected, CERT members should clear the airway using the Head-Tilt/Chin-Lift method. (Refer the participants to their Participant Handbooks.) This method involves the following six steps:
Demonstrate each step slowly using the mannequin. Explain that proper technique is important, but so is speed if there are multiple victims.
• Step 1: At an arm’s distance, shake the victim and shout, “Can you hear me?”
• Step 2: If the victim does not or cannot respond,
place one hand on the victim’s forehead. Explain that this method causes little or no cervical-spine manipulation. Visual 3.6
• Step 3: Place two fingers of the other hand under the chin and tilt the jaw upward while tilting the head backward slightly.
DISASTER MEDICAL OPERATIONS
INSTRUCTOR NOTES CONTENT/ACTIVITY
IG III-8
Visual 3.6
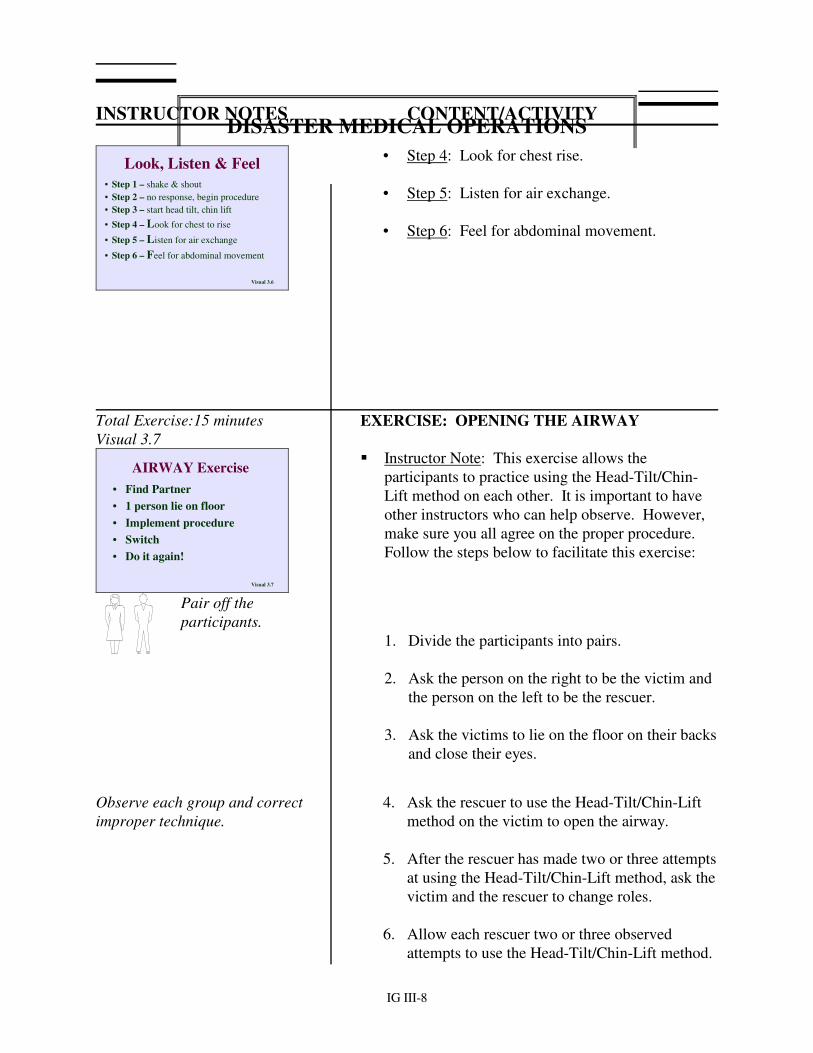
Look, Listen & Feel• Step 1 – shake & shout• Step 2 – no response, begin procedure• Step 3 – start head tilt, chin lift
• Step 4 – Look for chest to rise
• Step 5 – Listen for air exchange
• Step 6 – Feel for abdominal movement
• Step 4: Look for chest rise. • Step 5: Listen for air exchange. • Step 6: Feel for abdominal movement.
Total Exercise:15 minutes Visual 3.7
Visual 3.7
AIRWAY Exercise• Find Partner• 1 person lie on floor• Implement procedure• Switch• Do it again!
EXERCISE: OPENING THE AIRWAY � Instructor Note: This exercise allows the
participants to practice using the Head-Tilt/Chin-Lift method on each other. It is important to have other instructors who can help observe. However, make sure you all agree on the proper procedure. Follow the steps below to facilitate this exercise:
Pair off the participants.
1. Divide the participants into pairs. 2. Ask the person on the right to be the victim and
the person on the left to be the rescuer. 3. Ask the victims to lie on the floor on their backs
and close their eyes.
Observe each group and correct improper technique.
4. Ask the rescuer to use the Head-Tilt/Chin-Lift method on the victim to open the airway.
5. After the rescuer has made two or three attempts
at using the Head-Tilt/Chin-Lift method, ask the victim and the rescuer to change roles.
6. Allow each rescuer two or three observed
attempts to use the Head-Tilt/Chin-Lift method.
DISASTER MEDICAL OPERATIONS
INSTRUCTOR NOTES CONTENT/ACTIVITY
IG III-9
� After all participants have had the opportunity to be
the rescuer, discuss any problems or incorrect techniques that were observed. Explain how to avoid the problems in the future.
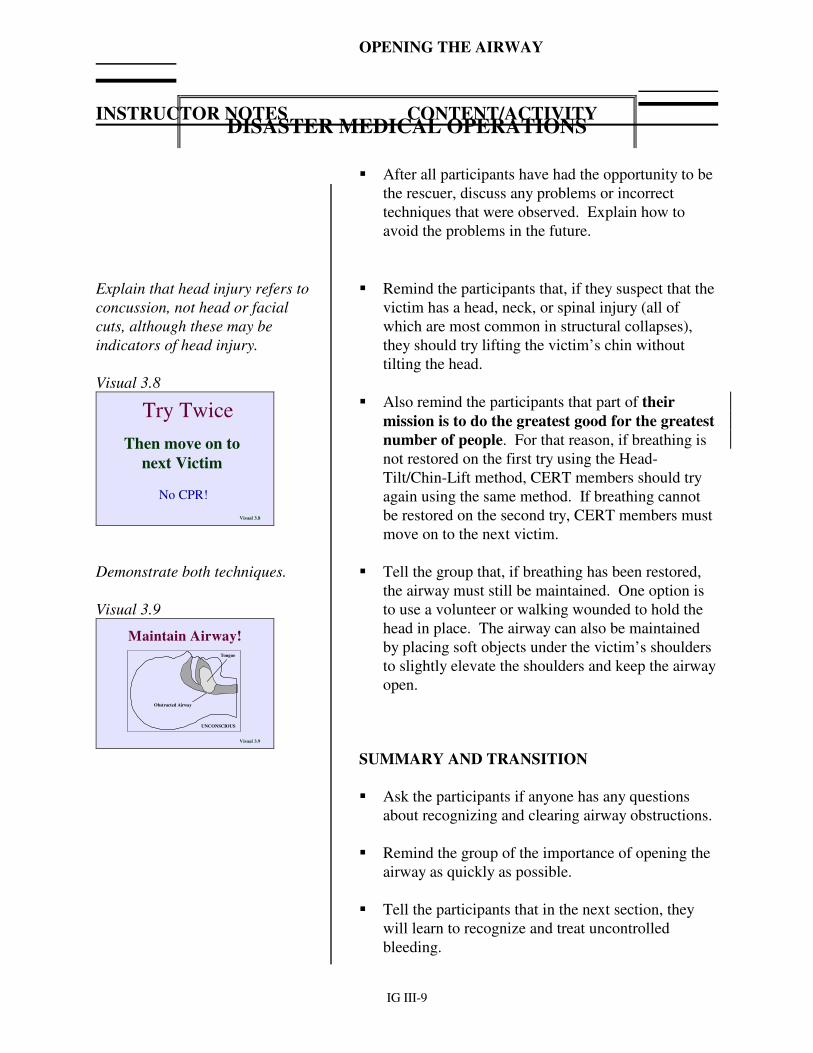
Explain that head injury refers to concussion, not head or facial cuts, although these may be indicators of head injury. Visual 3.8
Visual 3.8
Try TwiceThen move on to
next Victim
No CPR!
� Remind the participants that, if they suspect that the victim has a head, neck, or spinal injury (all of which are most common in structural collapses), they should try lifting the victim’s chin without tilting the head.
� Also remind the participants that part of their
mission is to do the greatest good for the greatest number of people. For that reason, if breathing is not restored on the first try using the Head-Tilt/Chin-Lift method, CERT members should try again using the same method. If breathing cannot be restored on the second try, CERT members must move on to the next victim.
Demonstrate both techniques. Visual 3.9
Visual 3.9
Maintain Airway!Tongue
UNCONSCIOUS
Obstructed Airway
� Tell the group that, if breathing has been restored, the airway must still be maintained. One option is to use a volunteer or walking wounded to hold the head in place. The airway can also be maintained by placing soft objects under the victim’s shoulders to slightly elevate the shoulders and keep the airway open.
SUMMARY AND TRANSITION � Ask the participants if anyone has any questions
about recognizing and clearing airway obstructions. � Remind the group of the importance of opening the
airway as quickly as possible. � Tell the participants that in the next section, they
will learn to recognize and treat uncontrolled bleeding.
OPENING THE AIRWAY
DISASTER MEDICAL OPERATIONS
INSTRUCTOR NOTES CONTENT/ACTIVITY
IG III-10
Participant Hand-book, page PH III-8. Visual 3.10
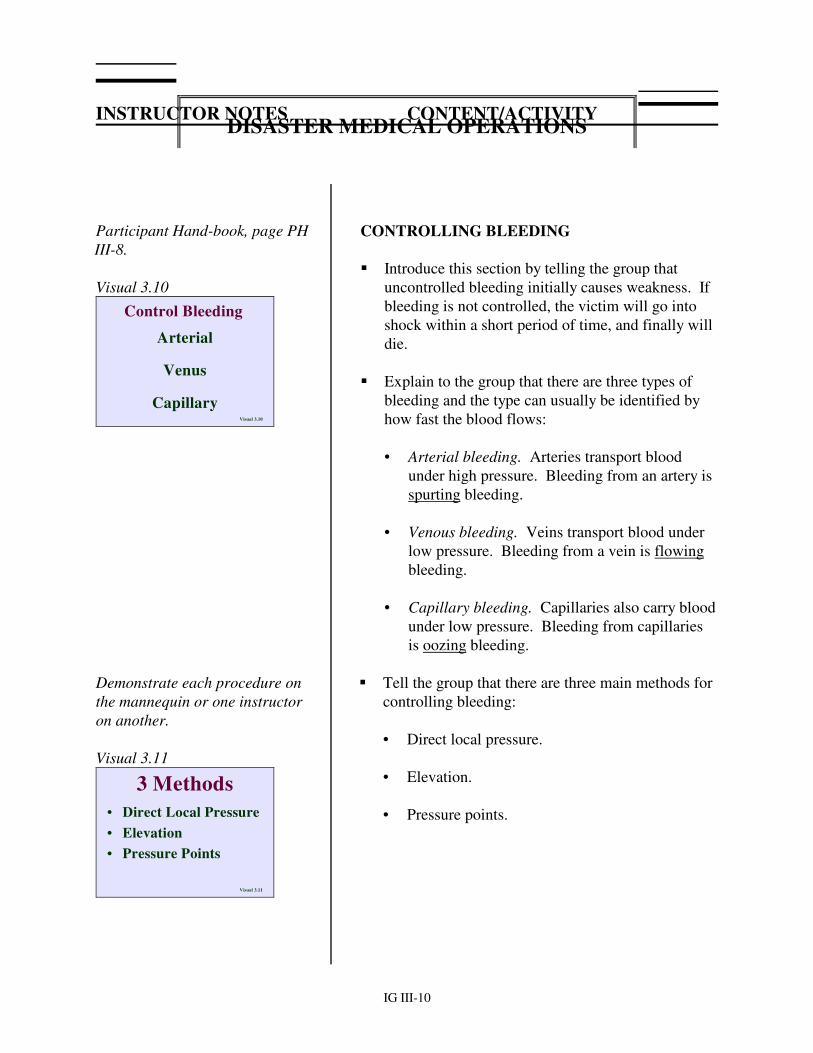
Visual 3.10
Control Bleeding
Arterial
Venus
Capillary
CONTROLLING BLEEDING � Introduce this section by telling the group that
uncontrolled bleeding initially causes weakness. If bleeding is not controlled, the victim will go into shock within a short period of time, and finally will die.
� Explain to the group that there are three types of
bleeding and the type can usually be identified by how fast the blood flows:
• Arterial bleeding. Arteries transport blood
under high pressure. Bleeding from an artery is spurting bleeding.
• Venous bleeding. Veins transport blood under
low pressure. Bleeding from a vein is flowing bleeding.
• Capillary bleeding. Capillaries also carry blood
under low pressure. Bleeding from capillaries is oozing bleeding.
Demonstrate each procedure on the mannequin or one instructor on another. Visual 3.11
Visual 3.11
3 Methods• Direct Local Pressure• Elevation• Pressure Points
� Tell the group that there are three main methods for controlling bleeding:
• Direct local pressure. • Elevation. • Pressure points.

DISASTER MEDICAL OPERATIONS
INSTRUCTOR NOTES CONTENT/ACTIVITY
IG III-11
Visual 3.12
Visual 3.12
Bandaging & Dressing
• Sterile dressing directly over the wound.
• Clean bandage over the sterile dressing.
Review dressing and bandaging requirements ��Sterile Dressing over the wound ��Clean Bandage over sterile dressing Cover as much of the dressing wit with the bandage as possible to protect the sterile surface of the dressing
� Explain to the group that local pressure combined
with elevation is used to address 95% of bleeding. Demonstrate the procedure for controlling bleeding through direct local pressure:
• Step 1: Place direct pressure over the wound by
putting a clean pad over the wound and pressing firmly.
• Step 2: Maintain compression by wrapping the
wound firmly with a pressure bandage. Instructor Note: Direct pressure and elevation can
take 5 to 7 minutes to work. Time is critical. Therefore, the use of a pressure bandage is necessary so that the rescuer can move on to the next victim.
Explain that the bandage maintains the direct pressure needed to stop the bleeding. CERT members continue to assess the victim’s status. If the victim’s limb is turning blue or becoming numb below the bandage, then it should be loosened.
� Explain that a pressure bandage should be tied with a bow, so it can be loosened if necessary.
� Ask if anyone has any questions about applying a
pressure bandage. � Demonstrate the procedure for controlling bleeding
through elevation: elevating the wound above the level of the heart. This can be used in combination with direct pressure.
Point out major pressure Visual 3.13
�� Tell the participants that there are also pressure
points that can be used to stem the flow of bleeding. Explain that a pressure point is a pulse point for a
DISASTER MEDICAL OPERATIONS
INSTRUCTOR NOTES CONTENT/ACTIVITY
IG III-12
Visual 3.13
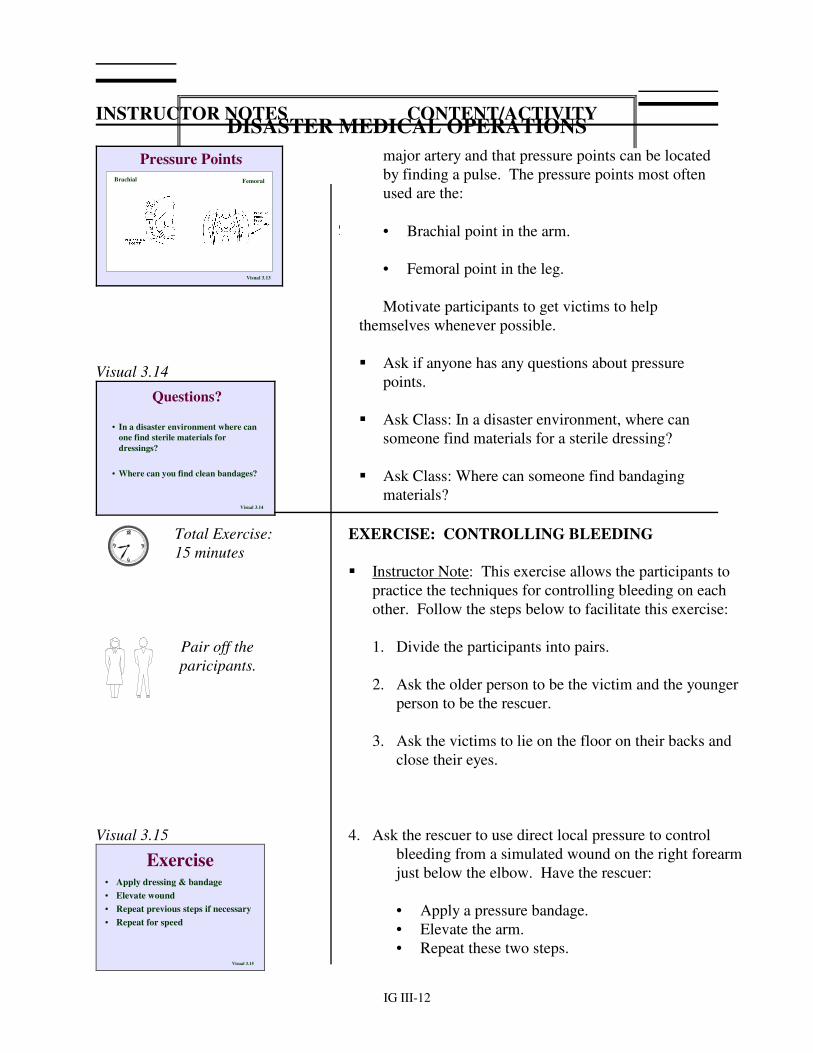
Pressure PointsBrachial Femoral
Visual 3.14
Visual 3.14
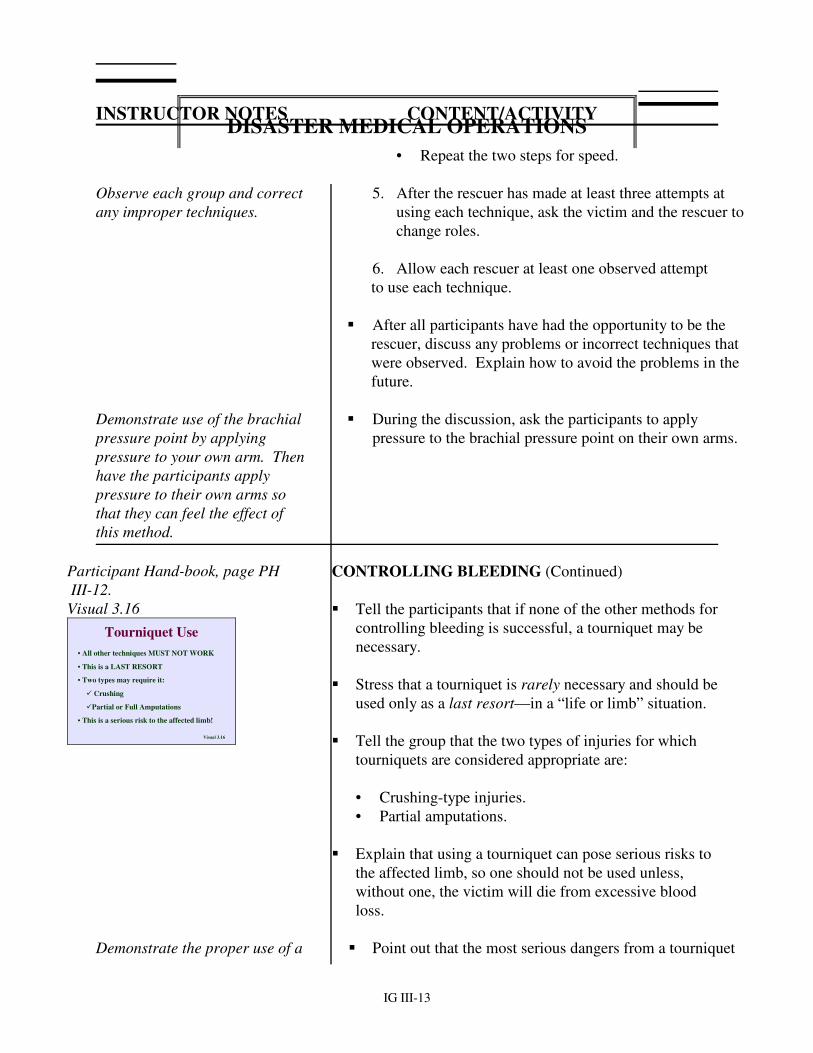
Questions?
• In a disaster environment where can one find sterile materials for dressings?
• Where can you find clean bandages?
major artery and that pressure points can be located by finding a pulse. The pressure points most often used are the:
C • Brachial point in the arm.
• Femoral point in the leg.
Motivate participants to get victims to help themselves whenever possible.
��Ask if anyone has any questions about pressure
points. ��Ask Class: In a disaster environment, where can
someone find materials for a sterile dressing? ��Ask Class: Where can someone find bandaging
materials?
Total Exercise: 15 minutes
EXERCISE: CONTROLLING BLEEDING � Instructor Note: This exercise allows the participants to
practice the techniques for controlling bleeding on each other. Follow the steps below to facilitate this exercise:
Pair off the paricipants.
1. Divide the participants into pairs. 2. Ask the older person to be the victim and the younger
person to be the rescuer. 3. Ask the victims to lie on the floor on their backs and
close their eyes. Visual 3.15
Visual 3.15
Exercise• Apply dressing & bandage• Elevate wound• Repeat previous steps if necessary• Repeat for speed
4. Ask the rescuer to use direct local pressure to control
bleeding from a simulated wound on the right forearm just below the elbow. Have the rescuer:
• Apply a pressure bandage. • Elevate the arm. • Repeat these two steps.
DISASTER MEDICAL OPERATIONS
INSTRUCTOR NOTES CONTENT/ACTIVITY
IG III-13
Observe each group and correct any improper techniques.
• Repeat the two steps for speed.
5. After the rescuer has made at least three attempts at using each technique, ask the victim and the rescuer to change roles.
6. Allow each rescuer at least one observed attempt
to use each technique. � After all participants have had the opportunity to be the
rescuer, discuss any problems or incorrect techniques that were observed. Explain how to avoid the problems in the future.
Demonstrate use of the brachial pressure point by applying pressure to your own arm. Then have the participants apply pressure to their own arms so that they can feel the effect of this method.
� During the discussion, ask the participants to apply pressure to the brachial pressure point on their own arms.
Demonstrate the proper use of a � Point out that the most serious dangers from a tourniquet
Participant Hand-book, page PH III-12. Visual 3.16
Visual 3.16
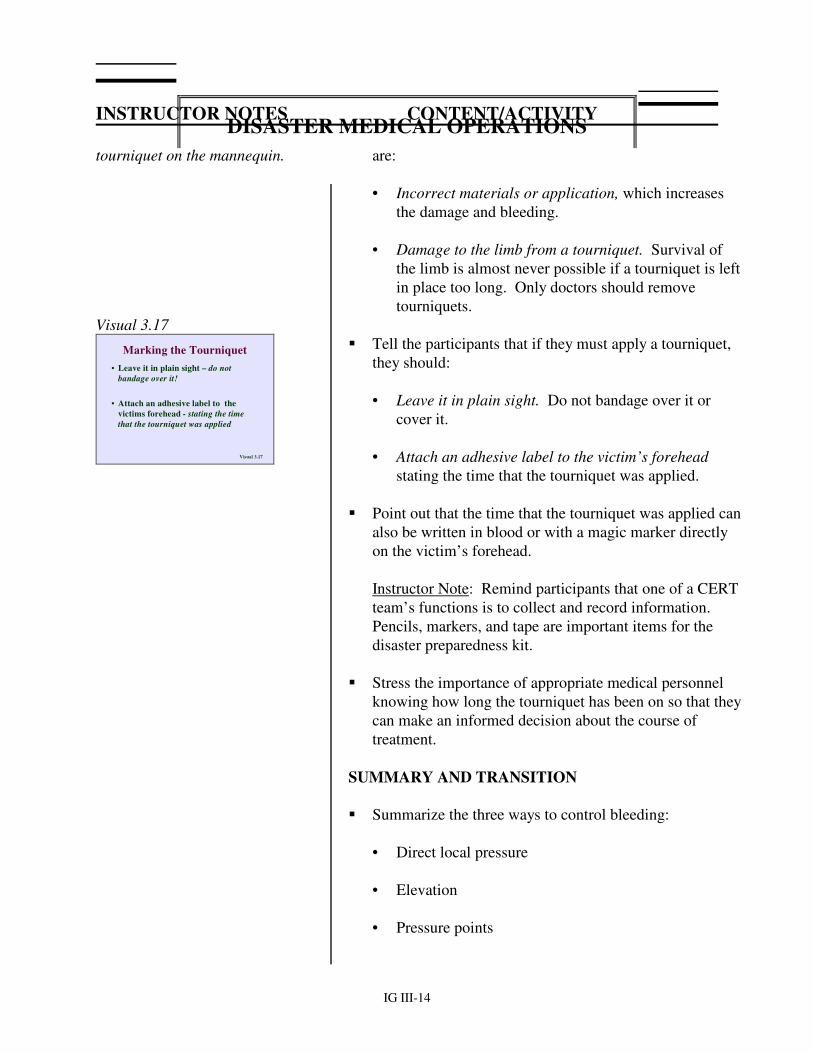
Tourniquet Use• All other techniques MUST NOT WORK
• This is a LAST RESORT
• Two types may require it:
� Crushing
�Partial or Full Amputations
• This is a serious risk to the affected limb!
CONTROLLING BLEEDING (Continued) � Tell the participants that if none of the other methods for
controlling bleeding is successful, a tourniquet may be necessary.
� Stress that a tourniquet is rarely necessary and should be
used only as a last resort—in a “life or limb” situation. � Tell the group that the two types of injuries for which
tourniquets are considered appropriate are: • Crushing-type injuries. • Partial amputations. ��Explain that using a tourniquet can pose serious risks to
the affected limb, so one should not be used unless, without one, the victim will die from excessive blood loss.
DISASTER MEDICAL OPERATIONS
INSTRUCTOR NOTES CONTENT/ACTIVITY
IG III-14
tourniquet on the mannequin. Visual 3.17
Visual 3.17
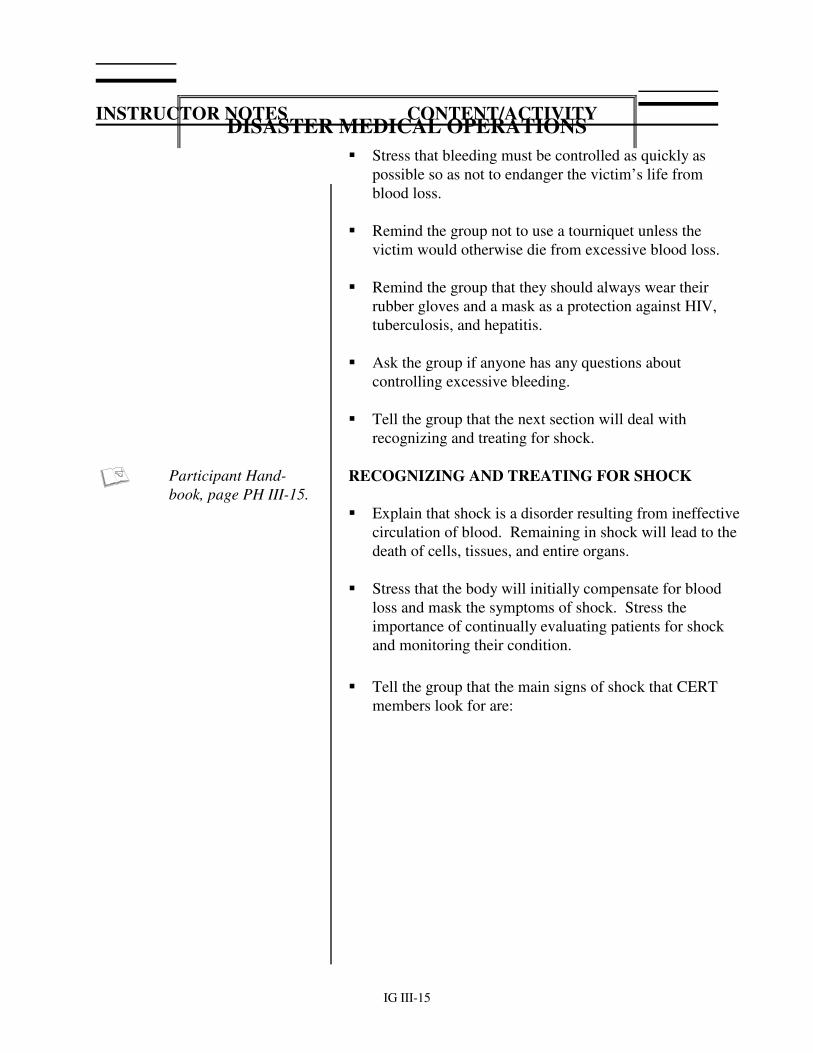
Marking the Tourniquet• Leave it in plain sight – do not
bandage over it!
• Attach an adhesive label to the victims forehead - stating the time that the tourniquet was applied
are: • Incorrect materials or application, which increases
the damage and bleeding. • Damage to the limb from a tourniquet. Survival of
the limb is almost never possible if a tourniquet is left in place too long. Only doctors should remove tourniquets.
� Tell the participants that if they must apply a tourniquet,
they should: • Leave it in plain sight. Do not bandage over it or
cover it. • Attach an adhesive label to the victim’s forehead
stating the time that the tourniquet was applied. � Point out that the time that the tourniquet was applied can
also be written in blood or with a magic marker directly on the victim’s forehead.
Instructor Note: Remind participants that one of a CERT
team’s functions is to collect and record information. Pencils, markers, and tape are important items for the disaster preparedness kit.
� Stress the importance of appropriate medical personnel
knowing how long the tourniquet has been on so that they can make an informed decision about the course of treatment.
SUMMARY AND TRANSITION
� Summarize the three ways to control bleeding: • Direct local pressure • Elevation • Pressure points
DISASTER MEDICAL OPERATIONS
INSTRUCTOR NOTES CONTENT/ACTIVITY
IG III-15
� Stress that bleeding must be controlled as quickly as possible so as not to endanger the victim’s life from blood loss.
� Remind the group not to use a tourniquet unless the
victim would otherwise die from excessive blood loss. � Remind the group that they should always wear their
rubber gloves and a mask as a protection against HIV, tuberculosis, and hepatitis.
� Ask the group if anyone has any questions about
controlling excessive bleeding. � Tell the group that the next section will deal with
recognizing and treating for shock.
Participant Hand-book, page PH III-15.
RECOGNIZING AND TREATING FOR SHOCK � Explain that shock is a disorder resulting from ineffective
circulation of blood. Remaining in shock will lead to the death of cells, tissues, and entire organs.
� Stress that the body will initially compensate for blood
loss and mask the symptoms of shock. Stress the importance of continually evaluating patients for shock and monitoring their condition.
� Tell the group that the main signs of shock that CERT
members look for are:
DISASTER MEDICAL OPERATIONS
INSTRUCTOR NOTES CONTENT/ACTIVITY
IG III-16
Visual 3.18
Visual 3.18
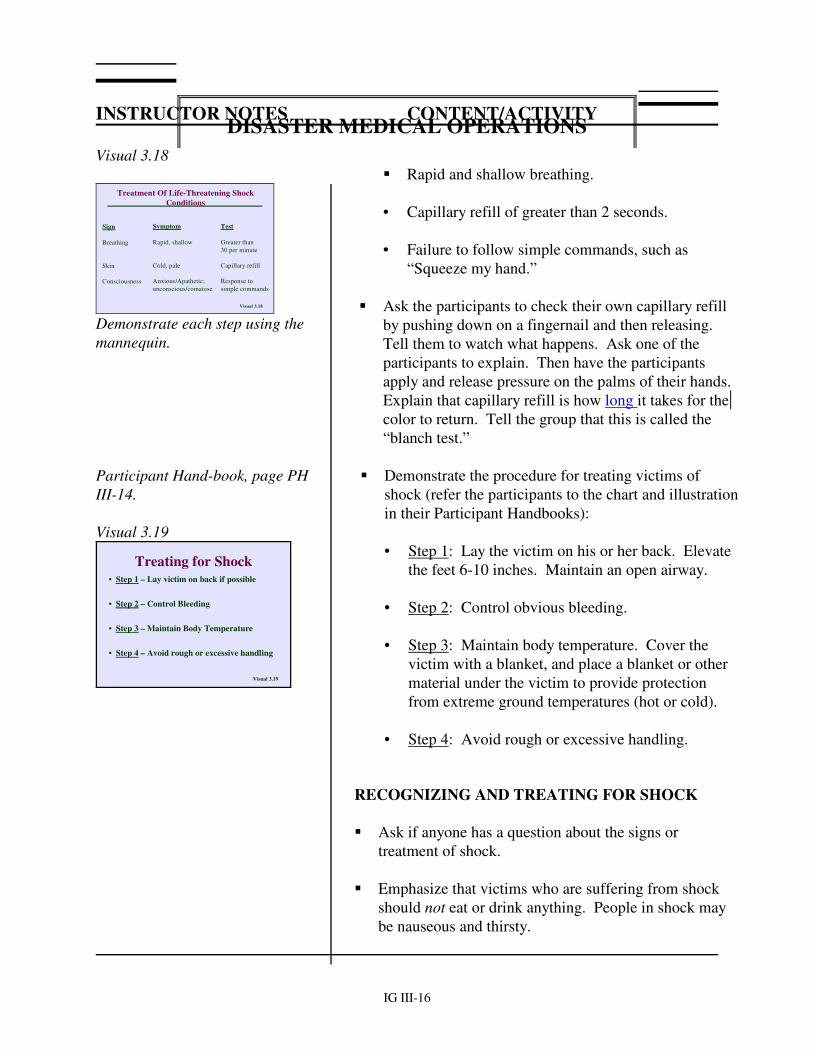
Treatment Of Life-Threatening Shock Conditions
Sign
Breathing
Skin
Consciousness
Symptom
Rapid, shallow
Cold, pale
Anxious/Apathetic;unconscious/comatose
Test
Greater than30 per minute
Capillary refill
Response tosimple commands
Demonstrate each step using the mannequin.
��Rapid and shallow breathing.
• Capillary refill of greater than 2 seconds. • Failure to follow simple commands, such as
“Squeeze my hand.” ��Ask the participants to check their own capillary refill
by pushing down on a fingernail and then releasing. Tell them to watch what happens. Ask one of the participants to explain. Then have the participants apply and release pressure on the palms of their hands. Explain that capillary refill is how long it takes for the color to return. Tell the group that this is called the “blanch test.”
Participant Hand-book, page PH III-14. Visual 3.19
Visual 3.19
Treating for Shock• Step 1 – Lay victim on back if possible
• Step 2 – Control Bleeding
• Step 3 – Maintain Body Temperature
• Step 4 – Avoid rough or excessive handling
� Demonstrate the procedure for treating victims of shock (refer the participants to the chart and illustration in their Participant Handbooks):
• Step 1: Lay the victim on his or her back. Elevate
the feet 6-10 inches. Maintain an open airway. • Step 2: Control obvious bleeding. • Step 3: Maintain body temperature. Cover the
victim with a blanket, and place a blanket or other material under the victim to provide protection from extreme ground temperatures (hot or cold).
• Step 4: Avoid rough or excessive handling. �
RECOGNIZING AND TREATING FOR SHOCK � Ask if anyone has a question about the signs or
treatment of shock. � Emphasize that victims who are suffering from shock
should not eat or drink anything. People in shock may be nauseous and thirsty.
DISASTER MEDICAL OPERATIONS
INSTRUCTOR NOTES CONTENT/ACTIVITY
IG III-17
Total Exercise: 15 minutes Visual 3.20
Visual 3.20
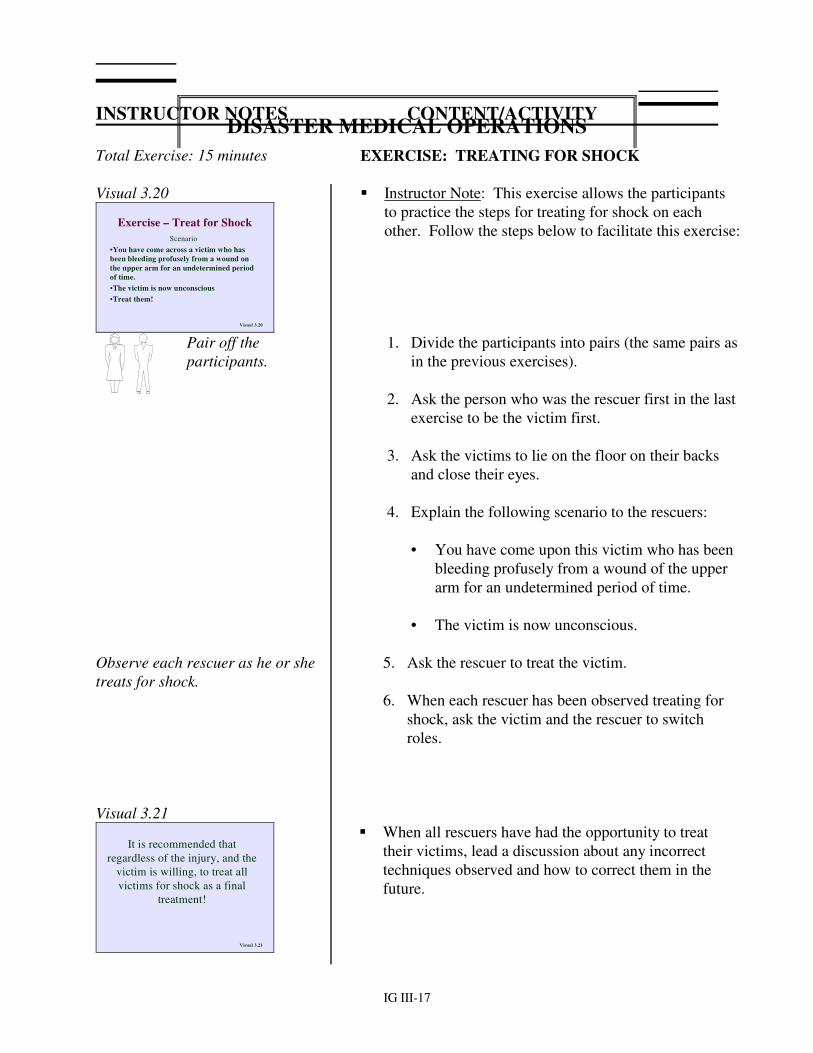
Exercise – Treat for ShockScenario
•You have come across a victim who has been bleeding profusely from a wound on the upper arm for an undetermined period of time.•The victim is now unconscious•Treat them!
EXERCISE: TREATING FOR SHOCK � Instructor Note: This exercise allows the participants
to practice the steps for treating for shock on each other. Follow the steps below to facilitate this exercise:
Pair off the participants.
1. Divide the participants into pairs (the same pairs as in the previous exercises).
2. Ask the person who was the rescuer first in the last
exercise to be the victim first. 3. Ask the victims to lie on the floor on their backs
and close their eyes. 4. Explain the following scenario to the rescuers: • You have come upon this victim who has been
bleeding profusely from a wound of the upper arm for an undetermined period of time.
• The victim is now unconscious.
Observe each rescuer as he or she treats for shock. Visual 3.21
Visual 3.21
It is recommended that regardless of the injury, and the
victim is willing, to treat all victims for shock as a final
treatment!
5. Ask the rescuer to treat the victim. 6. When each rescuer has been observed treating for
shock, ask the victim and the rescuer to switch roles.
� When all rescuers have had the opportunity to treat
their victims, lead a discussion about any incorrect techniques observed and how to correct them in the future.

DISASTER MEDICAL OPERATIONS
INSTRUCTOR NOTES CONTENT/ACTIVITY
IG III-18
DISASTER MEDICAL OPERATIONS
INSTRUCTOR NOTES CONTENT/ACTIVITY
IG III-19
SUMMARY AND TRANSITION
� Summarize the key points about recognizing and
treating for shock: • A victim may display one or more signs of shock. • If there is any reason to suspect shock, apply
immediate treatment. ? Discussion question. � Ask if anyone has any questions about the signs of
shock or its treatment. � Tell the group that, in a disaster scenario, they may
have many victims requiring attention and few resources to use. The next section will deal with a system for prioritizing victim treatment called triage.
YOUR NOTES:
DISASTER MEDICAL OPERATIONS
INSTRUCTOR NOTES CONTENT/ACTIVITY
IG III-20
Total Topic: 45 minutes
TRIAGE
Participant Hand-book, page PH III-16.
WHAT IS TRIAGE?
? Discussion question. The point of this discussion is to get the participants thinking about multiple casualties. Visual 3.22
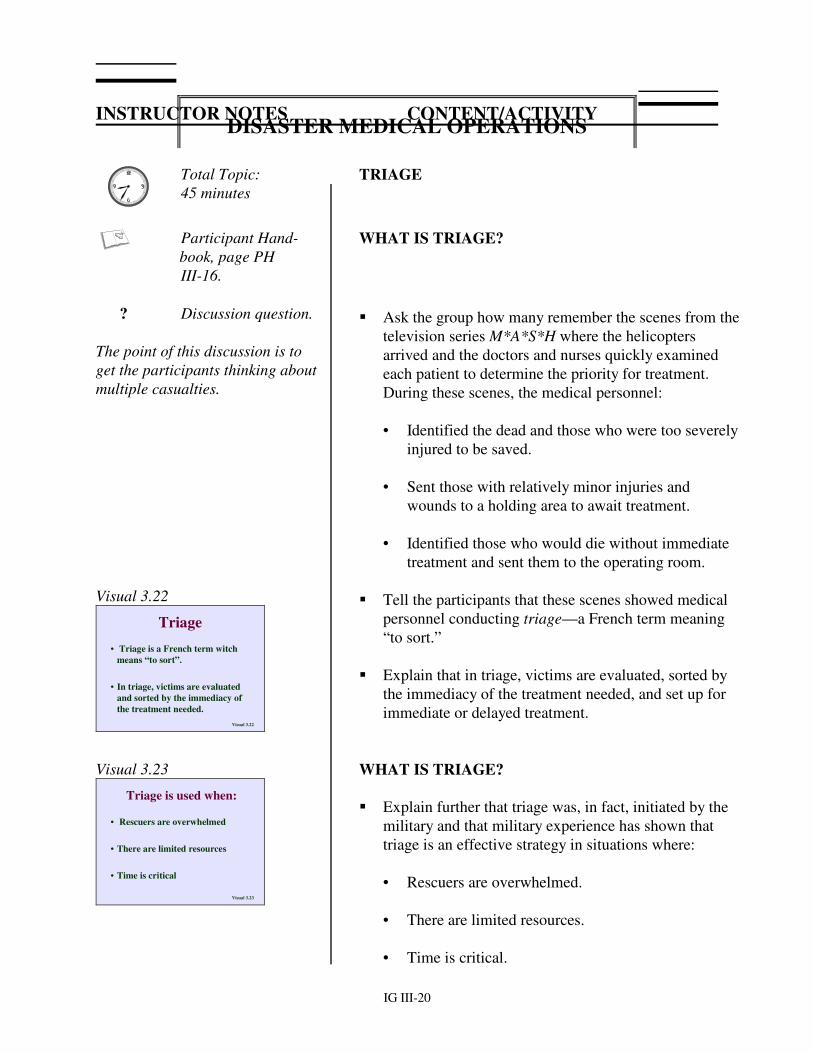
Visual 3.22
Triage• Triage is a French term witch
means “to sort”.
• In triage, victims are evaluated and sorted by the immediacy of the treatment needed.
� Ask the group how many remember the scenes from the television series M*A*S*H where the helicopters arrived and the doctors and nurses quickly examined each patient to determine the priority for treatment. During these scenes, the medical personnel:
• Identified the dead and those who were too severely
injured to be saved. • Sent those with relatively minor injuries and
wounds to a holding area to await treatment. • Identified those who would die without immediate
treatment and sent them to the operating room. � Tell the participants that these scenes showed medical
personnel conducting triage—a French term meaning “to sort.”
� Explain that in triage, victims are evaluated, sorted by
the immediacy of the treatment needed, and set up for immediate or delayed treatment.
Visual 3.23
Visual 3.23
Triage is used when:
• Rescuers are overwhelmed
• There are limited resources
• Time is critical
WHAT IS TRIAGE? � Explain further that triage was, in fact, initiated by the
military and that military experience has shown that triage is an effective strategy in situations where:
• Rescuers are overwhelmed. • There are limited resources. • Time is critical.
DISASTER MEDICAL OPERATIONS
INSTRUCTOR NOTES CONTENT/ACTIVITY
IG III-21
Emphasize that the victim’s location comes into play when performing head-to-toe assess-ments. Triage needs to be done immediately to determine if the person is alive. Then the rescuer must decide what to do based on the condition of the building. Visual 3.24
Visual 3.24
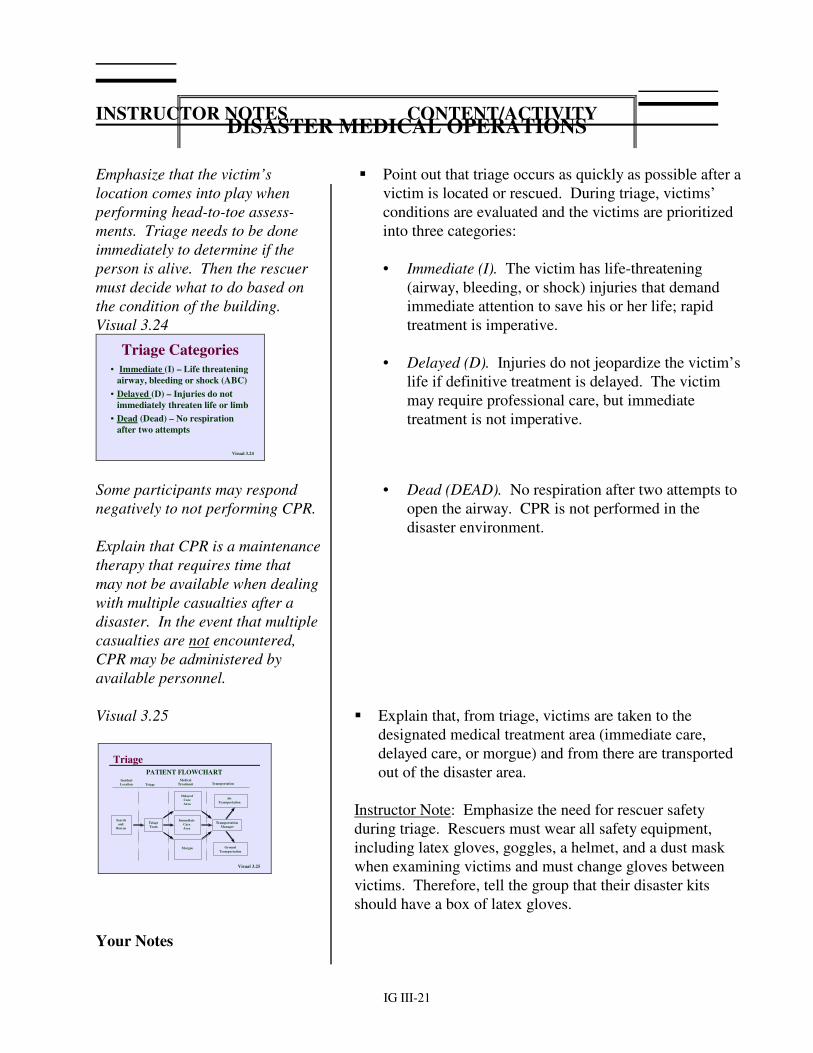
Triage Categories• Immediate (I) – Life threatening
airway, bleeding or shock (ABC)• Delayed (D) – Injuries do not
immediately threaten life or limb• Dead (Dead) – No respiration
after two attempts
� Point out that triage occurs as quickly as possible after a victim is located or rescued. During triage, victims’ conditions are evaluated and the victims are prioritized into three categories:
• Immediate (I). The victim has life-threatening
(airway, bleeding, or shock) injuries that demand immediate attention to save his or her life; rapid treatment is imperative.
• Delayed (D). Injuries do not jeopardize the victim’s
life if definitive treatment is delayed. The victim may require professional care, but immediate treatment is not imperative.
Some participants may respond negatively to not performing CPR. Explain that CPR is a maintenance therapy that requires time that may not be available when dealing with multiple casualties after a disaster. In the event that multiple casualties are not encountered, CPR may be administered by available personnel.
• Dead (DEAD). No respiration after two attempts to open the airway. CPR is not performed in the disaster environment.
Visual 3.25
Visual 3.25
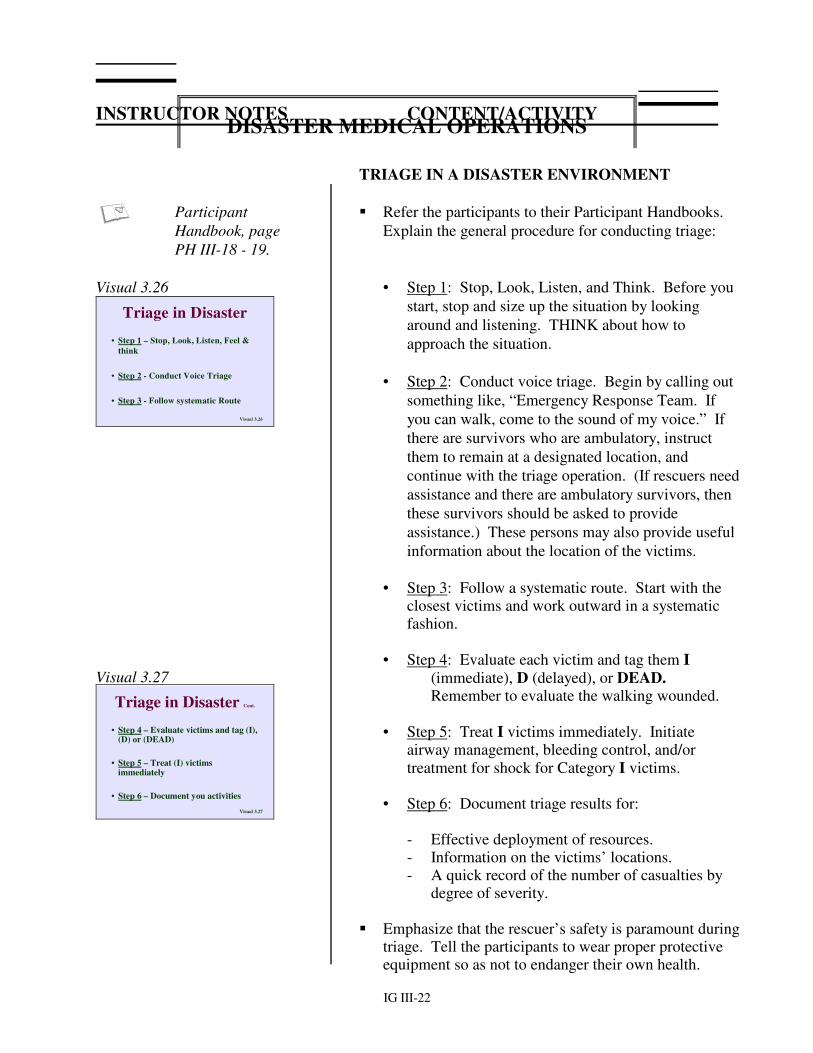
TriagePATIENT FLOWCHART
TransportationTriageMedical
TreatmentIncidentLocation
DelayedCareArea
AirTransportation
Transportation Manager
ImmediateCareArea
TriageTeam
Searchand
Rescue
Morgue GroundTransportation
� Explain that, from triage, victims are taken to the designated medical treatment area (immediate care, delayed care, or morgue) and from there are transported out of the disaster area.
Instructor Note: Emphasize the need for rescuer safety during triage. Rescuers must wear all safety equipment, including latex gloves, goggles, a helmet, and a dust mask when examining victims and must change gloves between victims. Therefore, tell the group that their disaster kits should have a box of latex gloves.
Your Notes
DISASTER MEDICAL OPERATIONS
INSTRUCTOR NOTES CONTENT/ACTIVITY
IG III-22
TRIAGE IN A DISASTER ENVIRONMENT
Participant Handbook, page PH III-18 - 19.
� Refer the participants to their Participant Handbooks. Explain the general procedure for conducting triage:
Visual 3.26
Visual 3.26
Triage in Disaster• Step 1 – Stop, Look, Listen, Feel &
think
• Step 2 - Conduct Voice Triage
• Step 3 - Follow systematic Route
• Step 1: Stop, Look, Listen, and Think. Before you start, stop and size up the situation by looking around and listening. THINK about how to approach the situation.
• Step 2: Conduct voice triage. Begin by calling out
something like, “Emergency Response Team. If you can walk, come to the sound of my voice.” If there are survivors who are ambulatory, instruct them to remain at a designated location, and continue with the triage operation. (If rescuers need assistance and there are ambulatory survivors, then these survivors should be asked to provide assistance.) These persons may also provide useful information about the location of the victims.
Visual 3.27
Visual 3.27
Triage in Disaster Cont.
• Step 4 – Evaluate victims and tag (I), (D) or (DEAD)
• Step 5 – Treat (I) victims immediately
• Step 6 – Document you activities
• Step 3: Follow a systematic route. Start with the closest victims and work outward in a systematic fashion.
• Step 4: Evaluate each victim and tag them I
(immediate), D (delayed), or DEAD. Remember to evaluate the walking wounded.
• Step 5: Treat I victims immediately. Initiate
airway management, bleeding control, and/or treatment for shock for Category I victims.
• Step 6: Document triage results for: - Effective deployment of resources. - Information on the victims’ locations. - A quick record of the number of casualties by
degree of severity. � Emphasize that the rescuer’s safety is paramount during
triage. Tell the participants to wear proper protective equipment so as not to endanger their own health.
DISASTER MEDICAL OPERATIONS
INSTRUCTOR NOTES CONTENT/ACTIVITY
IG III-23
PERFORMING A TRIAGE EVALUATION
Participant Hand-book, page PH III-19. Visual 3.28
Visual 3.28
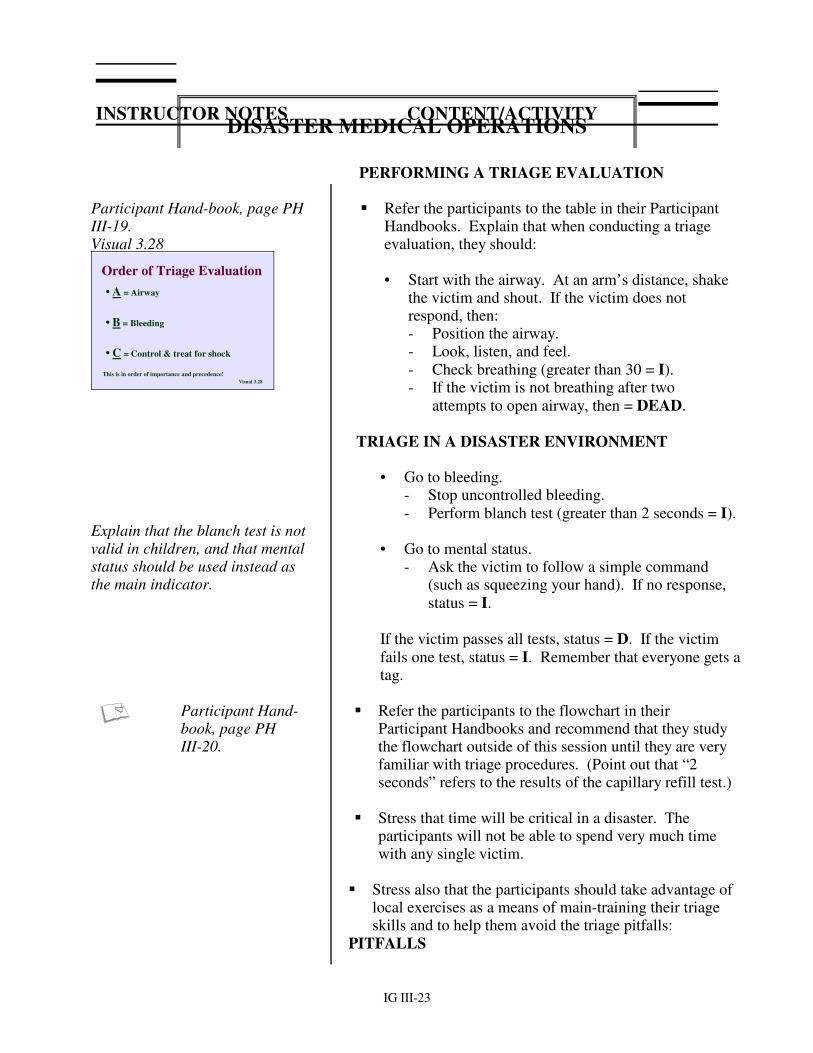
Order of Triage Evaluation• A = Airway
• B = Bleeding
• C = Control & treat for shock
This is in order of importance and precedence!
� Refer the participants to the table in their Participant Handbooks. Explain that when conducting a triage evaluation, they should:
• Start with the airway. At an arm’s distance, shake
the victim and shout. If the victim does not respond, then:
- Position the airway. - Look, listen, and feel. - Check breathing (greater than 30 = I).
- If the victim is not breathing after two attempts to open airway, then = DEAD.
Explain that the blanch test is not valid in children, and that mental status should be used instead as the main indicator.
TRIAGE IN A DISASTER ENVIRONMENT • Go to bleeding. - Stop uncontrolled bleeding. - Perform blanch test (greater than 2 seconds = I). • Go to mental status. - Ask the victim to follow a simple command
(such as squeezing your hand). If no response, status = I.
If the victim passes all tests, status = D. If the victim
fails one test, status = I. Remember that everyone gets a tag.
Participant Hand-book, page PH III-20.
� Refer the participants to the flowchart in their Participant Handbooks and recommend that they study the flowchart outside of this session until they are very familiar with triage procedures. (Point out that “2 seconds” refers to the results of the capillary refill test.)
� Stress that time will be critical in a disaster. The
participants will not be able to spend very much time with any single victim.
� Stress also that the participants should take advantage of local exercises as a means of main-training their triage skills and to help them avoid the triage pitfalls:
PITFALLS
DISASTER MEDICAL OPERATIONS
INSTRUCTOR NOTES CONTENT/ACTIVITY
IG III-24
Visual 3.29
Visual 3.29
TriageTriage “pitfalls”:
� Inadequate medical size-up
� No team plan, organization, or goal
� Indecisive leadership
� Too much focus on one injury
� Treatment (rather than triage) performed
• Inadequate medical size-up. • No team plan, organization, or goal. • Indecisive leadership. • Too much focus on one injury. • Treatment (rather than triage) performed.
Discussion question. � Ask if anyone has any questions on how to perform triage. Total Exercise: 30 minutes Visual 3.30
Visual 3.30
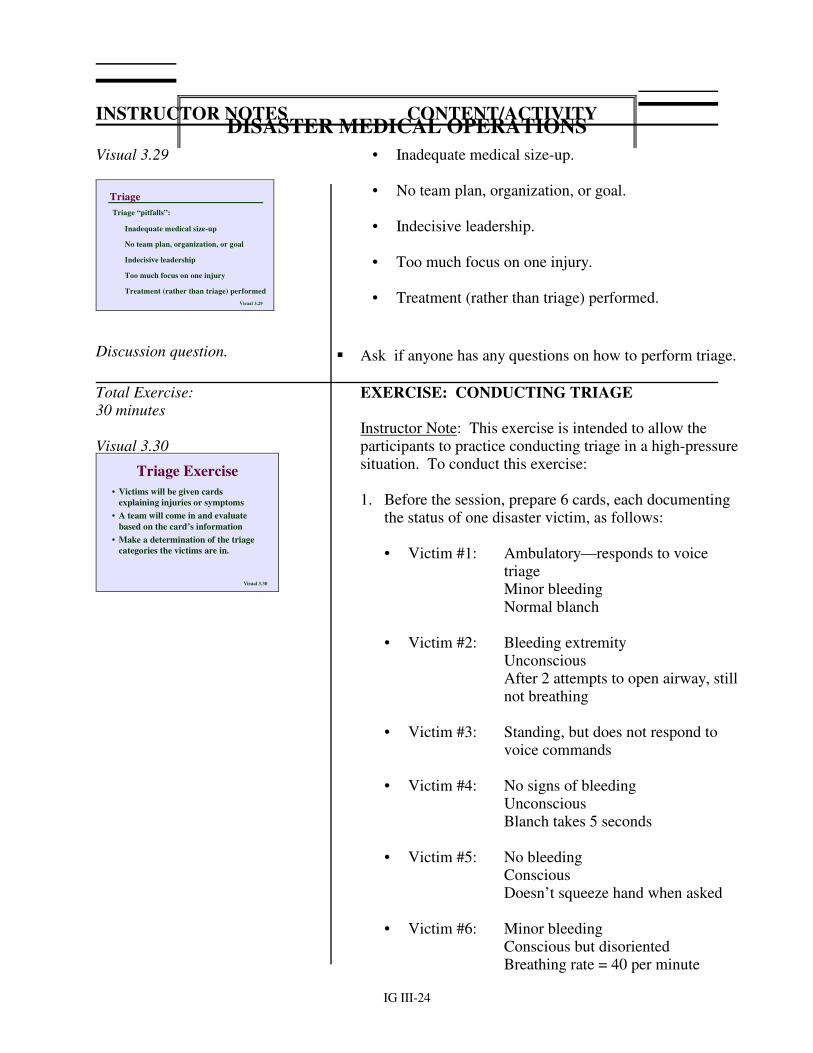
Triage Exercise• Victims will be given cards
explaining injuries or symptoms• A team will come in and evaluate
based on the card’s information• Make a determination of the triage
categories the victims are in.
EXERCISE: CONDUCTING TRIAGE Instructor Note: This exercise is intended to allow the participants to practice conducting triage in a high-pressure situation. To conduct this exercise: 1. Before the session, prepare 6 cards, each documenting
the status of one disaster victim, as follows: • Victim #1: Ambulatory—responds to voice
triage Minor bleeding Normal blanch • Victim #2: Bleeding extremity Unconscious After 2 attempts to open airway, still
not breathing • Victim #3: Standing, but does not respond to
voice commands • Victim #4: No signs of bleeding Unconscious Blanch takes 5 seconds • Victim #5: No bleeding Conscious Doesn’t squeeze hand when asked • Victim #6: Minor bleeding Conscious but disoriented Breathing rate = 40 per minute
DISASTER MEDICAL OPERATIONS
INSTRUCTOR NOTES CONTENT/ACTIVITY
IG III-25
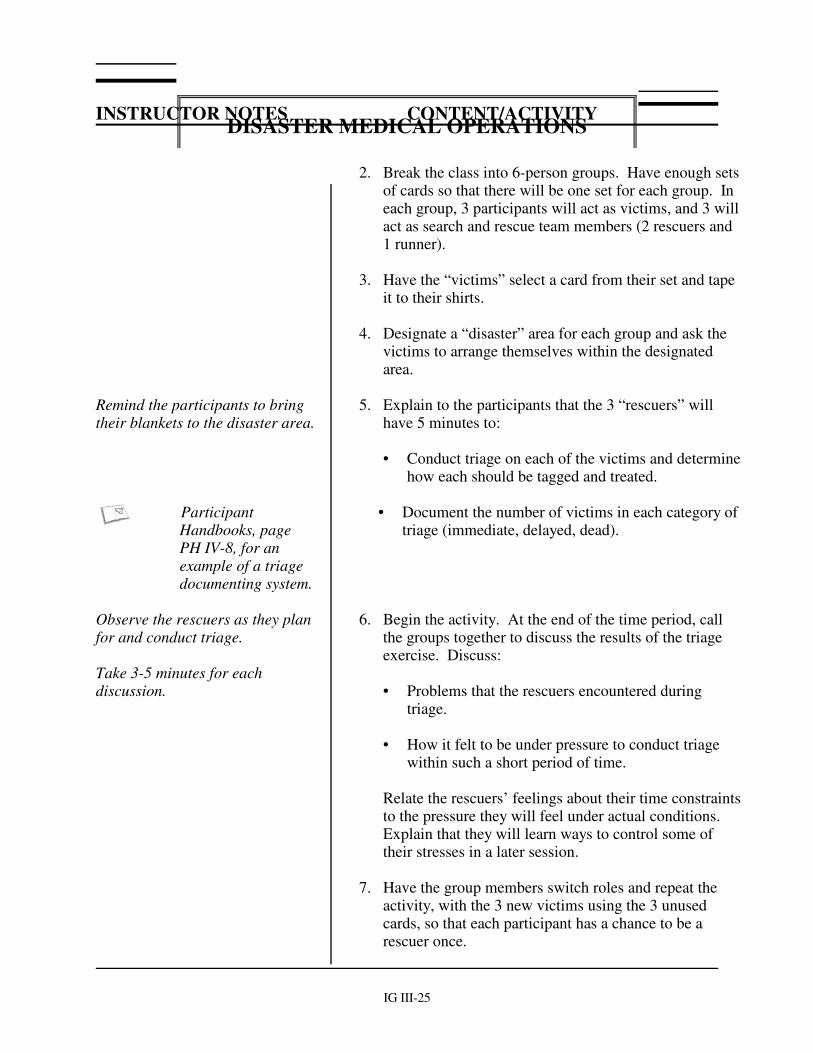
2. Break the class into 6-person groups. Have enough sets
of cards so that there will be one set for each group. In each group, 3 participants will act as victims, and 3 will act as search and rescue team members (2 rescuers and 1 runner).
3. Have the “victims” select a card from their set and tape
it to their shirts. 4. Designate a “disaster” area for each group and ask the
victims to arrange themselves within the designated area.
Remind the participants to bring their blankets to the disaster area.
5. Explain to the participants that the 3 “rescuers” will have 5 minutes to:
• Conduct triage on each of the victims and determine
how each should be tagged and treated.
Participant Handbooks, page PH IV-8, for an example of a triage documenting system.
• Document the number of victims in each category of triage (immediate, delayed, dead).
Observe the rescuers as they plan for and conduct triage. Take 3-5 minutes for each discussion.
6. Begin the activity. At the end of the time period, call the groups together to discuss the results of the triage exercise. Discuss:
• Problems that the rescuers encountered during
triage. • How it felt to be under pressure to conduct triage
within such a short period of time. Relate the rescuers’ feelings about their time constraints
to the pressure they will feel under actual conditions. Explain that they will learn ways to control some of their stresses in a later session.
7. Have the group members switch roles and repeat the
activity, with the 3 new victims using the 3 unused cards, so that each participant has a chance to be a rescuer once.
DISASTER MEDICAL OPERATIONS
INSTRUCTOR NOTES CONTENT/ACTIVITY
IG III-26
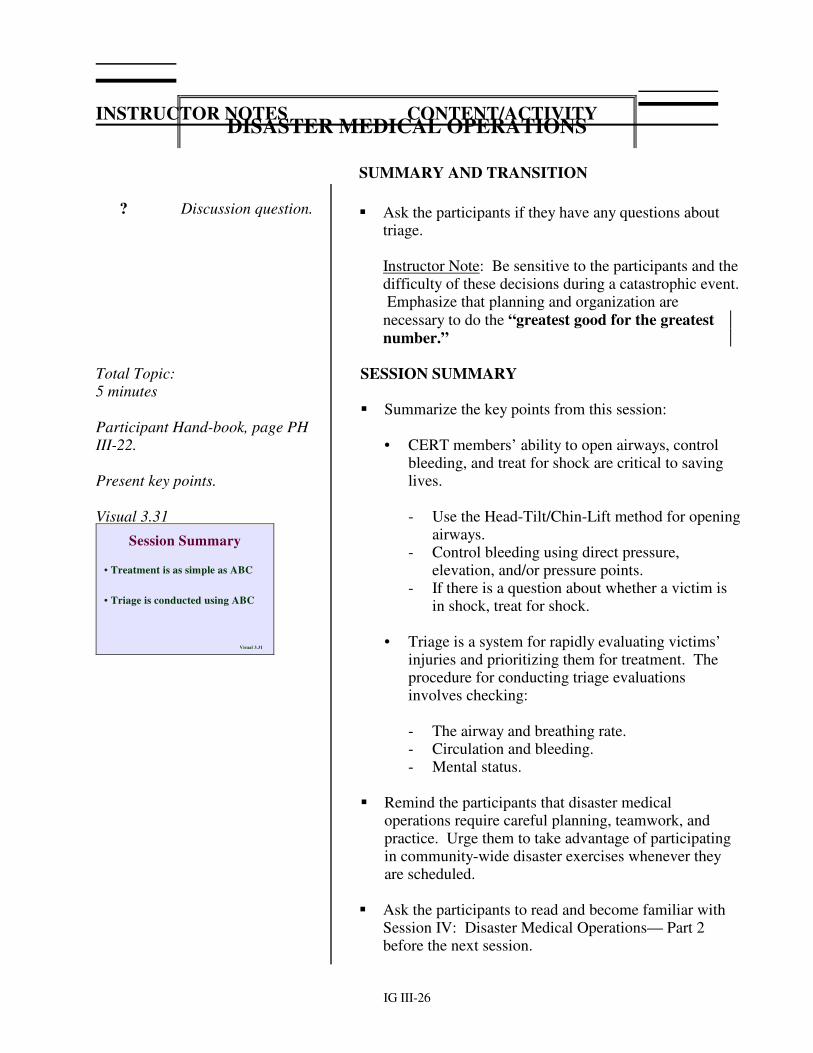
SUMMARY AND TRANSITION ? Discussion question. � Ask the participants if they have any questions about
triage. Instructor Note: Be sensitive to the participants and the
difficulty of these decisions during a catastrophic event. Emphasize that planning and organization are necessary to do the “greatest good for the greatest number.”
Total Topic: 5 minutes Participant Hand-book, page PH III-22. Present key points. Visual 3.31
Visual 3.31
Session Summary
• Treatment is as simple as ABC
• Triage is conducted using ABC
SESSION SUMMARY � Summarize the key points from this session: • CERT members’ ability to open airways, control
bleeding, and treat for shock are critical to saving lives.
- Use the Head-Tilt/Chin-Lift method for opening
airways. - Control bleeding using direct pressure,
elevation, and/or pressure points. - If there is a question about whether a victim is
in shock, treat for shock. • Triage is a system for rapidly evaluating victims’
injuries and prioritizing them for treatment. The procedure for conducting triage evaluations involves checking:
- The airway and breathing rate. - Circulation and bleeding. - Mental status. � Remind the participants that disaster medical
operations require careful planning, teamwork, and practice. Urge them to take advantage of participating in community-wide disaster exercises whenever they are scheduled.
� Ask the participants to read and become familiar with
Session IV: Disaster Medical Operations— Part 2 before the next session.
DISASTER MEDICAL OPERATIONS
INSTRUCTOR NOTES CONTENT/ACTIVITY
IG III-27
� Remind the participants to bring a blanket, roller gauze, adhesive tape, and cardboard to the next session.
� Thank everyone for attending this session.
YOUR NOTES: