Embed Size (px)
Citation preview

Thank you for purchasing a Danray Products snake-arm shield. This versatile, durable, and adjustable shield can be used in many machine applications. This quality-made, heavy-duty shield is proudly made in the United States of America.
Snake-Arm ShieldInstruction Manual
Snake-arm shields serve two basic functions: (1) they provide a safeguard between individuals and point-of-operation or moving hazards, and (2) they protect individuals from flying chips, sparks, coolant, lubricant, and other particles. When applied properly, they will comply with applicable OSHA and ANSI safety standards.
The enclosed safety sign identifies and warns individuals against specific hazards. Our signs comply with OSHA 29 CFR 1910.145 and the ANSI Z535 series of standards for the design, application, and use of signs, colors, and symbols for accident prevention.
TF 1.866.482.6807 / P 815.262.6667 973 Featherstone Road, Unit 115, Rockford, Illinois 61107 www.danrayproducts.com / [email protected]
Manual No. MAN-002Copyright © 2012 by Danray Products LLC. All rights reserved.
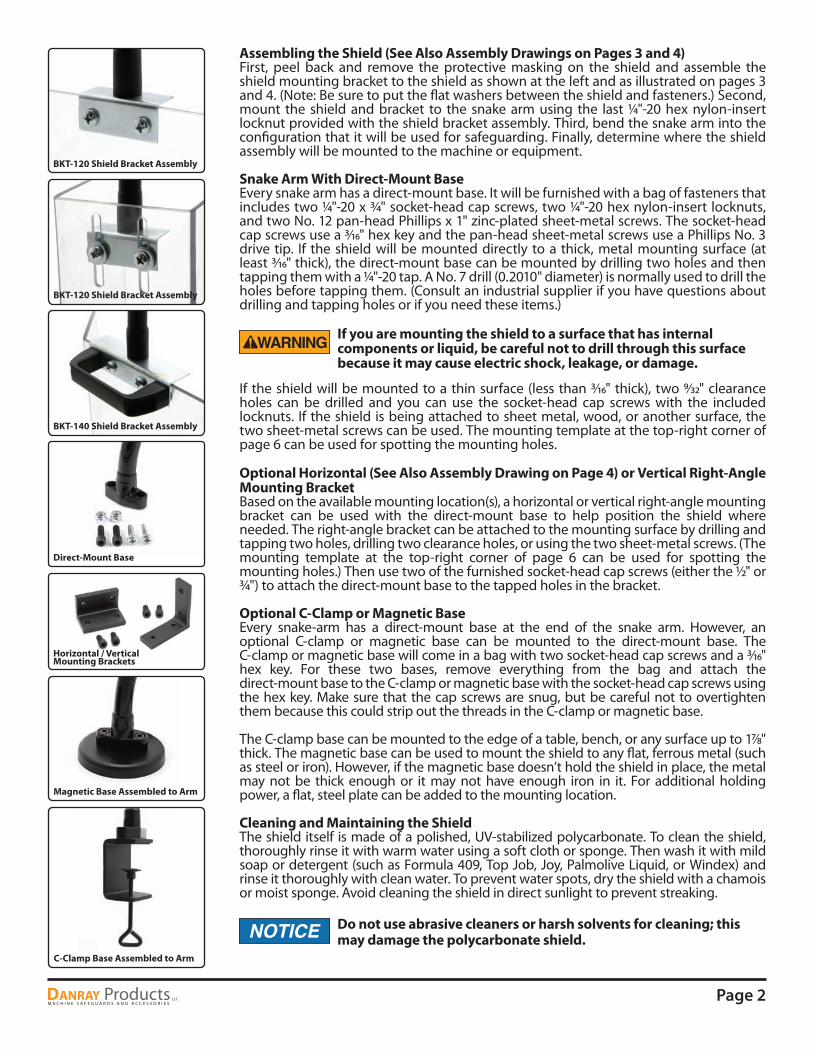
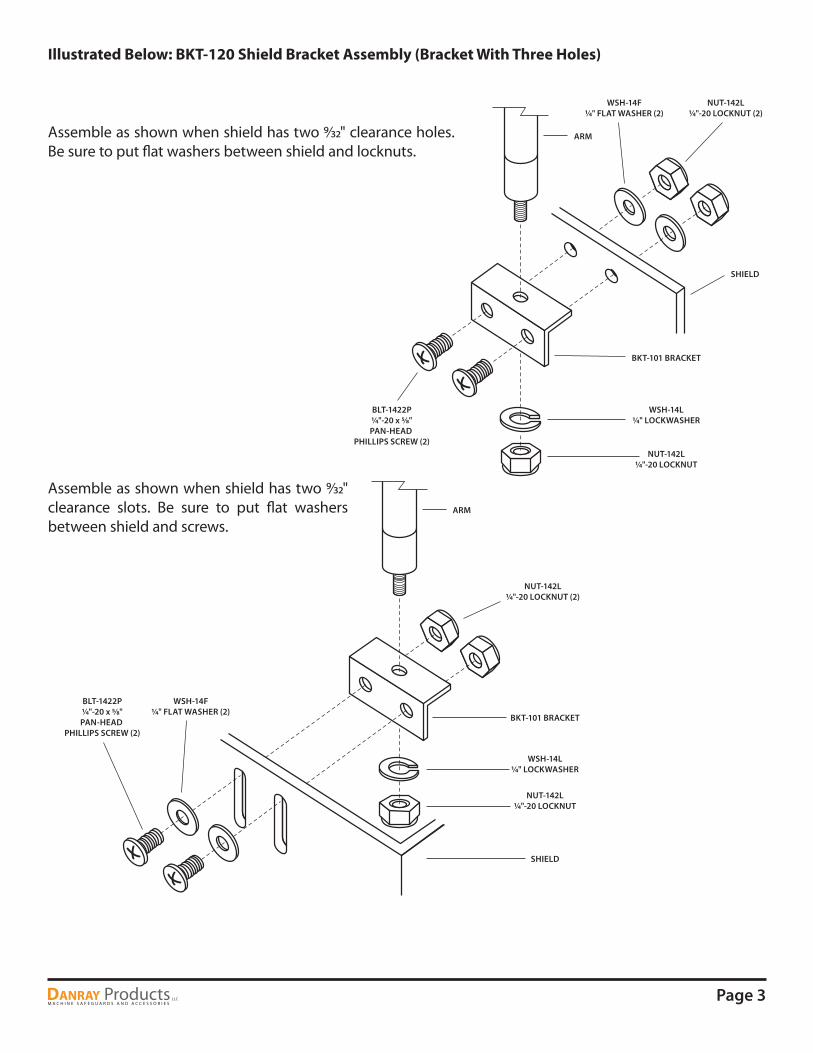
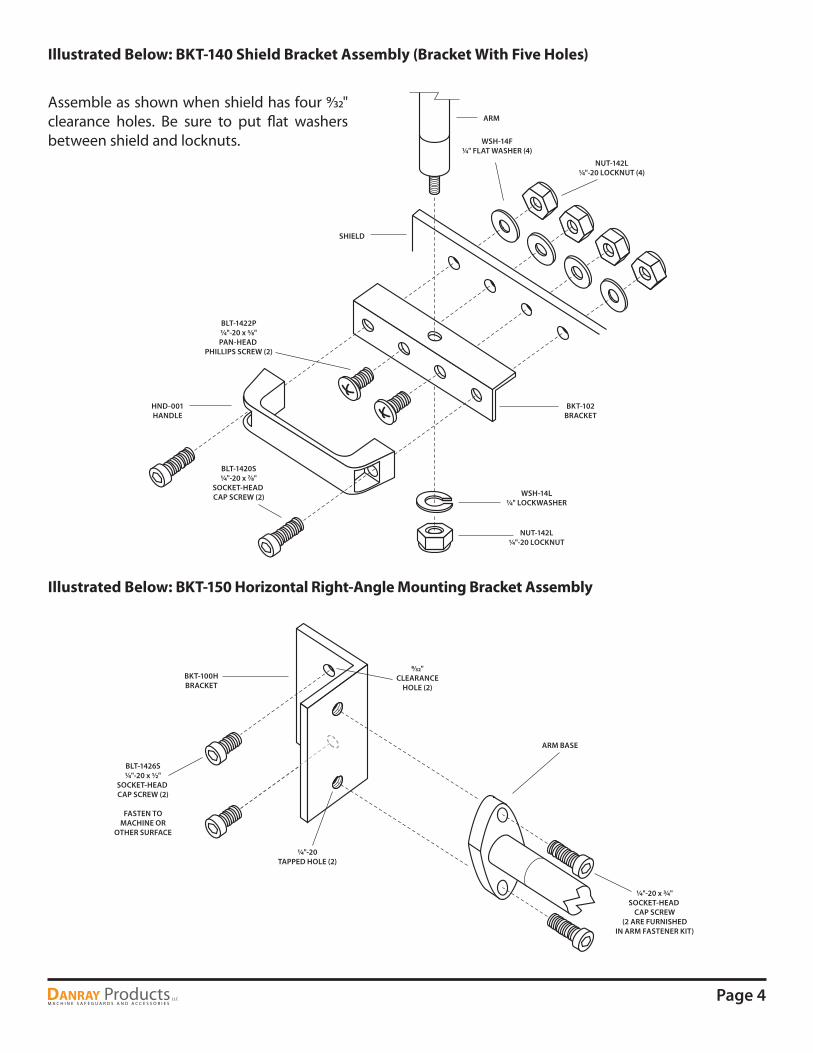
Assembling the Shield (See Also Assembly Drawings on Pages 3 and 4)First, peel back and remove the protective masking on the shield and assemble the shield mounting bracket to the shield as shown at the left and as illustrated on pages 3 and 4. (Note: Be sure to put the �at washers between the shield and fasteners.) Second, mount the shield and bracket to the snake arm using the last 1⁄4"-20 hex nylon-insert locknut provided with the shield bracket assembly. Third, bend the snake arm into the con�guration that it will be used for safeguarding. Finally, determine where the shield assembly will be mounted to the machine or equipment.
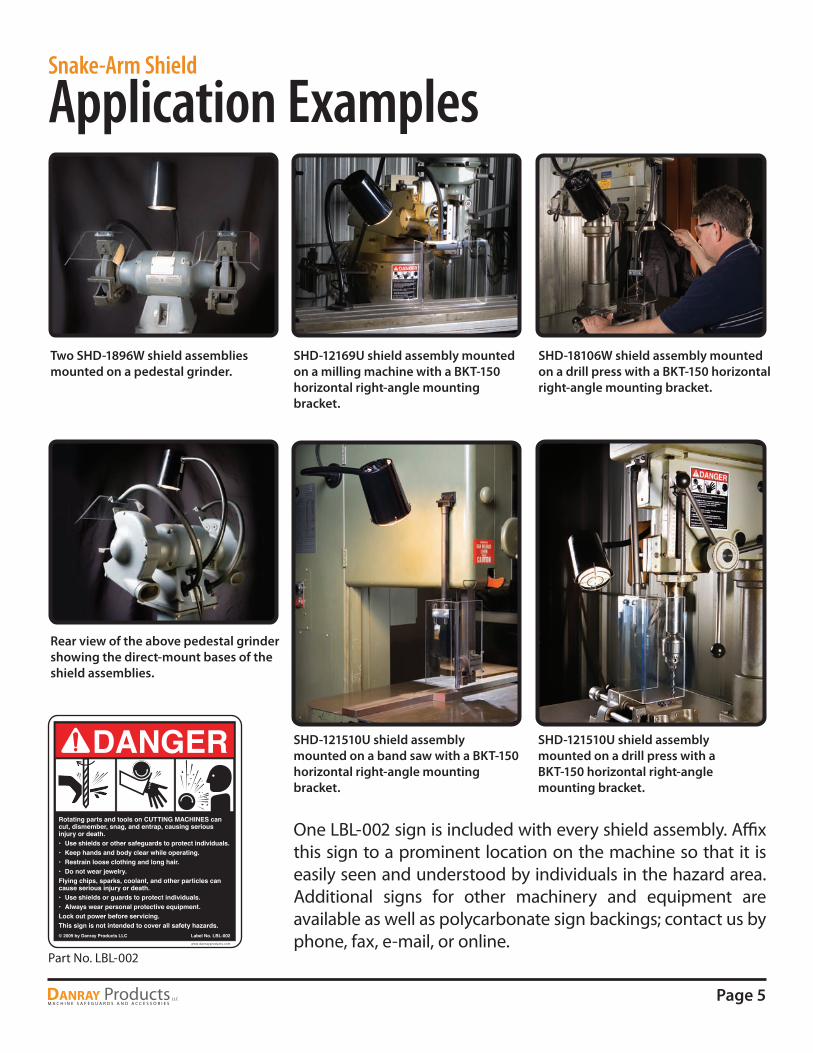
Snake Arm With Direct-Mount BaseEvery snake arm has a direct-mount base. It will be furnished with a bag of fasteners that includes two 1⁄4"-20 x 3⁄4" socket-head cap screws, two 1⁄4"-20 hex nylon-insert locknuts, and two No. 12 pan-head Phillips x 1" zinc-plated sheet-metal screws. The socket-head cap screws use a 3⁄16" hex key and the pan-head sheet-metal screws use a Phillips No. 3 drive tip. If the shield will be mounted directly to a thick, metal mounting surface (at least 3⁄16" thick), the direct-mount base can be mounted by drilling two holes and then tapping them with a 1⁄4"-20 tap. A No. 7 drill (0.2010" diameter) is normally used to drill the holes before tapping them. (Consult an industrial supplier if you have questions about drilling and tapping holes or if you need these items.)
If the shield will be mounted to a thin surface (less than 3⁄16" thick), two 9⁄32" clearance holes can be drilled and you can use the socket-head cap screws with the included locknuts. If the shield is being attached to sheet metal, wood, or another surface, the two sheet-metal screws can be used. The mounting template at the top-right corner of page 6 can be used for spotting the mounting holes.
Optional Horizontal (See Also Assembly Drawing on Page 4) or Vertical Right-Angle Mounting BracketBased on the available mounting location(s), a horizontal or vertical right-angle mounting bracket can be used with the direct-mount base to help position the shield where needed. The right-angle bracket can be attached to the mounting surface by drilling and tapping two holes, drilling two clearance holes, or using the two sheet-metal screws. (The mounting template at the top-right corner of page 6 can be used for spotting the mounting holes.) Then use two of the furnished socket-head cap screws (either the 1⁄2" or 3⁄4") to attach the direct-mount base to the tapped holes in the bracket.
Optional C-Clamp or Magnetic BaseEvery snake-arm has a direct-mount base at the end of the snake arm. However, an optional C-clamp or magnetic base can be mounted to the direct-mount base. The C-clamp or magnetic base will come in a bag with two socket-head cap screws and a 3⁄16" hex key. For these two bases, remove everything from the bag and attach the direct-mount base to the C-clamp or magnetic base with the socket-head cap screws using the hex key. Make sure that the cap screws are snug, but be careful not to overtighten them because this could strip out the threads in the C-clamp or magnetic base.
The C-clamp base can be mounted to the edge of a table, bench, or any surface up to 17⁄8" thick. The magnetic base can be used to mount the shield to any �at, ferrous metal (such as steel or iron). However, if the magnetic base doesn’t hold the shield in place, the metal may not be thick enough or it may not have enough iron in it. For additional holding power, a �at, steel plate can be added to the mounting location.
Cleaning and Maintaining the ShieldThe shield itself is made of a polished, UV-stabilized polycarbonate. To clean the shield, thoroughly rinse it with warm water using a soft cloth or sponge. Then wash it with mild soap or detergent (such as Formula 409, Top Job, Joy, Palmolive Liquid, or Windex) and rinse it thoroughly with clean water. To prevent water spots, dry the shield with a chamois or moist sponge. Avoid cleaning the shield in direct sunlight to prevent streaking.
C-Clamp Base Assembled to Arm
WARNING If you are mounting the shield to a surface that has internal components or liquid, be careful not to drill through this surface because it may cause electric shock, leakage, or damage.
NOTICE Do not use abrasive cleaners or harsh solvents for cleaning; this may damage the polycarbonate shield.
Magnetic Base Assembled to Arm
Horizontal / VerticalMounting Brackets
Direct-Mount Base
BKT-120 Shield Bracket Assembly
BKT-140 Shield Bracket Assembly
BKT-120 Shield Bracket Assembly
Page 2
BKT-101 BRACKET
SHIELD
NUT-142L1⁄4"-20 LOCKNUT
WSH-14L1⁄4" LOCKWASHER
BLT-1422P1⁄4"-20 x 5⁄8"PAN-HEAD
PHILLIPS SCREW (2)
NUT-142L1⁄4"-20 LOCKNUT (2)
WSH-14F1⁄4" FLAT WASHER (2)
ARM
NUT-142L1⁄4"-20 LOCKNUT (2)
BLT-1422P1⁄4"-20 x 5⁄8"PAN-HEAD
PHILLIPS SCREW (2)
BKT-101 BRACKET
NUT-142L1⁄4"-20 LOCKNUT
WSH-14L1⁄4" LOCKWASHER
ARM
WSH-14F1⁄4" FLAT WASHER (2)
SHIELD
BKT-101 BRACKET
SHIELD
NUT-142L1⁄4"-20 LOCKNUT
WSH-14L1⁄4" LOCKWASHER
BLT-1422P1⁄4"-20 x 5⁄8"PAN-HEAD
PHILLIPS SCREW (2)
NUT-142L1⁄4"-20 LOCKNUT (2)
WSH-14F1⁄4" FLAT WASHER (2)
ARM
NUT-142L1⁄4"-20 LOCKNUT (2)
BLT-1422P1⁄4"-20 x 5⁄8"PAN-HEAD
PHILLIPS SCREW (2)
BKT-101 BRACKET
NUT-142L1⁄4"-20 LOCKNUT
WSH-14L1⁄4" LOCKWASHER
ARM
WSH-14F1⁄4" FLAT WASHER (2)
SHIELD
Page 3
Assemble as shown when shield has two 9∕32" clearance holes. Be sure to put flat washers between shield and locknuts.
Assemble as shown when shield has two 9∕32" clearance slots. Be sure to put flat washers between shield and screws.
Illustrated Below: BKT-120 Shield Bracket Assembly (Bracket With Three Holes)
HND-001HANDLE
BKT-102BRACKET
SHIELD
NUT-142L1⁄4"-20 LOCKNUT
WSH-14L1⁄4" LOCKWASHER
BLT-1422P1⁄4"-20 x 5⁄8"PAN-HEAD
PHILLIPS SCREW (2)
BLT-1420S1⁄4"-20 x 7⁄8"
SOCKET-HEAD CAP SCREW (2)
WSH-14F1⁄4" FLAT WASHER (4)
ARM
NUT-142L1⁄4"-20 LOCKNUT (4)
BKT-100HBRACKET
BLT-1426S1⁄4"-20 x 1⁄2"
SOCKET-HEAD CAP SCREW (2)
FASTEN TOMACHINE OR
OTHER SURFACE
1⁄4"-20TAPPED HOLE (2)
9⁄32"CLEARANCE
HOLE (2)
1⁄4"-20 x 3⁄4"SOCKET-HEAD
CAP SCREW(2 ARE FURNISHED
IN ARM FASTENER KIT)
ARM BASE
Page 4
Illustrated Below: BKT-140 Shield Bracket Assembly (Bracket With Five Holes)
Illustrated Below: BKT-150 Horizontal Right-Angle Mounting Bracket Assembly
Assemble as shown when shield has four 9∕32" clearance holes. Be sure to put flat washers between shield and locknuts.
One LBL-002 sign is included with every shield assembly. A�x this sign to a prominent location on the machine so that it is easily seen and understood by individuals in the hazard area. Additional signs for other machinery and equipment are available as well as polycarbonate sign backings; contact us by phone, fax, e-mail, or online.
Part No. LBL-002
Two SHD-1896W shield assemblies mounted on a pedestal grinder.
SHD-12169U shield assembly mounted on a milling machine with a BKT-150 horizontal right-angle mounting bracket.
SHD-18106W shield assembly mounted on a drill press with a BKT-150 horizontal right-angle mounting bracket.
Rear view of the above pedestal grinder showing the direct-mount bases of the shield assemblies.
SHD-121510U shield assembly mounted on a band saw with a BKT-150 horizontal right-angle mounting bracket.
SHD-121510U shield assembly mounted on a drill press with a BKT-150 horizontal right-anglemounting bracket.
Snake-Arm Shield
Application Examples
Page 5
BKT-160 Vertical Bracket Assembly
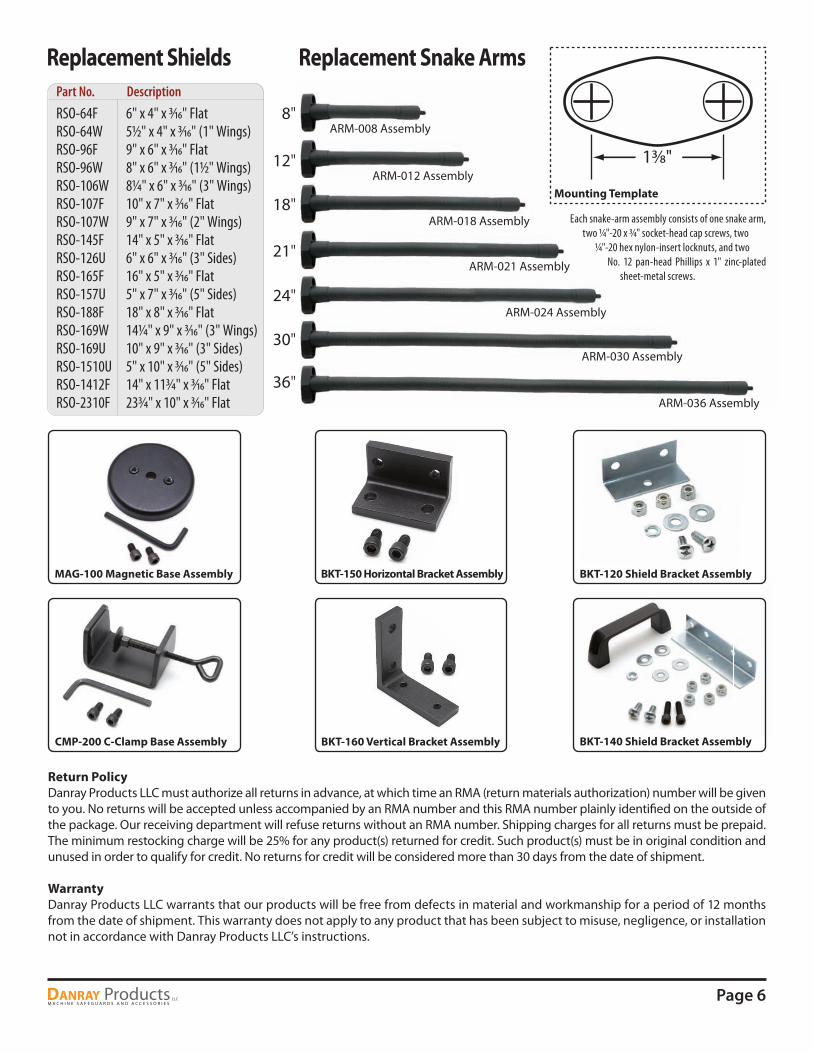
RSO-64F 6" x 4" x 3∕16" FlatRSO-64W 51∕2" x 4" x 3∕16" (1" Wings)RSO-96F 9" x 6" x 3∕16" FlatRSO-96W 8" x 6" x 3∕16" (11∕2" Wings)RSO-106W 81∕4" x 6" x 3∕16" (3" Wings)RSO-107F 10" x 7" x 3∕16" FlatRSO-107W 9" x 7" x 3∕16" (2" Wings)RSO-145F 14" x 5" x 3∕16" FlatRSO-126U 6" x 6" x 3∕16" (3" Sides)RSO-165F 16" x 5" x 3∕16" FlatRSO-157U 5" x 7" x 3∕16" (5" Sides)RSO-188F 18" x 8" x 3∕16" FlatRSO-169W 141∕4" x 9" x 3∕16" (3" Wings)RSO-169U 10" x 9" x 3∕16" (3" Sides)RSO-1510U 5" x 10" x 3∕16" (5" Sides)RSO-1412F 14" x 113∕4" x 3∕16" FlatRSO-2310F 233∕4" x 10" x 3∕16" Flat
Part No. Description
Replacement Shields
BKT-150 Horizontal Bracket Assembly
BKT-140 Shield Bracket Assembly
Return PolicyDanray Products LLC must authorize all returns in advance, at which time an RMA (return materials authorization) number will be given to you. No returns will be accepted unless accompanied by an RMA number and this RMA number plainly identi�ed on the outside of the package. Our receiving department will refuse returns without an RMA number. Shipping charges for all returns must be prepaid. The minimum restocking charge will be 25% for any product(s) returned for credit. Such product(s) must be in original condition and unused in order to qualify for credit. No returns for credit will be considered more than 30 days from the date of shipment.
WarrantyDanray Products LLC warrants that our products will be free from defects in material and workmanship for a period of 12 months from the date of shipment. This warranty does not apply to any product that has been subject to misuse, negligence, or installation not in accordance with Danray Products LLC’s instructions.
ARM-008 Assembly
ARM-012 Assembly
ARM-018 Assembly
ARM-021 Assembly
ARM-024 Assembly
ARM-030 Assembly
ARM-036 Assembly
Replacement Snake Arms
8"
12"
18"
21"
24"
30"
36"
CMP-200 C-Clamp Base Assembly
MAG-100 Magnetic Base Assembly BKT-120 Shield Bracket Assembly
Each snake-arm assembly consists of one snake arm, two 1∕4"-20 x 3∕4" socket-head cap screws, two
1∕4"-20 hex nylon-insert locknuts, and two No. 12 pan-head Phillips x 1" zinc-plated
sheet-metal screws.
Mounting Template
13∕8"
Page 6