Embed Size (px)
Citation preview
WWW.STOPTHEFT.COM© 2008 STOP—Security Tracking of Office Property. All Rights Reserved.
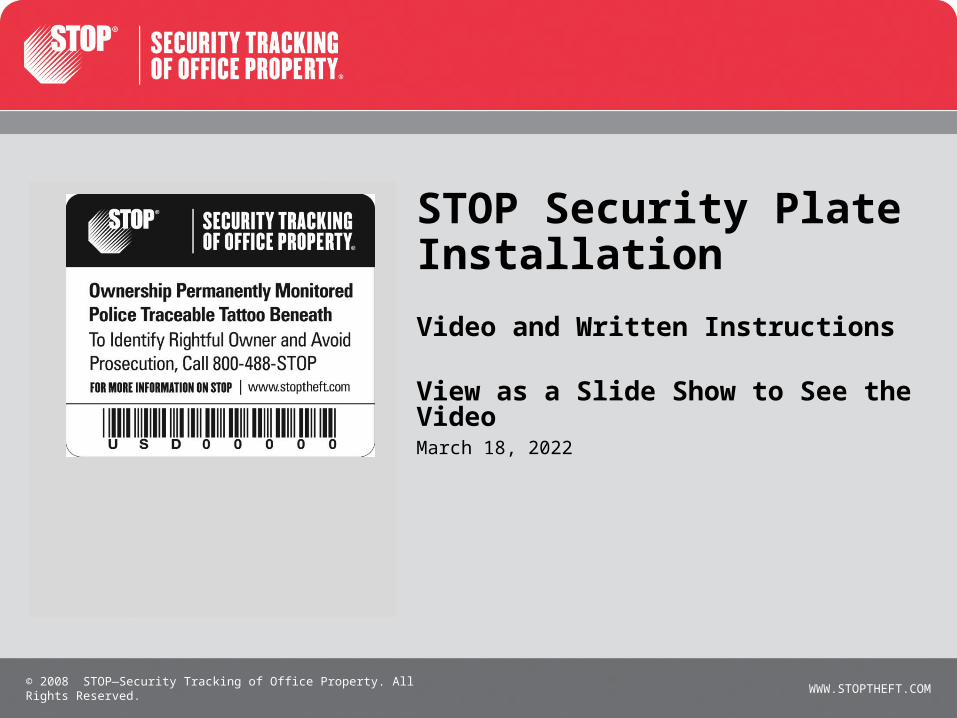
April 18, 2023
STOP Security PlateInstallation
Video and Written Instructions
View as a Slide Show to See the Video
WWW.STOPTHEFT.COM© 2008 STOP—Security Tracking of Office Property. All Rights Reserved.
STOP Security Plate Installation Is Easy
Installing a STOP Plate is easy, but proper installation is important, to ensure a good strong bond for the life of the equipment.
For maximum visibility and theft deterrence, install the STOP Plate in a highly visible area on the equipment surface – for laptops, preferably on the outside of the lid.
WWW.STOPTHEFT.COM© 2008 STOP—Security Tracking of Office Property. All Rights Reserved.
STOP Security Plates Installation
There are three steps to installation:
1. Clean a flat surface of the equipment with the Alcohol Cleaning Swab that is provided with each STOP Plate.
2. Apply the Tattoo Activating Gel to the back of the STOP Plate. A tiny dot in from each corner, and a thin strip on the "STOLEN PROPERTY" Tattoo, just enough to provide a thin, uniform coat of the instant adhesive when the plate is applied to the equipment. Don’t use too much gel, as it will ooze out from under the plate when pressure is applied.
3. Apply the Plate to the pre-cleaned surface. Ensure that the plate is properly aligned. Lay the left or right edge down first, then slowly and gently flatten the plate on the surface to eliminate airspace under the plate. Apply firm downward pressure for 20-30 seconds to complete the bond and force out all airspace. Bonding is instant, and the gel will permanently cure in 24-48 hours, but the newly tagged equipment can be used immediately.
WWW.STOPTHEFT.COM© 2008 STOP—Security Tracking of Office Property. All Rights Reserved.
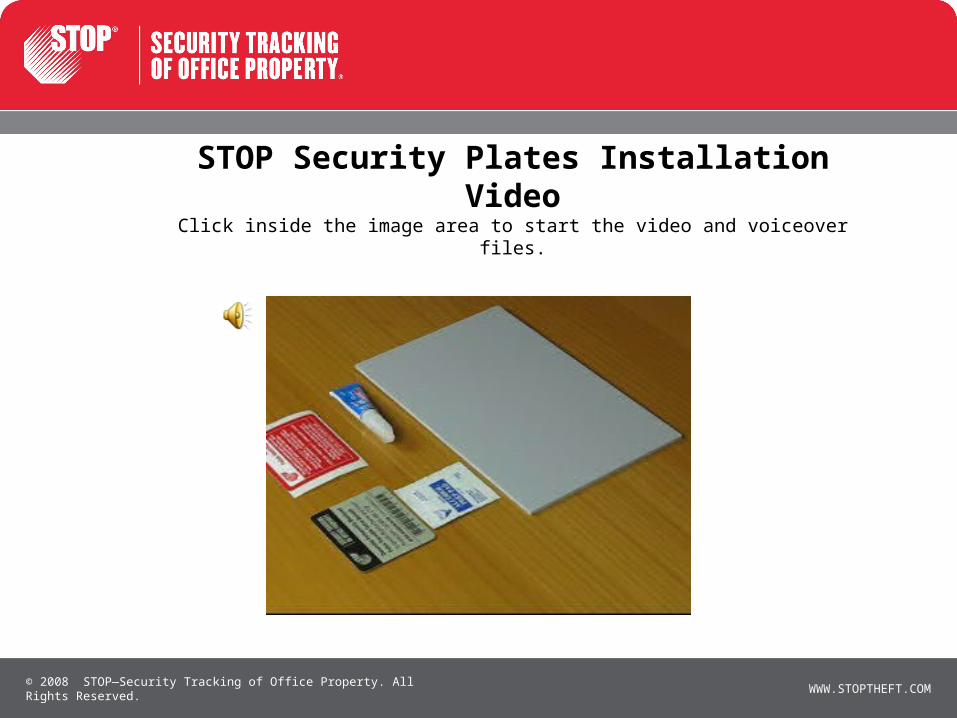
STOP Security Plates Installation VideoClick inside the image area to start the video and voiceover files.