Embed Size (px)
Citation preview

ASHLEY MUFFET DUNCAN
THE OHIO STATE UNIVERSITY
TEACHING THE SHOT PUT TO BEGINNERS
Rotate or glide?
The answer to this is situational
Women in most cases, could most likely achieve similar levels of performance with either technique, if both techniques were equally sound.
Most men will rotate at the college level, the heavier implement demands more speed/rotational momentum; which is more often achieved in through the spin technique

Choosing a technique for high school throwers. The glide is in most cases the easiest form
to teach a brand new thrower. The glide teaches the athlete how to gain
momentum into the power position and also how to deliver the ball.
For this reason, I believe it is best practice to teach a brand new thrower the glide first.
If the athlete shows promise in the rotation through the discus, a change over to the spin can be made at anytime.

Understanding the basics
Though the shot and disc rotational techniques may look extremely similar they are different in many way.
When achieved at a high level, the shot and disc technique will feel extremely different to the athlete, especially at point of release.
It is important to understand this when teaching beginners.

HOW are they different?
The discus is out on a “lever” away from the body.
The discus does not need to be lifted and the point of release the same way the shot put does.
The discus ring is bigger than the shot put ring, allowing the athlete more room to “run the ring” out of the back.

Stand throw Athlete begins with a shoulder width
base, feet shall stagger with heel of the right foot parallel to middle of the left foot (right handed thrower).
Athlete will then turn upper body towards the back of the ring, feeling upper and lower body separation in midsection.
The athlete will then bend the right knee and slightly drop the chest over the knee, feeling the majority of their weight over the right leg

Stand throw continued
To initiate the throw, the athlete will drive the right hip around towards the direction of the throw; being sure to keep the head and shoulders back
The left side will stop (block) rotational momentum as the athlete squares their hips and shoulders to the sector.
The athlete will then strike the shot, following through over the toe board.

Stand throw Beginners need to spend a lot of time on
working and perfecting the stand throw position.
For true beginners this could occupy 20-50% of practice in the beginning of the year.
If this position is not technically sound, the athlete could have trouble understanding the full throw.

Half turn
This drill is mainly used for rotational throwers, but is a good drill for gliders as well.
This drill can help a coach to determine whether to switch a glider to the spin.
Drill is great for teaching balance and also helps the athlete to understand the rotational momentum and rhythm of the spin.

Half turn
Athlete begins with shoulders facing the sector and the right toe facing down the left sector. The athletes back foot is where it would be in start of full throw.
The right side turning leads the throw, as the left foot slightly pushes off and lands in stand throw position.
It is important to watch that the athlete is not leading the half turn with the left side and upper body pulling.
The athlete will rotate over the right leg until the back leg touches down in the “stand throw position”

Stand throw and half turn
For beginners, it is important to emphasis feeling the positions of the throw. Asking an athlete if they “felt the stand throw” in their half turn can help teach a beginner patience.
It is critical for young throwers to understand the importance of hitting the right positions in practice.
In the stand throw and half turn emphasizing legs is crucial. Many young athletes will rush to use their upper body, eliminating their legs from the throw completely.

Drills for glide shot put
Drop knee stand throw (drop the left knee for right handed thrower)
Straight leg glide A-Drill Double hop Glide and stop
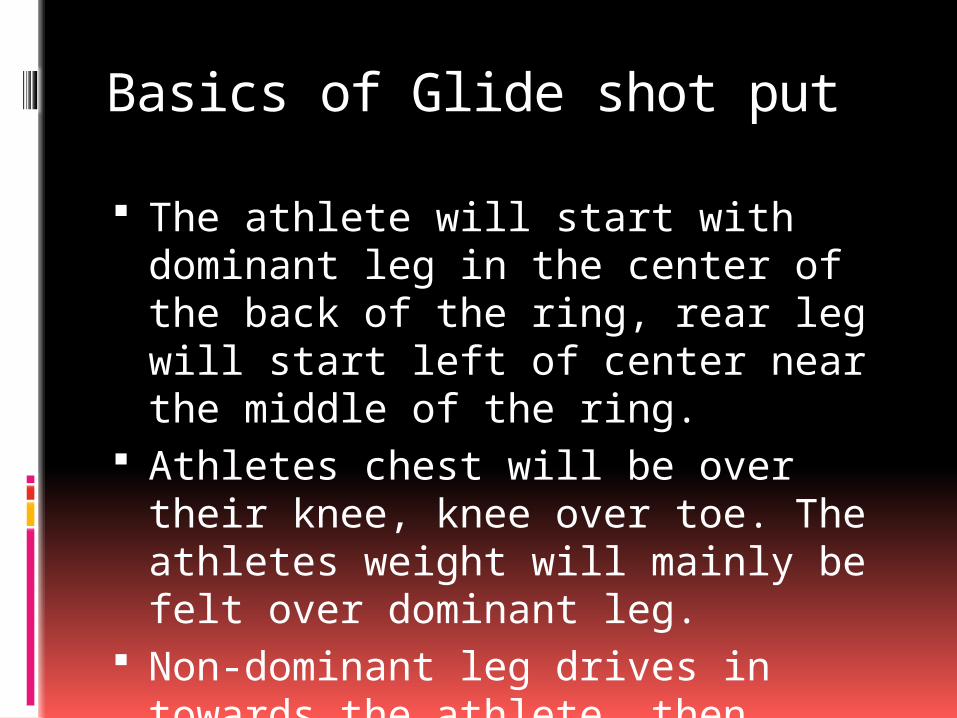
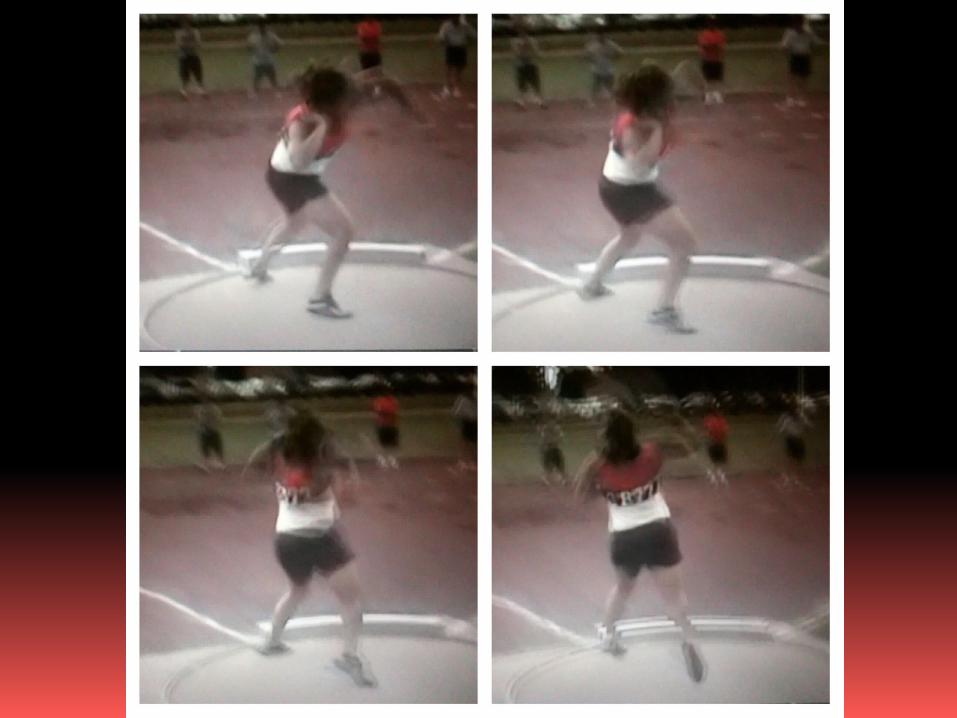
Basics of Glide shot put
The athlete will start with dominant leg in the center of the back of the ring, rear leg will start left of center near the middle of the ring.
Athletes chest will be over their knee, knee over toe. The athletes weight will mainly be felt over dominant leg.
Non-dominant leg drives in towards the athlete, then straight out aggressively towards the toeboard


Basics of Glide shot put
As the non-dominant leg drives towards the toe-board the athlete will push off the dominant leg on either the toe or heel (preference).
The dominant leg will land in the middle first and maintaining the chest over knee, over toe position. The dominant leg should be bent, ready to explode up and around when non-dominant leg makes contact.


Basics of Glide shot put
Once the non-dominant leg lands, the athlete should be in the same position they would be in the stand throw. The shoulders should stay back and the athlete should be “closed”

What to watch for
The non-dominant leg should not start up much higher than the dominant legs knee.
The non-dominant leg cannot “hang” in the air, it needs to go straight to the toe board
The shoulders and head need to be facing the back of the ring when the athlete lands in double support.

Simplifying the technique
The athlete is trying to gain speed from the glide into the stand throw.
If the athlete is having a hard time understanding the technique, break the throw up into a glide and stop, then slowing take the stop out.
Push hard out of the back, land in stand throw position, lift/turn, and strike the ball.