Embed Size (px)
Citation preview
Technology in the Classroom
Michael Raucci
&
Michael Caro
Why?• Technology – here to stay• Technology – advances –
you must keep up• Technology helps the
teacher and the student• Technological mediums are
what your students are– Most comfortable with– Most likely to succeed with– Provide more versatility and
variation

Advantages
• Ease of creation
• Forces organization
• Increased access to information
• Increased access to otherwise difficult to reach kids
• Portability
Potential Disadvantages
• Overuse – monotony
• Misuse
• Overcomplicate
• Increased potential for plagiarism
• Can be distracting
• How does it help students?
• How does it help teachers?
• How does it help parents?
• How does it help administrators?
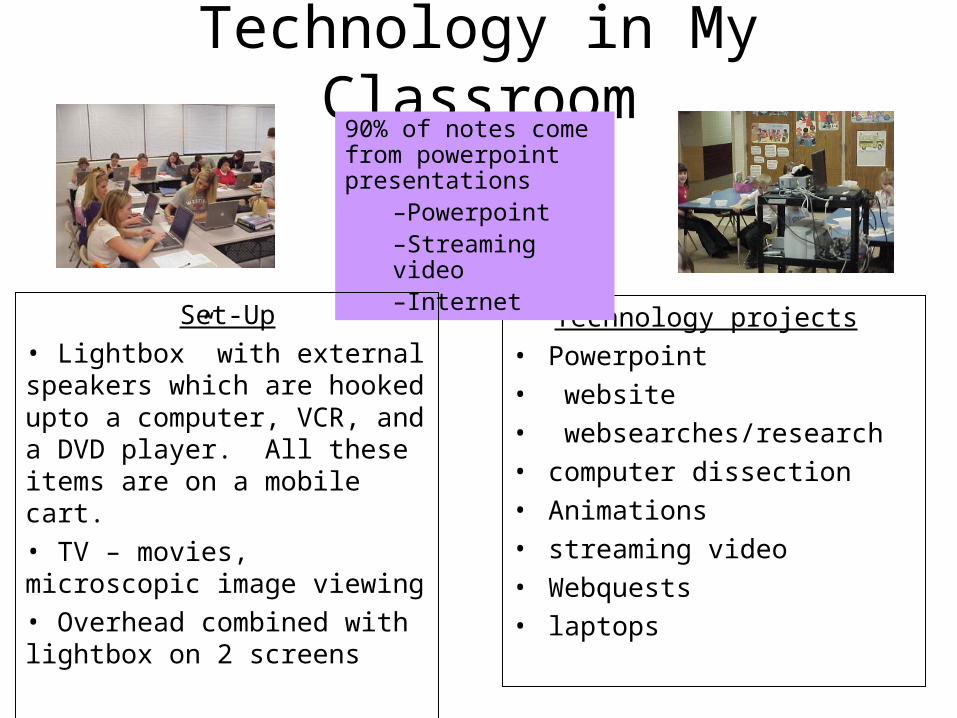
Technology in My Classroom
Technology projects
• Powerpoint
• website
• websearches/research
• computer dissection
• Animations
• streaming video
• Webquests
• laptops
90% of notes come from powerpoint presentations
–Powerpoint–Streaming video–Internet
Set-Up
• Lightbox” with external speakers which are hooked upto a computer, VCR, and a DVD player. All these items are on a mobile cart.
• TV – movies, microscopic image viewing
• Overhead combined with lightbox on 2 screens
Technology in My Classroom
• Teacherweb – – notes
– reviews
– Internet resources
– Homework
– Plans
– Handouts
– policies
– Grades – crosspointe
Mr. Raucci's Teacherweb Site
Course Outline1) Web Resources
2) Powerpoint
3) Advanced Powerpoint
4) Website Creation (From Scratch)
5) Teacherweb
6) Classroom Integration
7) Equipment Management
8) Webquests (time permitting)

Powerpoint• Forces the teacher to be organized• Reduces teachers future planning• Allows the students to be
organized • Multi-modal
educational/presentational tool• Eases teacher and student
workload during absences or home-study (can be presented by a substitute)
• Allows for rapid transition between media
• Can be utilized for student projects

Bad Slide SHow exampile
By Joe Slacker
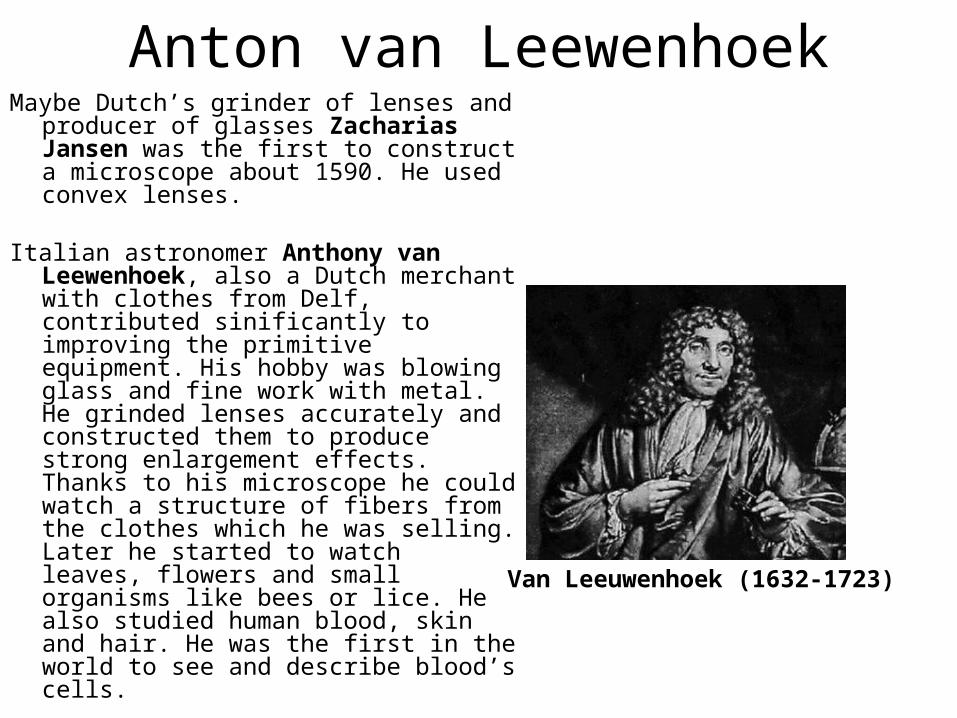
Anton van LeewenhoekMaybe Dutch’s grinder of lenses and producer
of glasses Zacharias Jansen was the first to construct a microscope about 1590. He used convex lenses.
Italian astronomer Anthony van Leewenhoek, also a Dutch merchant with clothes from Delf, contributed sinificantly to improving the primitive equipment. His hobby was blowing glass and fine work with metal. He grinded lenses accurately and constructed them to produce strong enlargement effects. Thanks to his microscope he could watch a structure of fibers from the clothes which he was selling. Later he started to watch leaves, flowers and small organisms like bees or lice. He also studied human blood, skin and hair. He was the first in the world to see and describe blood’s cells. Van Leeuwenhoek (1632-1723)
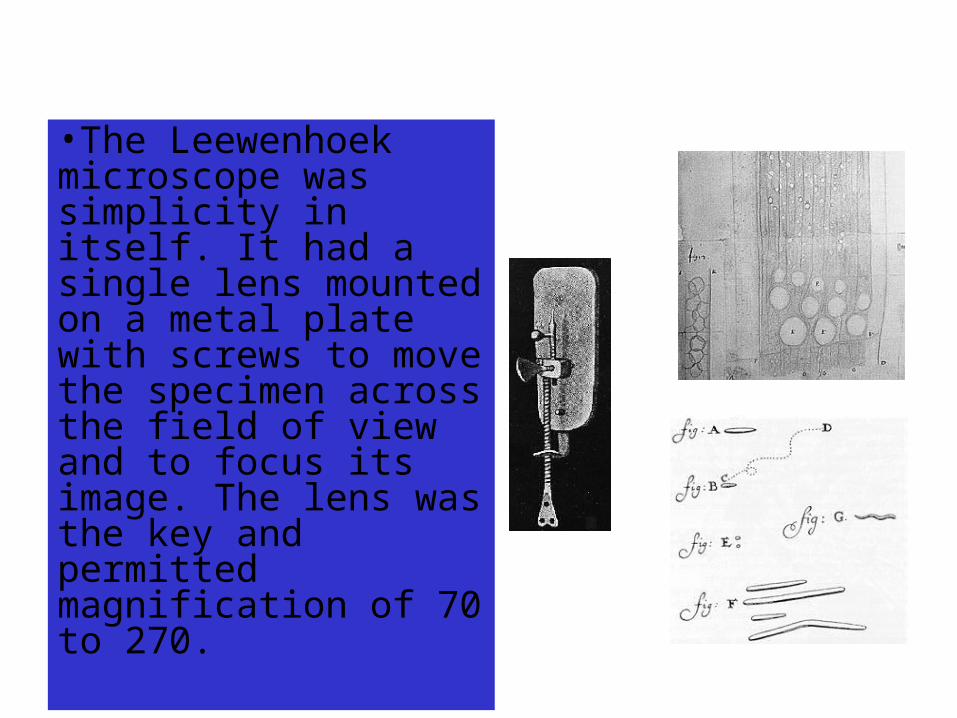
•The Leewenhoek microscope was simplicity in itself. It had a single lens mounted on a metal plate with screws to move the specimen across the field of view and to focus its image. The lens was the key and permitted magnification of 70 to 270.
• In 1665 English physician and chemist Robert Hooke invented the so called compound microscope with more lenses. He watched thin small plates of cork, which was an often used material in the shipping industry. He was the first to accurately describe cells as living parts of living things.
Given the following how do you think the people below reacted to
this discovery?• Laypeople• Religious leaders• Kings• Other scientists
Before the seventeenth century, no one knew that Cells existed.
Most Cells are too small to be seen with the unaided eye.
Cells were not discovered until after the invention of the microscope in the early seventeenth century.
• Shortly after publication of Dialogue Concerning the Two Chief Systems of the World - Ptolemaic and Copernican the Inquisition banned its sale and ordered Galileo to appear in Rome before them. Illness prevented him from travelling to Rome until 1633. Galileo's accusation at the trial which followed was that he had breached the conditions laid down by the Inquisition in 1616. However a different version of this decision was produced at the trial rather than the one Galileo had been given at the time. The truth of the Copernican theory was not an issue therefore; it was taken as a fact at the trial that this theory was false. This was logical, of course, since the judgement of 1616 had declared it totally false.
• Found guilty, Galileo was condemned to lifelong imprisonment, but the sentence was carried out somewhat sympathetically and it amounted to house arrest rather than a prison sentence

• It was a sad end for so great a man to die condemned of heresy. His will indicated that he wished to be buried beside his father in the family tomb in the Basilica of Santa Croce but his relatives feared, quite rightly, that this would provoke opposition from the Church. His body was concealed and only placed in a fine tomb in the church in 1737 by the civil authorities against the wishes of many in the Church. On 31 October 1992, 350 years after Galileo's death, Pope John Paul II gave an address on behalf of the Catholic Church in which he admitted that errors had been made by the theological advisors in the case of Galileo. He declared the Galileo case closed, but he did not admit that the Church was wrong to convict Galileo on a charge of heresy because of his belief that the Earth rotates round the sun.
How do lenses work?
• Refraction – the bending of light when it passes through different mediums.
• Think of a fish bowl or a glass of water
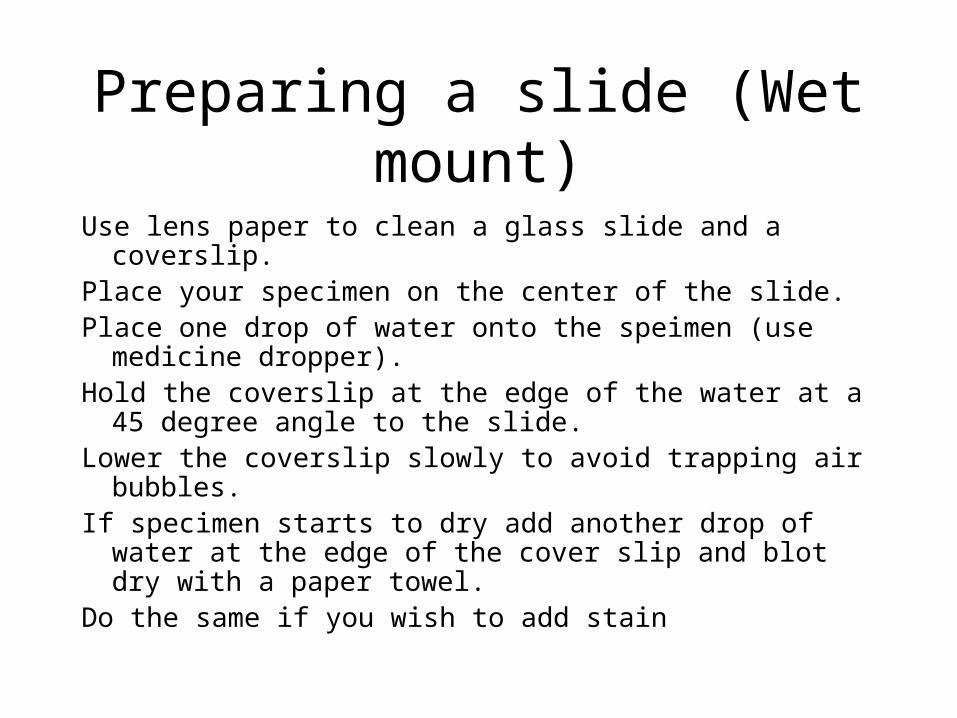
Preparing a slide (Wet mount)
Use lens paper to clean a glass slide and a coverslip.Place your specimen on the center of the slide.Place one drop of water onto the speimen (use medicine
dropper).Hold the coverslip at the edge of the water at a 45 degree
angle to the slide.Lower the coverslip slowly to avoid trapping air bubbles.If specimen starts to dry add another drop of water at the edge
of the cover slip and blot dry with a paper towel.Do the same if you wish to add stain
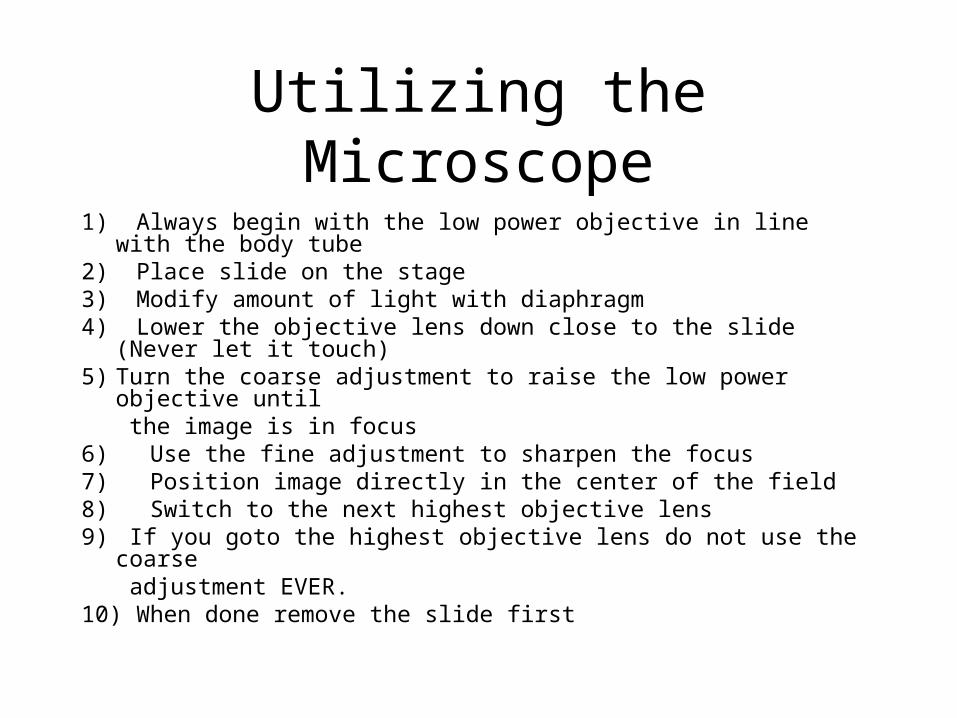
Utilizing the Microscope
1) Always begin with the low power objective in line with the body tube2) Place slide on the stage3) Modify amount of light with diaphragm4) Lower the objective lens down close to the slide (Never let it touch)5) Turn the coarse adjustment to raise the low power objective until
the image is in focus6) Use the fine adjustment to sharpen the focus7) Position image directly in the center of the field8) Switch to the next highest objective lens9) If you goto the highest objective lens do not use the coarse
adjustment EVER.10) When done remove the slide first
Good Slide Show
• Show 1 on a design template and 1 from scratch

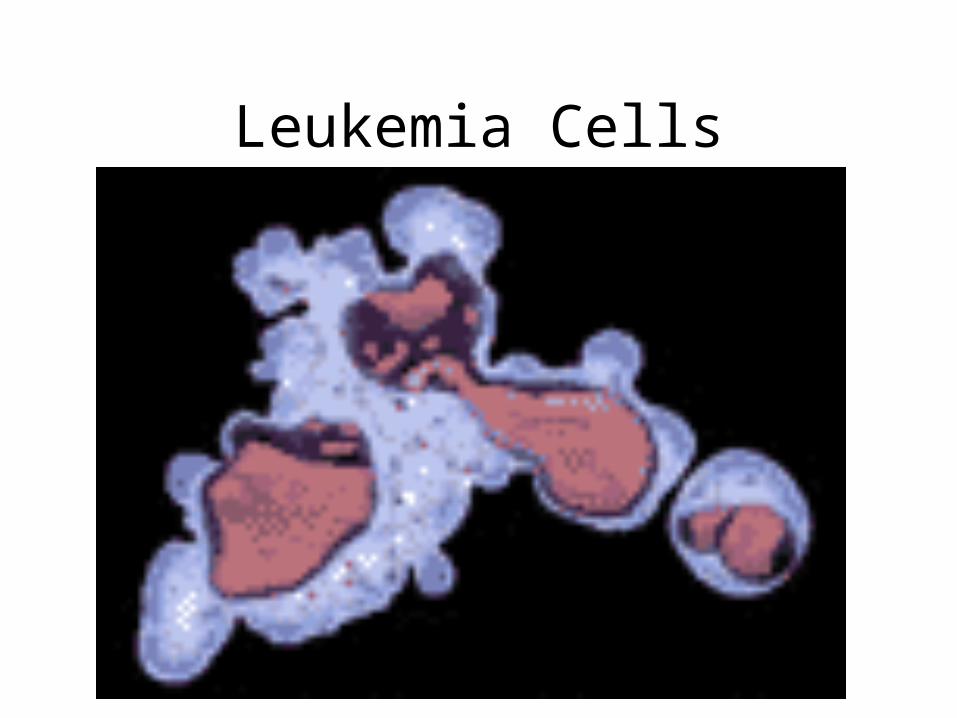
Characteristics of Living Things
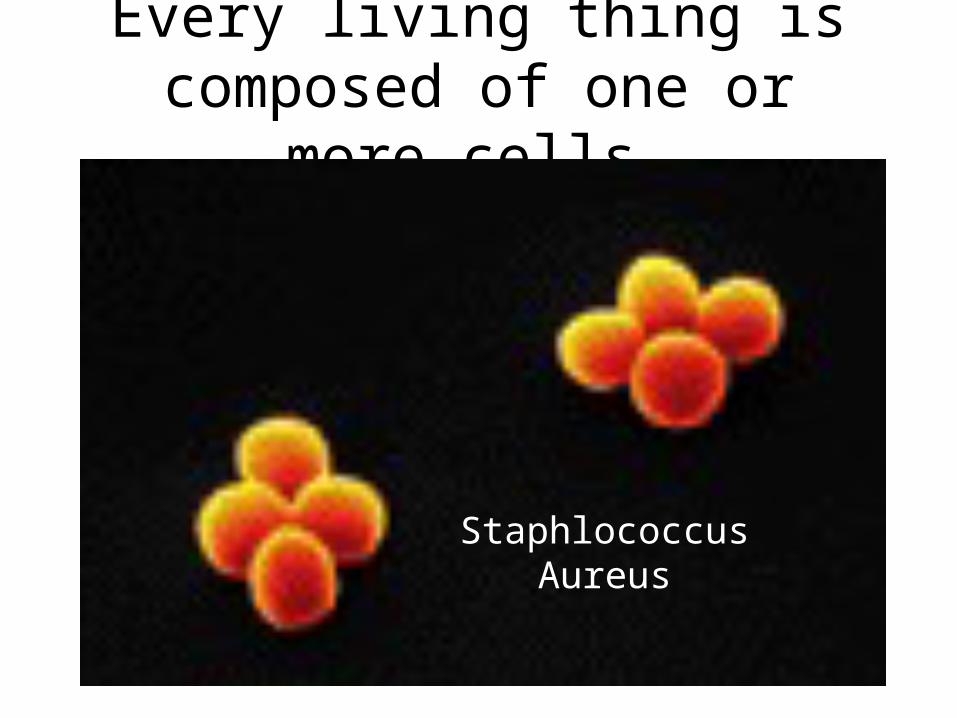
Every living thing is composed of one or more cells
StaphlococcusAureus

Streptococcus pneumoniae

Blood Clot with fibrinogen formation
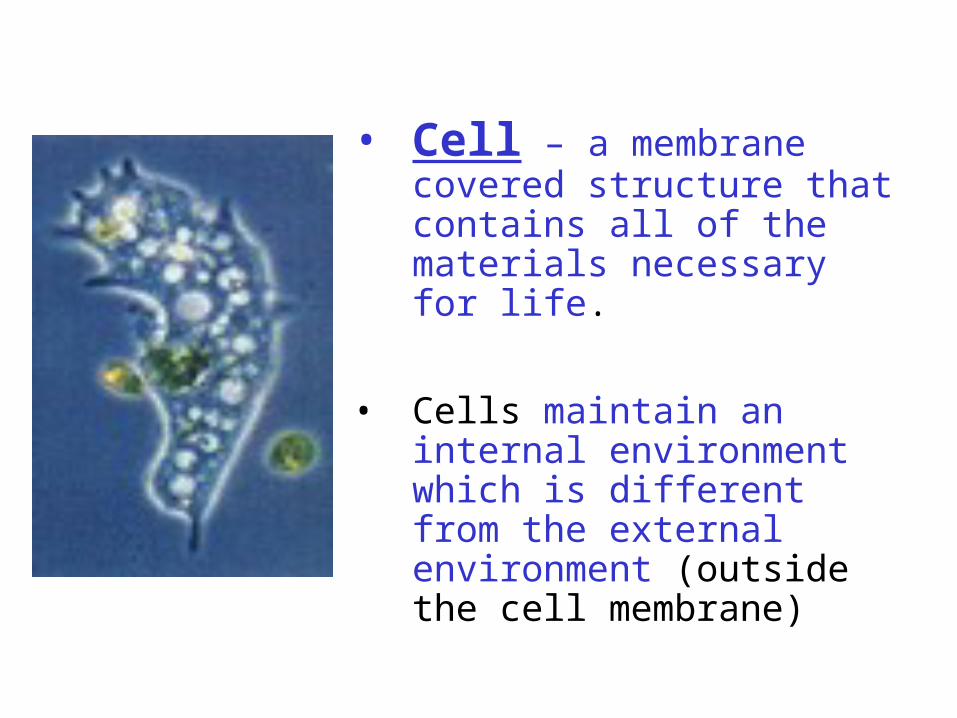
• Cell – a membrane covered structure that contains all of the materials necessary for life.
• Cells maintain an internal environment which is different from the external environment (outside the cell membrane)
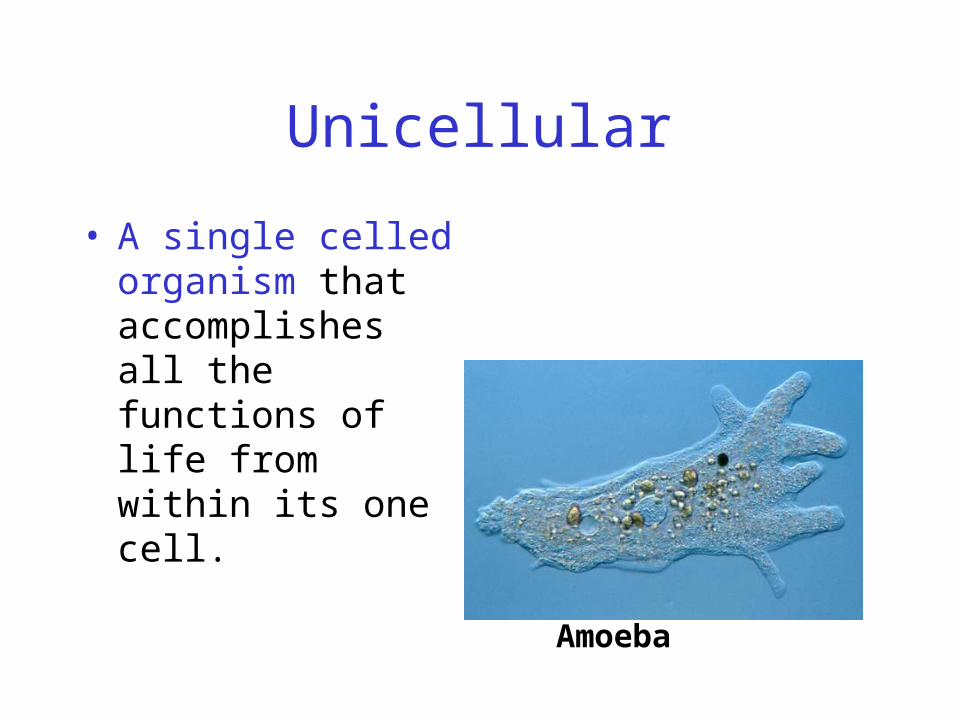
Unicellular
• A single celled organism that accomplishes all the functions of life from within its one cell.
Amoeba

Multicellular
• An organism made up of many cells. Each cell performs a specialized function. No one cell can live without the others.

Living things sense and respond to change

• Stimulus – a change in an organisms environment that affects the activity of the organism
• Response – the reaction caused by the stimulus
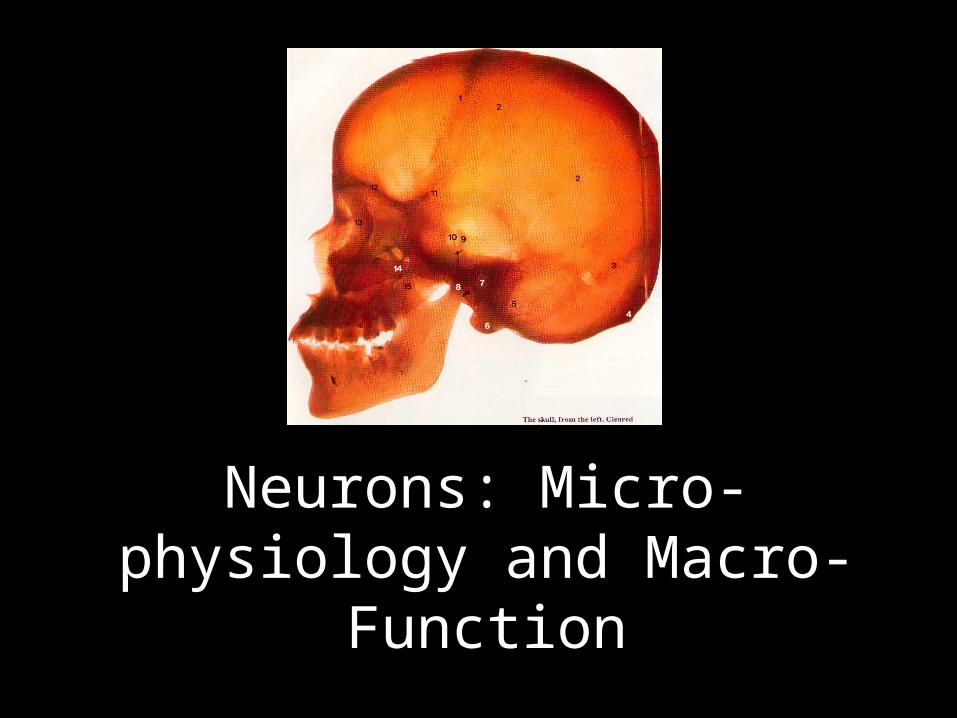
Neurons: Micro-physiology and Macro-Function
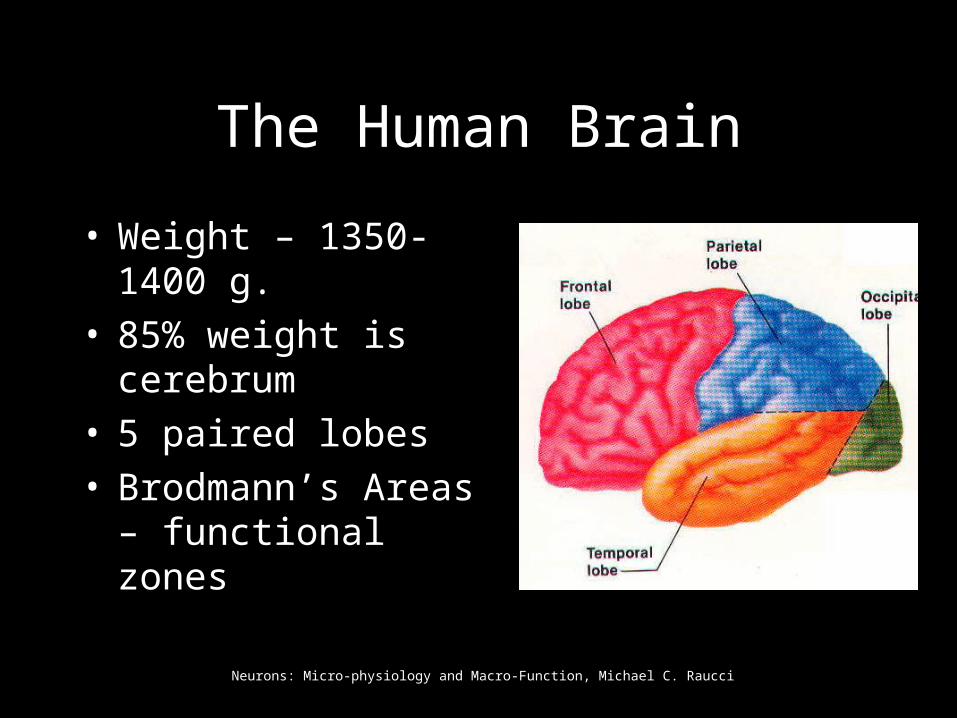
The Human Brain
• Weight – 1350-1400 g.• 85% weight is cerebrum• 5 paired lobes • Brodmann’s Areas –
functional zones
Neurons: Micro-physiology and Macro-Function, Michael C. Raucci
Neurons: Micro-physiology and Macro-Function, Michael C. Raucci
Powerpoint How To:
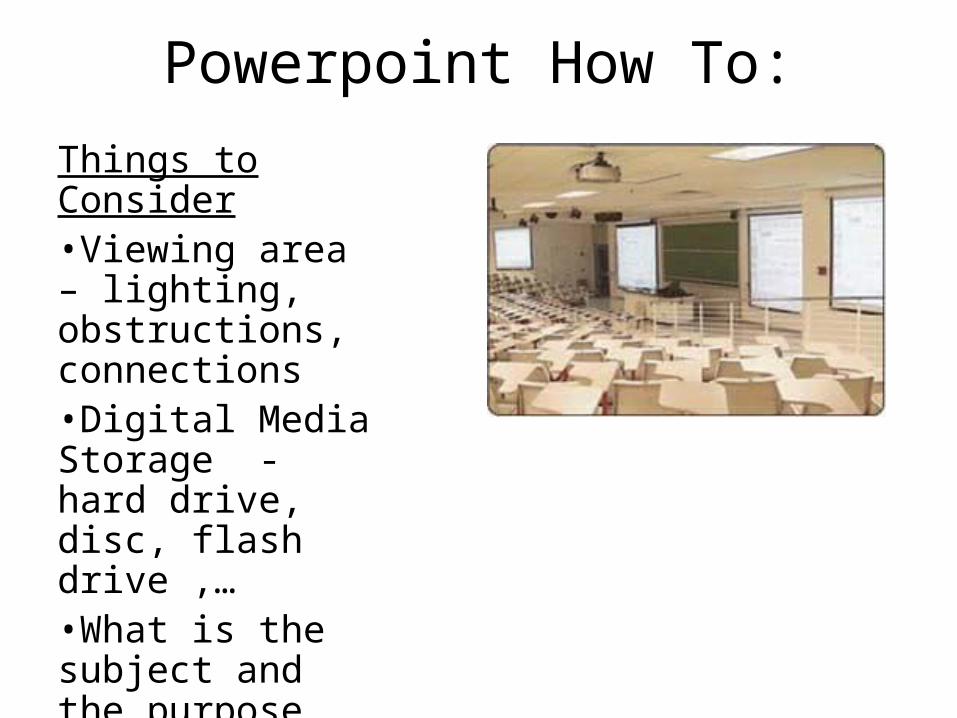
Things to Consider•Viewing area – lighting, obstructions, connections•Digital Media Storage - hard drive, disc, flash drive ,…•What is the subject and the purpose
–Determines layout and other features
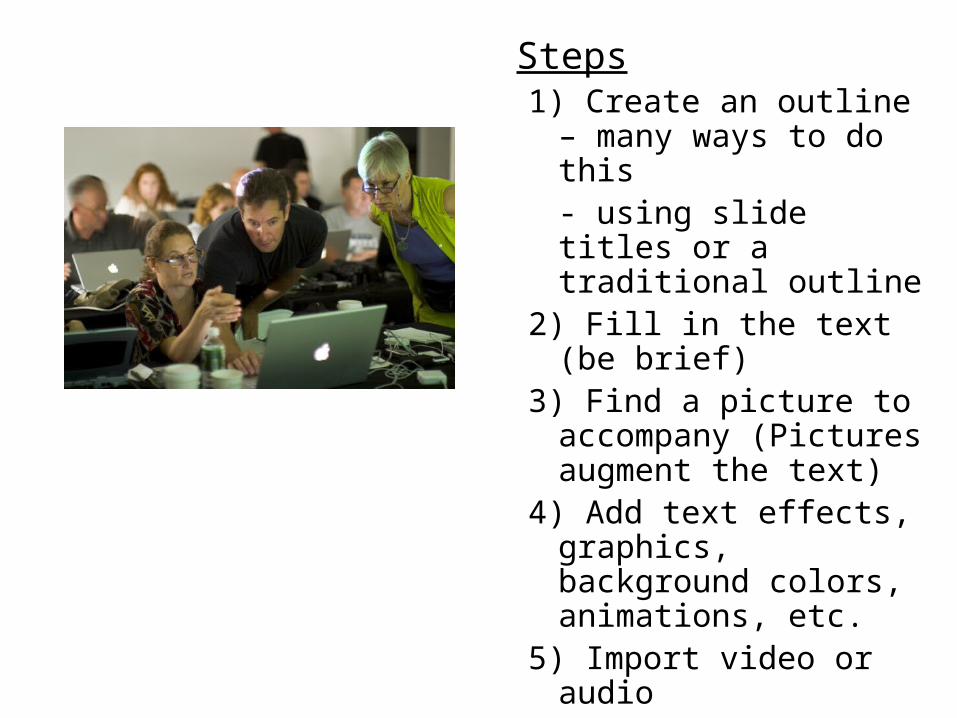
Steps1) Create an outline – many
ways to do this- using slide titles or a traditional outline
2) Fill in the text (be brief)3) Find a picture to
accompany (Pictures augment the text)
4) Add text effects, graphics, background colors, animations, etc.
5) Import video or audio6) Add web links
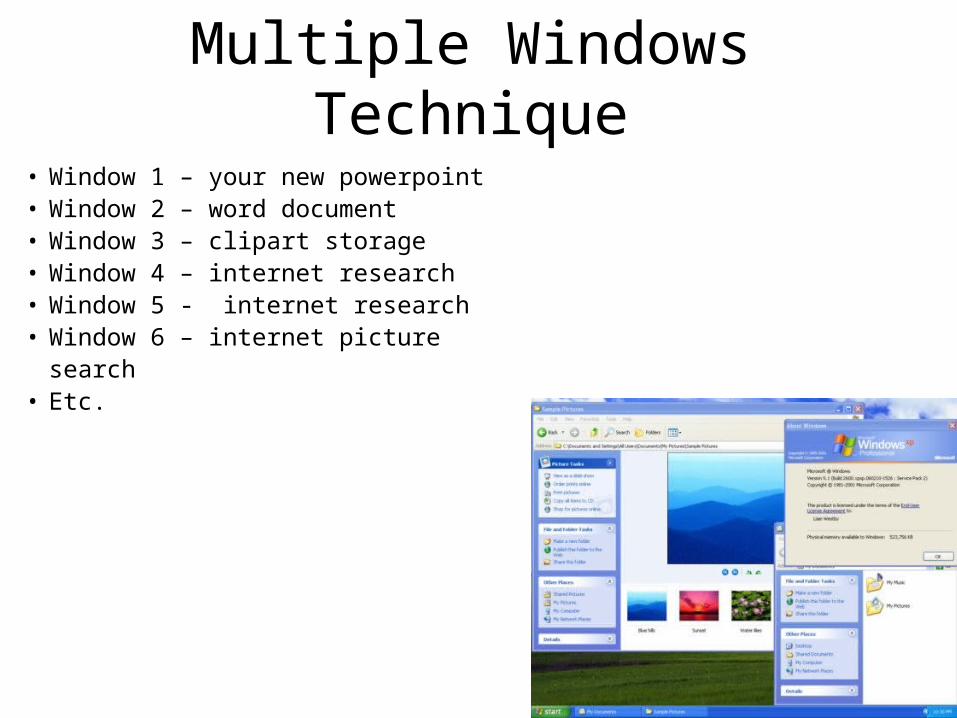
Multiple Windows Technique
• Window 1 – your new powerpoint• Window 2 – word document• Window 3 – clipart storage• Window 4 – internet research• Window 5 - internet research• Window 6 – internet picture
search• Etc.
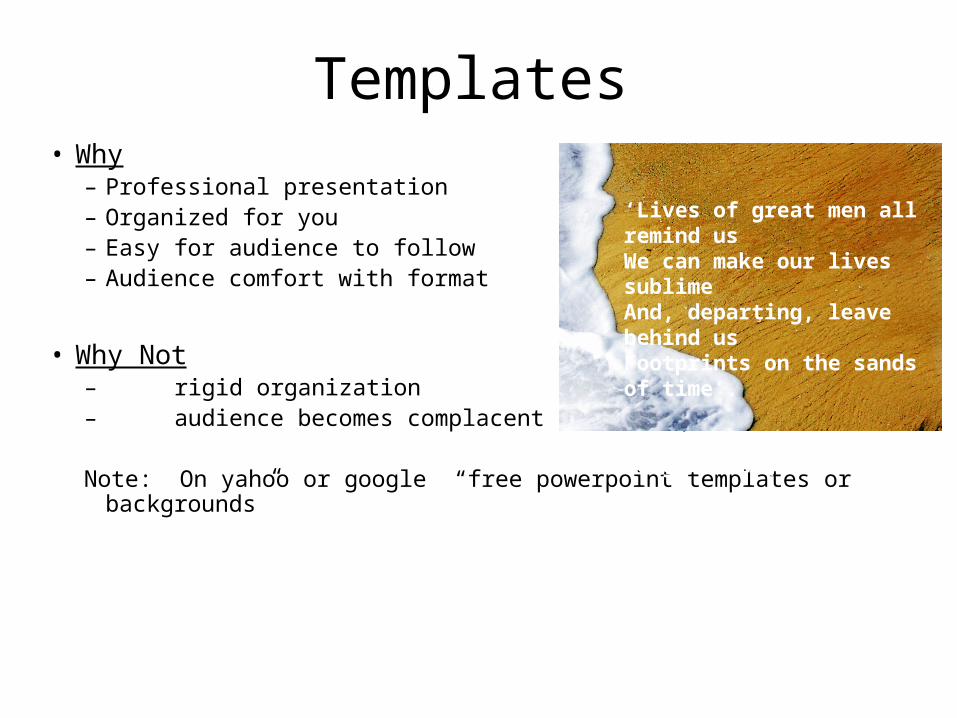
Templates• Why
– Professional presentation– Organized for you– Easy for audience to follow– Audience comfort with format
• Why Not– rigid organization– audience becomes complacent due to repetitious format
Note: On yahoo or google “free powerpoint templates or backgrounds”
‘Lives of great men all remind us We can make our lives sublimeAnd, departing, leave behind usFootprints on the sands of time’.
Longfellow (1807-1882)
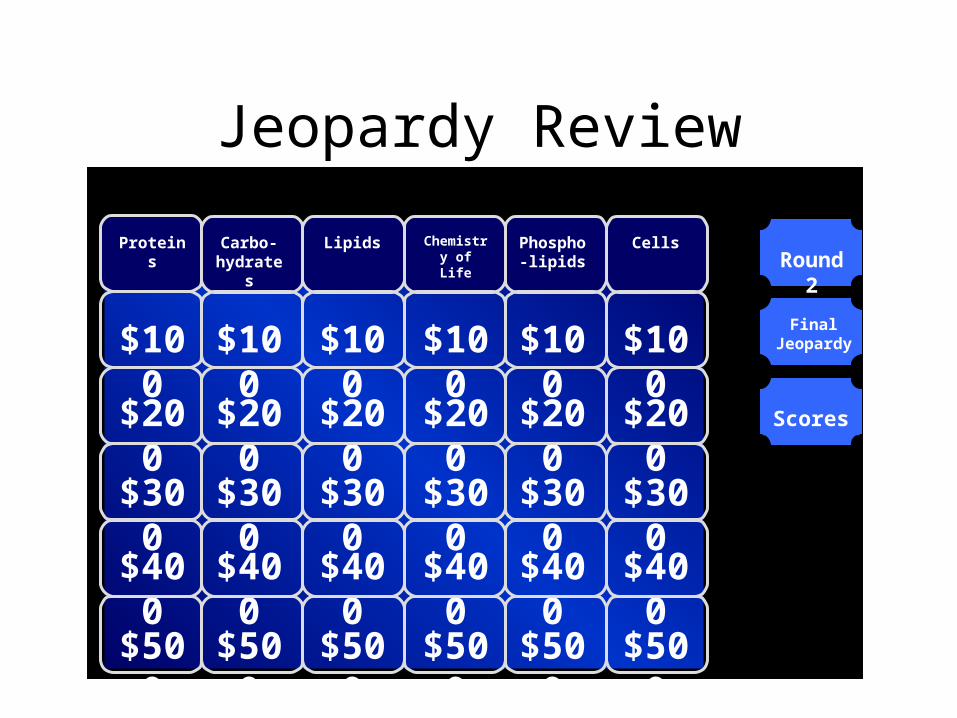
Jeopardy Review
Proteins Carbo-hydrates
Lipids Chemistry of Life
Phospho-lipids
Cells
$100 $100 $100 $100 $100 $100
$200 $200 $200 $200 $200 $200
$300 $300 $300 $300 $300 $300
$400 $400 $400 $400 $400 $400
$500 $500 $500 $500 $500 $500
Round 2
Final Jeopardy
Scores
Free Form Powerpoint
• Advantages– Non rigid format– Keeps audience interest
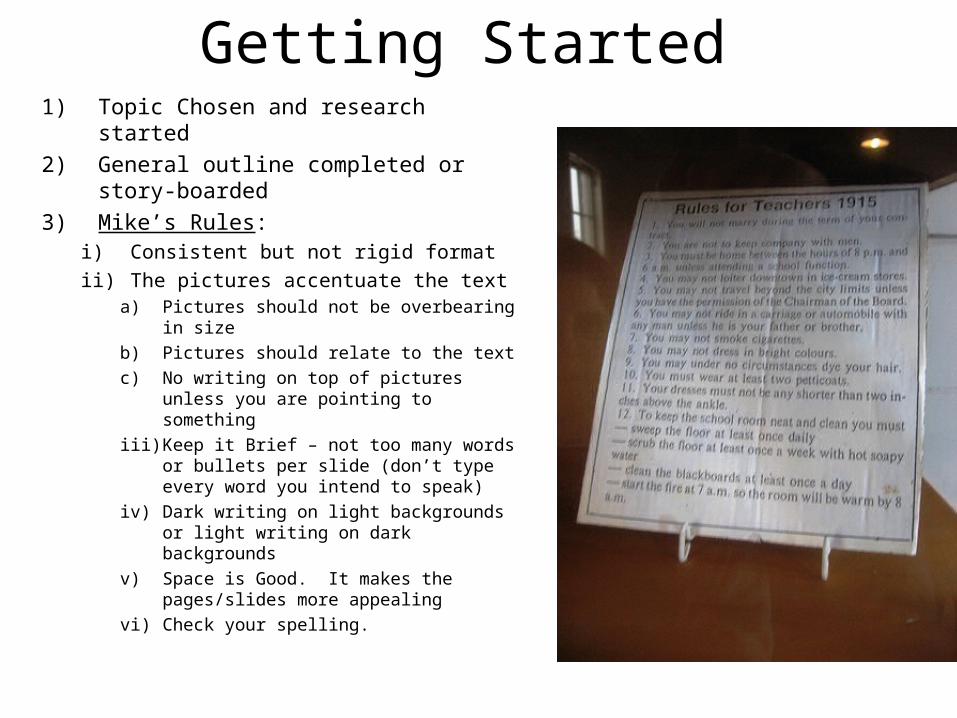
Getting Started1) Topic Chosen and research started
2) General outline completed or story-boarded
3) Mike’s Rules:i) Consistent but not rigid format
ii) The pictures accentuate the texta) Pictures should not be overbearing in
size
b) Pictures should relate to the text
c) No writing on top of pictures unless you are pointing to something
iii) Keep it Brief – not too many words or bullets per slide (don’t type every word you intend to speak)
iv) Dark writing on light backgrounds or light writing on dark backgrounds
v) Space is Good. It makes the pages/slides more appealing
vi) Check your spelling.
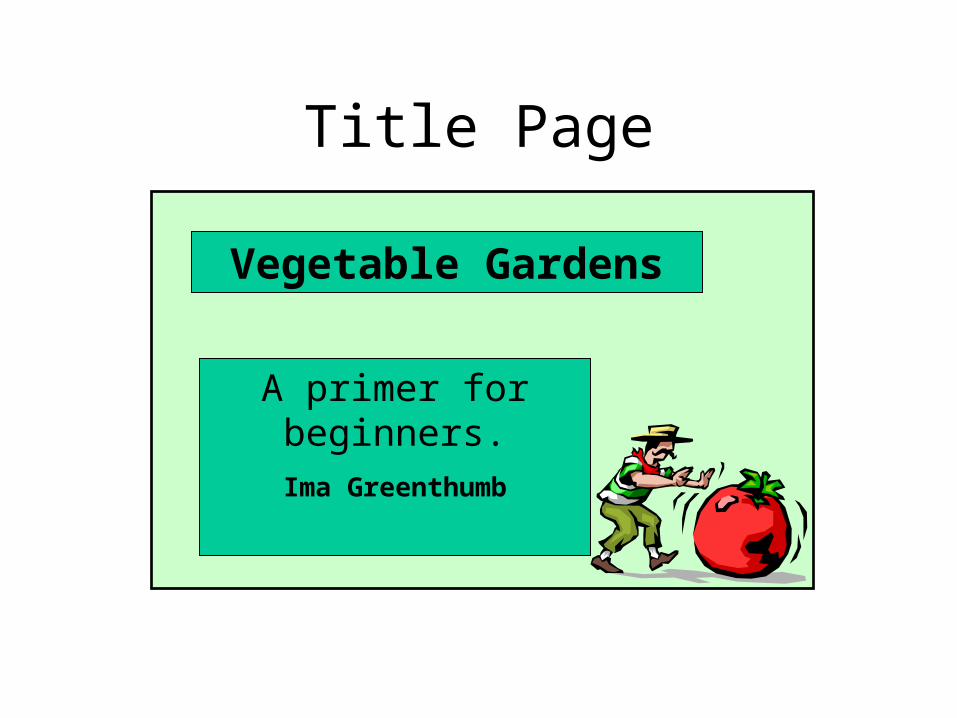
Title Page
TITLE
Subtitle
Vegetable Gardens
A primer for beginners.Ima Greenthumb
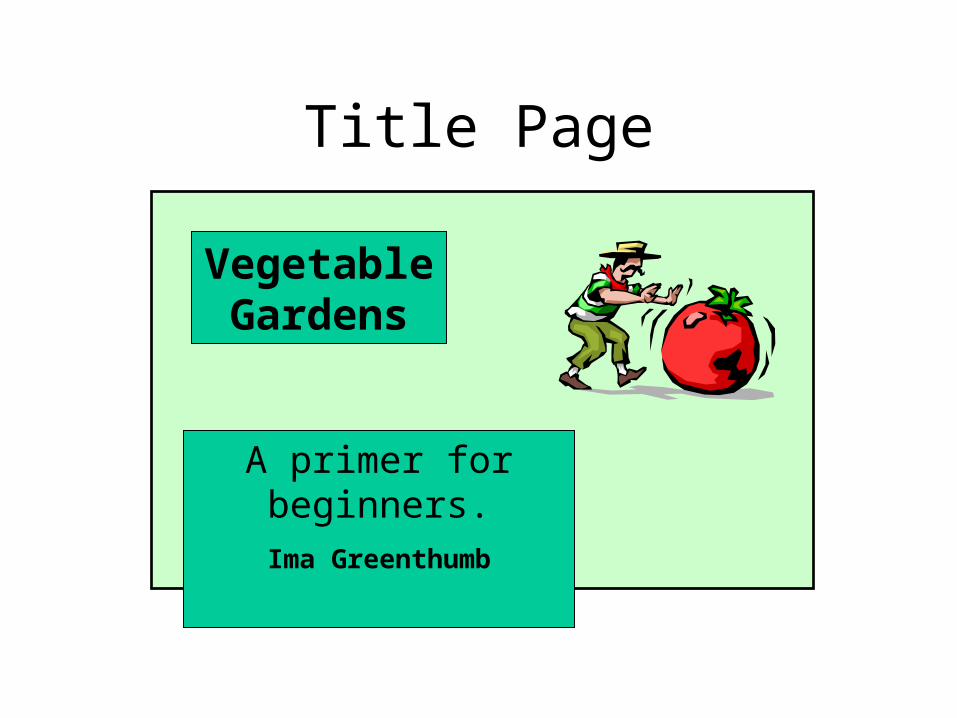
Title Page
Vegetable Gardens
A primer for beginners.Ima Greenthumb
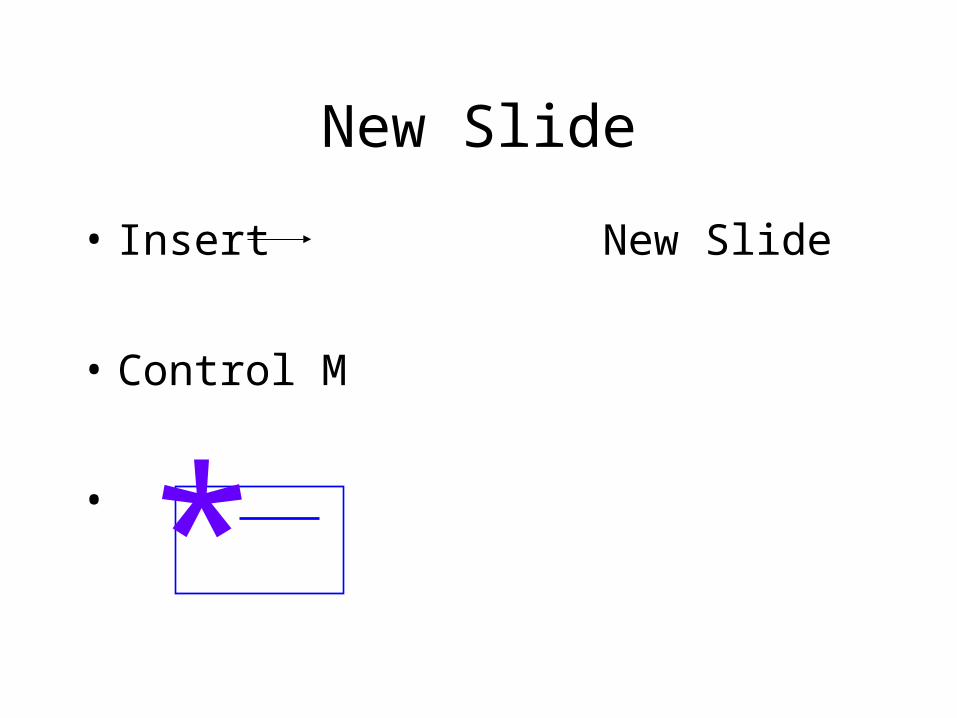
New Slide
• Insert New Slide
• Control M
• *
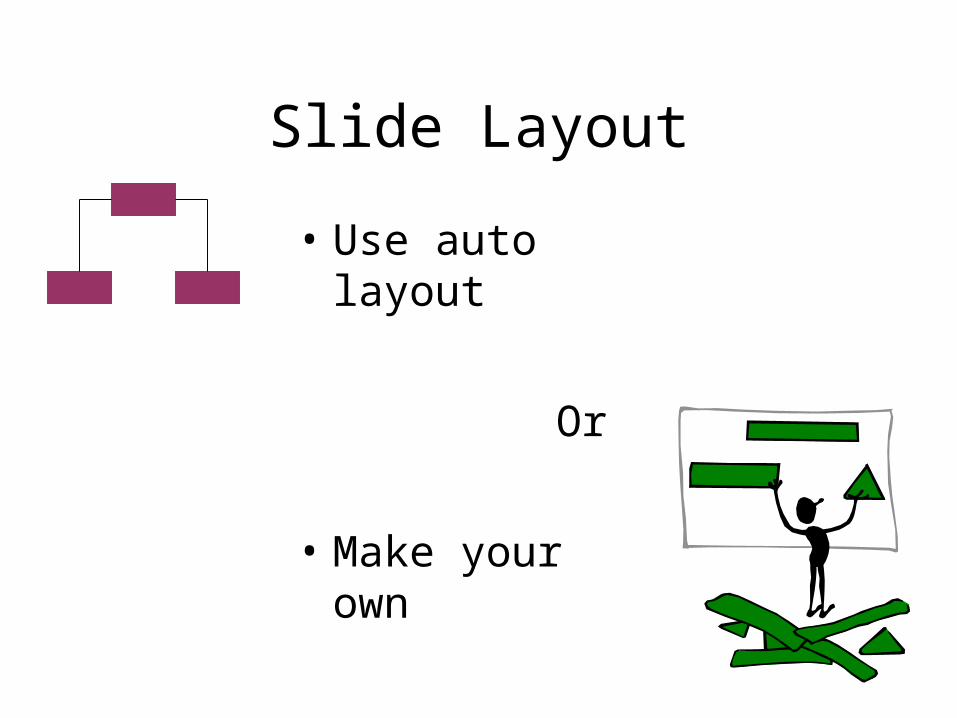
Slide Layout
• Use auto layout
Or
• Make your own
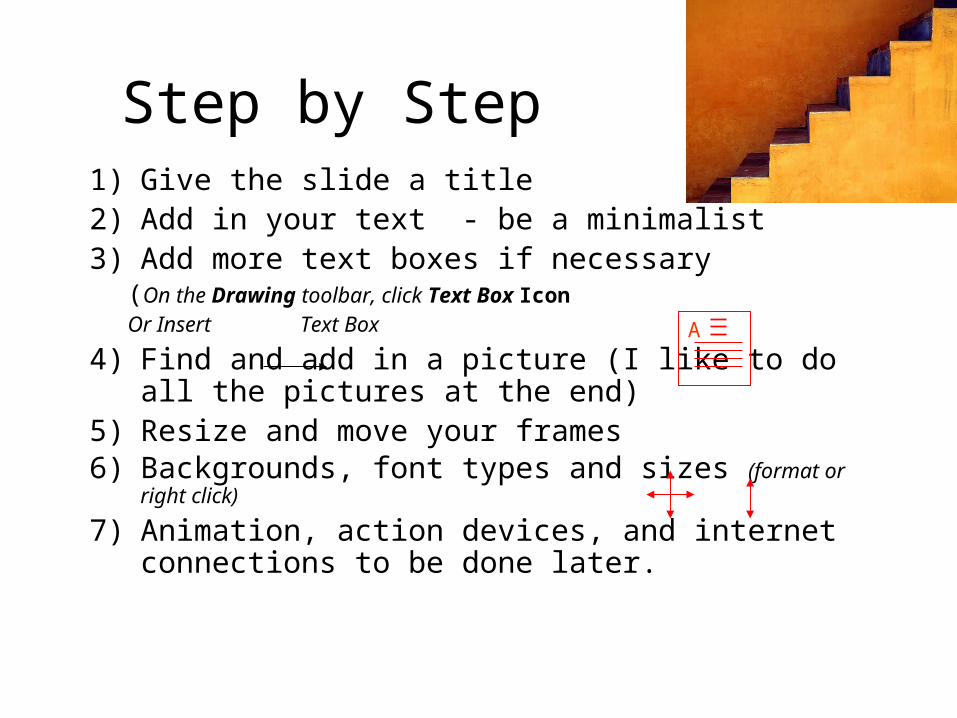
Step by Step1) Give the slide a title2) Add in your text - be a minimalist3) Add more text boxes if necessary
(On the Drawing toolbar, click Text Box IconOr Insert Text Box
4) Find and add in a picture (I like to do all the pictures at the end)
5) Resize and move your frames6) Backgrounds, font types and sizes (format or right click)
7) Animation, action devices, and internet connections to be done later.
A
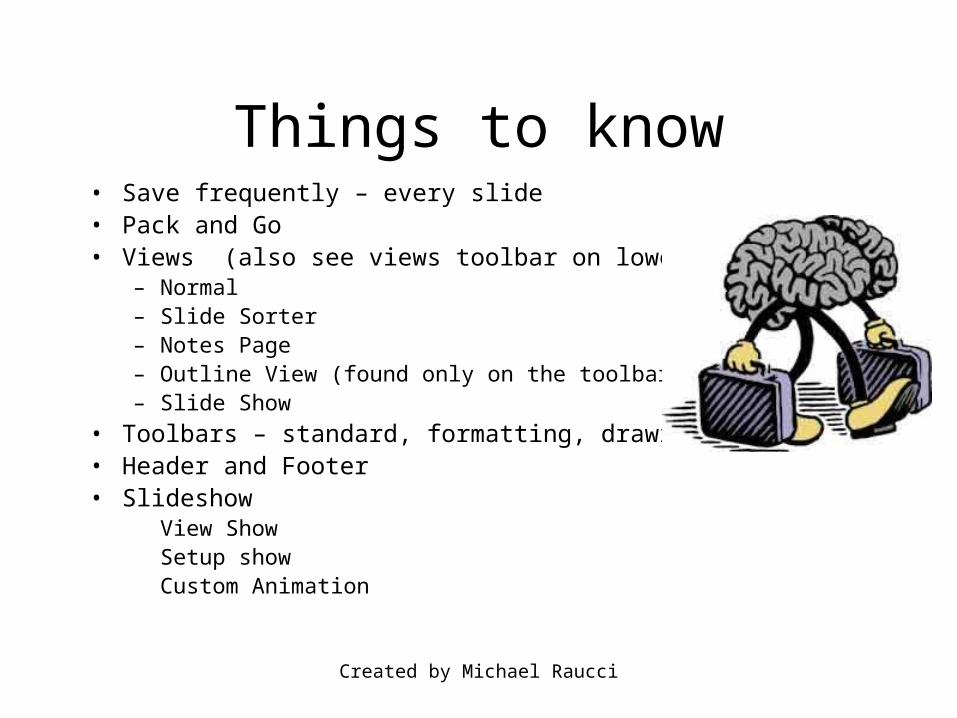
Created by Michael Raucci
Things to know• Save frequently – every slide• Pack and Go• Views (also see views toolbar on lower left)
– Normal– Slide Sorter– Notes Page– Outline View (found only on the toolbar)– Slide Show
• Toolbars – standard, formatting, drawing, picture• Header and Footer• Slideshow
View Show Setup showCustom Animation
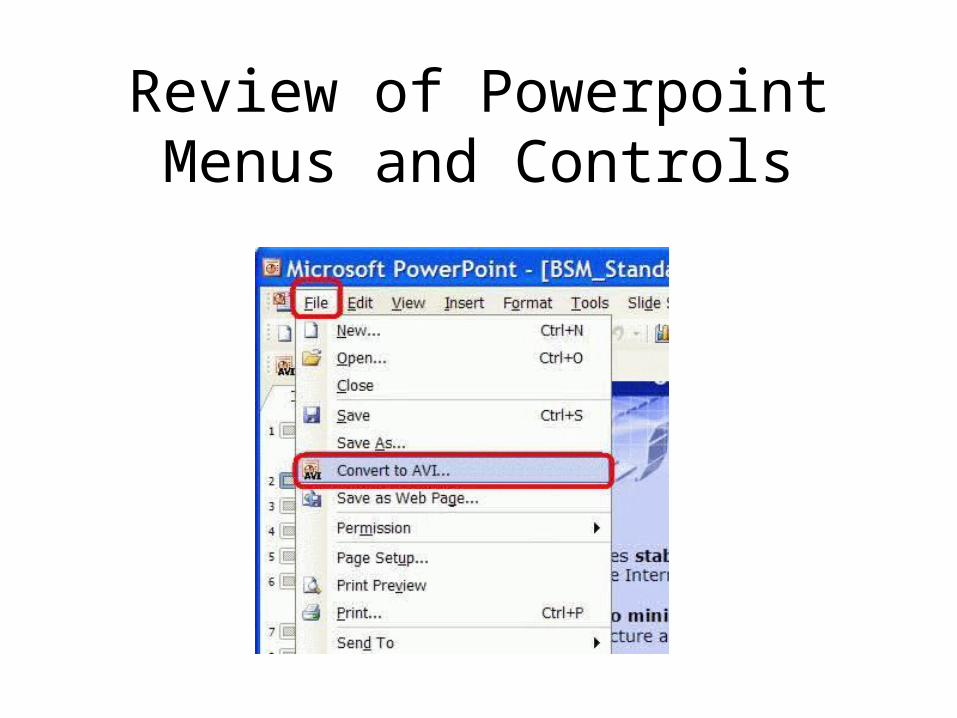
Review of Powerpoint Menus and Controls
Intermission
PLAY MOVIE
Advanced Powerpoint Techniques
• Custom Slideshow
• Inserting links and film clips
• Linking to united streaming
Mr. Caro
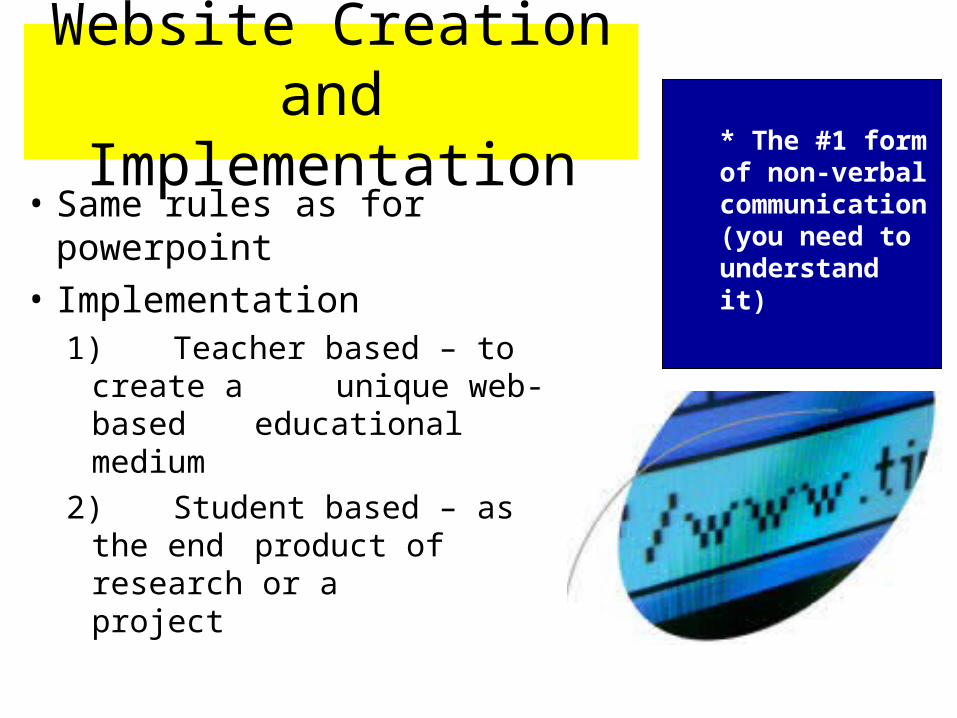
Website Creation and Implementation
• Same rules as for powerpoint
• Implementation1) Teacher based – to
create a unique web-based educational medium
2) Student based – as the end product of research or a project
* The #1 form of non-verbal communication (you need to understand it)
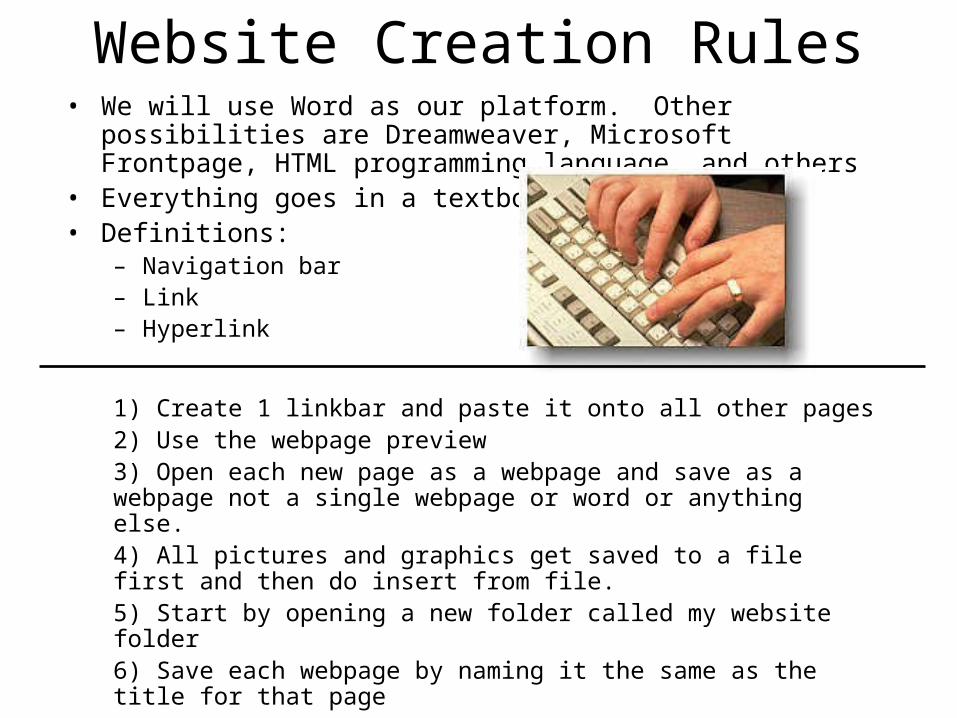
Website Creation Rules• We will use Word as our platform. Other possibilities are
Dreamweaver, Microsoft Frontpage, HTML programming language, and others
• Everything goes in a textbox.• Definitions:
– Navigation bar– Link– Hyperlink
1) Create 1 linkbar and paste it onto all other pages2) Use the webpage preview3) Open each new page as a webpage and save as a webpage not a single webpage or word or anything else.4) All pictures and graphics get saved to a file first and then do insert from file.5) Start by opening a new folder called my website folder6) Save each webpage by naming it the same as the title for that page7) Start by calling your first file homepage8) Websites should be exceptional as they can be viewed by anyone at anytime without your permission or interpretation
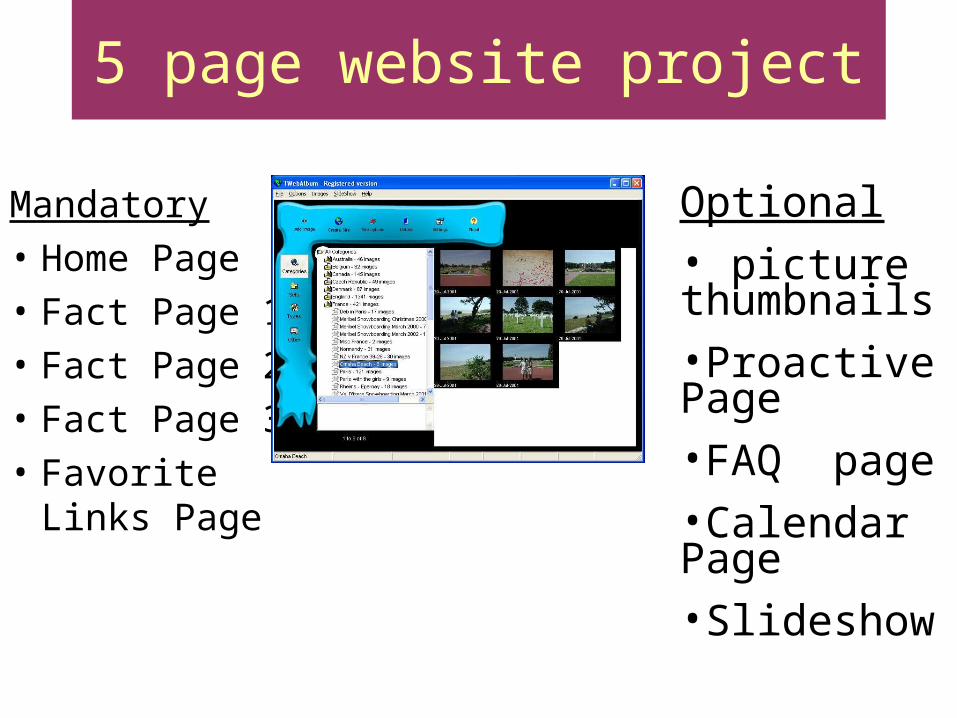
5 page website project
Mandatory
• Home Page
• Fact Page 1
• Fact Page 2
• Fact Page 3
• Favorite Links Page
Optional• picture thumbnails•Proactive Page•FAQ page•Calendar Page•Slideshow
• Home Page – general overview of what your website covers - Must have a navigation bar to direct visitors to other pages - Some introductory info - Tantalizing picture and directions on how to navigate the site - Why the site is important.
• Fact Pages – info, pics, data/tables, graphs, etc on one aspect of the topic per each fact page
• Favorite Links – list 5-20 other webssites that offer information on the same topic (the web is a community of knowledge sharing)
• These websites are being created in Microsoft Word. This is not the best way to create a website as it requires a lot of extra memory and slows downloading time for visitors, but it is the easiest platform for us to work from. Professional web designers use HTML language which is its own computer language.
Website How to
• Step 1 – storyboard
• Step 2 – create “my website folder”
• Step 3 – immediately open Word and save the blank document as “Home Page” and save it as a “web page”
• Step 4 – insert a textbox – put in title
• Step 5 – click save
• Step 6 – insert a textbox – create the navigation bar
• Step 7 – insert a textbox – create an information box
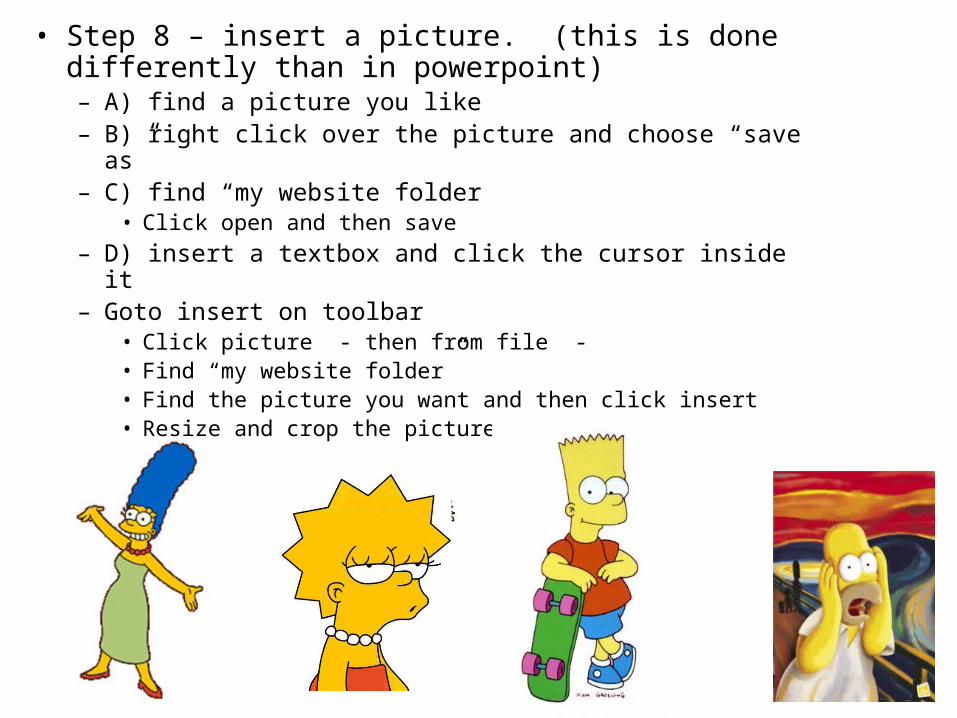
• Step 8 – insert a picture. (this is done differently than in powerpoint)– A) find a picture you like– B) right click over the picture and choose “save as”– C) find “my website folder
• Click open and then save
– D) insert a textbox and click the cursor inside it– Goto insert on toolbar
• Click picture - then from file -• Find “my website folder”• Find the picture you want and then click insert• Resize and crop the picture

• Step 9 – see what it will look like on the internet– File to Web Page Preview
(when done - exit webpage preview)
• Step 10 – create all 5 pages
• Step 11 – create a hyperlink
• Step 12 – goto webpage preview and check the hyperlinks function
• Step 13 – if you haven’t done so save every page
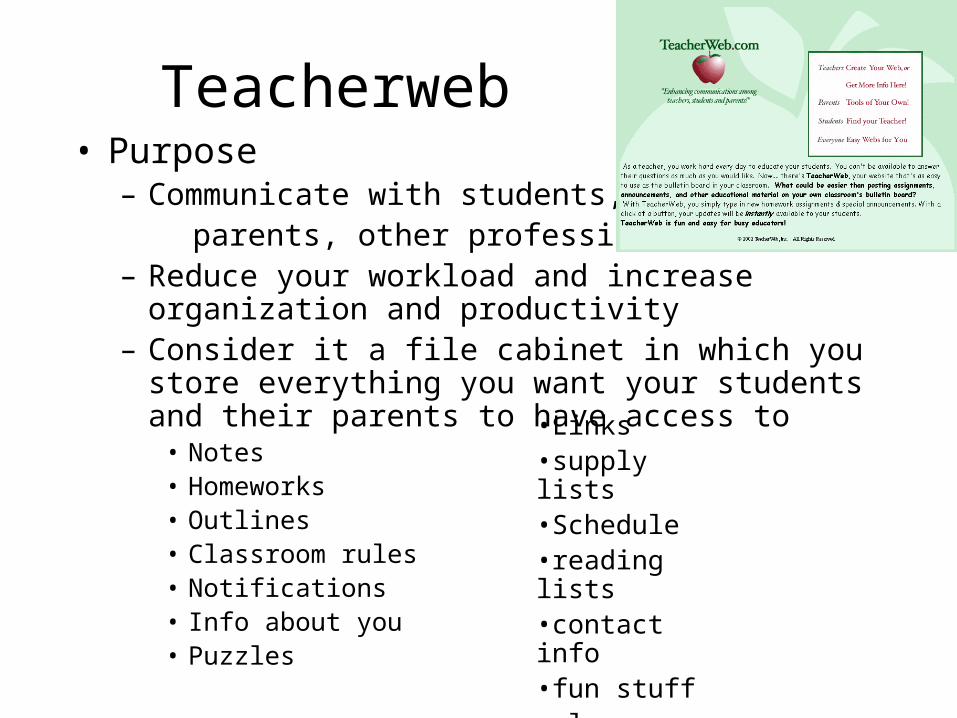
Teacherweb• Purpose
– Communicate with students, parents, other professionals– Reduce your workload and increase organization and
productivity– Consider it a file cabinet in which you store everything
you want your students and their parents to have access to• Notes• Homeworks• Outlines• Classroom rules• Notifications• Info about you• Puzzles
•Links•supply lists•Schedule•reading lists•contact info•fun stuff•class pictures*
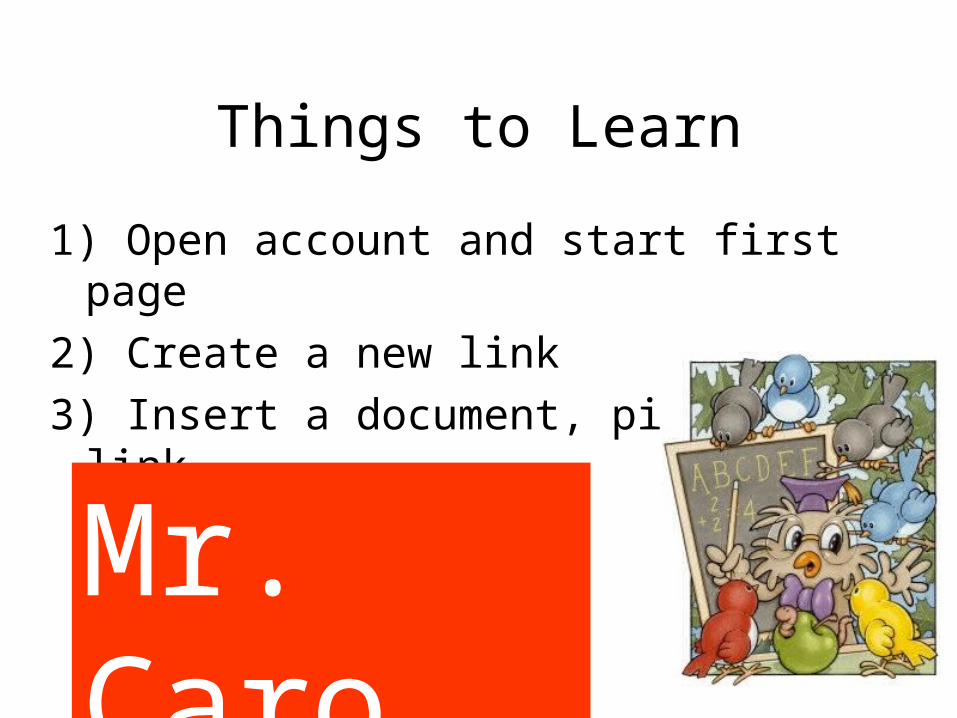
Things to Learn
1) Open account and start first page
2) Create a new link
3) Insert a document, picture, link
Mr. Caro

Integrating Teacherweb into the classroom
Moving and Storing your Information
• File Management
• Internet storage
• Flash drives
• Disk Drives
Mr. Caro
Understanding and interlinking hardware devices
• TV/VCR/DVD
• Speakers
• Music players
• Showing movies (auditorium)?
Mr. Caro
• Pulling it all together
• WebQuest.Org: Home
• TeacherWeb - Websites for Teachers