Embed Size (px)
Citation preview
Implementing a SAS® 9.3
Enterprise BI Server Deployment
in Microsoft Windows Operating
Environments
TS-811

i
Implementing a SAS® 9.3 Enterprise BI Server Deployment in Microsoft Windows Operating Environments
Table of Contents
Introduction ........................................................................................... 1 Step 1: Create a SAS Software Depot.. ............................................... 1 Step 2: Prepare Your Environment ..................................................... 2
Setting Up User Accounts .................................................................. 2 Setting Up the SAS Server Users Group ........................................... 3 Installing Third-Party Software ........................................................... 4
Java Runtime Environment .......................................................... 4 Java Development Kit .................................................................. 4 JBoss ........................................................................................... 5 JUnit ............................................................................................. 5
Step 3: Install and Configure Your SAS® Software Using the SAS® Deployment Wizard ....................................................... 5
Step 4: Perform Post-Deployment Validation .................................. 45 Step 5: Add SAS® Users to the SAS® System .................................. 45 Resources ............................................................................................ 46

1
Implementing a SAS® 9.3 Enterprise BI Server Deployment in Microsoft Windows Operating Environments
Introduction
This paper explains how to install and configure the SAS® Enterprise BI Server using a standard SAS Enterprise BI
Server, one machine, JBoss deployment plan. The process involves these steps:
Creating a SAS Software Depot
Preparing your Windows environment
Installing and configuring your software
Performing post-deployment validation
Adding SAS® users to the system
Step 1: Create a SAS Software Depot
The SAS Enterprise BI Server must be installed from a SAS Software Depot, which is a repository for your SAS software
media. If you already have a SAS Software Depot, skip to “Step 2: Prepare Your Environment.” If your installation media
is in DVD format, create a SAS Software Depot by following these steps:
1. Insert Disk 1 into your DVD drive.
2. If the SAS® Deployment Wizard does not automatically launch, open the DVD in Windows Explorer, right-click setup.exe, and select Run as Administrator.
3. When prompted, select your language and click OK.
4. On the Select Deployment Task page of the SAS Deployment Wizard, select Create or Add to a SAS Software Depot.
5. On the Specify Order Details page, click Next.
6. On the Specify Order Options page, select Include complete order contents and click Next.
7. On the Specify SAS Software Depot Directory page, specify the location where you want to create your SAS Software Depot and click Next. The location can be on the local machine or it can be on a network drive.
8. On the Final Review page, click Start to create the SAS Software Depot.
2
Implementing a SAS® 9.3 Enterprise BI Server Deployment in Microsoft Windows Operating Environments
Step 2: Prepare Your Environment
Before you can deploy your SAS software, you need to prepare your environment. This includes setting up user and
group accounts on the machines that are required by your SAS software deployment and installing third-party software
that will be used by the SAS deployment.
Setting Up User Accounts
User accounts that are needed for your SAS deployment can be either local accounts on the machine on which you are
deploying SAS or domain accounts that have access to the machine. Although you can use your own account names,
SAS recommends using the names that are listed in the following table. If you choose to use different account names, be
sure to record those names for future reference.
Account
Required
Operating System Rights
Recommended
Account Name
SAS Installer Administrator my-domain\sas or
my-machine\sas
SAS Spawned Servers* Log on as a batch job my-domain\sassrv or
my-machine\sassrv
SAS First User* Log on as a batch job my-domain\sasdemo or
my-machine\sasdemo
SAS Client Users Log on as a batch job my-domain\user-ID or
my-machine\user-ID
* The SAS Deployment Wizard automatically assigns the Log on as batch job right to the SAS
Spawned Servers and SAS First User accounts.
The accounts that are listed in the preceding table have the following purposes:
1. SAS Installer – This account is used to install SAS. After you create the account, log on to the machine with this
account to perform the deployment. It is recommended that this account remain available for future SAS
maintenance and updates.
2. SAS Spawned Servers – This account is the process owner for stored processes and pooled workspace servers
on the machine. During the SAS deployment, the SAS Deployment Wizard prompts you to enter the account
name and password for this account.
3. SAS First User – This account, which is often referred to as sasdemo, is used for demonstration purposes.
During the SAS deployment, the SAS Deployment Wizard prompts you to specify the account name and
password for this account. The SAS First User account is not a required account. It is, however, used for the
purposes of this installation guide.
3
Implementing a SAS® 9.3 Enterprise BI Server Deployment in Microsoft Windows Operating Environments
4. SAS Client Users – SAS client users are any users that will connect to the SAS server to launch workspace
servers via clients such as SAS® Enterprise Guide® or SAS® Add-In for Microsoft Office. These users should be
added to the SAS Server Users group, which is discussed in the next section “Setting Up the SAS Server Users
Group.”
Setting Up the SAS Server Users Group
To run SAS under Windows, users must have certain local user rights on the machine that is hosting the server. The Log on as a batch job right is a required privilege so that the user can start a SAS workspace server. One
suggestion for giving a user this privilege is to create a group on the server, add SAS users to the group, and then assign that group the Log on as a batch job right.
To create the SAS Server Users group and assign it to the Log on as a batch job right, do the following:
1. For Windows 7 and Windows Server 2008: Click Start. In the Search programs and files field, type Computer Management, and select it
from the Start menu when it appears.
For Windows Server 2003:
Select Start ► Settings ► Control Panel ► Administrative Tools ► Computer Management.
2. Expand Local Users and Groups.
3. Right-click Groups and select New Group.
4. Name the group SAS Server Users and click Create.
5. Assign Log on as a batch job rights to the new SAS Server Users group.
For Windows 7 and Windows Server 2008: Click Start. In the Search programs and files field, type Local Security Policy, and select it
from the Start menu when it appears.
For Windows Server 2003:
Select Start ► Settings ► Control Panel ► Administrative Tools ► Local Security Policy.
6. In the left pane of the Local Security Policy Settings window, expand Local Policies and click User Rights Assignment.
7. In the right-hand pane under the Policy column, double-click Log on as a batch job. This displays
the Log on as a batch job Properties dialog box.
8. On the Local Security Setting tab, click Add User or Group to display the dialog box. In the
Enter the object names to select field, type SAS Server Users and click Check Names to
select the SAS Server Users group. Then click OK to return to the Log on as a Batch Job Properties dialog box.
Verify that the new group that you entered appears in the text box on the Local Security Settings tab.
9. Click OK to close the dialog box and return to the Local Security Policy window.
4
Implementing a SAS® 9.3 Enterprise BI Server Deployment in Microsoft Windows Operating Environments
In the future, any new SAS users that you add to your SAS system can be granted Log on as a batch job
rights by adding them to the SAS Server Users group in Windows. Because the SAS Server Users group was assigned the Log on as a batch job right, it is not necessary to explicitly add users to this right in the Local
Security Policy window.
Installing Third-Party Software
Before you can install SAS Enterprise BI Server, you must first install some third-party software products. Third-party
products play an important role in your SAS deployment. For example, because SAS Enterprise BI Server includes web
applications such as SAS® Web Report Studio or the SAS® Information Delivery Portal, you need to install third-party
products, such as a Java Development Kit (JDK), and a web application server in order to compile and execute these
applications.
The following table references the required third-party software and their recommended versions.
Third‐Party Product Recommended Version
Java Runtime Environment (JRE) 32‐bit JRE 1.6.0_24
Java Development Kit (JDK) 64‐bit JRK 1.6.0_30
JBoss 4.2.3 or 5.1.0
JUnit 4.8.1
Java Runtime Environment
During the initial SAS 9.3 deployment, the SAS Deployment Wizard prompts you for the version of the JRE that you want
to use with the SAS Java applications. Select one of the following options:
Use the recommended JRE – This option is recommended. If you select this option, the SAS Deployment
Wizard automatically installs the recommended JRE.
Specify an existing JRE – If you select this option, browse to an existing 32-bit JRE 6 that you already have
installed on your system.
The minimum required version is JRE 1.6.0_24. A 32-bit JRE is required, even on x64 systems. Note that JRE 1.7 is not
supported.
Java Development Kit
For the configuration of your web components, a 64-bit JDK is required. The minimum requirement version is JDK
1.6.0_30.
Download the JDK from Oracle (www.oracle.com/technetwork/java/javasebusiness/downloads/java-archive-downloads-
javase6-419409.html#jdk-6u30-oth-JPR).
Once you have downloaded the executable, double-click it to install it. During the SAS installation, the SAS Deployment
Wizard prompts you to specify the location of the JDK that you installed.
5
Implementing a SAS® 9.3 Enterprise BI Server Deployment in Microsoft Windows Operating Environments
JBoss
SAS Enterprise BI Server requires a web application server so that the SAS web applications can be deployed and run.
Download either JBoss-4.2.3.GA.zip (sourceforge.net/projects/jboss/files/JBoss/JBoss-4.2.3.GA) or JBoss-5.1.0.GA
(sourceforge.net/projects/jboss/files/JBoss/JBoss-5.0.1.GA). Once you have downloaded the web application server,
extract it to the root of your C:\ drive or the location where you want to store your JBoss web application server. During
the SAS installation, the SAS Deployment Wizard prompts you to specify the location of JBoss.
JUnit
The JUnit JAR file is required to run the Deployment Tester, which is a tool that can be used to validate your SAS
deployment.
Download junit-4.8.1.jar (sourceforge.net/projects/junit/files/junit/4.8.1/junit-4.8.1.jar/download).
During the SAS installation, the SAS Deployment Wizard prompts you to specify the location of the JUnit JAR file.
Step 3: Install and Configure Your SAS® Software Using the SAS® Deployment Wizard
Now that you have prepared your environment, you are ready to install and configure SAS using the SAS Deployment
Wizard. To begin deploying your software, do the following:
1. Disable your antivirus software. This eliminates any interference that antivirus programs can cause during the
deployment.
2. Browse to your SAS Software Depot in Windows Explorer.
3. Right-click setup.exe and select Run as Administrator to run the SAS Deployment Wizard.
Once the SAS Deployment Wizard initializes, you are prompted to make selections. The following steps document the
individual pages of the SAS Deployment Wizard that are displayed during your SAS 9.3 deployment using a SAS
Enterprise BI Server, one machine, JBoss standard deployment plan.
Note: If you encounter any error messages during the deployment, take note of the error message and the log file that is
referenced. These are useful in troubleshooting the failure.
6
Implementing a SAS® 9.3 Enterprise BI Server Deployment in Microsoft Windows Operating Environments
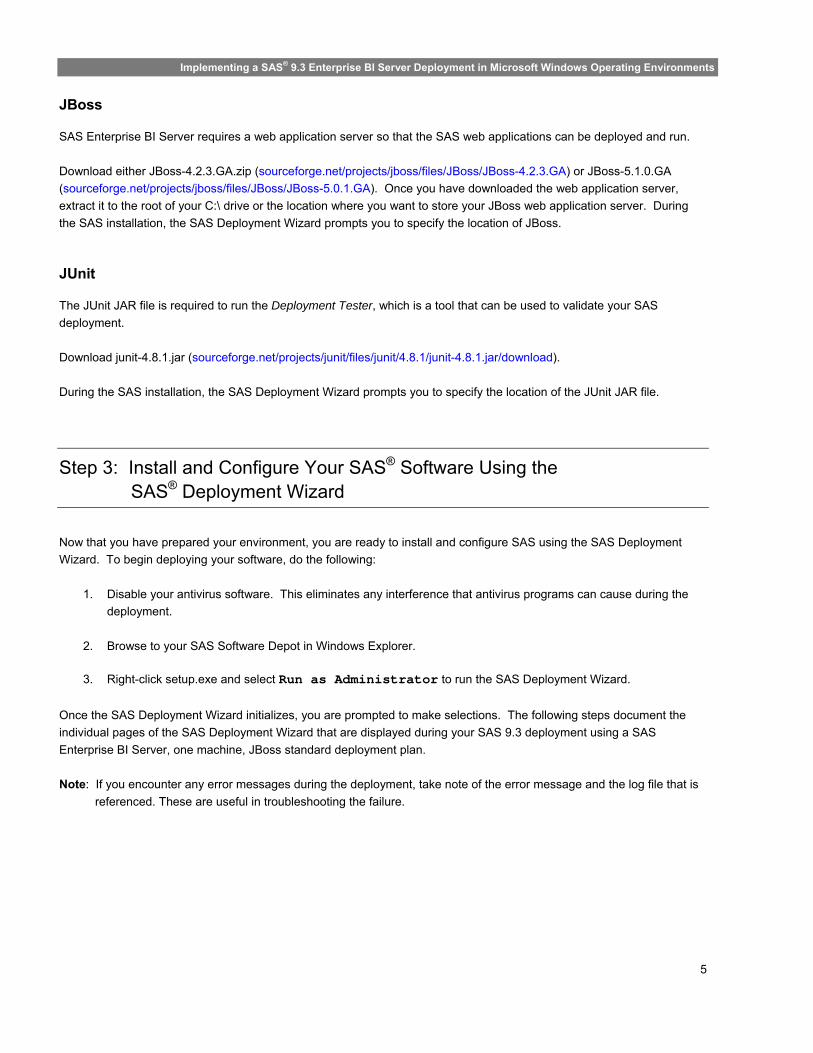
1. Choose Language Select your language from the drop-down menu. Click OK.
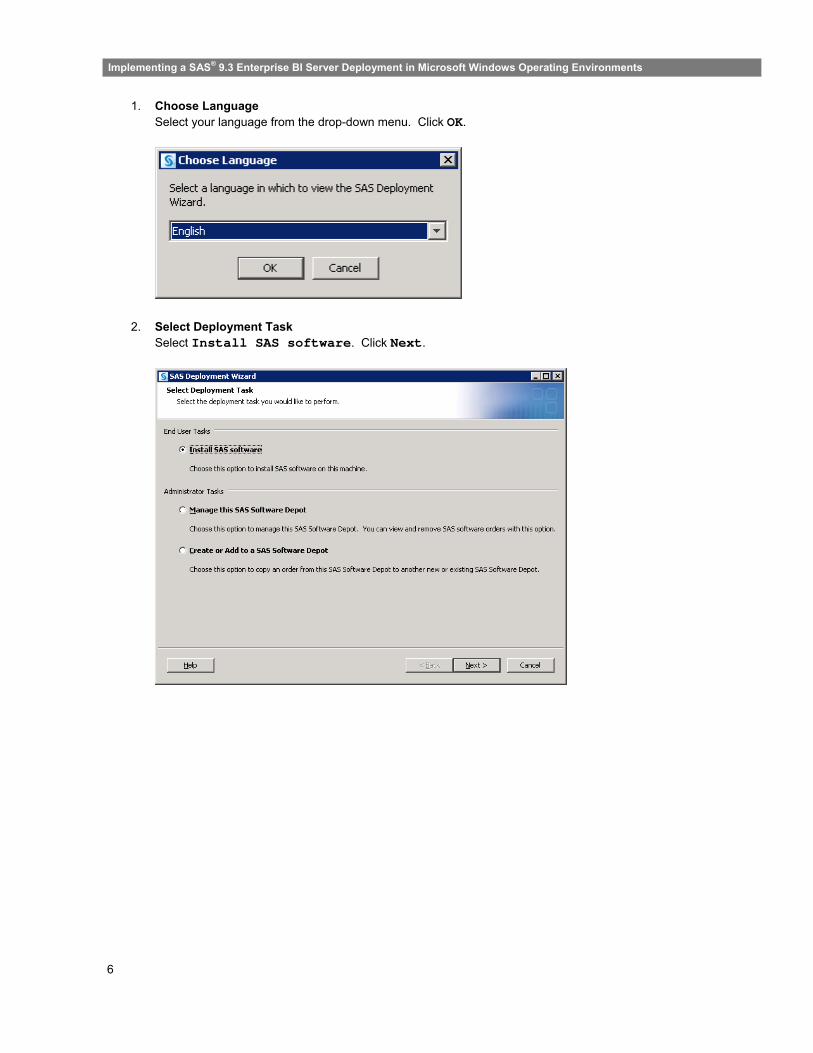
2. Select Deployment Task Select Install SAS software. Click Next.
7
Implementing a SAS® 9.3 Enterprise BI Server Deployment in Microsoft Windows Operating Environments
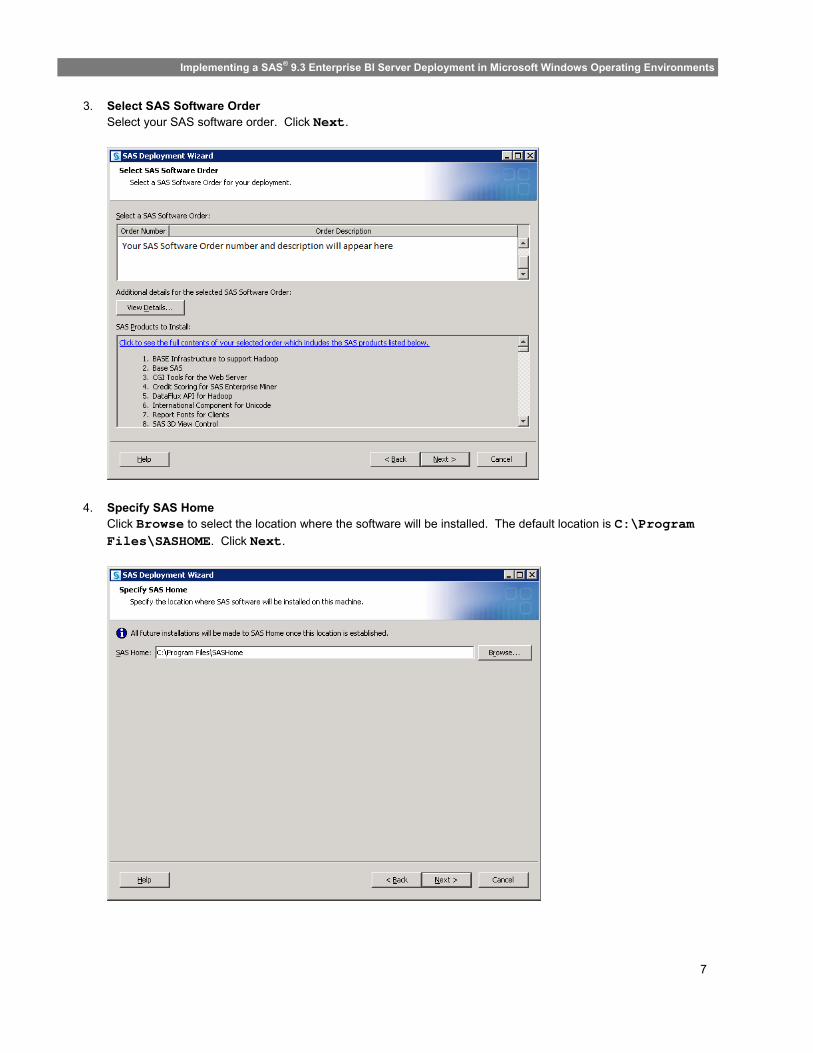
3. Select SAS Software Order Select your SAS software order. Click Next.
4. Specify SAS Home Click Browse to select the location where the software will be installed. The default location is C:\Program Files\SASHOME. Click Next.
8
Implementing a SAS® 9.3 Enterprise BI Server Deployment in Microsoft Windows Operating Environments
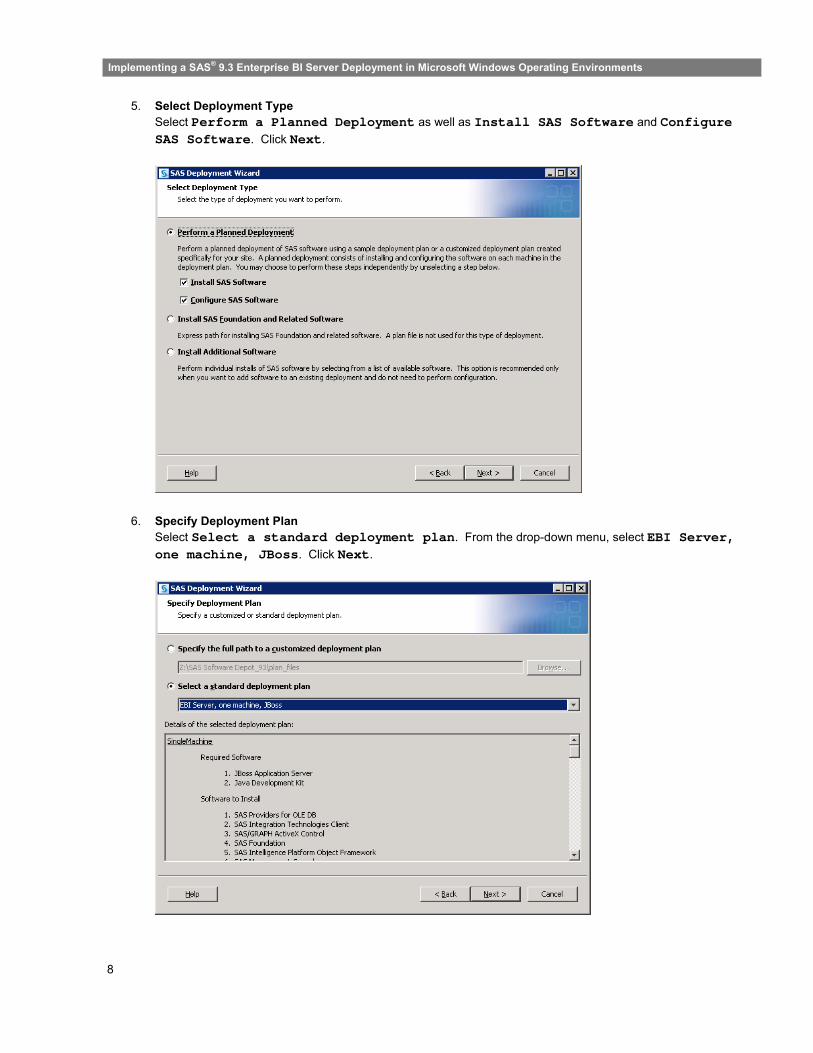
5. Select Deployment Type Select Perform a Planned Deployment as well as Install SAS Software and Configure SAS Software. Click Next.
6. Specify Deployment Plan Select Select a standard deployment plan. From the drop-down menu, select EBI Server, one machine, JBoss. Click Next.
9
Implementing a SAS® 9.3 Enterprise BI Server Deployment in Microsoft Windows Operating Environments
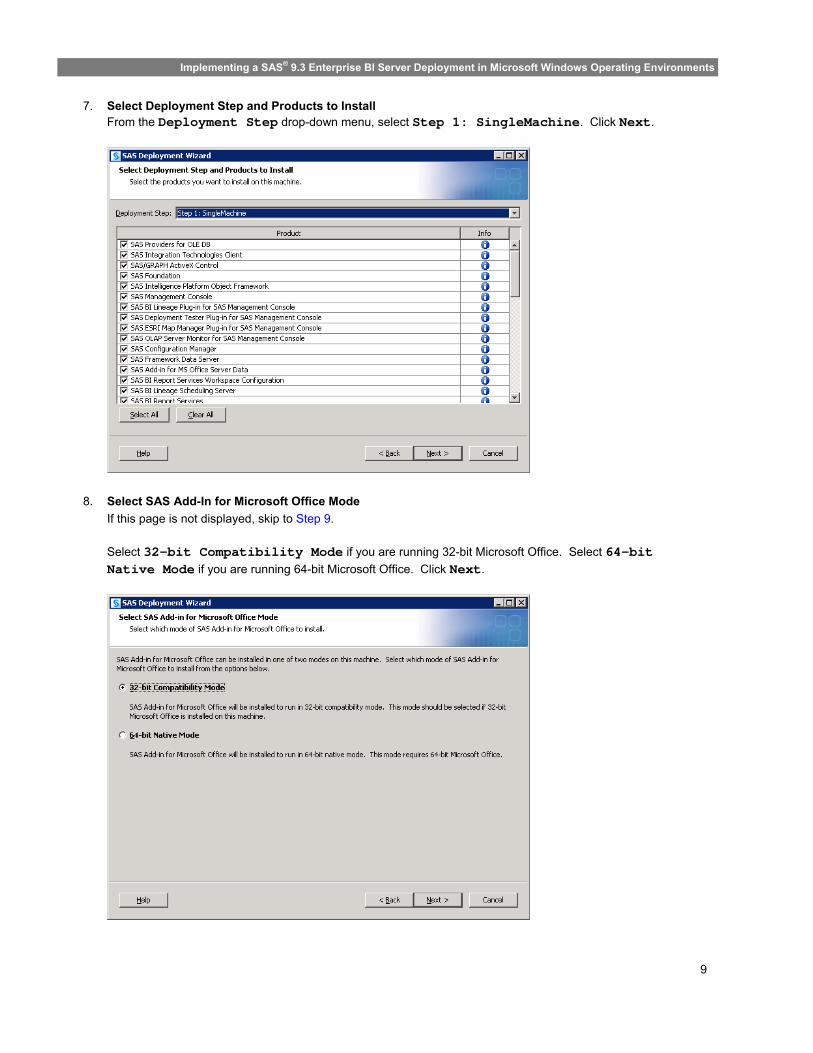
7. Select Deployment Step and Products to Install From the Deployment Step drop-down menu, select Step 1: SingleMachine. Click Next.
8. Select SAS Add-In for Microsoft Office Mode
If this page is not displayed, skip to Step 9.
Select 32-bit Compatibility Mode if you are running 32-bit Microsoft Office. Select 64-bit Native Mode if you are running 64-bit Microsoft Office. Click Next.
10
Implementing a SAS® 9.3 Enterprise BI Server Deployment in Microsoft Windows Operating Environments
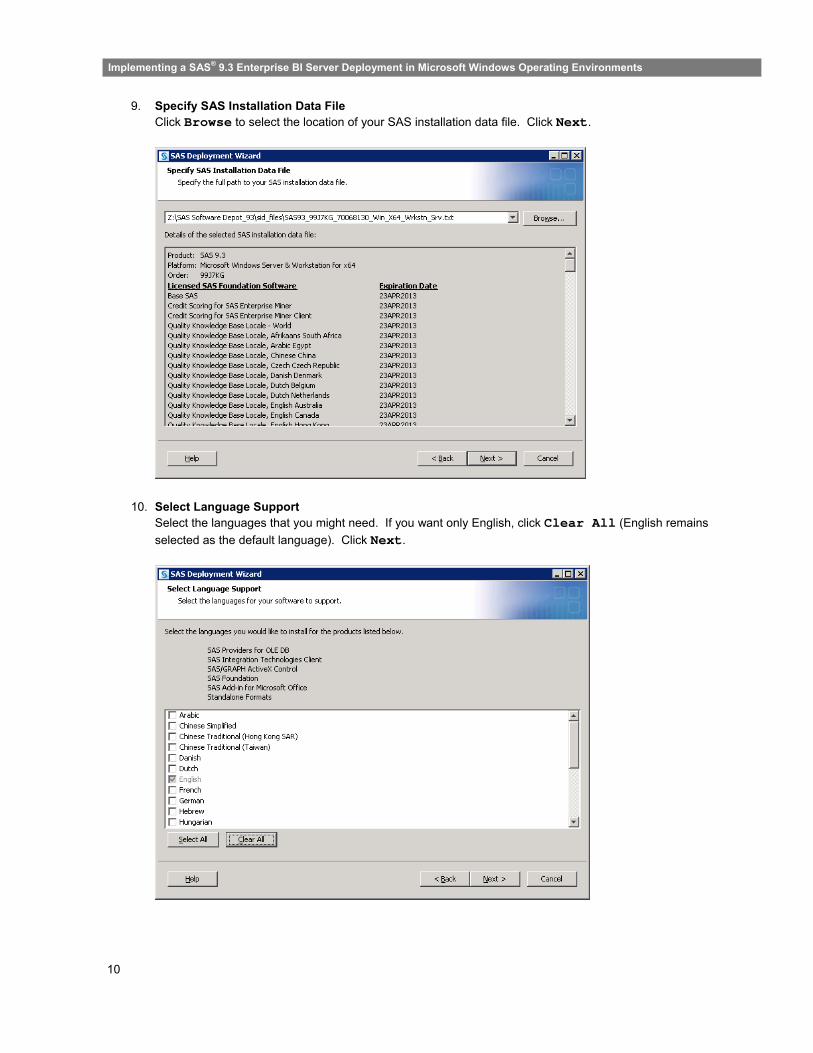
9. Specify SAS Installation Data File Click Browse to select the location of your SAS installation data file. Click Next.
10. Select Language Support Select the languages that you might need. If you want only English, click Clear All (English remains
selected as the default language). Click Next.
11
Implementing a SAS® 9.3 Enterprise BI Server Deployment in Microsoft Windows Operating Environments
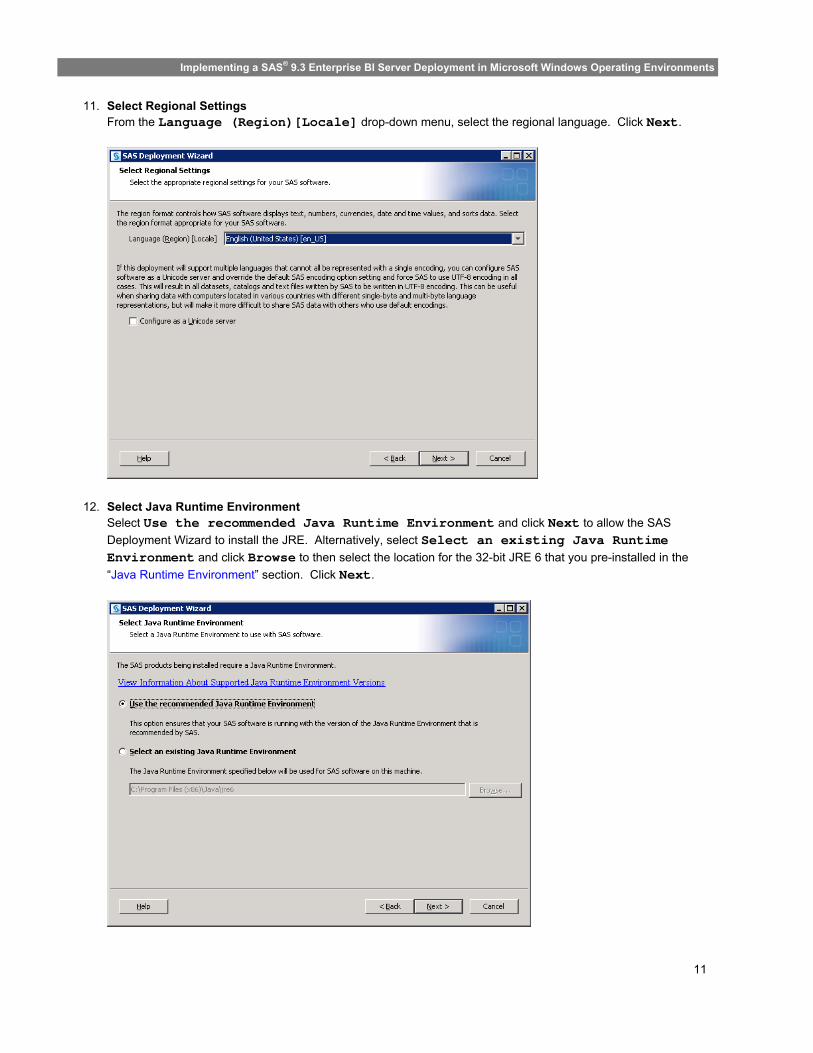
11. Select Regional Settings From the Language (Region)[Locale] drop-down menu, select the regional language. Click Next.
12. Select Java Runtime Environment Select Use the recommended Java Runtime Environment and click Next to allow the SAS
Deployment Wizard to install the JRE. Alternatively, select Select an existing Java Runtime Environment and click Browse to then select the location for the 32-bit JRE 6 that you pre-installed in the
“Java Runtime Environment” section. Click Next.
12
Implementing a SAS® 9.3 Enterprise BI Server Deployment in Microsoft Windows Operating Environments
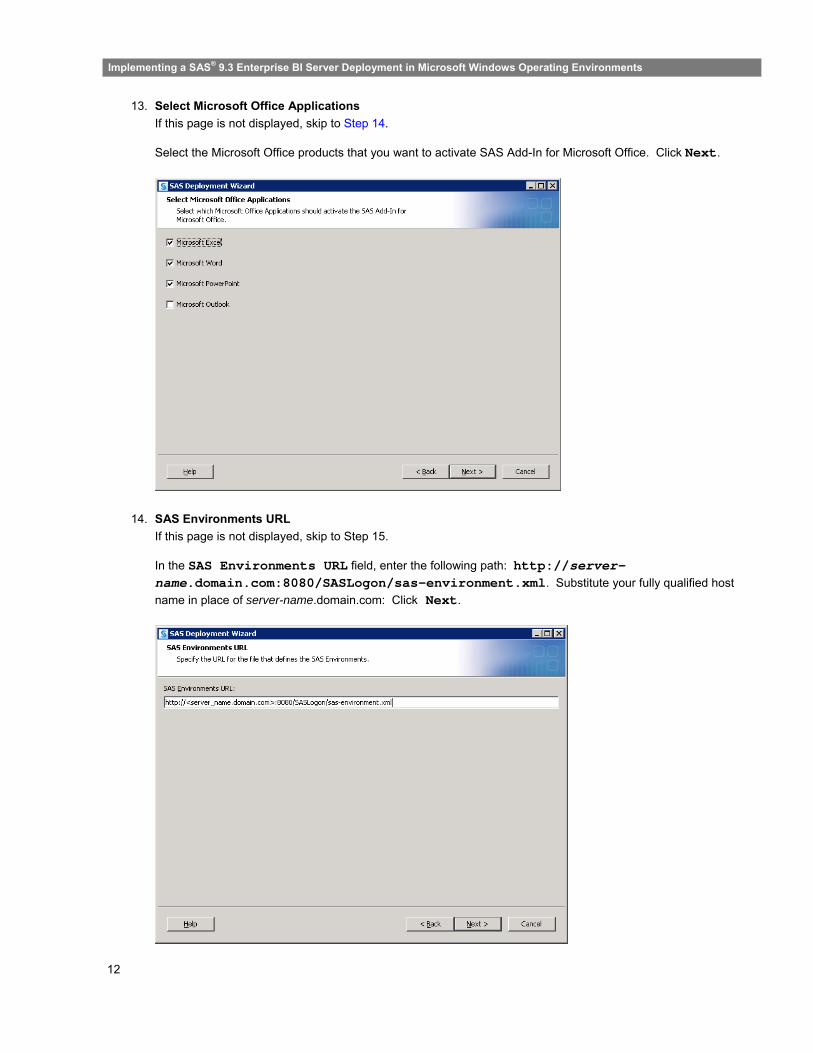
13. Select Microsoft Office Applications
If this page is not displayed, skip to Step 14.
Select the Microsoft Office products that you want to activate SAS Add-In for Microsoft Office. Click Next.
14. SAS Environments URL
If this page is not displayed, skip to Step 15.
In the SAS Environments URL field, enter the following path: http://server-name.domain.com:8080/SASLogon/sas-environment.xml. Substitute your fully qualified host
name in place of server-name.domain.com: Click Next.
13
Implementing a SAS® 9.3 Enterprise BI Server Deployment in Microsoft Windows Operating Environments
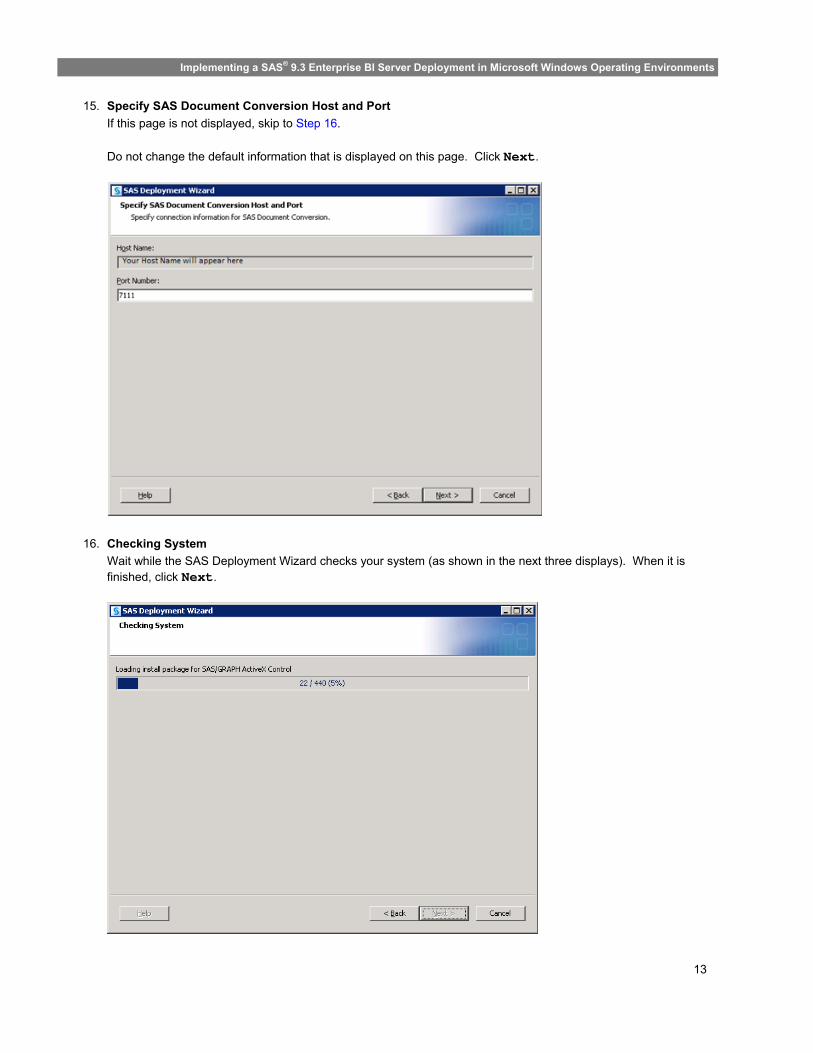
15. Specify SAS Document Conversion Host and Port
If this page is not displayed, skip to Step 16.
Do not change the default information that is displayed on this page. Click Next.
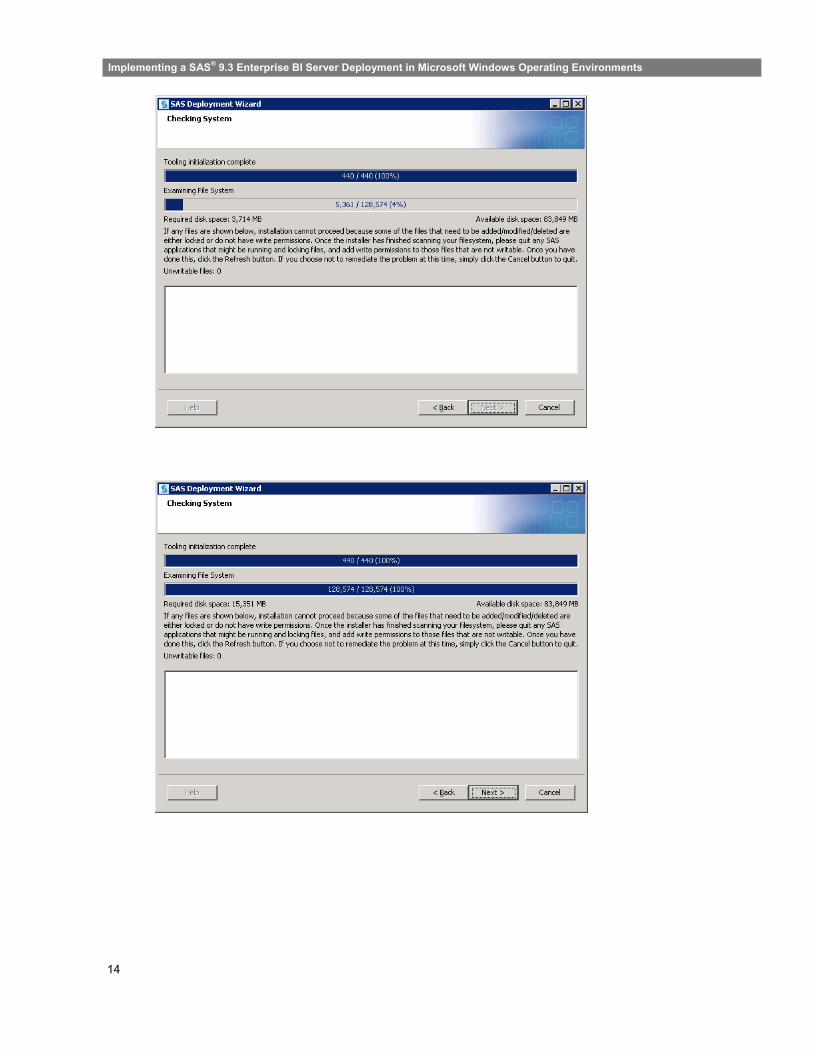
16. Checking System
Wait while the SAS Deployment Wizard checks your system (as shown in the next three displays). When it is finished, click Next.
14
Implementing a SAS® 9.3 Enterprise BI Server Deployment in Microsoft Windows Operating Environments
15
Implementing a SAS® 9.3 Enterprise BI Server Deployment in Microsoft Windows Operating Environments
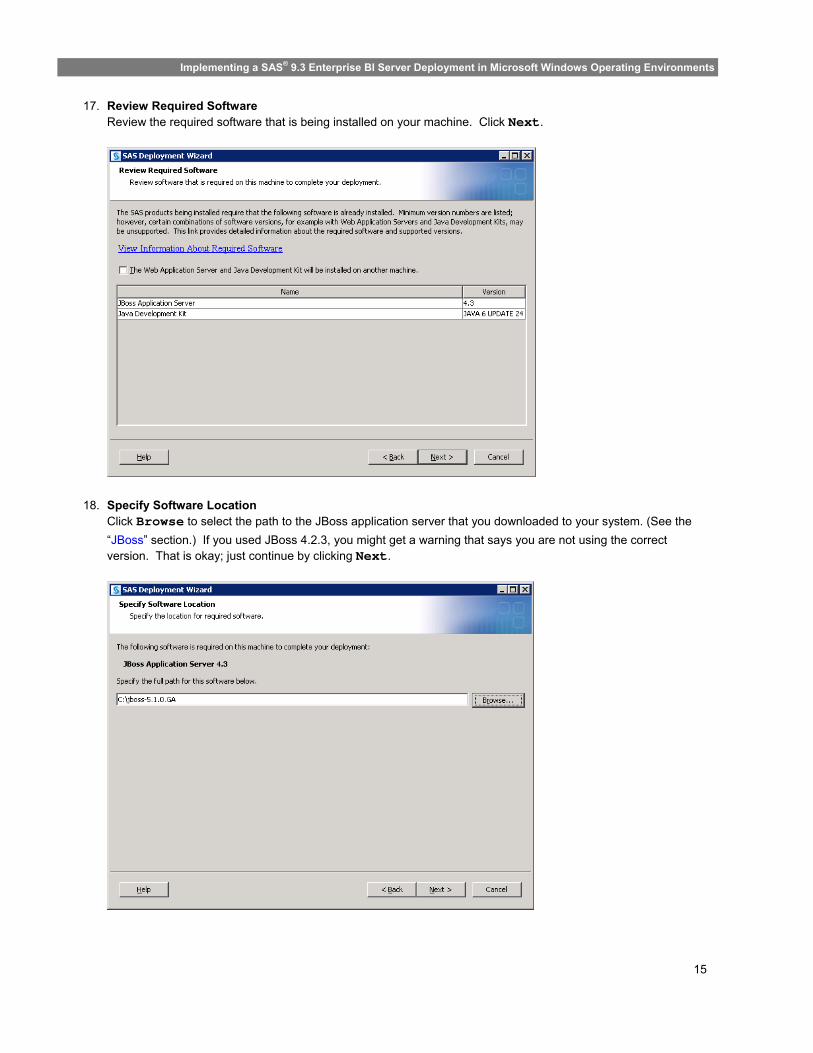
17. Review Required Software Review the required software that is being installed on your machine. Click Next.
18. Specify Software Location Click Browse to select the path to the JBoss application server that you downloaded to your system. (See the
“JBoss” section.) If you used JBoss 4.2.3, you might get a warning that says you are not using the correct version. That is okay; just continue by clicking Next.
16
Implementing a SAS® 9.3 Enterprise BI Server Deployment in Microsoft Windows Operating Environments
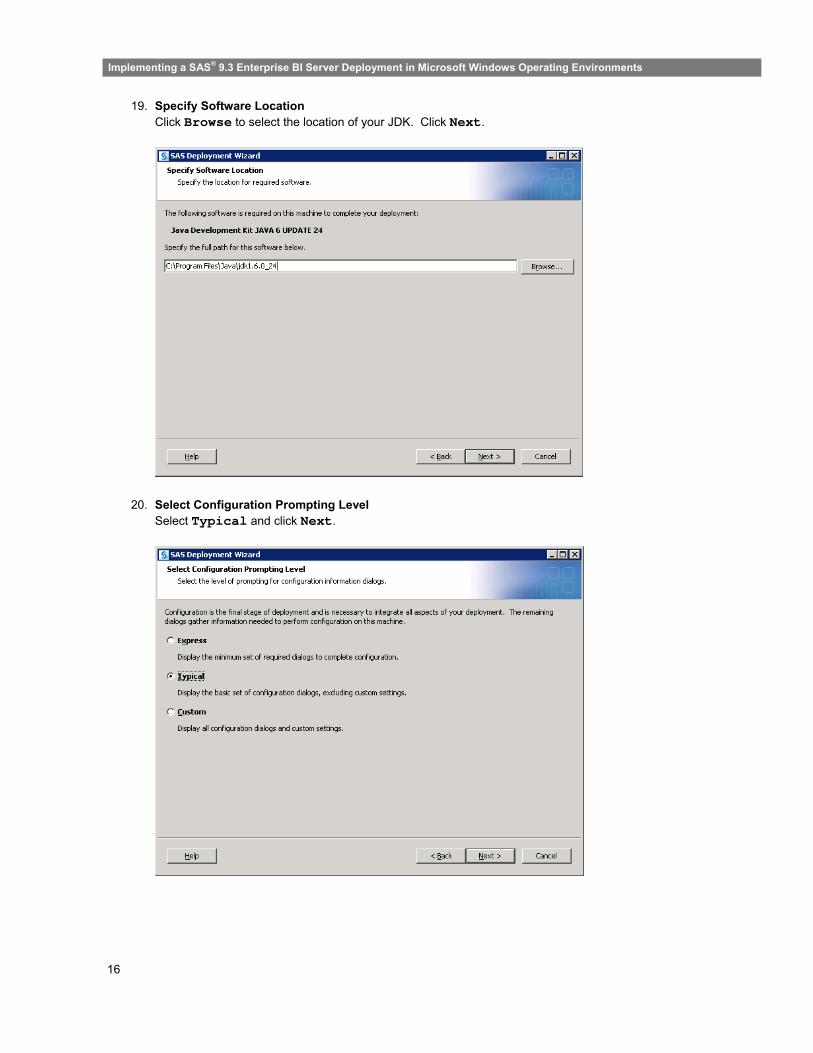
19. Specify Software Location Click Browse to select the location of your JDK. Click Next.
20. Select Configuration Prompting Level Select Typical and click Next.
17
Implementing a SAS® 9.3 Enterprise BI Server Deployment in Microsoft Windows Operating Environments
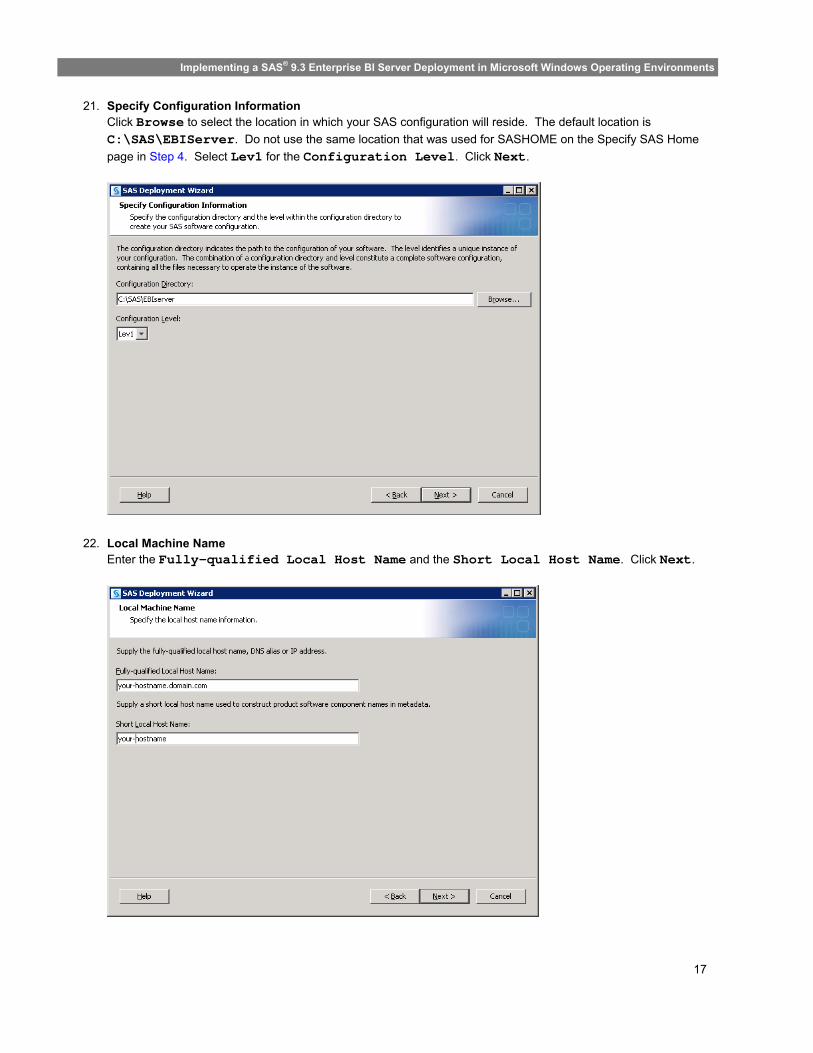
21. Specify Configuration Information Click Browse to select the location in which your SAS configuration will reside. The default location is
C:\SAS\EBIServer. Do not use the same location that was used for SASHOME on the Specify SAS Home
page in Step 4. Select Lev1 for the Configuration Level. Click Next.
22. Local Machine Name Enter the Fully-qualified Local Host Name and the Short Local Host Name. Click Next.
18
Implementing a SAS® 9.3 Enterprise BI Server Deployment in Microsoft Windows Operating Environments
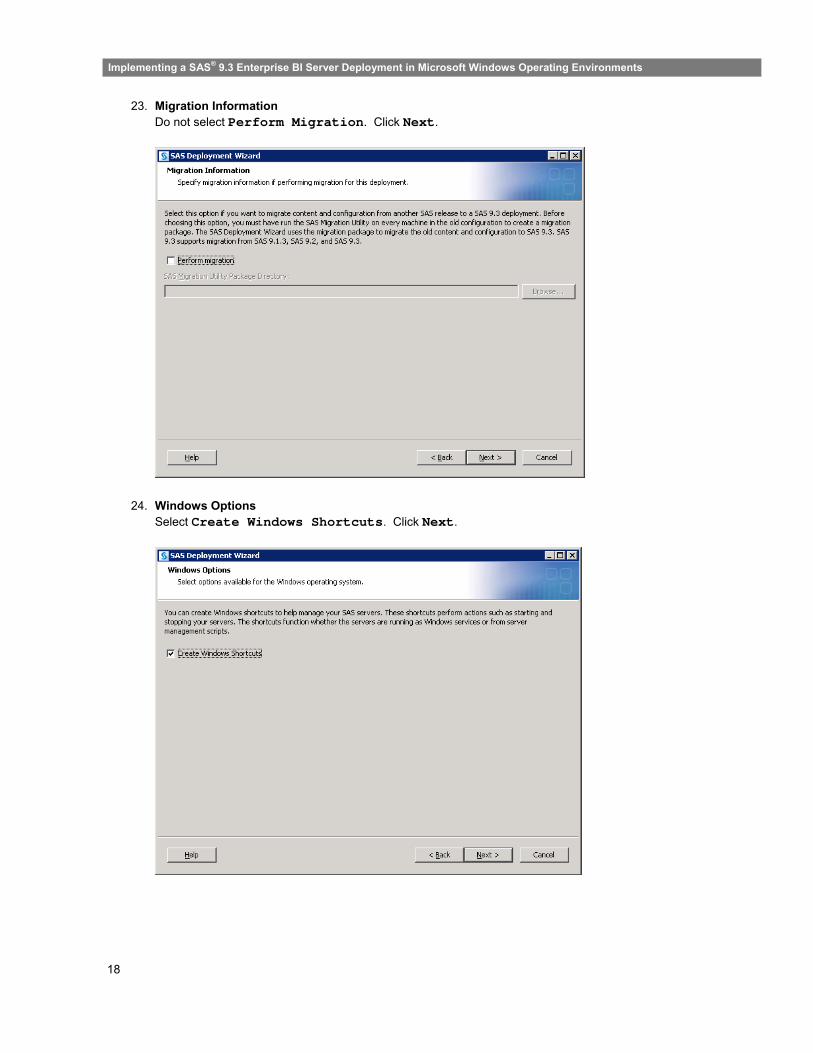
23. Migration Information Do not select Perform Migration. Click Next.
24. Windows Options Select Create Windows Shortcuts. Click Next.

19
Implementing a SAS® 9.3 Enterprise BI Server Deployment in Microsoft Windows Operating Environments
25. Windows Shortcuts From the Create Windows Shortcuts drop-down menu, select For All Users. Click Next.
26. Integrated Windows Authentication Do not select Use Integrated Windows authentication. Click Next.
20
Implementing a SAS® 9.3 Enterprise BI Server Deployment in Microsoft Windows Operating Environments
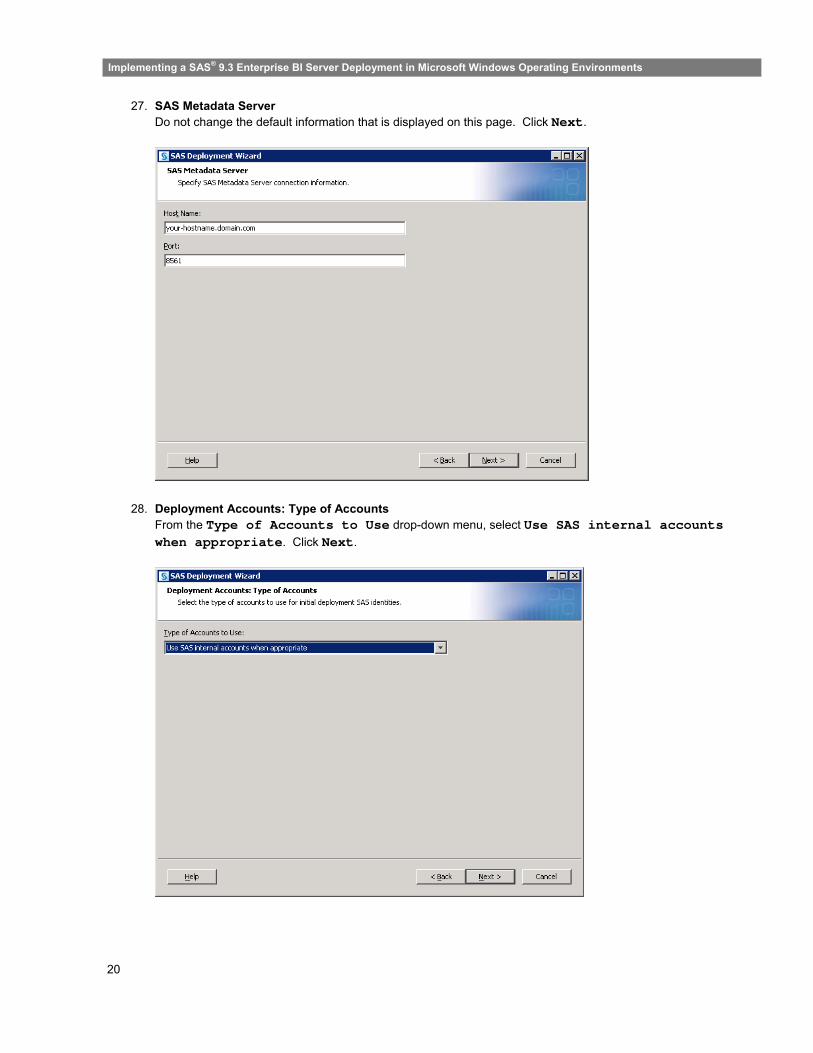
27. SAS Metadata Server Do not change the default information that is displayed on this page. Click Next.
28. Deployment Accounts: Type of Accounts From the Type of Accounts to Use drop-down menu, select Use SAS internal accounts when appropriate. Click Next.
21
Implementing a SAS® 9.3 Enterprise BI Server Deployment in Microsoft Windows Operating Environments
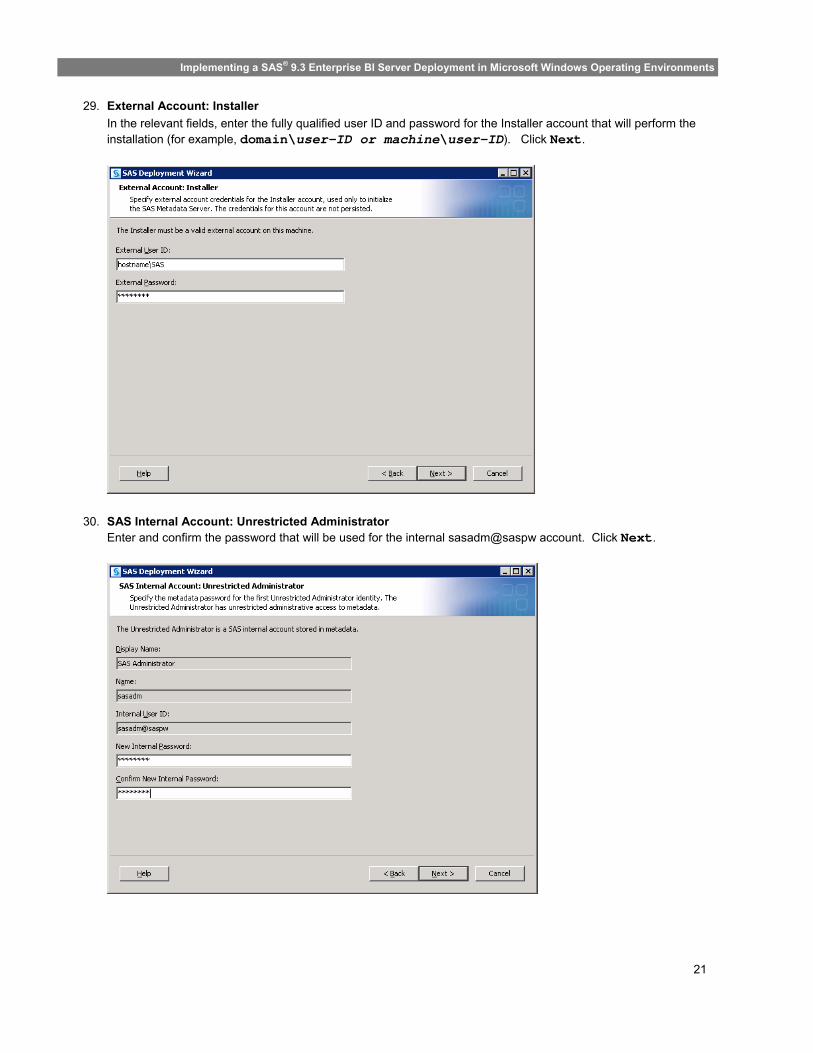
29. External Account: Installer
In the relevant fields, enter the fully qualified user ID and password for the Installer account that will perform the installation (for example, domain\user-ID or machine\user-ID). Click Next.
30. SAS Internal Account: Unrestricted Administrator Enter and confirm the password that will be used for the internal sasadm@saspw account. Click Next.
22
Implementing a SAS® 9.3 Enterprise BI Server Deployment in Microsoft Windows Operating Environments
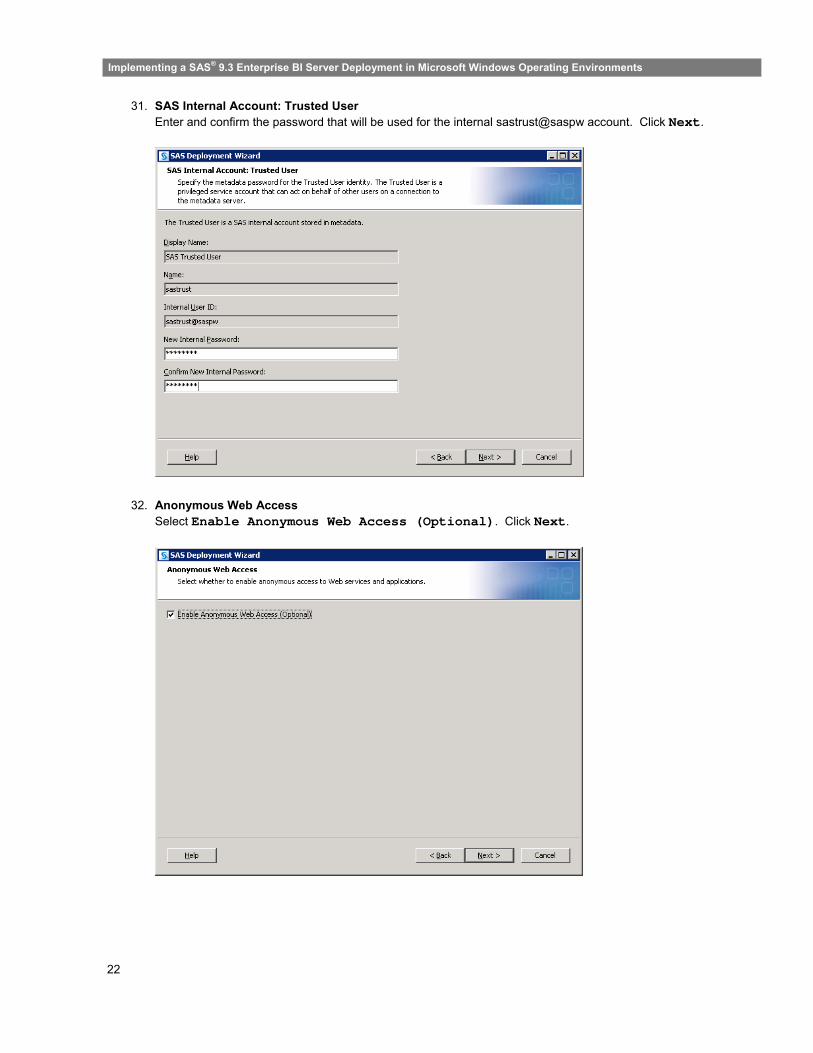
31. SAS Internal Account: Trusted User Enter and confirm the password that will be used for the internal sastrust@saspw account. Click Next.
32. Anonymous Web Access Select Enable Anonymous Web Access (Optional). Click Next.
23
Implementing a SAS® 9.3 Enterprise BI Server Deployment in Microsoft Windows Operating Environments
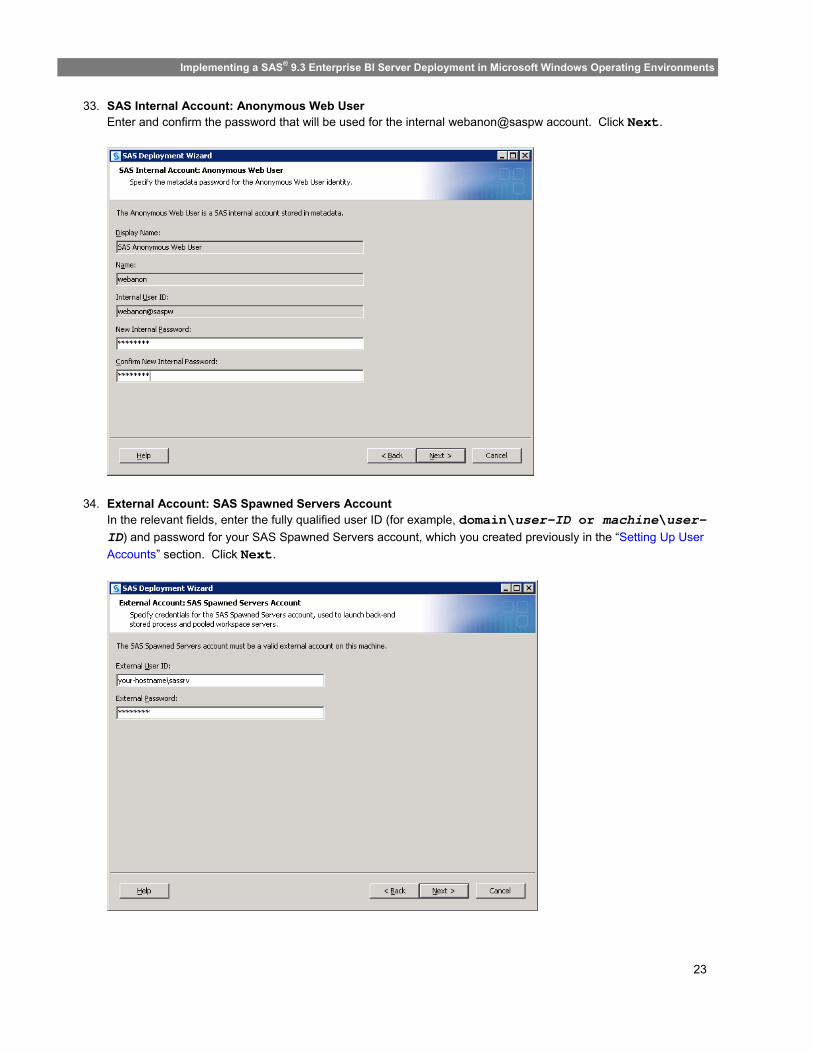
33. SAS Internal Account: Anonymous Web User Enter and confirm the password that will be used for the internal webanon@saspw account. Click Next.
34. External Account: SAS Spawned Servers Account In the relevant fields, enter the fully qualified user ID (for example, domain\user-ID or machine\user-ID) and password for your SAS Spawned Servers account, which you created previously in the “Setting Up User
Accounts” section. Click Next.

24
Implementing a SAS® 9.3 Enterprise BI Server Deployment in Microsoft Windows Operating Environments
35. Deployment Accounts: First User Select Set up a First User Identity. Click Next.
36. External Account: First User In the External User ID field, enter the password for your SAS First User account (for example,
domain\user-ID or machine\user-ID), which you created previously in the “Setting Up User
Accounts” section. Click Next.
25
Implementing a SAS® 9.3 Enterprise BI Server Deployment in Microsoft Windows Operating Environments
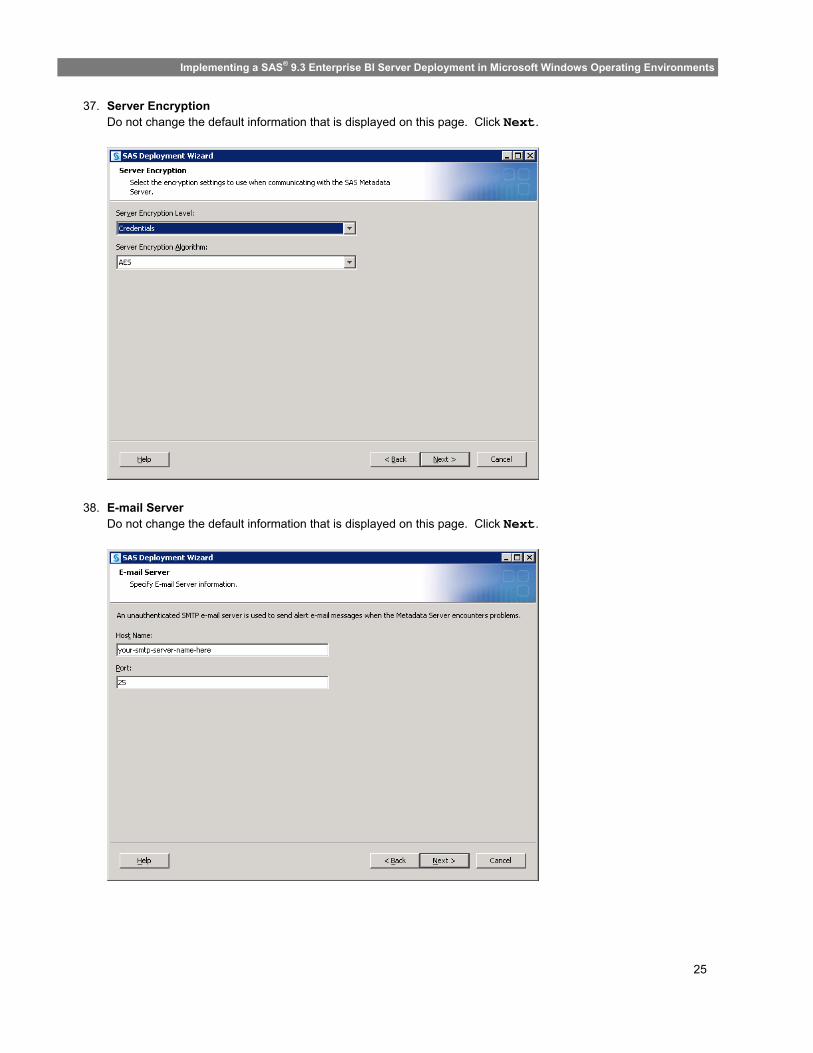
37. Server Encryption Do not change the default information that is displayed on this page. Click Next.
38. E-mail Server Do not change the default information that is displayed on this page. Click Next.

26
Implementing a SAS® 9.3 Enterprise BI Server Deployment in Microsoft Windows Operating Environments
39. E-mail Addresses
In the relevant fields, enter the sender and recipient e-mail addresses for SAS system related e-mails. Click Next.
40. SAS Object Spawner Do not change the default information that is displayed on this page. Click Next.

27
Implementing a SAS® 9.3 Enterprise BI Server Deployment in Microsoft Windows Operating Environments
41. SAS Object Spawner: Port Bank Do not change the default information that is displayed on this page. Click Next.
42. SAS Application Server: Server Context Do not change the default information that is displayed on this page. Click Next.
28
Implementing a SAS® 9.3 Enterprise BI Server Deployment in Microsoft Windows Operating Environments
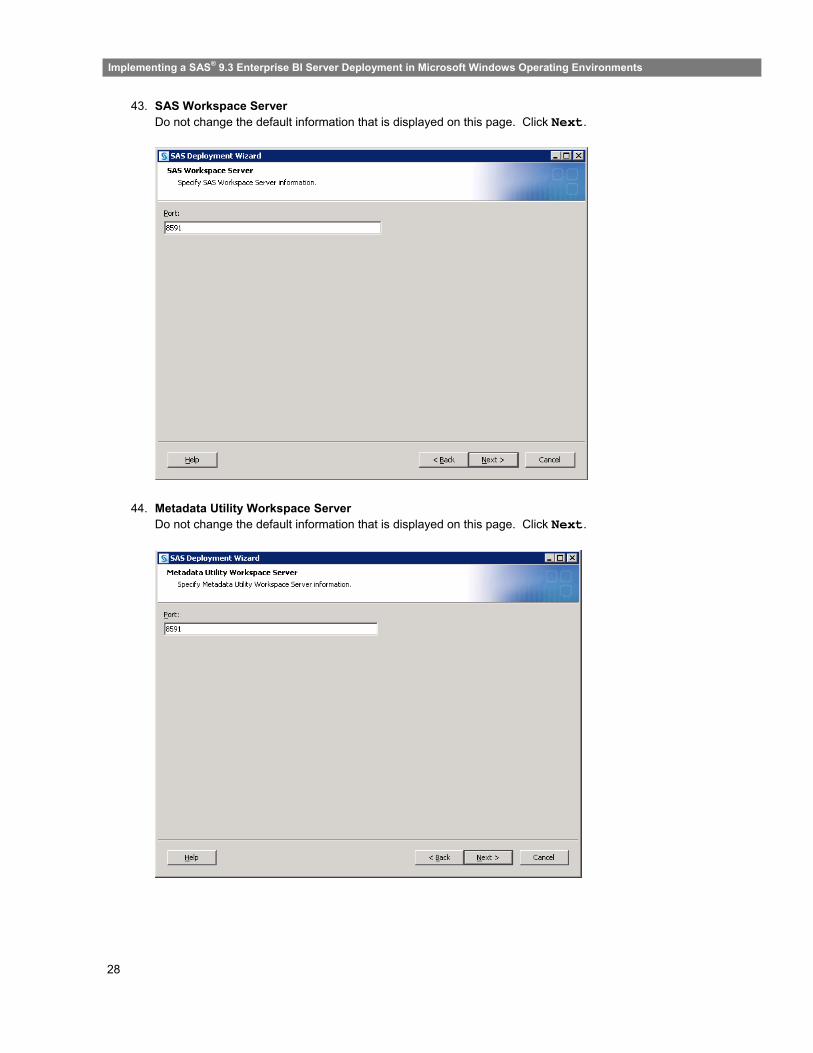
43. SAS Workspace Server Do not change the default information that is displayed on this page. Click Next.
44. Metadata Utility Workspace Server Do not change the default information that is displayed on this page. Click Next.
29
Implementing a SAS® 9.3 Enterprise BI Server Deployment in Microsoft Windows Operating Environments
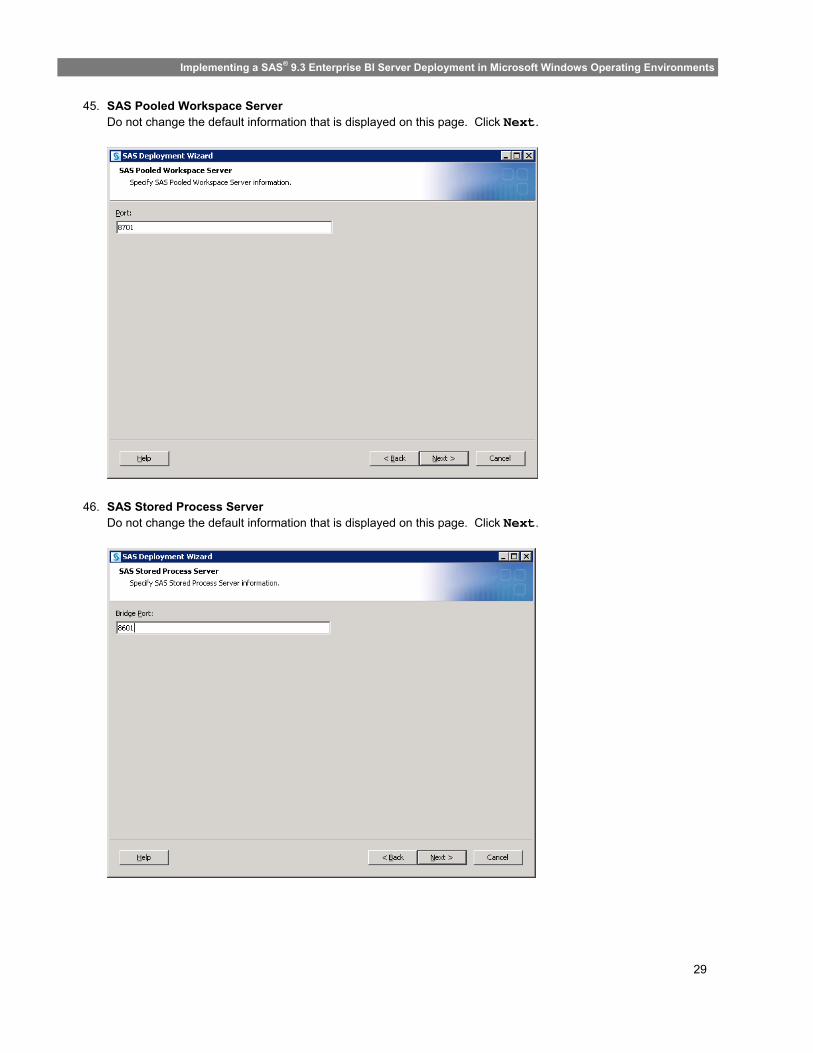
45. SAS Pooled Workspace Server Do not change the default information that is displayed on this page. Click Next.
46. SAS Stored Process Server Do not change the default information that is displayed on this page. Click Next.
30
Implementing a SAS® 9.3 Enterprise BI Server Deployment in Microsoft Windows Operating Environments
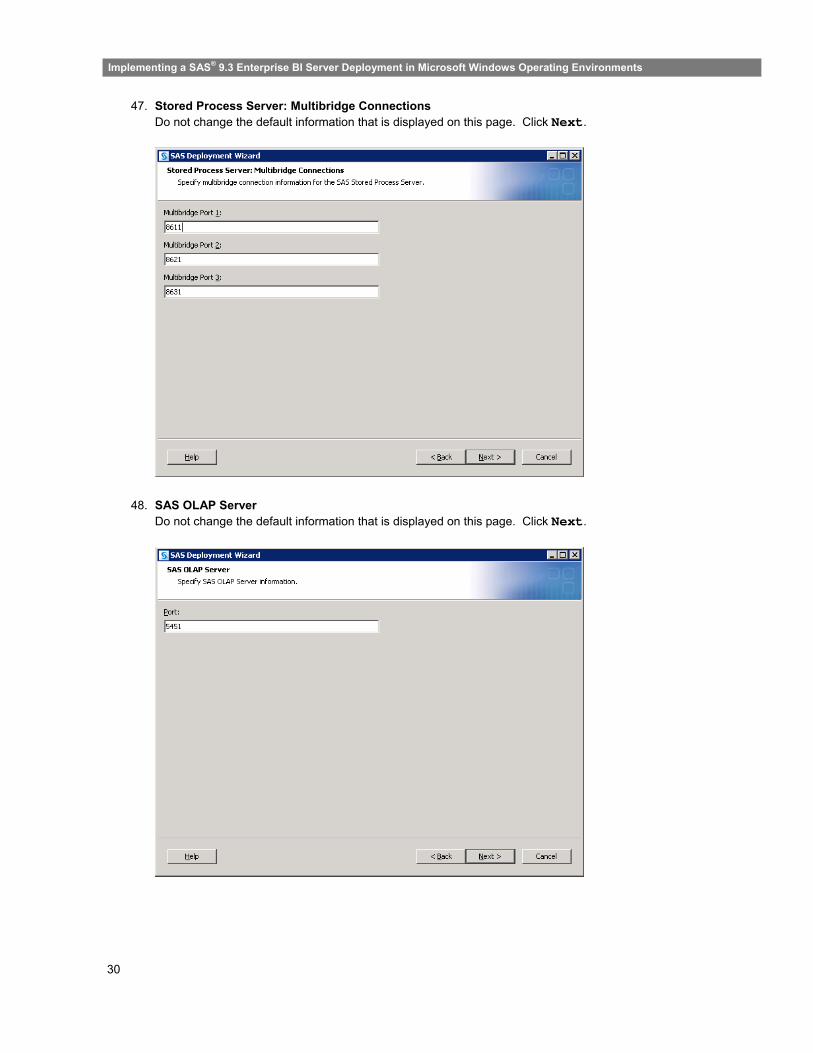
47. Stored Process Server: Multibridge Connections Do not change the default information that is displayed on this page. Click Next.
48. SAS OLAP Server Do not change the default information that is displayed on this page. Click Next.
31
Implementing a SAS® 9.3 Enterprise BI Server Deployment in Microsoft Windows Operating Environments
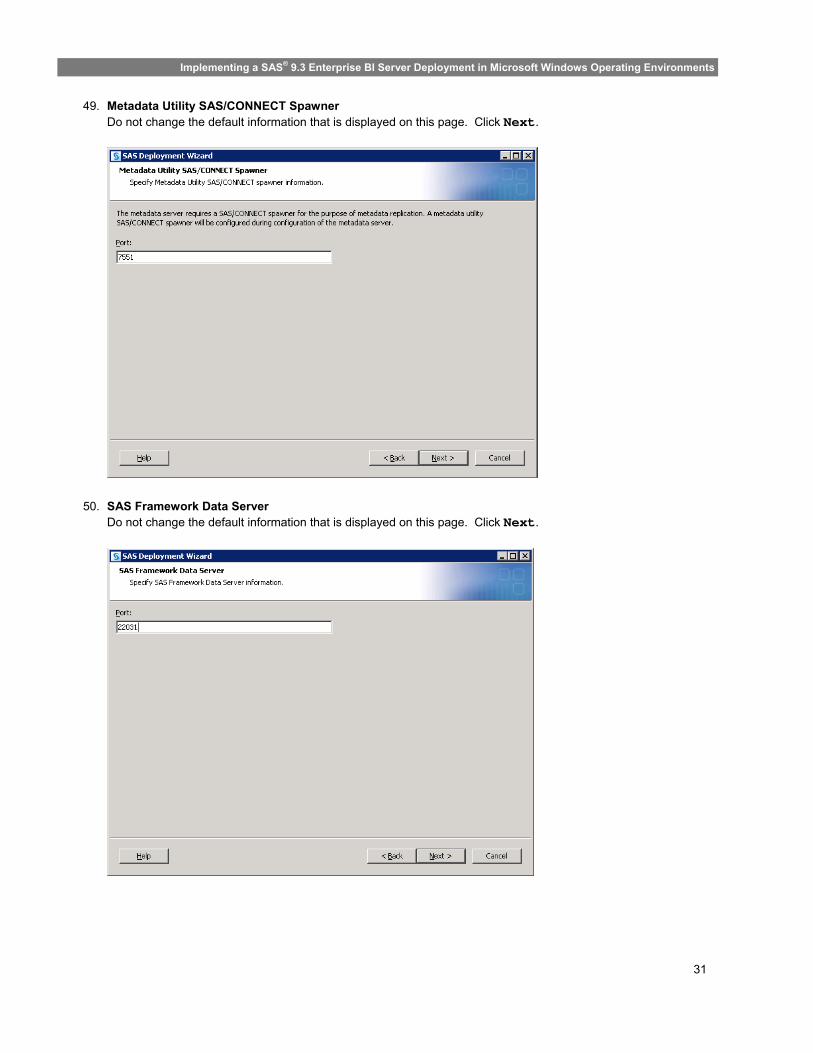
49. Metadata Utility SAS/CONNECT Spawner Do not change the default information that is displayed on this page. Click Next.
50. SAS Framework Data Server Do not change the default information that is displayed on this page. Click Next.
32
Implementing a SAS® 9.3 Enterprise BI Server Deployment in Microsoft Windows Operating Environments
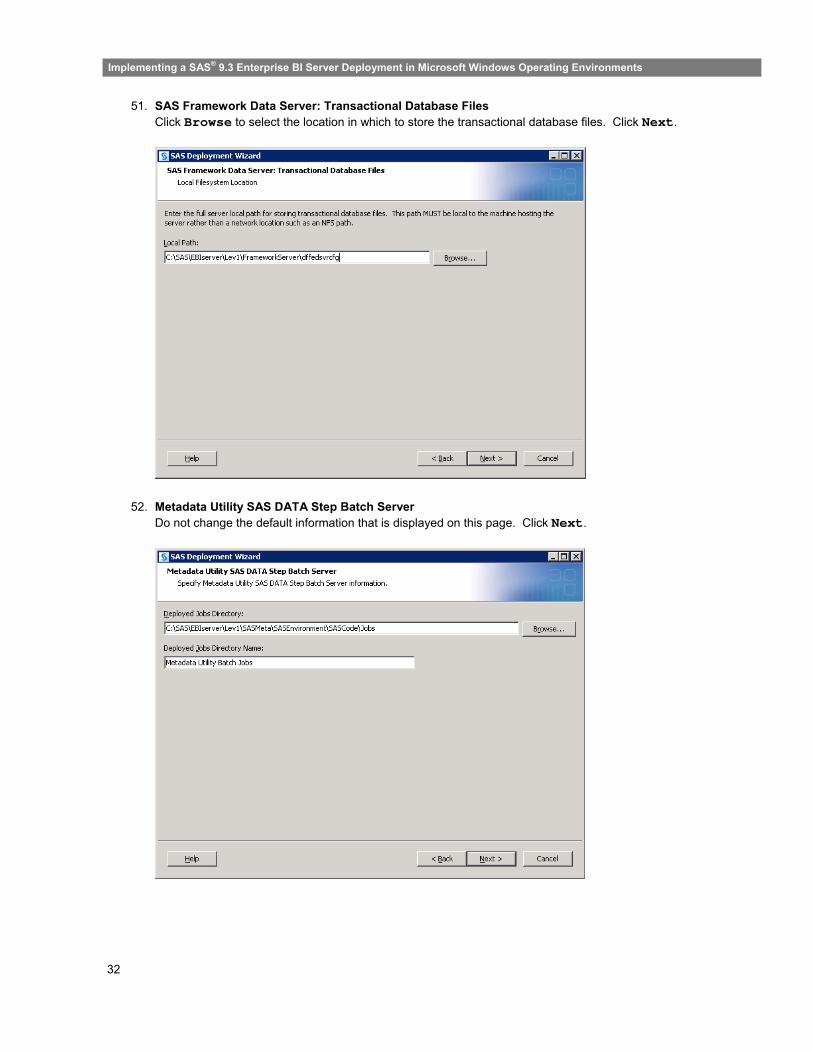
51. SAS Framework Data Server: Transactional Database Files Click Browse to select the location in which to store the transactional database files. Click Next.
52. Metadata Utility SAS DATA Step Batch Server Do not change the default information that is displayed on this page. Click Next.
33
Implementing a SAS® 9.3 Enterprise BI Server Deployment in Microsoft Windows Operating Environments
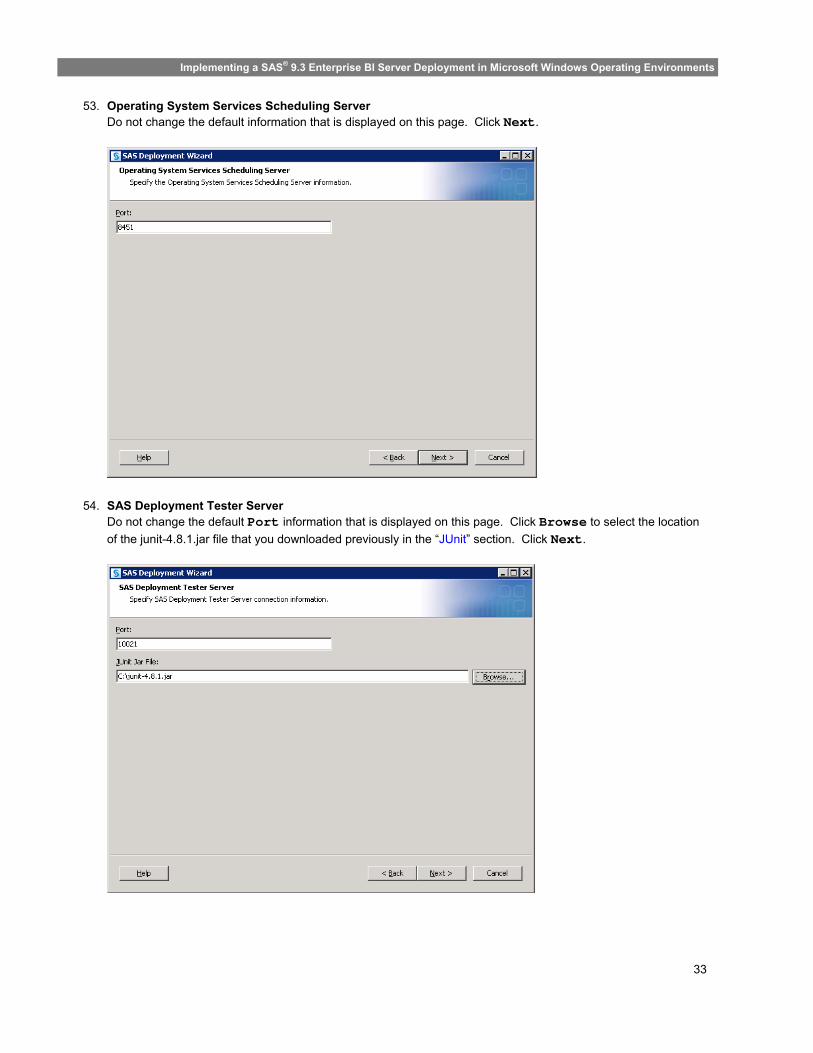
53. Operating System Services Scheduling Server Do not change the default information that is displayed on this page. Click Next.
54. SAS Deployment Tester Server Do not change the default Port information that is displayed on this page. Click Browse to select the location
of the junit-4.8.1.jar file that you downloaded previously in the “JUnit” section. Click Next.
34
Implementing a SAS® 9.3 Enterprise BI Server Deployment in Microsoft Windows Operating Environments
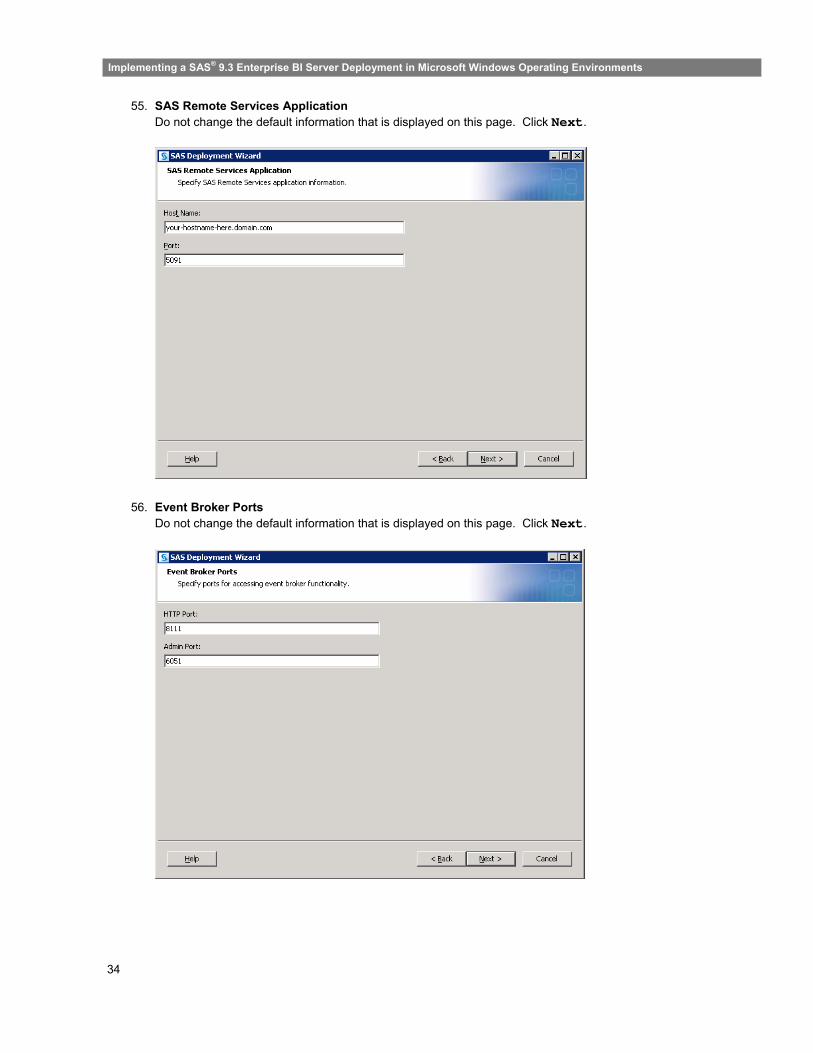
55. SAS Remote Services Application Do not change the default information that is displayed on this page. Click Next.
56. Event Broker Ports Do not change the default information that is displayed on this page. Click Next.
35
Implementing a SAS® 9.3 Enterprise BI Server Deployment in Microsoft Windows Operating Environments
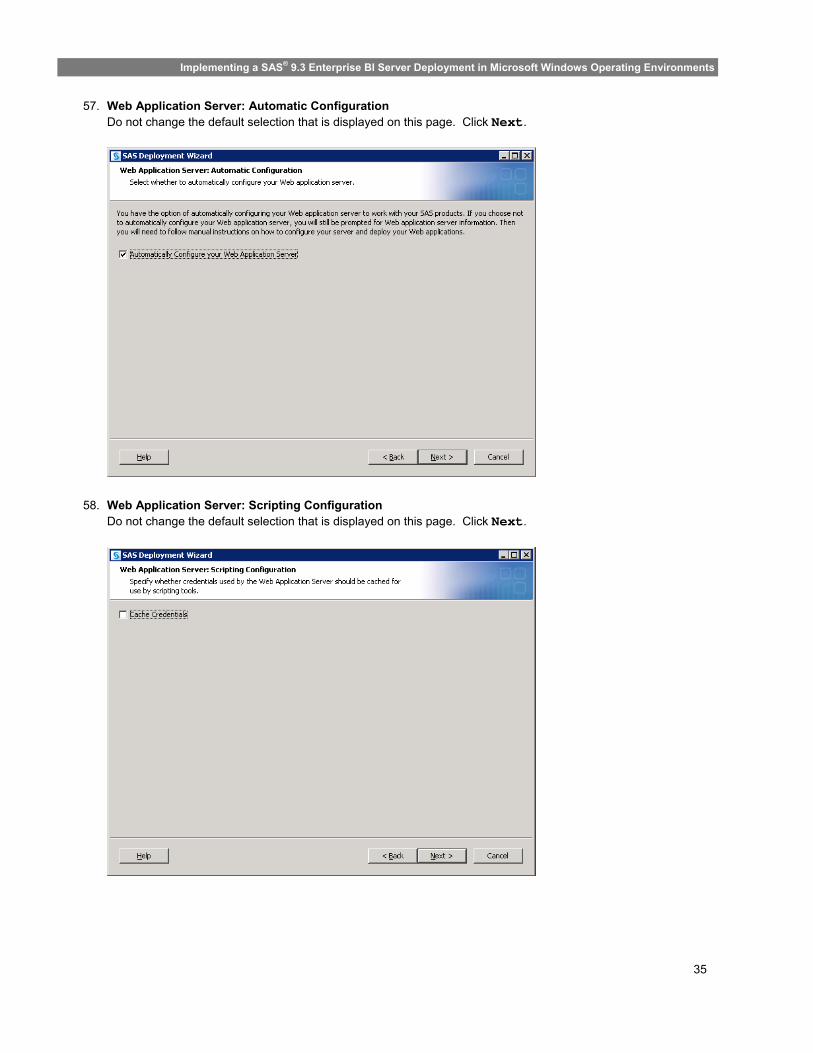
57. Web Application Server: Automatic Configuration Do not change the default selection that is displayed on this page. Click Next.
58. Web Application Server: Scripting Configuration Do not change the default selection that is displayed on this page. Click Next.
36
Implementing a SAS® 9.3 Enterprise BI Server Deployment in Microsoft Windows Operating Environments
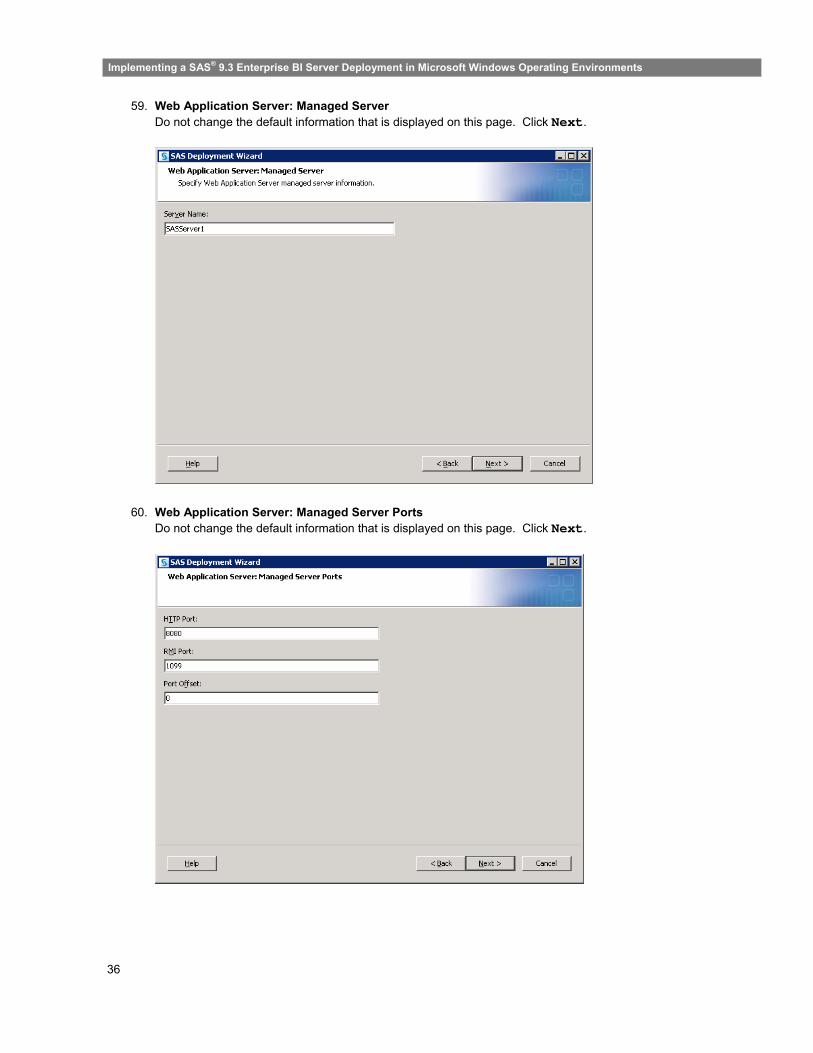
59. Web Application Server: Managed Server Do not change the default information that is displayed on this page. Click Next.
60. Web Application Server: Managed Server Ports Do not change the default information that is displayed on this page. Click Next.

37
Implementing a SAS® 9.3 Enterprise BI Server Deployment in Microsoft Windows Operating Environments
61. Web Application Server: Automatic Deployment Do not change the default selection that is displayed on this page. Click Next.
62. SAS Web Application Themes Do not change the default information that is displayed on this page. Click Next.
38
Implementing a SAS® 9.3 Enterprise BI Server Deployment in Microsoft Windows Operating Environments
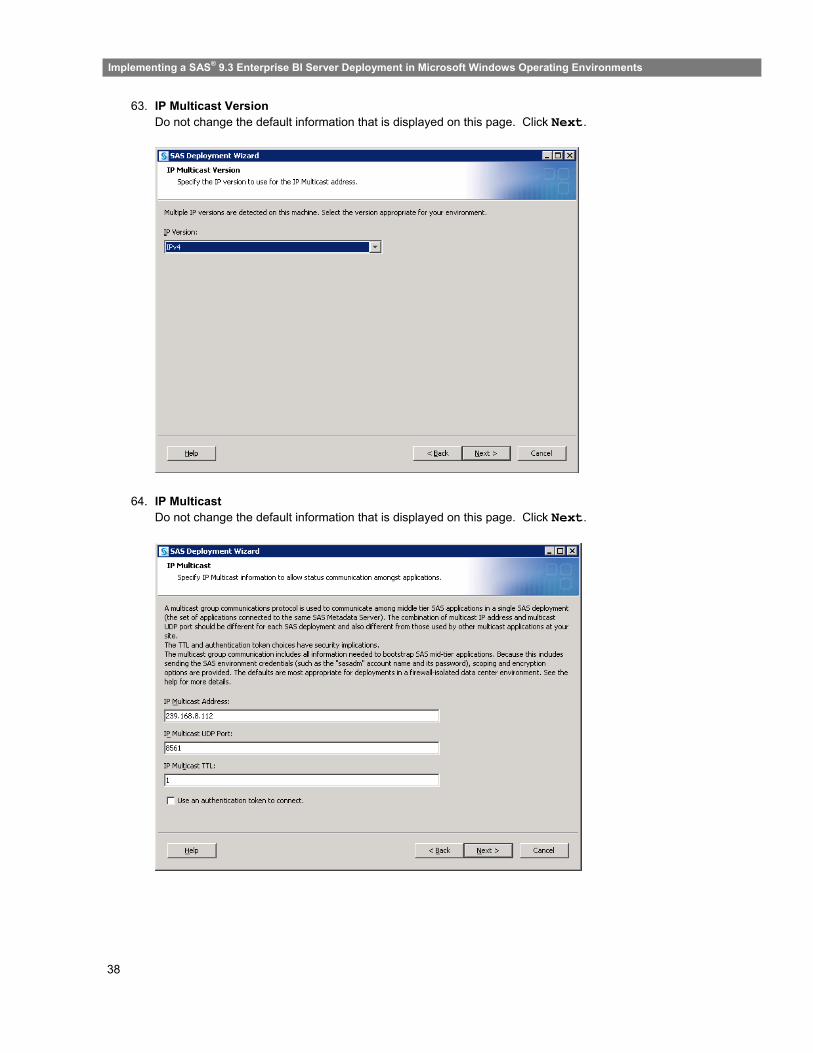
63. IP Multicast Version Do not change the default information that is displayed on this page. Click Next.
64. IP Multicast Do not change the default information that is displayed on this page. Click Next.
39
Implementing a SAS® 9.3 Enterprise BI Server Deployment in Microsoft Windows Operating Environments
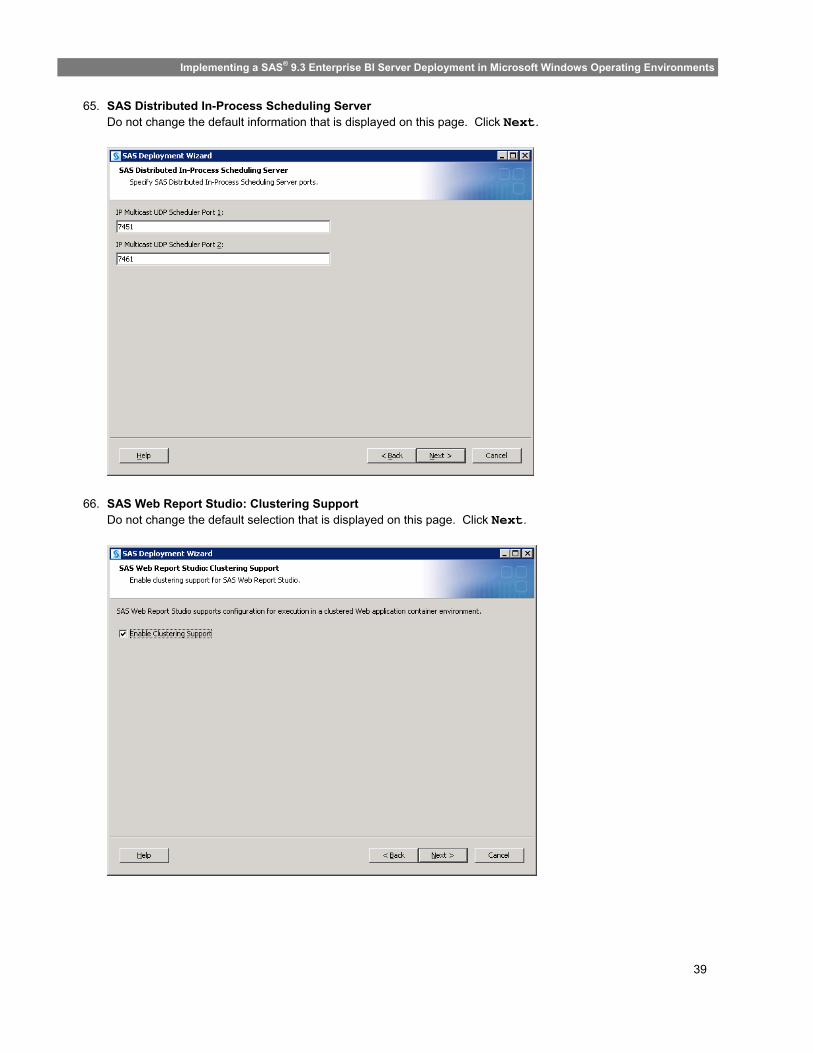
65. SAS Distributed In-Process Scheduling Server Do not change the default information that is displayed on this page. Click Next.
66. SAS Web Report Studio: Clustering Support Do not change the default selection that is displayed on this page. Click Next.
40
Implementing a SAS® 9.3 Enterprise BI Server Deployment in Microsoft Windows Operating Environments
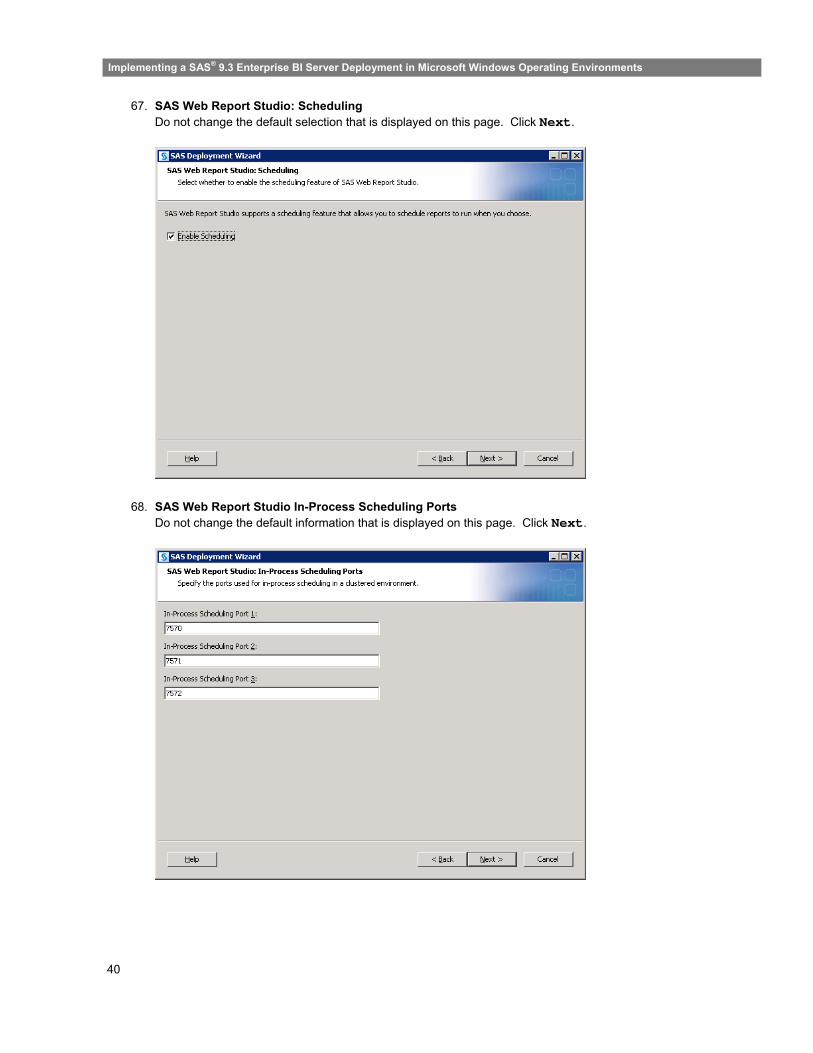
67. SAS Web Report Studio: Scheduling Do not change the default selection that is displayed on this page. Click Next.
68. SAS Web Report Studio In-Process Scheduling Ports Do not change the default information that is displayed on this page. Click Next.
41
Implementing a SAS® 9.3 Enterprise BI Server Deployment in Microsoft Windows Operating Environments
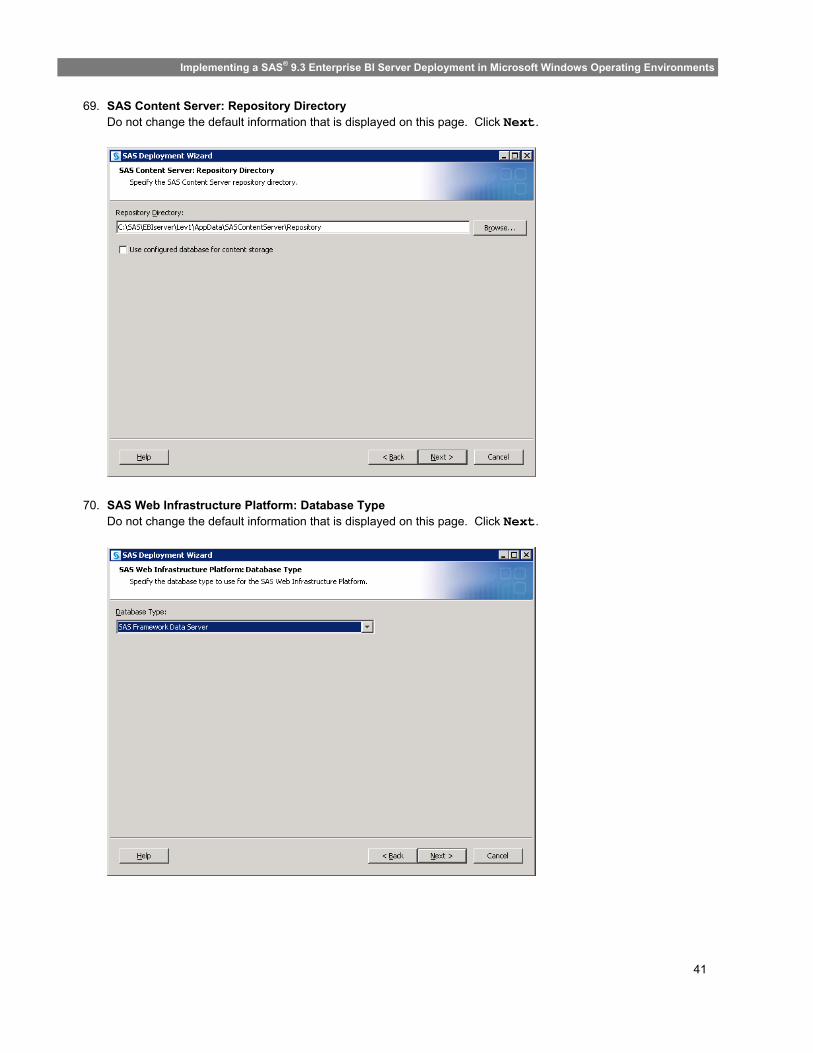
69. SAS Content Server: Repository Directory Do not change the default information that is displayed on this page. Click Next.
70. SAS Web Infrastructure Platform: Database Type Do not change the default information that is displayed on this page. Click Next.
42
Implementing a SAS® 9.3 Enterprise BI Server Deployment in Microsoft Windows Operating Environments
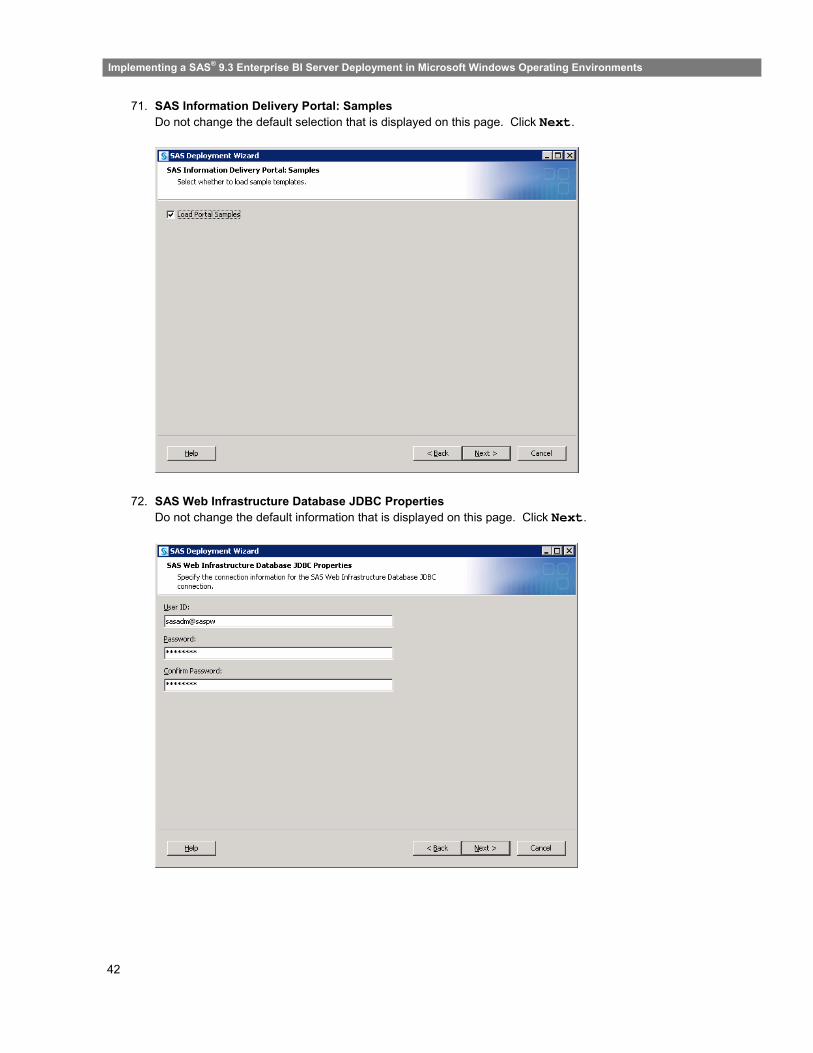
71. SAS Information Delivery Portal: Samples Do not change the default selection that is displayed on this page. Click Next.
72. SAS Web Infrastructure Database JDBC Properties Do not change the default information that is displayed on this page. Click Next.
43
Implementing a SAS® 9.3 Enterprise BI Server Deployment in Microsoft Windows Operating Environments
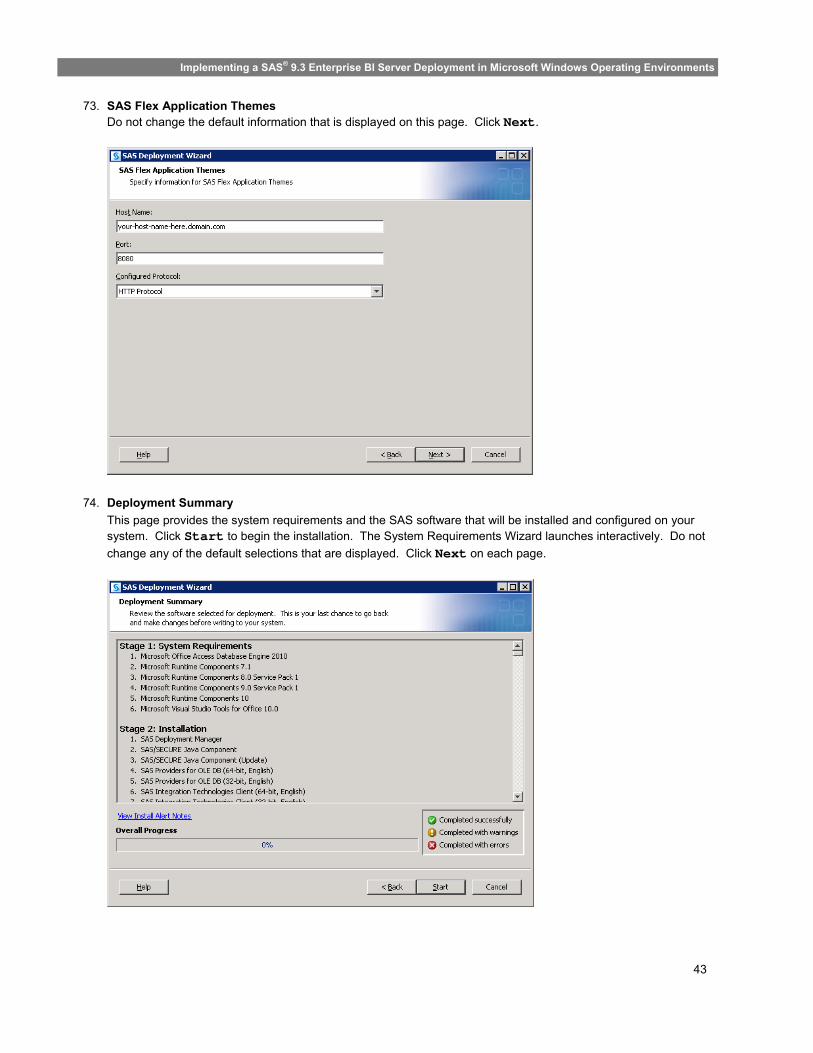
73. SAS Flex Application Themes Do not change the default information that is displayed on this page. Click Next.
74. Deployment Summary
This page provides the system requirements and the SAS software that will be installed and configured on your system. Click Start to begin the installation. The System Requirements Wizard launches interactively. Do not
change any of the default selections that are displayed. Click Next on each page.
44
Implementing a SAS® 9.3 Enterprise BI Server Deployment in Microsoft Windows Operating Environments
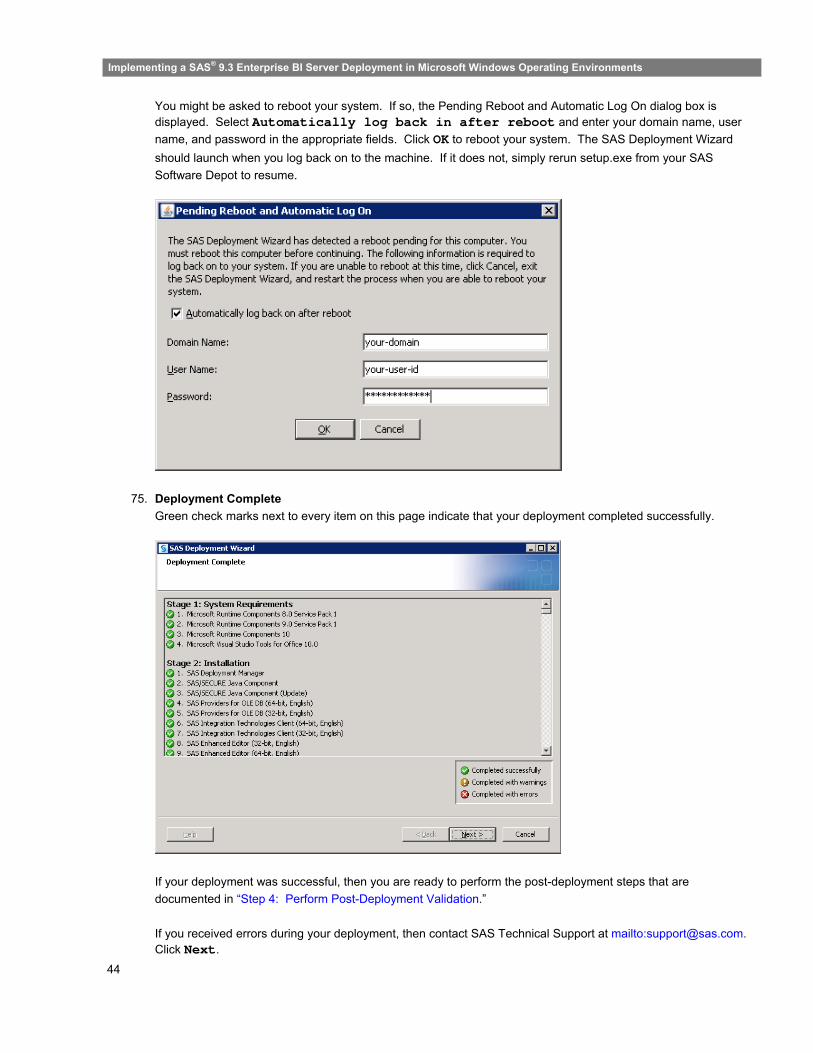
You might be asked to reboot your system. If so, the Pending Reboot and Automatic Log On dialog box is displayed. Select Automatically log back in after reboot and enter your domain name, user
name, and password in the appropriate fields. Click OK to reboot your system. The SAS Deployment Wizard
should launch when you log back on to the machine. If it does not, simply rerun setup.exe from your SAS
Software Depot to resume.
75. Deployment Complete
Green check marks next to every item on this page indicate that your deployment completed successfully.
If your deployment was successful, then you are ready to perform the post-deployment steps that are
documented in “Step 4: Perform Post-Deployment Validation.”
If you received errors during your deployment, then contact SAS Technical Support at mailto:[email protected]. Click Next.
45
Implementing a SAS® 9.3 Enterprise BI Server Deployment in Microsoft Windows Operating Environments
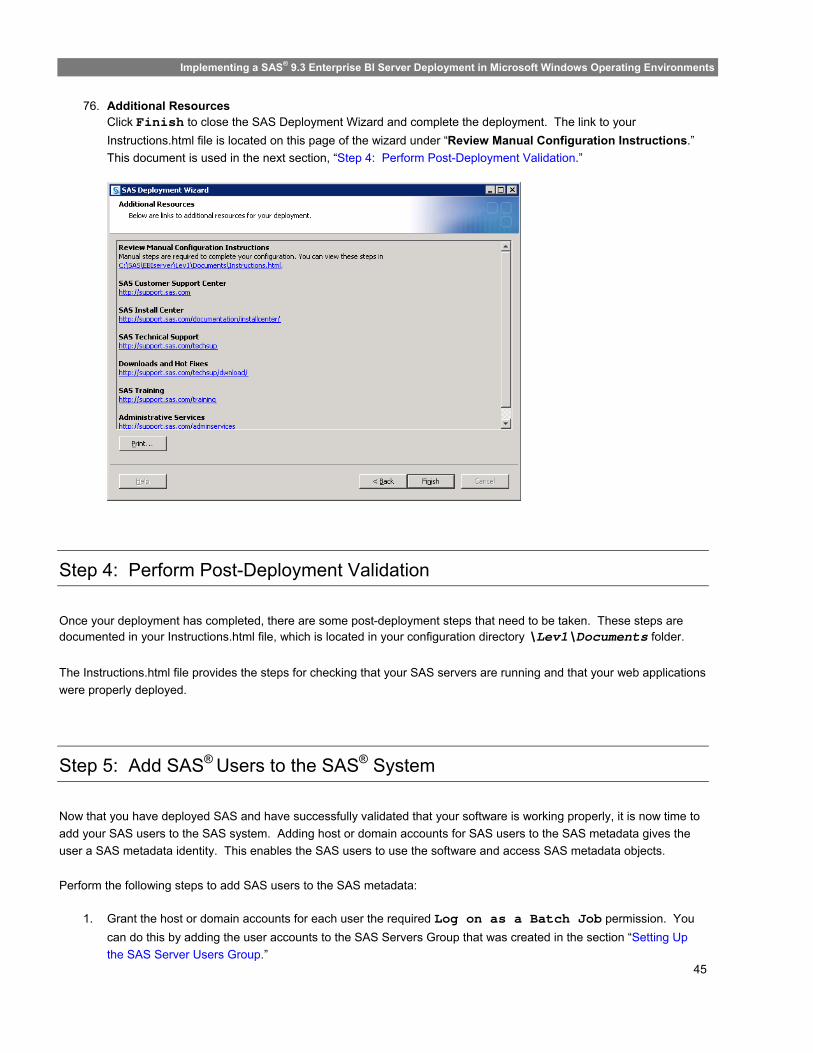
76. Additional Resources Click Finish to close the SAS Deployment Wizard and complete the deployment. The link to your
Instructions.html file is located on this page of the wizard under “Review Manual Configuration Instructions.”
This document is used in the next section, “Step 4: Perform Post-Deployment Validation.”
Step 4: Perform Post-Deployment Validation
Once your deployment has completed, there are some post-deployment steps that need to be taken. These steps are documented in your Instructions.html file, which is located in your configuration directory \Lev1\Documents folder.
The Instructions.html file provides the steps for checking that your SAS servers are running and that your web applications
were properly deployed.
Step 5: Add SAS® Users to the SAS® System
Now that you have deployed SAS and have successfully validated that your software is working properly, it is now time to
add your SAS users to the SAS system. Adding host or domain accounts for SAS users to the SAS metadata gives the
user a SAS metadata identity. This enables the SAS users to use the software and access SAS metadata objects.
Perform the following steps to add SAS users to the SAS metadata:
1. Grant the host or domain accounts for each user the required Log on as a Batch Job permission. You
can do this by adding the user accounts to the SAS Servers Group that was created in the section “Setting Up
the SAS Server Users Group.”
46
Implementing a SAS® 9.3 Enterprise BI Server Deployment in Microsoft Windows Operating Environments
2. Create a metadata identity for each user.
a. In SAS Management Console, select User Manager.
b. Select Actions ► New ► User.
c. In the Name text box, enter the name of the user.
d. Click the Accounts tab, and then click New.
e. In the dialog box that appears, enter the fully qualified user ID (for example, domain\user-id or machine\user-id). Leave the Password field blank and keep the default value DefaultAuth for
Authentication Domain the field. Click OK. Then click OK again.
Now that you have granted users the required host and SAS system access, the users are ready to begin using the SAS
client software.
Resources
SAS Institute Inc. 2012. SAS® Deployment Wizard User’s Guide. Cary, NC: SAS Institute Inc. Available at
support.sas.com/documentation/installcenter/en/ikdeploywizug/64204/PDF/default/user.pdf.
SAS Institute Inc. 2012. SAS® 9.3 Intelligence Platform: Installation and Configuration Guide. Cary, NC: SAS Institute
Inc. Available at support.sas.com/documentation/cdl/en/biig/62611/PDF/default/biig.pdf.
SAS Institute Inc. 2012. “9.3 Standard Deployment Plans: EBI Server, one machine, JBoss.” Cary, NC: SAS Institute
Inc. Available at support.sas.com/demosdownloads/downarea_t6.jsp?productID=110779&jmpflag=N.


SAS and all other SAS Institute Inc. product or service names are registered trademarks or trademarks of SAS Institute Inc. in the USA and other countries. ® indicates USA registration. Other brand and product names are trademarks of their respective companies.
Copyright © 2012 SAS Institute Inc., Cary, NC, USA. All rights reserved.