Embed Size (px)
Citation preview
Wiring, Configuring, and Contolling your
PTZ with a DVR
PTZ = Pan-Tilt-Zoom
Connecting your PTZ camera to your DVR
This DVR has outstanding PTZ controls and in some cases its actually easier to use than a
standalone PTZ controllers. This easy guide will run you step by step in connecting your PTZ
camera to your DVR. Hooking up a PTZ is a lot easier than most people think. It hooks up like a
regular camera, meaning that it has the basic video connection and 2 power wires. The only
addition is that it has an extra wire pair known as the RS-485 communication wires which sends
communication signals from your DVR to your PTZ camera.
In this guide we have used an Ultrak KD6i High Speed PTZ as our example camera. Please note
that all PTZ’s are different and we just used this one as a basic example. Most PTZ’s do hook up
similar to this one, meaning they atleast have the simple Power, Video and RS-485
Communication connections. For your convenience, we not only show you how to hook up the
wires to the DVR but we also show you how to hook up wires to your camera as well. But like
we said, some cameras may have different wiring schematics. For exact and proper wiring of
your particular PTZ camera, please refer to its manual.
*IMPORTANT: Do NOT power on your camera until you have everything properly connected!*
Basic Wiring Setup
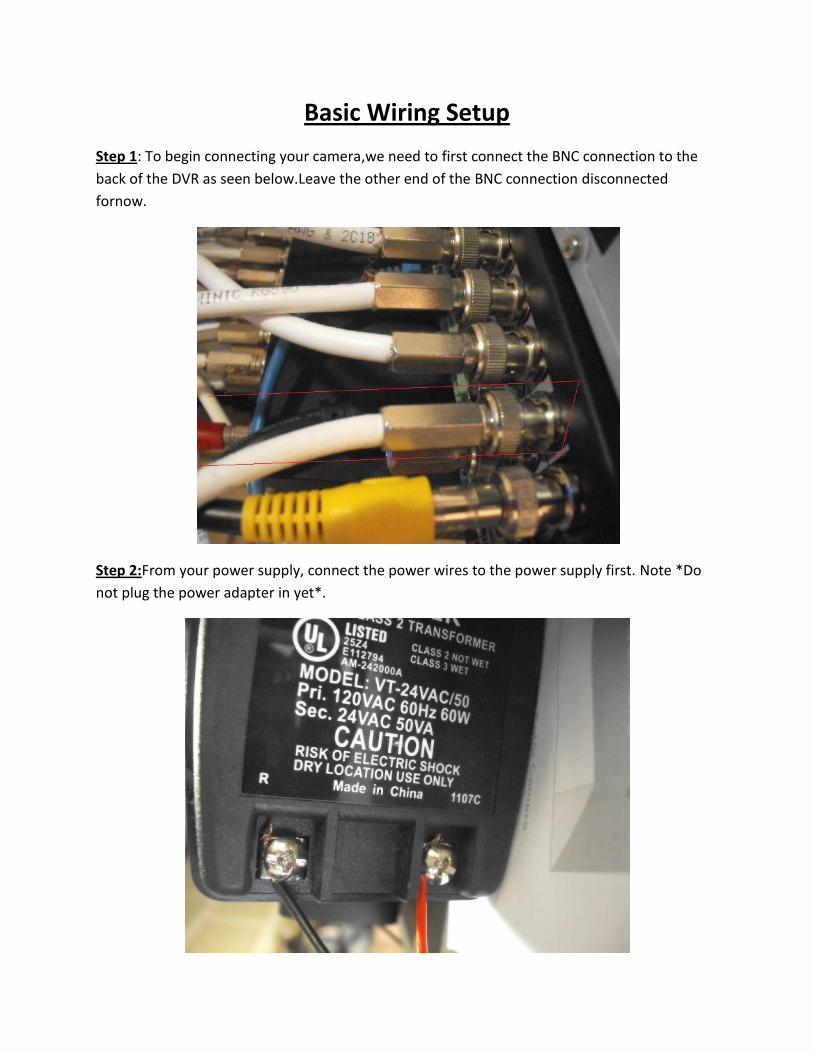
Step 1: To begin connecting your camera,we need to first connect the BNC connection to the
back of the DVR as seen below.Leave the other end of the BNC connection disconnected
fornow.
Step 2:From your power supply, connect the power wires to the power supply first. Note *Do
not plug the power adapter in yet*.
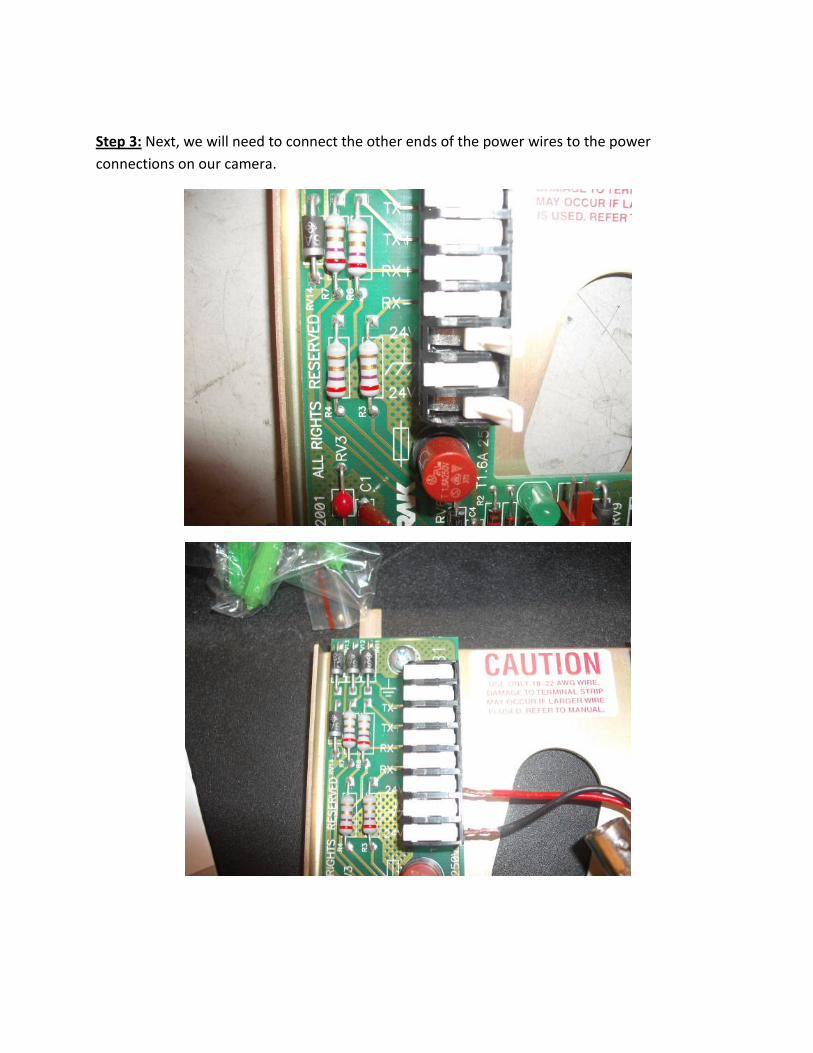
Step 3: Next, we will need to connect the other ends of the power wires to the power
connections on our camera.

Step 4: Next we need to connect the other end of the BNC connection to the port on our
camera. Go ahead and connect that cable now.
Step 5: During this step you will be using the extra pair of wires that allow communication
between the DVR and the camera. These are called the RS-485 Communication wires. The RS-
485 wire are very similar to a power wires as they have positive and negative connections. Now
we need to connect the cable to the RS485 port on the back of your DVR: Connection "A"
should be your + positive wire, which corresponds with red. Insert that into the A slot on your
RS485 port on the back of your DVR. Next you will connect the black wire into the B port on the
back of your DVR, this is considered your – negative connection It should look similar to the
picture below.Its very important that you do not have any of the exposed wire touching each
other from pos and neg wires as this will kill the transmission signal from the DVR to the
camera. A lot of folks ask what type of wire to use here. In our example, we are using basic 18
gauge stranded wire but you do not need anything real hefty for this, even the single thin wires
from Cat5 cable will work. Some people even use basic speaker wires.

Step 6: Next we will need to connect the other end of the receiving wire to your camera. Do
this by connecting the red wire to your "RX+" port (on some cameras it will just be labeled +,
other times it may just be labeled A). Then connect your black wire to the "RX-"port (on some
cameras this will be labeled -, other times it may be labeled B). This allows the DVR to send
communicationsignals to the camera, enabling it to be Panned, Tilted, and Zoomed.
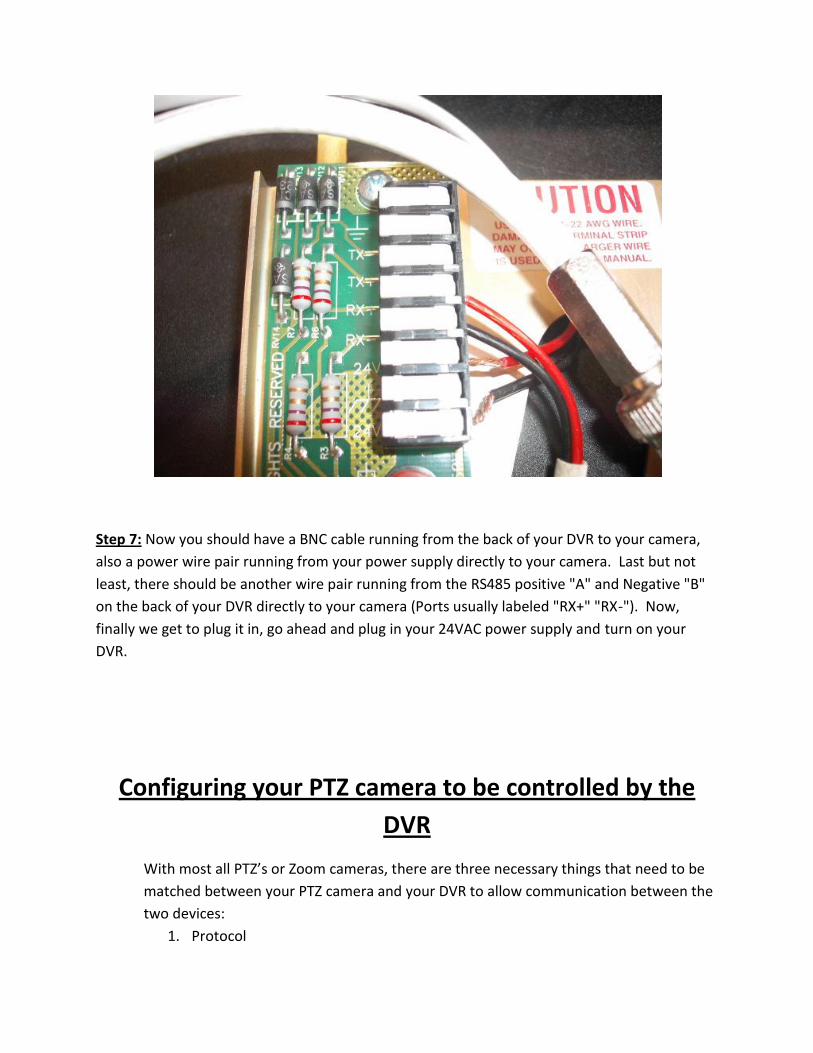
Step 7: Now you should have a BNC cable running from the back of your DVR to your camera,
also a power wire pair running from your power supply directly to your camera. Last but not
least, there should be another wire pair running from the RS485 positive "A" and Negative "B"
on the back of your DVR directly to your camera (Ports usually labeled "RX+" "RX-"). Now,
finally we get to plug it in, go ahead and plug in your 24VAC power supply and turn on your
DVR.
Configuring your PTZ camera to be controlled by the
DVR
With most all PTZ’s or Zoom cameras, there are three necessary things that need to be
matched between your PTZ camera and your DVR to allow communication between the
two devices:
1. Protocol

2. Baud Rate
3. Camera ID ("Address" on your DVR)
Step 1: Once your DVR is powered on we will need to configure a couple of settings to get your
PTZ camera up and running. First we will need to access the main menu by right clicking with
your mouse, this will pull up the On Screen Display menu options. Next, left click on the "Main
Menu" option at the bottom of the menu.
Step 2: Once you are in the main menu you will see many options to select from. Select
"settings" in the upper right corner to bring up the settings menu.
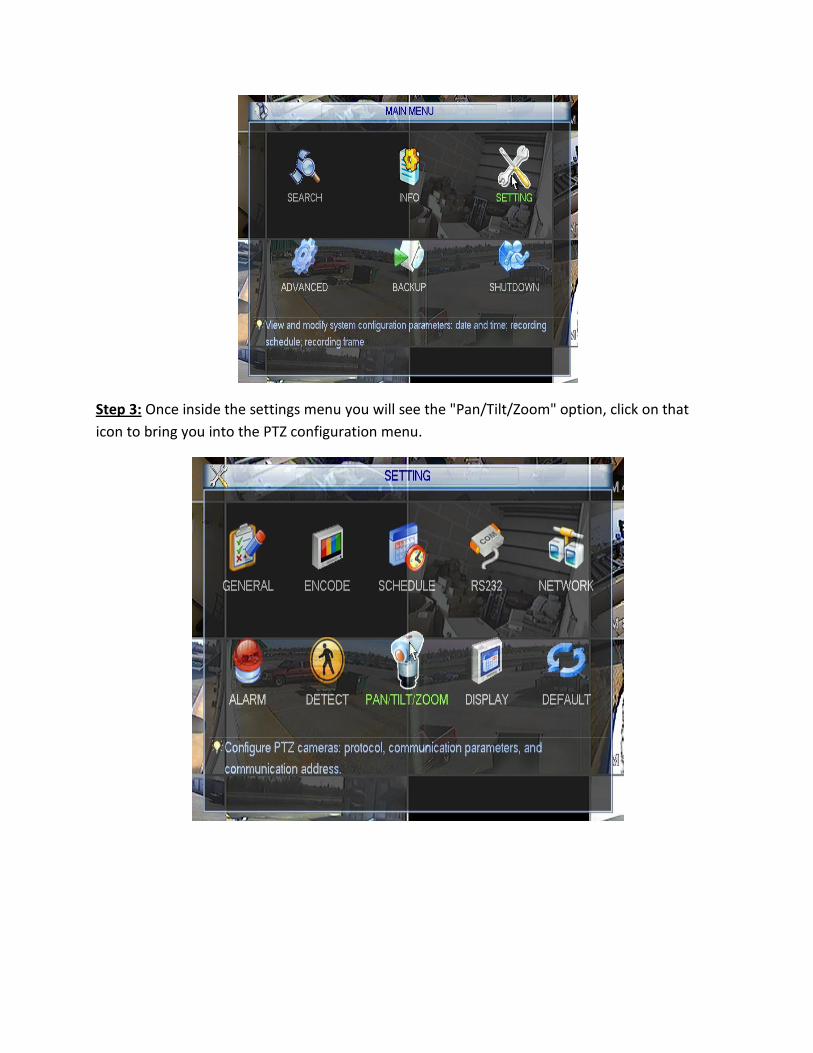
Step 3: Once inside the settings menu you will see the "Pan/Tilt/Zoom" option, click on that
icon to bring you into the PTZ configuration menu.

Step 4: Once inside the PTZ configuration menu you will notice many fields that are able to be
toggled, such as: Channel, Protocol, Address, Baud Rate, etc. First, you will need to configure
the "Channel" field. Do this by selecting your corresponding channel number to the channel
that your PTZ camera is currently connected to.
* In our example below you will notice our PTZ camera is connected to channel 1. *
Step 5: Once your camera channel is set we will need to set the "Protocol" option. Set this
corresponding to your cameras protocol by left clicking on the down arrow, then left clicking on
the protocol you are using. Make sure your camera and DVR are set at the same exact protocol
(A full list of supported protocols can be viewed at the end of this guide).
*In our example here you can see our protocol for the camera is "PELCOD".

Step 6: Next we need to set the Camera ID Address fieldfield within the DVR. Whatever your
PTZ cameras Camera ID is set at, you will need to make sure that its exactly the same within the
DVR. You can do this by entering the appropriate number in the address field. (Camera ID =
Address)
* In our example below, you will notice that our camera ID is set at 1:

Step 7: Now you should have your Channel, Protocol, and Address set. Hang in there, just a
couple more steps and you'll be configured for full control of your PTZ. The next field to set is
the "Baud rate". This should be set corresponding to your PTZ camera, some cameras have
different Baud rates therefore find this out and make sure you have the same exact Baud Rate
in the DVR.
*Once again, our camera connected to our DVR has a Baud rate of "2400" as you can see in our
example.*
Step 8: You will notice the other three fields: Data Bits, Stop Bits, and Parity. Unless your PTZ
specifically requests otherwise, those three fields should be left at their default values: 8, 1, and
None. Once you have configured your Channel, Protocol, Address, and Baud Rate fields you will
be set to start controlling your PTZ camera. Lastly, select "Save" in the lower right corner of the
window to save your selections.
Now on to the PTZ fun!
Controlling your PTZ camera
Step 1: Once you have properly wires and configured your PTZ camera options you will need to
navigate to the "Pan/Tilt/Zoom" On Screen Display (OSD). To do this, left click twice on the
video feed your PTZ camera is on to maximize the view to full screen. Once you are viewing
only your PTZ camera feed, right click to bring up the main menu. Then, left click
"Pan/Tilt/Zoom" on the main menu.

Step 2: After selecting Pan/Tilt/Zoom you will see a new menu with Arrows and different
options to control your camera. The Speed field sets the cameras movement and tilt speed. Set
the speed to whichever number to fit your needs.
*In our example you can see we have ours set to 5 which seems to be a good speed that's not
too fast or too slow.*

Step 3: In this step we will explain the controls you see on your PTZ menu.
1. The arrows around the circle will move your camera in the corresponding direction
when you click them, giving you full 360 degree motion.
2. The Zoom option allows you to zoom your camera in and out by clicking the "-" and "+"
arrows.
3. Focus allows you to focus in on certain things or areas by selecting the "-" and "+"
arrows. (Not all PTZ’s have manual focus options, please ensure yours does)
4. The Iris option will allow you to control the "eye" in the camera, basically what this does
is allows more or less light into the Iris allowing you to manually adjust what is best for
your surroundings. Keep in mind some cameras have auto Iris control and some
cameras don't allow you to control it at all.
5. The PTZ Trace option allows you to use your mouse connected to your DVR top control
the camera. Basically, the PTZ camera will follow your mouse cursor wherever you point
it to on the screen. This is an amazing option that this DVR has.Simply click the PTZ trace
button and you will see all of the controls disappear. Now to control it, hold down the
left click button on the mouse and start moving your mouse cursor to the left or right of
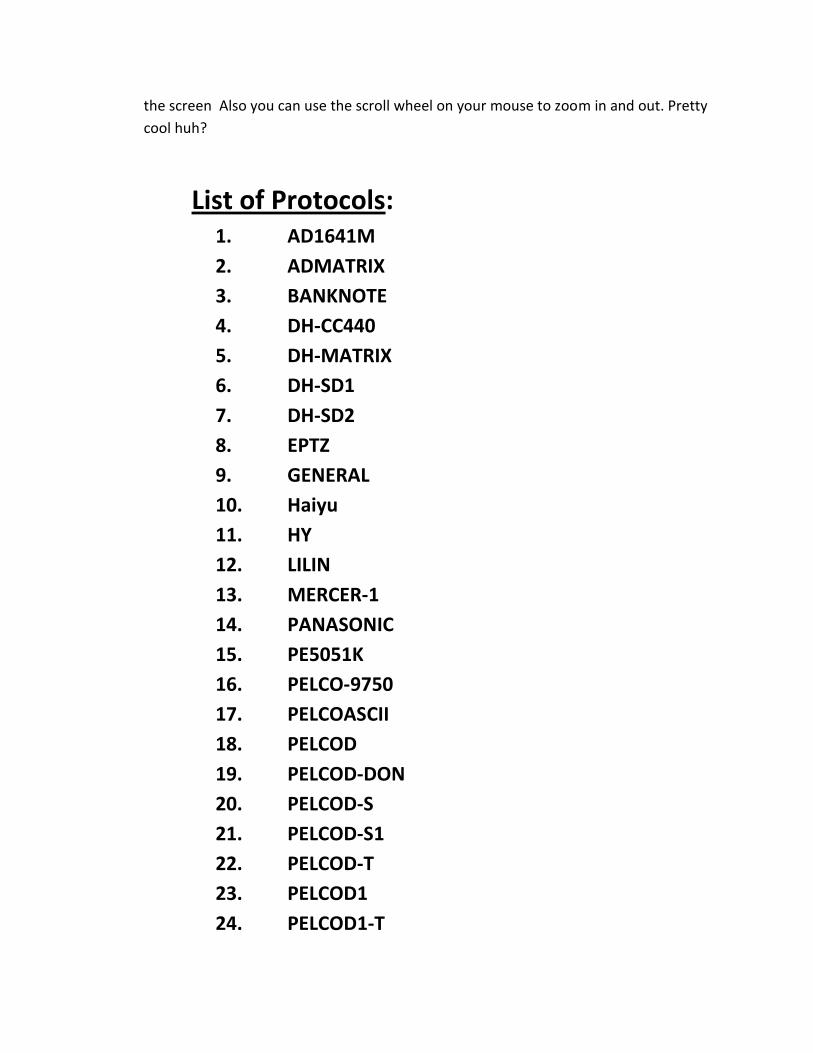
the screen Also you can use the scroll wheel on your mouse to zoom in and out. Pretty
cool huh?
List of Protocols: 1. AD1641M
2. ADMATRIX
3. BANKNOTE
4. DH-CC440
5. DH-MATRIX
6. DH-SD1
7. DH-SD2
8. EPTZ
9. GENERAL
10. Haiyu
11. HY
12. LILIN
13. MERCER-1
14. PANASONIC
15. PE5051K
16. PELCO-9750
17. PELCOASCII
18. PELCOD
19. PELCOD-DON
20. PELCOD-S
21. PELCOD-S1
22. PELCOD-T
23. PELCOD1
24. PELCOD1-T
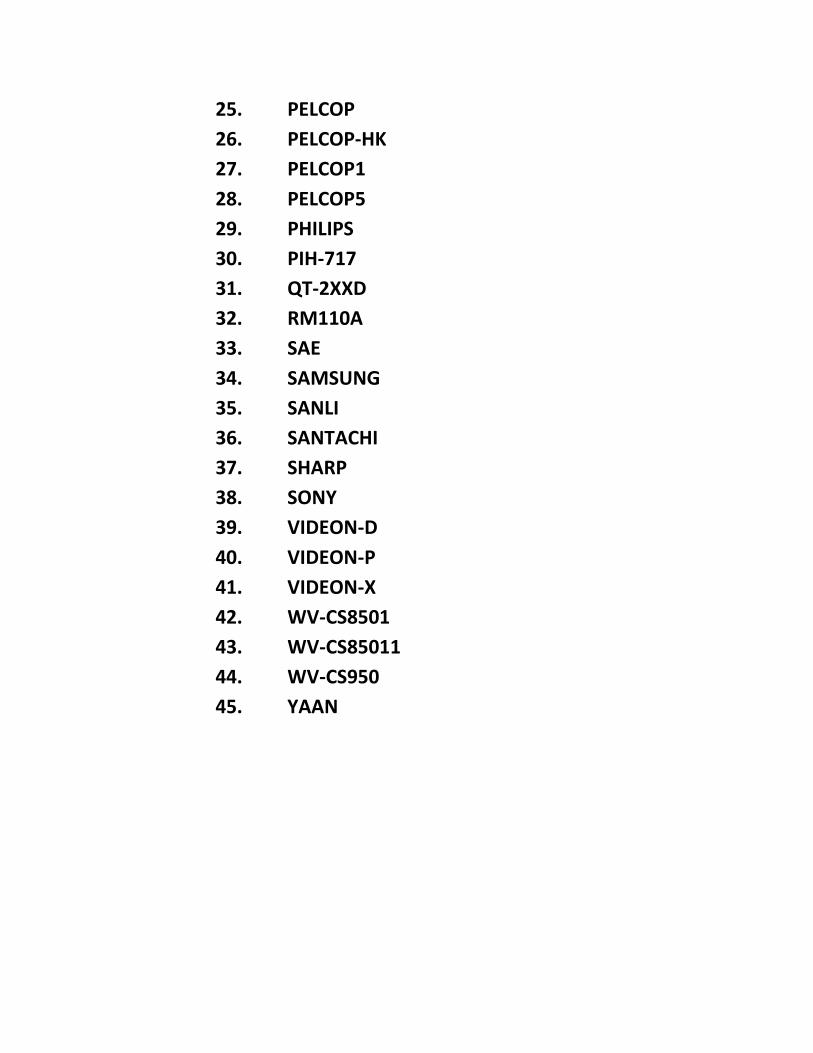
25. PELCOP
26. PELCOP-HK
27. PELCOP1
28. PELCOP5
29. PHILIPS
30. PIH-717
31. QT-2XXD
32. RM110A
33. SAE
34. SAMSUNG
35. SANLI
36. SANTACHI
37. SHARP
38. SONY
39. VIDEON-D
40. VIDEON-P
41. VIDEON-X
42. WV-CS8501
43. WV-CS85011
44. WV-CS950
45. YAAN