Embed Size (px)
DESCRIPTION
Beginning iOS6 Development CH02 Using Xcode
Citation preview
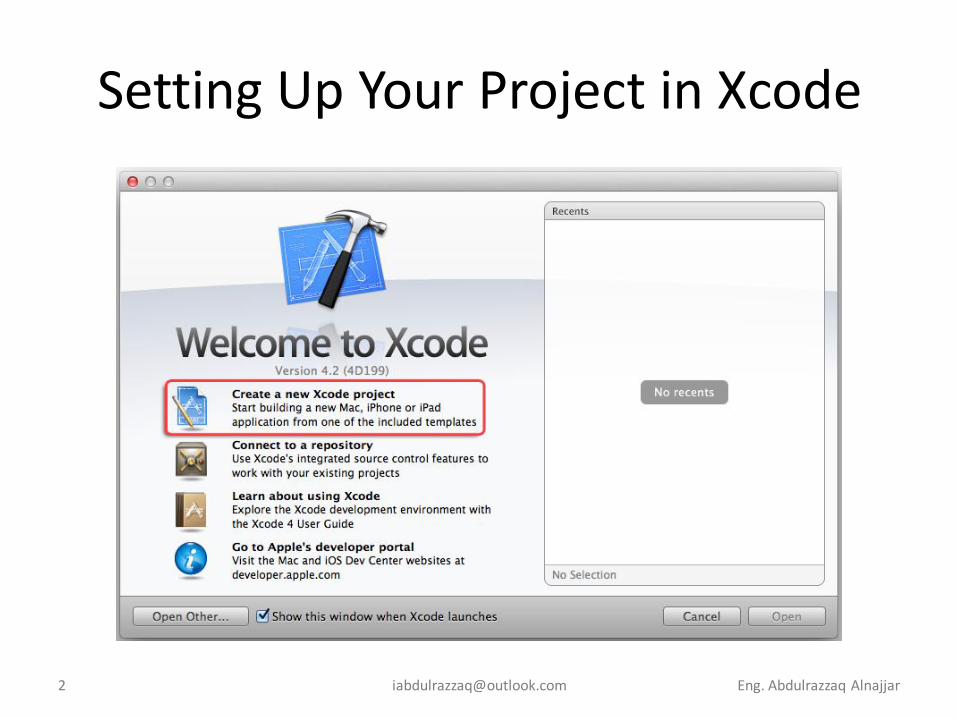
Setting Up Your Project in Xcode
• create a new project.
• Connect with existing projects.
• Open user guide.
• Go to developer.apple.com.
[email protected] Eng. Abdulrazzaq Alnajjar3
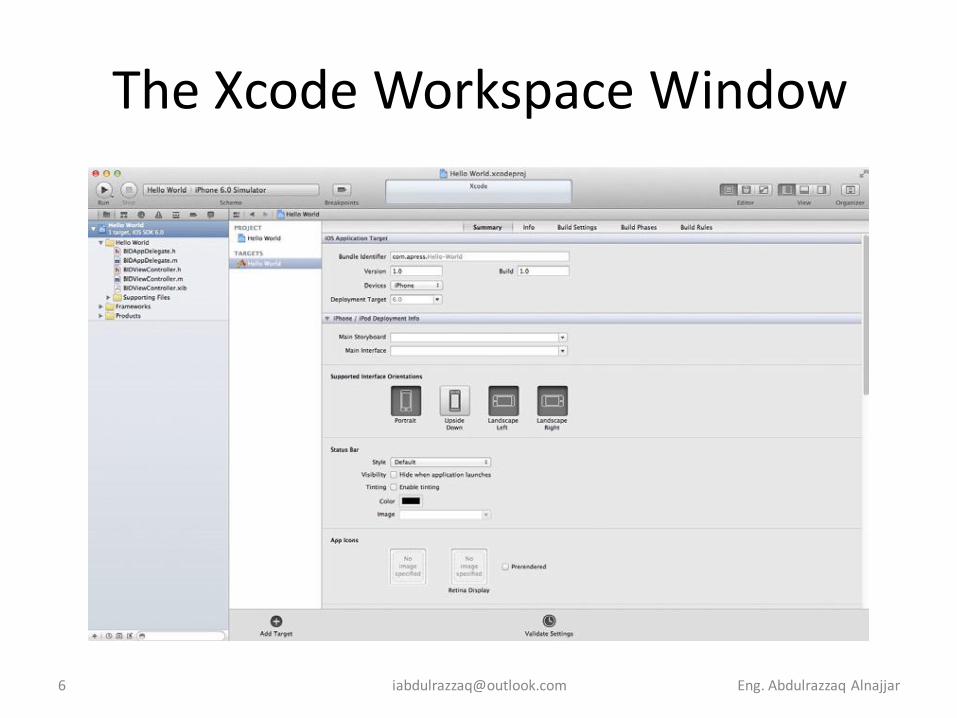
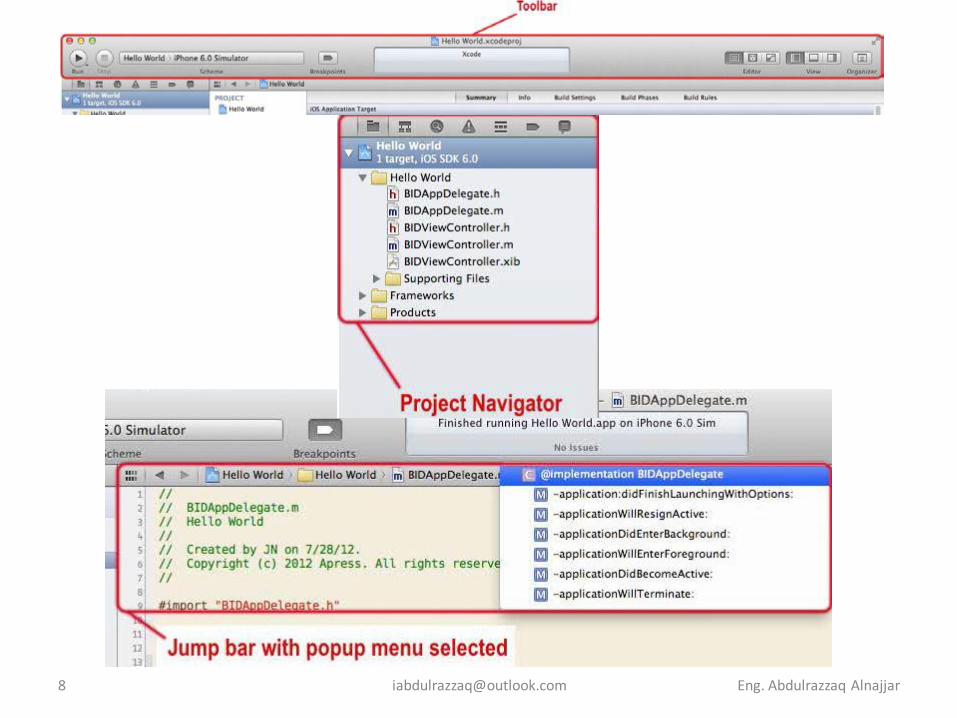
The Xcode Workspace Window
• The Toolbar
• The Navigator View
• The Jump Bar
• The Utility Pane
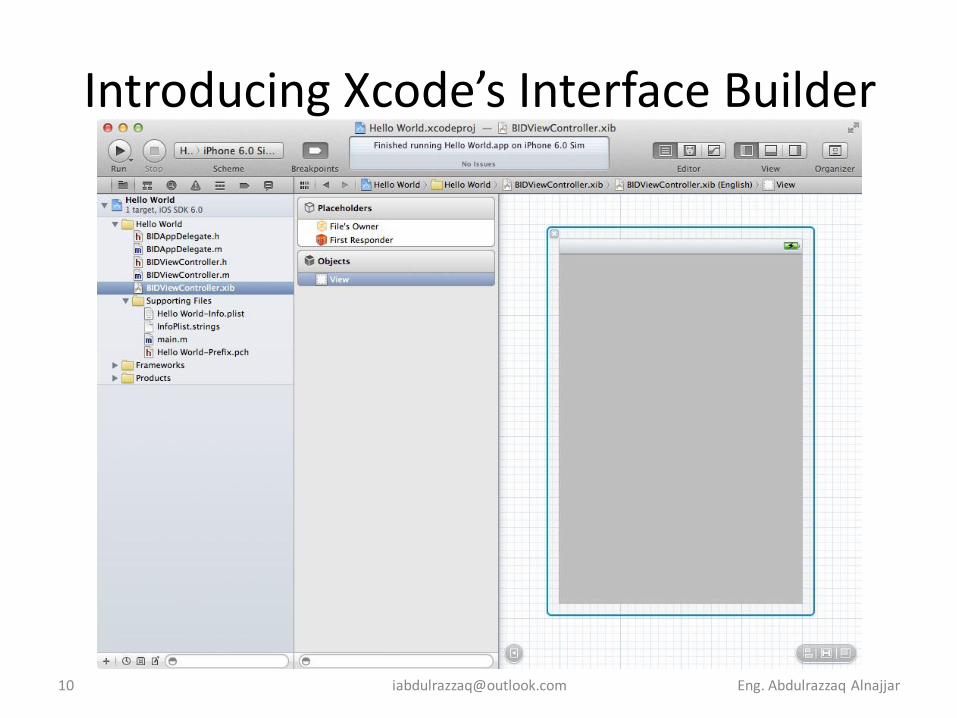
• Interface Builder
• New Compiler and Debugger
[email protected] Eng. Abdulrazzaq Alnajjar7
[email protected] Eng. Abdulrazzaq Alnajjar8
What’s in the Nib File?
• It is the right place to add the objects that make up your application’s user interface.
When you create objects in Interface Builder, they’ll be instantiated in your program when that nib file is loaded
• Every nib file starts off with the same two icons:
• File’s Owner:
• First Responder
These two are created automatically and cannot be deleted.
[email protected] Eng. Abdulrazzaq Alnajjar11
File’s Owner & First Responder
• File’s Owner represents the object that loaded the nib file from disk. In other words, File’s Owner is the object that “owns” this copy of the nib file.
• First Responder is the object with which the user is currently interacting.
First Responder icon gives you a convenient way to communicate with whatever control or other object is the current first responder, without needing to write code to determine which control or view that might be.
[email protected] Eng. Abdulrazzaq Alnajjar12
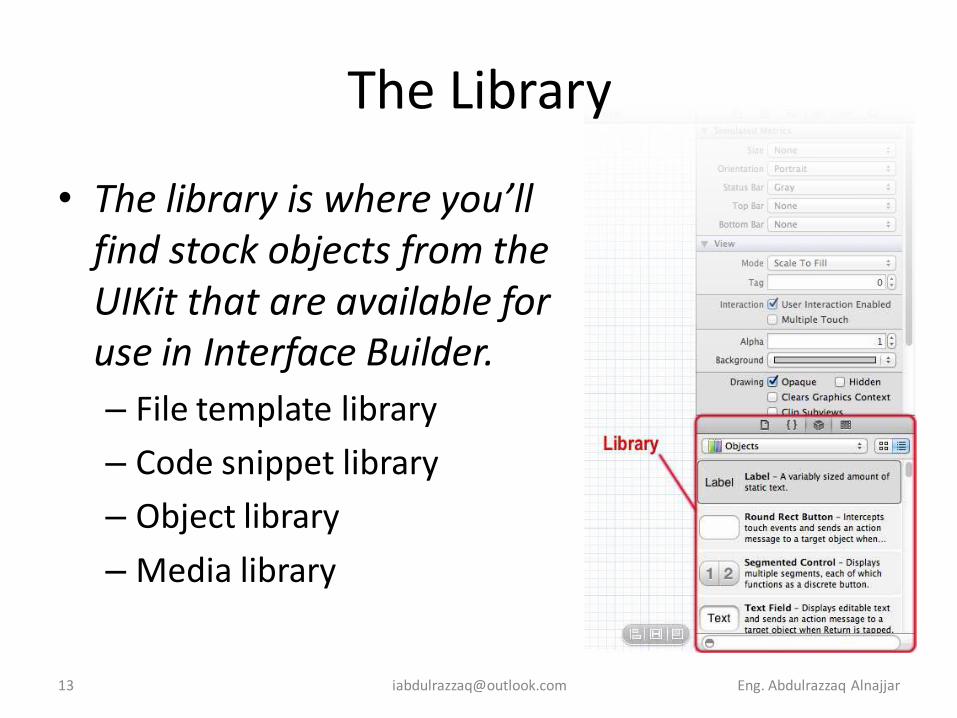
• The library is where you’ll find stock objects from the UIKit that are available for use in Interface Builder.
– File template library
– Code snippet library
– Object library
– Media library
The Library
Eng. Abdulrazzaq Alnajjar13
The Library
• File template library: contains a collection of file templates to add a new file to your project.
• Code snippet library: features a collection of code snippets you can drag into your source code files.
• Object library: is filled with reusable objects, such as text fields, labels, sliders, buttons, and just about any object you would ever need to design your iOS interface.
• Media library: is for all your media, including pictures, sounds, and movies.
[email protected] Eng. Abdulrazzaq Alnajjar14
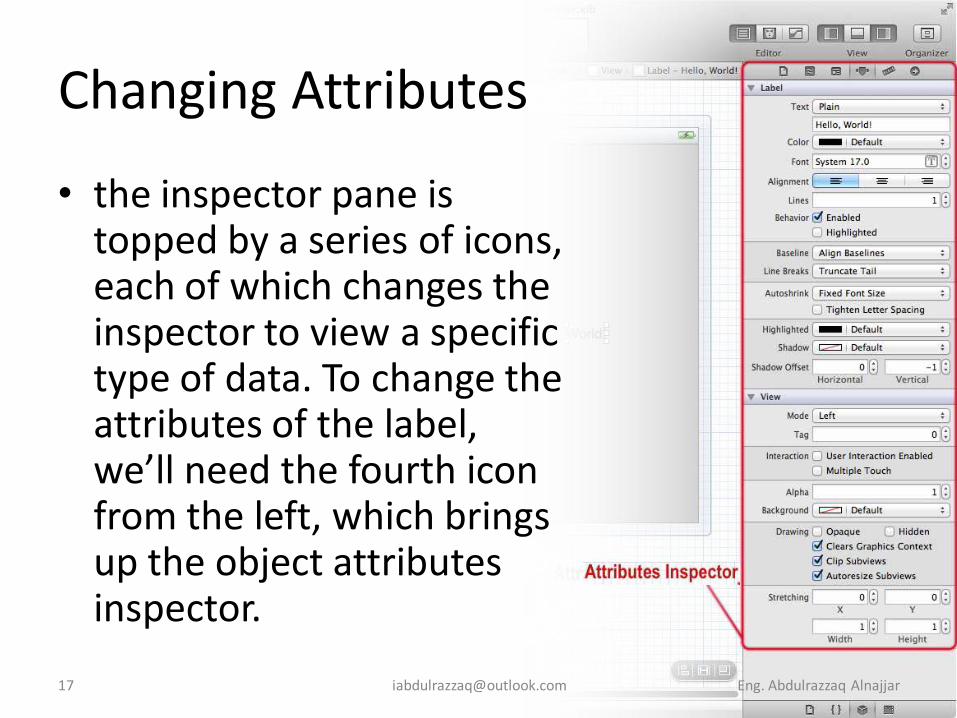
Changing Attributes
• the inspector pane is topped by a series of icons, each of which changes the inspector to view a specific type of data. To change the attributes of the label, we’ll need the fourth icon from the left, which brings up the object attributes inspector.
Eng. Abdulrazzaq Alnajjar17
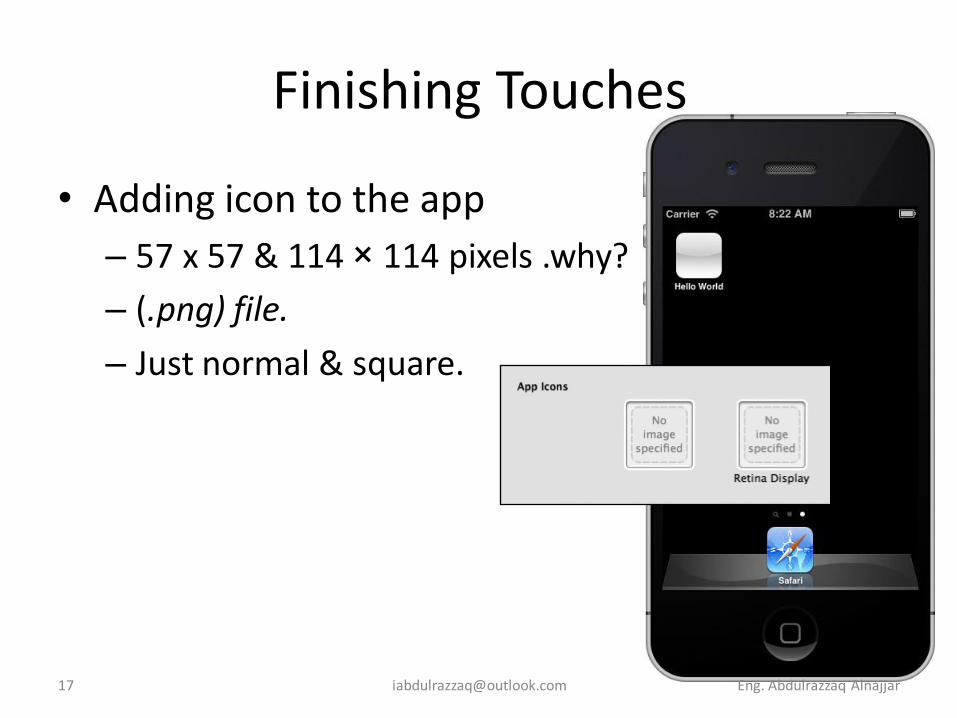
Finishing Touches
• Adding icon to the app
– 57 x 57 & 114 × 114 pixels .why?
– (.png) file.
– Just normal & square.
[email protected] Eng. Abdulrazzaq Alnajjar17