Embed Size (px)
Citation preview

Live your life. Create your destiny.
e-Assessment
Teaching and Learning with Technology
Outcomes
At the end of this session you will be able to:
1. create an assessment in a “Pool”
2. creating a test from a “Pool”
3. make assessment available to students and
4. preview the test
Information
• This is a step-by-step manual to create various types of questions
• A red rectangular with a specific number next to it (e.g. 1 or 2). highlights specific learning points which are explained at the bottom of the slides.
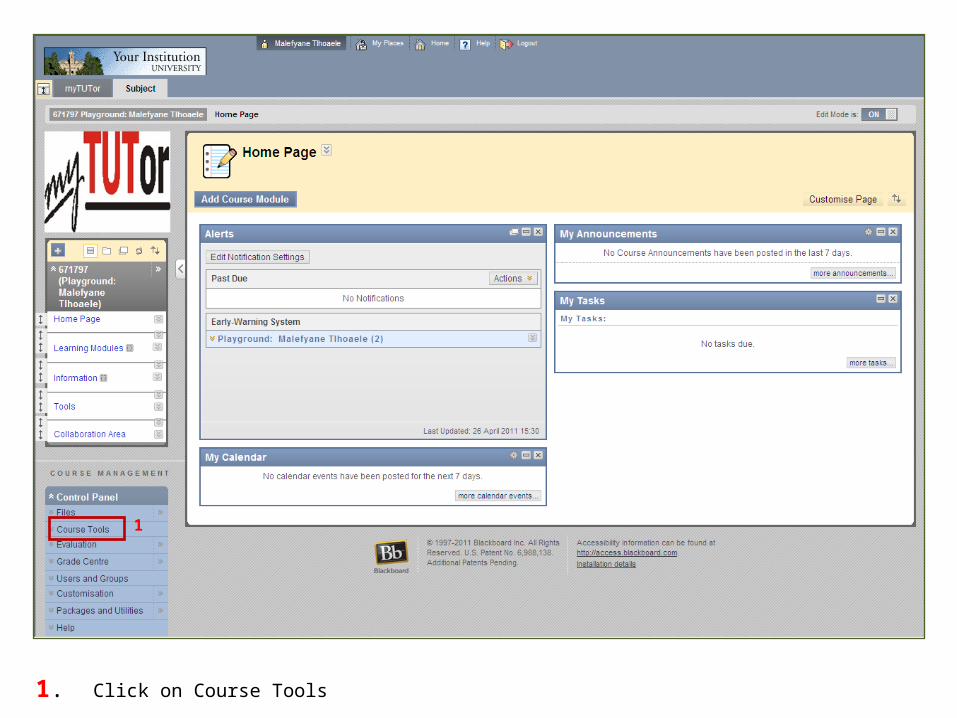
1. Click on Course Tools
1
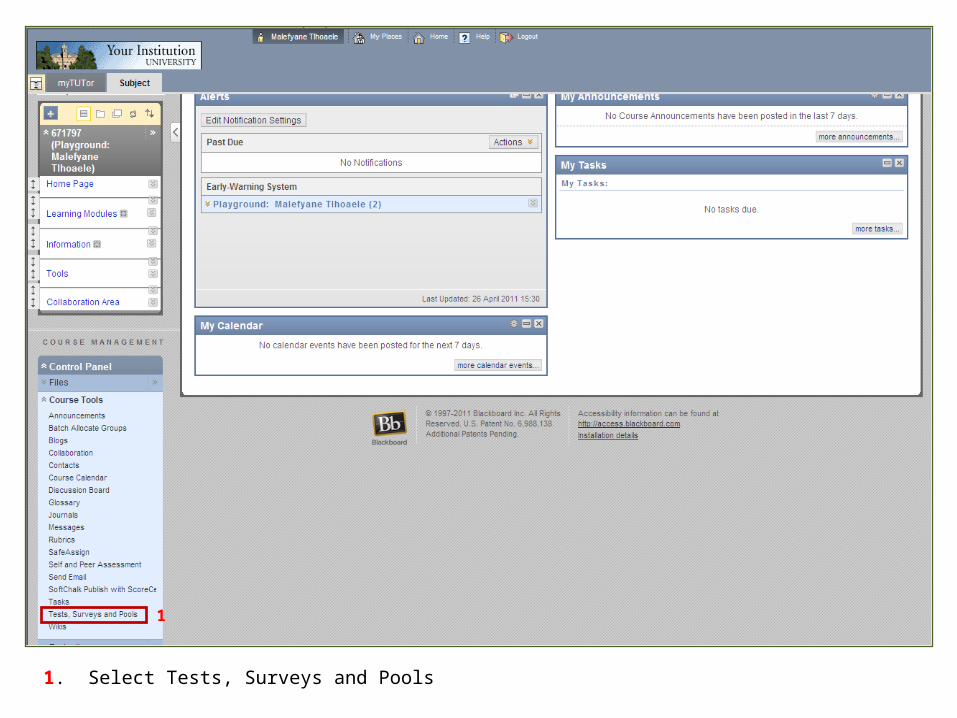
1. Select Tests, Surveys and Pools
1
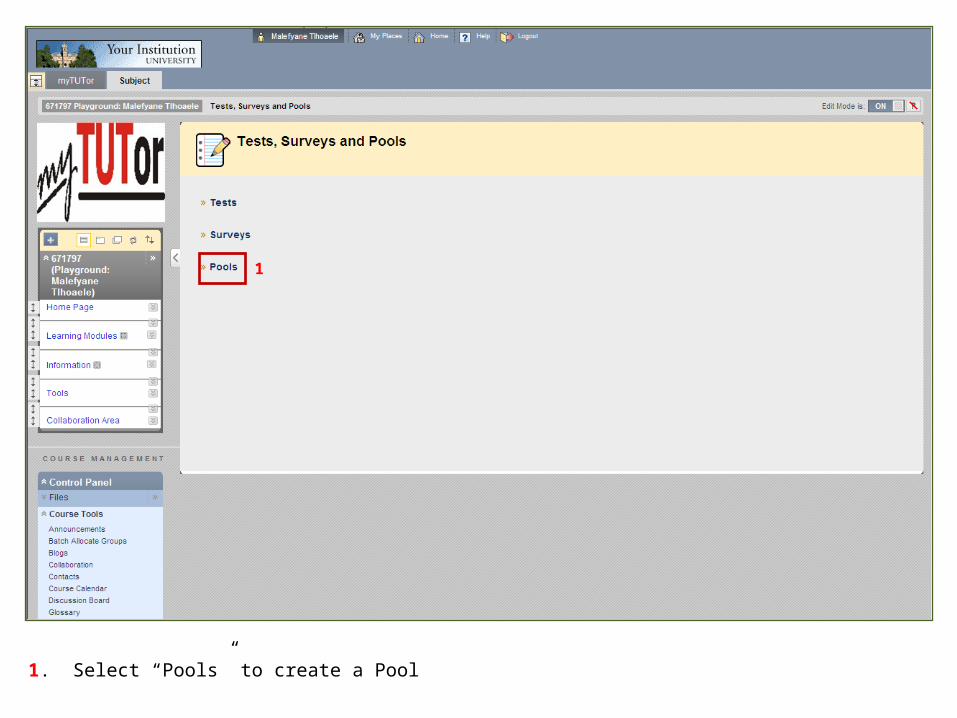
1. Select “Pools” to create a Pool
1
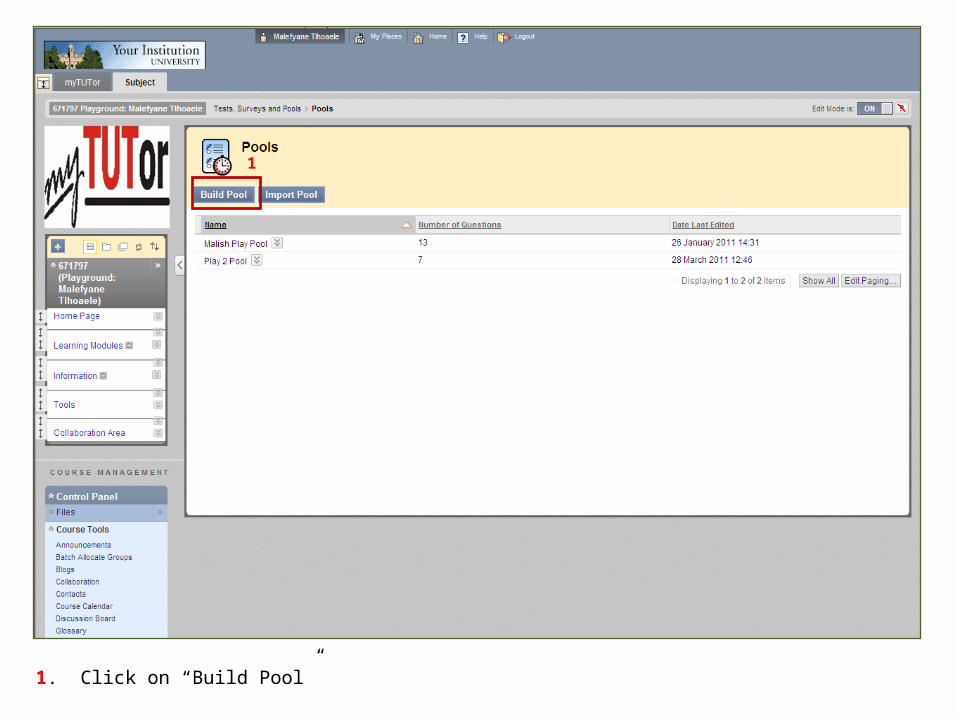
1. Click on “Build Pool”
1
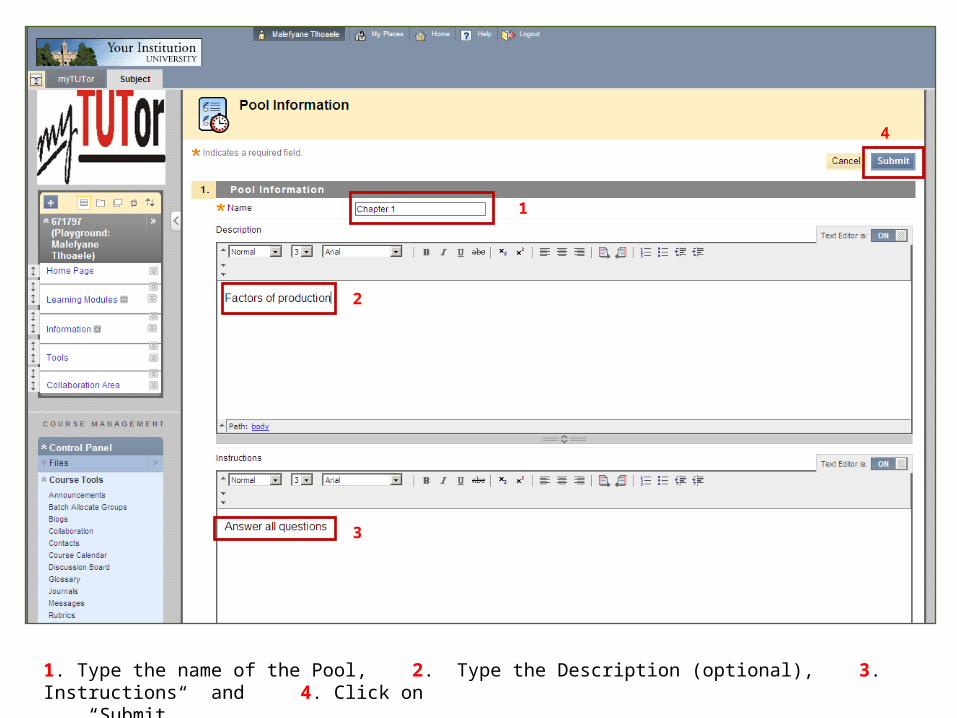
1. Type the name of the Pool, 2. Type the Description (optional), 3. Instructions and 4. Click on “Submit”
1
2
3
4
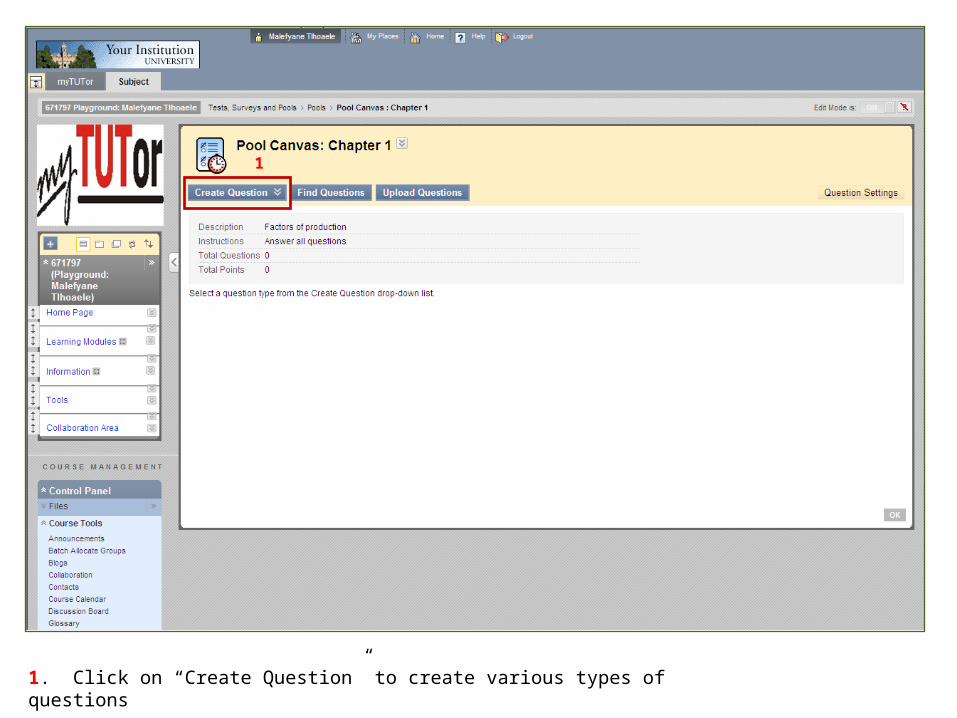
1. Click on “Create Question” to create various types of questions
1
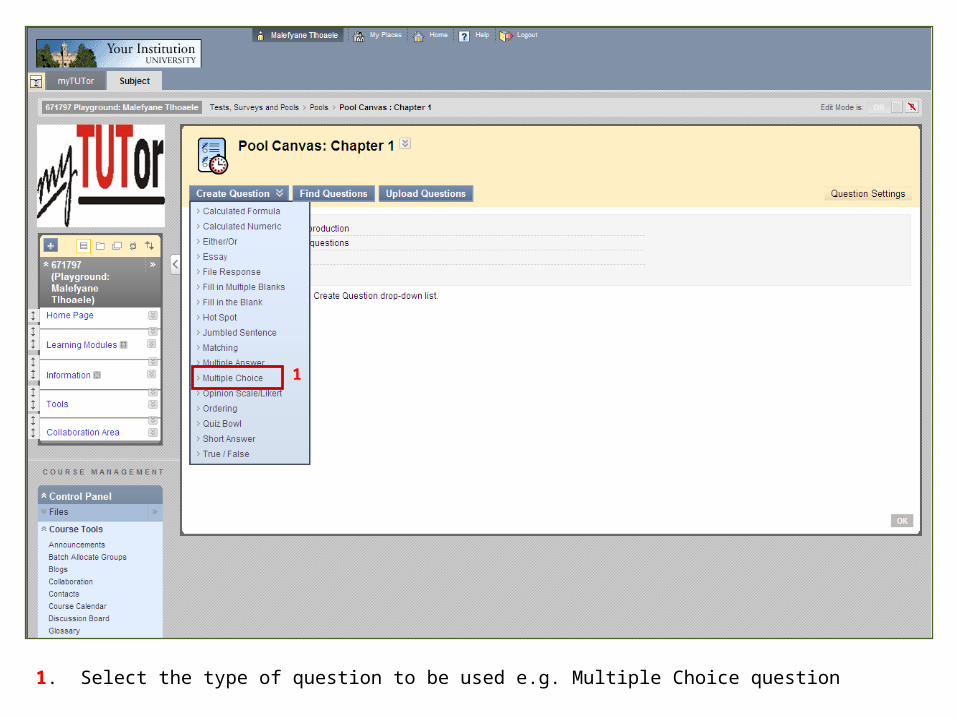
1. Select the type of question to be used e.g. Multiple Choice question
1
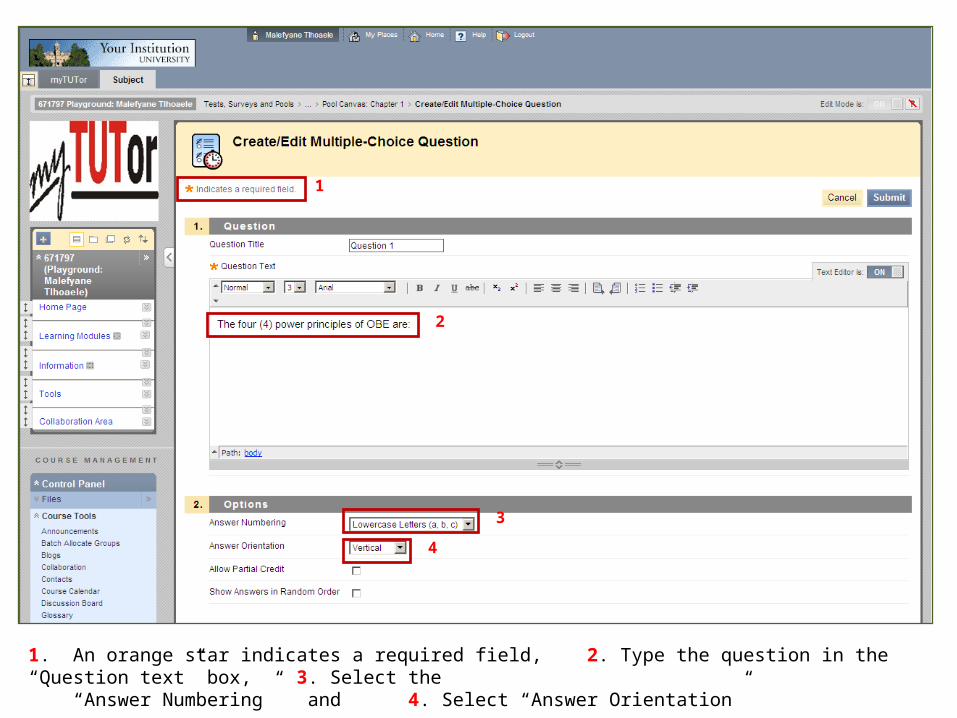
1. An orange star indicates a required field, 2. Type the question in the “Question text” box, 3. Select the “Answer Numbering” and 4. Select “Answer Orientation”
1
2
3
4
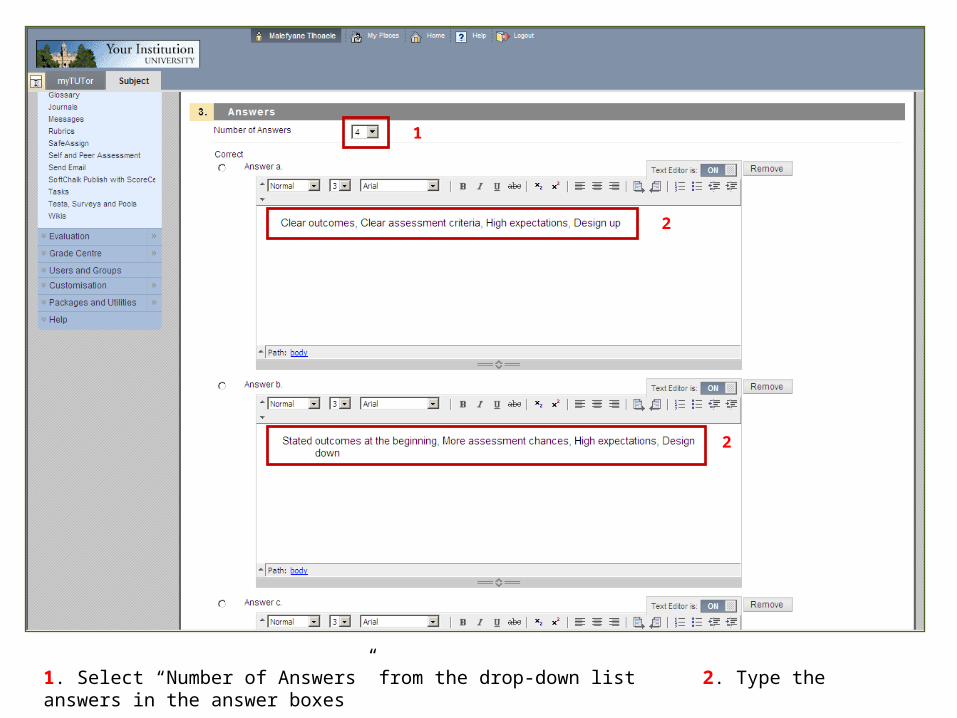
1. Select “Number of Answers” from the drop-down list 2. Type the answers in the answer boxes
1
2
2
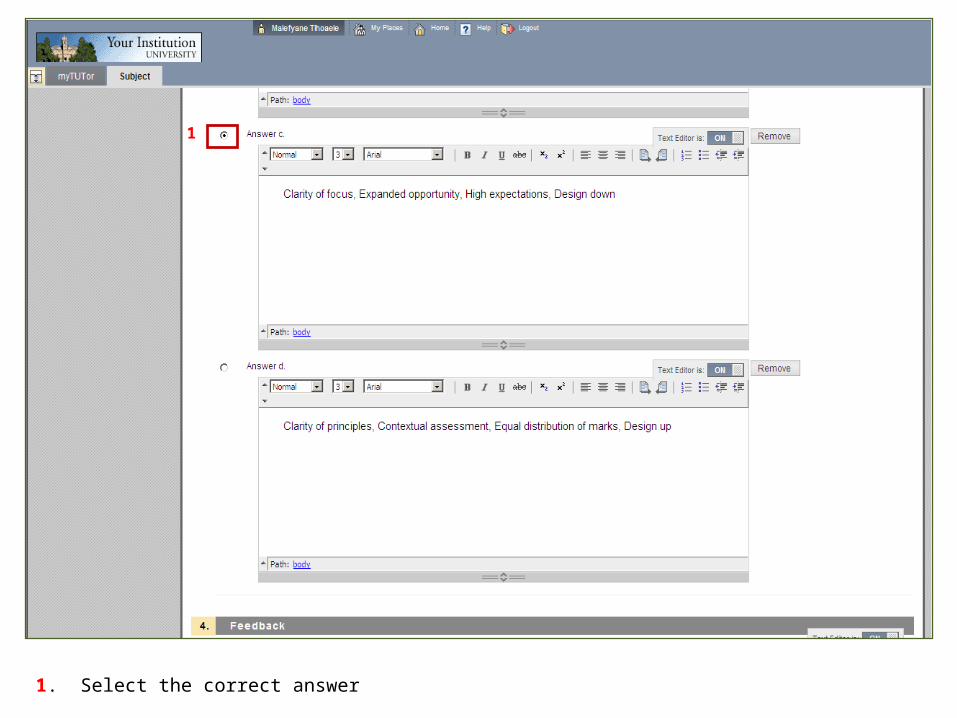
1. Select the correct answer
1
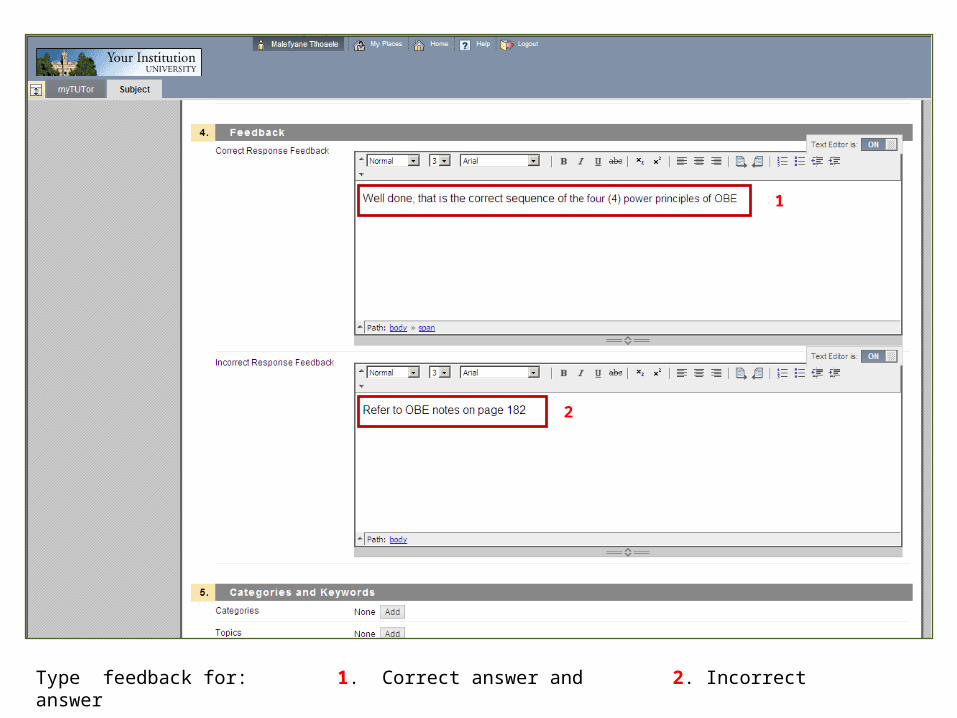
Type feedback for: 1. Correct answer and 2. Incorrect answer
1
2
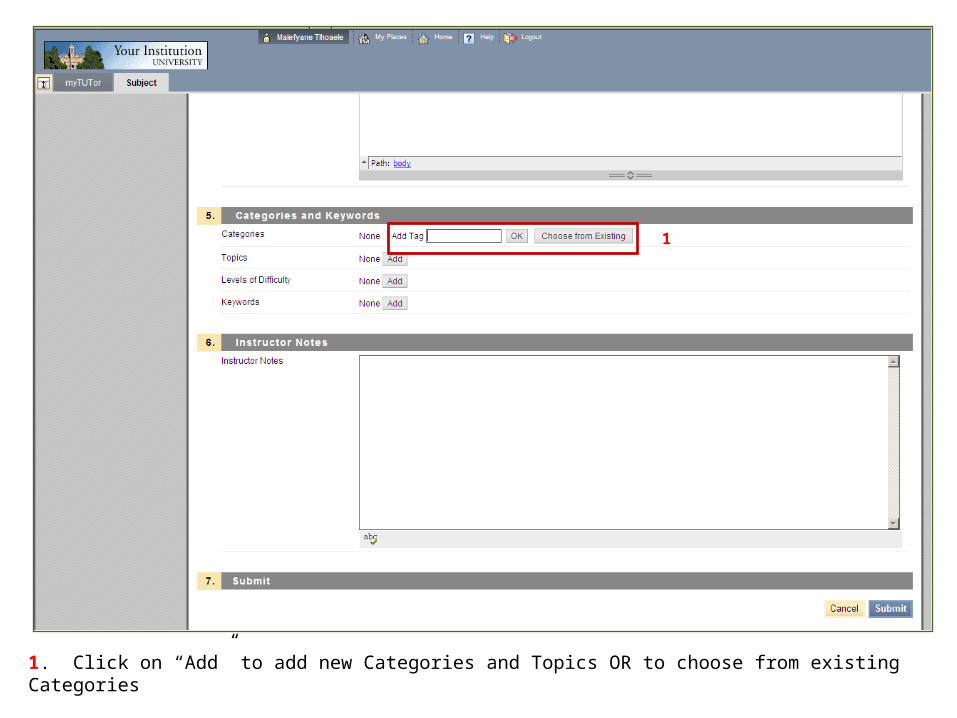
1. Click on “Add” to add new Categories and Topics OR to choose from existing Categories
1
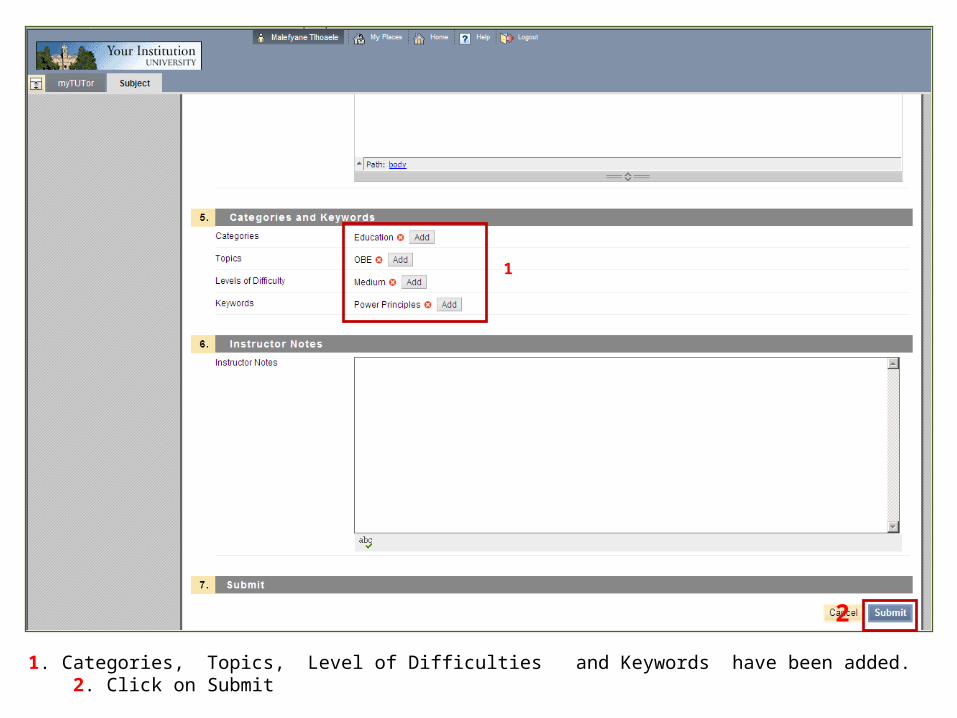
1. Categories, Topics, Level of Difficulties and Keywords have been added. 2. Click on Submit
1
2
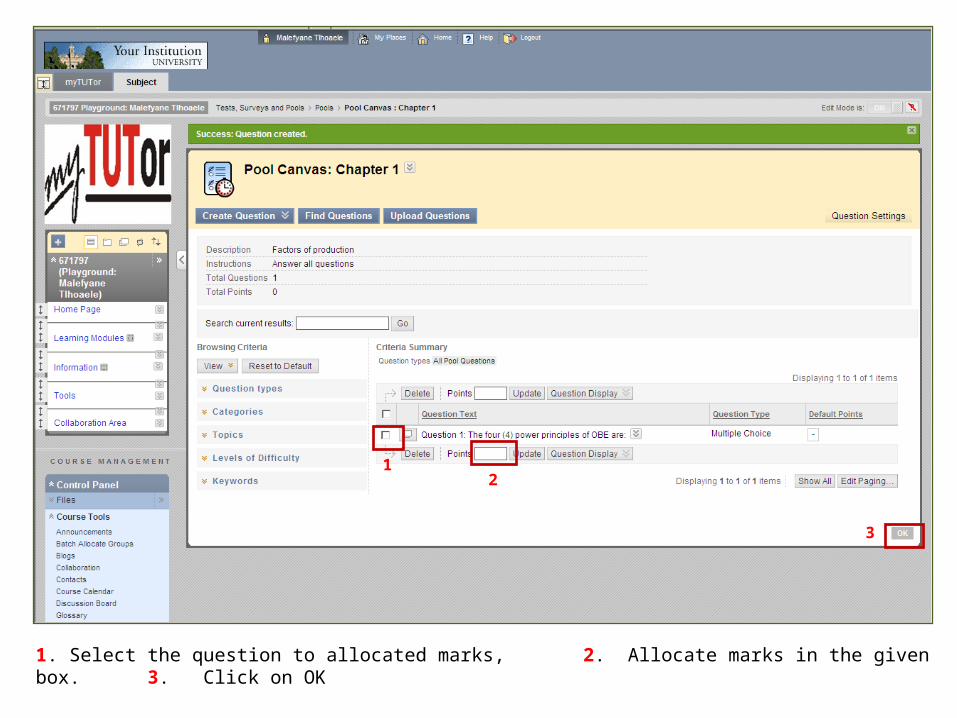
1. Select the question to allocated marks, 2. Allocate marks in the given box. 3. Click on OK
12
3
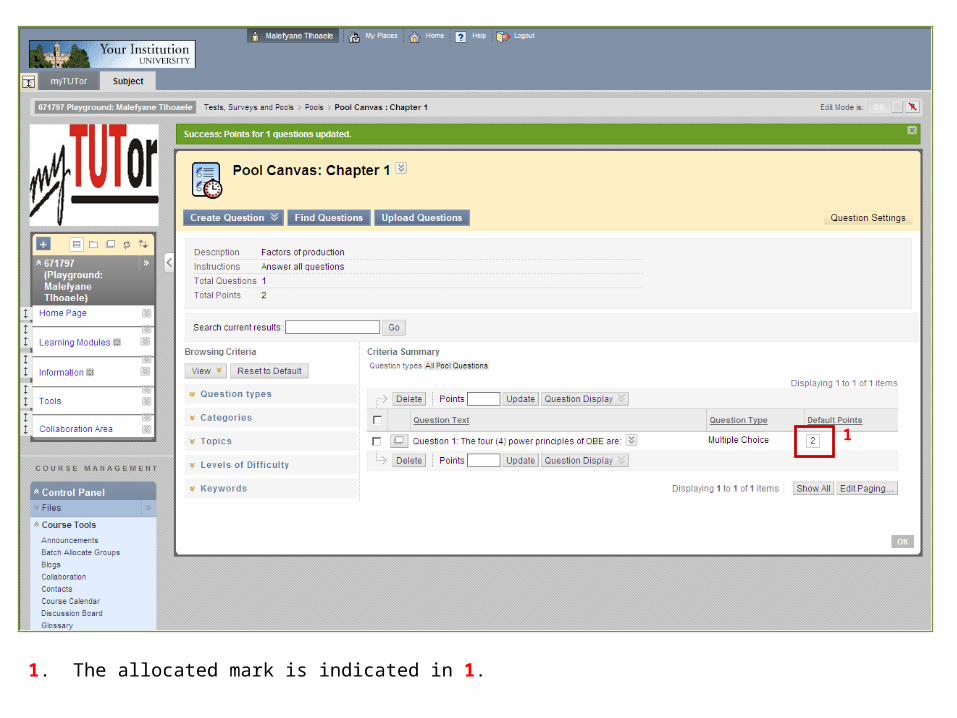
1. The allocated mark is indicated in 1.
1
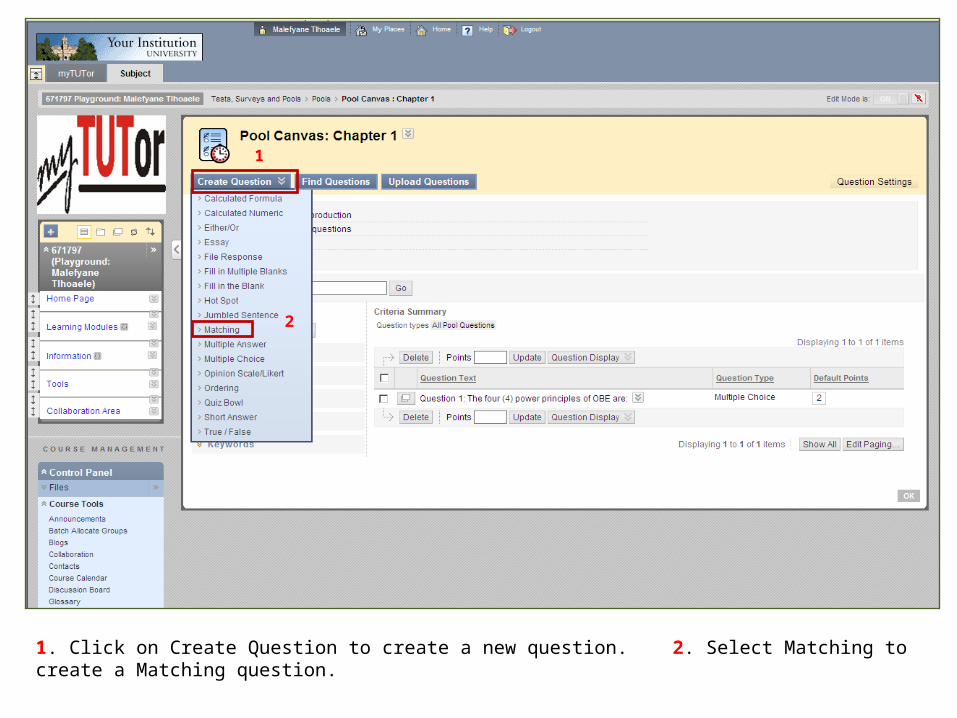
1. Click on Create Question to create a new question. 2. Select Matching to create a Matching question.
1
2
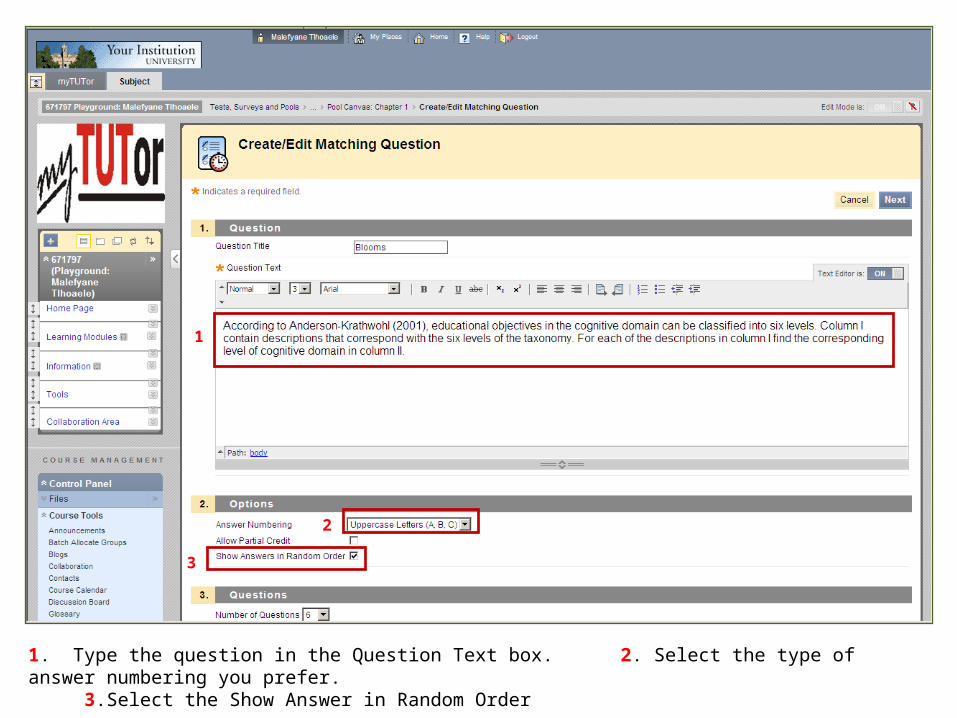
1. Type the question in the Question Text box. 2. Select the type of answer numbering you prefer. 3.Select the Show Answer in Random Order
1
2
3
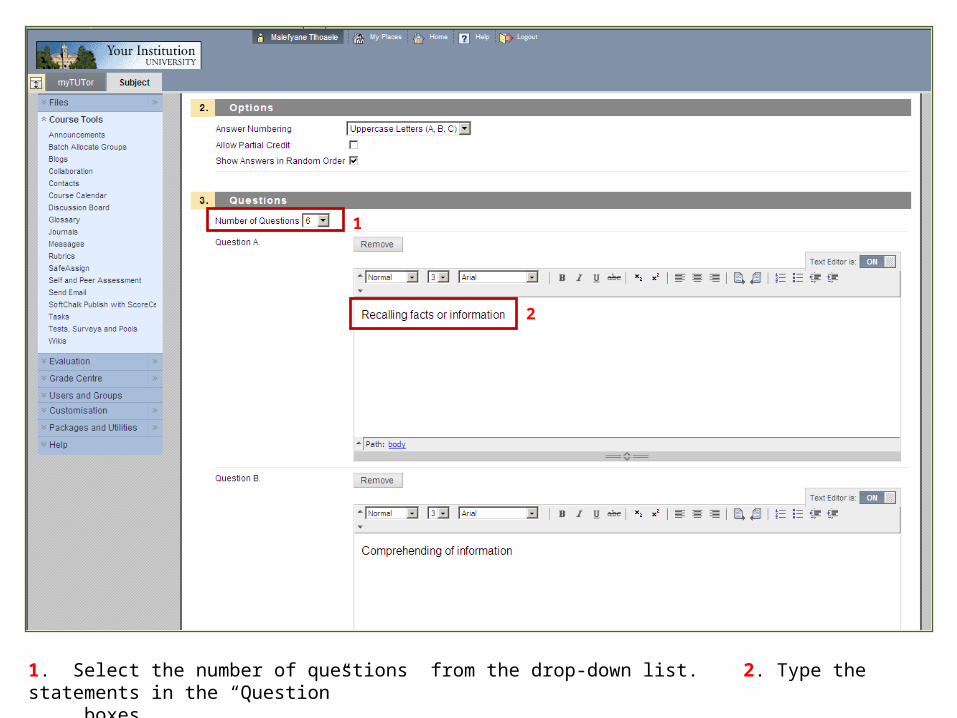
1. Select the number of questions from the drop-down list. 2. Type the statements in the “Question” boxes
1
2
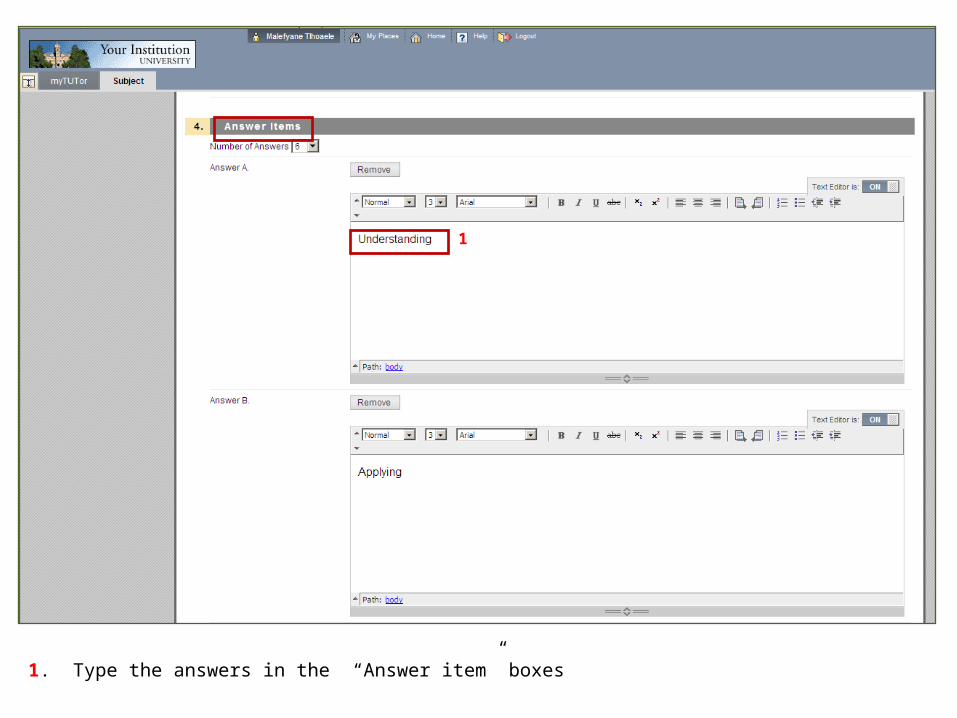
1. Type the answers in the “Answer item” boxes
1
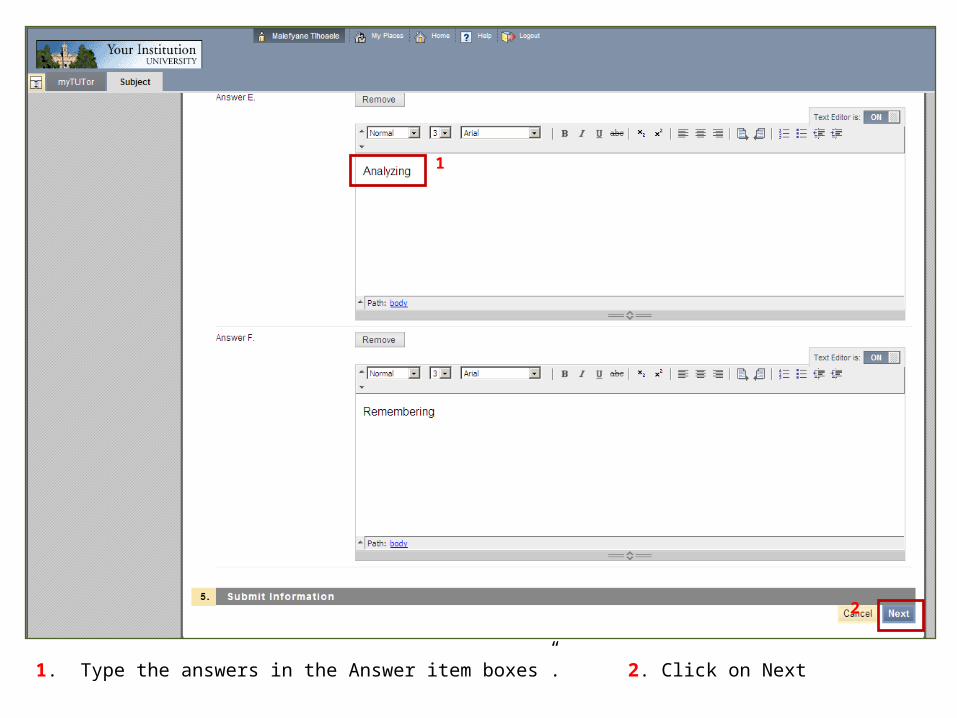
1. Type the answers in the Answer item boxes”. 2. Click on Next
1
2
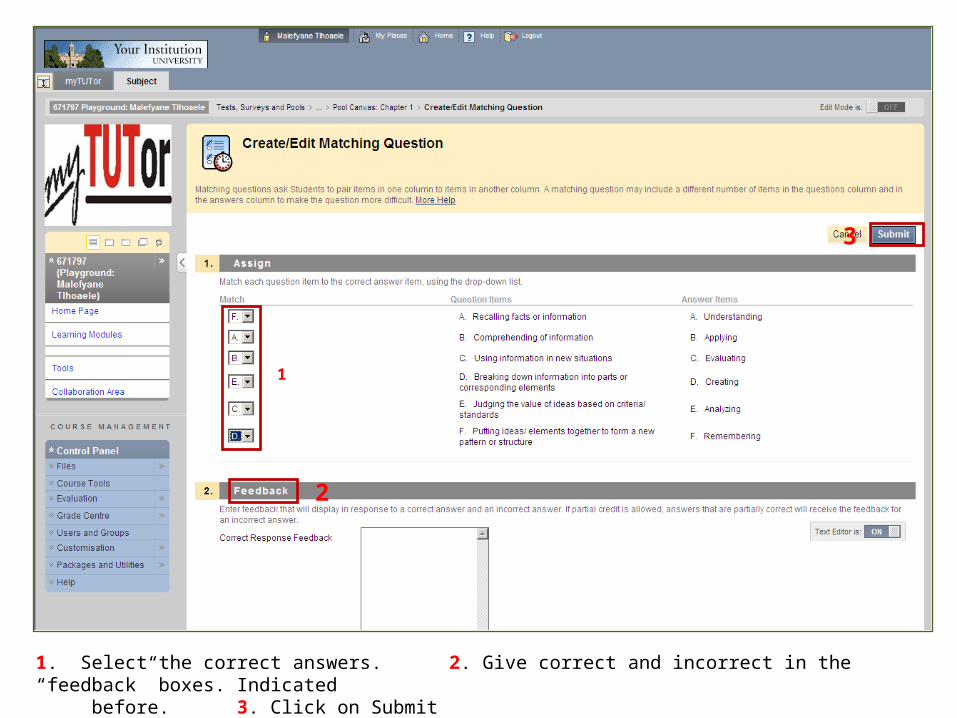
1. Select the correct answers. 2. Give correct and incorrect in the “feedback” boxes. Indicated before. 3. Click on Submit
1
2
3
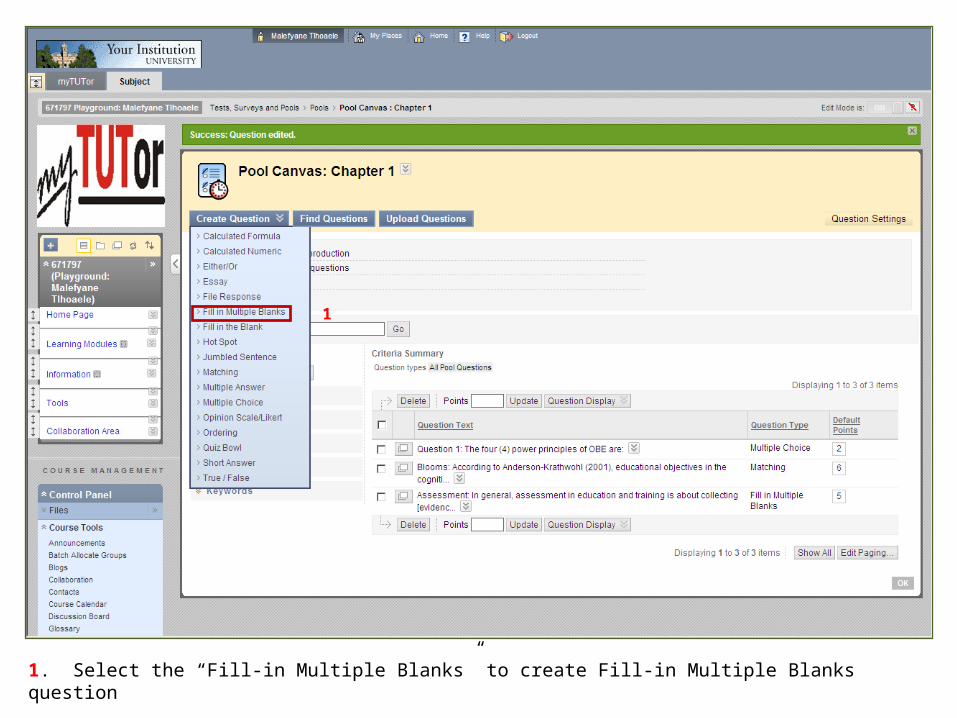
1. Select the “Fill-in Multiple Blanks” to create Fill-in Multiple Blanks question
1
1
2
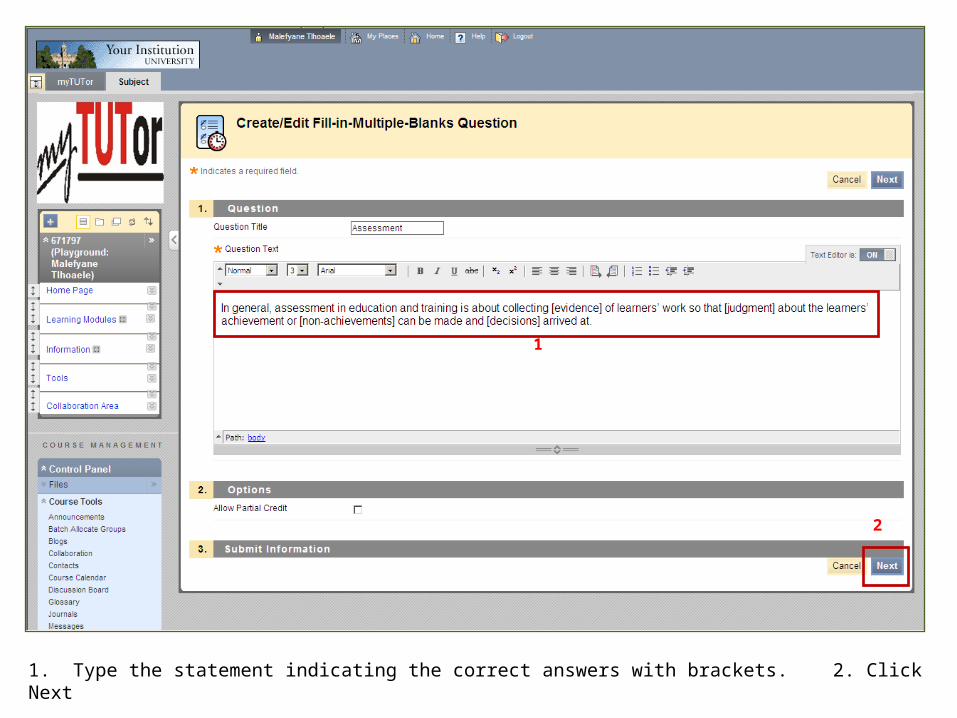
1. Type the statement indicating the correct answers with brackets. 2. Click Next
1
2
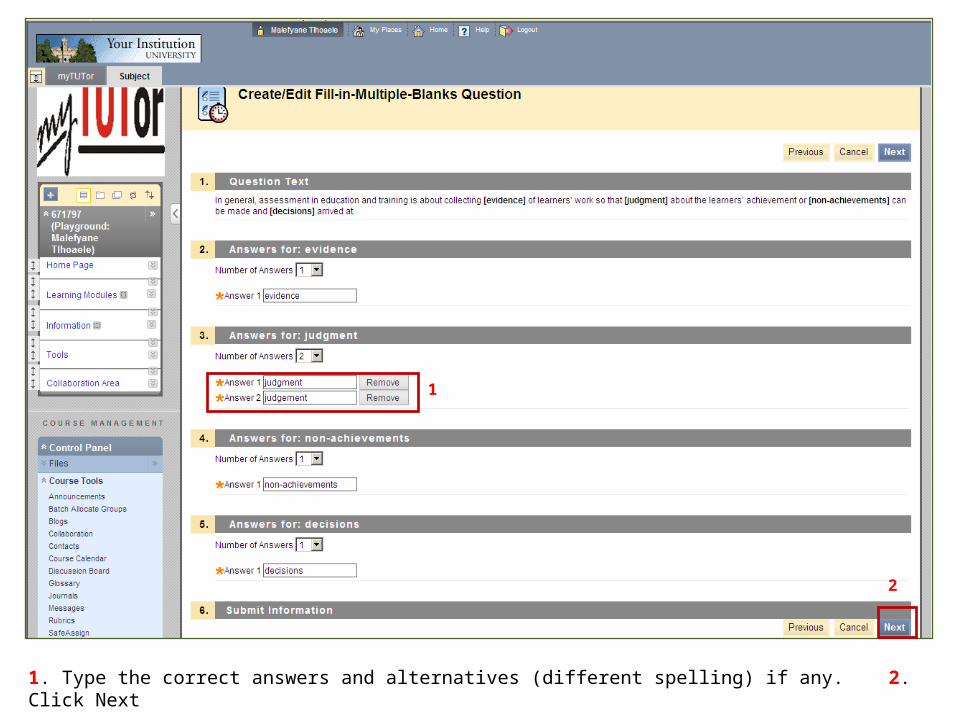
1. Type the correct answers and alternatives (different spelling) if any. 2. Click Next
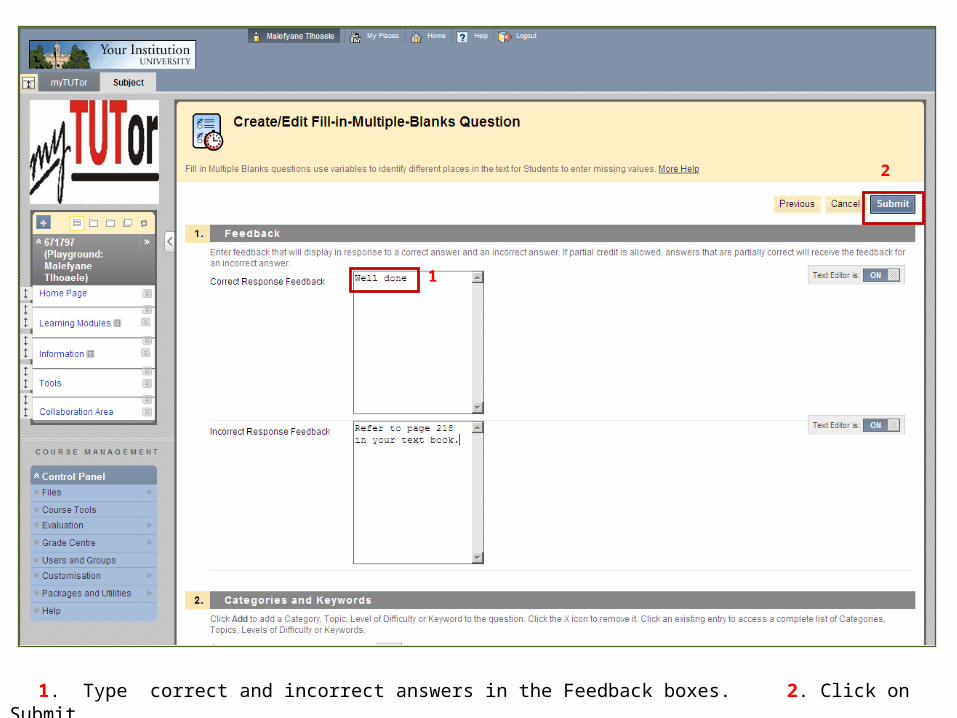
1. Type correct and incorrect answers in the Feedback boxes. 2. Click on Submit
1
2
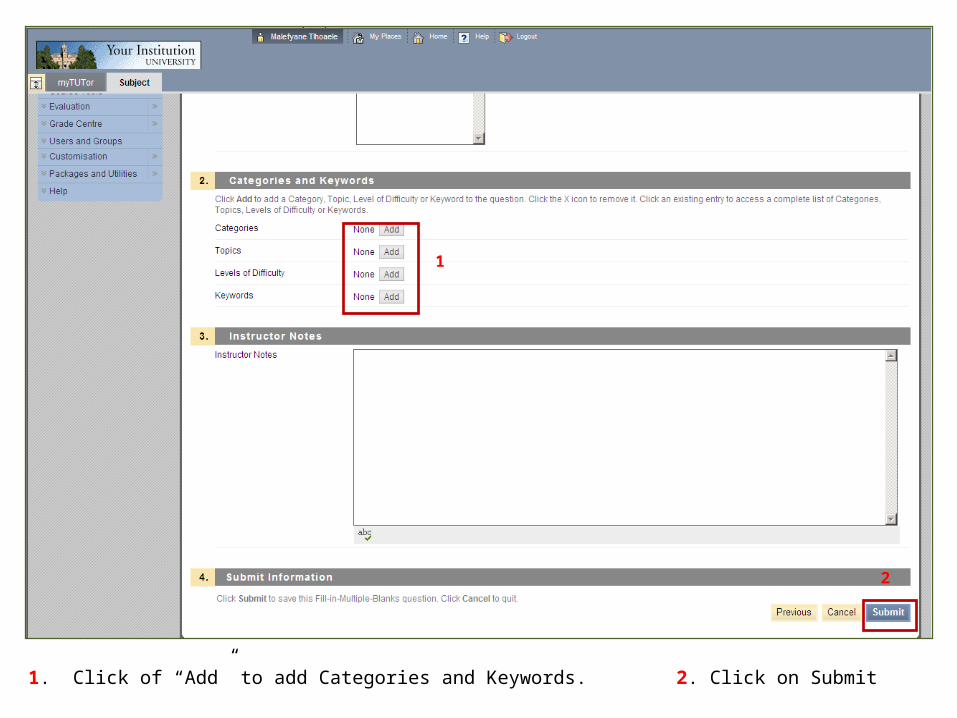
1. Click of “Add” to add Categories and Keywords. 2. Click on Submit
1
2
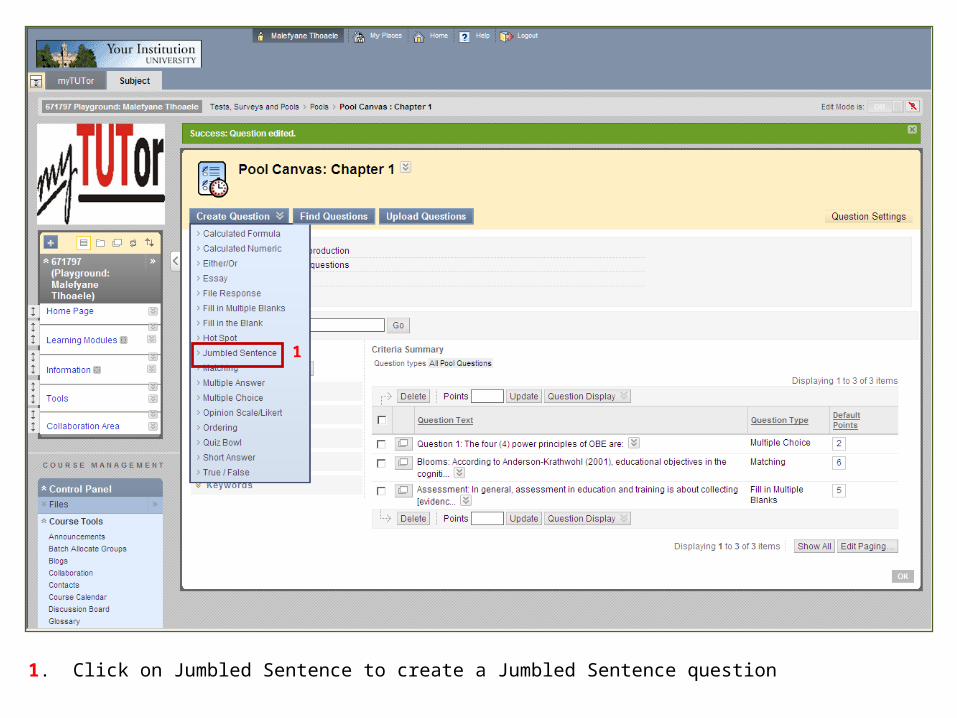
1. Click on Jumbled Sentence to create a Jumbled Sentence question
1
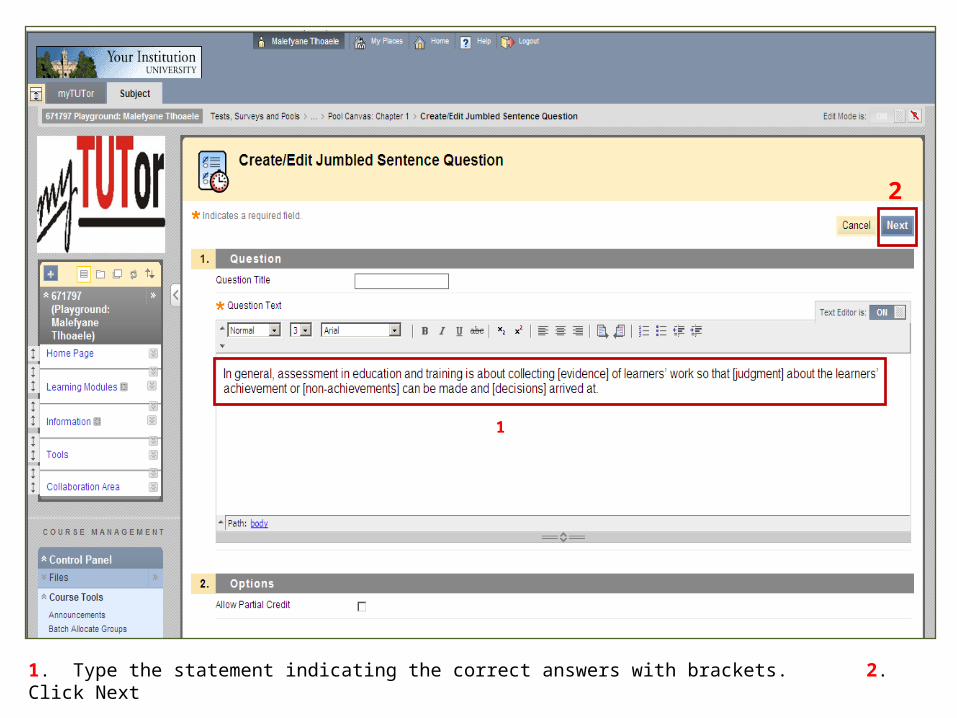
1. Type the statement indicating the correct answers with brackets. 2. Click Next
1
2

1. Select the correct answers. 2. Click Next
1
2

1. Type correct and incorrect feedback in the Feedback boxes. 2. Click on Next
1
2
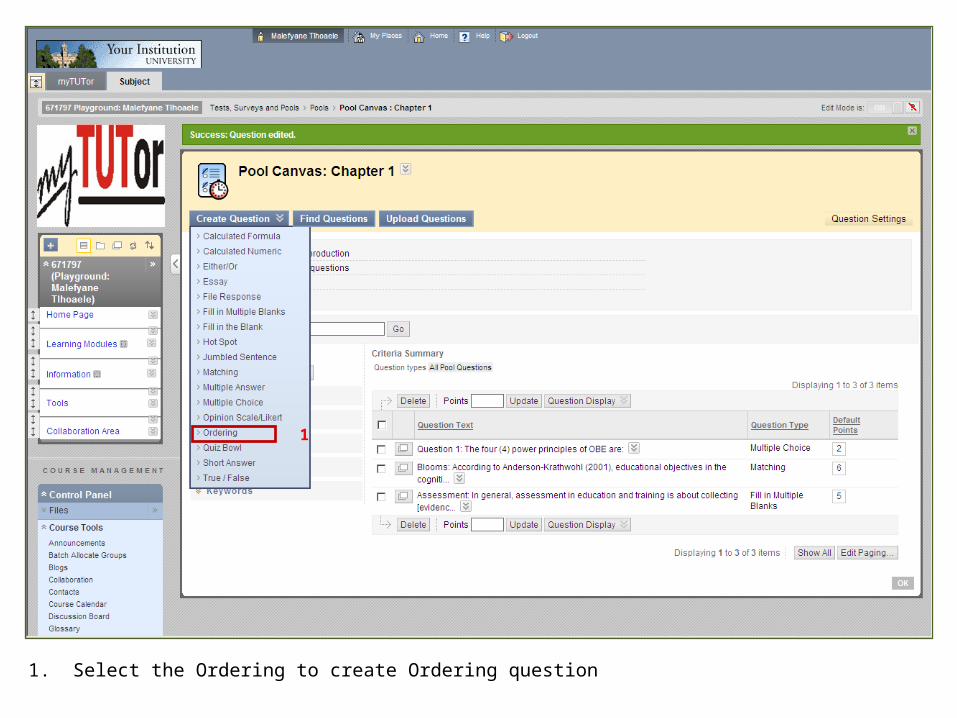
1. Select the Ordering to create Ordering question
1
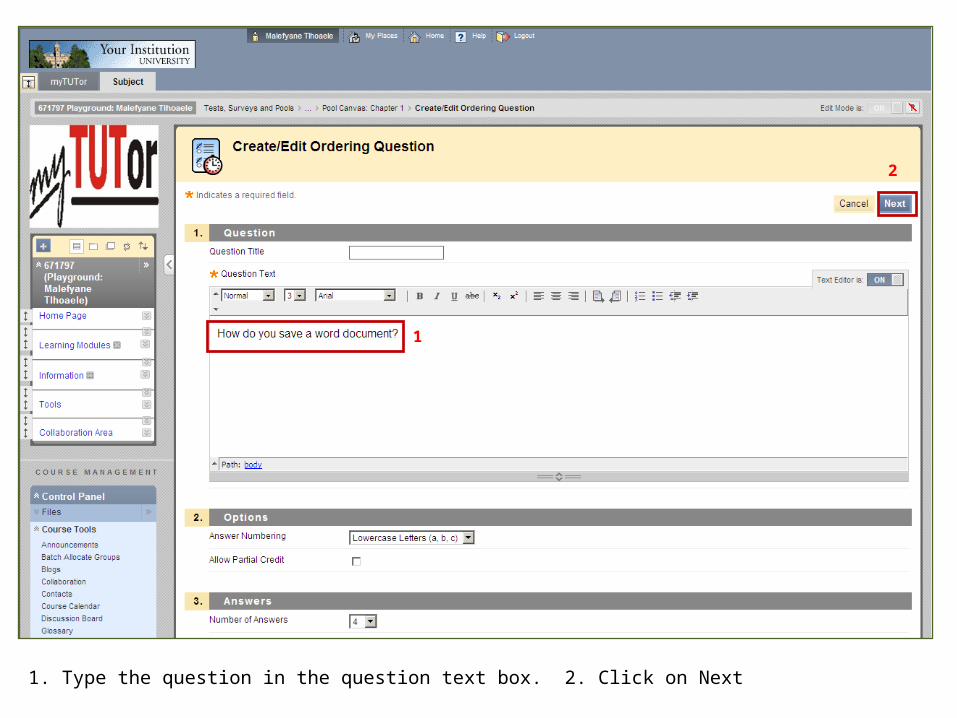
1. Type the question in the question text box. 2. Click on Next
1
2
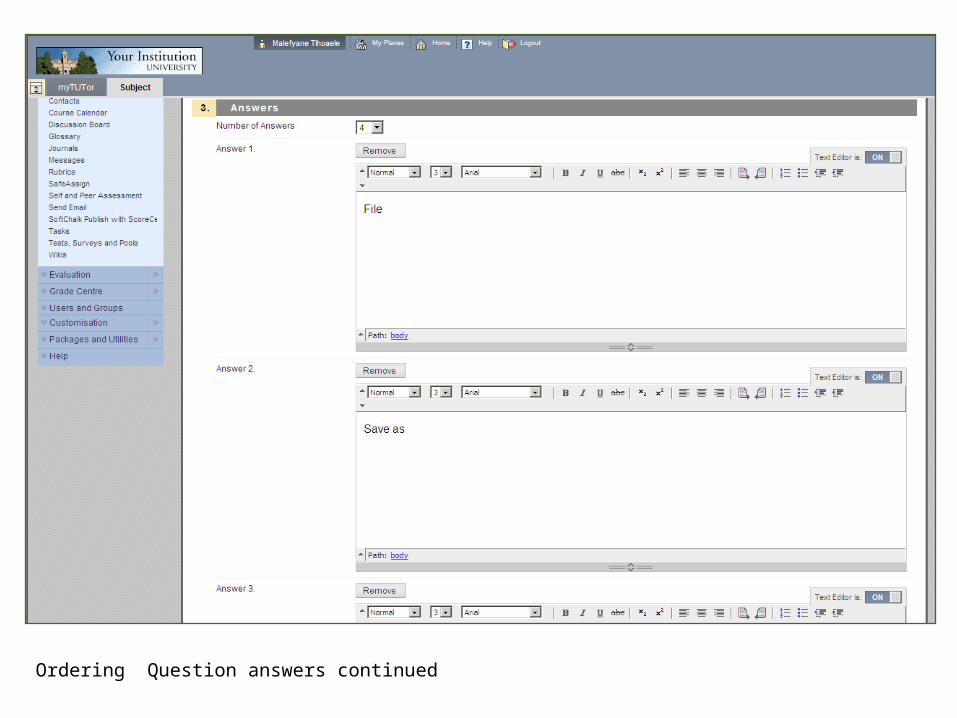
Ordering Question answers continued
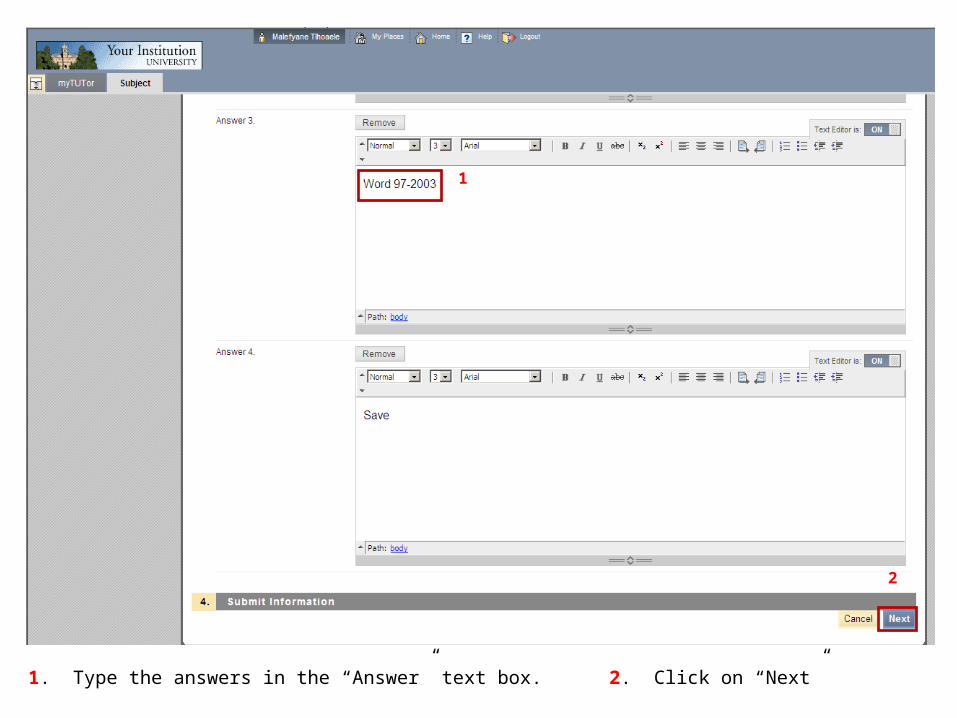
1. Type the answers in the “Answer” text box. 2. Click on “Next”
1
2
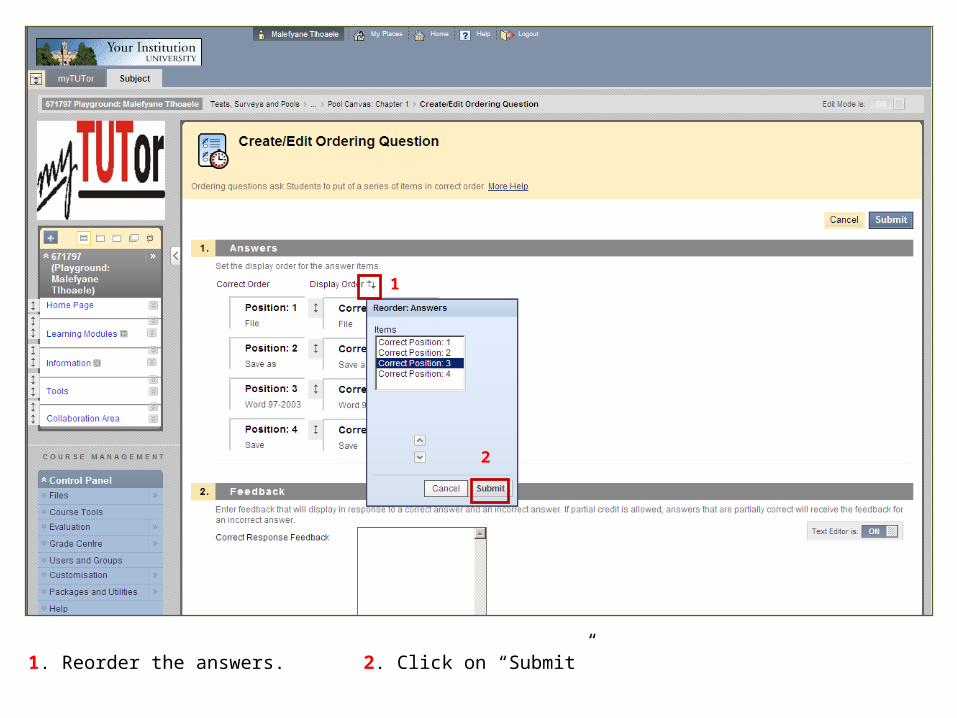
1. Reorder the answers. 2. Click on “Submit”
2
1
1
2
3
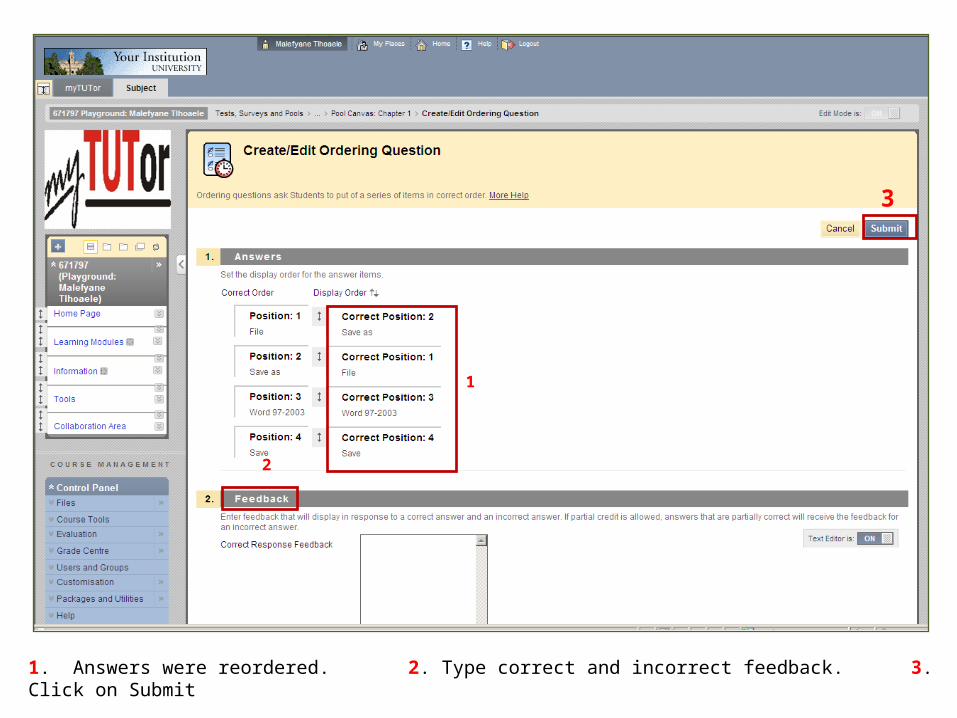
1. Answers were reordered. 2. Type correct and incorrect feedback. 3. Click on Submit
1
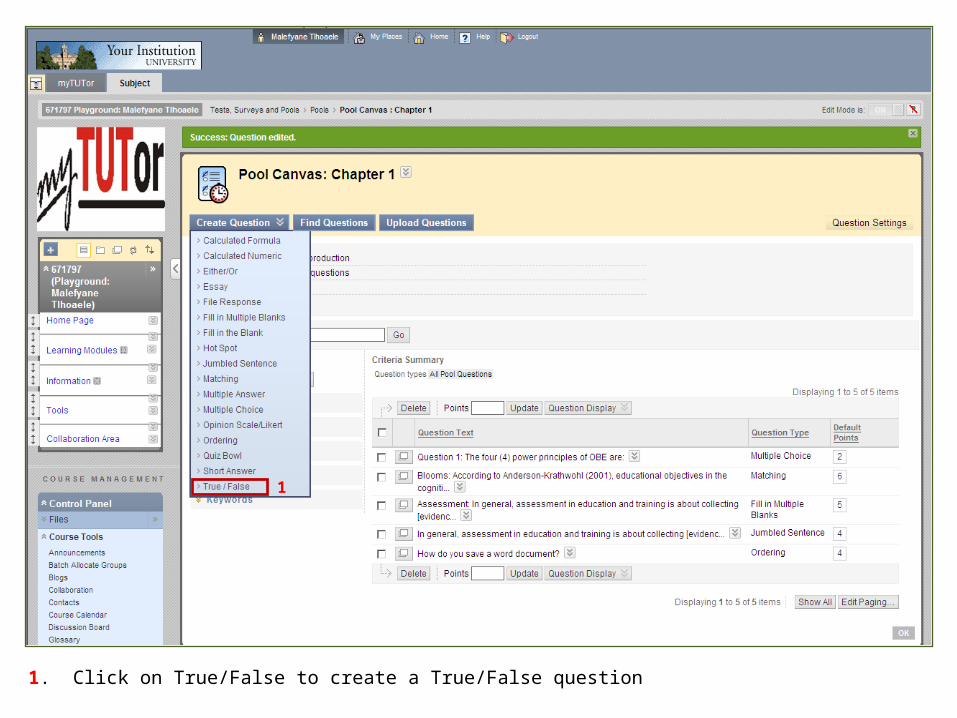
1. Click on True/False to create a True/False question
1
2
3
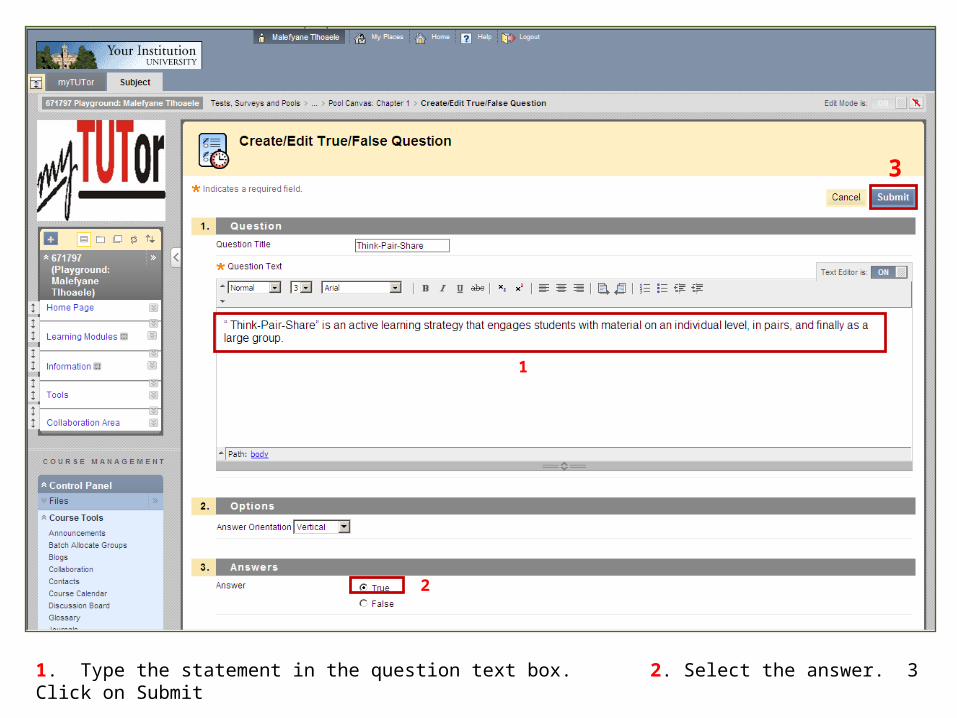
1. Type the statement in the question text box. 2. Select the answer. 3 Click on Submit
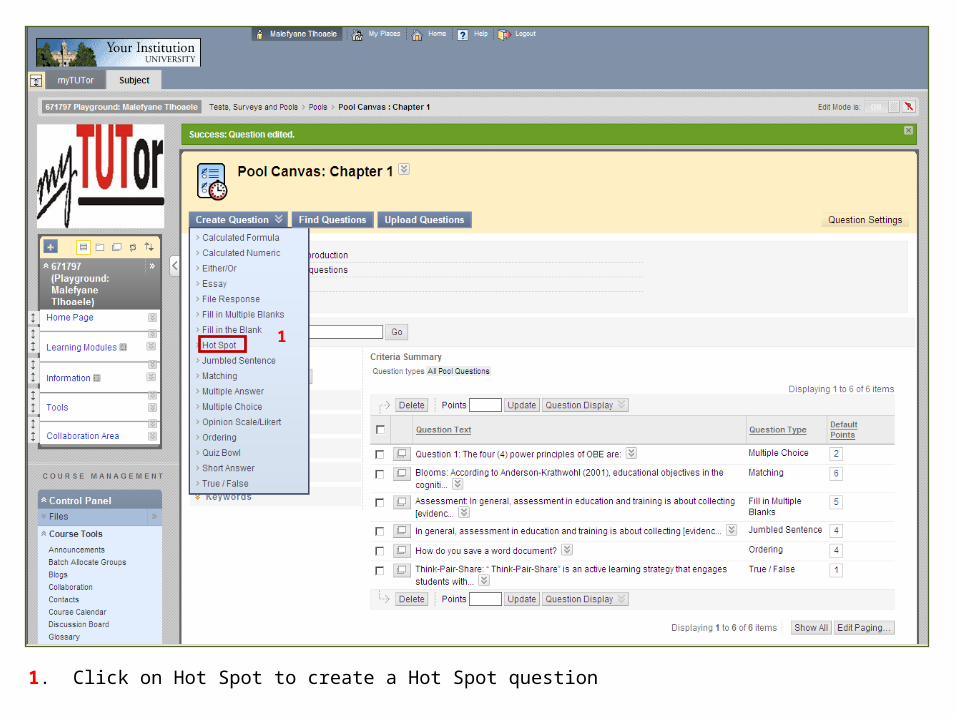
1. Click on Hot Spot to create a Hot Spot question
1
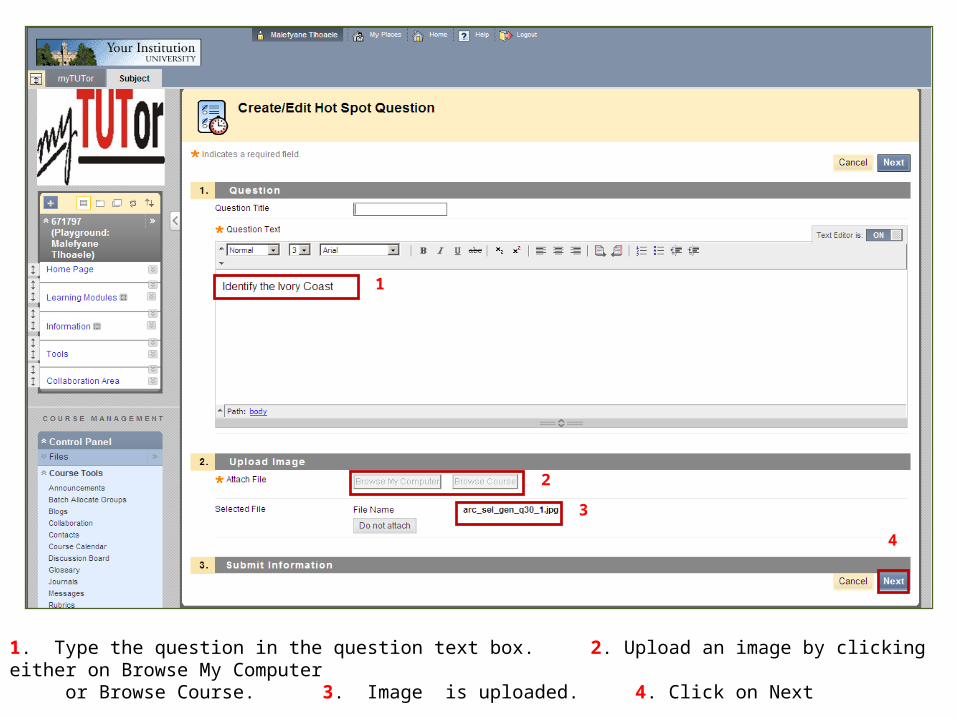
1. Type the question in the question text box. 2. Upload an image by clicking either on Browse My Computer or Browse Course. 3. Image is uploaded. 4. Click on Next
1
2
3
4
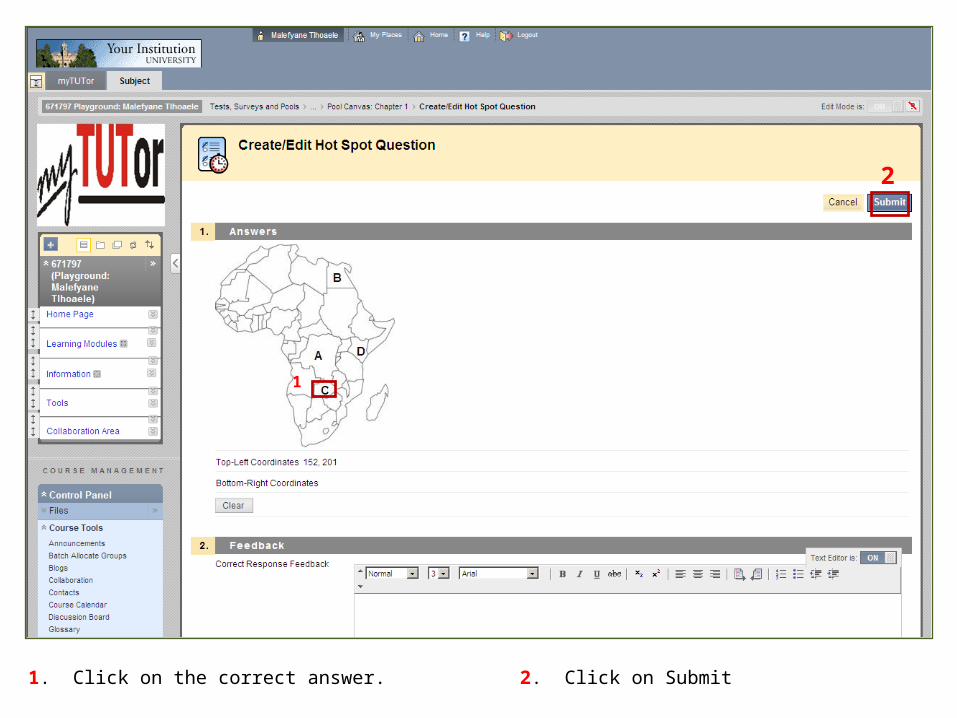
1. Click on the correct answer. 2. Click on Submit
1
2
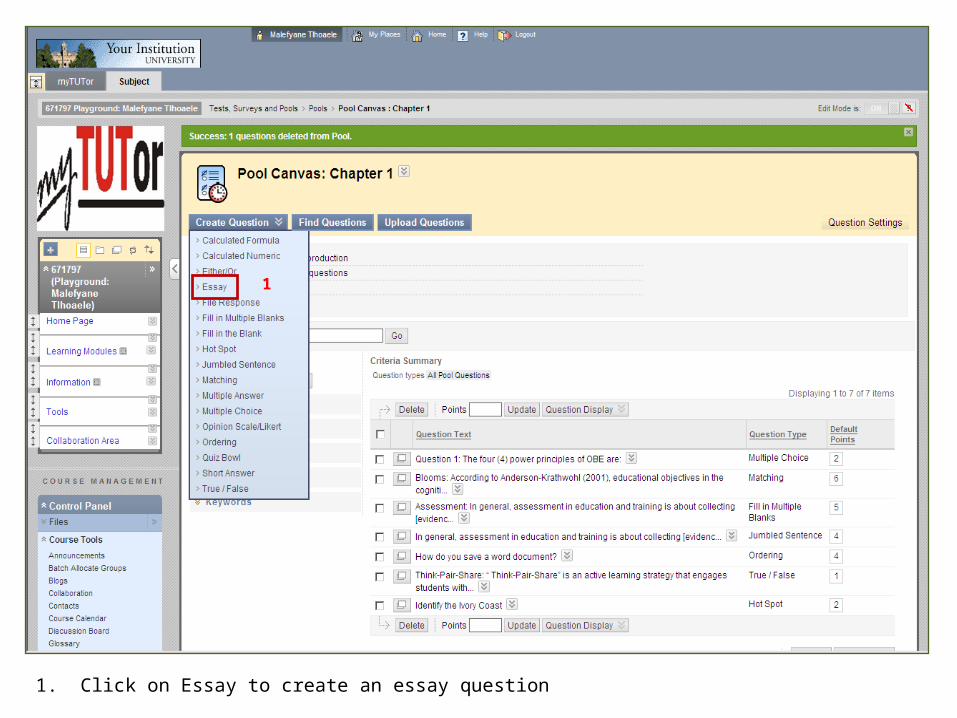
1. Click on Essay to create an essay question
1

1
1. Type the question in the question text box. 2. Click on Submit
2
1
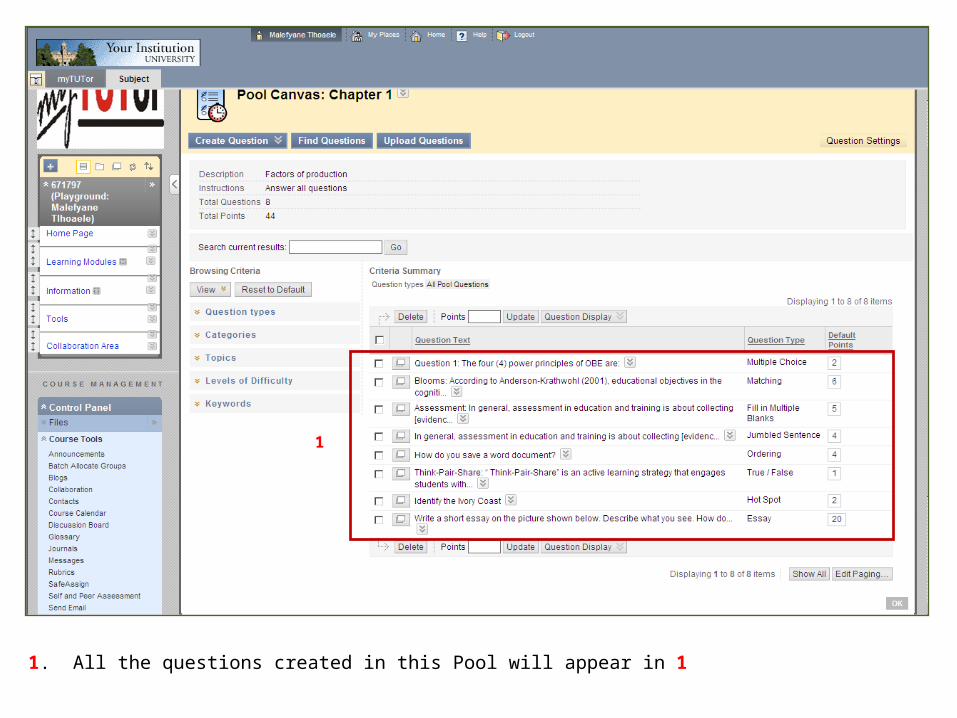
1. All the questions created in this Pool will appear in 1
Making the Test available to students
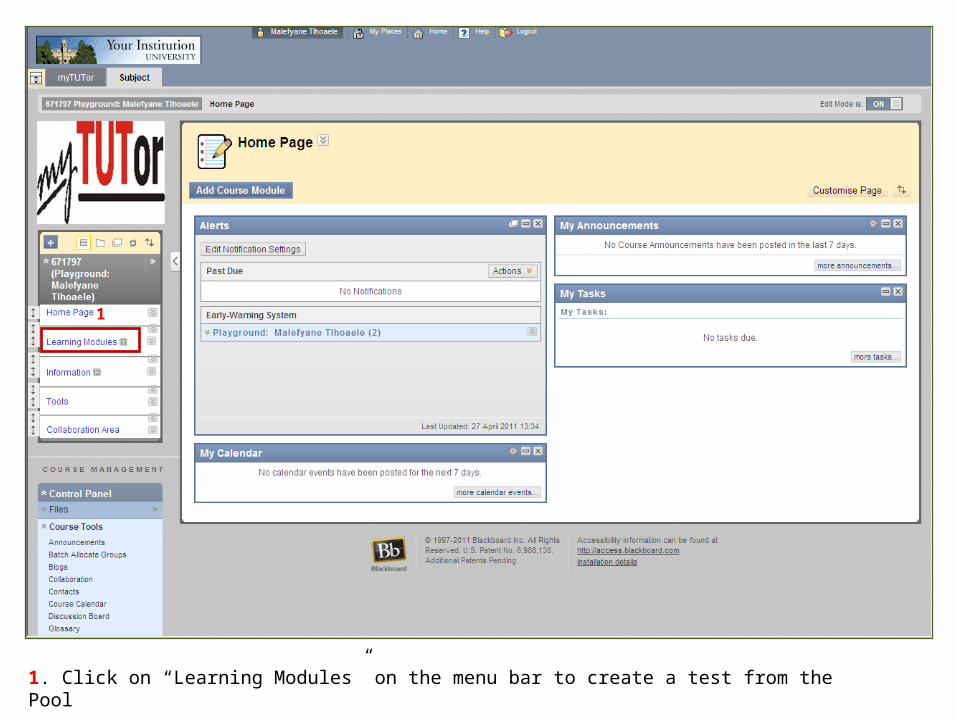
1. Click on “Learning Modules” on the menu bar to create a test from the Pool
1
1
2
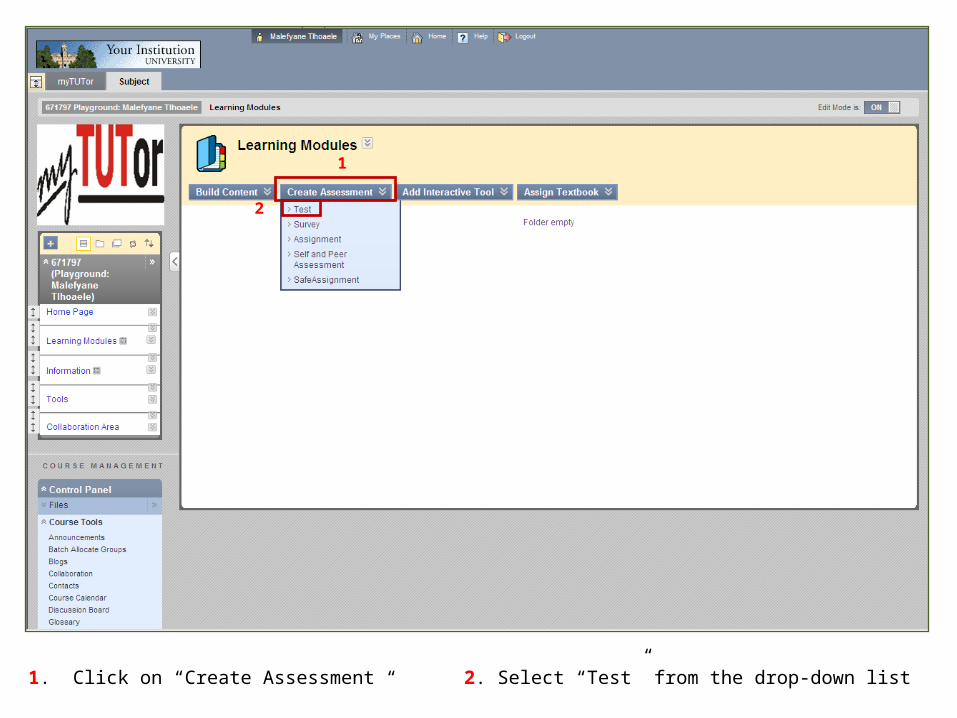
1. Click on “Create Assessment “ 2. Select “Test” from the drop-down list
1
2
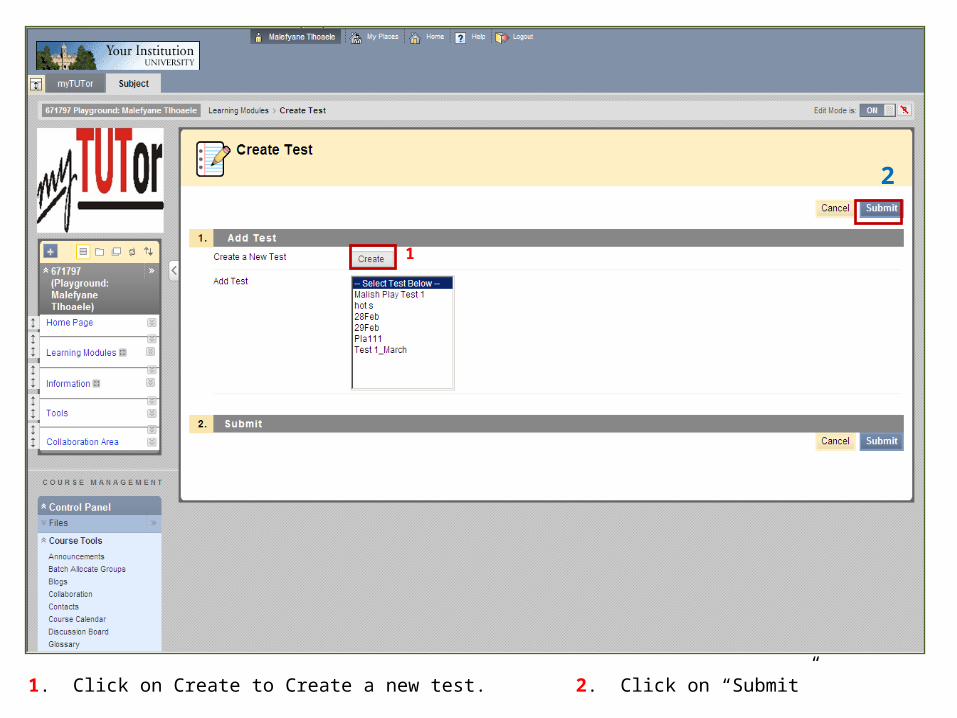
1. Click on Create to Create a new test. 2. Click on “Submit”
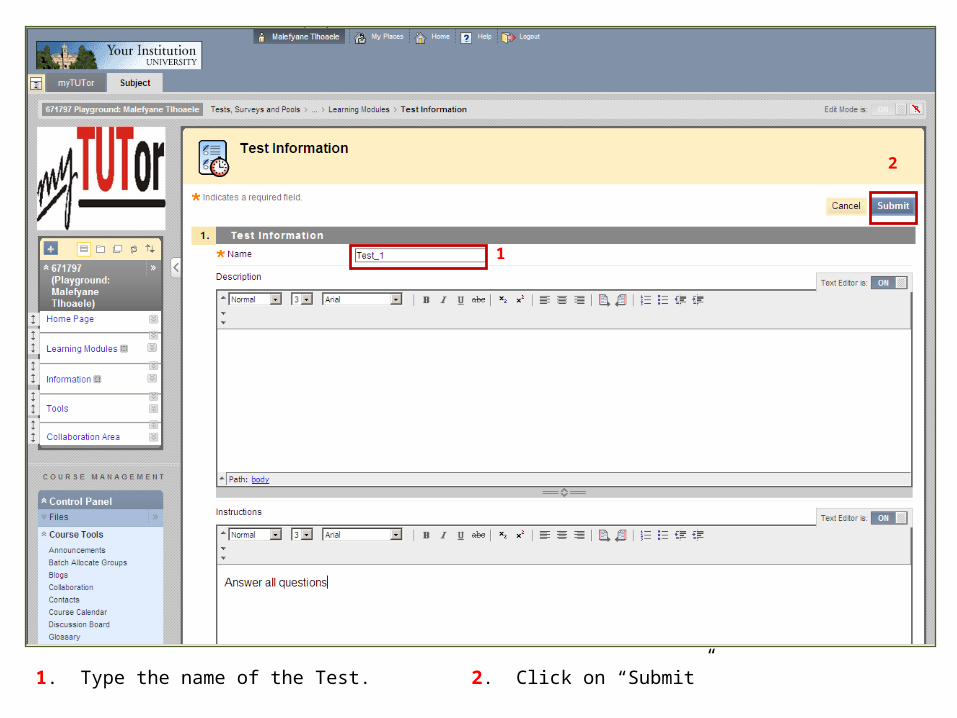
1. Type the name of the Test. 2. Click on “Submit”
1
2
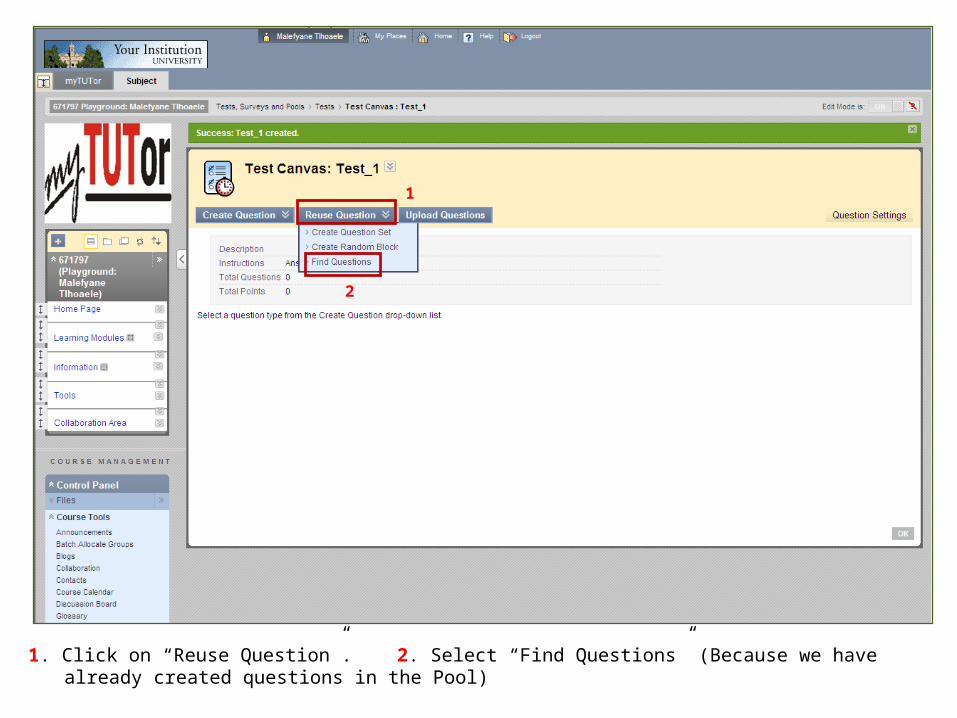
1. Click on “Reuse Question”. 2. Select “Find Questions” (Because we have already created questions in the Pool)
1
2

1. A list of questions from the Pool will appear
1
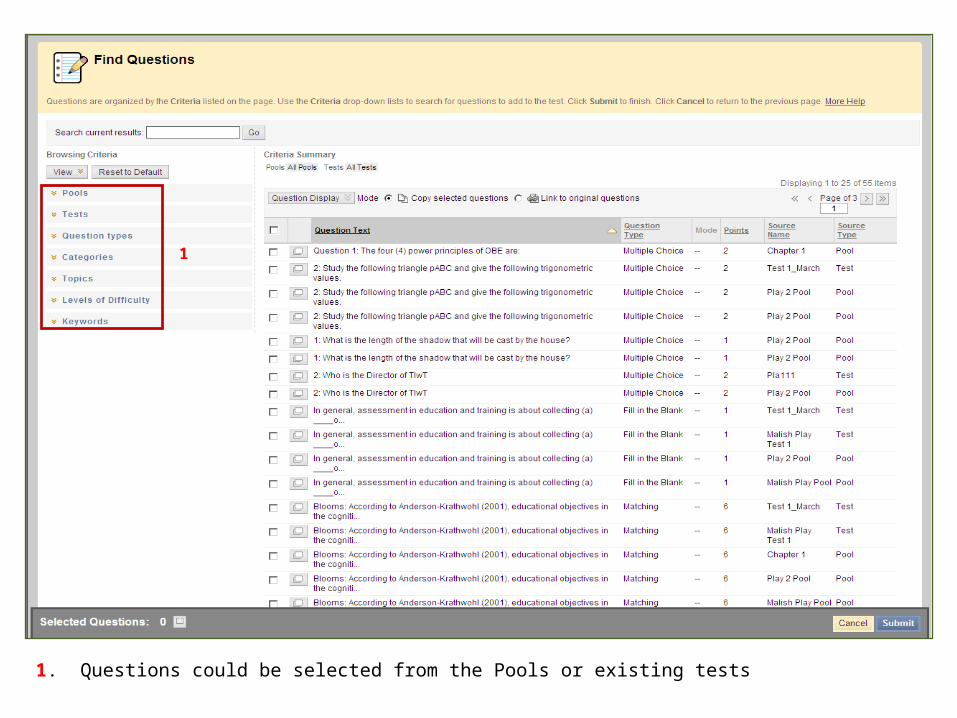
1. Questions could be selected from the Pools or existing tests
1
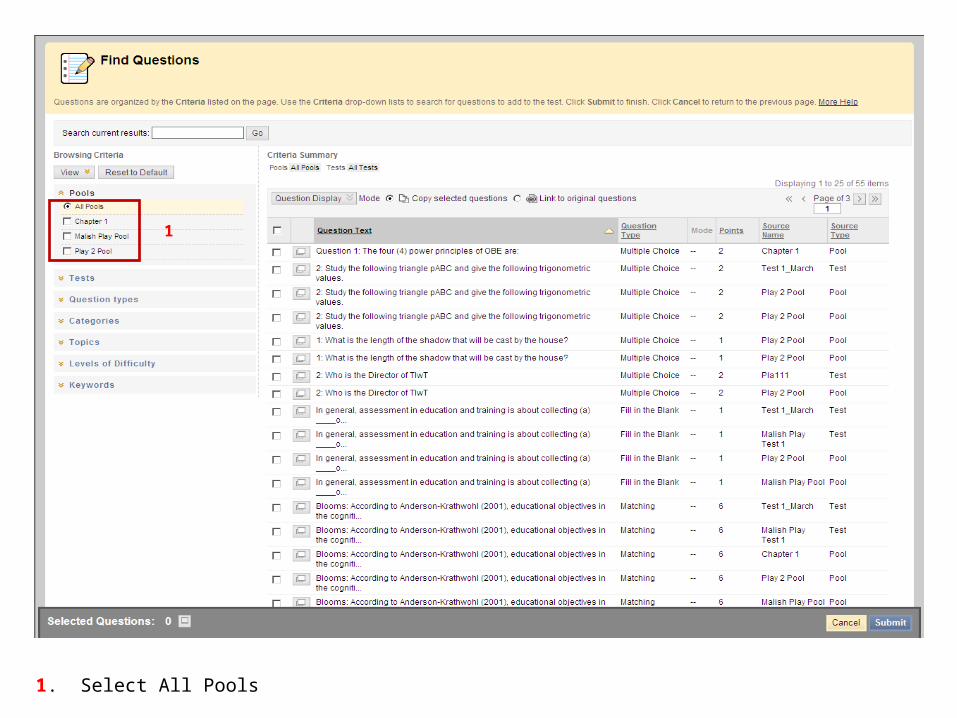
1. Select All Pools
1
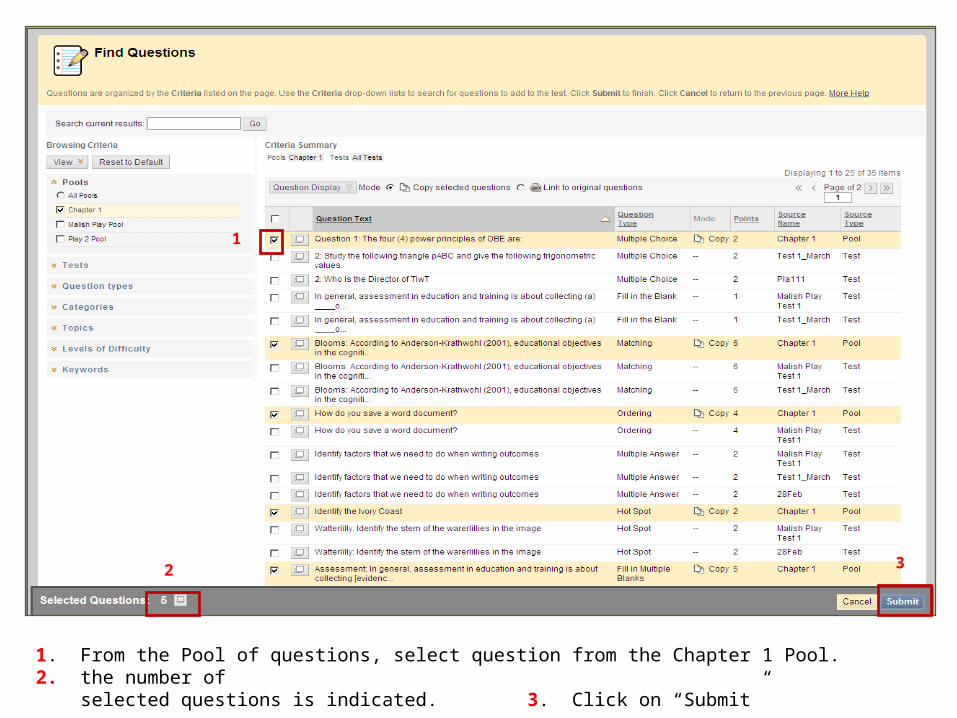
1. From the Pool of questions, select question from the Chapter 1 Pool. 2. the number of selected questions is indicated. 3. Click on “Submit”
1
2 3
1
2
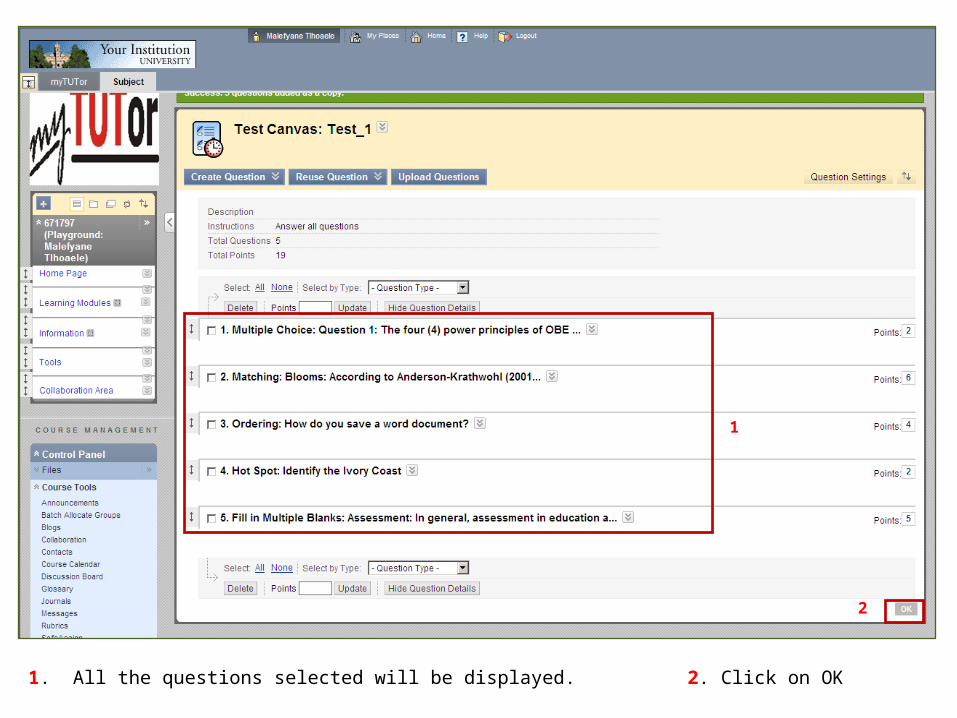
1. All the questions selected will be displayed. 2. Click on OK

1. Select Test_1 from a list of tests. 2. Click on “Submit”
1
2
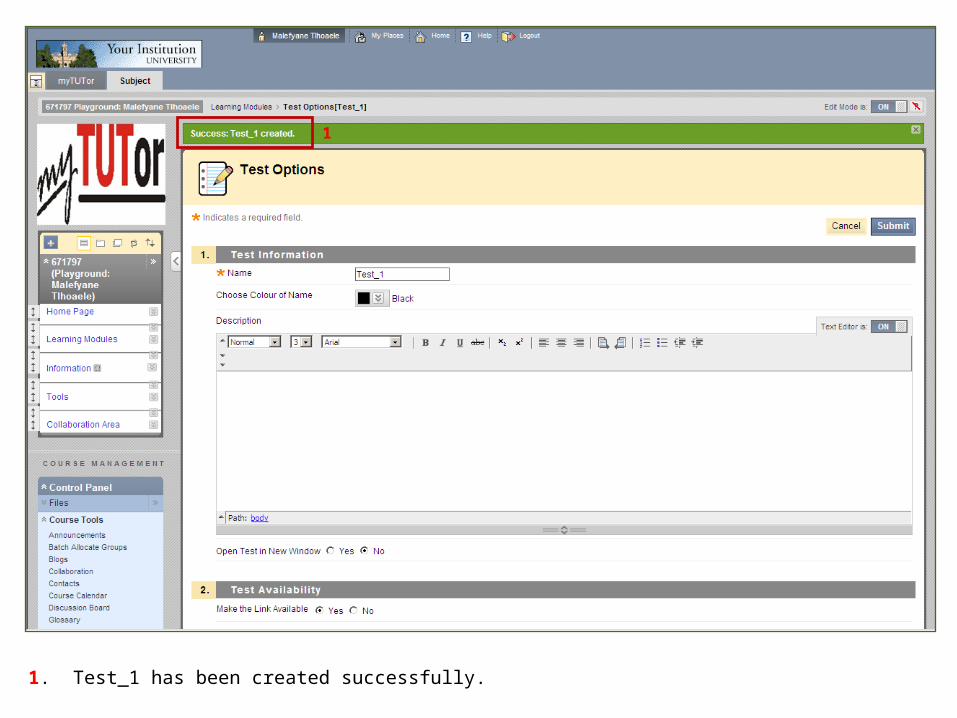
1. Test_1 has been created successfully.
1
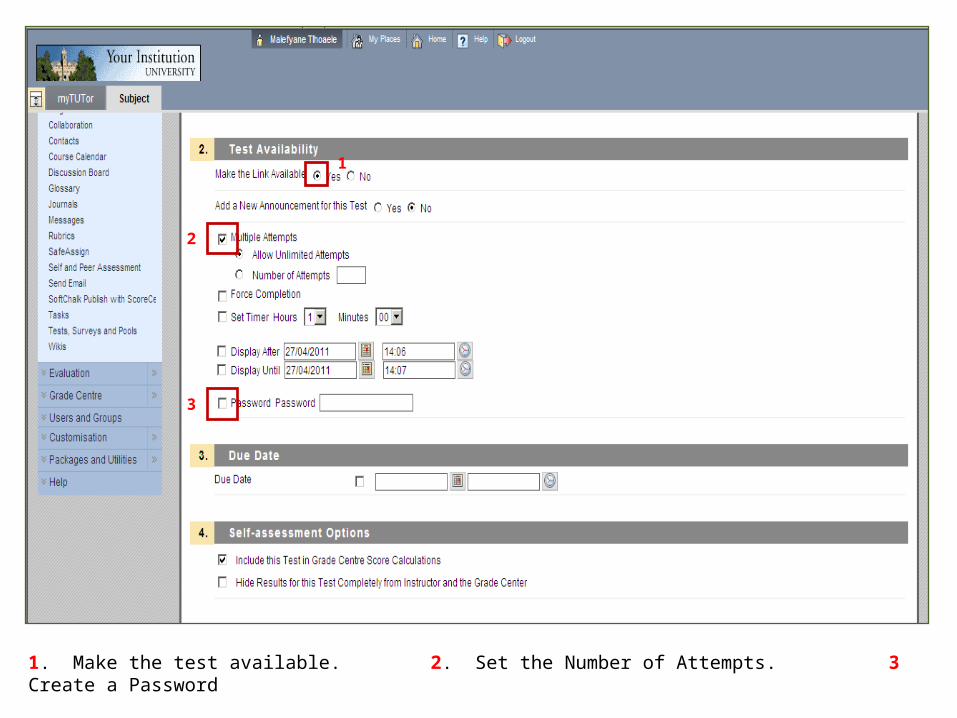
1. Make the test available. 2. Set the Number of Attempts. 3 Create a Password
1
2
3
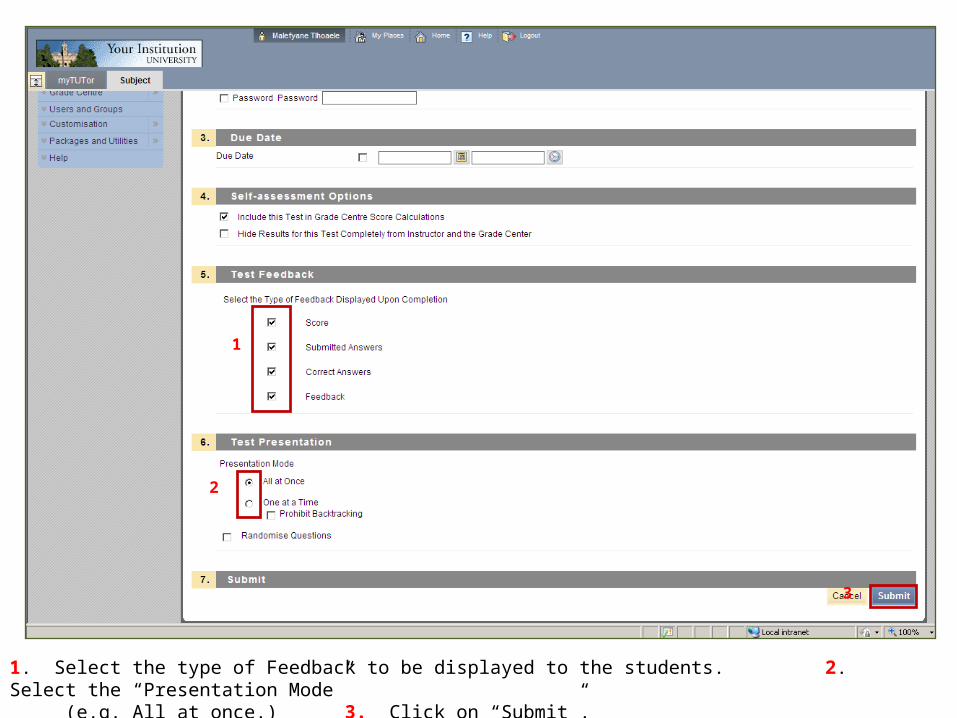
1. Select the type of Feedback to be displayed to the students. 2. Select the “Presentation Mode” (e.g. All at once.) 3. Click on “Submit”.
1
2
3
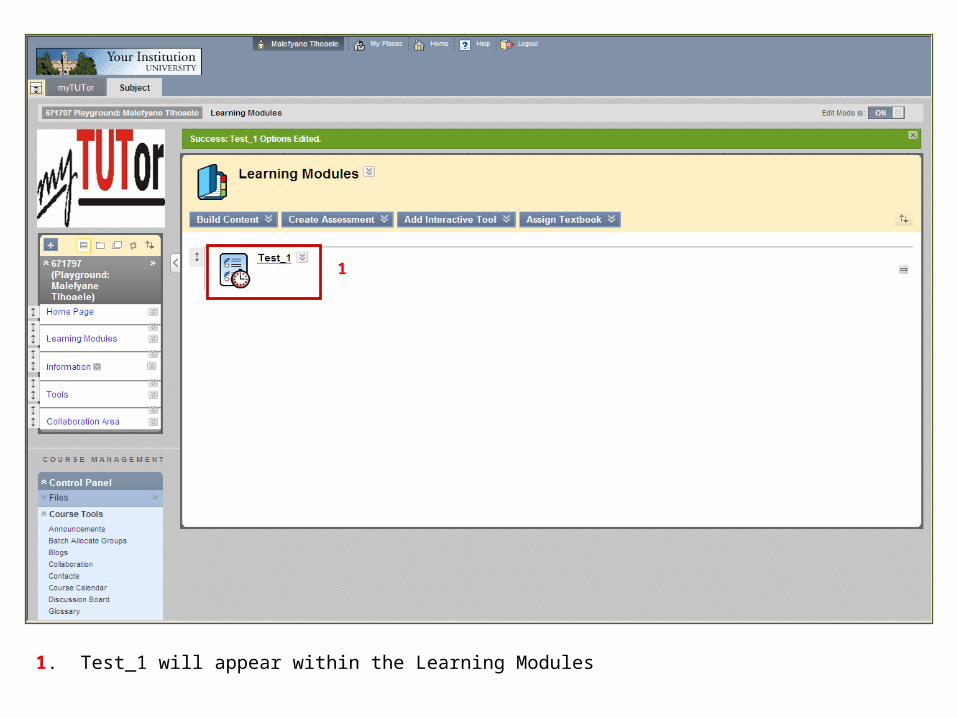
1. Test_1 will appear within the Learning Modules
1

1. To Edit the test, click on the action link
1
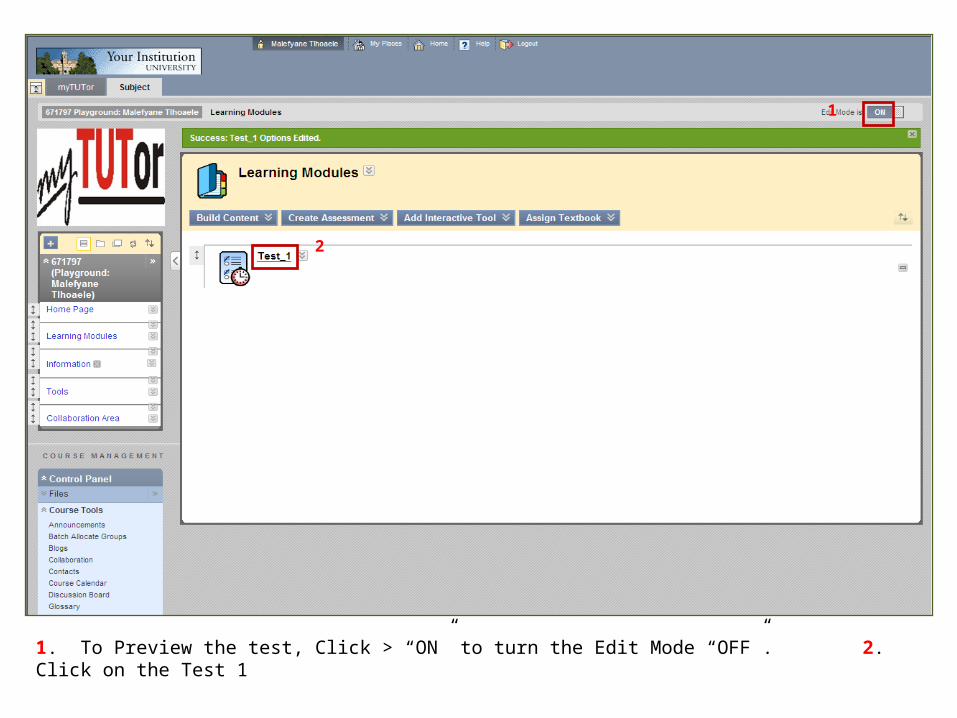
1. To Preview the test, Click > “ON” to turn the Edit Mode “OFF”. 2. Click on the Test 1
1
2
1
2
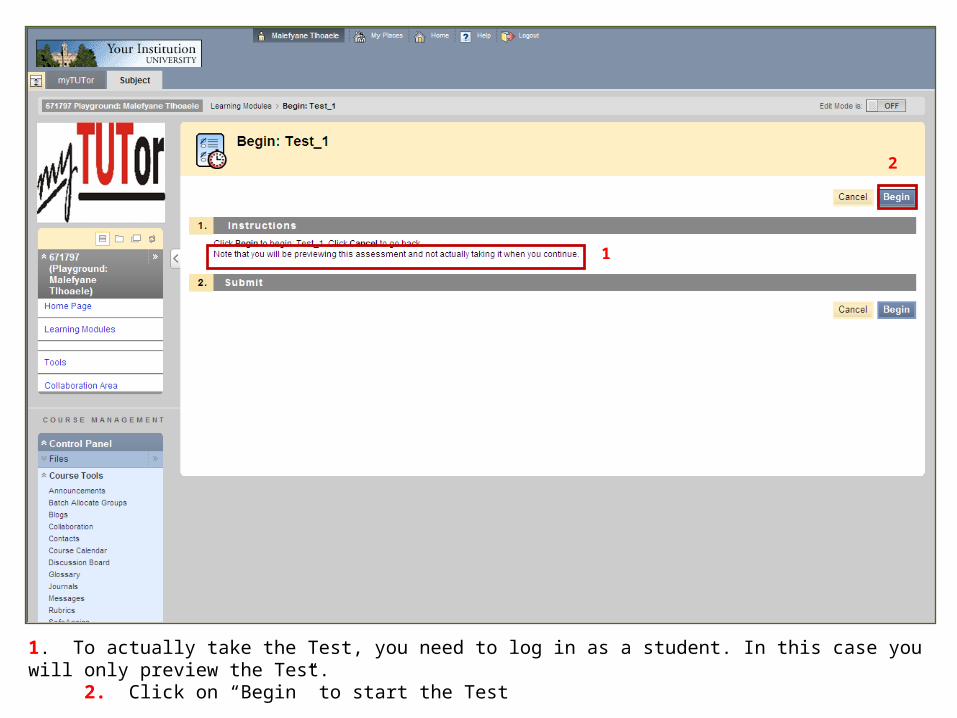
1. To actually take the Test, you need to log in as a student. In this case you will only preview the Test. 2. Click on “Begin” to start the Test
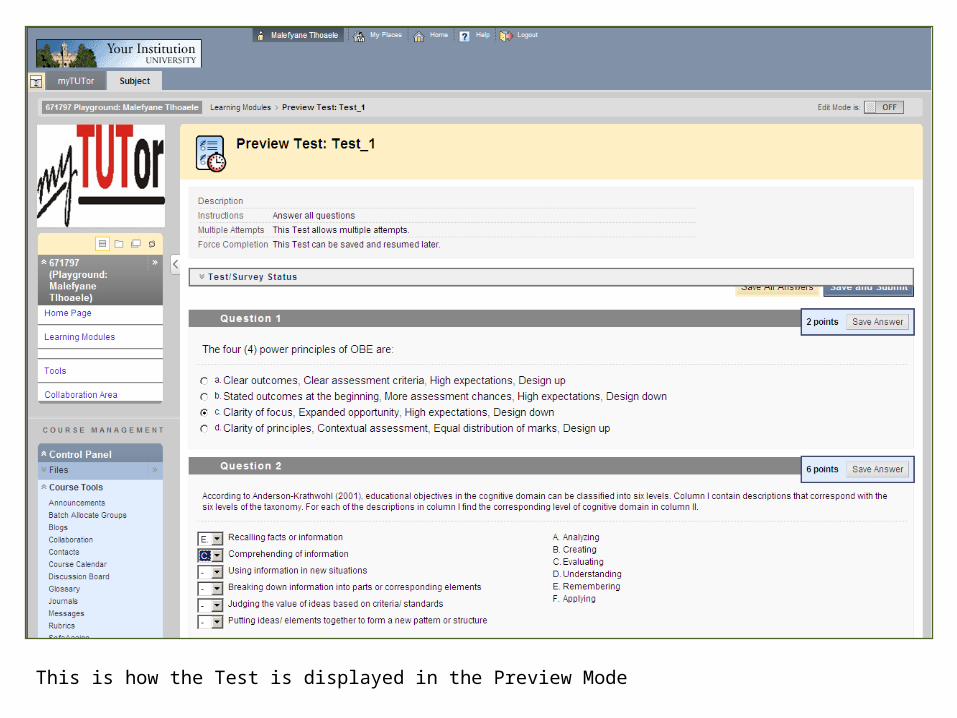
This is how the Test is displayed in the Preview Mode
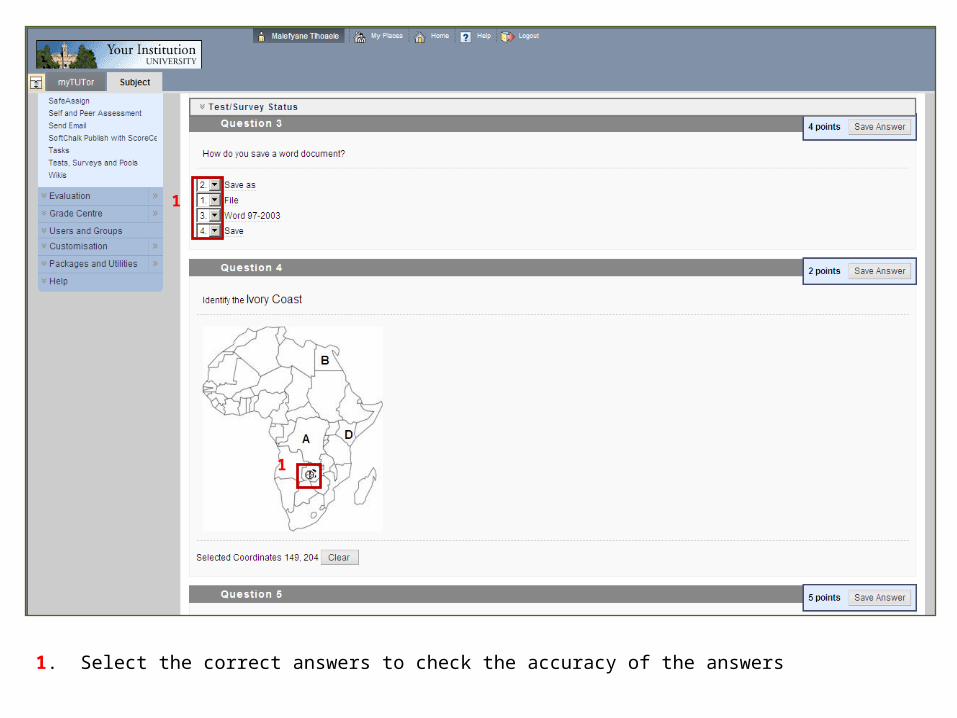
1. Select the correct answers to check the accuracy of the answers
1
1
1
2
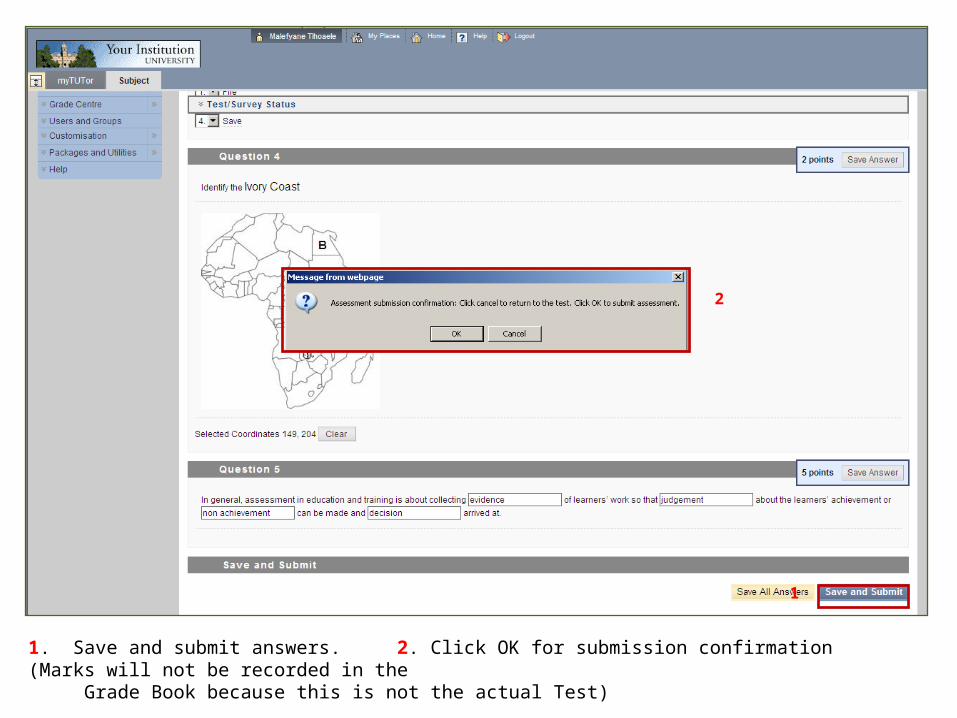
1. Save and submit answers. 2. Click OK for submission confirmation (Marks will not be recorded in the Grade Book because this is not the actual Test)
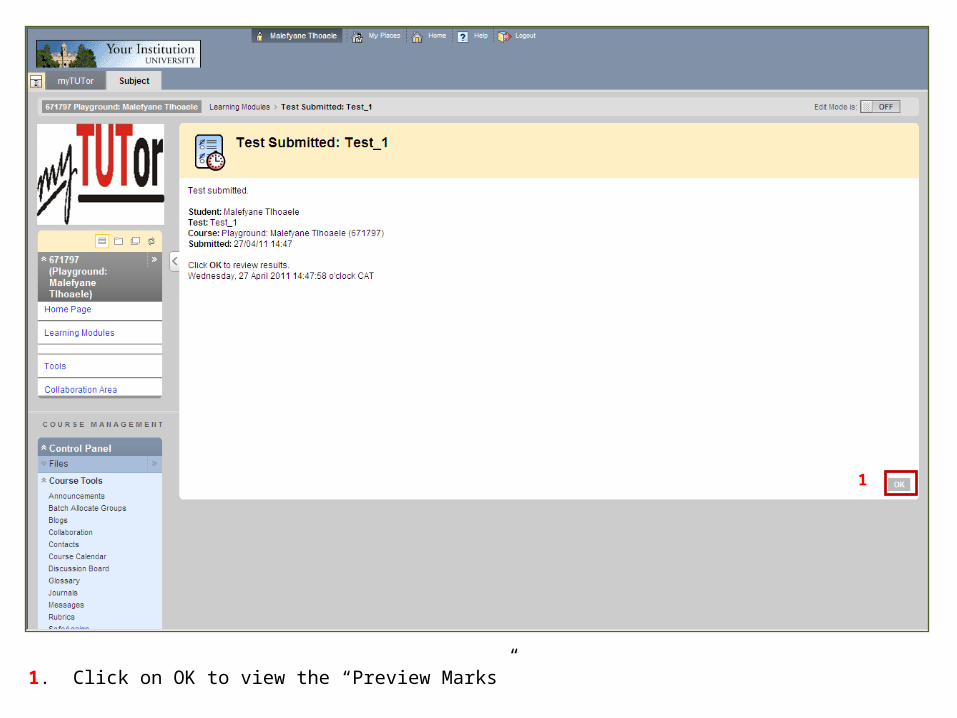
1. Click on OK to view the “Preview Marks”
1
Congratulations!You have successfully:
1. created an assessment in a “Pool”
2. created a test from a “Pool”
3. made assessment available to students and
4. previewed the test