Install Oracle 11g Express (XE) on CentOS
This post will cover basic installation and configuration of Oracle 11g Express Edition (XE) on CentOS.
We will also take a quick look at configuring Application Express(APEX) for 11g XE.
Basic installation is straight forward.
If you just want to get up and running, you can just do steps 1 to 4 below (and 10 and 11 for Apex). The remaining steps (5 to 9)cover basic backup, recovery, and performance configuration.
The full system requirements are here
Your CentOS box should have swap equal to 2xRAM.
On every CentOS installation I have done for XE, I just needed toupdate/install the packages for libaio, bc, and flex.
view plain copy to clipboard print ? 1. [root@ms3 ~]# yum install libaio bc flex
Step 1: Download and Install Oracle 11g XE rpm
You can download the Oracle XE rpm, oracle-xe-11.2.0-1.0.x86_64.rpm.zip, from the OTN here
Unzip oracle-xe-11.2.0-1.0.x86_64.rpm.zip:
view plain copy to clipboard print ? 1. [root@ms3 ~]# unzip -q oracle-xe-11.2.0-1.0.x86_64.rpm.zip
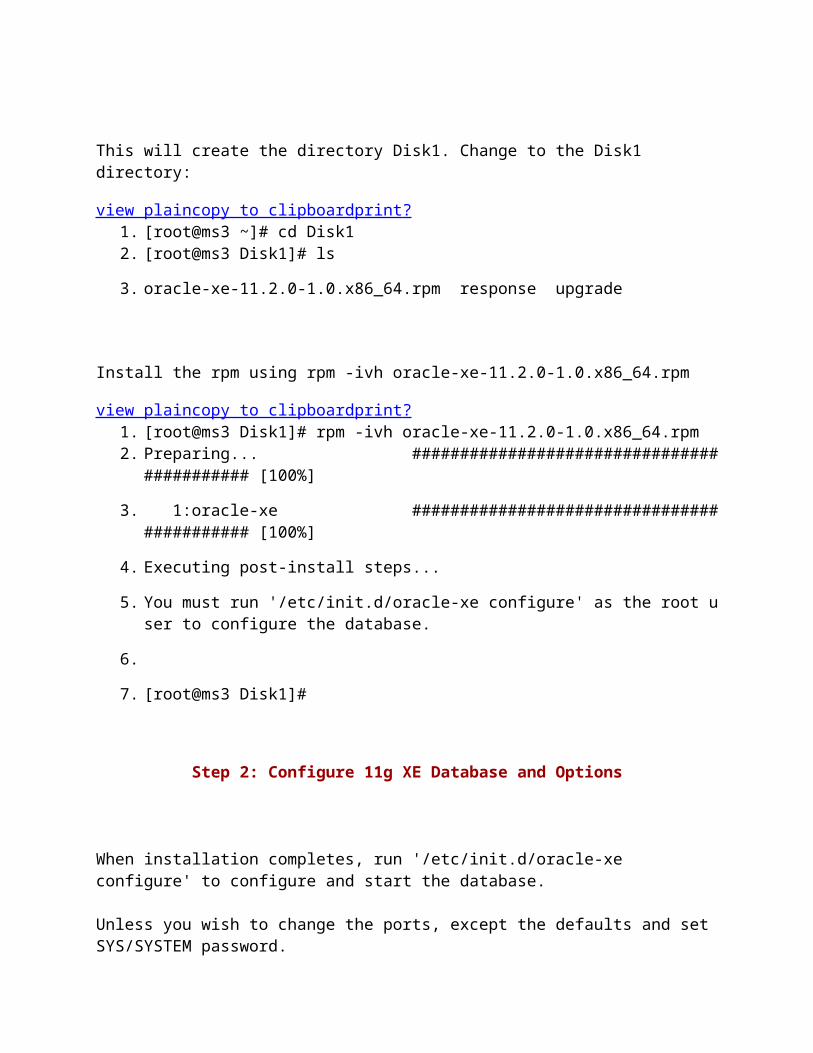
This will create the directory Disk1. Change to the Disk1 directory:
view plain copy to clipboard print ? 1. [root@ms3 ~]# cd Disk1 2. [root@ms3 Disk1]# ls
3. oracle-xe-11.2.0-1.0.x86_64.rpm response upgrade
Install the rpm using rpm -ivh oracle-xe-11.2.0-1.0.x86_64.rpm
view plain copy to clipboard print ? 1. [root@ms3 Disk1]# rpm -ivh oracle-xe-11.2.0-1.0.x86_64.rpm 2. Preparing... ################################
########### [100%]
3. 1:oracle-xe ########################################### [100%]
4. Executing post-install steps...
5. You must run '/etc/init.d/oracle-xe configure' as the root user to configure the database.
6.
7. [root@ms3 Disk1]#
Step 2: Configure 11g XE Database and Options
When installation completes, run '/etc/init.d/oracle-xe configure' to configure and start the database.
Unless you wish to change the ports, except the defaults and set SYS/SYSTEM password.
view plain copy to clipboard print ? 1. [root@ms3 Disk1]# /etc/init.d/oracle-xe configure 2.
3. Oracle Database 11g Express Edition Configuration
4. -------------------------------------------------
5. This will configure on-boot properties of Oracle Database 11g Express
6. Edition. The following questions will determine whether the database should
7. be starting upon system boot, the ports it will use, and the passwords that
8. will be used for database accounts. Press <enter> to accept the defaults.
9. Ctrl-C will abort.
10.
11. Specify the HTTP port that will be used for Oracle Application Express [8080]:
12.
13. Specify a port that will be used for the database listener [1521]:
14.
15. Specify a password to be used for database accounts. Note that the same
16. password will be used for SYS and SYSTEM. Oracle recommends the use of
17. different passwords for each database account. This can be done after
18. initial configuration:
19. Confirm the password:
20.
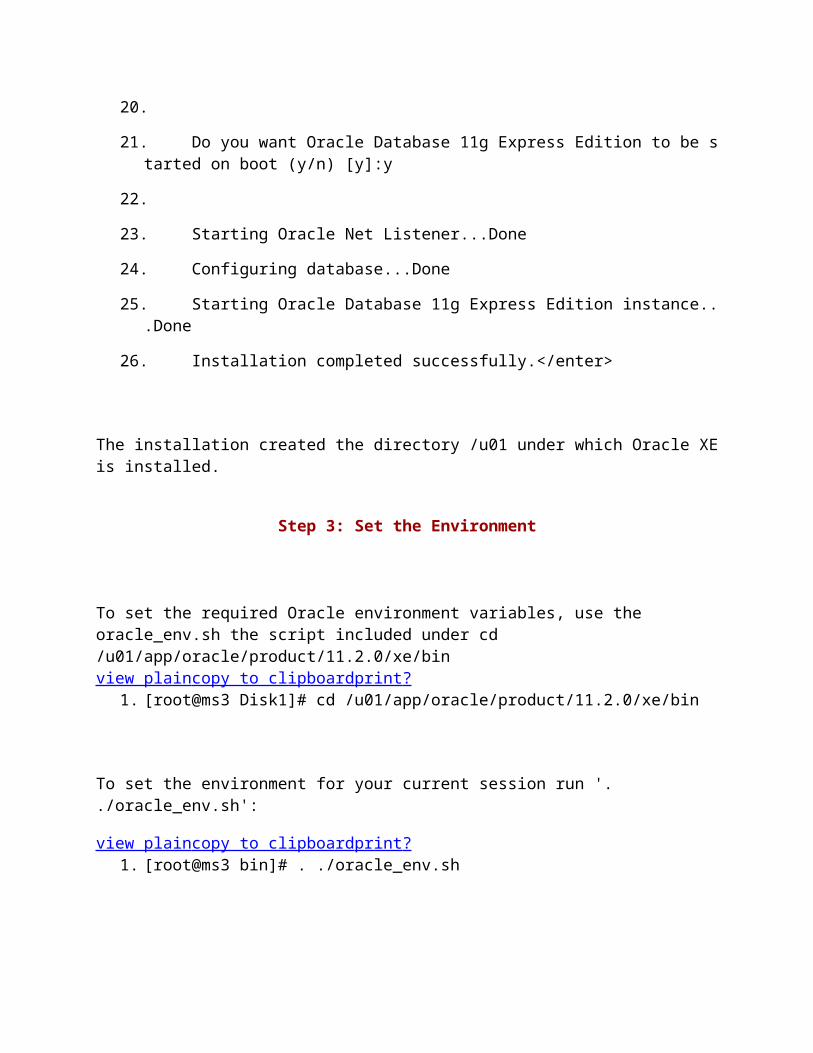
21. Do you want Oracle Database 11g Express Edition to be started on boot (y/n) [y]:y
22.
23. Starting Oracle Net Listener...Done
24. Configuring database...Done
25. Starting Oracle Database 11g Express Edition instance...Done
26. Installation completed successfully.</enter>
The installation created the directory /u01 under which Oracle XEis installed.
Step 3: Set the Environment
To set the required Oracle environment variables, use the oracle_env.sh the script included under cd /u01/app/oracle/product/11.2.0/xe/bin view plain copy to clipboard print ?
1. [root@ms3 Disk1]# cd /u01/app/oracle/product/11.2.0/xe/bin
To set the environment for your current session run '. ./oracle_env.sh':
view plain copy to clipboard print ? 1. [root@ms3 bin]# . ./oracle_env.sh
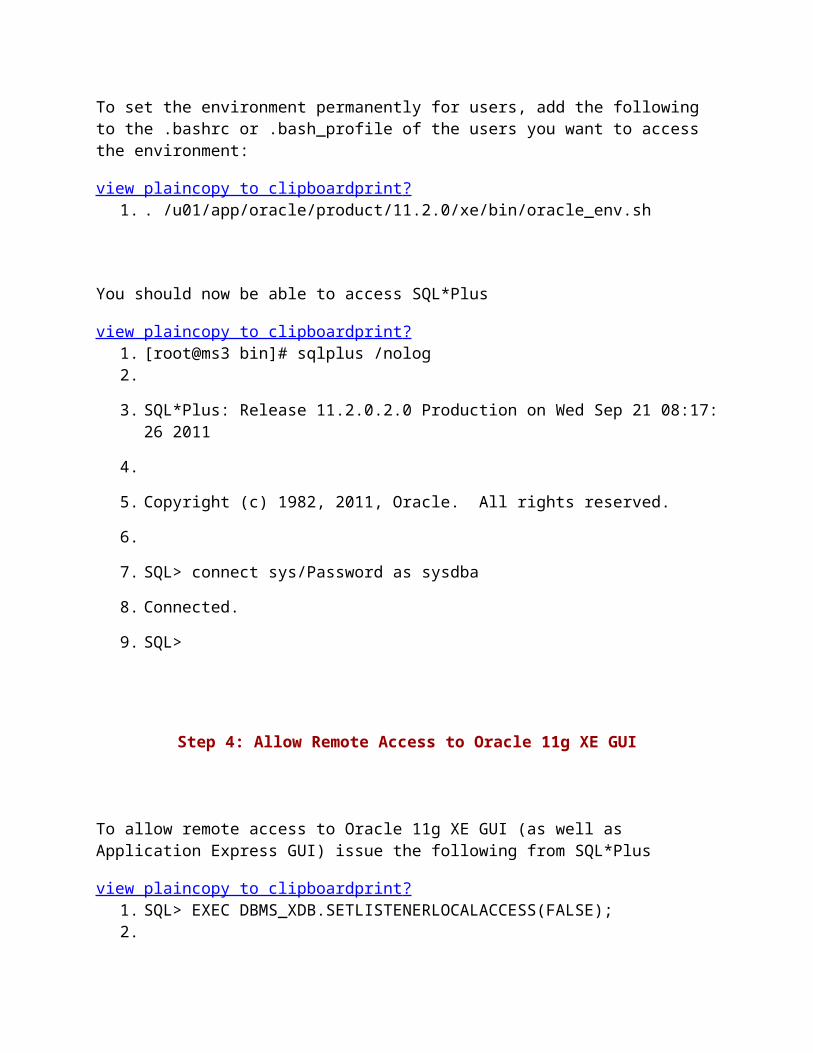
To set the environment permanently for users, add the following to the .bashrc or .bash_profile of the users you want to access the environment:
view plain copy to clipboard print ? 1. . /u01/app/oracle/product/11.2.0/xe/bin/oracle_env.sh
You should now be able to access SQL*Plus
view plain copy to clipboard print ? 1. [root@ms3 bin]# sqlplus /nolog 2.
3. SQL*Plus: Release 11.2.0.2.0 Production on Wed Sep 21 08:17:26 2011
4.
5. Copyright (c) 1982, 2011, Oracle. All rights reserved.
6.
7. SQL> connect sys/Password as sysdba
8. Connected.
9. SQL>
Step 4: Allow Remote Access to Oracle 11g XE GUI
To allow remote access to Oracle 11g XE GUI (as well as Application Express GUI) issue the following from SQL*Plus
view plain copy to clipboard print ? 1. SQL> EXEC DBMS_XDB.SETLISTENERLOCALACCESS(FALSE); 2.
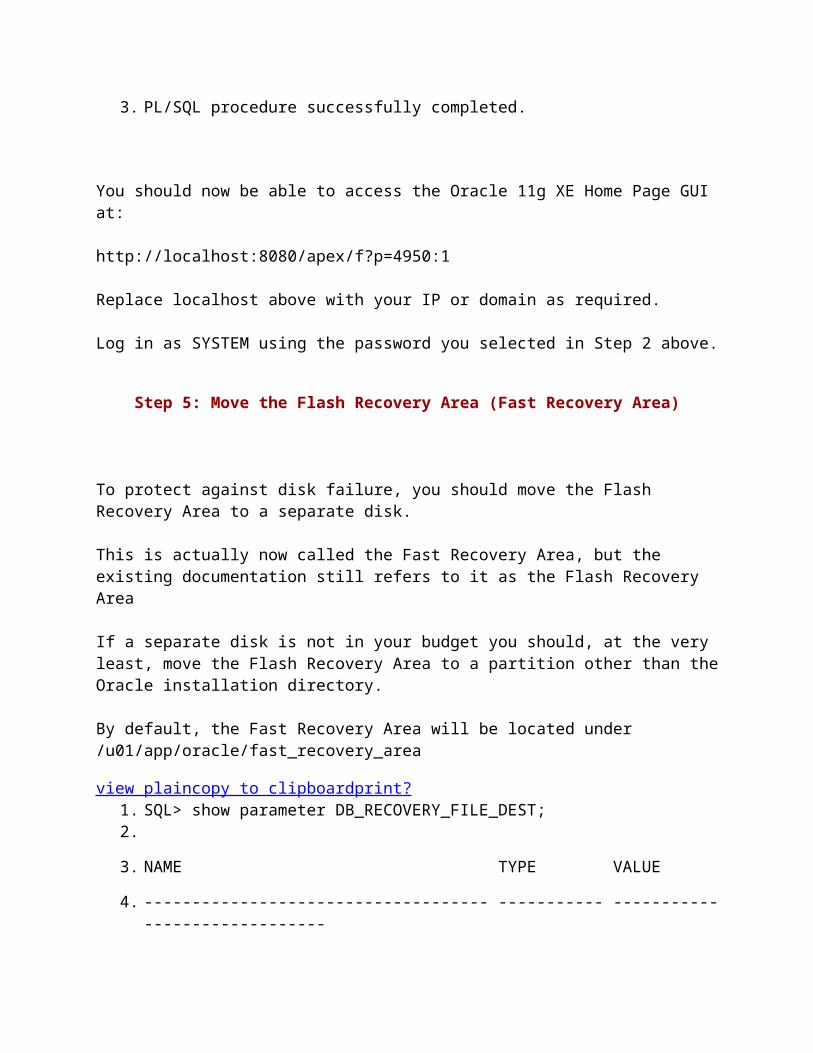
3. PL/SQL procedure successfully completed.
You should now be able to access the Oracle 11g XE Home Page GUI at:
http://localhost:8080/apex/f?p=4950:1
Replace localhost above with your IP or domain as required.
Log in as SYSTEM using the password you selected in Step 2 above.
Step 5: Move the Flash Recovery Area (Fast Recovery Area)
To protect against disk failure, you should move the Flash Recovery Area to a separate disk.
This is actually now called the Fast Recovery Area, but the existing documentation still refers to it as the Flash Recovery Area
If a separate disk is not in your budget you should, at the very least, move the Flash Recovery Area to a partition other than theOracle installation directory.
By default, the Fast Recovery Area will be located under /u01/app/oracle/fast_recovery_area
view plain copy to clipboard print ? 1. SQL> show parameter DB_RECOVERY_FILE_DEST; 2.
3. NAME TYPE VALUE
4. ------------------------------------ ----------- ------------------------------

5. db_recovery_file_dest string /u01/app/oracle/fast_recovery_area
6. db_recovery_file_dest_size big integer 10G
7. SQL>
So, to move it elsewhere, first create the new directory
view plain copy to clipboard print ? 1. [root@ms3 ~]# mkdir /opt/fra
Change the owner to oracle and the group to dba
view plain copy to clipboard print ? 1. [root@ms3 ~]# chown oracle:dba /opt/fra
Now, change the DB_RECOVERY_FILE_DEST to the location you selected above.
view plain copy to clipboard print ? 1. SQL> ALTER SYSTEM SET DB_RECOVERY_FILE_DEST = '/opt/fra'; 2.
3. System altered.
4.
5. SQL>
To move the files use the movelog.sql script: view plain copy to clipboard print ?
1. SQL> @?/sqlplus/admin/movelogs 2. SQL> SET FEEDBACK 1
3. SQL> SET NUMWIDTH 10
4. SQL> SET LINESIZE 80
5. SQL> SET TRIMSPOOL ON
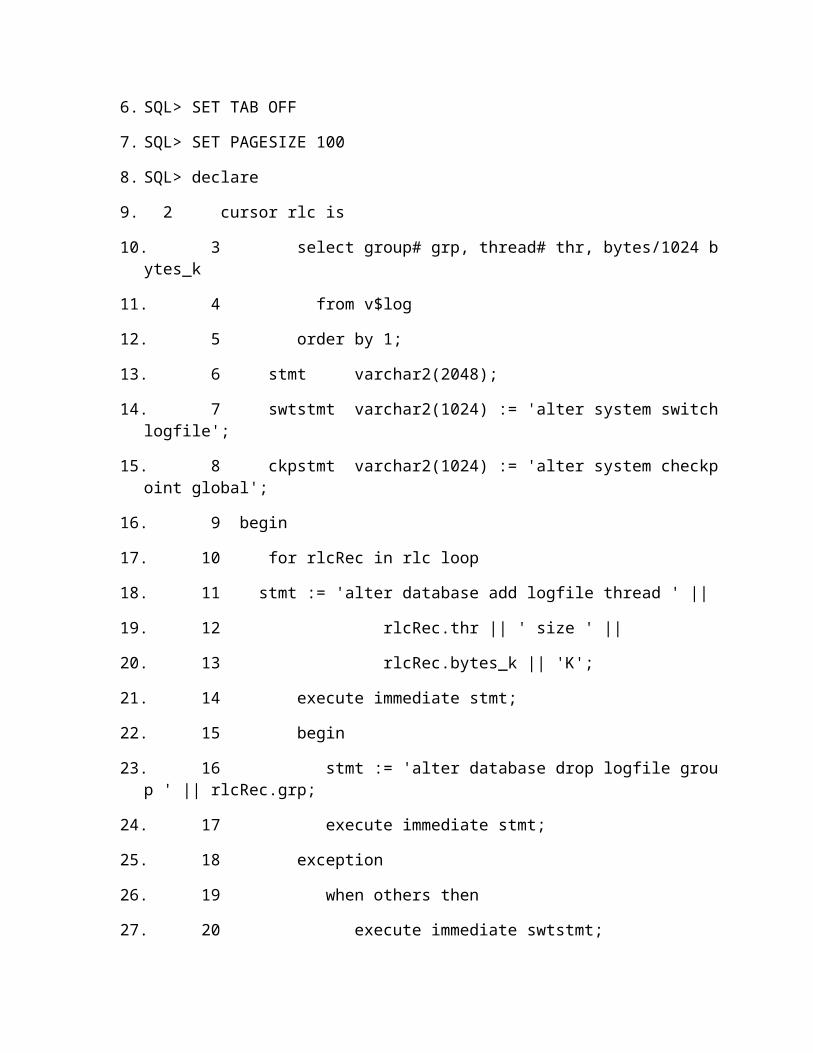
6. SQL> SET TAB OFF
7. SQL> SET PAGESIZE 100
8. SQL> declare
9. 2 cursor rlc is
10. 3 select group# grp, thread# thr, bytes/1024 bytes_k
11. 4 from v$log
12. 5 order by 1;
13. 6 stmt varchar2(2048);
14. 7 swtstmt varchar2(1024) := 'alter system switch logfile';
15. 8 ckpstmt varchar2(1024) := 'alter system checkpoint global';
16. 9 begin
17. 10 for rlcRec in rlc loop
18. 11 stmt := 'alter database add logfile thread ' ||
19. 12 rlcRec.thr || ' size ' ||
20. 13 rlcRec.bytes_k || 'K';
21. 14 execute immediate stmt;
22. 15 begin
23. 16 stmt := 'alter database drop logfile group ' || rlcRec.grp;
24. 17 execute immediate stmt;
25. 18 exception
26. 19 when others then
27. 20 execute immediate swtstmt;
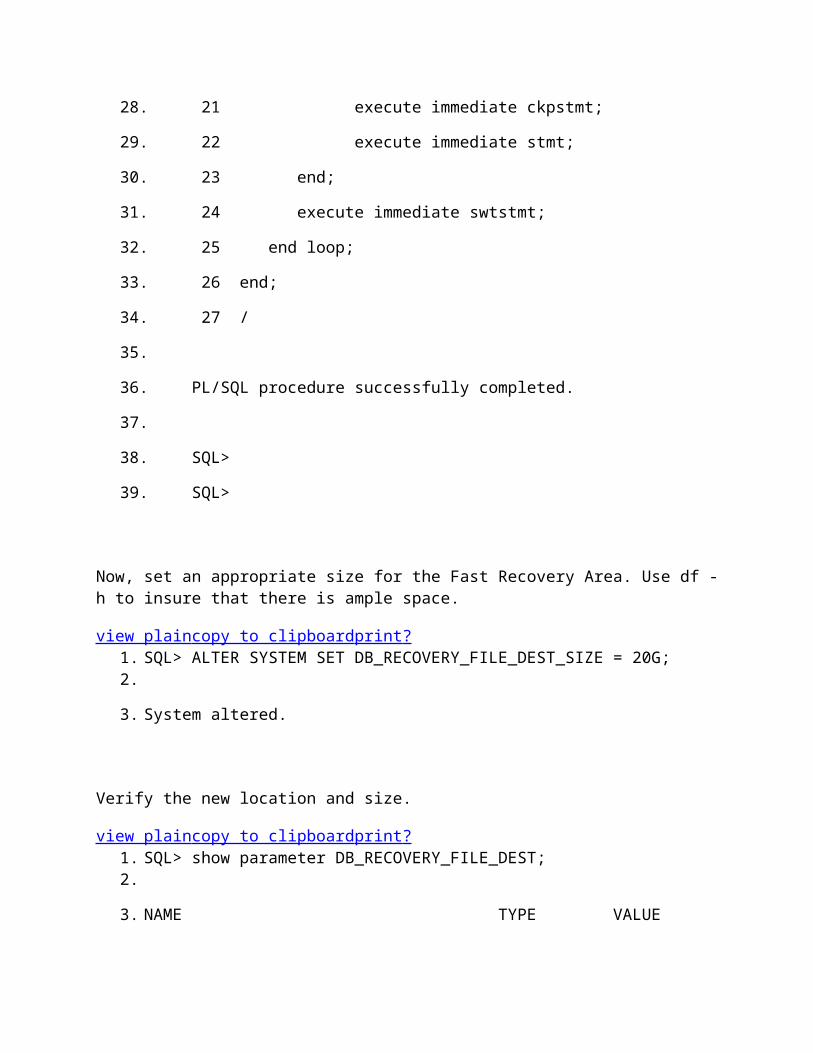
28. 21 execute immediate ckpstmt;
29. 22 execute immediate stmt;
30. 23 end;
31. 24 execute immediate swtstmt;
32. 25 end loop;
33. 26 end;
34. 27 /
35.
36. PL/SQL procedure successfully completed.
37.
38. SQL>
39. SQL>
Now, set an appropriate size for the Fast Recovery Area. Use df -h to insure that there is ample space.
view plain copy to clipboard print ? 1. SQL> ALTER SYSTEM SET DB_RECOVERY_FILE_DEST_SIZE = 20G; 2.
3. System altered.
Verify the new location and size.
view plain copy to clipboard print ? 1. SQL> show parameter DB_RECOVERY_FILE_DEST; 2.
3. NAME TYPE VALUE
4. ------------------------------------ ----------- ------------------------------
5. db_recovery_file_dest string /opt/fra
6. db_recovery_file_dest_size big integer 20G
7. SQL>
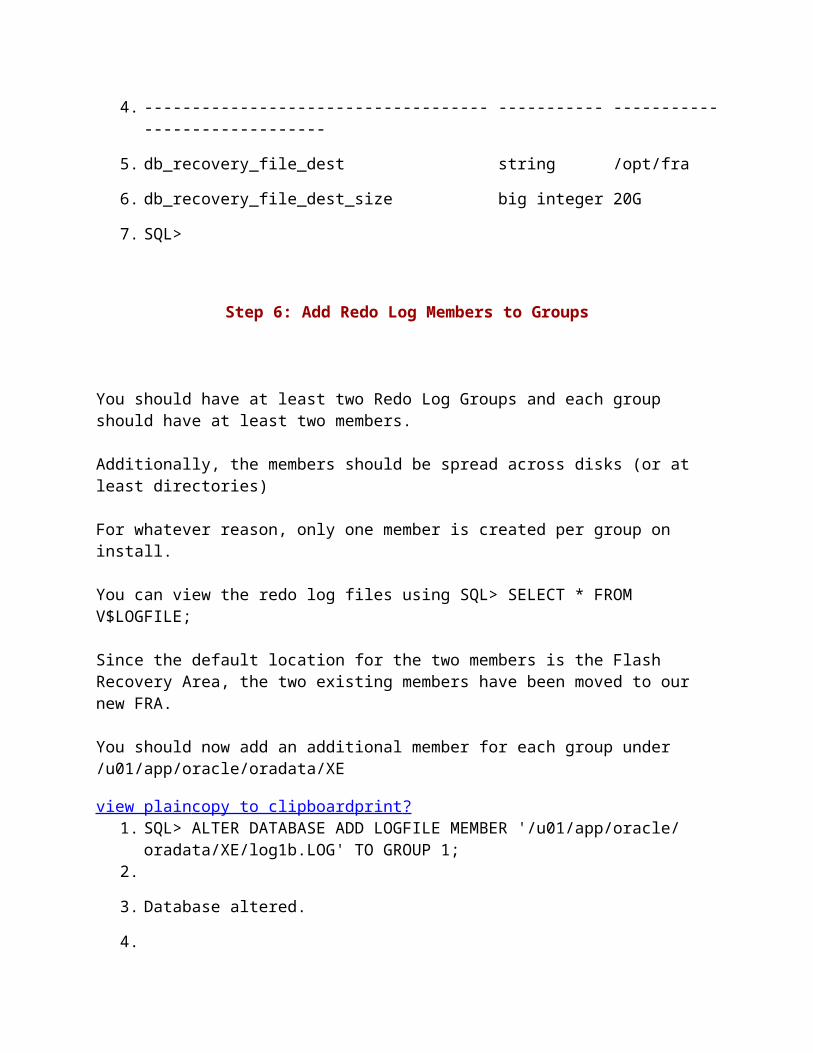
Step 6: Add Redo Log Members to Groups
You should have at least two Redo Log Groups and each group should have at least two members.
Additionally, the members should be spread across disks (or at least directories)
For whatever reason, only one member is created per group on install.
You can view the redo log files using SQL> SELECT * FROM V$LOGFILE;
Since the default location for the two members is the Flash Recovery Area, the two existing members have been moved to our new FRA.
You should now add an additional member for each group under /u01/app/oracle/oradata/XE
view plain copy to clipboard print ? 1. SQL> ALTER DATABASE ADD LOGFILE MEMBER '/u01/app/oracle/
oradata/XE/log1b.LOG' TO GROUP 1; 2.
3. Database altered.
4.
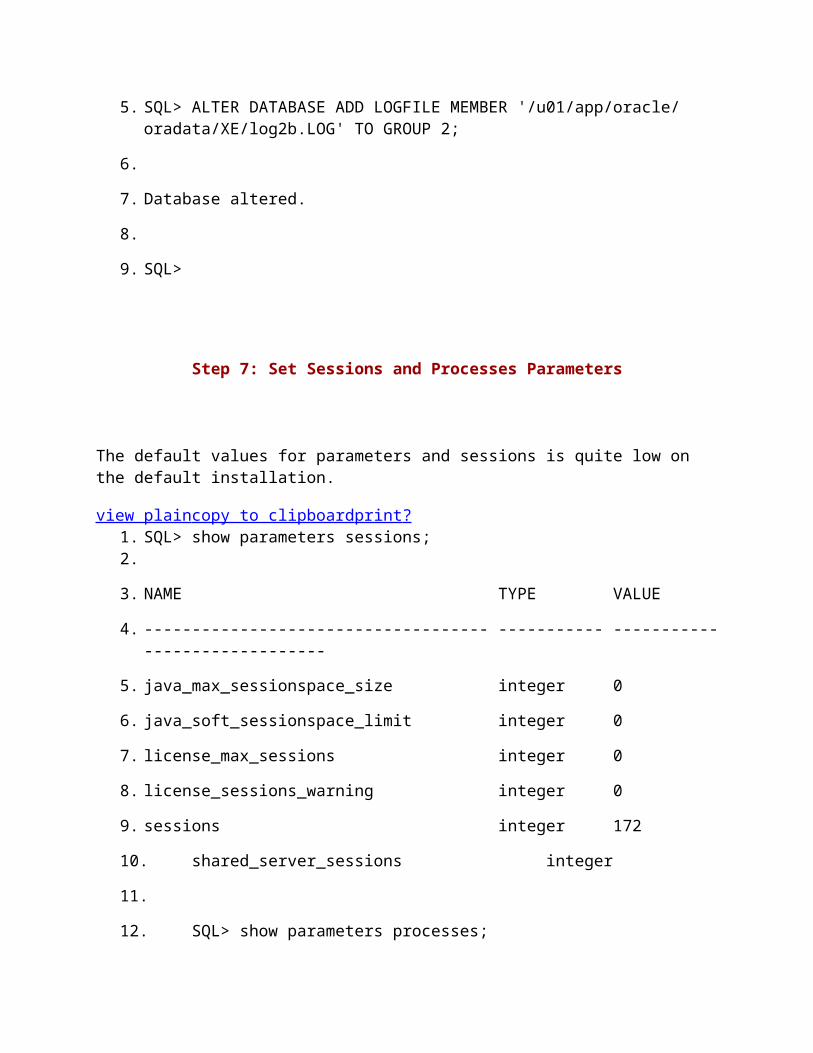
5. SQL> ALTER DATABASE ADD LOGFILE MEMBER '/u01/app/oracle/oradata/XE/log2b.LOG' TO GROUP 2;
6.
7. Database altered.
8.
9. SQL>
Step 7: Set Sessions and Processes Parameters
The default values for parameters and sessions is quite low on the default installation.
view plain copy to clipboard print ? 1. SQL> show parameters sessions; 2.
3. NAME TYPE VALUE
4. ------------------------------------ ----------- ------------------------------
5. java_max_sessionspace_size integer 0
6. java_soft_sessionspace_limit integer 0
7. license_max_sessions integer 0
8. license_sessions_warning integer 0
9. sessions integer 172
10. shared_server_sessions integer
11.
12. SQL> show parameters processes;

13.
14. NAME TYPE VALUE
15. ------------------------------------ ----------- ------------------------------
16. aq_tm_processes integer 0
17. db_writer_processes integer 1
18. gcs_server_processes integer 0
19. global_txn_processes integer 1
20. job_queue_processes integer 4
21. log_archive_max_processes integer 4
22. processes integer 100
You can increase these parameters.
After each change, you will need to restart the database.
Increase sessions and then bounce database.
view plain copy to clipboard print ? 1. SQL> alter system set sessions=250 scope=spfile; 2.
3. System altered.
4.
5. SQL> shutdown immediate
6. Database closed.
7. Database dismounted.
8. ORACLE instance shut down.
9. SQL> startup
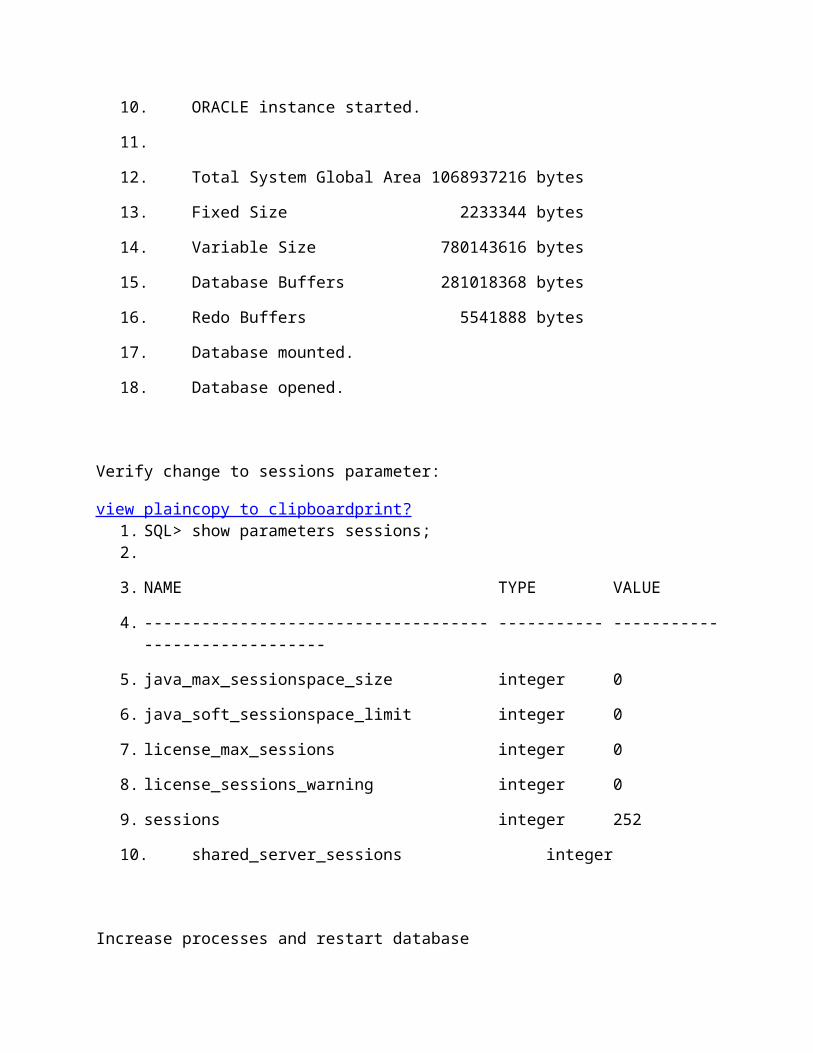
10. ORACLE instance started.
11.
12. Total System Global Area 1068937216 bytes
13. Fixed Size 2233344 bytes
14. Variable Size 780143616 bytes
15. Database Buffers 281018368 bytes
16. Redo Buffers 5541888 bytes
17. Database mounted.
18. Database opened.
Verify change to sessions parameter:
view plain copy to clipboard print ? 1. SQL> show parameters sessions; 2.
3. NAME TYPE VALUE
4. ------------------------------------ ----------- ------------------------------
5. java_max_sessionspace_size integer 0
6. java_soft_sessionspace_limit integer 0
7. license_max_sessions integer 0
8. license_sessions_warning integer 0
9. sessions integer 252
10. shared_server_sessions integer
Increase processes and restart database
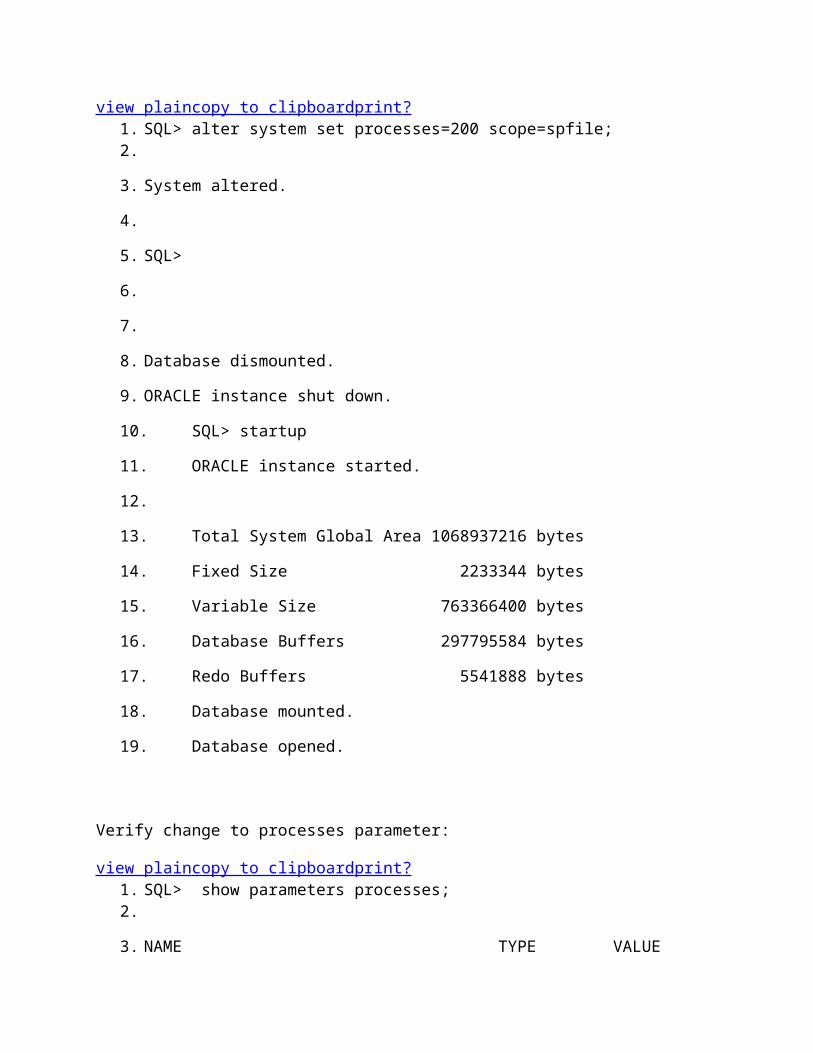
view plain copy to clipboard print ? 1. SQL> alter system set processes=200 scope=spfile; 2.
3. System altered.
4.
5. SQL>
6.
7.
8. Database dismounted.
9. ORACLE instance shut down.
10. SQL> startup
11. ORACLE instance started.
12.
13. Total System Global Area 1068937216 bytes
14. Fixed Size 2233344 bytes
15. Variable Size 763366400 bytes
16. Database Buffers 297795584 bytes
17. Redo Buffers 5541888 bytes
18. Database mounted.
19. Database opened.
Verify change to processes parameter:
view plain copy to clipboard print ? 1. SQL> show parameters processes; 2.
3. NAME TYPE VALUE

4. ------------------------------------ ----------- ------------------------------
5. aq_tm_processes integer 0
6. db_writer_processes integer 1
7. gcs_server_processes integer 0
8. global_txn_processes integer 1
9. job_queue_processes integer 4
10. log_archive_max_processes integer 4
11. processes integer 200
12. SQL>
Step 8: Enable Archivelog Mode
To enable online or "hot" backups, Archivelog Mode must be enabled.
Additionally, if you do not enable Archivelog Mode and take only offline or "cold" backups, should you need to restore the database you will only be able to restore to the last backup
To enable Archivelog Mode, shutdown the database and then startupmount:
view plain copy to clipboard print ? 1. SQL> shutdown immediate 2. Database closed.
3. Database dismounted.
4. ORACLE instance shut down.
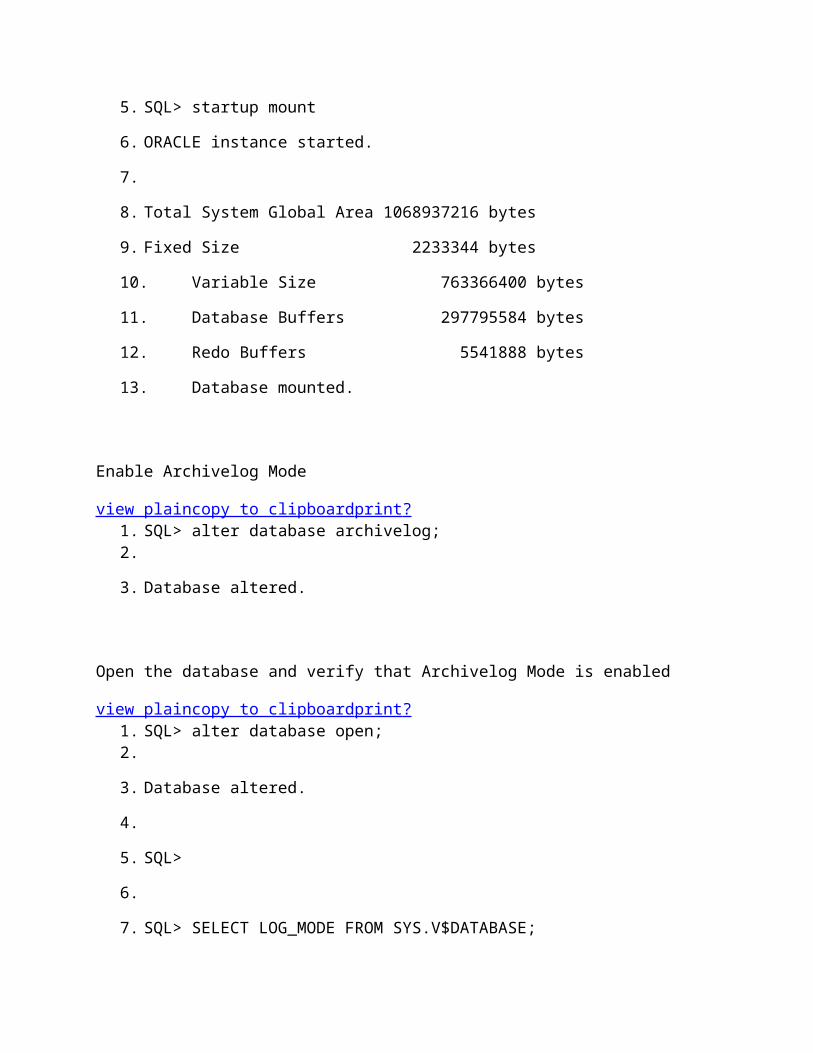
5. SQL> startup mount
6. ORACLE instance started.
7.
8. Total System Global Area 1068937216 bytes
9. Fixed Size 2233344 bytes
10. Variable Size 763366400 bytes
11. Database Buffers 297795584 bytes
12. Redo Buffers 5541888 bytes
13. Database mounted.
Enable Archivelog Mode
view plain copy to clipboard print ? 1. SQL> alter database archivelog; 2.
3. Database altered.
Open the database and verify that Archivelog Mode is enabled
view plain copy to clipboard print ? 1. SQL> alter database open; 2.
3. Database altered.
4.
5. SQL>
6.
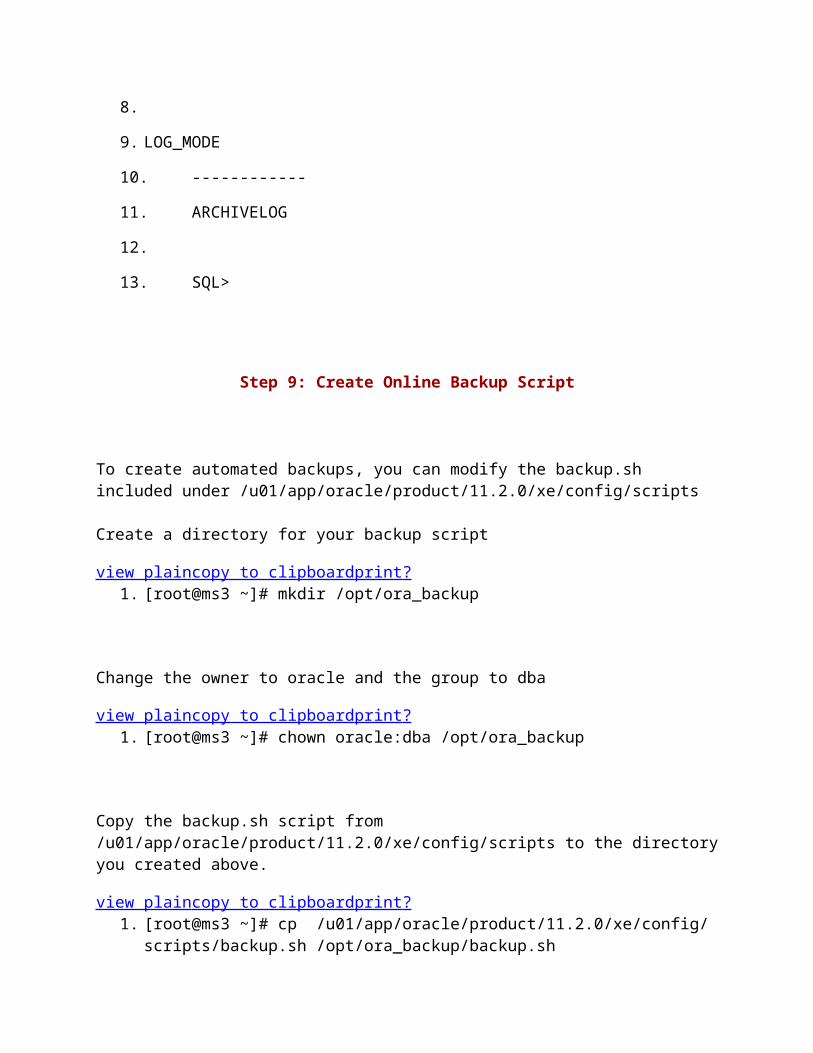
7. SQL> SELECT LOG_MODE FROM SYS.V$DATABASE;
8.
9. LOG_MODE
10. ------------
11. ARCHIVELOG
12.
13. SQL>
Step 9: Create Online Backup Script
To create automated backups, you can modify the backup.sh included under /u01/app/oracle/product/11.2.0/xe/config/scripts
Create a directory for your backup script
view plain copy to clipboard print ? 1. [root@ms3 ~]# mkdir /opt/ora_backup
Change the owner to oracle and the group to dba
view plain copy to clipboard print ? 1. [root@ms3 ~]# chown oracle:dba /opt/ora_backup
Copy the backup.sh script from /u01/app/oracle/product/11.2.0/xe/config/scripts to the directoryyou created above.
view plain copy to clipboard print ? 1. [root@ms3 ~]# cp /u01/app/oracle/product/11.2.0/xe/config/
scripts/backup.sh /opt/ora_backup/backup.sh
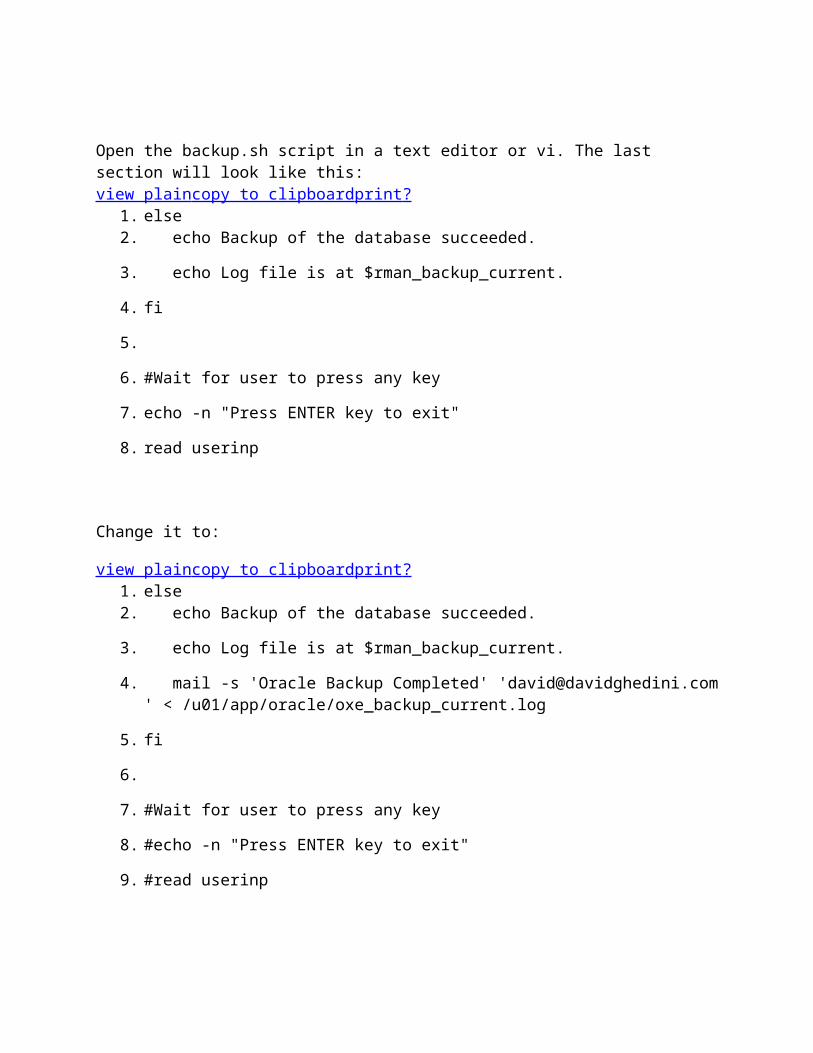
Open the backup.sh script in a text editor or vi. The last section will look like this: view plain copy to clipboard print ?
1. else 2. echo Backup of the database succeeded.
3. echo Log file is at $rman_backup_current.
4. fi
5.
6. #Wait for user to press any key
7. echo -n "Press ENTER key to exit"
8. read userinp
Change it to:
view plain copy to clipboard print ? 1. else 2. echo Backup of the database succeeded.
3. echo Log file is at $rman_backup_current.
4. mail -s 'Oracle Backup Completed' '[email protected]' < /u01/app/oracle/oxe_backup_current.log
5. fi
6.
7. #Wait for user to press any key
8. #echo -n "Press ENTER key to exit"
9. #read userinp
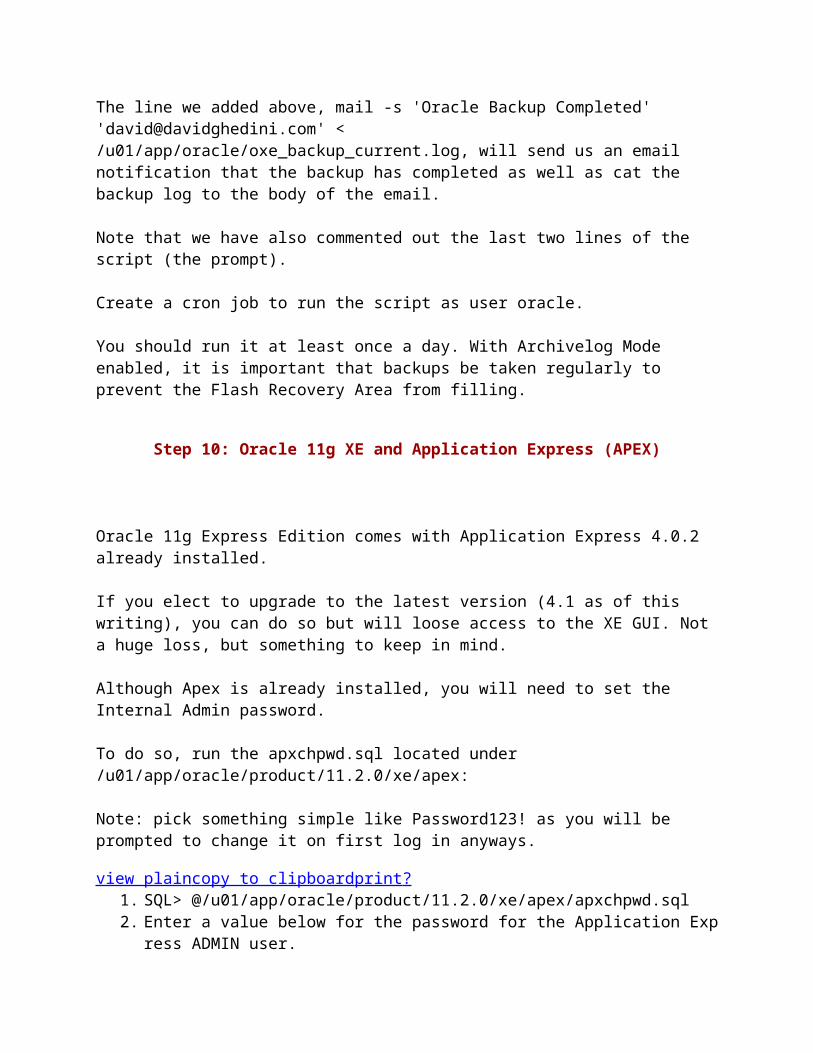
The line we added above, mail -s 'Oracle Backup Completed' '[email protected]' < /u01/app/oracle/oxe_backup_current.log, will send us an email notification that the backup has completed as well as cat the backup log to the body of the email.
Note that we have also commented out the last two lines of the script (the prompt).
Create a cron job to run the script as user oracle.
You should run it at least once a day. With Archivelog Mode enabled, it is important that backups be taken regularly to prevent the Flash Recovery Area from filling.
Step 10: Oracle 11g XE and Application Express (APEX)
Oracle 11g Express Edition comes with Application Express 4.0.2 already installed.
If you elect to upgrade to the latest version (4.1 as of this writing), you can do so but will loose access to the XE GUI. Not a huge loss, but something to keep in mind.
Although Apex is already installed, you will need to set the Internal Admin password.
To do so, run the apxchpwd.sql located under /u01/app/oracle/product/11.2.0/xe/apex:
Note: pick something simple like Password123! as you will be prompted to change it on first log in anyways.
view plain copy to clipboard print ? 1. SQL> @/u01/app/oracle/product/11.2.0/xe/apex/apxchpwd.sql 2. Enter a value below for the password for the Application Exp
ress ADMIN user.
3.
4.
5. Enter a password for the ADMIN user []
6.
7. Session altered.
8.
9. ...changing password for ADMIN
10.
11. PL/SQL procedure successfully completed.
12.
13.
14. Commit complete.
15.
16. SQL>
You can access the Application Express GUI at:
http://localhost:8080/apex/f?p=4550:1
Replace localhost above with your IP or domain as required.
Workspace: InternalUser Name: adminPassword: (whatever you selected above).
Alternatively, you can access via
http://localhost:8080/apex/f?p=4550:10 or http://localhost:8080/apex/apex_admin
Again, replace localhost above with your IP or domain as required.
Step 11: Oracle 11g XE: Configure EPG or Apex Listener
Unless you have a license for Oracle HTTP Server (OHS), your options are the embedded PLSQL Gateway (EPG) or Apex Listener.
The Application Express that comes installed with Oracle 11g XE is configured using the EPG.
While the EPG is simpler than Apex Listener, it can be painfully slow as of Apex 3.2.
Apex Listener, while quite fast, adds an extra layer of complexity.
You will need to install an application server to run Apex Listener.
I have run Apex Listener on both Tomcat (unsupported) as well as Oracle GlassFish 3.x (supported) and was not impressed with either.
A lot of people who know far more than I do about APEX (read: 99.9999% of the population) like the Apex Listener.
Apex Listener and it's installation guide can be found here.
The Apex Listener installation guide is well done and simple to follow.
If you need to install Oracle GlassFish or GlassFish CE (basic installation is the same), you can use my GlassFish 3.1 instructions here.
If you want to be an outlaw and use Tomcat, you can use my Tomcat6 installation guide here. or my Tomcat 7 installation guide here..
Posted at 03:54AM Sep 25, 2011 by David in Oracle | Comments[9]| Tags: centos oracle | Export to: |
Comments:
Hi David, Just wanted to thank you for the great content on your website. Definitely useful in my day-to-day geekiness. Take care,CJ @cjtravis
Posted by CJ Travis on December 05, 2011 at 01:59 PM CST #
Excellent tutorial. Just need to add how to set ORACLE_HOME and ORACLE_SID environment variables. Also check that listener.ora uses XE as default for ORACLE_SID in order to use sqlplus withoutproblems.
Posted by Antonio Sobalvarro on March 09, 2012 at 02:13 PM CST #
Excellent write up.. very well compiled info.. will re-blog on myBlog site !!
Posted by Yohan on September 09, 2012 at 01:51 AM CDT #
Excellent!! Thank You!I only found a small error in step 5:

the location of the script movelogs is not in @?/sqlplus/admin/movelogs but @?/rdbms/admin/movelogs Worked great!
Contoh Install yg lainnya :
Installing Oracle XE Database onCentOSPosted on April 6, 2013 by richard
Once you satisfy the login requirements for Oracle’s site, you can download their “Express” Database, which from their License Agreement for that DB sofware, can only be run/used in the following manner:
Any use of the Oracle Database Express Edition is subject to the following limitations;1. Express Edition is limited to a single instance on any server;2. Express Edition may be installed on a multiple CPU server, butmay only be executed on one processor in any server;3. Express Edition may only be used to support up to 11GB of userdata (not including Express Edition system data);4. Express Edition may use up to 1 GB RAM of available memory.
We offer a number of 1GB+ RAM VPS Plans and once you’ve downloaded the Oracle Express DB distriubtion .zip file, the following describes getting it installed and running on a CentOS 5.9 64-bit VPS.
1) Install and ensure Prerequisites
yum install libaio bc flex
You also need to have twice as much RAM configured as Swap space to the CentOS system. So if you have a 1GB RAM VPS, then Oracle XE’s installer requires that you need (at least) 2GB of Swap configured to the system.
A quick way to add Swap space is to use a “swap file” in the filesystem, commands like:
dd if=/dev/zero of=/var/swap.file count=2000000 bs=1024chmod go= /var/swap.filemkswap /var/swap.file
echo "/var/swap.file swap swap defaults 0 0" >> /etc/fstabswapon -a
2) Download oracle-xe-11.2.0-1.0.x86_64.rpm.zip and unzip to /usr/local/src
cd /usr/local/srcunzip oracle-xe-11.2.0-1.0.x86_64.rpm.zipArchive: oracle-xe-11.2.0-1.0.x86_64.rpm.zipcreating: Disk1/creating: Disk1/upgrade/inflating: Disk1/upgrade/gen_inst.sqlcreating: Disk1/response/inflating: Disk1/response/xe.rspinflating: Disk1/oracle-xe-11.2.0-1.0.x86_64.rpm
3) Install the .rpm
rpm -ivh oracle-xe-11.2.0-1.0.x86_64.rpm
4) After the RPM is installed, you need to run /etc/init.d/oracle-xe configure, during which you need to supply the inital SYS DB User’s password.
/etc/init.d/oracle-xe configure
Oracle Database 11g Express Edition Configuration-------------------------------------------------This will configure on-boot properties of Oracle Database 11g ExpressEdition. The following questions will determine whether the database shouldbe starting upon system boot, the ports it will use, and the passwords thatwill be used for database accounts. Press to accept the defaults.Ctrl-C will abort.
Specify the HTTP port that will be used for Oracle Application Express [8080]:
Specify a port that will be used for the database listener [1521]:
Specify a password to be used for database accounts. Note that the samepassword will be used for SYS and SYSTEM. Oracle recommends the use ofdifferent passwords for each database account. This can be done afterinitial configuration: TYPE your PasswdConfirm the password: TYPE your Passwd Again
Do you want Oracle Database 11g Express Edition to be started on boot (y/n) [y]:
Starting Oracle Net Listener...DoneConfiguring database...DoneStarting Oracle Database 11g Express Edition instance...DoneInstallation completed successfully.
5) After install, configure the Oracle environment for your relevant users on the CentOS system
First, set the required Oracle environment variables, use the oracle_env.sh the script that’s installed by the RPM to /u01/app/oracle/product/11.2.0/xe/bin
cd /u01/app/oracle/product/11.2.0/xe/bin. ./oracle_env.sh
To set these environment variables permanently for users, add thefollowing to the .bashrc or .bash_profile of the users you want to access the environment:
. /u01/app/oracle/product/11.2.0/xe/bin/oracle_env.sh
6) You can use the Oracle s/ware (SQL*Plus) from the Linux command line with:
sqlplus /nolog
SQL*Plus: Release 11.2.0.2.0 Production on ....Copyright (c) 1982, 2011, Oracle. All rights reserved.
SQL> connect sys/your-SYS-Password as sysdbaConnected.SQL>
7) Enable remote access for the DB
To enable and allow remote access to the Oracle XE GUI, run the following command from SQL*Plus, connected as the SYS user:
SQL> EXEC DBMS_XDB.SETLISTENERLOCALACCESS(FALSE);
PL/SQL procedure successfully completed.
You should now be able to access the Oracle 11g XE Home Page GUI at:
http://your-VPS-IP-Address:8080/apex
Replace your-VPS-IP-Address above with your IP or hostname as required.
Log in as SYSTEM using the password you supplied in the above ‘configure’ step.
You now have a running Oracle XE database installed and usable from the command-line (sqlplus) and the Web.
Recommended


