Embed Size (px)
Citation preview

Editing Processe
s
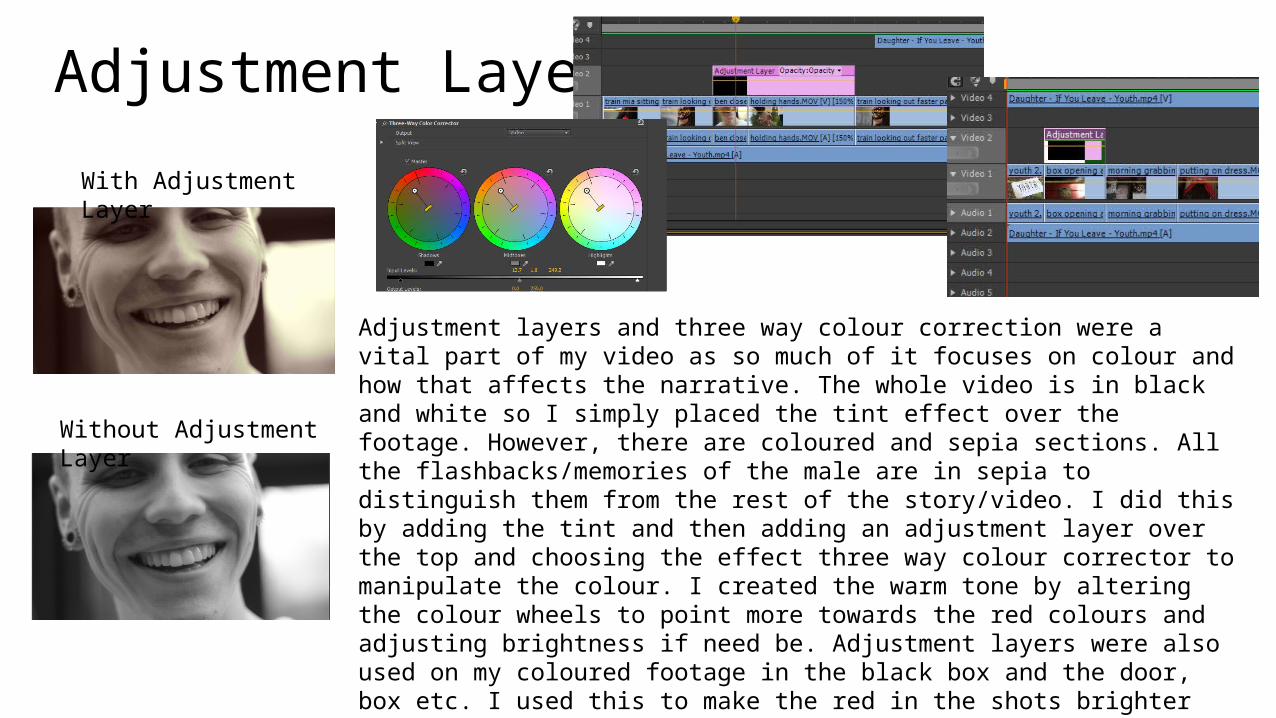
Adjustment LayersWith Adjustment Layer
Without Adjustment Layer
Adjustment layers and three way colour correction were a vital part of my video as so much of it focuses on colour and how that affects the narrative. The whole video is in black and white so I simply placed the tint effect over the footage. However, there are coloured and sepia sections. All the flashbacks/memories of the male are in sepia to distinguish them from the rest of the story/video. I did this by adding the tint and then adding an adjustment layer over the top and choosing the effect three way colour corrector to manipulate the colour. I created the warm tone by altering the colour wheels to point more towards the red colours and adjusting brightness if need be. Adjustment layers were also used on my coloured footage in the black box and the door, box etc. I used this to make the red in the shots brighter and more vibrant, so they heavily juxtapose the black and white footage. The adjustment layers helped me establish a tone and overall ‘look’ that it would have been lacking without. If I was unhappy with the layer I would either remover it or keep changing the colours until I think the clip fit with the rest of the footage and looked like a fully formed concept/video.
Footage cutting
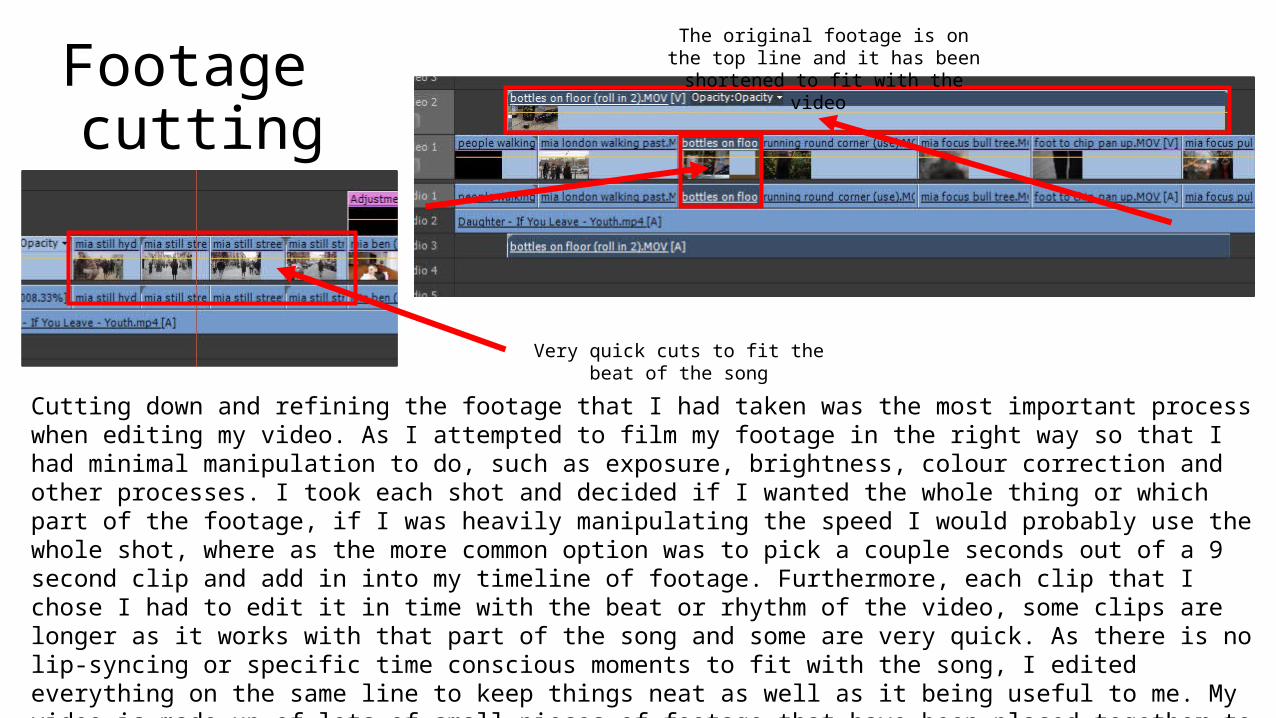
Cutting down and refining the footage that I had taken was the most important process when editing my video. As I attempted to film my footage in the right way so that I had minimal manipulation to do, such as exposure, brightness, colour correction and other processes. I took each shot and decided if I wanted the whole thing or which part of the footage, if I was heavily manipulating the speed I would probably use the whole shot, where as the more common option was to pick a couple seconds out of a 9 second clip and add in into my timeline of footage. Furthermore, each clip that I chose I had to edit it in time with the beat or rhythm of the video, some clips are longer as it works with that part of the song and some are very quick. As there is no lip-syncing or specific time conscious moments to fit with the song, I edited everything on the same line to keep things neat as well as it being useful to me. My video is made up of lots of small pieces of footage that have been placed together to create a narrative and convey the themes/tone of the song, therefore, I cut each clip to fit with the theme and beat of the song.
The original footage is on the top line and it has been shortened to fit with the video
Very quick cuts to fit the beat of the song
Speed / Warp Stabiliser
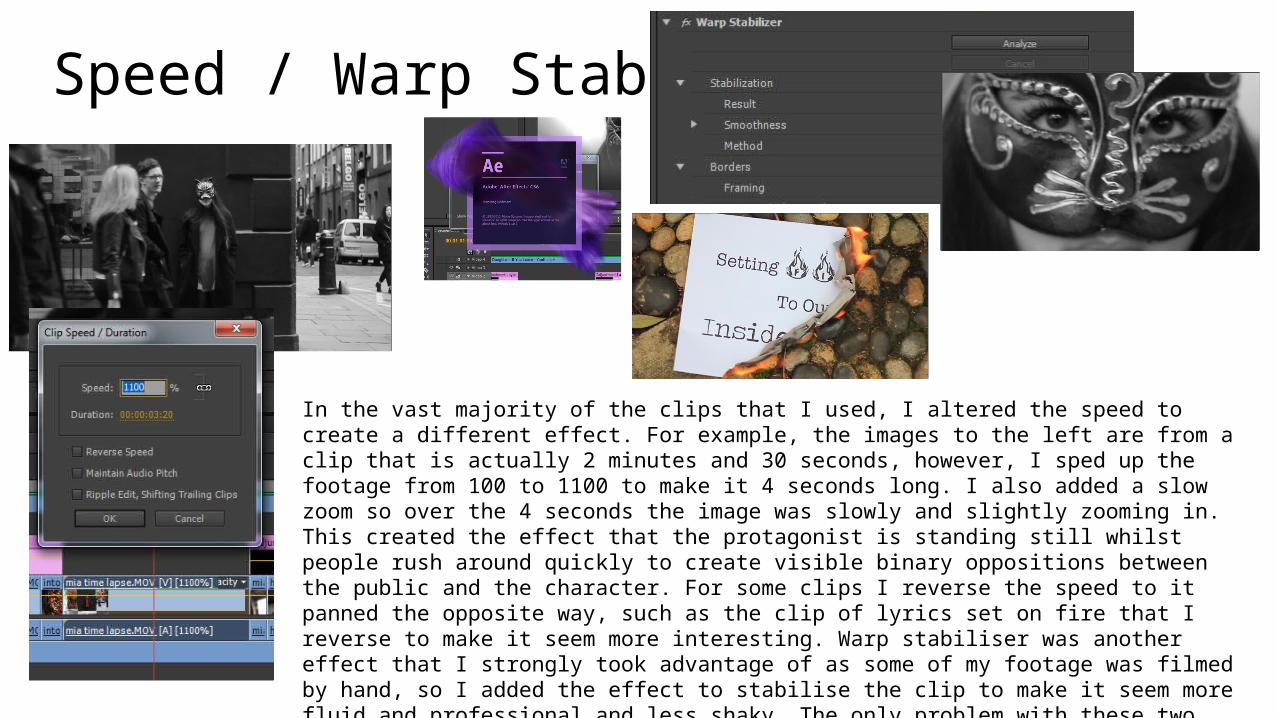
In the vast majority of the clips that I used, I altered the speed to create a different effect. For example, the images to the left are from a clip that is actually 2 minutes and 30 seconds, however, I sped up the footage from 100 to 1100 to make it 4 seconds long. I also added a slow zoom so over the 4 seconds the image was slowly and slightly zooming in. This created the effect that the protagonist is standing still whilst people rush around quickly to create visible binary oppositions between the public and the character. For some clips I reverse the speed to it panned the opposite way, such as the clip of lyrics set on fire that I reverse to make it seem more interesting. Warp stabiliser was another effect that I strongly took advantage of as some of my footage was filmed by hand, so I added the effect to stabilise the clip to make it seem more fluid and professional and less shaky. The only problem with these two effects are that they cannot be applied to the same clip in premiere, so I had to edit the clip further with after effects so I could put both of the effects on the same clip as sometimes I needed to speed up and stabilise some footage.
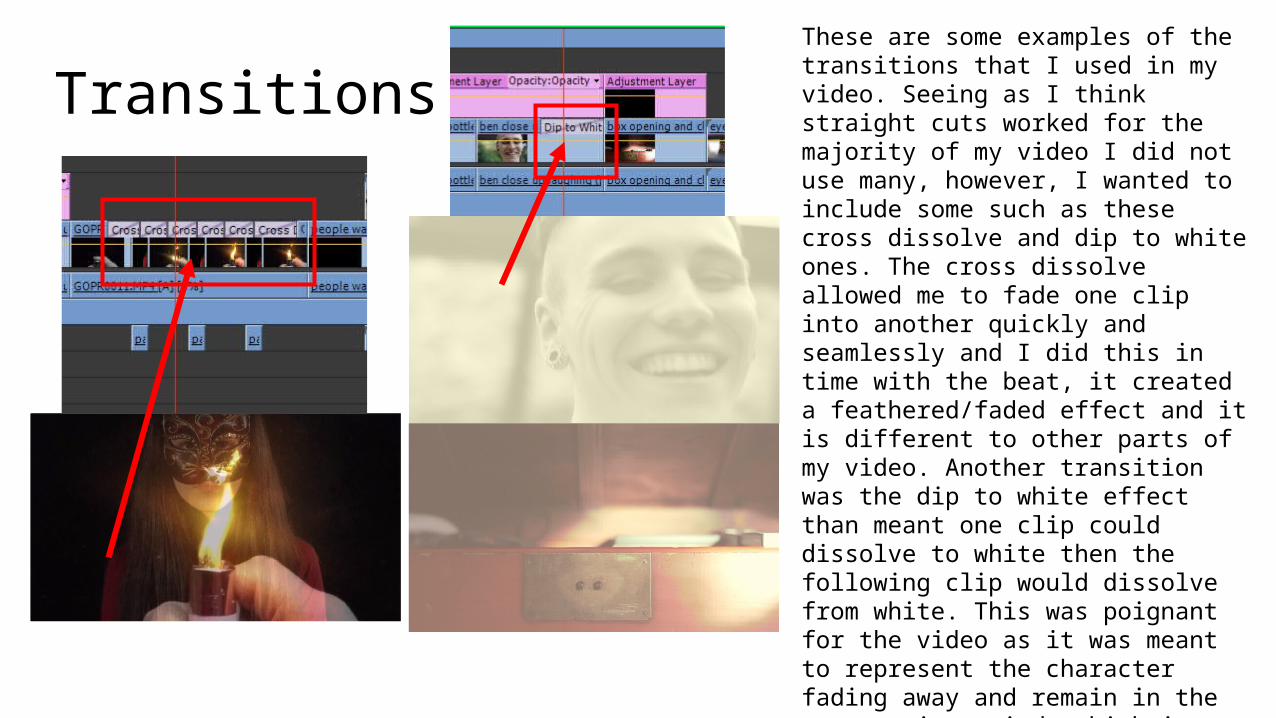
TransitionsThese are some examples of the transitions that I used in my video. Seeing as I think straight cuts worked for the majority of my video I did not use many, however, I wanted to include some such as these cross dissolve and dip to white ones. The cross dissolve allowed me to fade one clip into another quickly and seamlessly and I did this in time with the beat, it created a feathered/faded effect and it is different to other parts of my video. Another transition was the dip to white effect than meant one clip could dissolve to white then the following clip would dissolve from white. This was poignant for the video as it was meant to represent the character fading away and remain in the protagonists mind, which is what the box is meant to represent. Transitions were challenging to use at first as I was not sure if they stood out, but I think they blend with the footage. To chose a tansition one must go to the panel to the left of the sequence, go to transitions, chose one and then place it onto the desired footage.