Embed Size (px)
Citation preview

2
What is NetBSD?
➢ The descendent of BSD (Berkeley System Distribution) operating system.
➢ Ported to many architectures:➢ Alpha, ARM, MIPS, PowerPC, m68k, 32/64-bit Sparc, SuperH, x86, x86_64, VAX
➢ Workin progress: OrenRISC 1000, RISC-V, 64-bit ARM
➢ NetBSD/amd64 is for Intel/AMD x86_64 architecture.
3
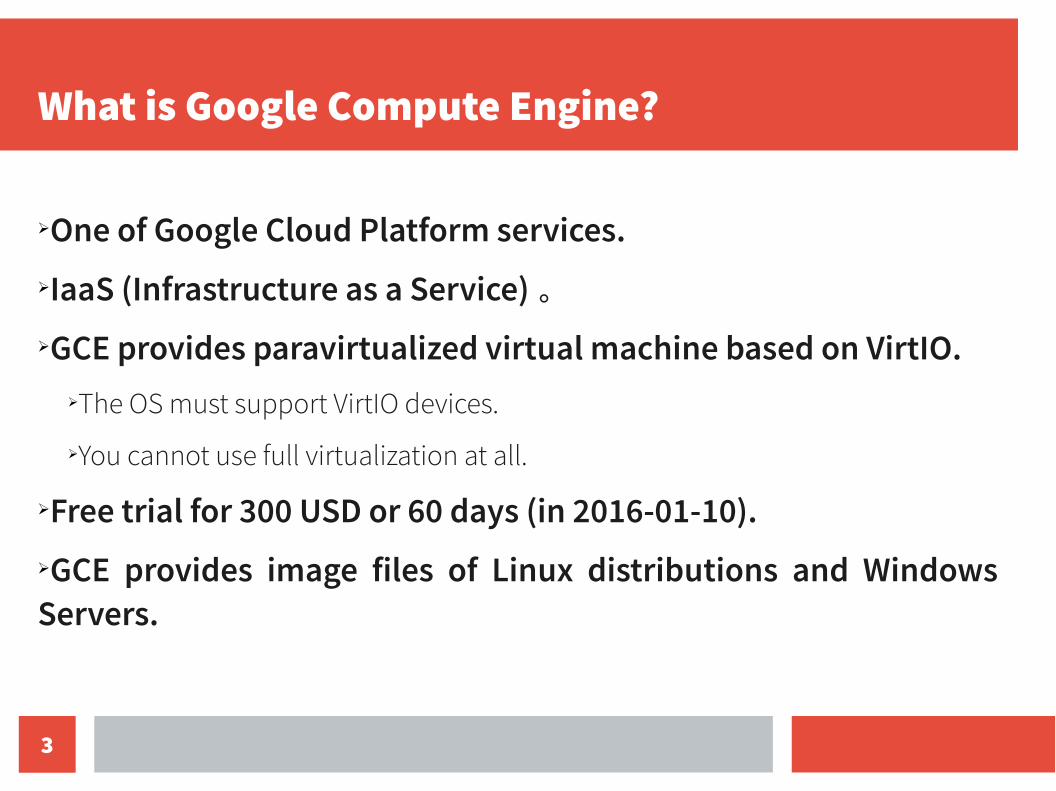
What is Google Compute Engine?
➢One of Google Cloud Platform services.➢IaaS (Infrastructure as a Service) 。➢GCE provides paravirtualized virtual machine based on VirtIO.
➢The OS must support VirtIO devices.
➢You cannot use full virtualization at all.
➢Free trial for 300 USD or 60 days (in 2016-01-10).➢GCE provides image files of Linux distributions and Windows Servers.

4
NetBSD and Google Compute Engine
➢Recently vioscsi(4) is committed to NetBSD current. Google Compute Engine requires this device driver.
➢For FreeBSD, virtio_scsi(4) is used for this device. It is included in 10.0 release or later.
5
Installing Google Cloud SDK and set it up
➢Install Google Cloud SDK from pkgsrc/net/py-google-cloud-sdk. It is Python script.
➢I have tested with Python 2.7.11 from pkgsrc/lang/python27.
➢Install a web browser.➢I have used Firefox 43.0.4 from pkgsrc/www/firefox. Webkit-based web browsers should be supported (I have not tested yet).
➢Run /usr/pkg/py27-google-cloud-sdk/bin/gcloud auth login.➢Firefox is invoked and you should input authentication information to the web page.
6
Create GCE project and create a disk image
➢Create a project with ‘gcloud config set project netbsd-79925’➢Read https://cloud.google.com/compute/docs/quickstart . However you can ignore how to create instance steps.
➢Create NetBSD/amd64 current disk image➢Run ‘cd /usr/src && ./build.sh release && ./build.sh live-image’ and get NetBSD-7.99.25-amd64-live-sd0root.img.
➢./build.sh live-image creates gzip-ed disk image, however you should use pre-compressed image to save your time to gunzip.➢NetBSD-7.99.24-amd64-live-wd0boot.img image file is also created, however its root file system is on wd0. You cannnot use this for GCE.
➢Copy NetBSD-7.99.25-amd64-live-sd0root.img image file to your working directory as file name, disk.raw.
7
Prepare disk image
➢Run ‘sudo vnconfig vnd0 disk.raw’ and allocate disk.raw file to /dev/vnd0.➢Run ‘sudo mount /dev/vnd0 /mnt && sudo chroot /mnt /bin/sh’ and prepare inside of the disk image.
➢Run DHCP client for vioif0 network interface.➢Add ‘ifconfig_vioif0=dhcp’ to /etc/rc.conf.
➢Add user and allocate ssh public key to the user.
➢Run sshd automatically.➢Add sshd=yes to /etc/rc.conf.
➢Run ‘sudo umount /mnt && sudo installboot -e -o console=com0 /dev/rvnd0a’ and you can get boot message via serial console.➢ Deallocate disk.raw from /dev/rvnd0a and run ‘tar -Sczf netbsd79925.tar.gz disk.raw’. You can get the disk image for GCE as tar ball.
8
Upload the disk image and create virtual machine instance
➢Put netbsd79925.tar.gz to Google Cloud Storage or https web site.➢To put the disk image to Google Cloud Storage with gsutil command or GCE web interface.
➢For gsutil case, run ‘gsutil cp netbsd79925.tar.gz gs://netbsd-compute-engine/netbsd79925.tar.gz’.
➢In case of Google Cloud Storage, run ‘gcloud compute images create netbsd79925 --source-uri gs://netbsd-compute-engine/netbsd79925.tar.gz’ and get a disk image for your instance.➢Create the virtual machine instance based on netbsd79925 and boot it.
➢Run ‘gcloud compute instances create instance-1 --image netbsd79925 --zone us-east1-b --machine-type f1-micro’.
➢The instance boots automatically.
➢Get boot message from ‘gcloud compute instances get-serial-port-output instance-1 --zone us-east1-b’. You can download this boot message from web interface.
➢You cannot control the virtual machine. You should use ssh for controlling the virtual machine.
9
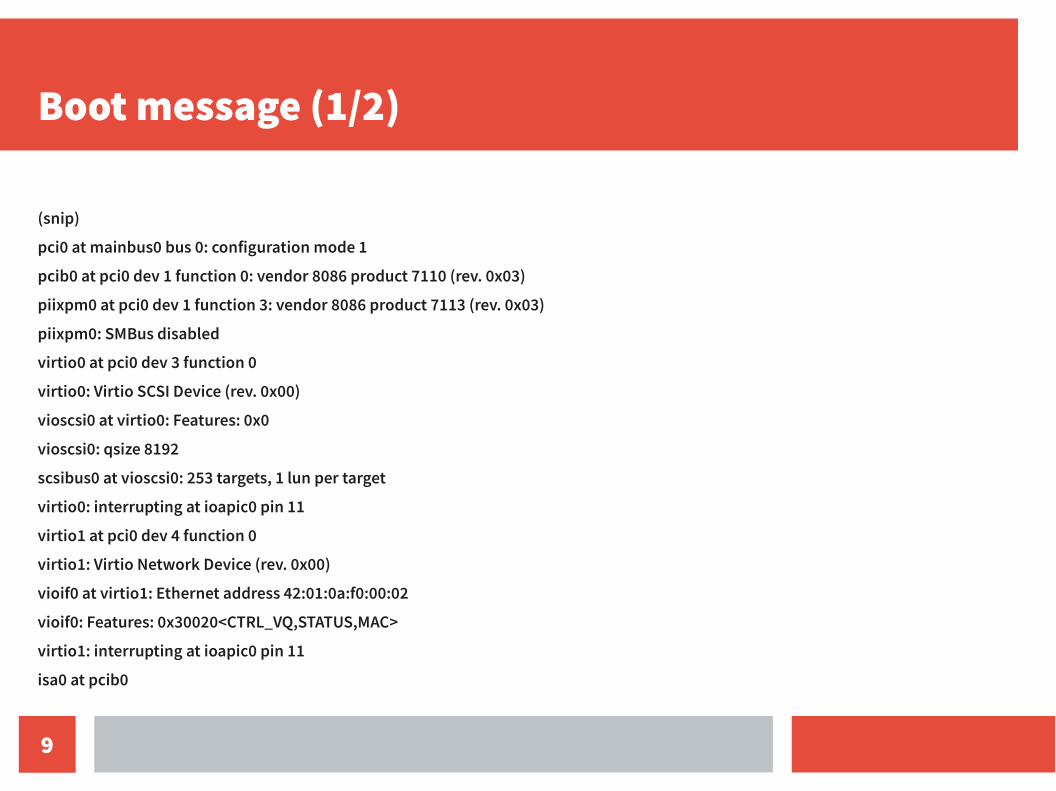
Boot message (1/2)
(snip)
pci0 at mainbus0 bus 0: configuration mode 1
pcib0 at pci0 dev 1 function 0: vendor 8086 product 7110 (rev. 0x03)
piixpm0 at pci0 dev 1 function 3: vendor 8086 product 7113 (rev. 0x03)
piixpm0: SMBus disabled
virtio0 at pci0 dev 3 function 0
virtio0: Virtio SCSI Device (rev. 0x00)
vioscsi0 at virtio0: Features: 0x0
vioscsi0: qsize 8192
scsibus0 at vioscsi0: 253 targets, 1 lun per target
virtio0: interrupting at ioapic0 pin 11
virtio1 at pci0 dev 4 function 0
virtio1: Virtio Network Device (rev. 0x00)
vioif0 at virtio1: Ethernet address 42:01:0a:f0:00:02
vioif0: Features: 0x30020<CTRL_VQ,STATUS,MAC>
virtio1: interrupting at ioapic0 pin 11
isa0 at pcib0

10
Boot message (2/2)
com0 at isa0 port 0x3f8-0x3ff irq 4: ns16550a, working fifo
com0: console
com1 at isa0 port 0x2f8-0x2ff irq 3: ns16550a, working fifo
attimer0 at isa0 port 0x40-0x43
pcppi0 at isa0 port 0x61
midi0 at pcppi0: PC speaker
sysbeep0 at pcppi0
attimer0: attached to pcppi0
acpicpu0 at cpu0: ACPI CPU
sd0 at scsibus0 target 2 lun 0: <Google, PersistentDisk, 1> disk fixed
sd0: fabricating a geometry
sd0: 2048 MB, 2048 cyl, 64 head, 32 sec, 512 bytes/sect x 4194304 sectors
sd0: fabricating a geometry
(snip)

11
Copyright notice
https://creativecommons.org/licenses/by/4.0/
Copyright (c) 2016 Ryo ONODERA
CreativeCommons Attribution 4.0 International (CC BY 4.0)