Embed Size (px)
Citation preview

© Hairdressing-Training.com 2004
Female haircuts - Natural inversion
© Hairdressing-Training.com 2004
Introduction
• Of the diverse range of contemporary haircuts, the long graduation cut is one of the most popular. The shape is designed to maintain length, soften the hair and compliment the client's face shape.
• This haircut can be done using scissors or a razor and is suitable for straight and curly hair. It is also extremely versatile:
a layered shape may consist of a natural inversion an outline graduation can be elevated for more softness or directed downwards for a
heavier and more defined look
• The natural inversion haircut is an extension to the curved graduation (have a look at this haircut, too). Like curved graduation, natural inversion is made up of a series of straight inward lines but these are on a much steeper angle.
• This is a very popular look for long hair because it softens the line at the front area. It can also be used to add width to wavy and slightly curly hair. It can be achieved on any type of hair and most longer lengths.

© Hairdressing-Training.com 2004
Step 1 of 14 - Before you start
• Our client's face shape is square. Her hair density is above average and its type is naturally curly.
• You should look at all these client characterstics when you do your initial consultation and analysis. They influence how you create your haircut and the finished result you can expect.
• This haircut is divided into segments:
back; side; front; and internal layers.
© Hairdressing-Training.com 2004
Step 2 of 14 - Back area
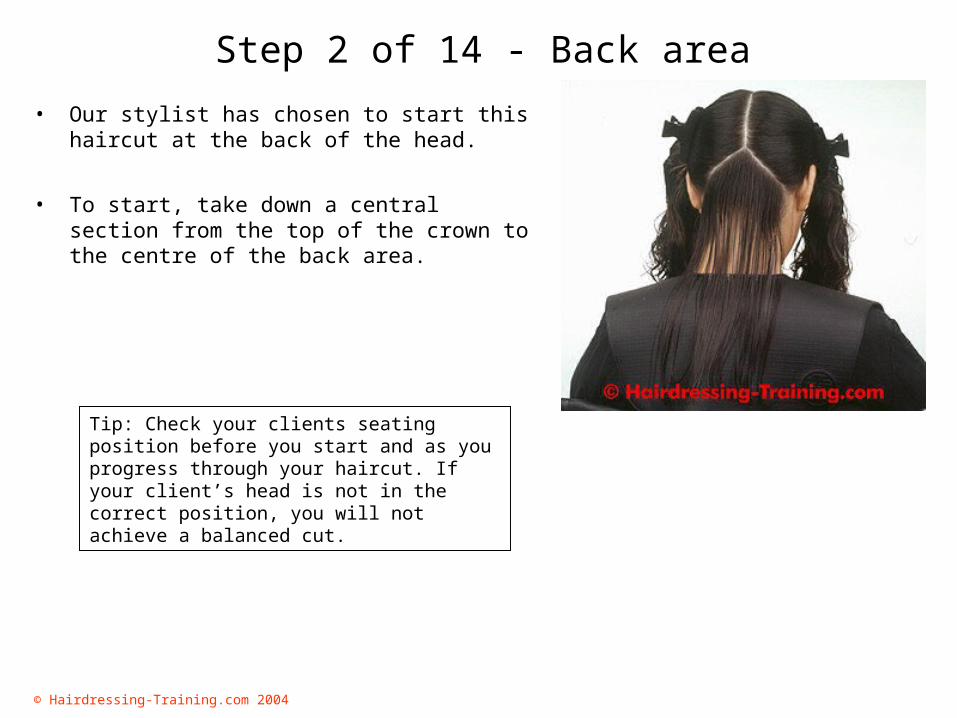
• Our stylist has chosen to start this haircut at the back of the head.
• To start, take down a central section from the top of the crown to the centre of the back area.
Tip: Check your clients seating position before you start and as you progress through your haircut. If your client’s head is not in the correct position, you will not achieve a balanced cut.

© Hairdressing-Training.com 2004
Step 3 of 14 - Creating the baseline
• The back section of this haircut is the first you will cut. This will help you to maintain an even length throughout the haircut.
• Comb the first section down, using maximum tension.
• Hold the section between the fingers and cut across to create a straight baseline.
© Hairdressing-Training.com 2004
Step 4 of 14 - Back area
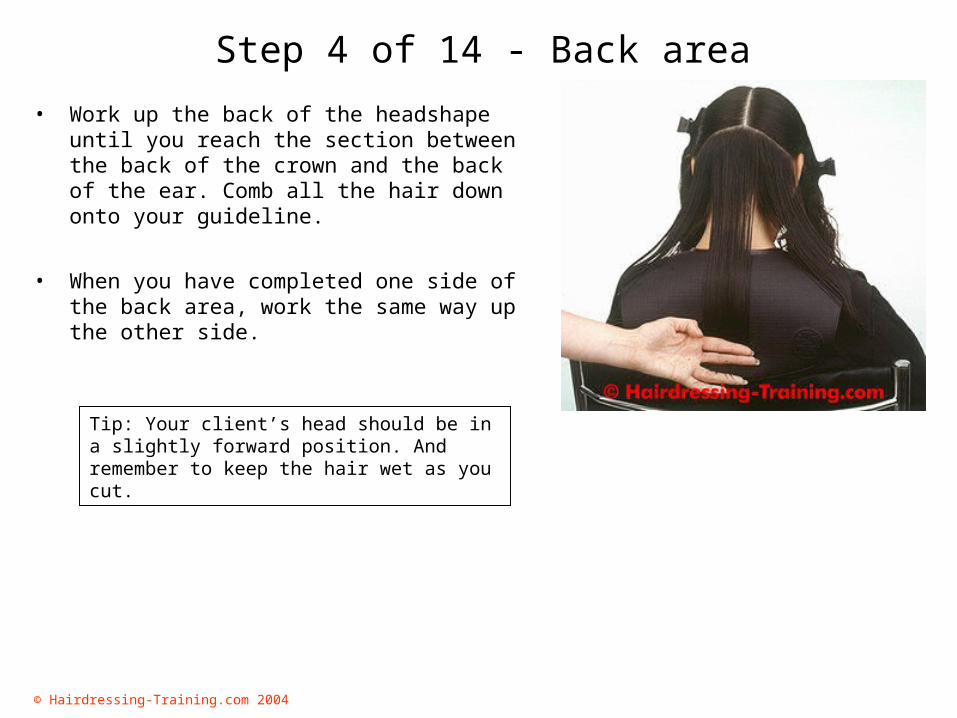
• Work up the back of the headshape until you reach the section between the back of the crown and the back of the ear. Comb all the hair down onto your guideline.
• When you have completed one side of the back area, work the same way up the other side.
Tip: Your client’s head should be in a slightly forward position. And remember to keep the hair wet as you cut.
© Hairdressing-Training.com 2004
Step 5 of 14 - Side area
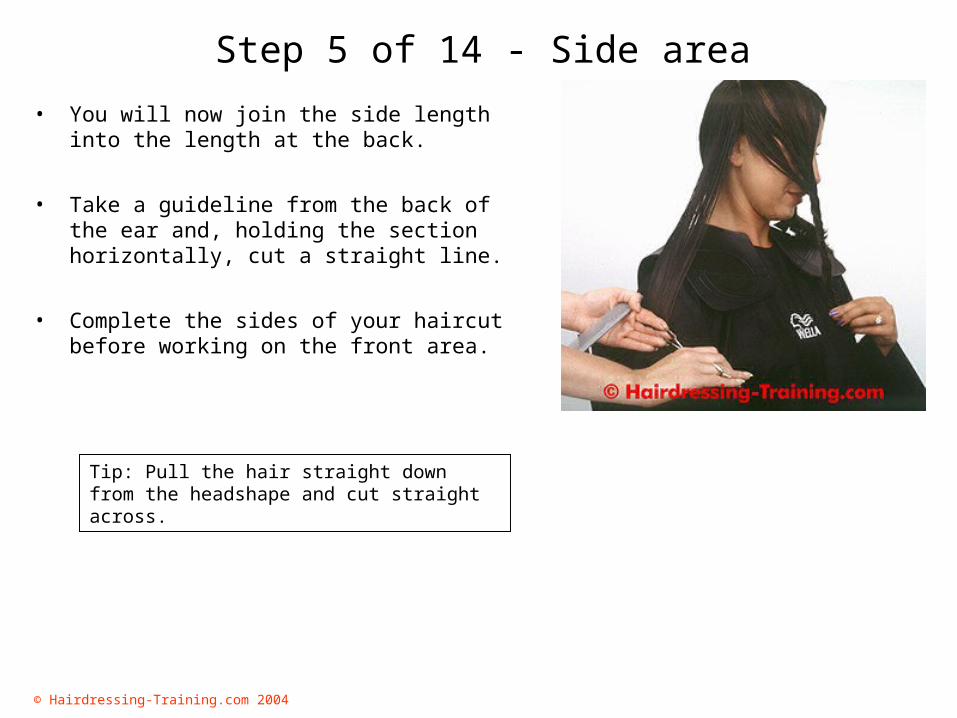
• You will now join the side length into the length at the back.
• Take a guideline from the back of the ear and, holding the section horizontally, cut a straight line.
• Complete the sides of your haircut before working on the front area.
Tip: Pull the hair straight down from the headshape and cut straight across.
© Hairdressing-Training.com 2004
Step 6 of 14 - Front area
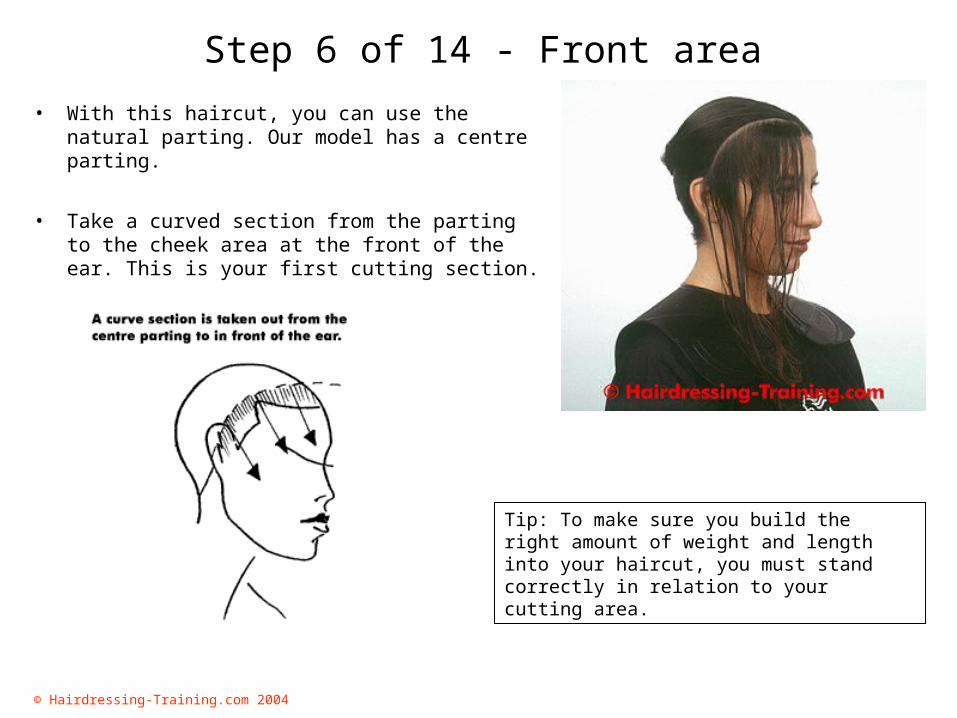
• With this haircut, you can use the natural parting. Our model has a centre parting.
• Take a curved section from the parting to the cheek area at the front of the ear. This is your first cutting section.
Tip: To make sure you build the right amount of weight and length into your haircut, you must stand correctly in relation to your cutting area.
© Hairdressing-Training.com 2004
Step 7 of 14 - Side area
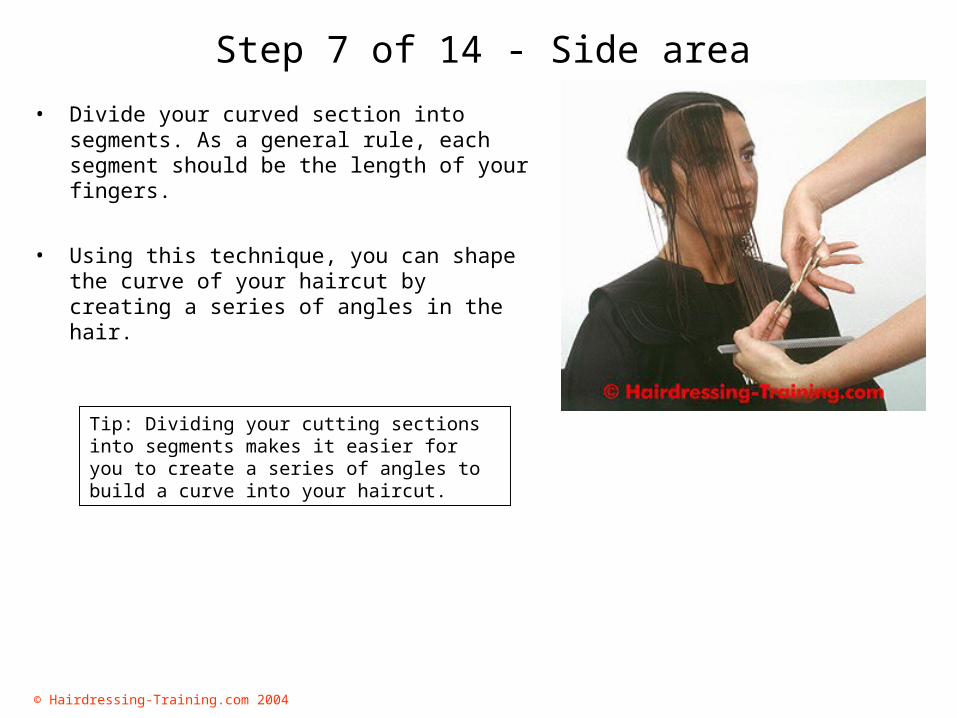
• Divide your curved section into segments. As a general rule, each segment should be the length of your fingers.
• Using this technique, you can shape the curve of your haircut by creating a series of angles in the hair.
Tip: Dividing your cutting sections into segments makes it easier for you to create a series of angles to build a curve into your haircut.
© Hairdressing-Training.com 2004
Step 8 of 14 - Side area
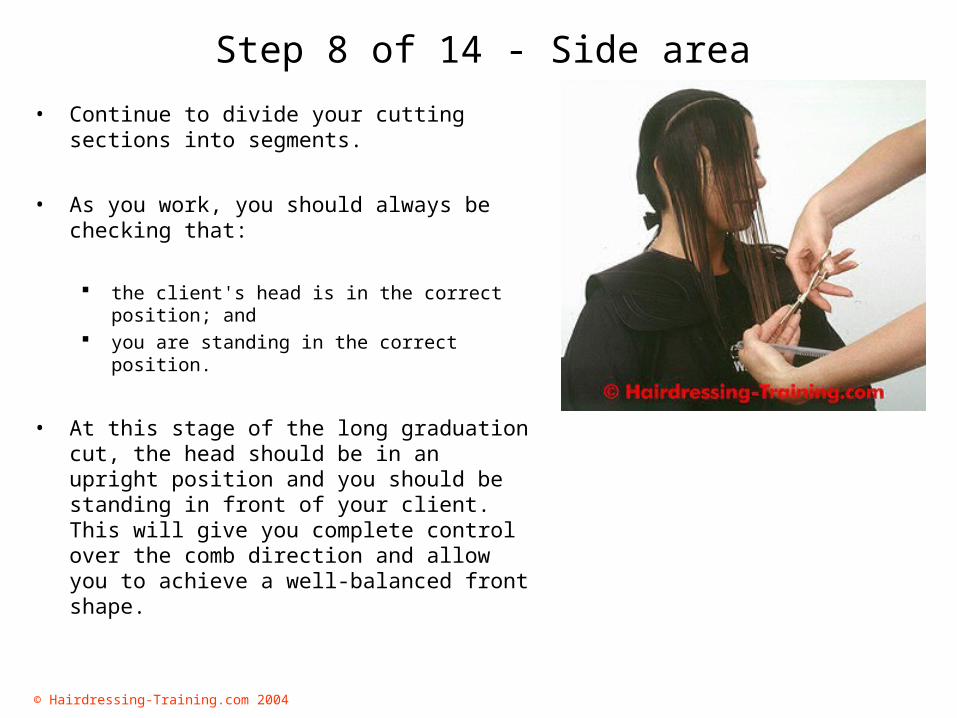
• Continue to divide your cutting sections into segments.
• As you work, you should always be checking that:
the client's head is in the correct position; and
you are standing in the correct position.
• At this stage of the long graduation cut, the head should be in an upright position and you should be standing in front of your client. This will give you complete control over the comb direction and allow you to achieve a well-balanced front shape.
© Hairdressing-Training.com 2004
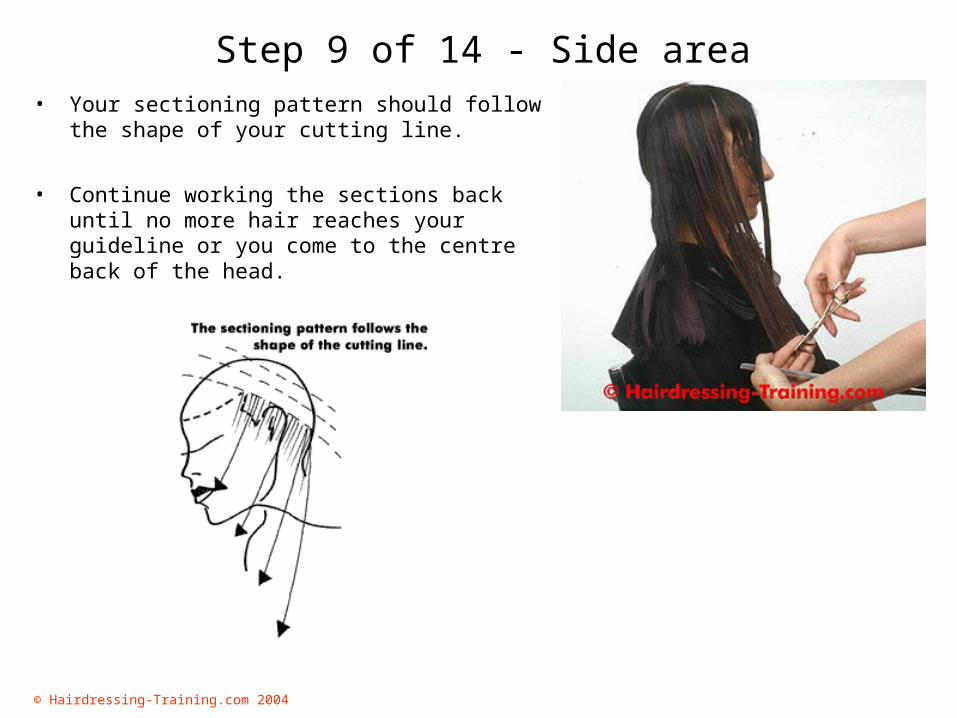
Step 9 of 14 - Side area• Your sectioning pattern should follow the
shape of your cutting line.
• Continue working the sections back until no more hair reaches your guideline or you come to the centre back of the head.

© Hairdressing-Training.com 2004
Step 10 of 14 - Checking balance
• When you have completed both sides, check your work for balance.
• You can check for balance:
visually; and technically.
• You should now see the curved of your haircut beginning to take shape.
Tip: The four key points to remember as you cut long graduation are: your standing position; the client’s head position; comb direction; and wetness of hair.
© Hairdressing-Training.com 2004
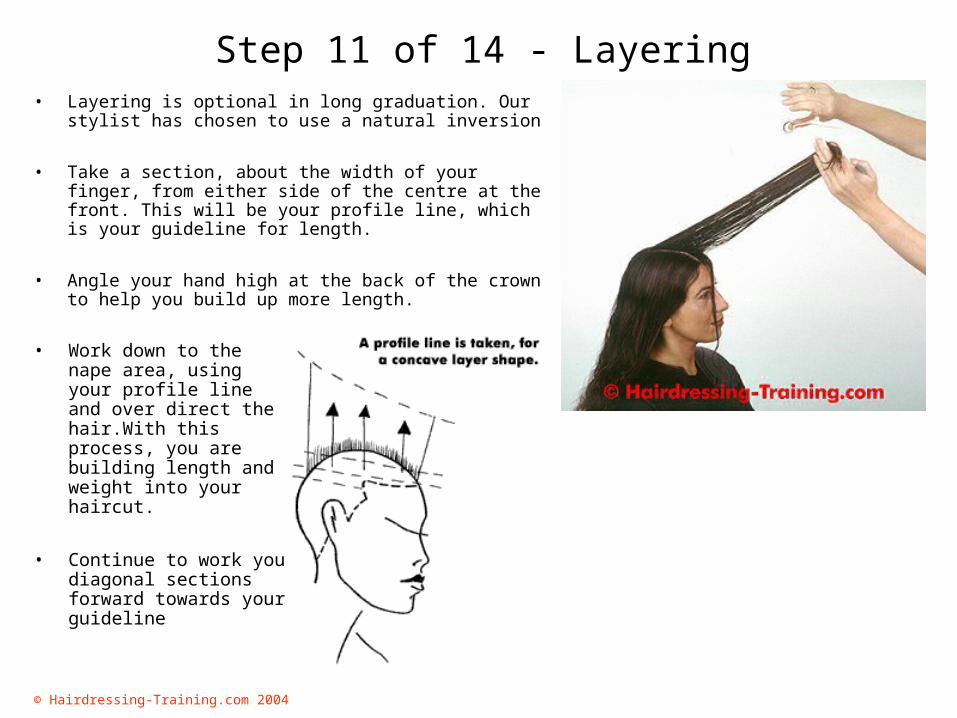
Step 11 of 14 - Layering• Layering is optional in long graduation. Our stylist
has chosen to use a natural inversion
• Take a section, about the width of your finger, from either side of the centre at the front. This will be your profile line, which is your guideline for length.
• Angle your hand high at the back of the crown to help you build up more length.
• Work down to the nape area, using your profile line and over direct the hair.With this process, you are building length and weight into your haircut.
• Continue to work you diagonal sections forward towards your guideline
© Hairdressing-Training.com 2004
Step 12 of 14 - Layering
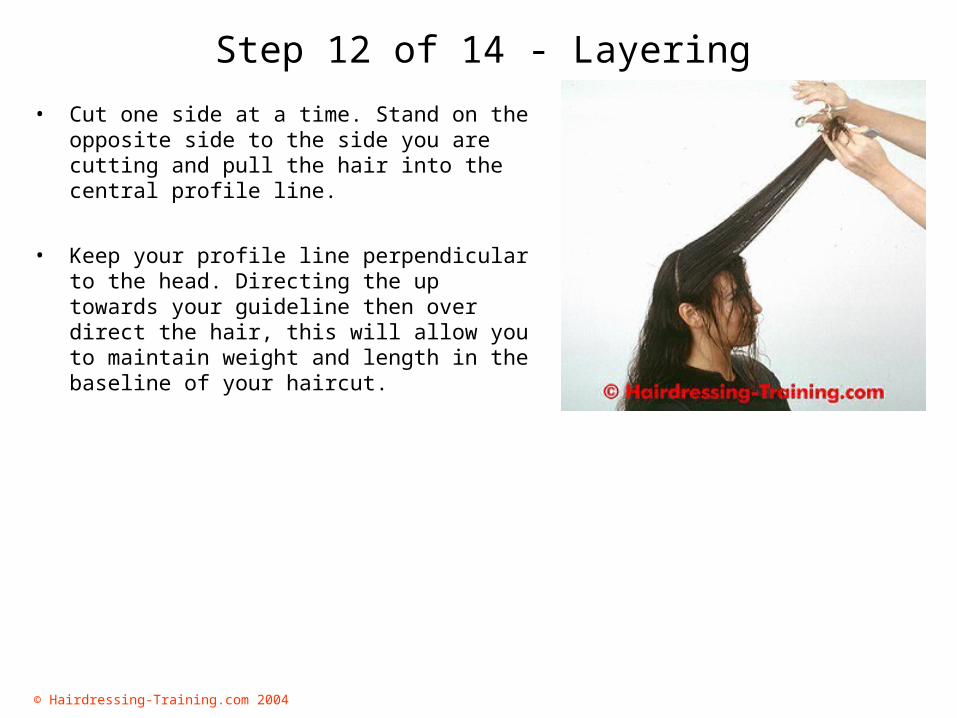
• Cut one side at a time. Stand on the opposite side to the side you are cutting and pull the hair into the central profile line.
• Keep your profile line perpendicular to the head. Directing the up towards your guideline then over direct the hair, this will allow you to maintain weight and length in the baseline of your haircut.
© Hairdressing-Training.com 2004
Step 13 of 14 - Blow-drying
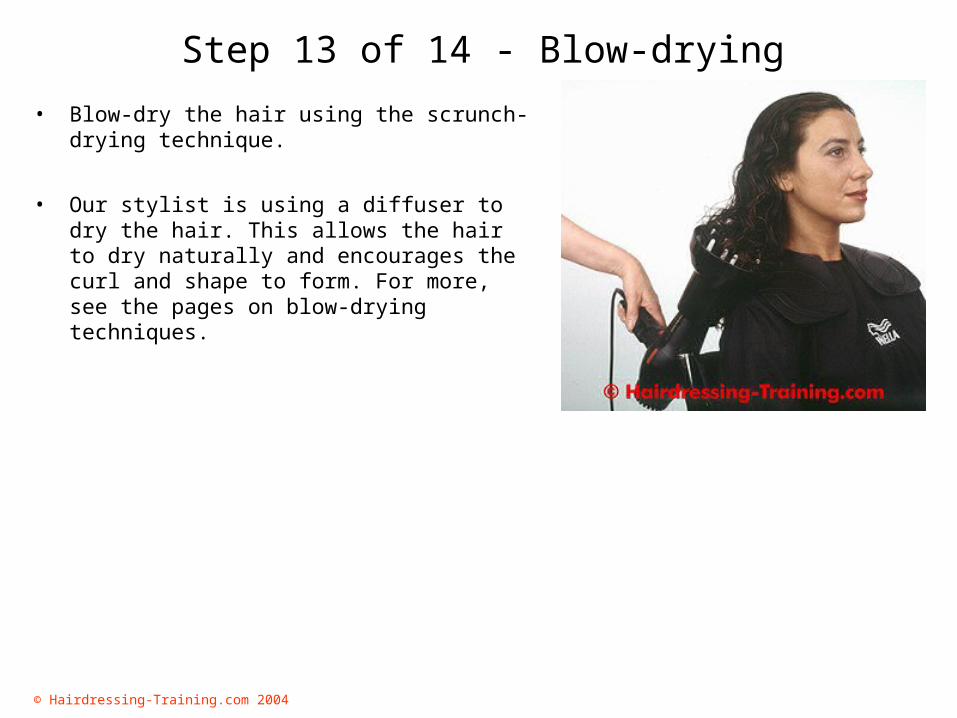
• Blow-dry the hair using the scrunch-drying technique.
• Our stylist is using a diffuser to dry the hair. This allows the hair to dry naturally and encourages the curl and shape to form. For more, see the pages on blow-drying techniques.

© Hairdressing-Training.com 2004
Step 14 of 14 - Finished result
• Our stylist used Wella High Hair mousse, with High Hair wax to finish.