Embed Size (px)
Citation preview
1
Jobsite Inspection Checklist
™
Presented by the Wood Truss Council of America
2
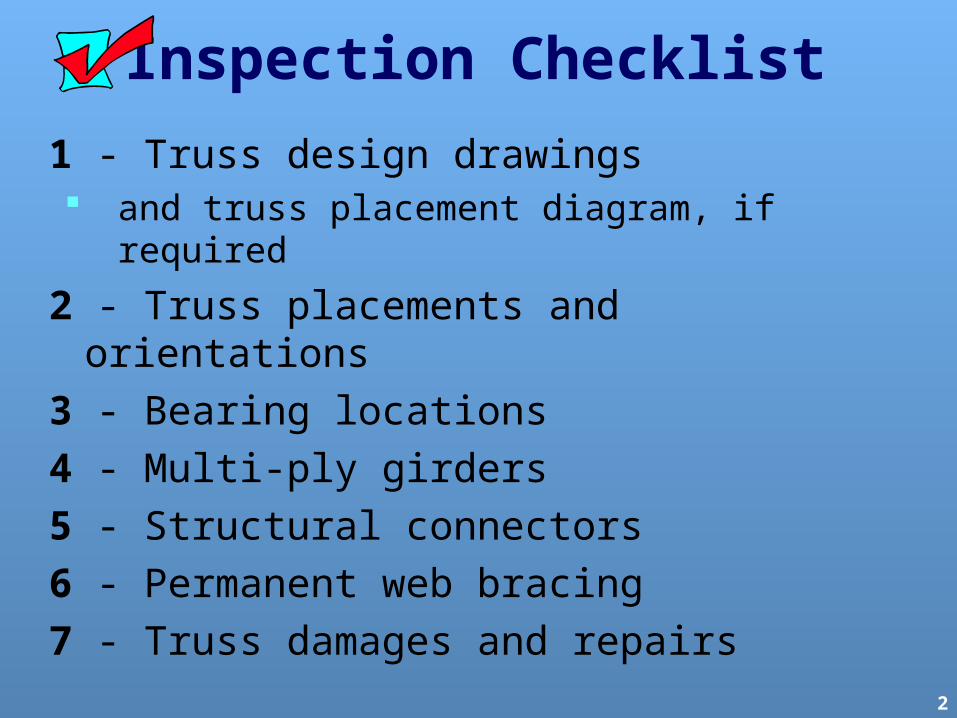
Inspection Checklist
1 - Truss design drawings and truss placement diagram, if
required
2 - Truss placements and orientations 3 - Bearing locations 4 - Multi-ply girders 5 - Structural connectors 6 - Permanent web bracing 7 - Truss damages and repairs
3
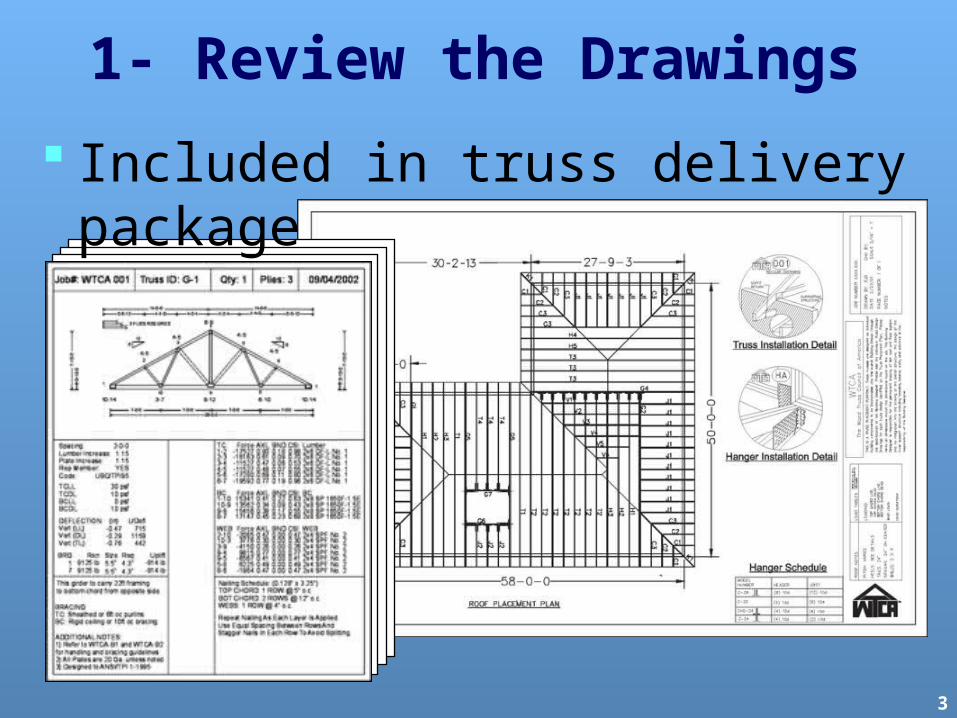
1- Review the Drawings
Included in truss delivery package
4
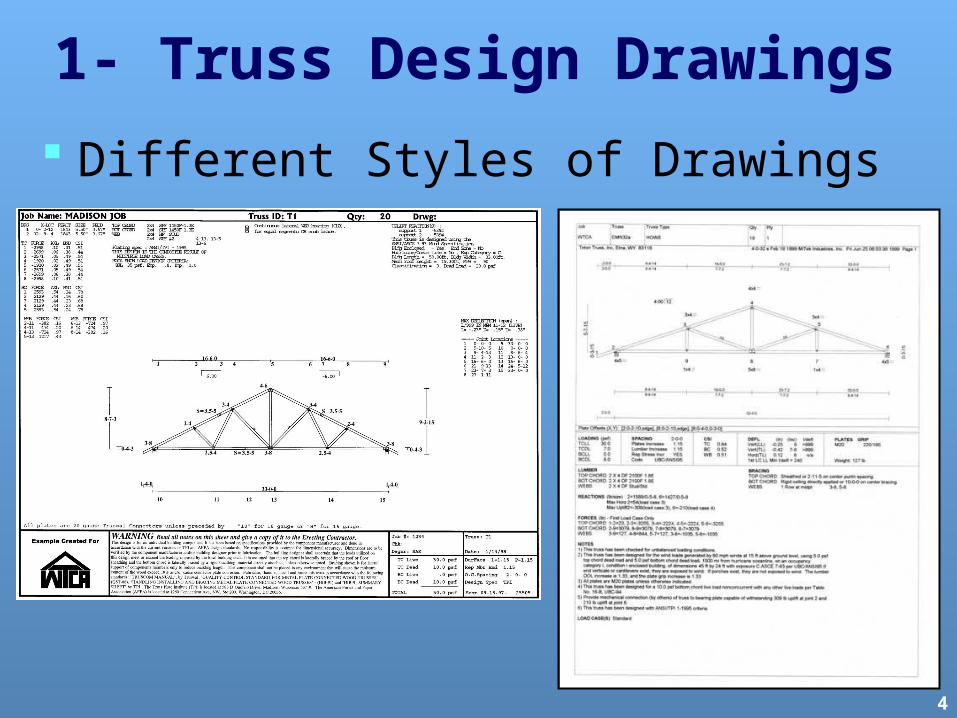
1- Truss Design Drawings
Different Styles of Drawings
5
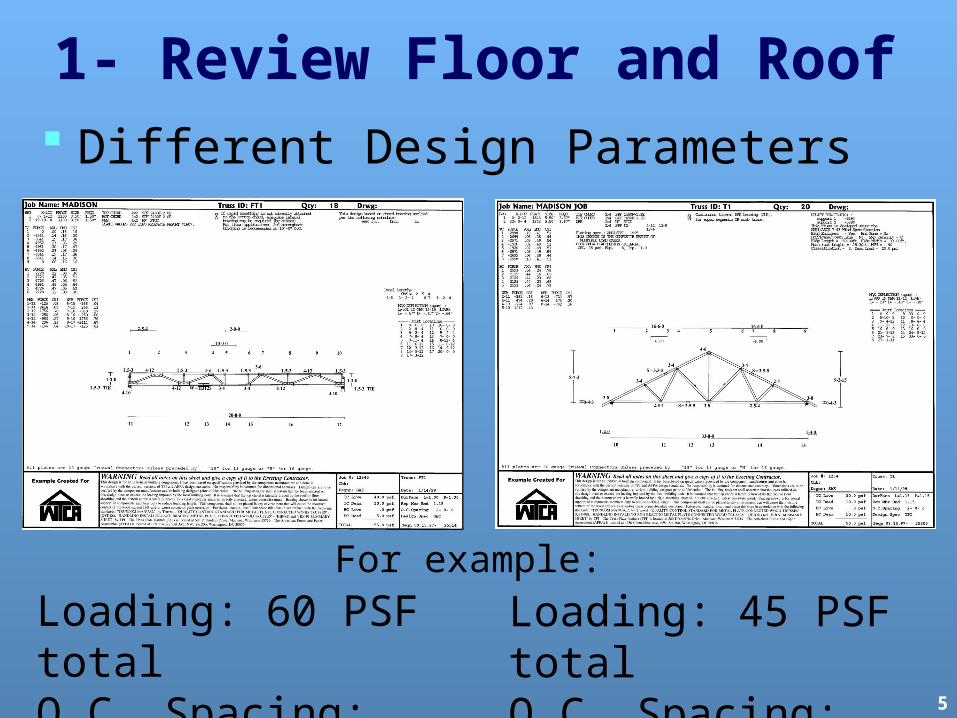
1- Review Floor and Roof Different Design Parameters
Loading: 60 PSF totalO.C. Spacing: 19.2″
Loading: 45 PSF totalO.C. Spacing: 24″
For example:
6
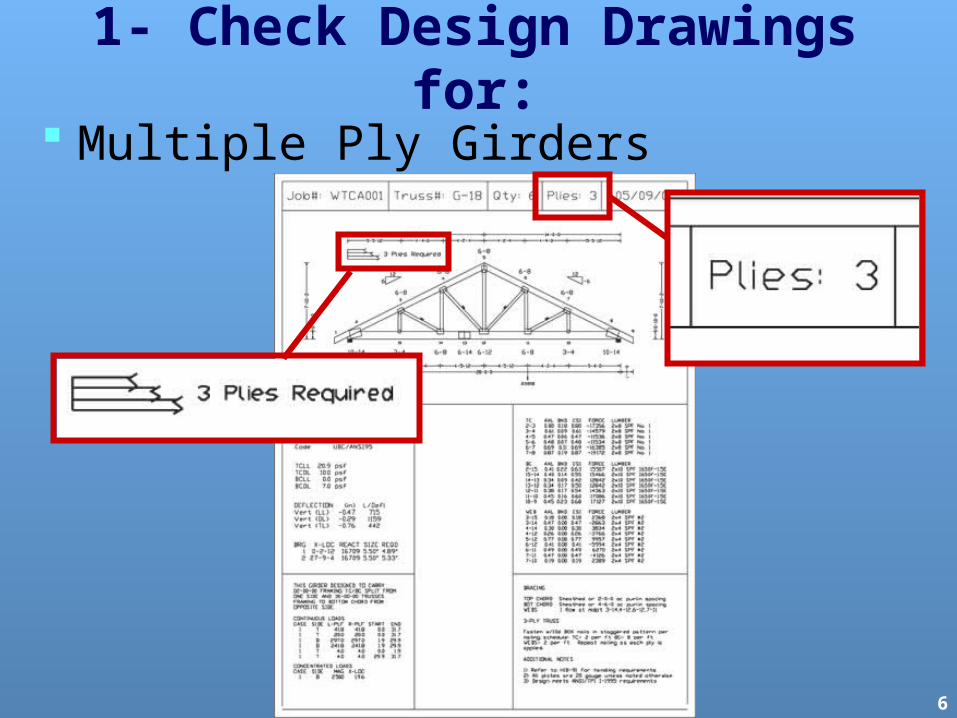
1- Check Design Drawings for: Multiple Ply Girders
7
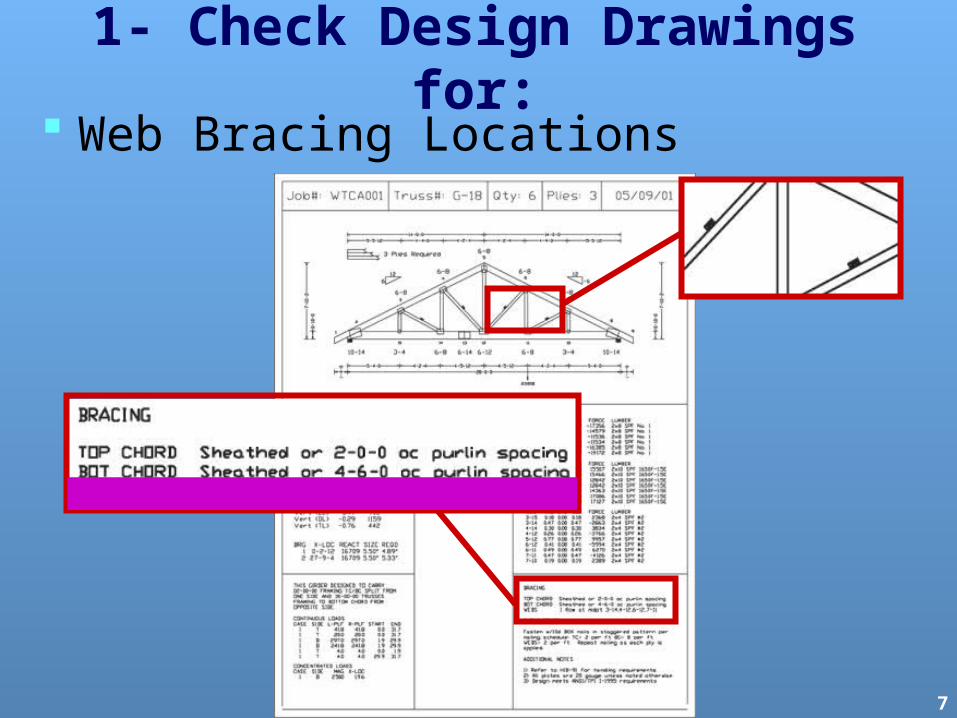
1- Check Design Drawings for: Web Bracing Locations
8
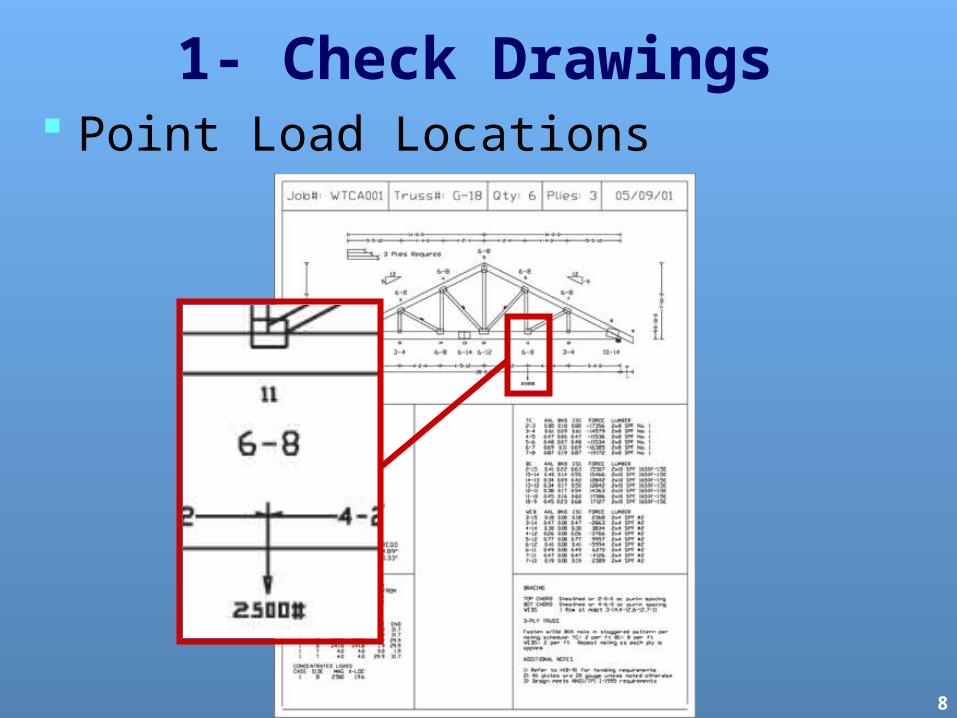
1- Check Drawings Point Load Locations
9
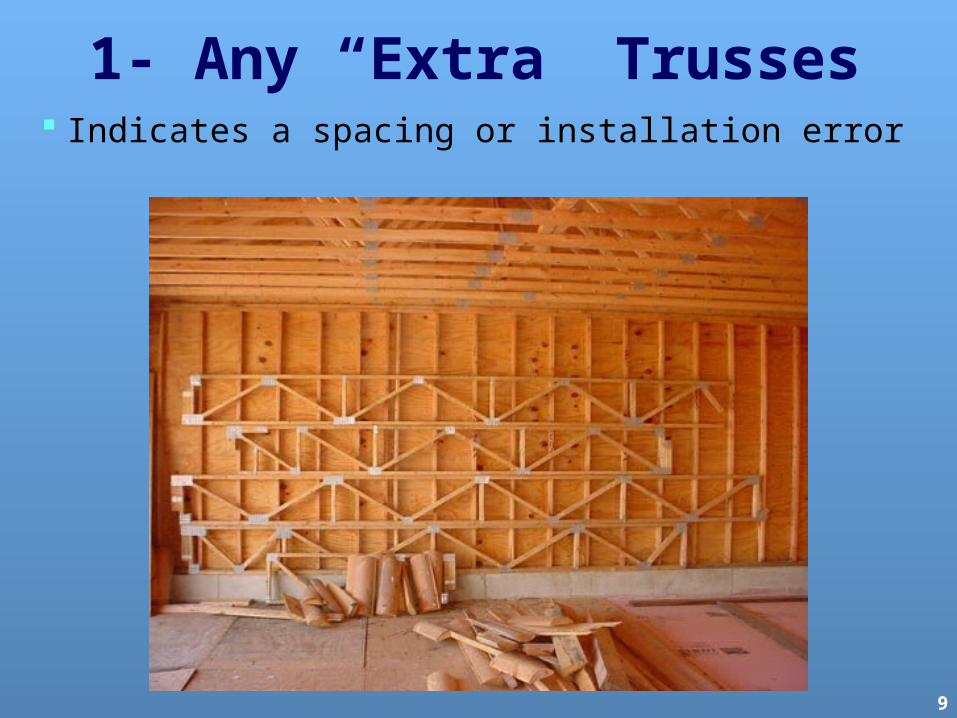
1- Any “Extra” Trusses Indicates a spacing or installation error
10
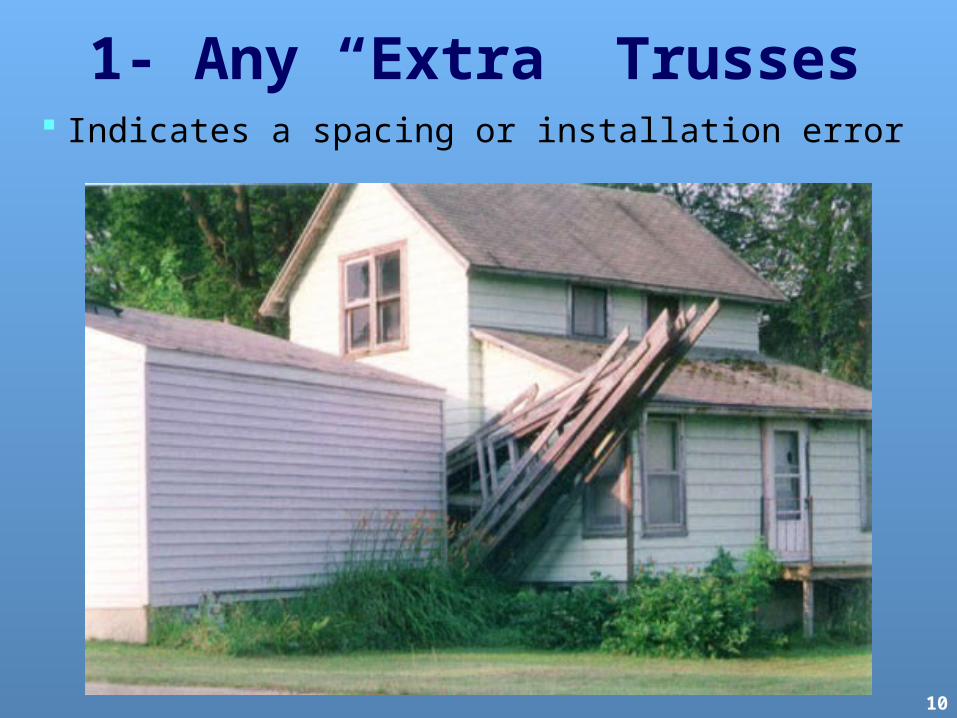
1- Any “Extra” Trusses Indicates a spacing or installation error
11
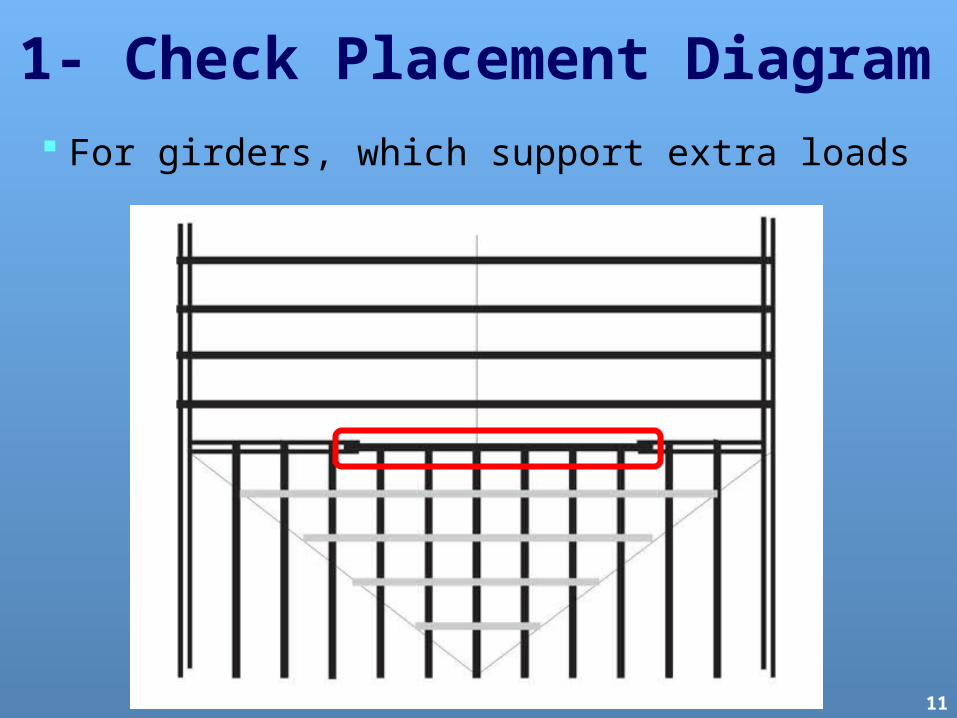
1- Check Placement Diagram
For girders, which support extra loads

12
1- Check Placement Diagram
For girders, which support extra loads
13
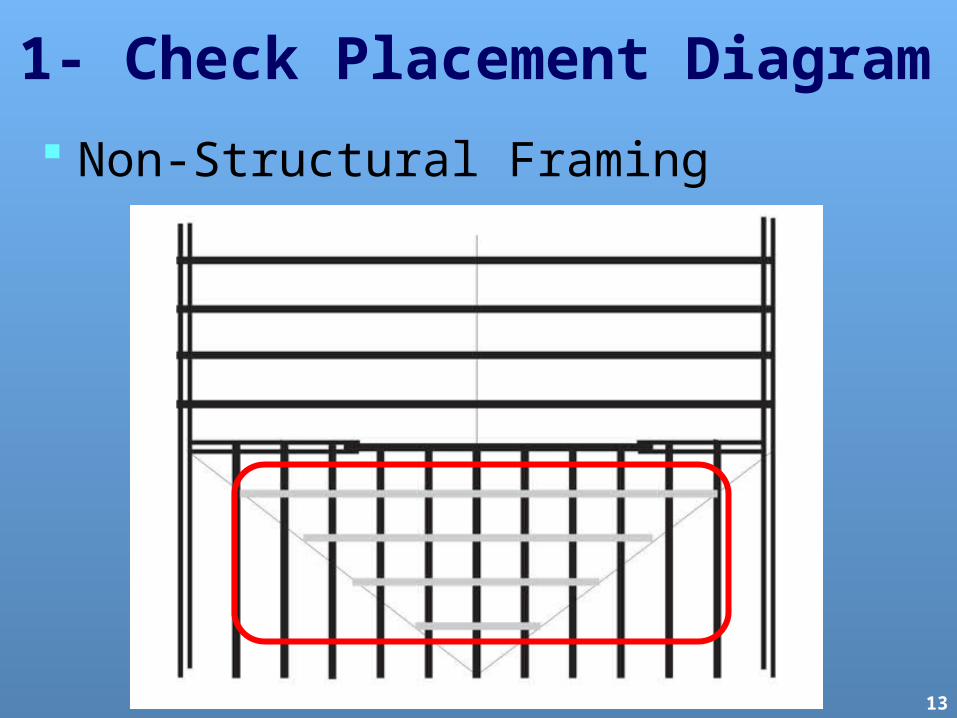
1- Check Placement Diagram
Non-Structural Framing
14
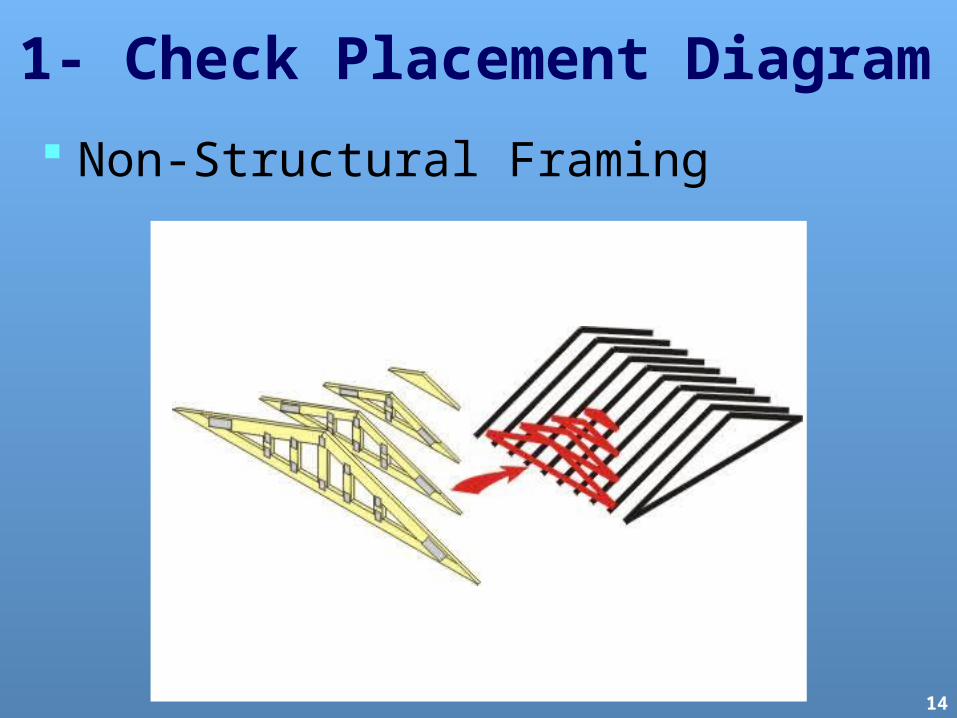
1- Check Placement Diagram
Non-Structural Framing
15
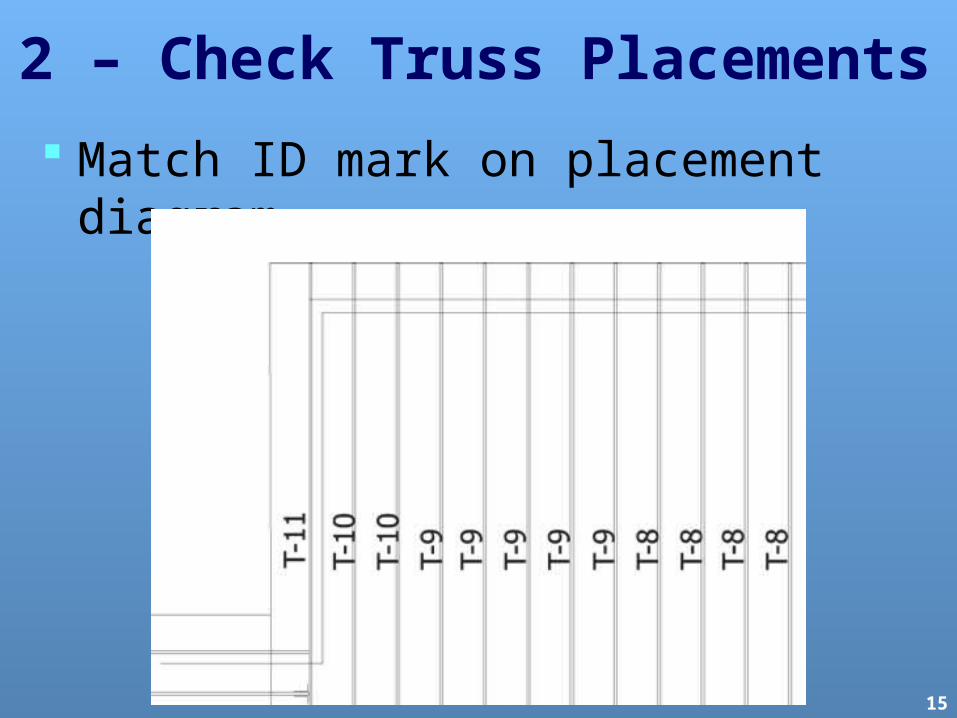
2 – Check Truss Placements
Match ID mark on placement diagram
16
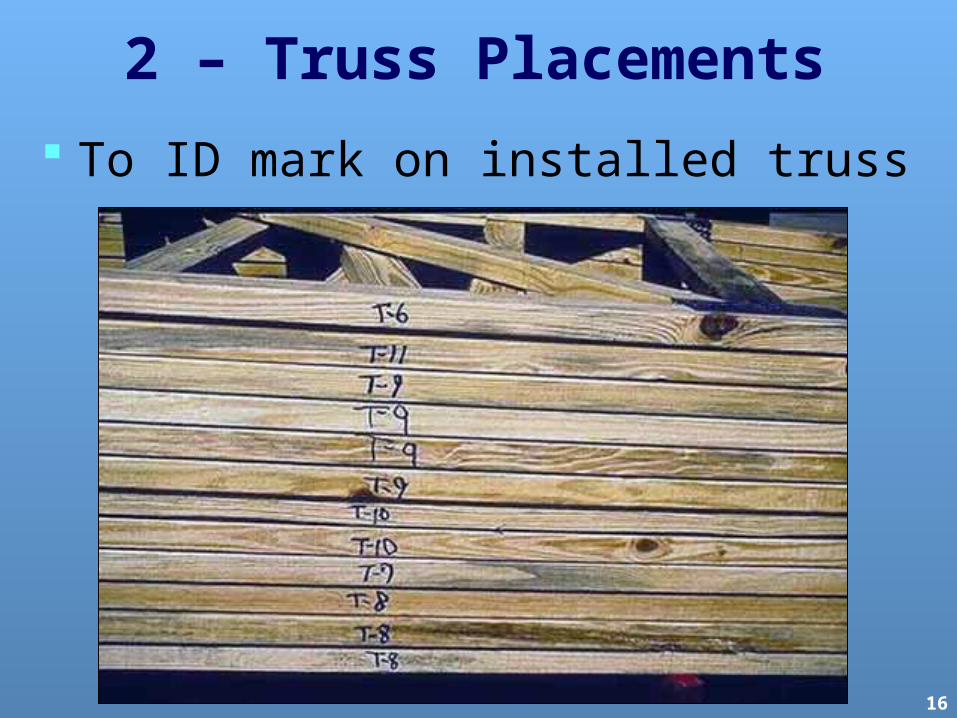
2 – Truss Placements
To ID mark on installed truss
17
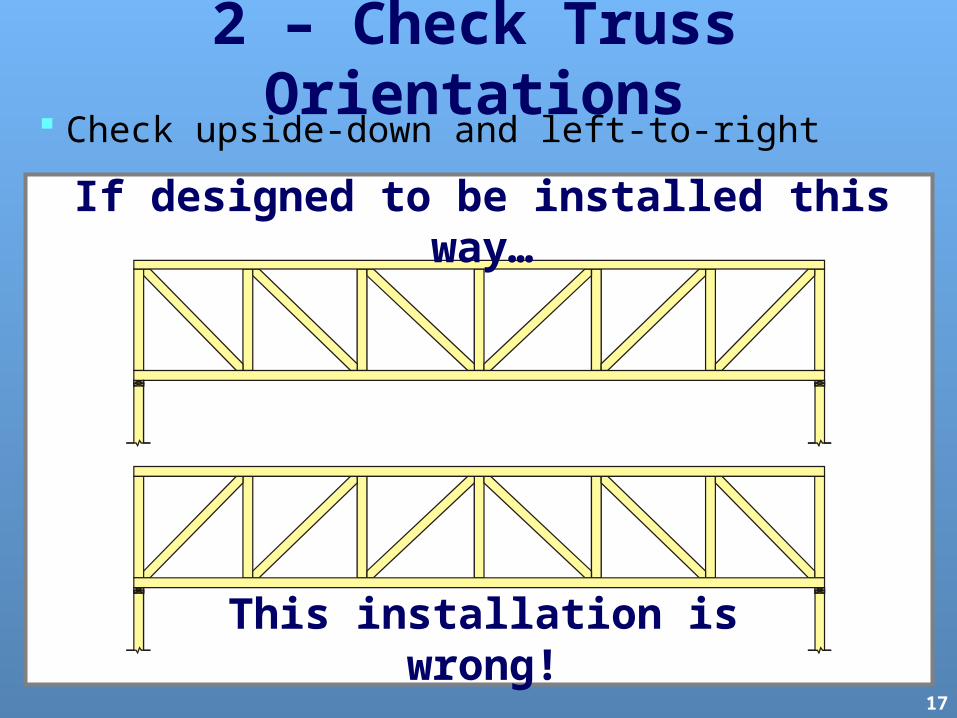
2 – Check Truss Orientations
Check upside-down and left-to-rightIf designed to be installed this
way…
This installation is wrong!
18
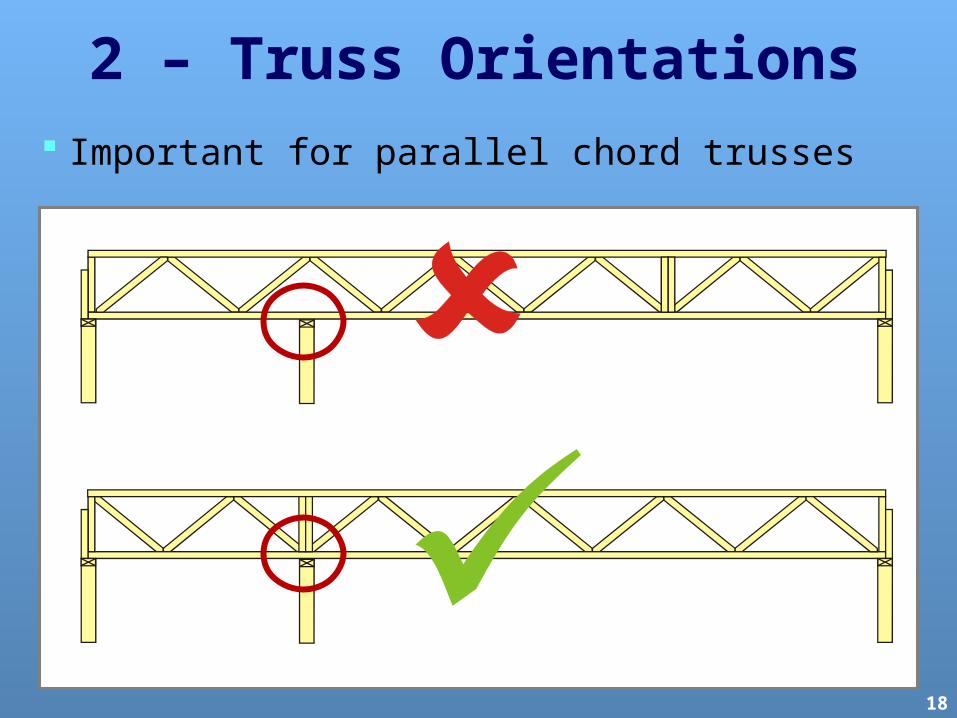
2 – Truss Orientations
Important for parallel chord trusses
19
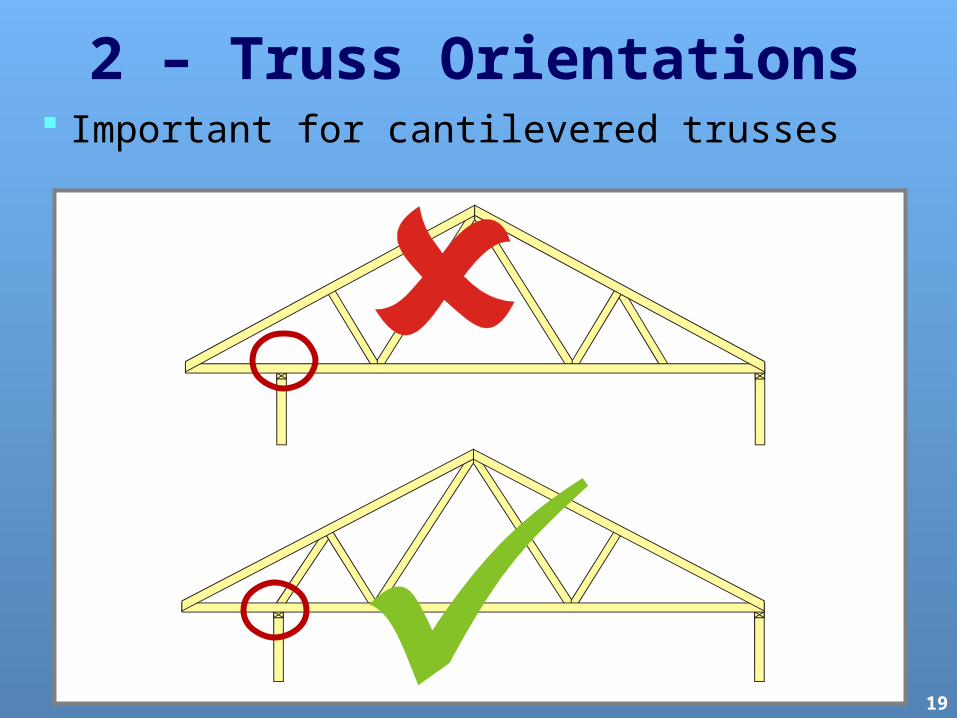
2 – Truss Orientations Important for cantilevered trusses
20
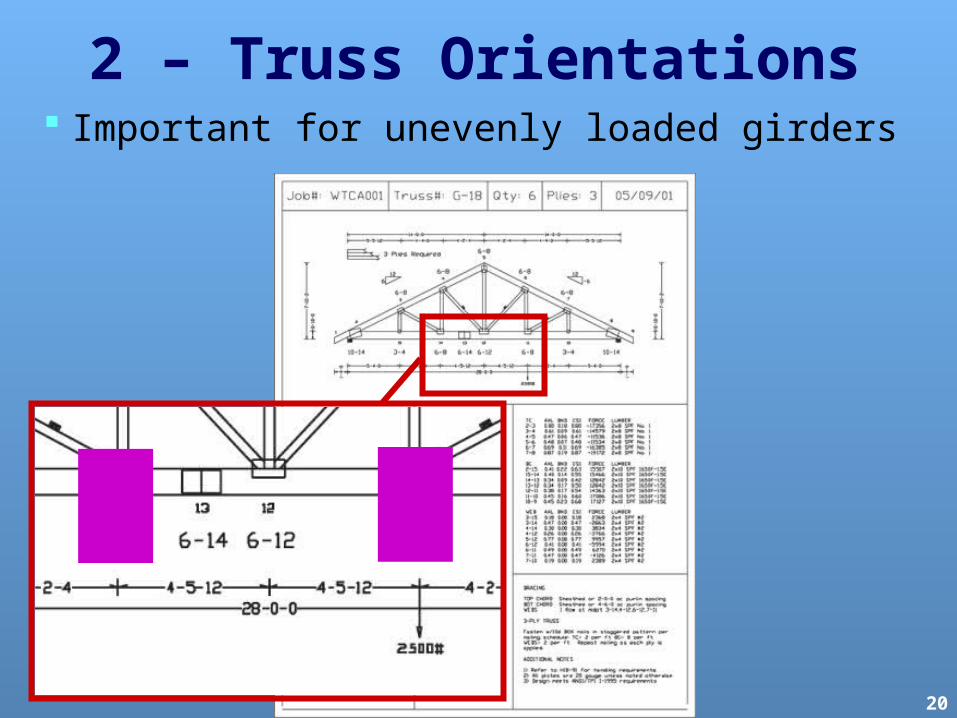
2 – Truss Orientations Important for unevenly loaded girders
21
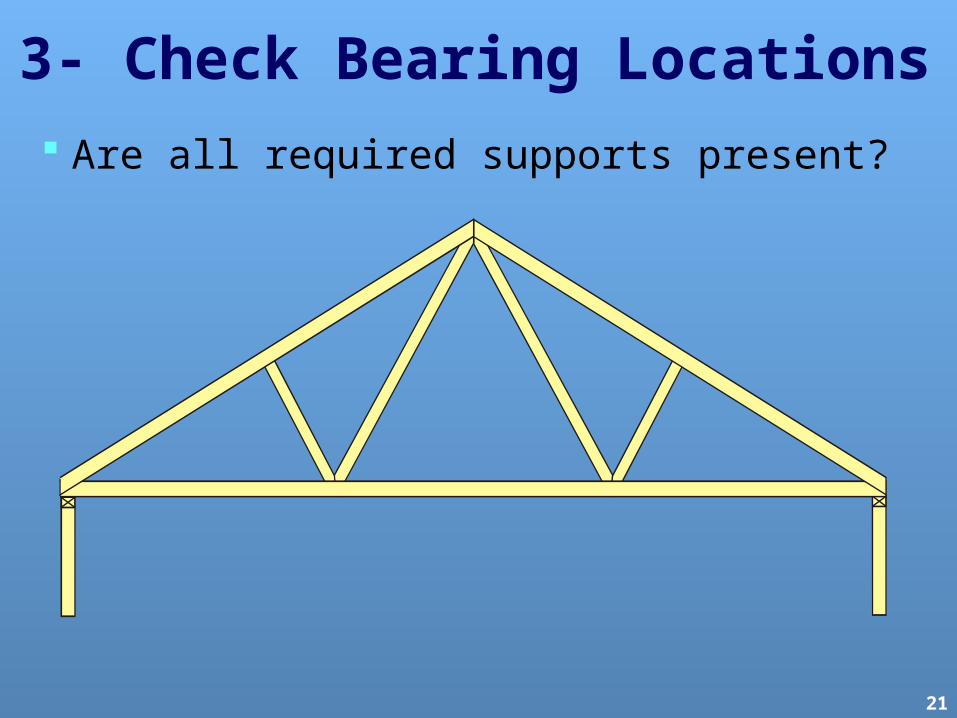
3- Check Bearing Locations
Are all required supports present?
22
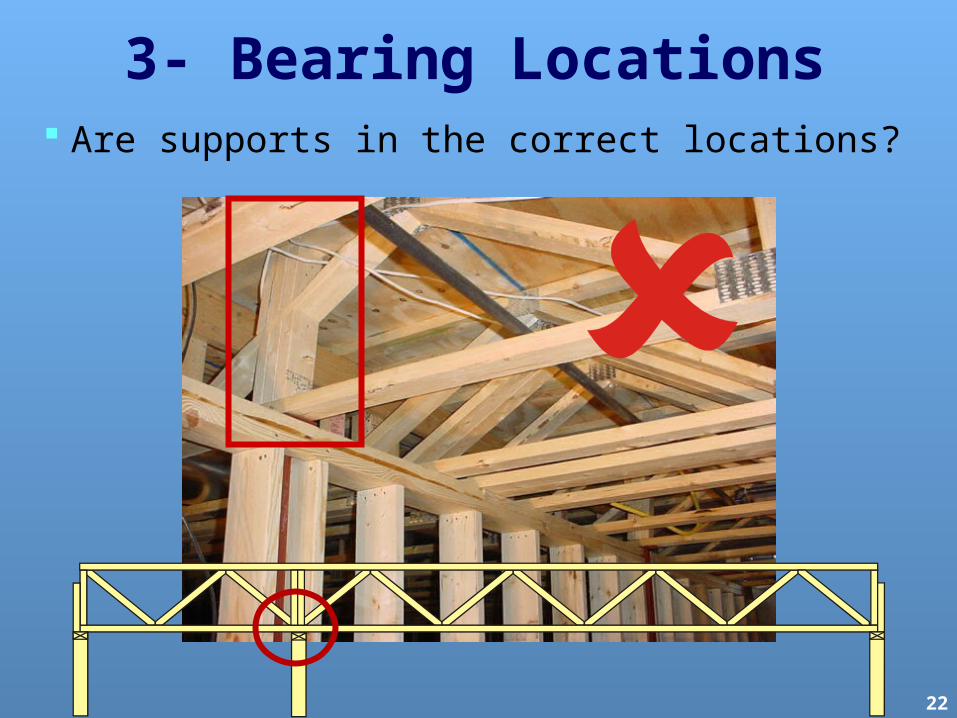
3- Bearing Locations Are supports in the correct locations?
23
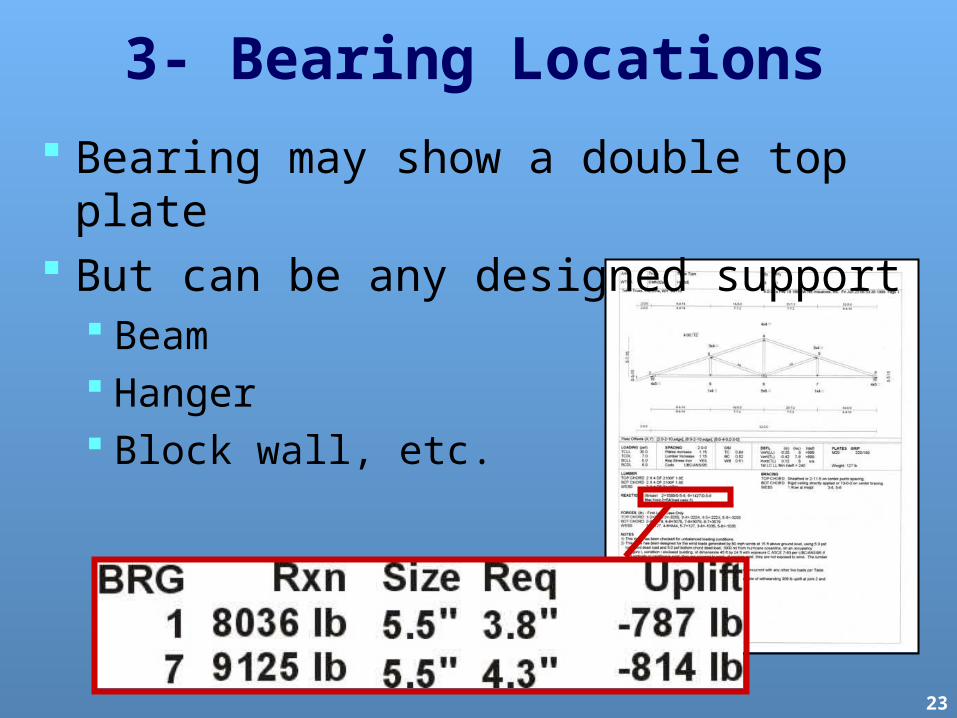
3- Bearing Locations
Bearing may show a double top plate
But can be any designed support Beam Hanger Block wall, etc.
24
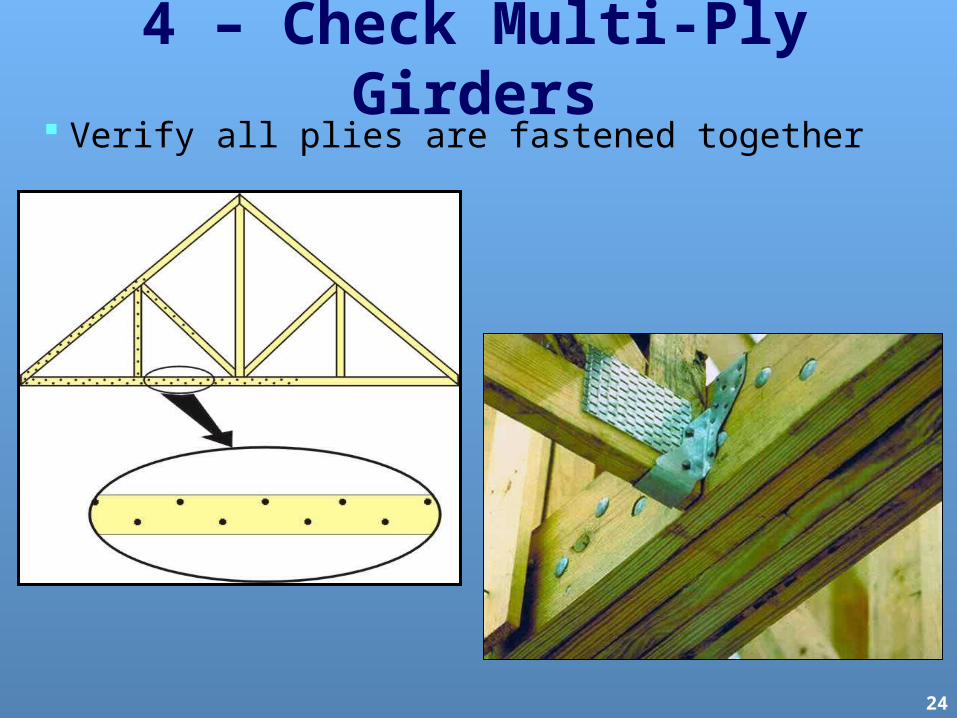
4 – Check Multi-Ply Girders Verify all plies are fastened together
25
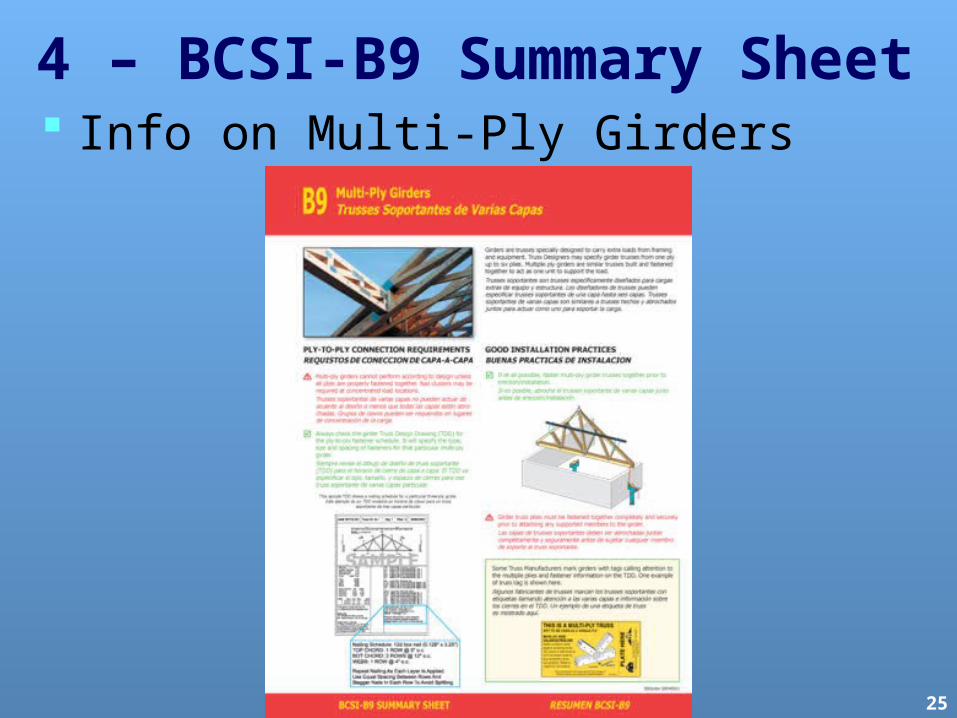
4 – BCSI-B9 Summary Sheet Info on Multi-Ply Girders

26
5 – Check Structural Connectors
Hangers, tie-downs and clips installed at correct locations?
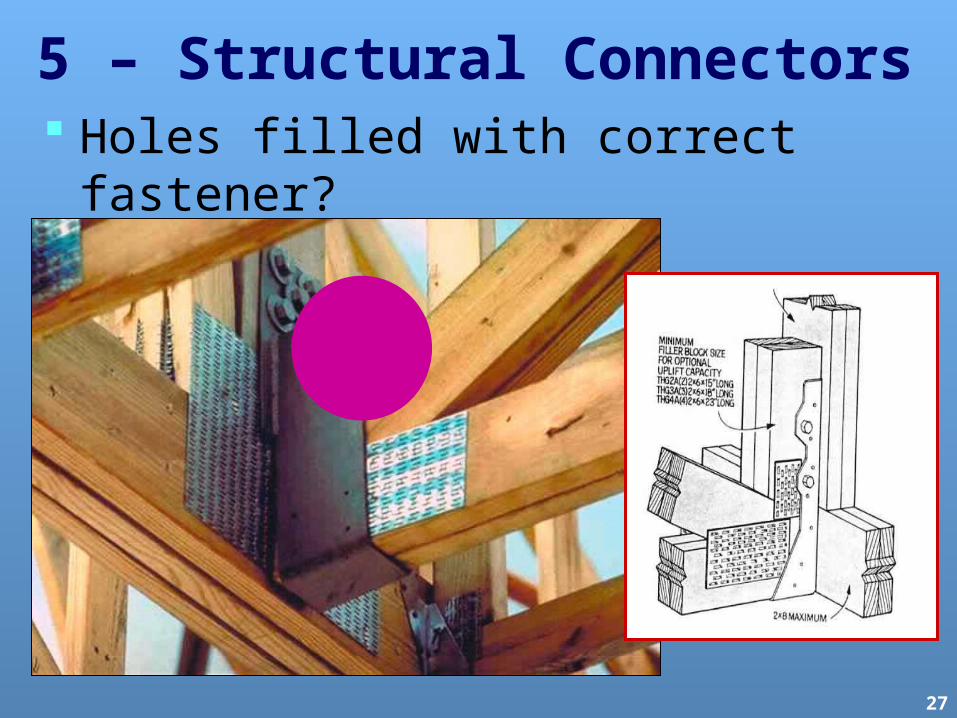
27
5 – Structural Connectors Holes filled with correct fastener?
28
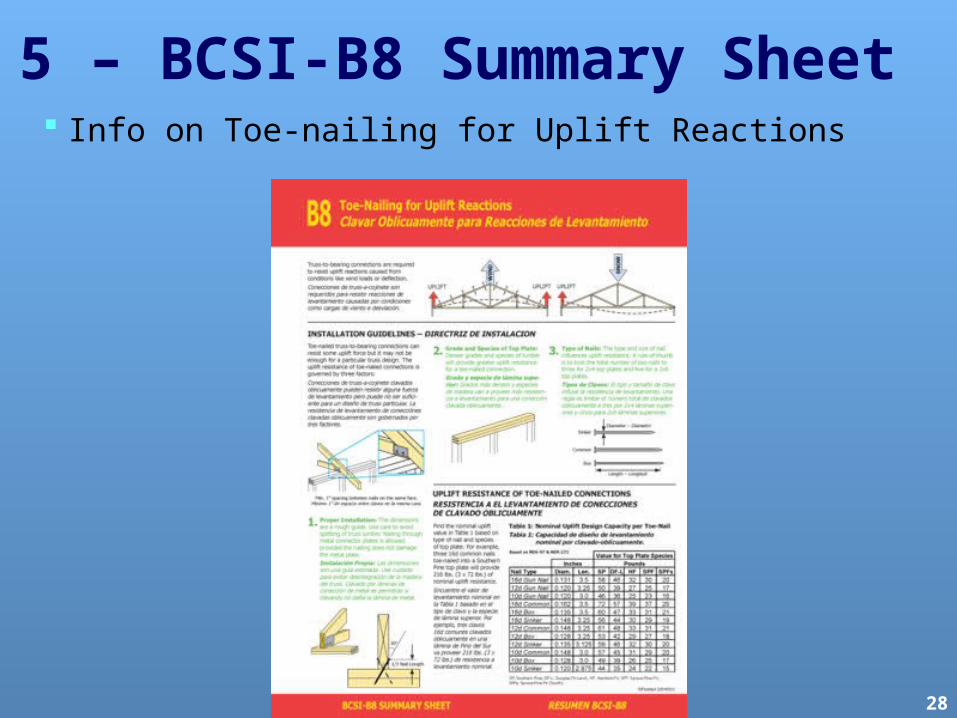
5 – BCSI-B8 Summary Sheet
Info on Toe-nailing for Uplift Reactions
29
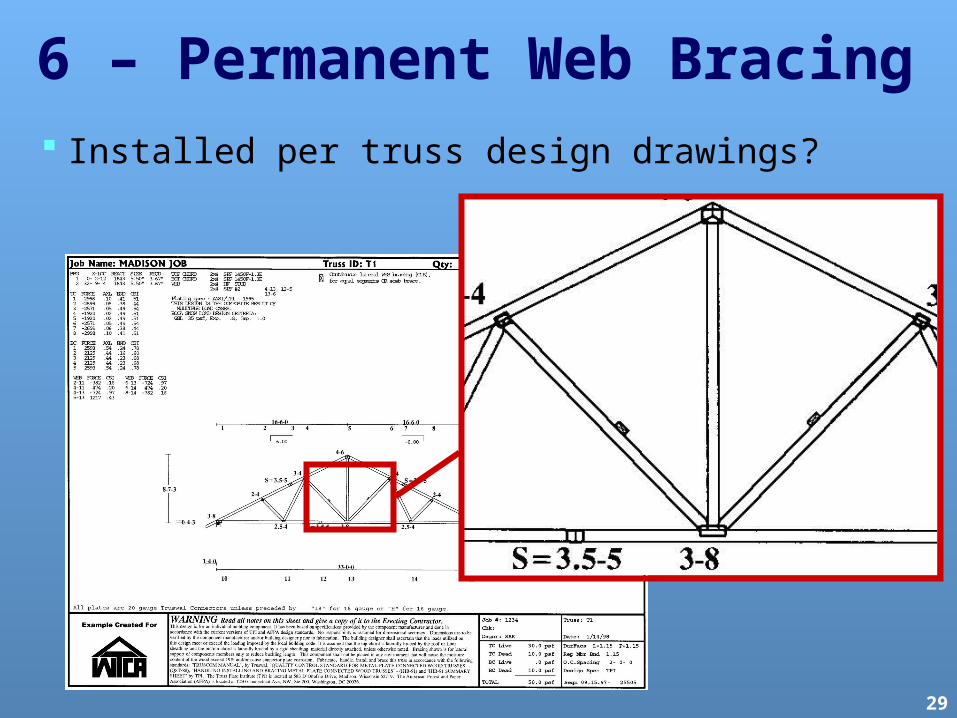
6 – Permanent Web Bracing Installed per truss design drawings?
30
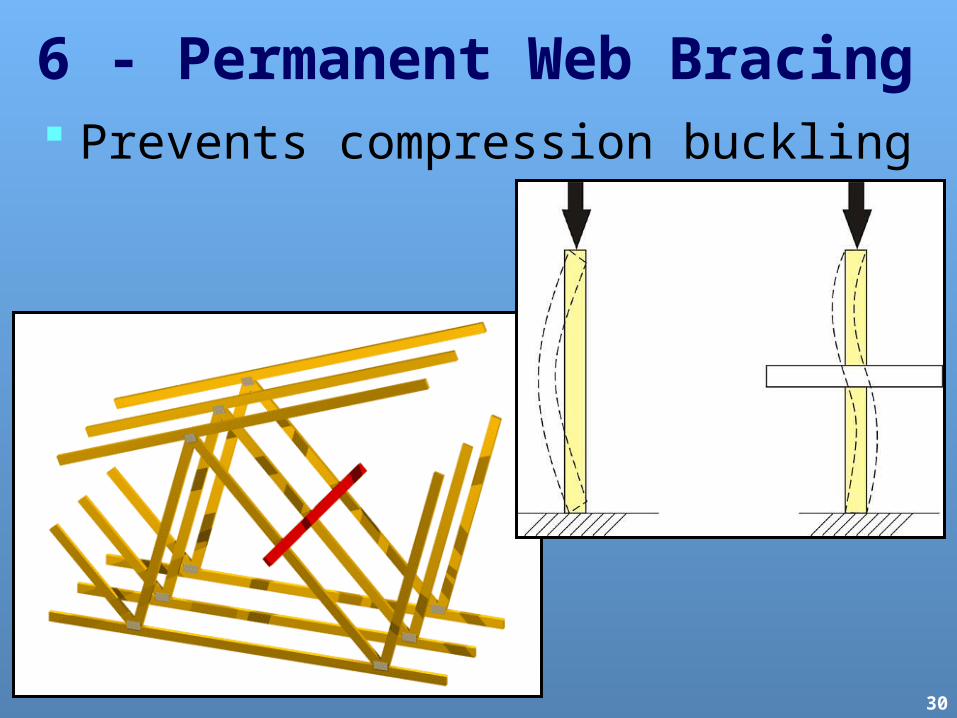
6 - Permanent Web Bracing Prevents compression buckling
31
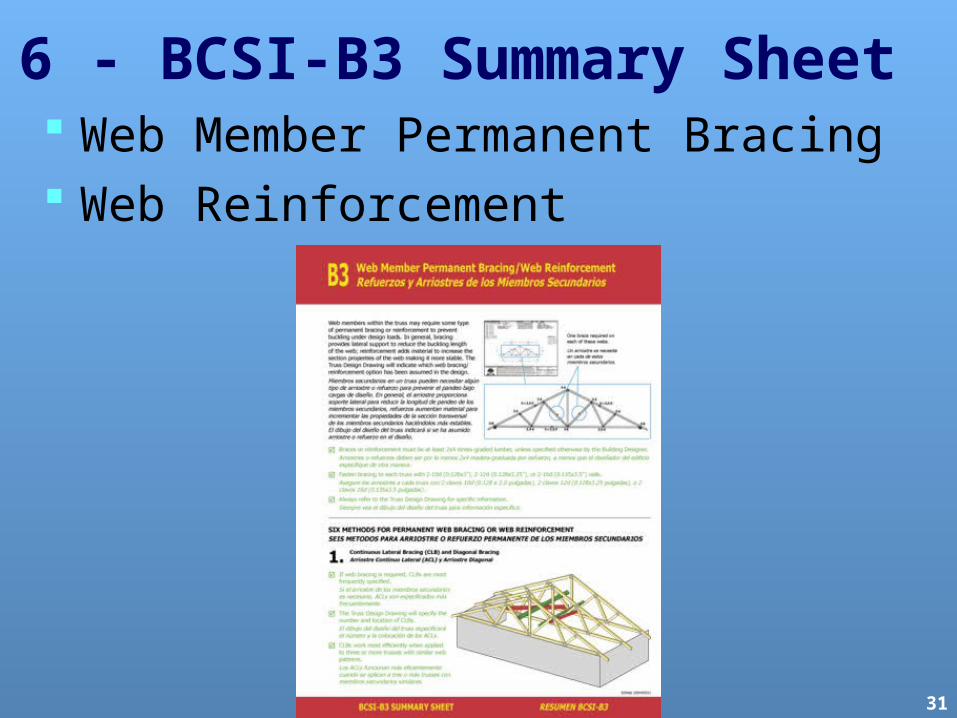
6 - BCSI-B3 Summary Sheet Web Member Permanent Bracing Web Reinforcement
32
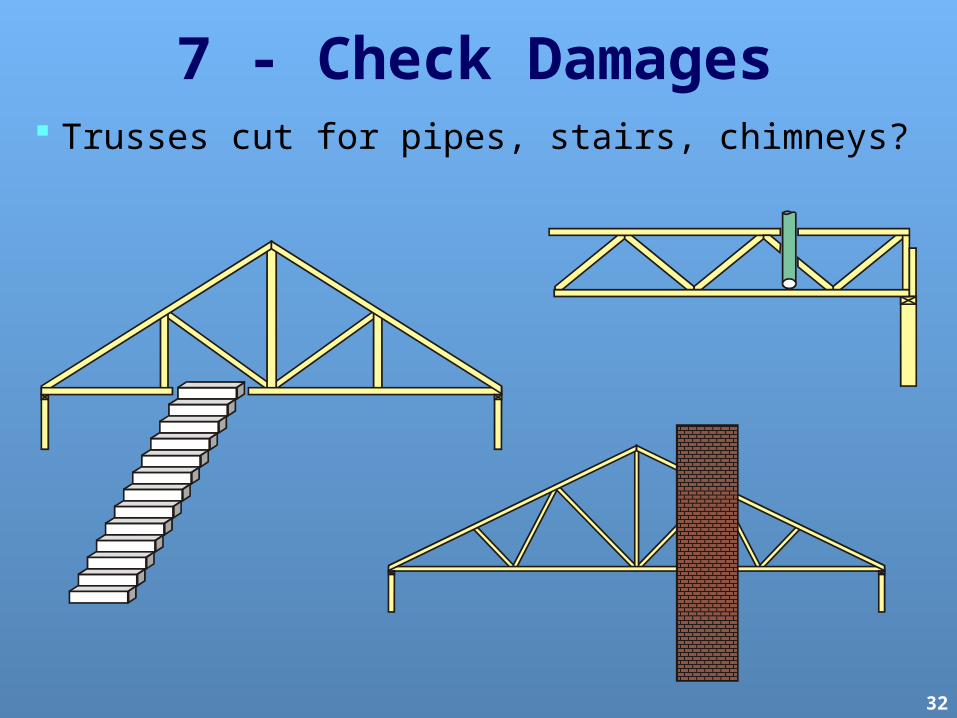
7 - Check Damages Trusses cut for pipes, stairs, chimneys?
33
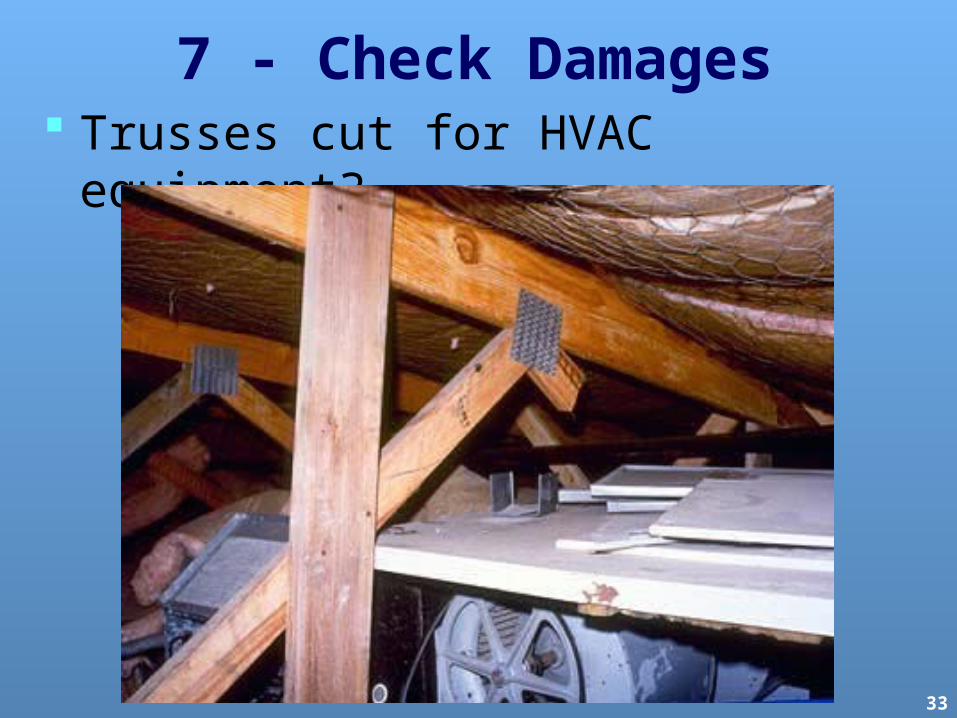
7 - Check Damages Trusses cut for HVAC equipment?
34
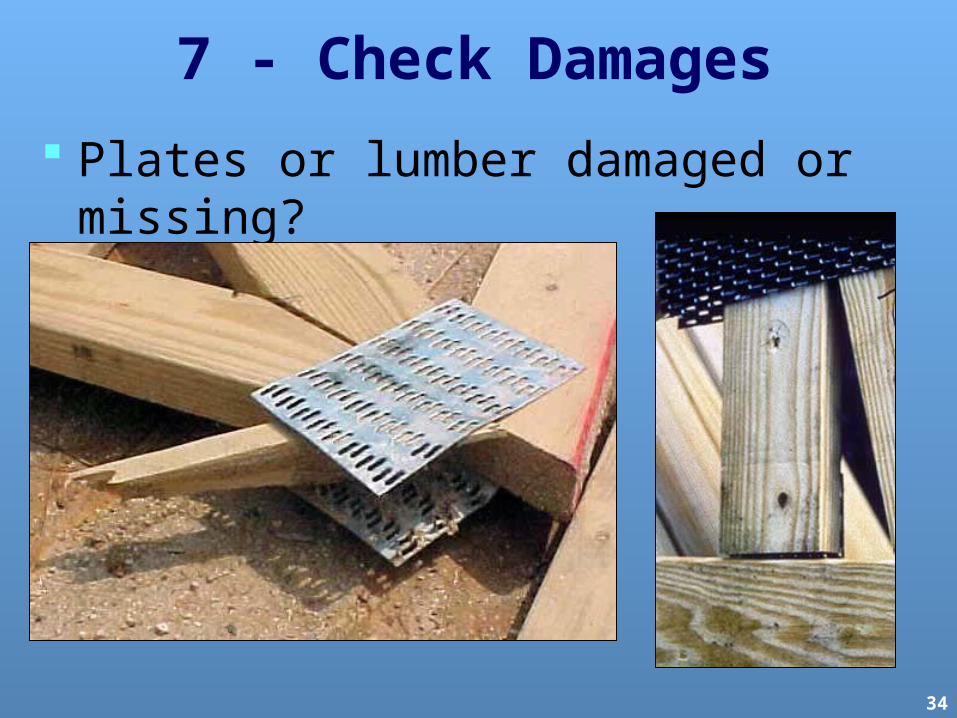
7 - Check Damages
Plates or lumber damaged or missing?
35
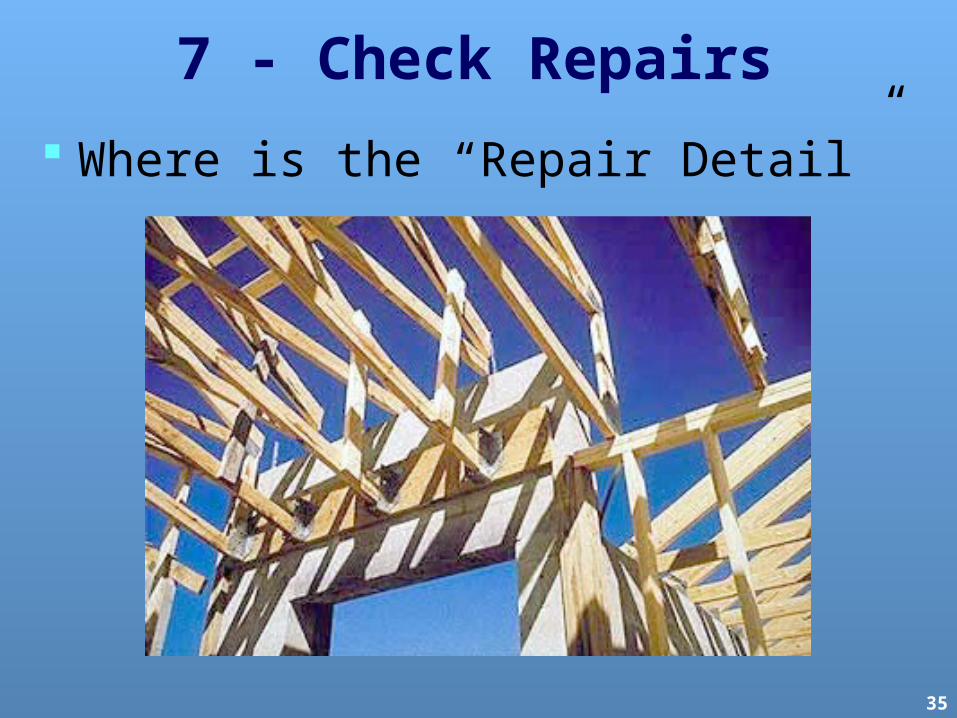
7 - Check Repairs
Where is the “Repair Detail”
36
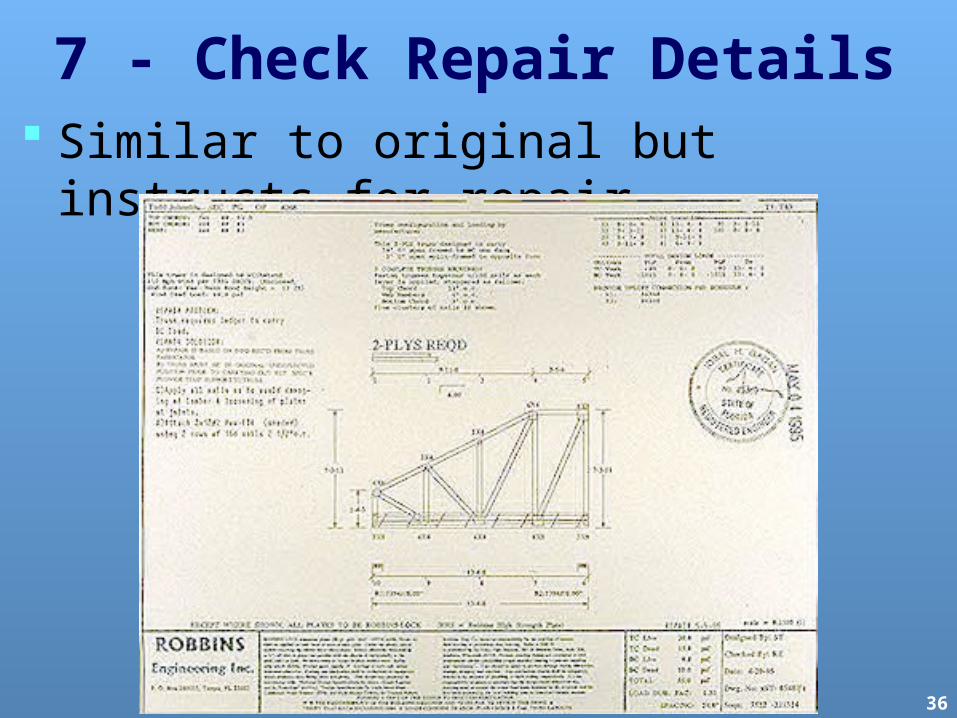
7 - Check Repair Details Similar to original but instructs for
repair
37
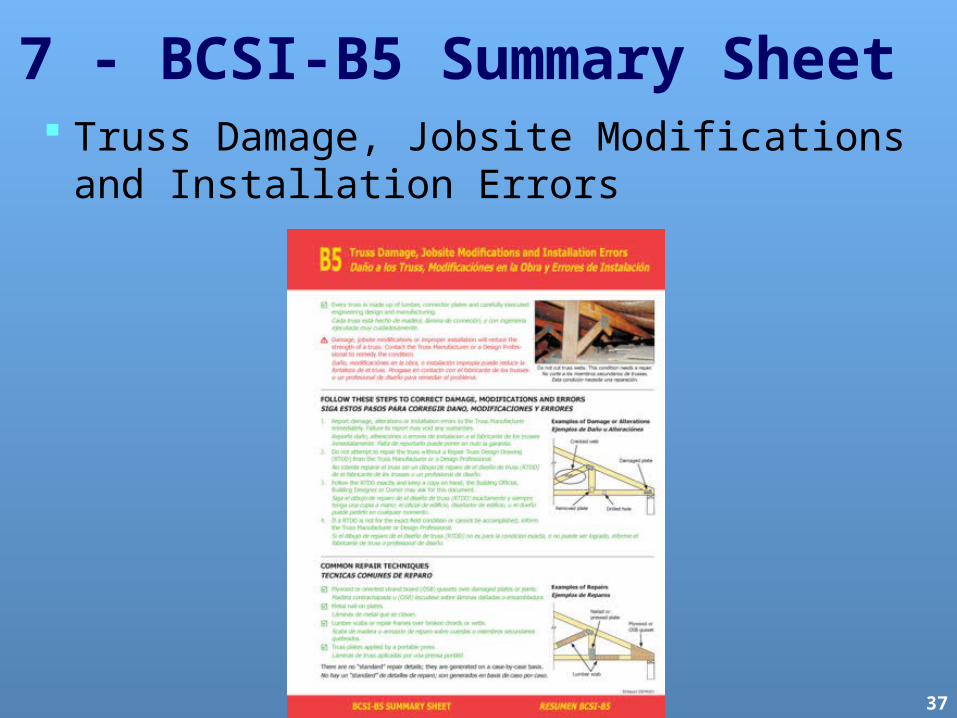
7 - BCSI-B5 Summary Sheet Truss Damage, Jobsite Modifications
and Installation Errors
38
Checklist Complete!
This is not a comprehensive checklist There may be other factors to consider
on particular projects Contact the truss manufacturer listed
on the drawings with questions on specific truss projects
Contact WTCA for training information
39
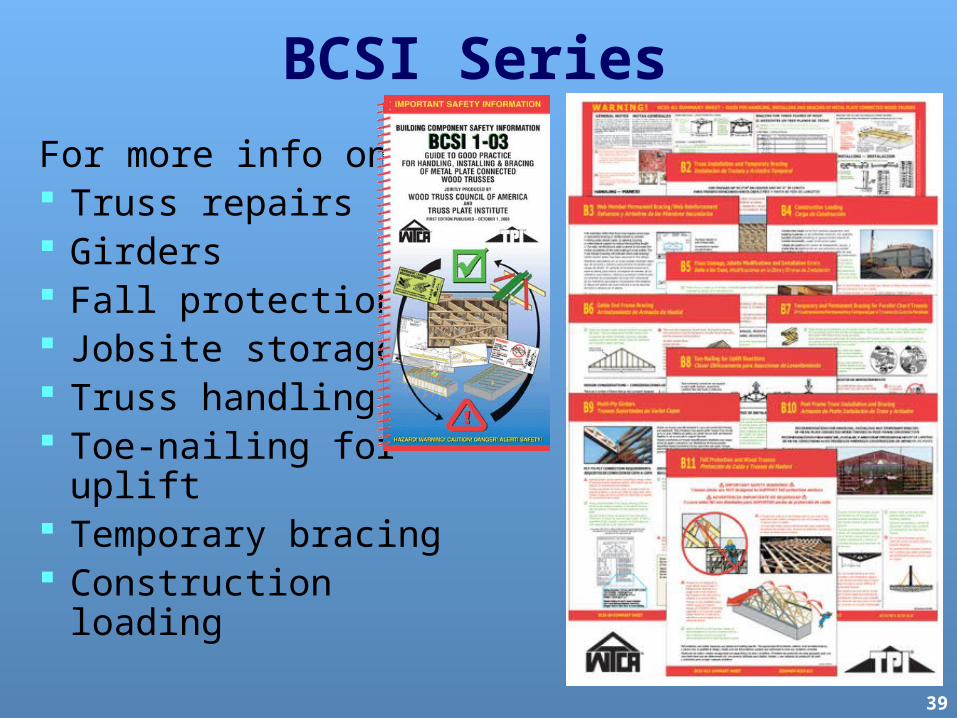
BCSI Series
For more info on: Truss repairs Girders Fall protection Jobsite storage Truss handling Toe-nailing for uplift Temporary bracing Construction
loading
40
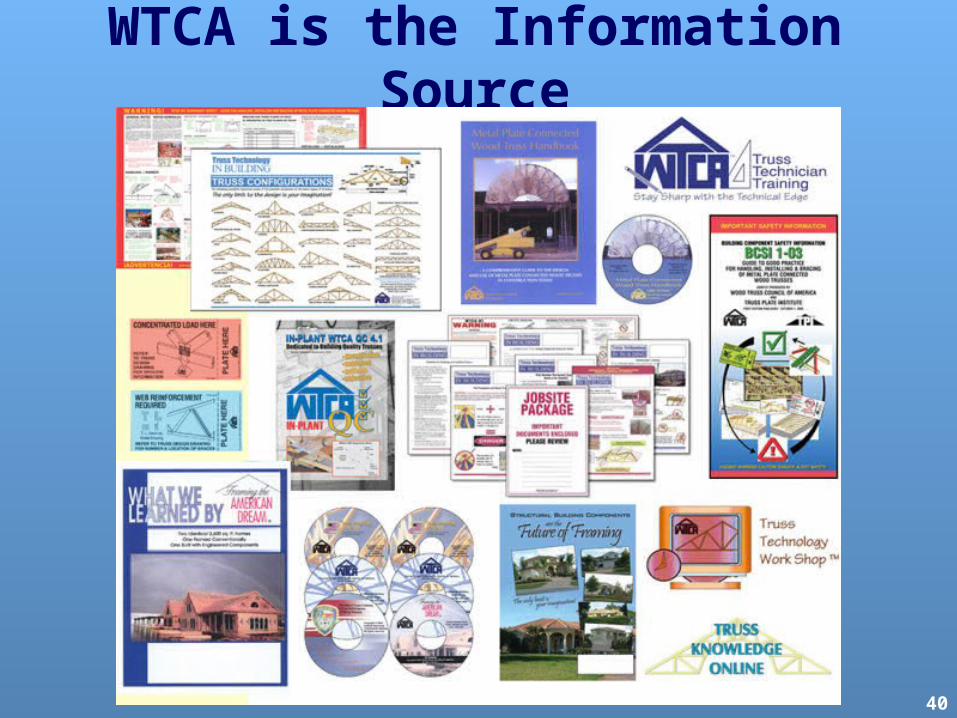
WTCA is the Information Source
41
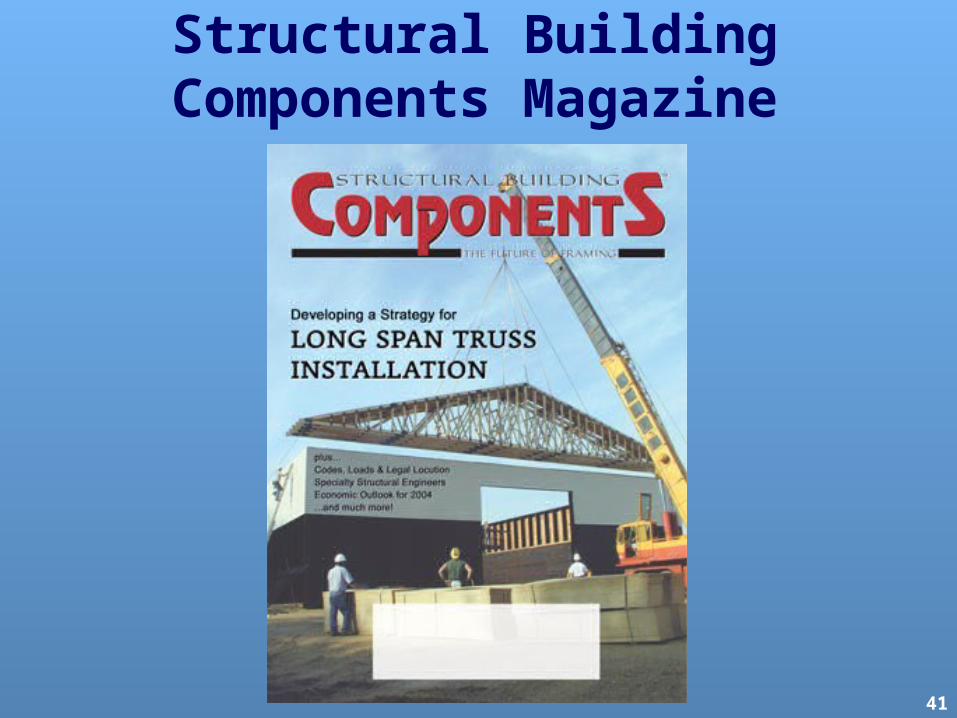
Structural Building Components Magazine
42
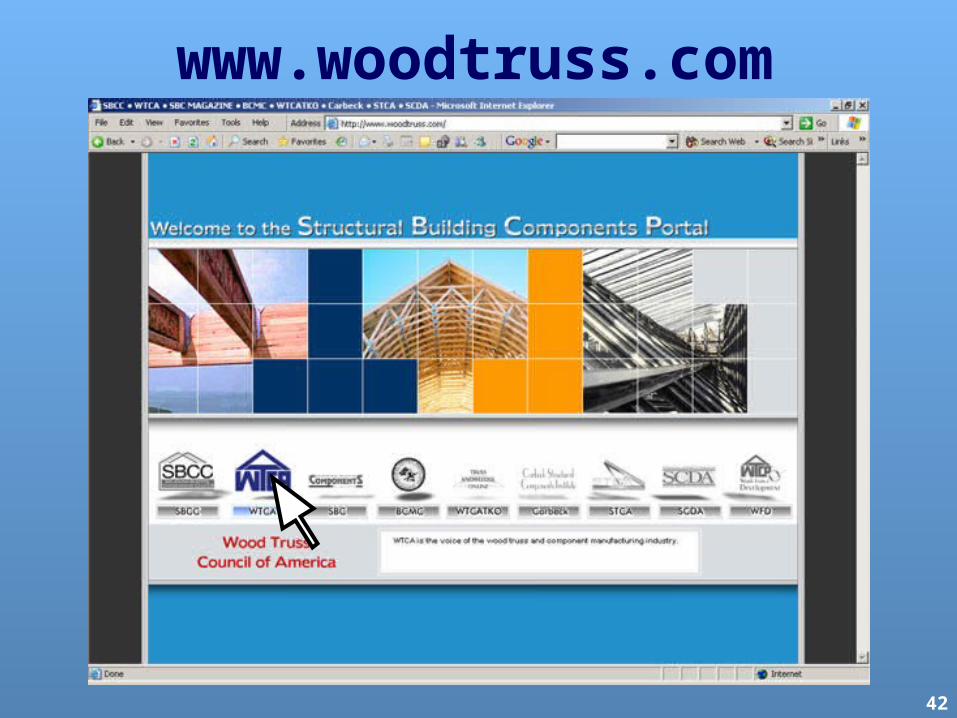
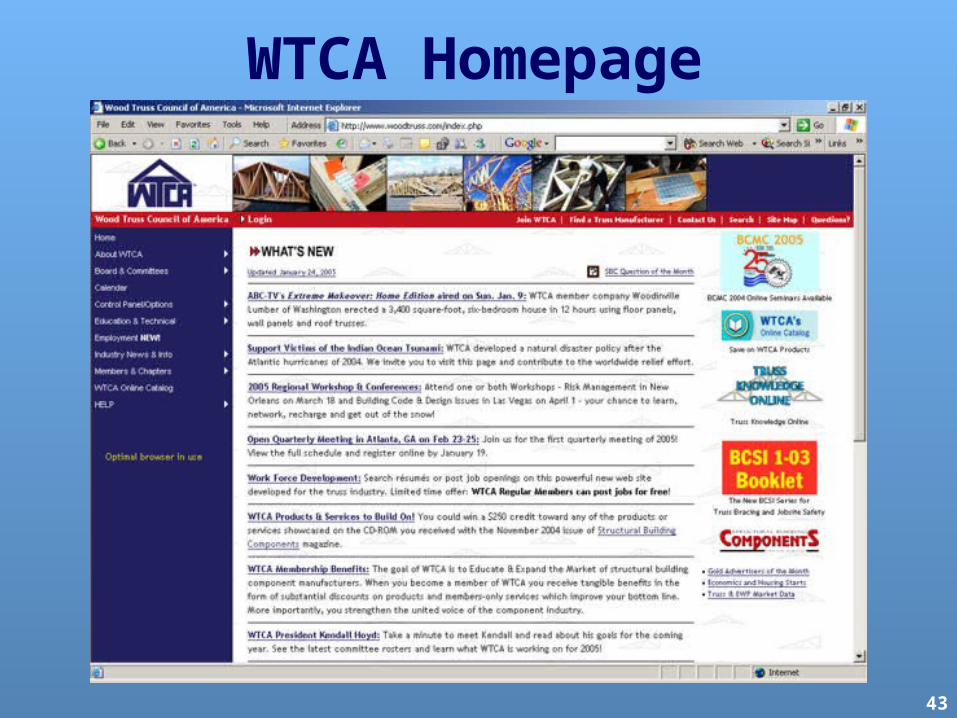
www.woodtruss.com
43
WTCA Homepage